DIY
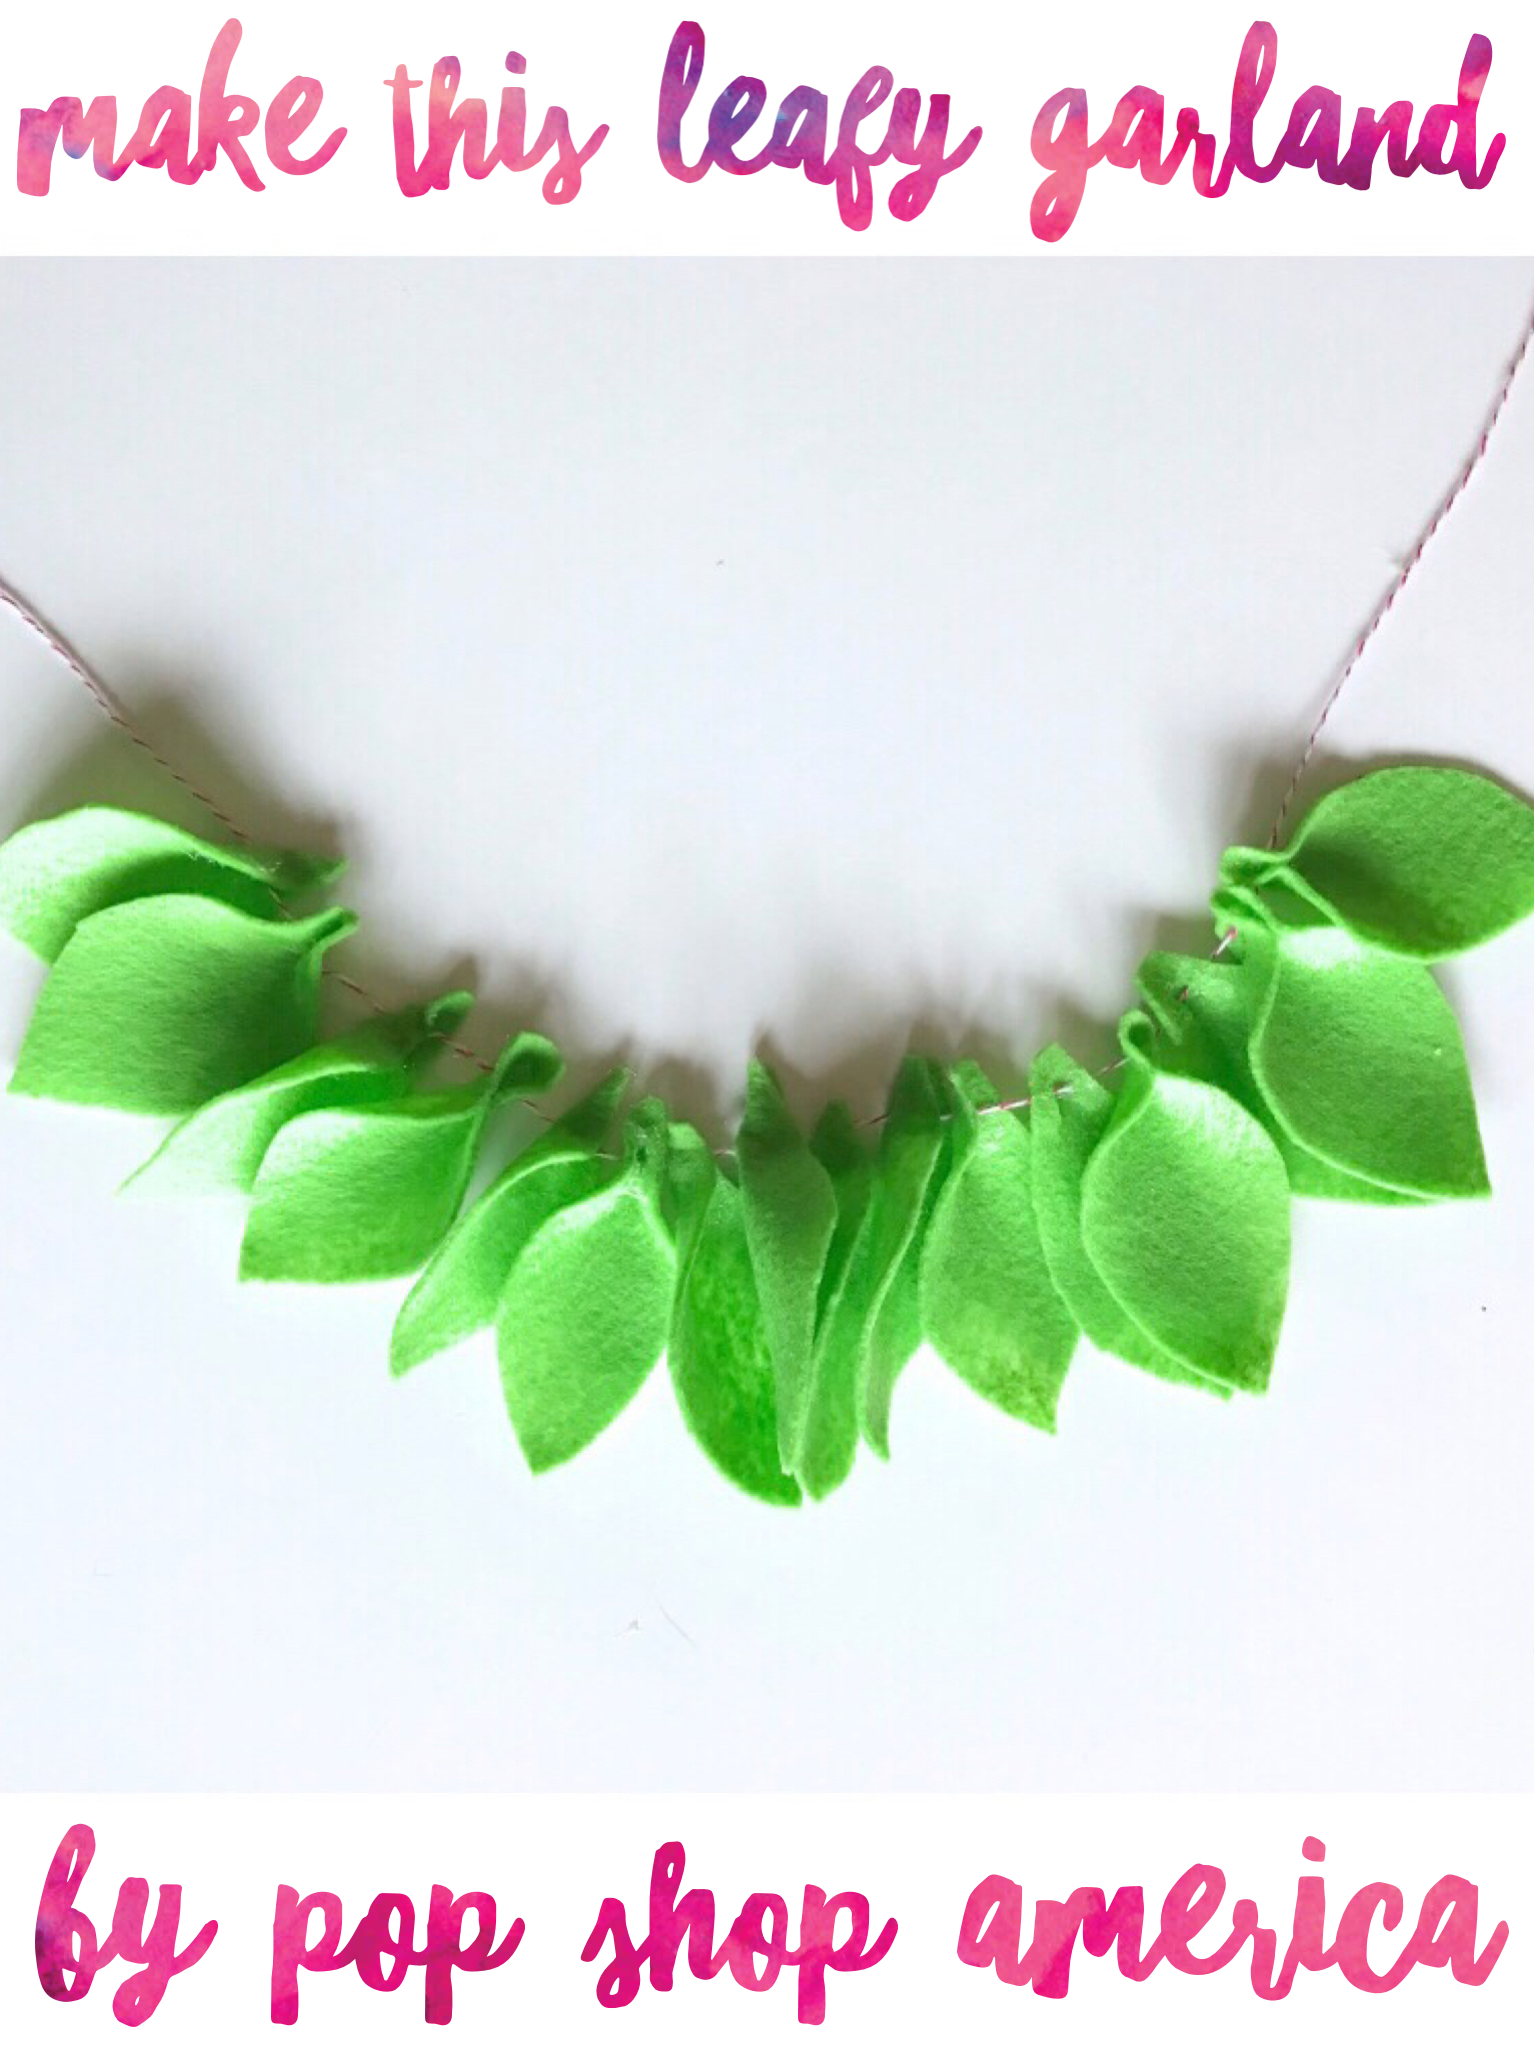
DIY Felt Leaf Garland
Apr
Adorableness for Spring time! Make this cute and easy DIY Felt Leaf Garland as the perfect party decoration for the season! All you need are a few simple supplies.
So here goes!
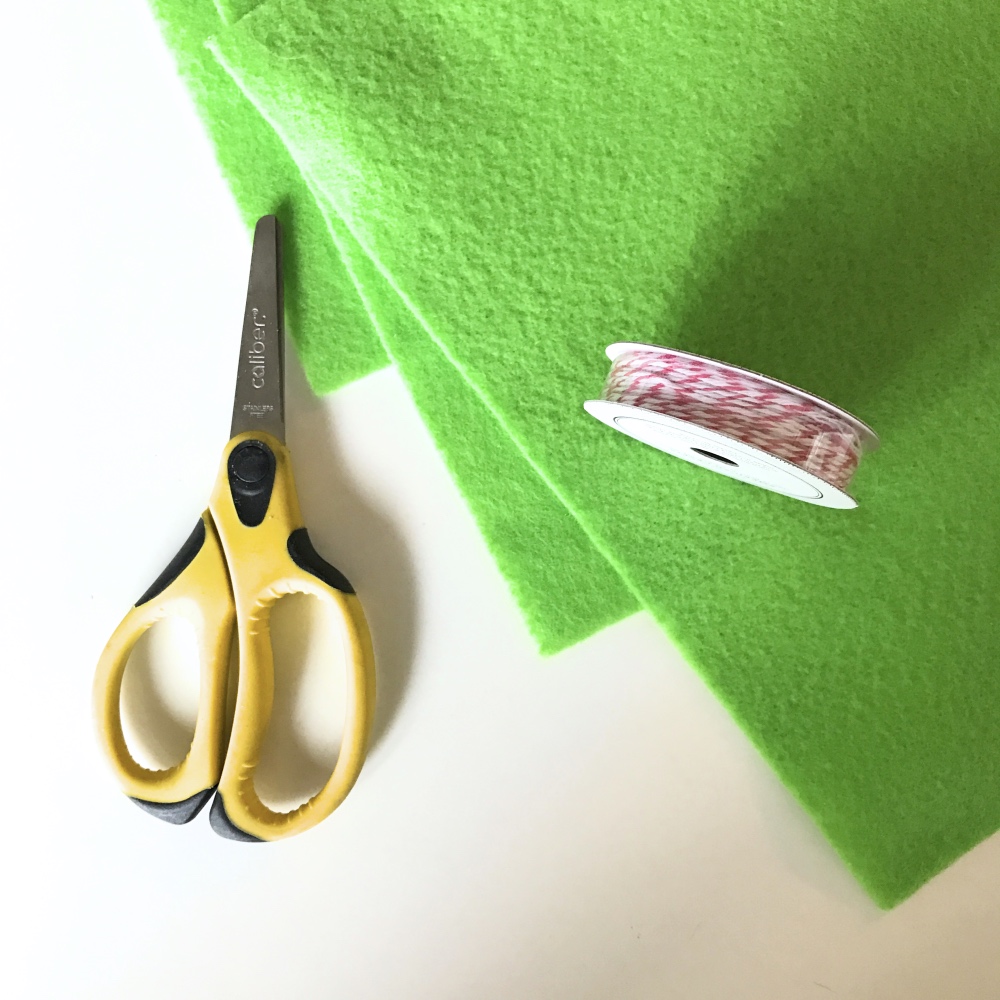
Supplies for this DIY Felted Leaf Garland:
Green Felt
Scissors
Bakers Twine
Glue Gun
Literally that’s all you need!

Cut the felt in strips. I cut my piece into thirds. The felt came in regular 8 1/2 by 11 inch sheets. But you could make your leaves bigger or smaller. You could even make the leaves a different size.
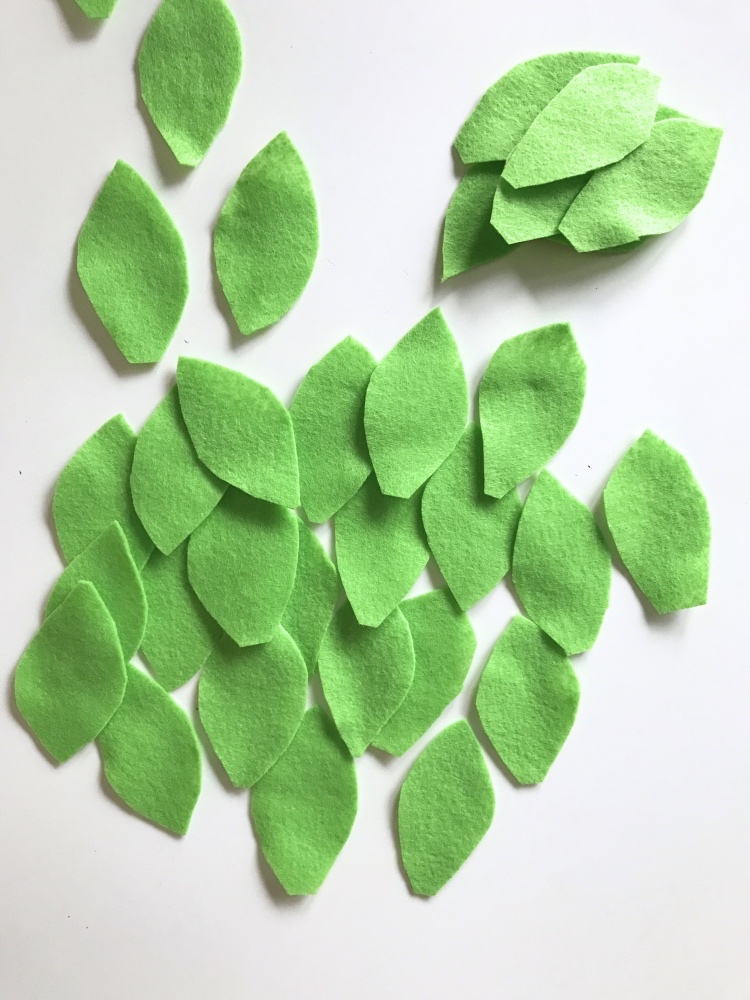
Cut the leaves into a an oval shape with two points on the ends. I hand cut mine but you could make a stencil if you are concerned about this. You could make other shapes too but I wanted to stick with something simple.
Cut tons and tons of leaves! I used 4 felt sheets but you can use as many as you need. Felt is really in expensive, so don’t be afraid to get a bunch when you are craft shopping.
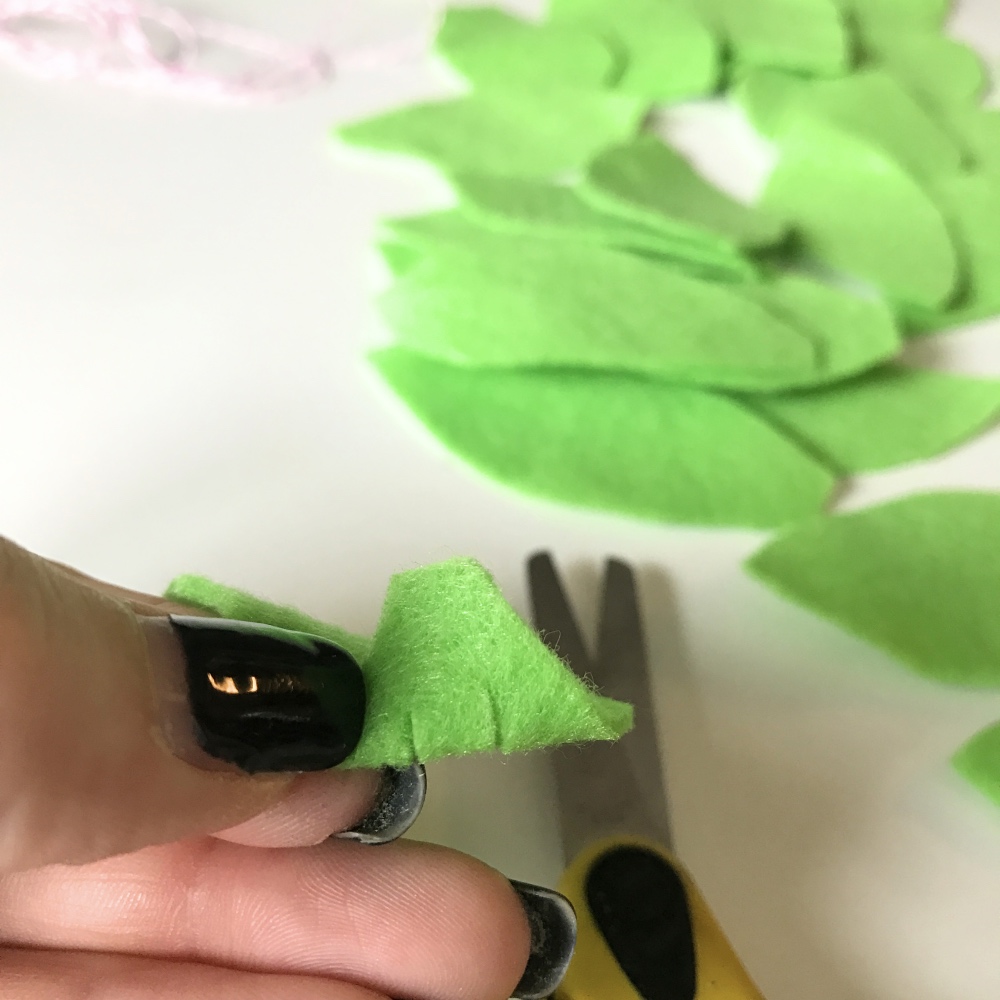
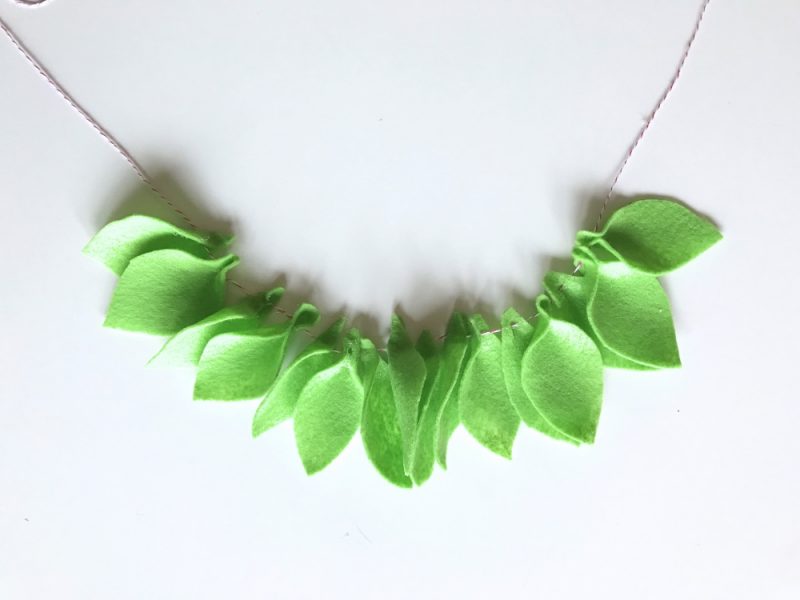
Now cut the slits in felt leaves. Half of mine I cut two slits and half I cut one. When you cut one slit the leaf will hang sideways. When you cut two slits and weave the bakers twine through both it will hang forward.
I liked the look of two directions for the leaves. It made the DIY Felt Leaf Garland more natural and cute!
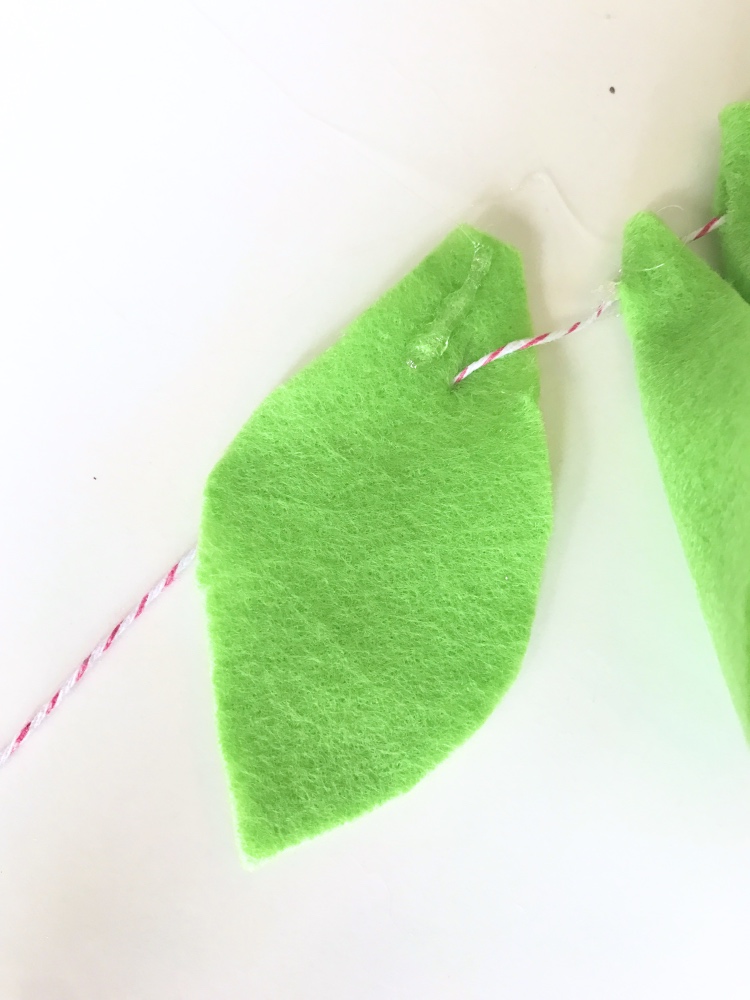
To make the folded leaf shape, use a glue gun to add a smidge of glue along the top of the leaf. And press it together. Be careful about how much glue you add if you want to slide the leaf back and forth – or be careful to not get it on the baker’s twine!
Otherwise your leaf will be stationary after you glue it but that’s fine too!
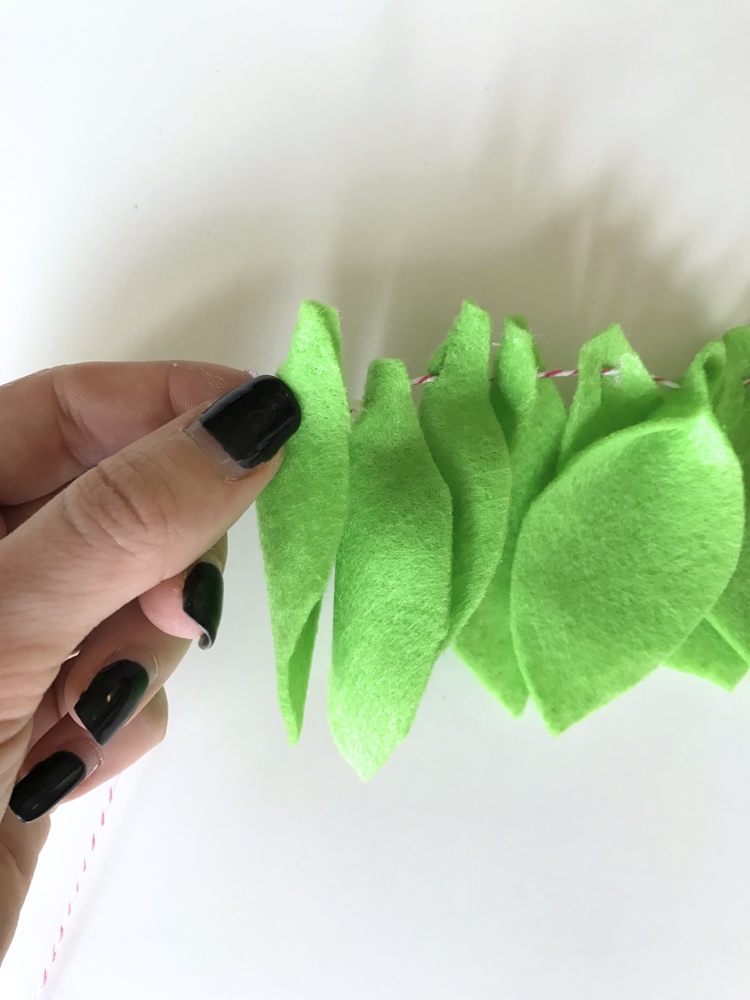
Now just keep layering and adding your cute spring time leaves! And viola you have a cute DIY Leaf Garland! Pin the image below to keep your cute around for later.

Let’s Stay Friends!
Insta | Pinterest | Enews | TikTok