DIY
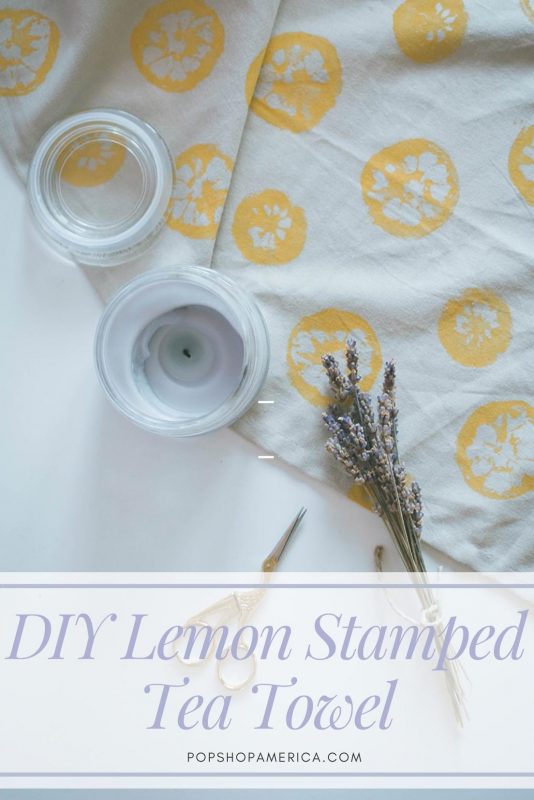
DIY Lemon Stamped Tea Towel
It’s not a secret I love fabrics and I’ve always had this passion for any piece of tissue with customized prints. I’ve been meaning to test out this lemon-stamp technique for a while, but wasn’t sure of the technical details to make paint actually stay on my fabric without turning into a big yellow mess at the first wash.
But then my local craft store started stocking a beautiful line of paints for all sorts of surfaces, and they happened to have a medium for fabrics in the line. If you love DIY as much as I do, you’ll understand my excitement that day! Of course I grabbed a pot immediately and decided it was finally time to give my idea of a DIY lemon stamped tea towel a go!
You can use lemons or any kind of citrus really, but I’m sure also apples cut in half would make for a cute stamp! And don’t be afraid to play around with colours too: I love yellow and it happened to work well with the lemon-theme, but I’m already thinking of doing a pink version as well.
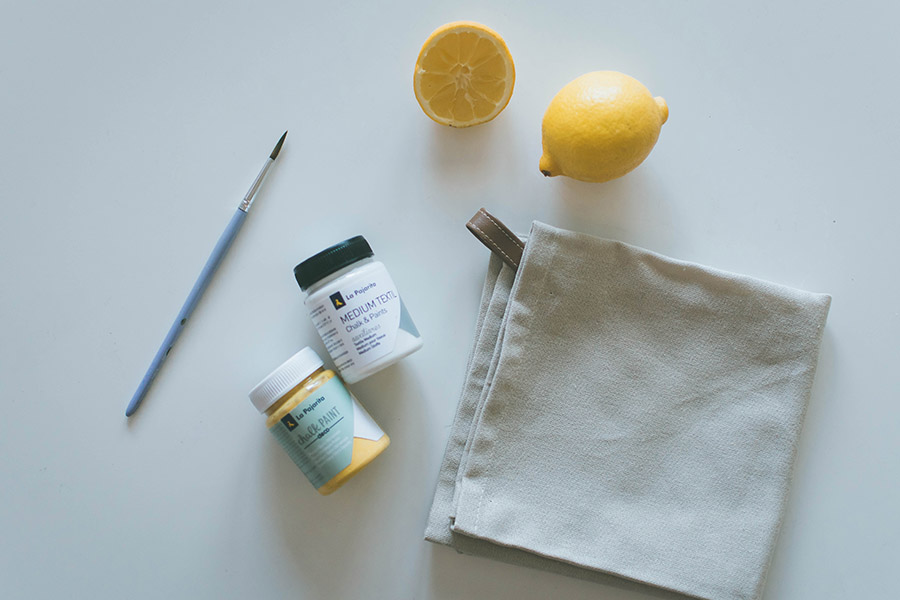
DIY Lemon Stamped Tea Towel
Materials
Plain tea towel – neutral and light solid color (similar here)
2 Lemons of different shape/size
Regular all-surfaces paint
Fabric medium (find it on Amazon here)
Brush
Method
1. Firstly make sure you wash your tea towel and let it dry completely before you start – if it’s new or you never washed it before.
2. Cut one lemon in half, and the other more towards one of the endings, to have two different stamps that will add variety to the print. Using a knife, scoop out the wet, juicy component of the fruit, making sure you keep the white peel separating each slice intact. This will help with getting a much more detailed print reducing the risk of random unshaped circles.
3. Let the fruit dry completely before using it with fabric paint. If you are using a lemon as a stamp with ink, you can use a wet juicy lemon. But fabric paint reacts to the juice of the fruit, so you will need for the lemon to be completely dry to the touch.
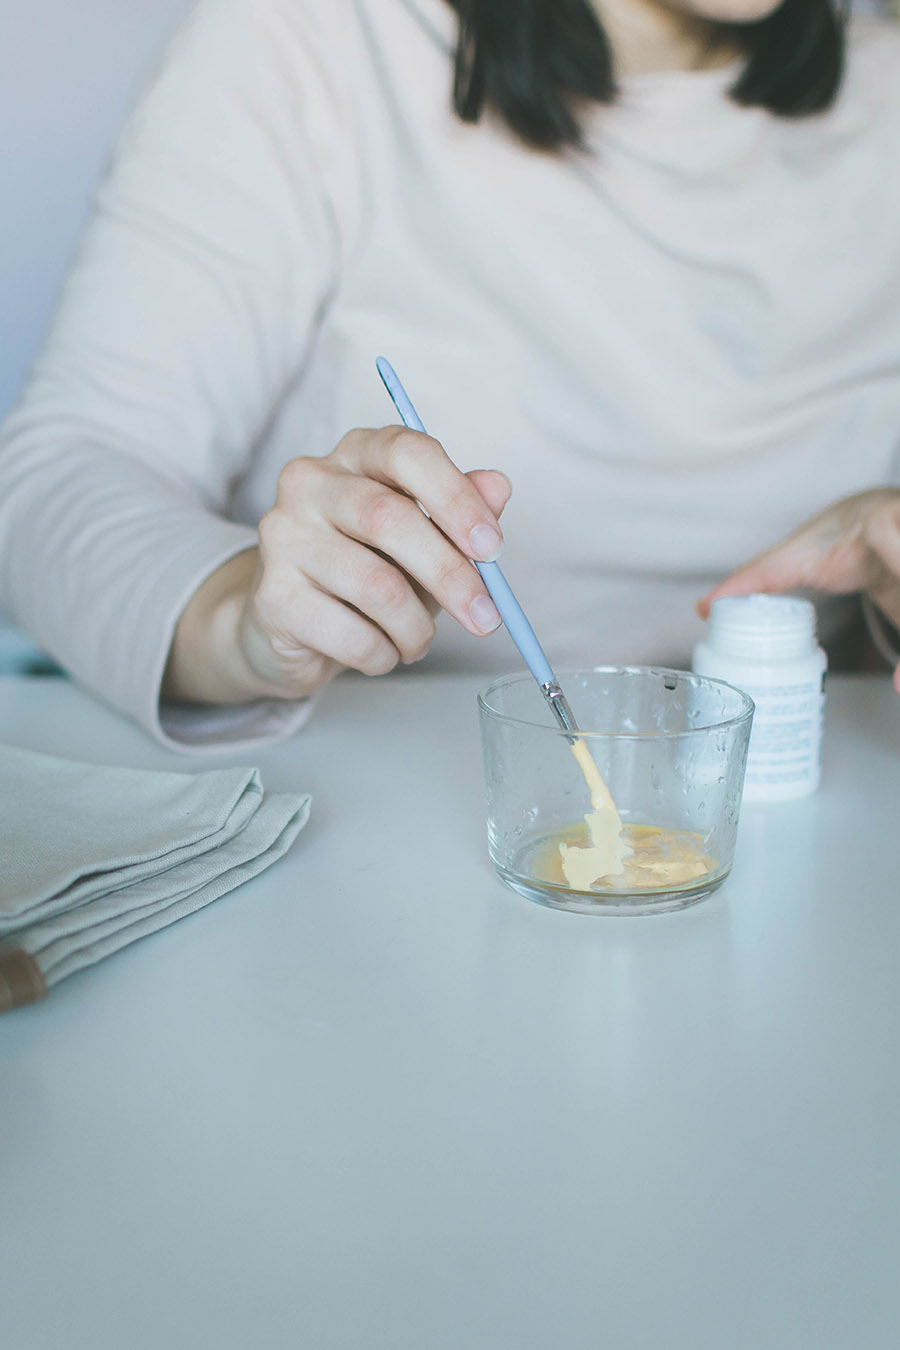
4. Mix the fabric medium with your paint in the ratio suggested on the packaging (mine said to go for a 1:1 ratio, but do check the label of your medium to be sure). Also, prepare your work station by placing old newspaper foils underneath your tea towel.
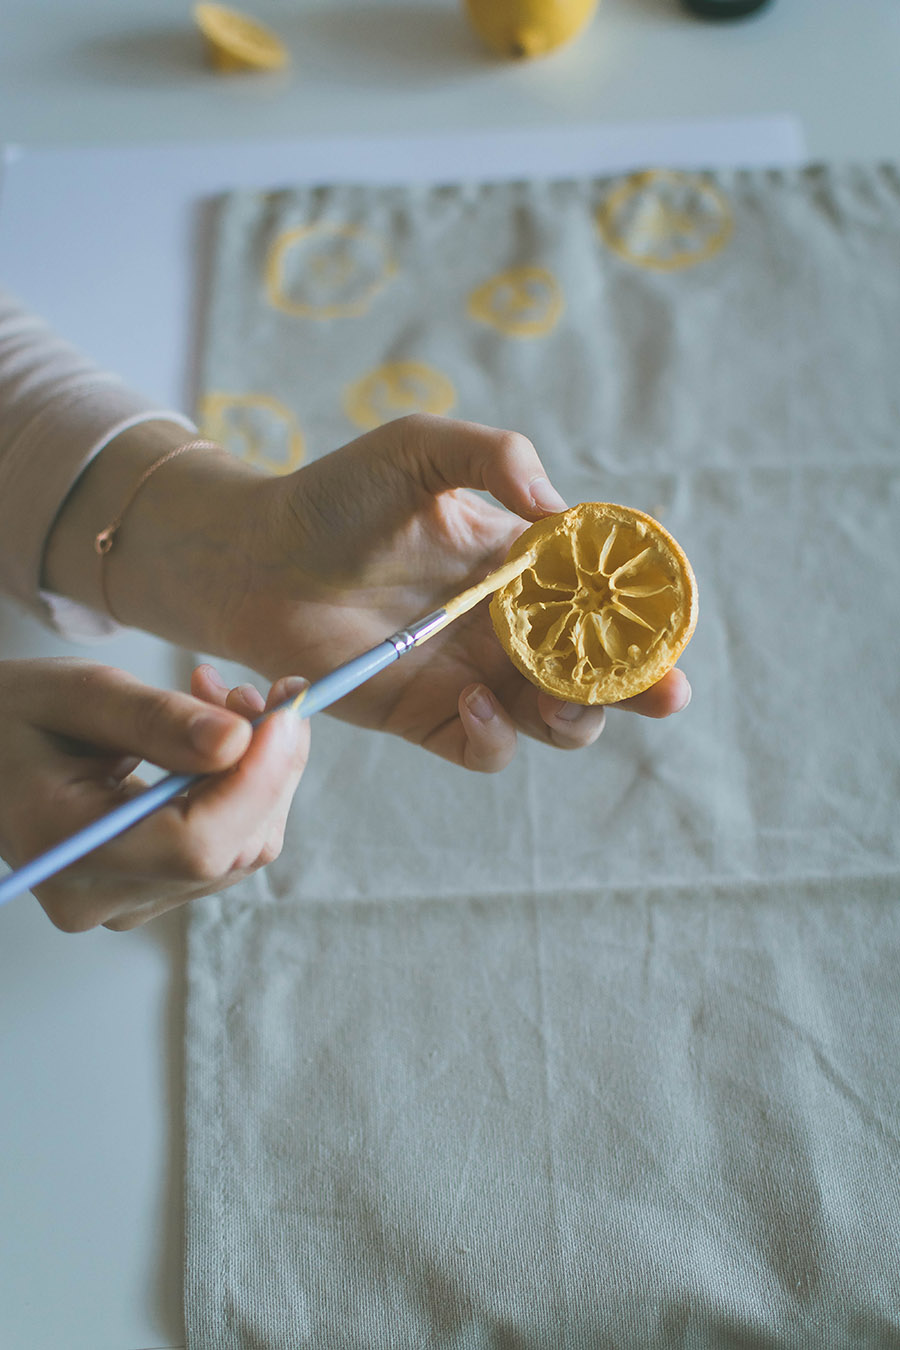
5. Using a small brush, spread the paint mixture on the top surface of one lemon half, making sure to only cover the portions you’d like to be transferred and printed on the fabric.
6. Then start creating your own print by pressing the lemon on the tea towel, randomly alternating the two lemons smaller and bigger, and keeping it going until the whole surface is covered! Make sure you firmly press and hold the lemon of the fabric for a few seconds each time, to create a more defined shape.
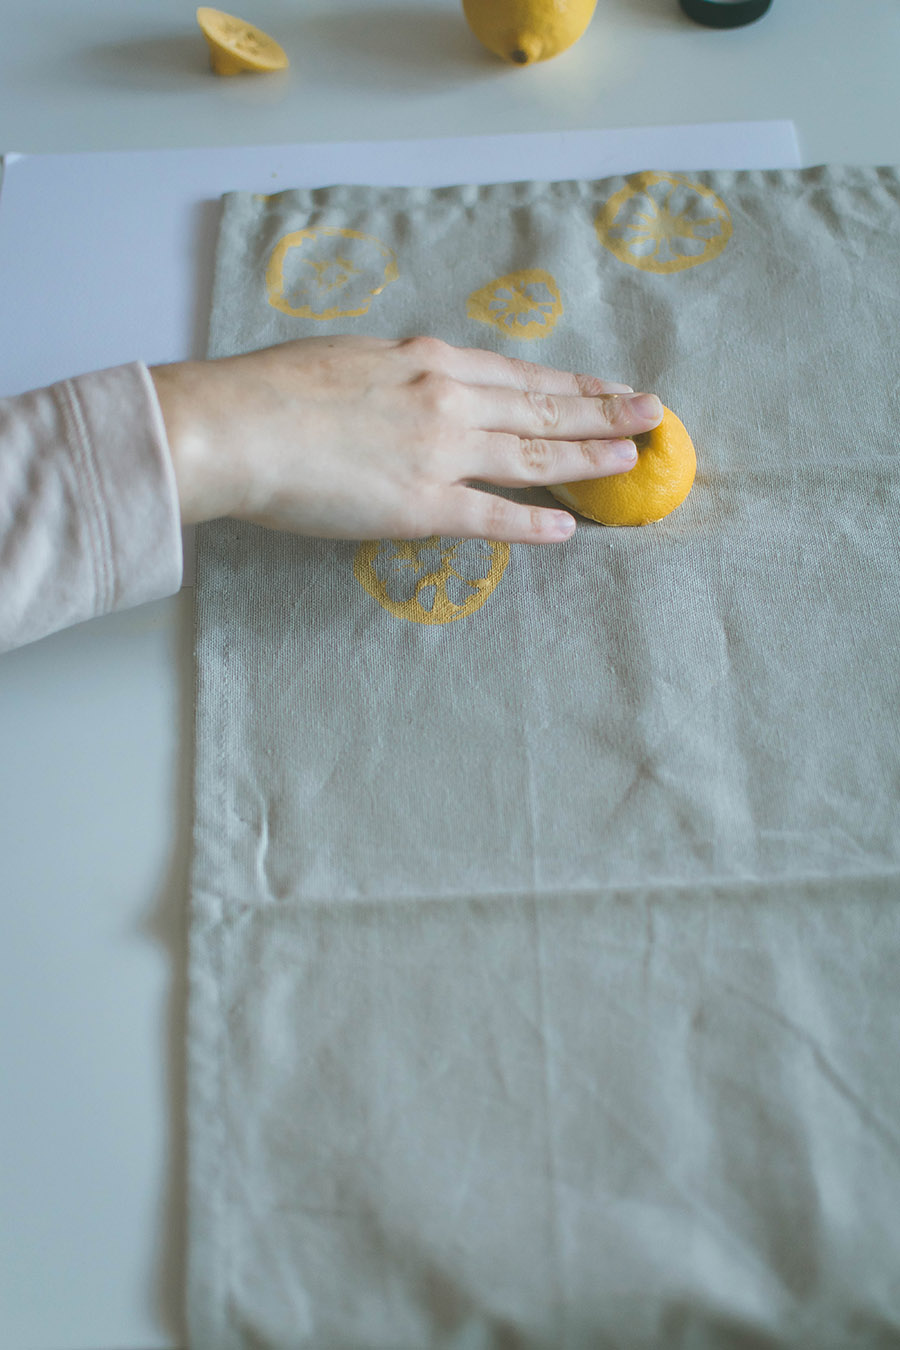
7. Let it dry for a couple of hours, or, even better overnight, before folding your tea towel. My fabric medium suggested to iron the fabric at this point, to finally fix the colour to the towel. Since you used a fabric medium, you can safely wash the towel and the colour will stay on! Just follow the washing instructions on your fabric medium’s packaging.
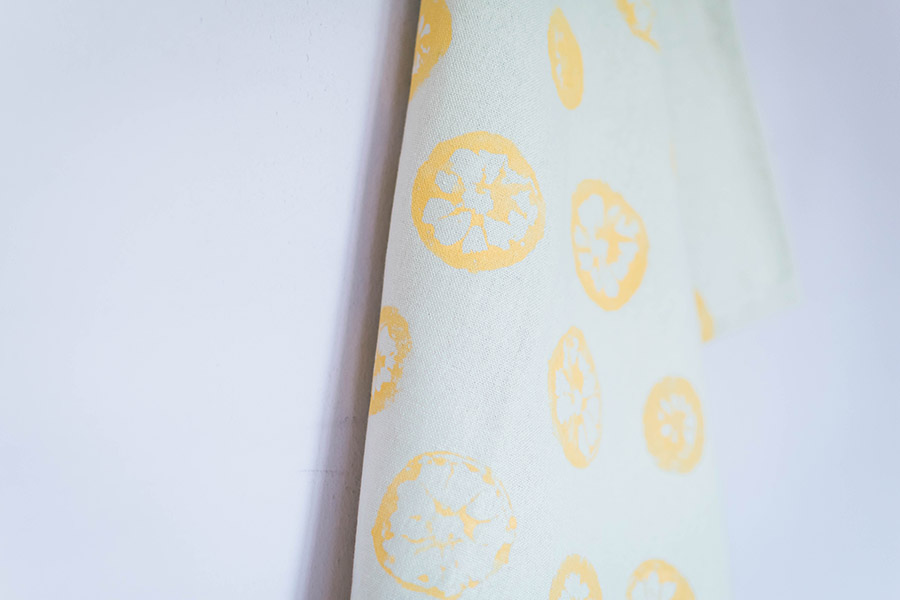
And there you have it! Your own completely custom DIY emon stamped tea towel! Hope you have fun with this project and will be inspired to test out other fruits and colours too.
Let’s Stay Friends!
Insta | Pinterest | Enews | TikTok



This is such an adorable craft! Thanks for linking up at The Pretty Pintastic Party! We will be featuring your post this weekend, so stop by, grab a featured badge, and link up some more awesome posts!
Thank you so much Jamie! I’m such a fan of the party! Perhaps we can discuss being a part of the party? Is there anyone I can reach out to?
Super pretty! Looks like an expensive boutique tea towel. This would make a great crafty idea for the kids to do this summer. Visiting from Pretty Pintastic party.
It is necessary to wash the towel before you stamp on it with fabric paint?
Hi Kathy, That’s a great question! I would – just to be sure that the towel is clean before use. Once the paint dries, you do not need to wash it again before you use it! Let us know how it turns out!