Craft in Style Subscription Instructions, DIY
DIY Gorgeous Painted Glass Bakeware

Feb
This is the tutorial for the Painted Glass Bakeware Kit. Find this kit at Pop Shop America here or gather your own supplies to make it your way!
Ready to make a craft that’s perfect for dinner parties and totally gift worthy? This bakeware is embellished with painted objects so you can make your regular bakeware extraordinary! You can match it to the dish that’s inside the bakeware or you can match the painting to your kitchen decor.
There are so many creative ways to complete this project, so let’s get started!
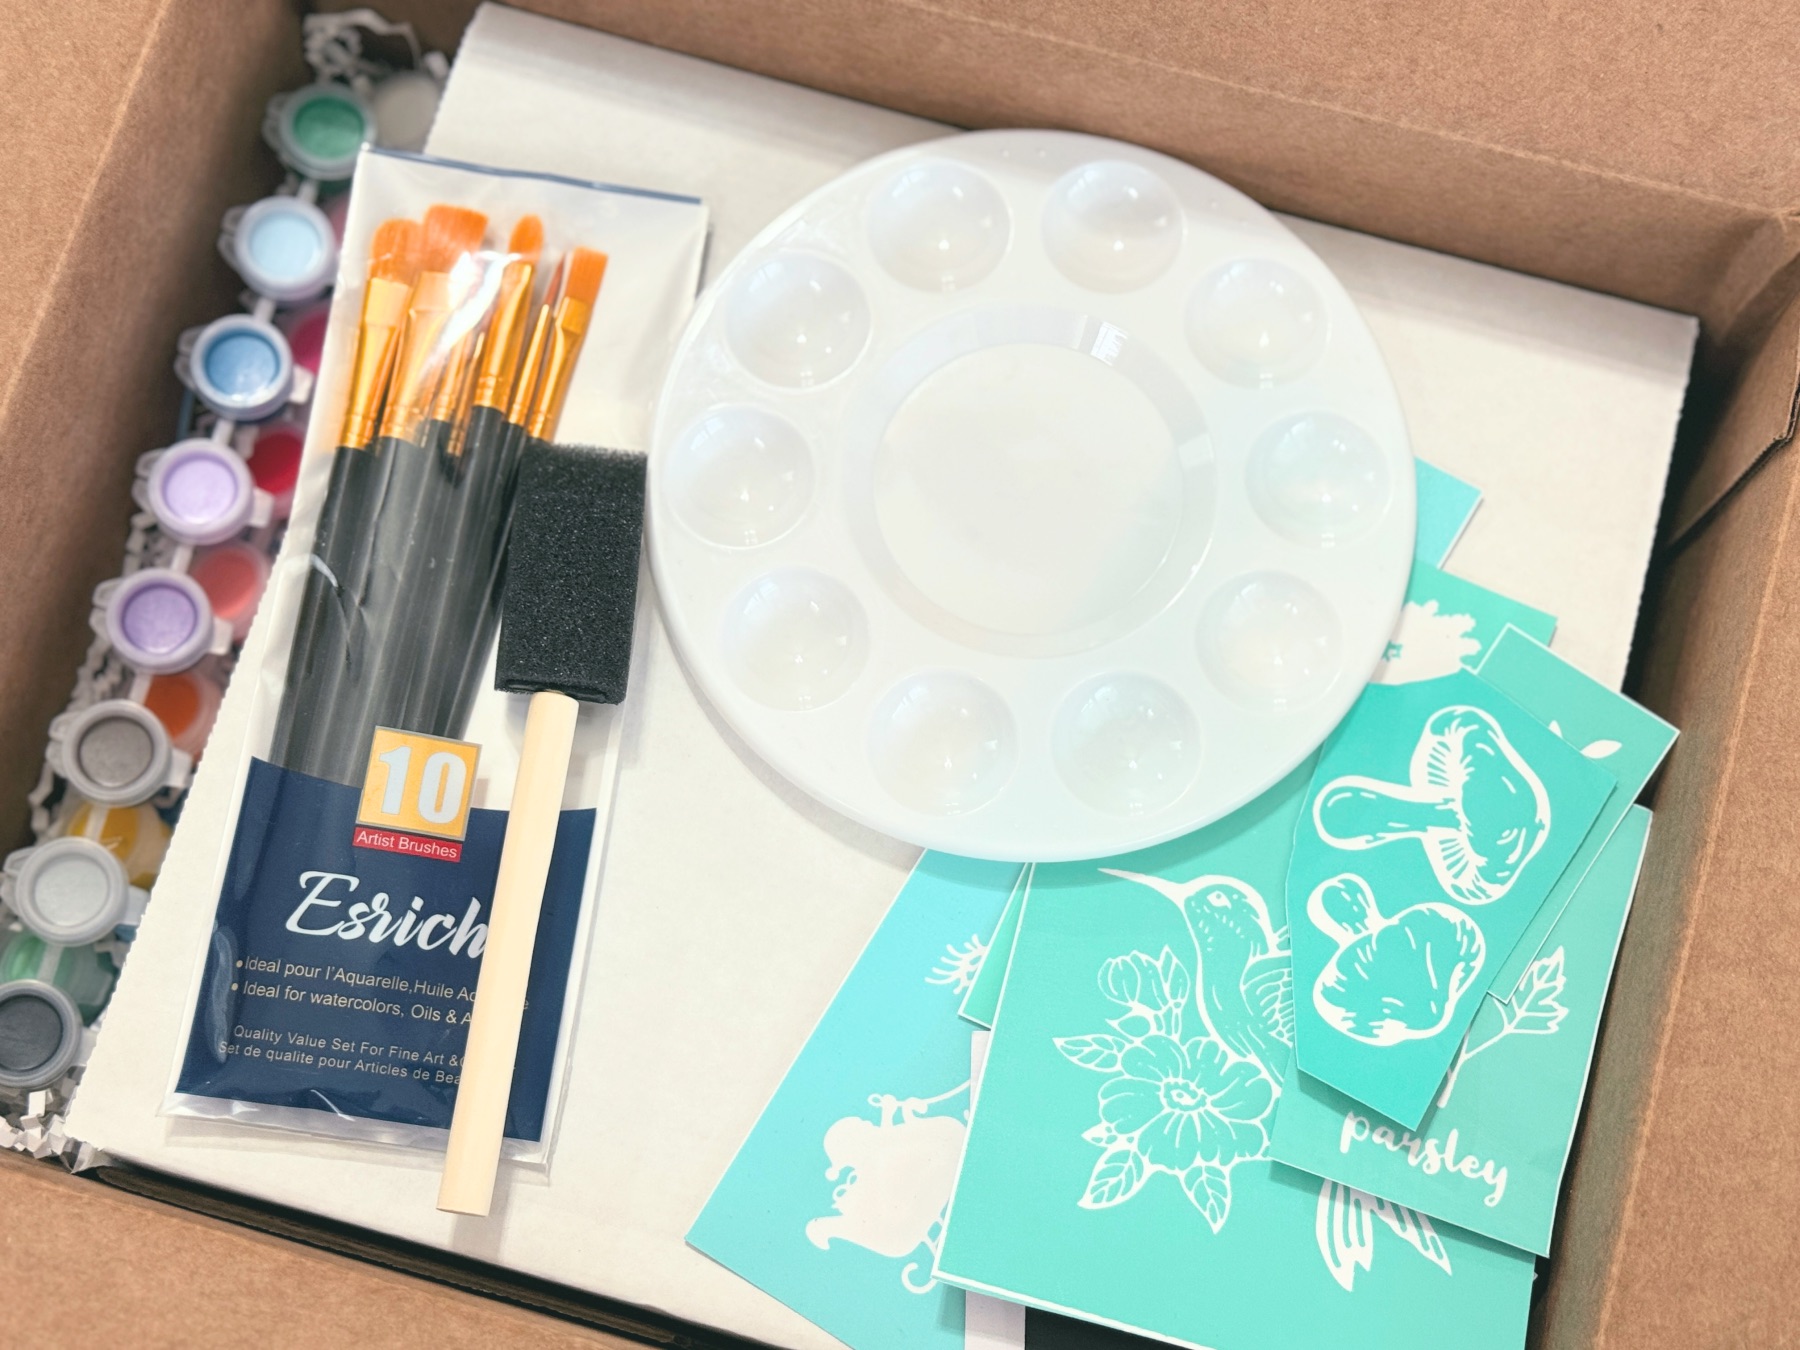
Supplies to Make a DIY Painted Glass Bakeware
This Craft Kit from Pop Shop America (coming soon)
9 x 9 inch Glass Bake Pan (or a large glass dish of your choice)
Inexpensive Glass Dishes (as a practice dish)
Glass Paint (this one is available through Amazon)
Paint Brushes
Paint Palette
Water
Optional: Stencils

Before You Get Started
Wash and clean your dish and make sure it’s completely free of debris. If you want to truly prepare your dish, look carefully for any oil smudges, fingerprints, or anything else and use rubbing alcohol to remove it.
Also make sure your bakeware is completely dry with no water spots. Any debris or water spots can prevent your stencil from laying perfectly flush against the dish or if you are free painting, the debris will block the paint from adhering to the dish.
Make a Test Dish
Whatever method you choose to use, consider making a test dish with a scrap piece of glass or cheap glass and not your final product. This is a great way to test your colors, test your patterning, and test your stencils. Make your mistakes now and learn how to create your finished baking dish without any mistakes!

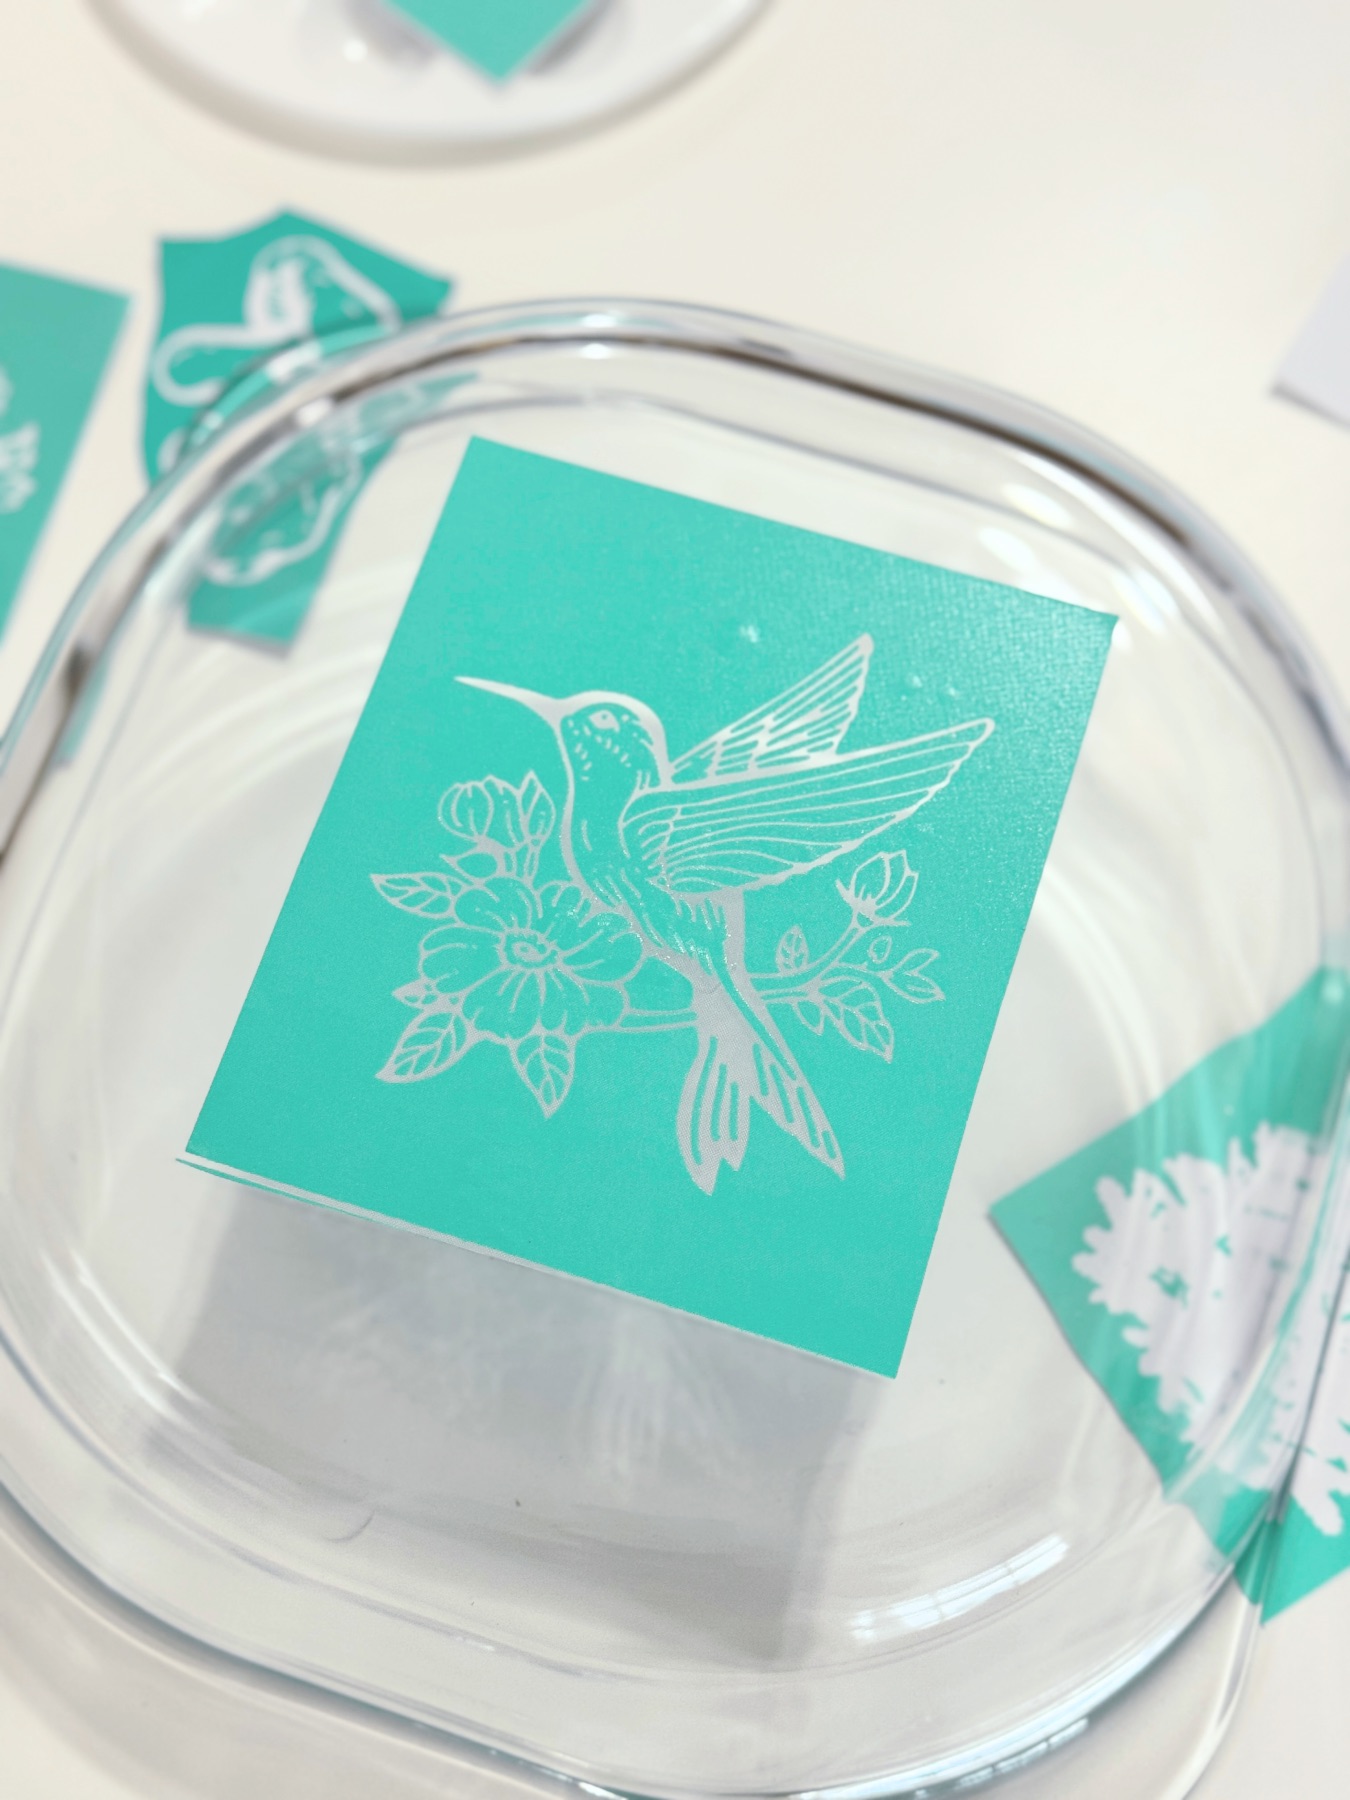
How to Make a Stencil Painted Glass Baking Dish
If you choose to use stencils, sticker stencils are a must! Make sure that the stencils are the type that can peel away and stick again. That way if you want to use the stencil multiple times or if you need to adjust the placement of the stencil you can.
Press your sticker stencil onto the dish and press firmly with your fingernail around all the edges to be sure that paint can run underneath the stencil.
When using stencils, always place them on the outside of the dish. Paint should never make direct contact with food. You could place them along the edges or along the bottom. Just know that the sides are the most visible place on the dish!
If you are using any stencil with text, you may need to use tape, preferable masking tape or painter’s tape to reverse the stencil. Pay attention to the direction of your text.
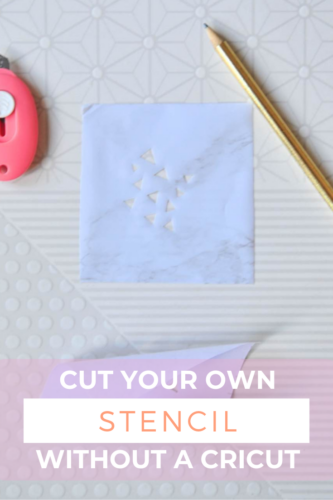
You can also make your own stencil using this tutorial here.

If you are using a mesh stencil, like a silkscreen stencil, you will need to add water to your glass paint. This will ensure the paint is thin enough to reach the glass. Most sticker stencils are mesh, so this is a common issue to run into. Be sure to test this on a sample piece of glass before you make your final dish.
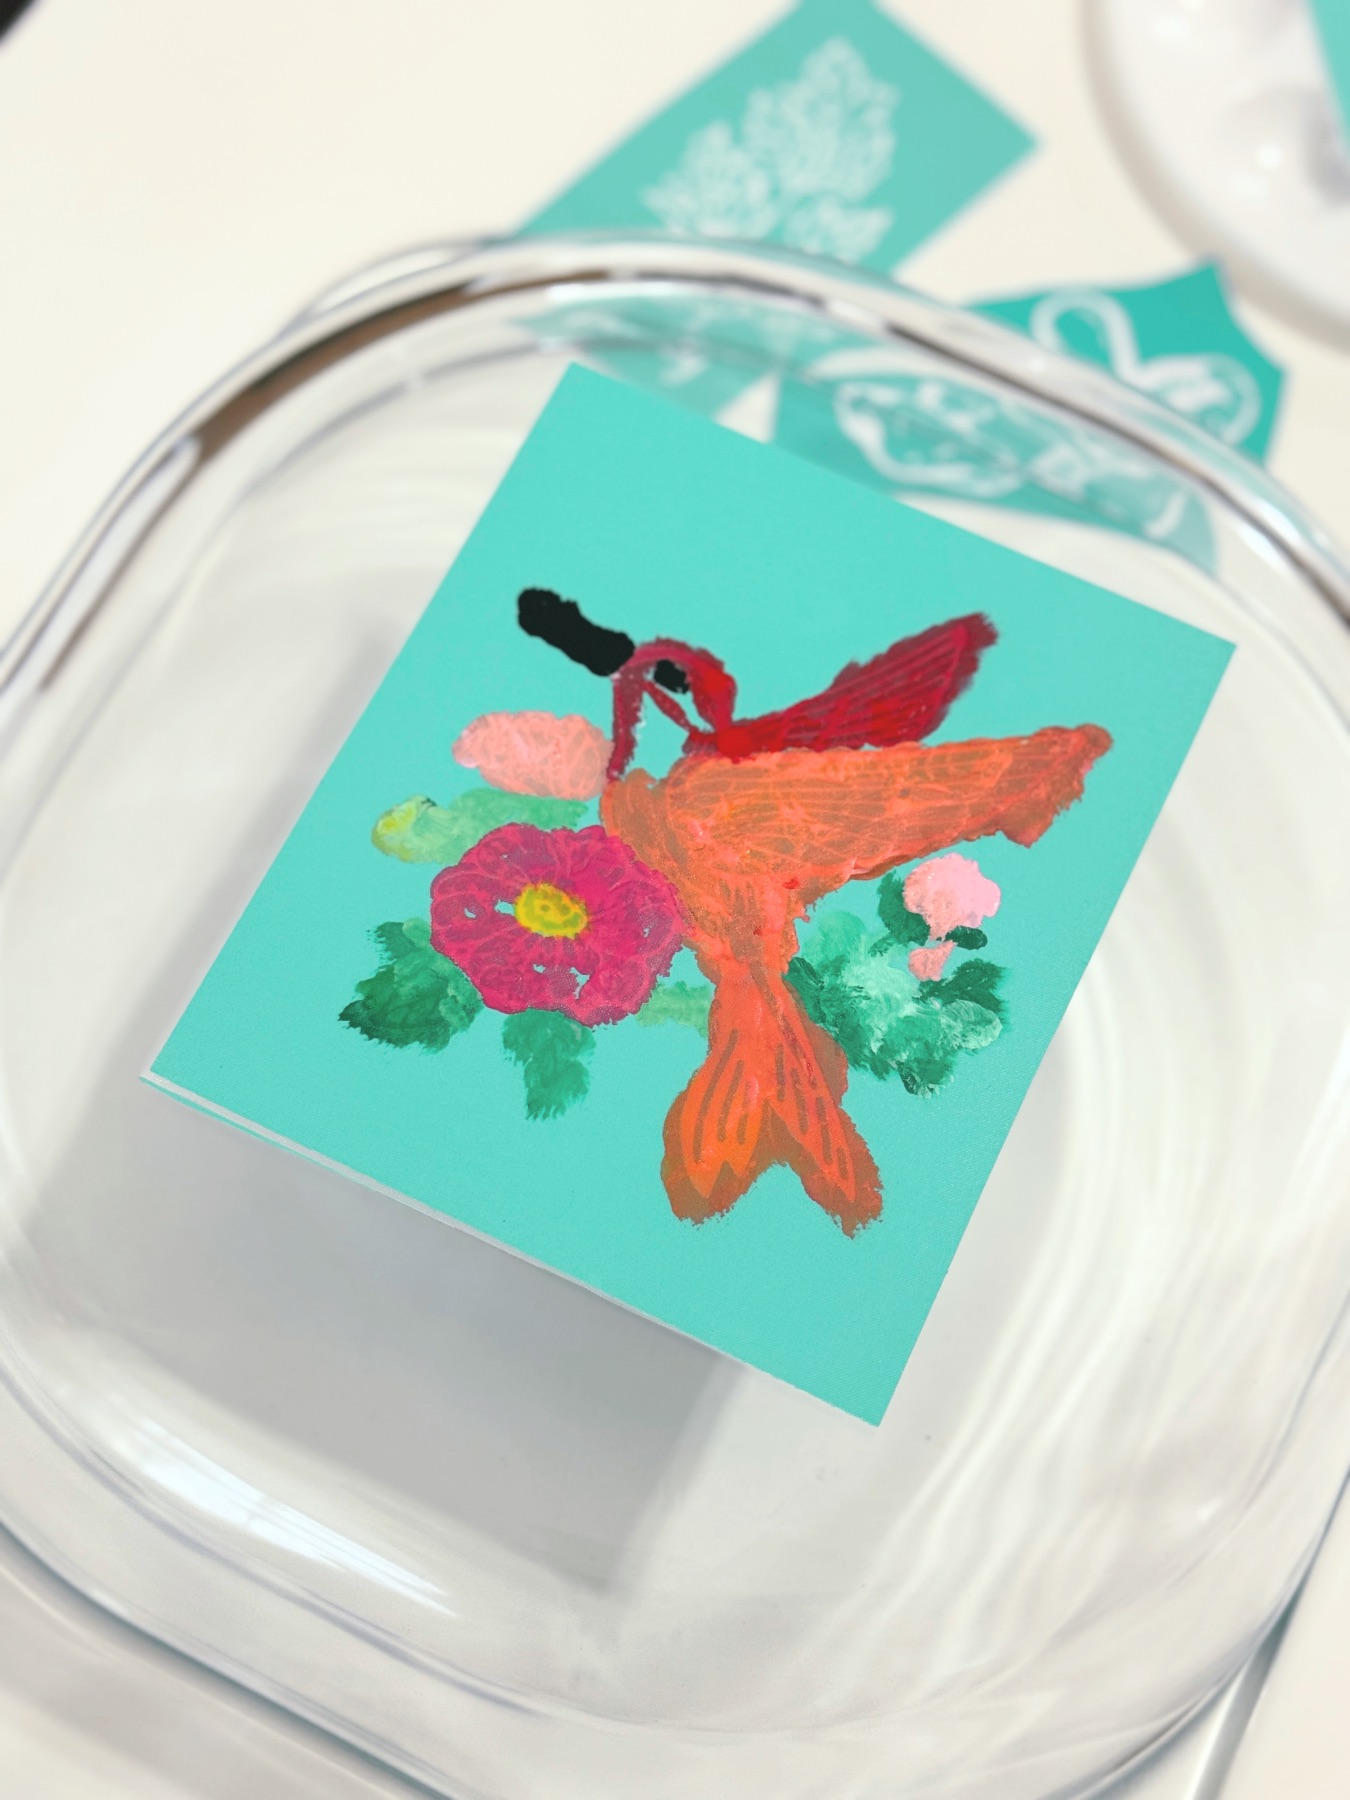
How to Make a Free Painted Glass Baking Dish
If you are free painting, be sure to paint on the outside of the dish, away from where the food will touch. Use the paint brushes and work in extremely thin layers. As you work smooth the paint. First, make sure that the paint is always laying flat and doesn’t have any thickness and unevenness to the paint. This will make your finished piece more professional. Second, make sure that your color is even without streaks or translucent areas where there is not enough paint. Glass does not absorb liquid like canvas, so this project requires a lot less paint than similar sized paintings.
I personally think painting simple designs and objects works better than anything intricate. Because glass is not porous and absorbing like canvas, smaller things can be harder to paint. Instead choose bold shapes and patterns.

Notice how smudged this ivy is here? That’s okay! Before your paint has cured, you can remove any mistakes by scrubbing it with a Q-Tip. Be mindful not to remove any paint you DO want.
Pro Tip: Blending Colors
Colors out of the bottle are never as fun as colors that you blend yourself! Colors out the bottle are often pure hues that are meant to be shaded lighter or darker. They often look better when you add a touch more blue, green, yellow, or red. Painters and people familiar with paint may be able to see right away that the colors are basic and not blended!
When blending colors, test a blend with a tiny amount – remember you don’t need much paint for this project, so don’t worry if a little bit goes to experimentation with this project!

Use 2-3 Coats of Paint
Whether you use the stenciling method or free painting method, let your paint dry completely in between each layer – preferable for around 1 hour. Then paint another coat. Your bakeware should have 2-3 coats total of paint.
Allow the Paint to Cure for 4 Days
Now some glass paint may have different instructions. So if you are using your own supplies, be sure to read the package directions thoroughly. But the glass paint we include in our kit requires a 4 day cure time.
So before you do anything else, place your dish in a safe place and let it rest for 4 whole days.
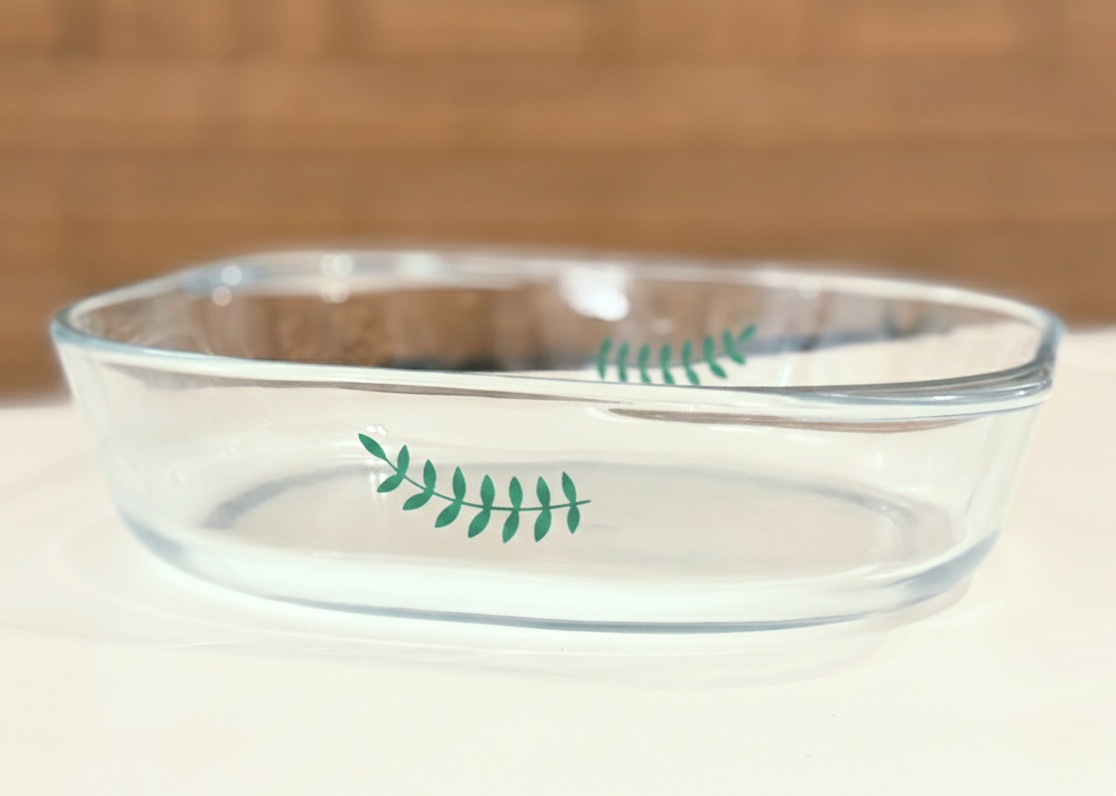
Bake at 275°F for 30 Minutes
After the 4 days, preheat your oven to 275°F and once heated, place your bakeware in the oven for 30 minutes. This process will finish and set your Painted Bakeware. Once you bake your painted dish, it’s ready to use!

How to Care for Your Painted Glass Baking Dish
Once the dish is painted, cured, and baked, your glassware is safe to use for cooking and safe for the dishwasher as well. Remember that you should never let the paint touch the food itself! But your painting will be permanent and retain it’s color. You can also choose to hand wash the dish. But be mindful to never scrub or use a souring pad on the paint area of the dish.
Love this tutorial? Find so many more craft ideas below and grab the Painted Glass Bakeware Making Kit here.
Let’s Stay Friends!
Insta | Pinterest | Enews | TikTok