Craft in Style Subscription Instructions, DIY
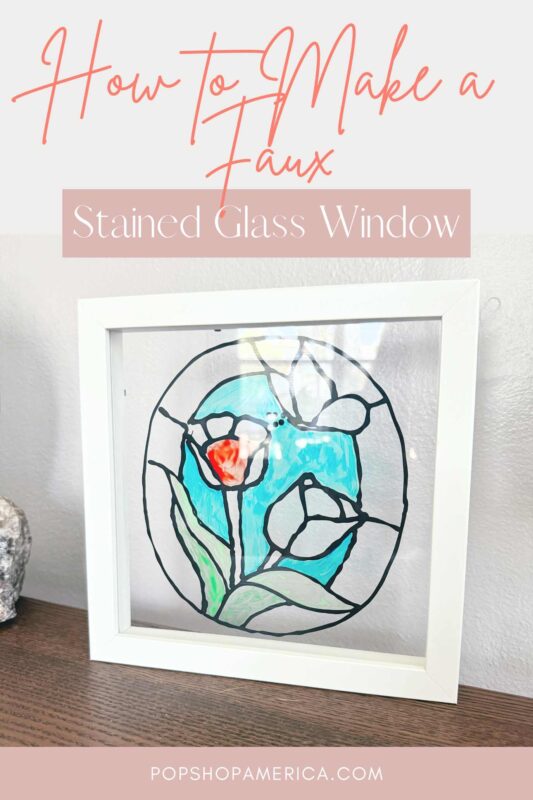
DIY Faux Stained Glass Window with Mod Podge and Plaid Gallery Glass
Dec
Let the sun shine in! This DIY Faux Stained Glass Window is such a fun way to get a a little light into your life!
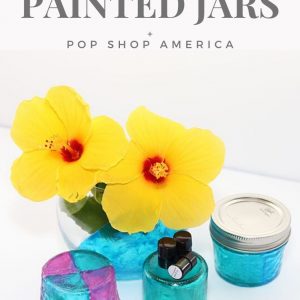
It’s easy to make and it’s a super fun way to try out Plaid Gallery Glass which is a craft product that I had previously never seen before.

Best of all this DIY Faux Stained Glass Window can be customized in lots of different ways! So if you want a stained glass window with geometric art you can do that. Prefer flowers? That’s an option too! It’s really up to you.
Ready to make it? Let’s do it!
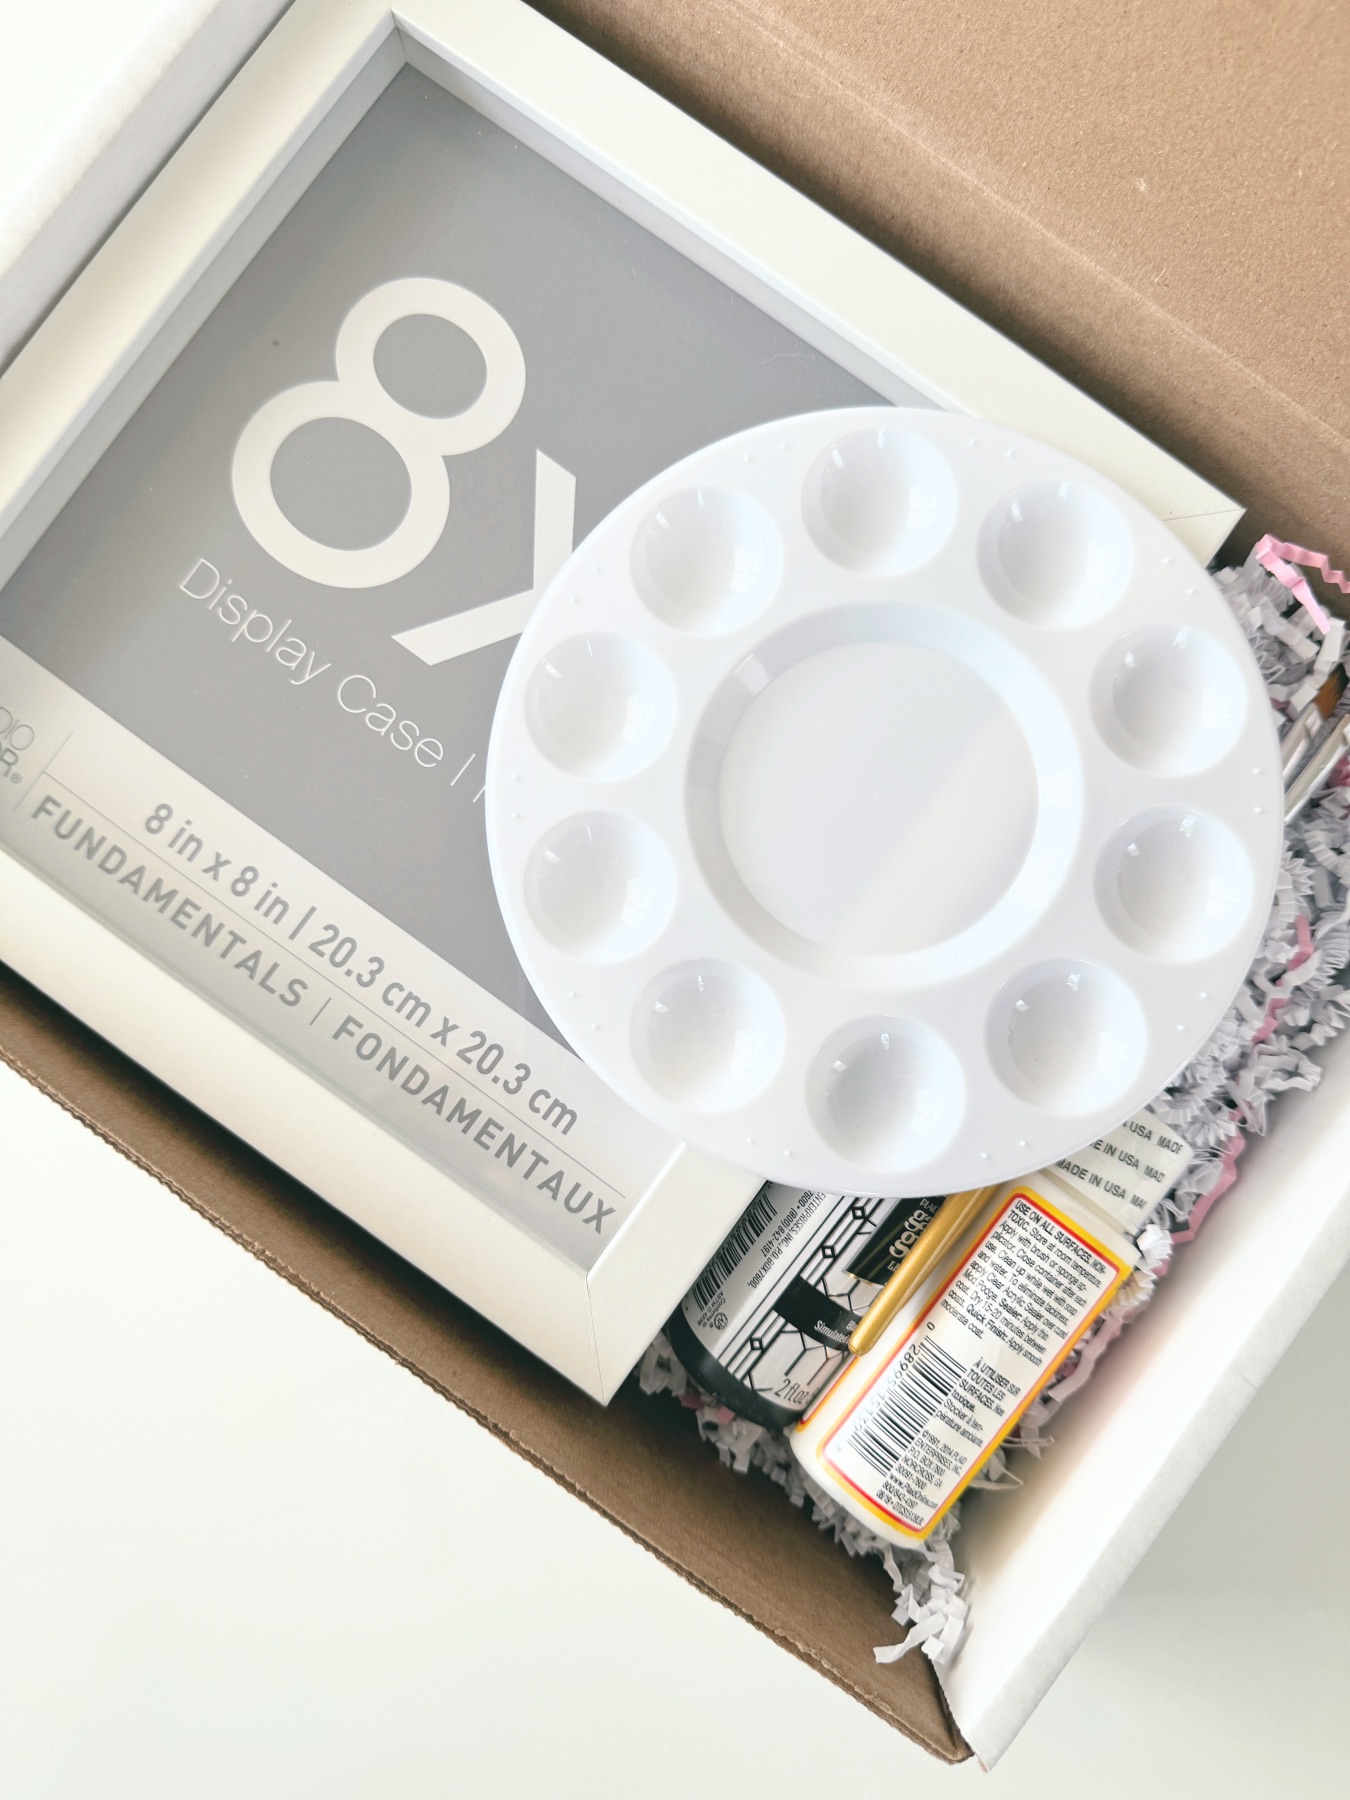
Supplies to Make a DIY Faux Stained Glass Window
DIY Faux Stained Glass Window Craft Kit by Pop Shop America (coming soon)
or
A Shadow Box Picture Frame (I used an 8×8 size)
Plaid Gallery Glass
Mod Podge
Food Dye in a Rainbow of Colors
Toothpicks
Paint Brushes
Paint Palette
Stained Glass Window Templates(linked above, download them for free)
Pro Tip: I also kept a small amount of white acrylic paint handy. It’s good for touching up the frame if necessary.

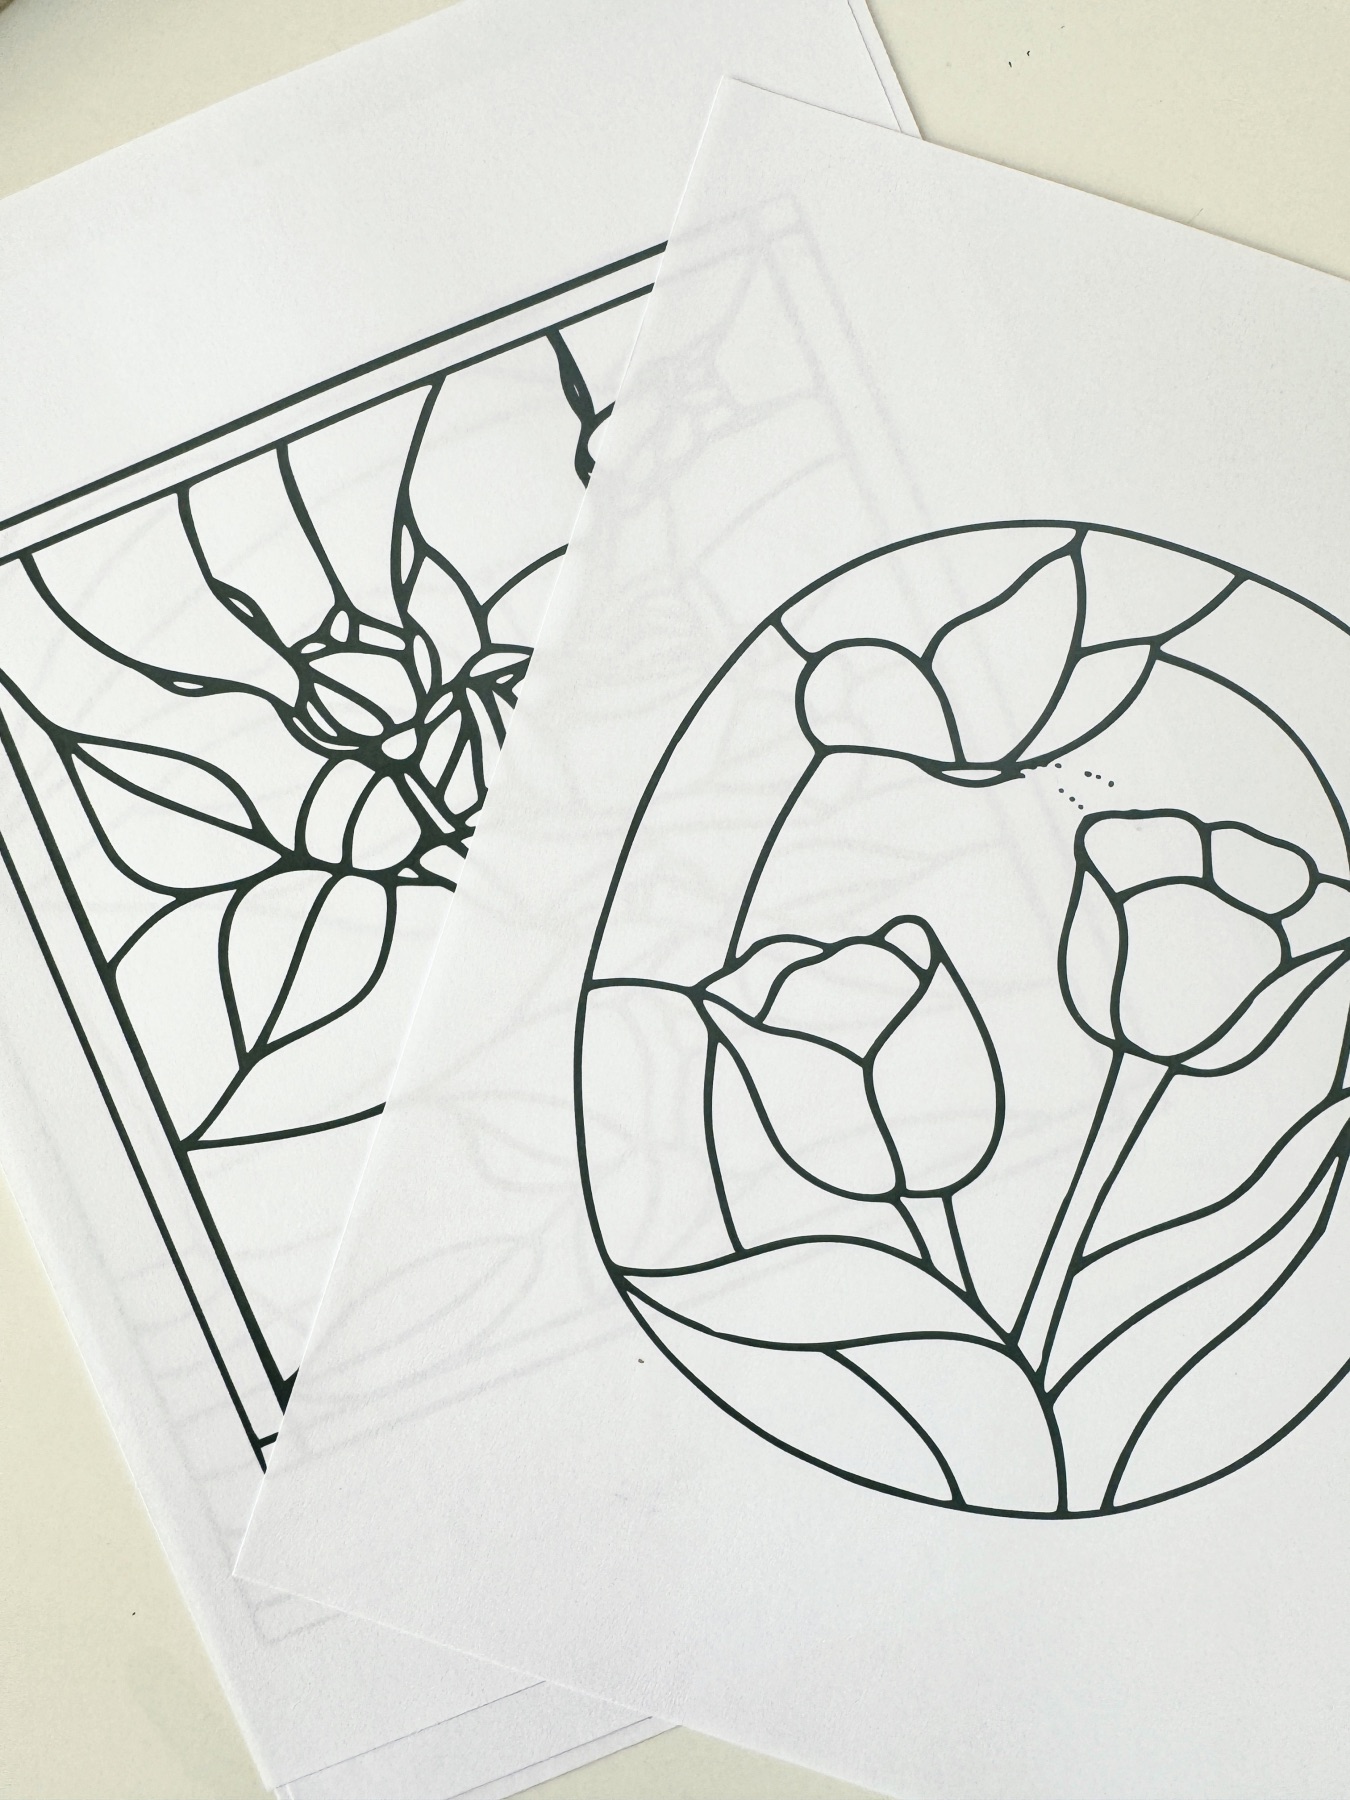
Step 1: Find the Perfect Template
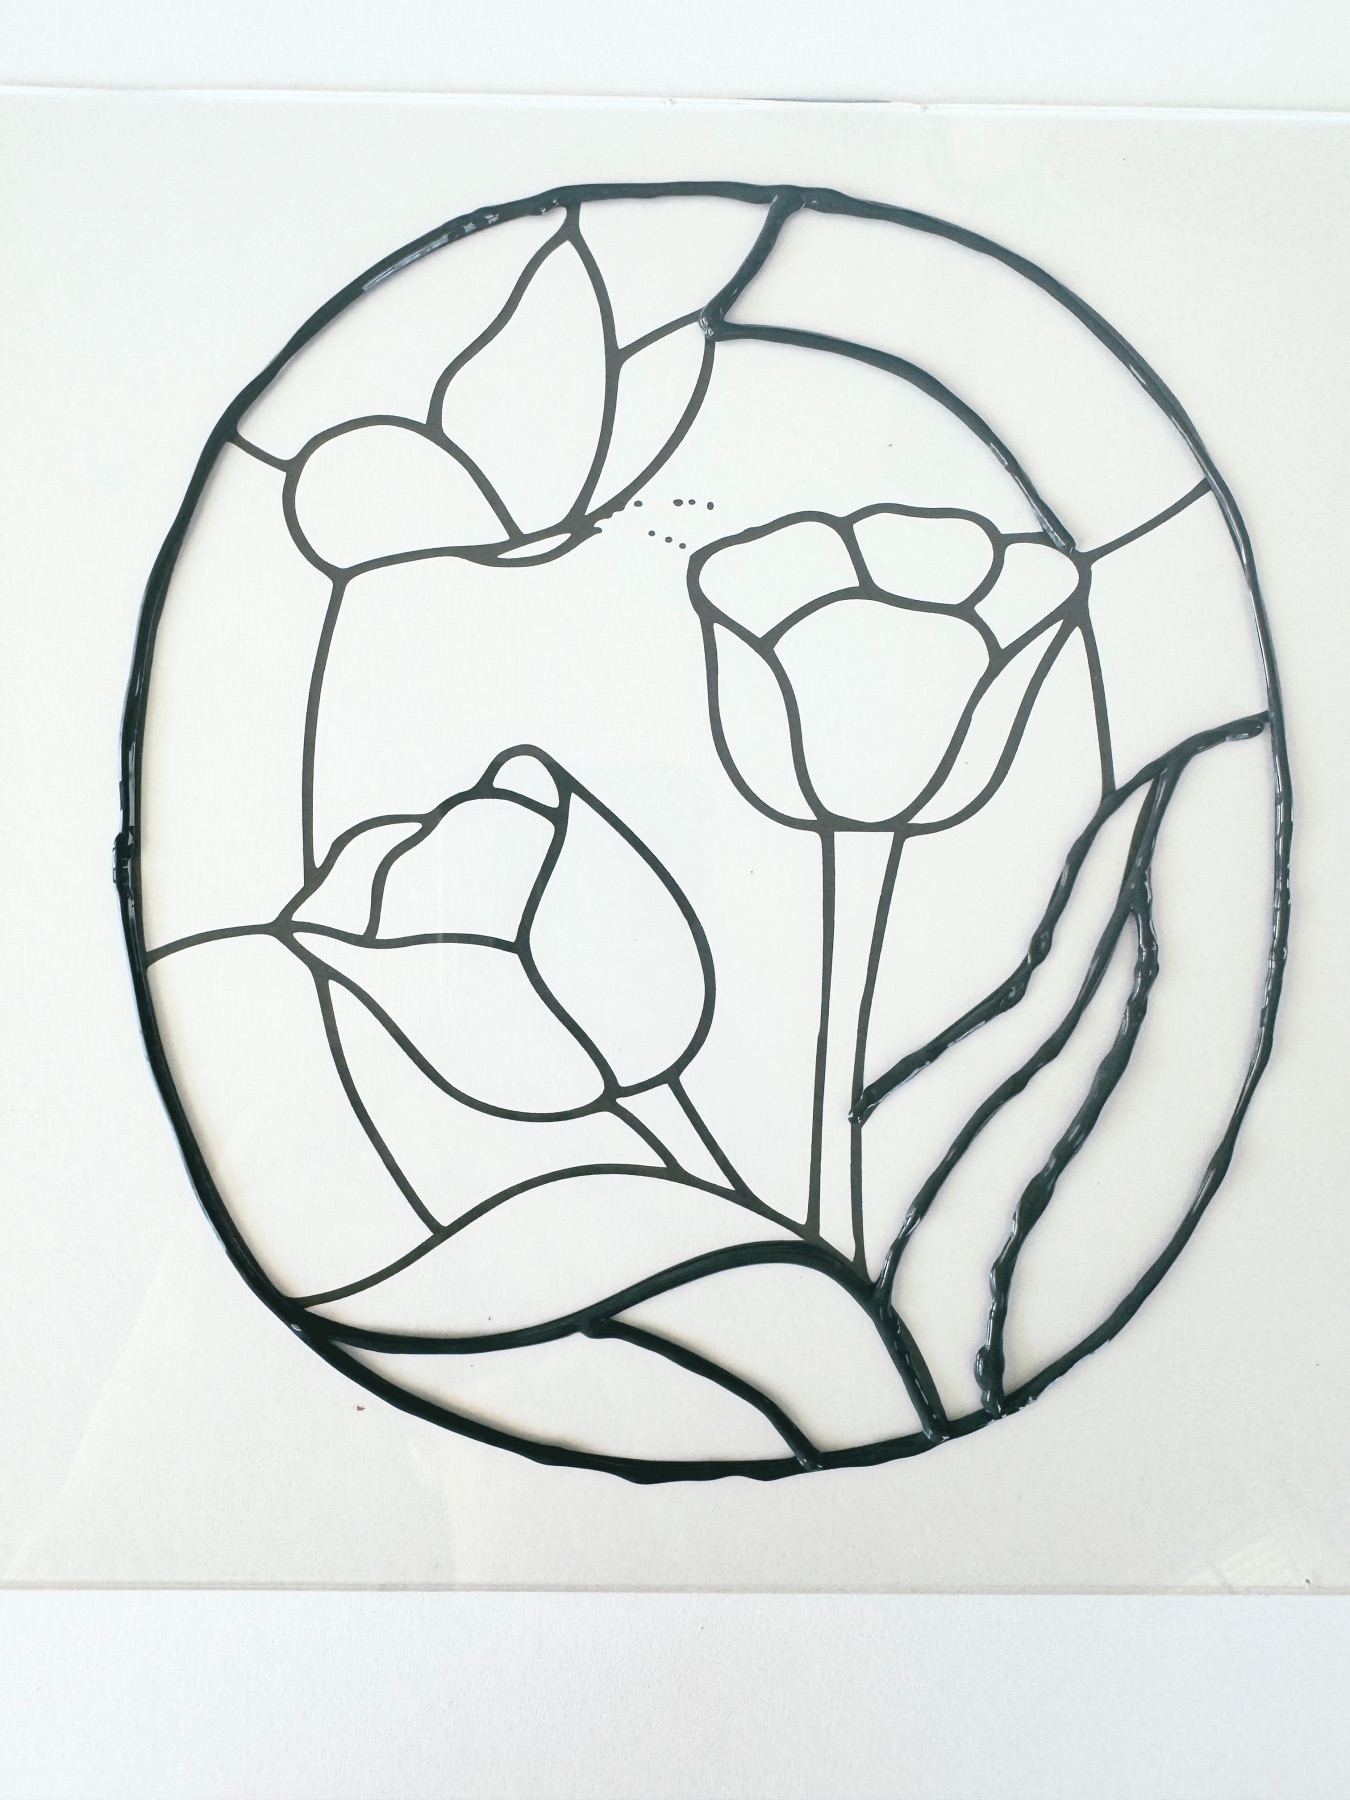
First, you need to have a vision for what you want your DIY Faux Stained Glass Window to look like. You can use any of these templates here but you can also find your own.
What you need is an image that fits your frame. It should be a simple line drawing. It can’t have shading or too many tiny details. Think simple. It need to have large sections that are open and blank that could be filled in with color.
You can also review the templates here and create your own!
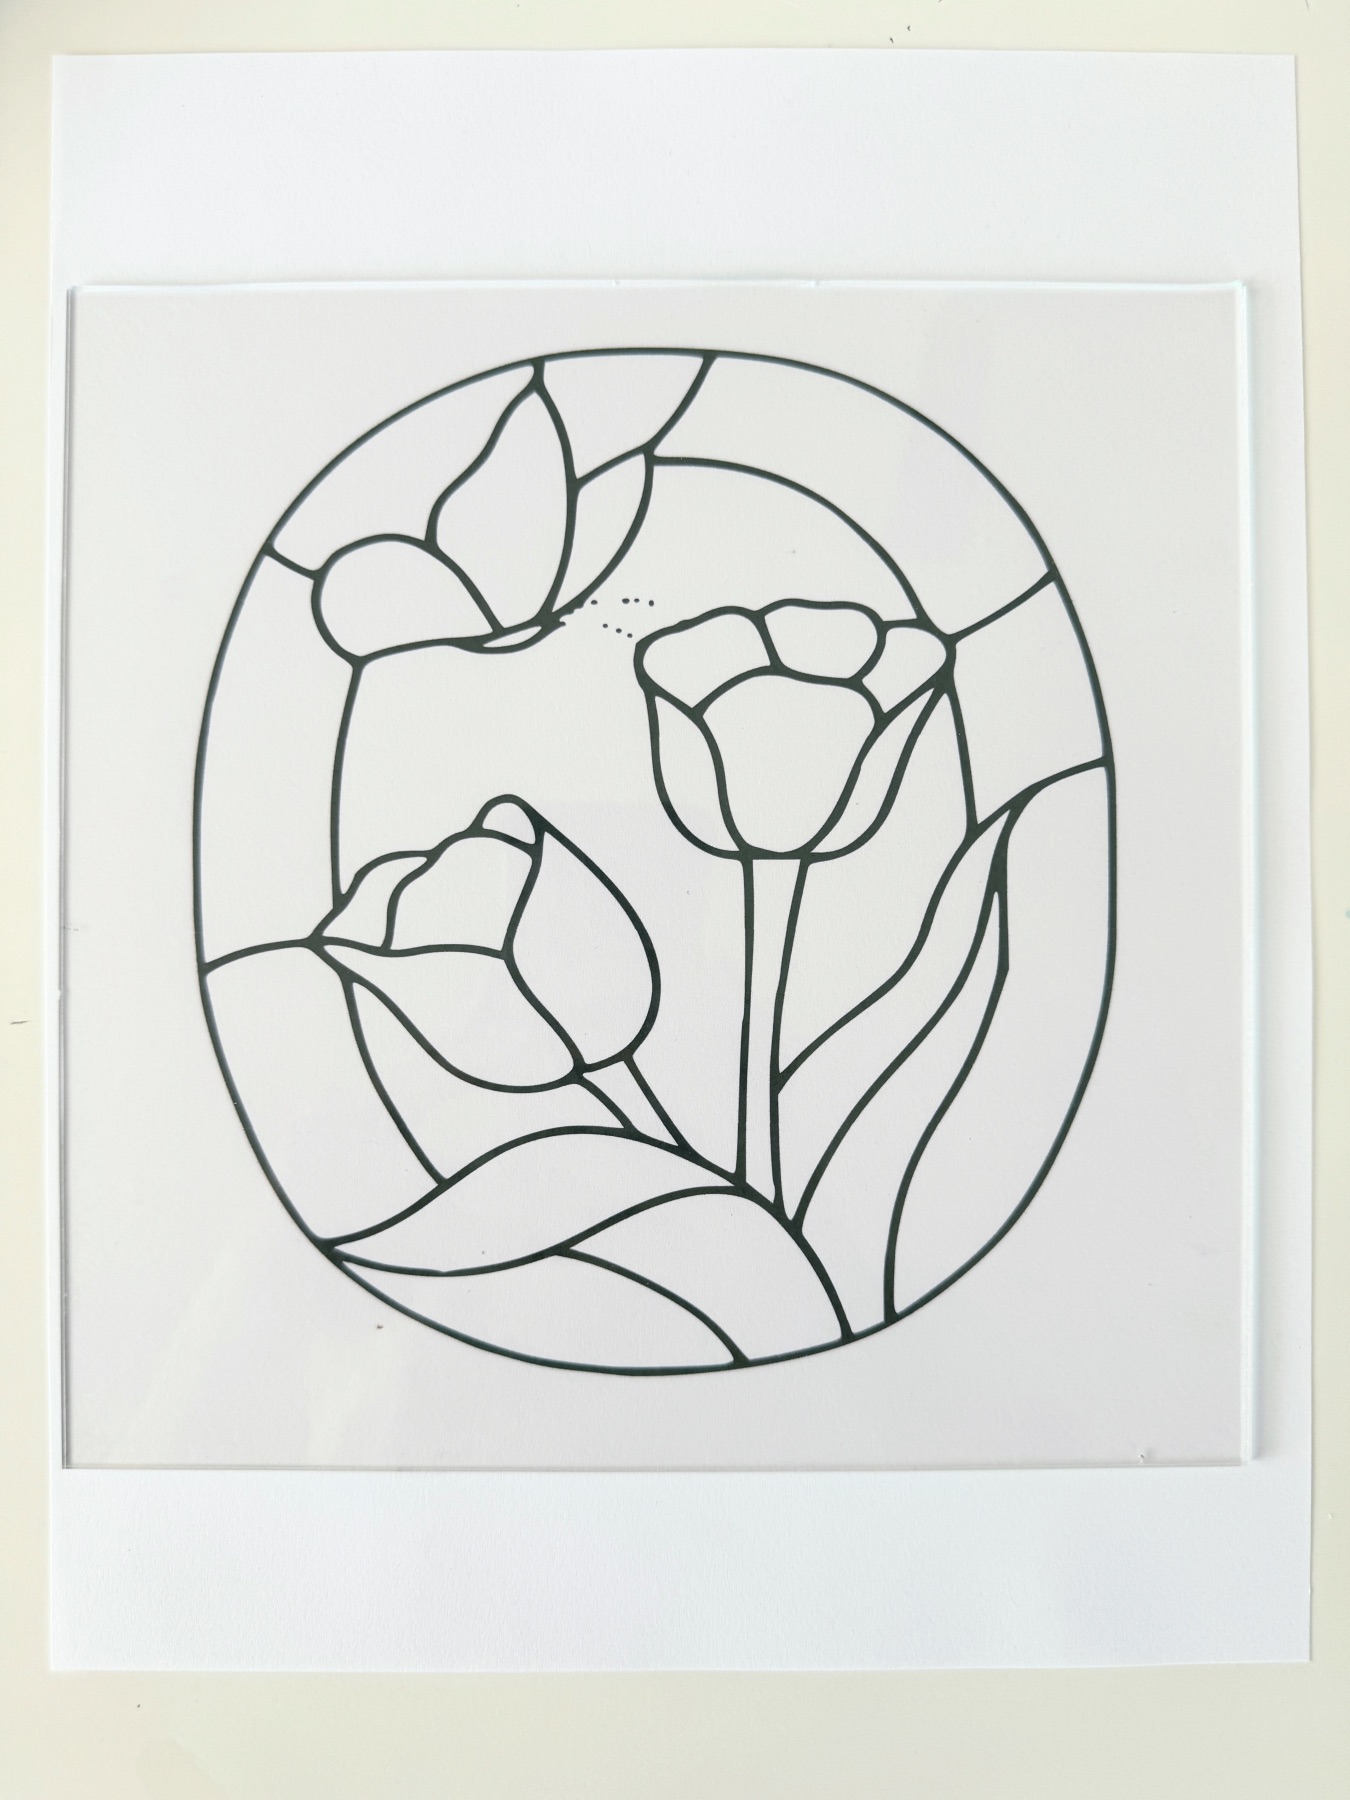
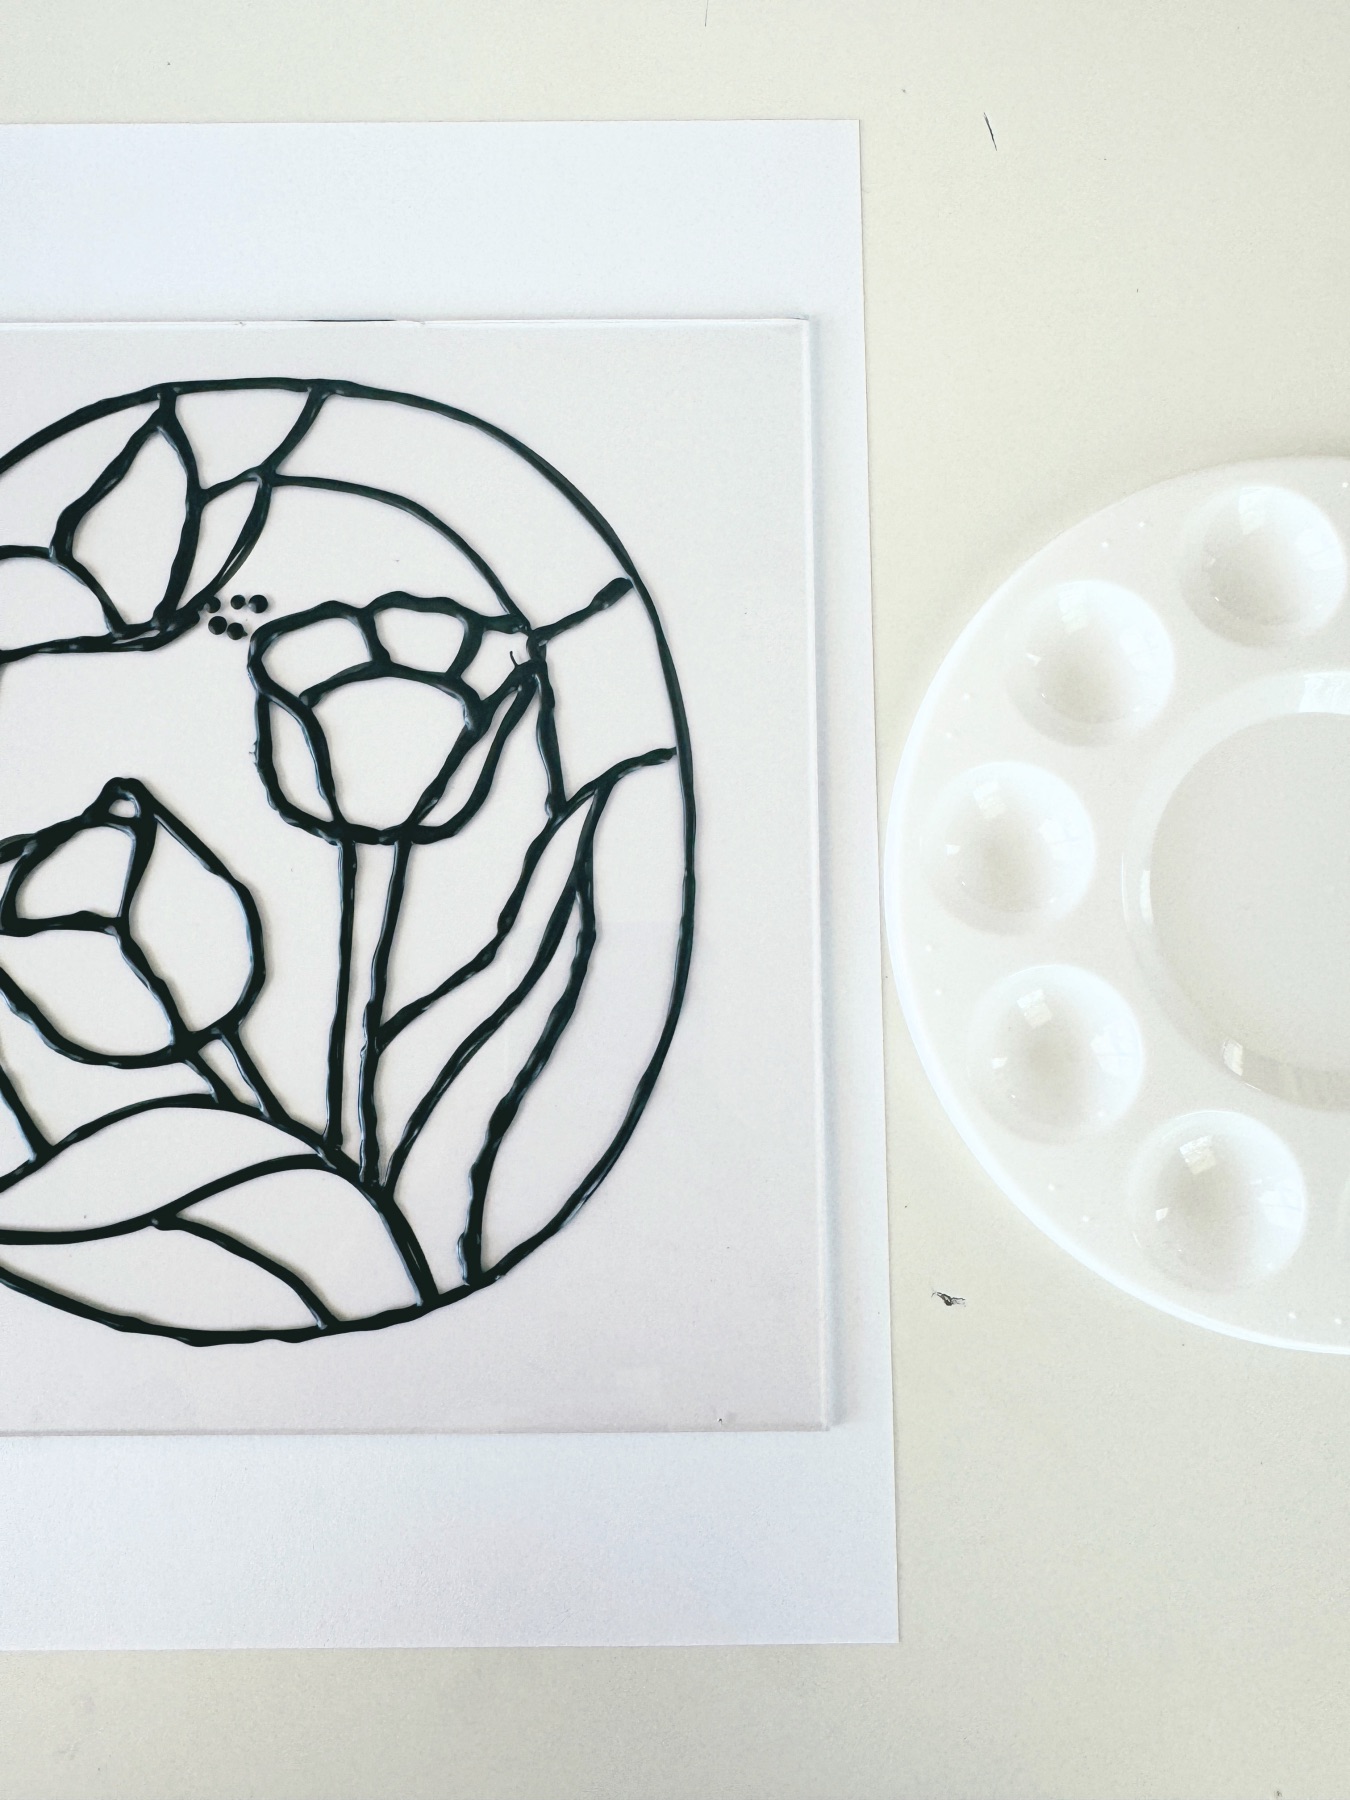
Step 2: Take Apart the Frame and Place the Template Under the Glass
Once you find a template that you love, take apart your picture frame and isolate just the glass. Place the template underneath the frame.
Set everything else aside.
For the next step you will need enough room to work across the surface of the glass, so clear a space on any flat table where your glass won’t move. You may even want to tape the template to the glass if you are concerned about them sliding around and getting off center.
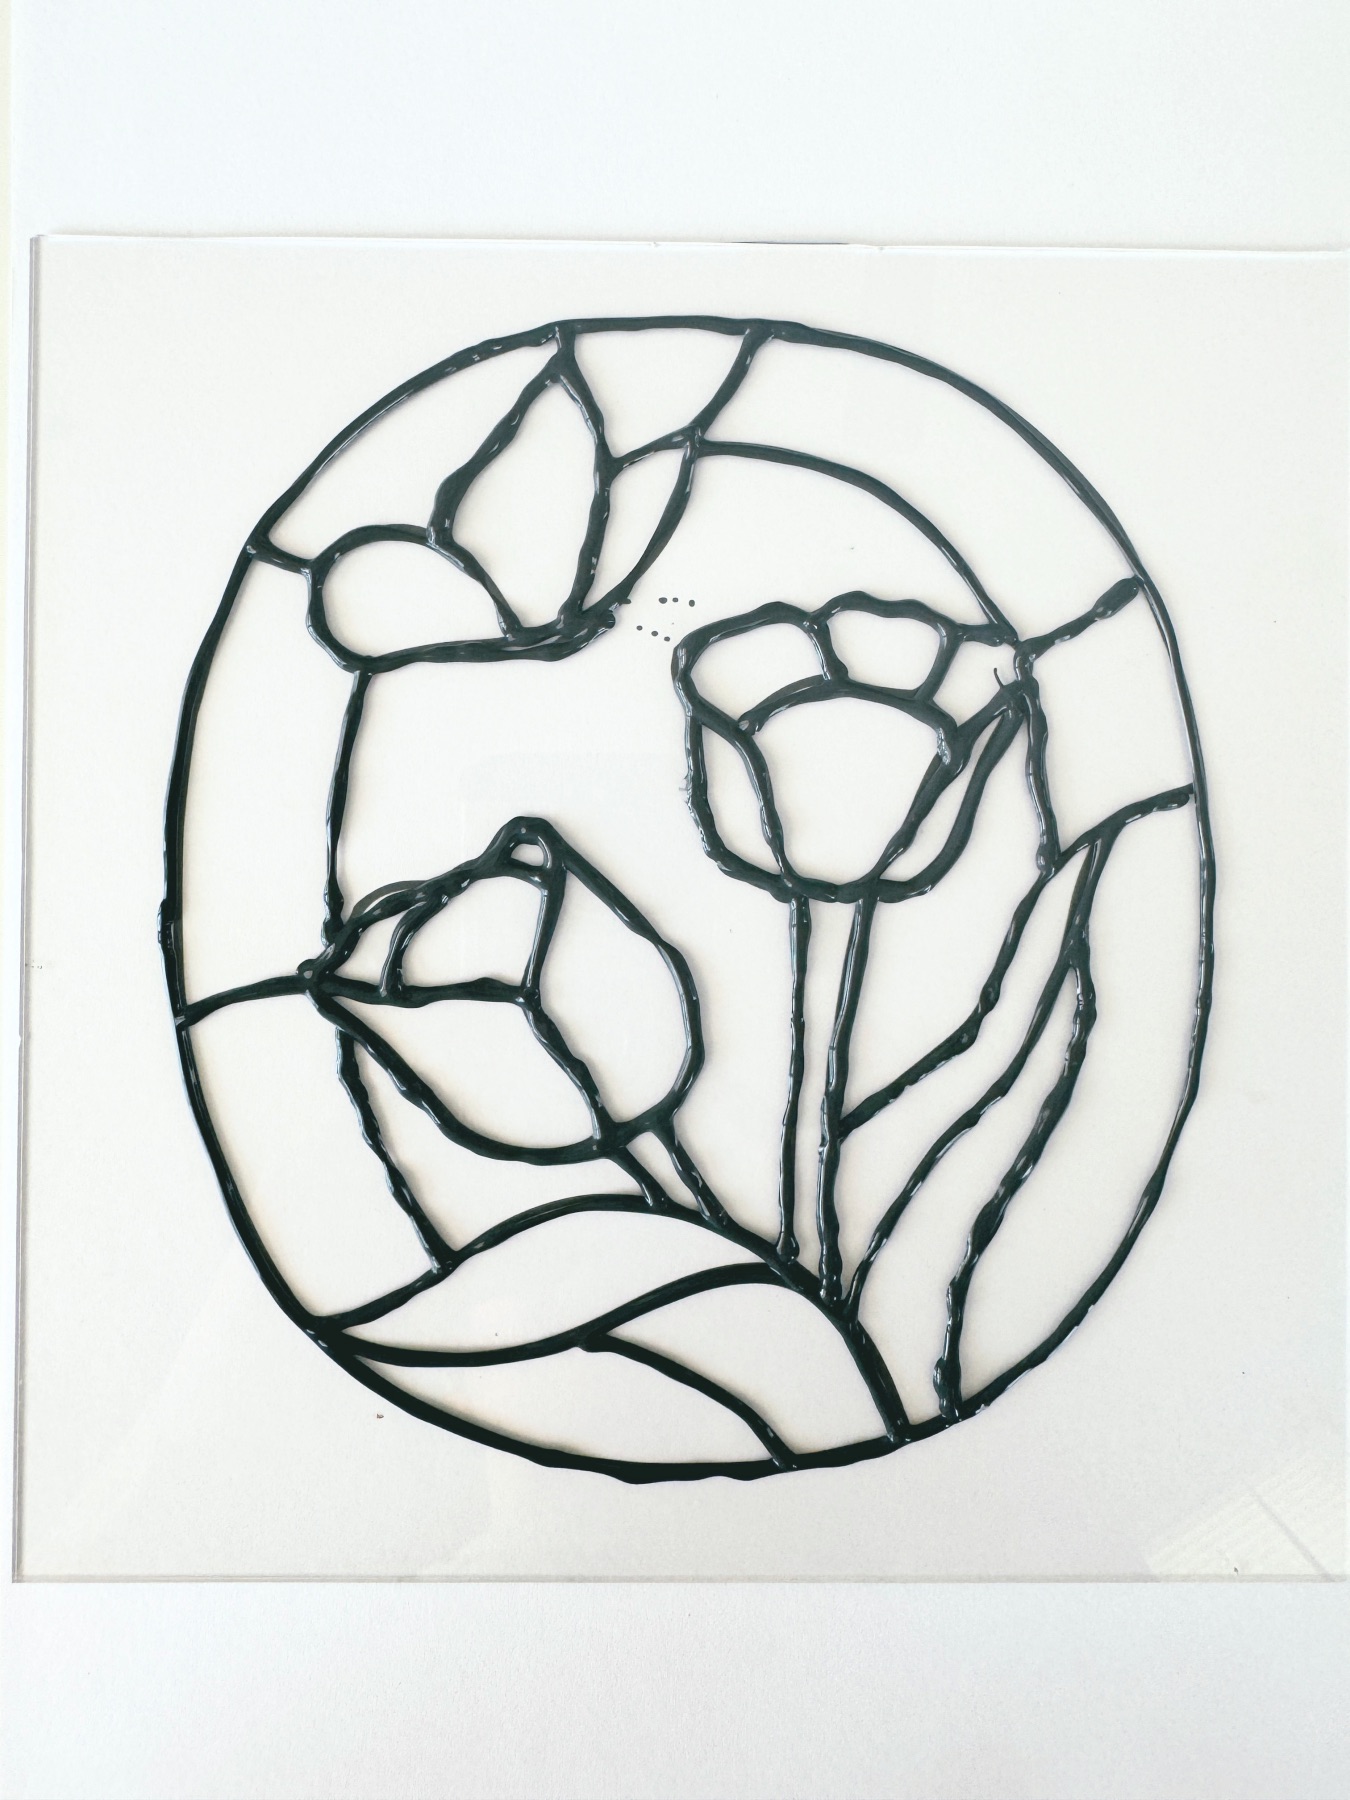
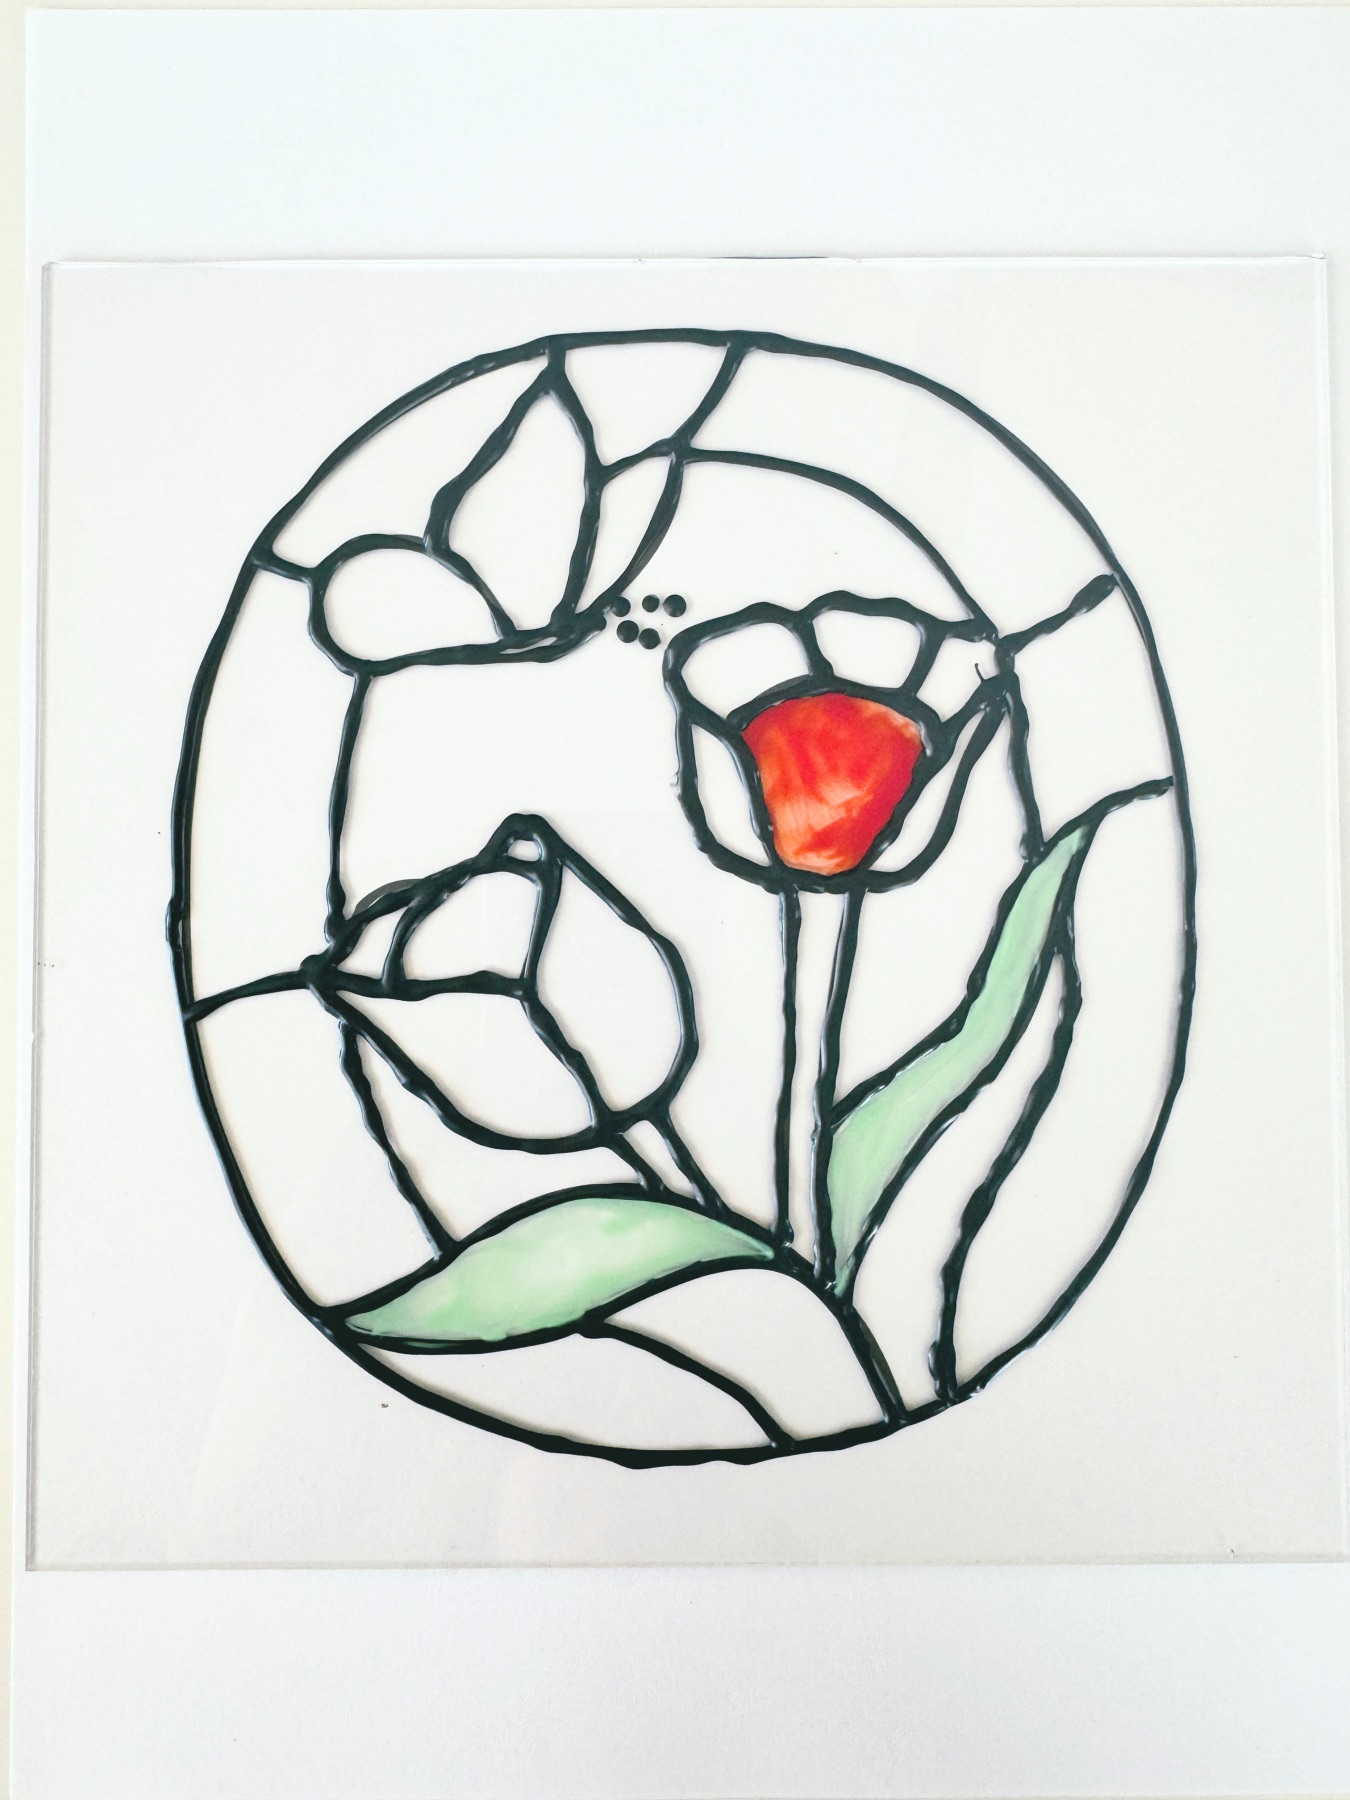
Step 3: Trace the Black Lines with Your Gallery Glass
Next, you will want to trace the template’s lines on the glass with your Gallery Glass. Here’s how: First, don’t try to do this on an empty stomach with only coffee in your belly! The more steady your hand, the better it will look. Next, DO NOT press the Gallery Glass into the glass. Instead, allow your hand to hover about 1/4 – 1/2 inch above the glass.
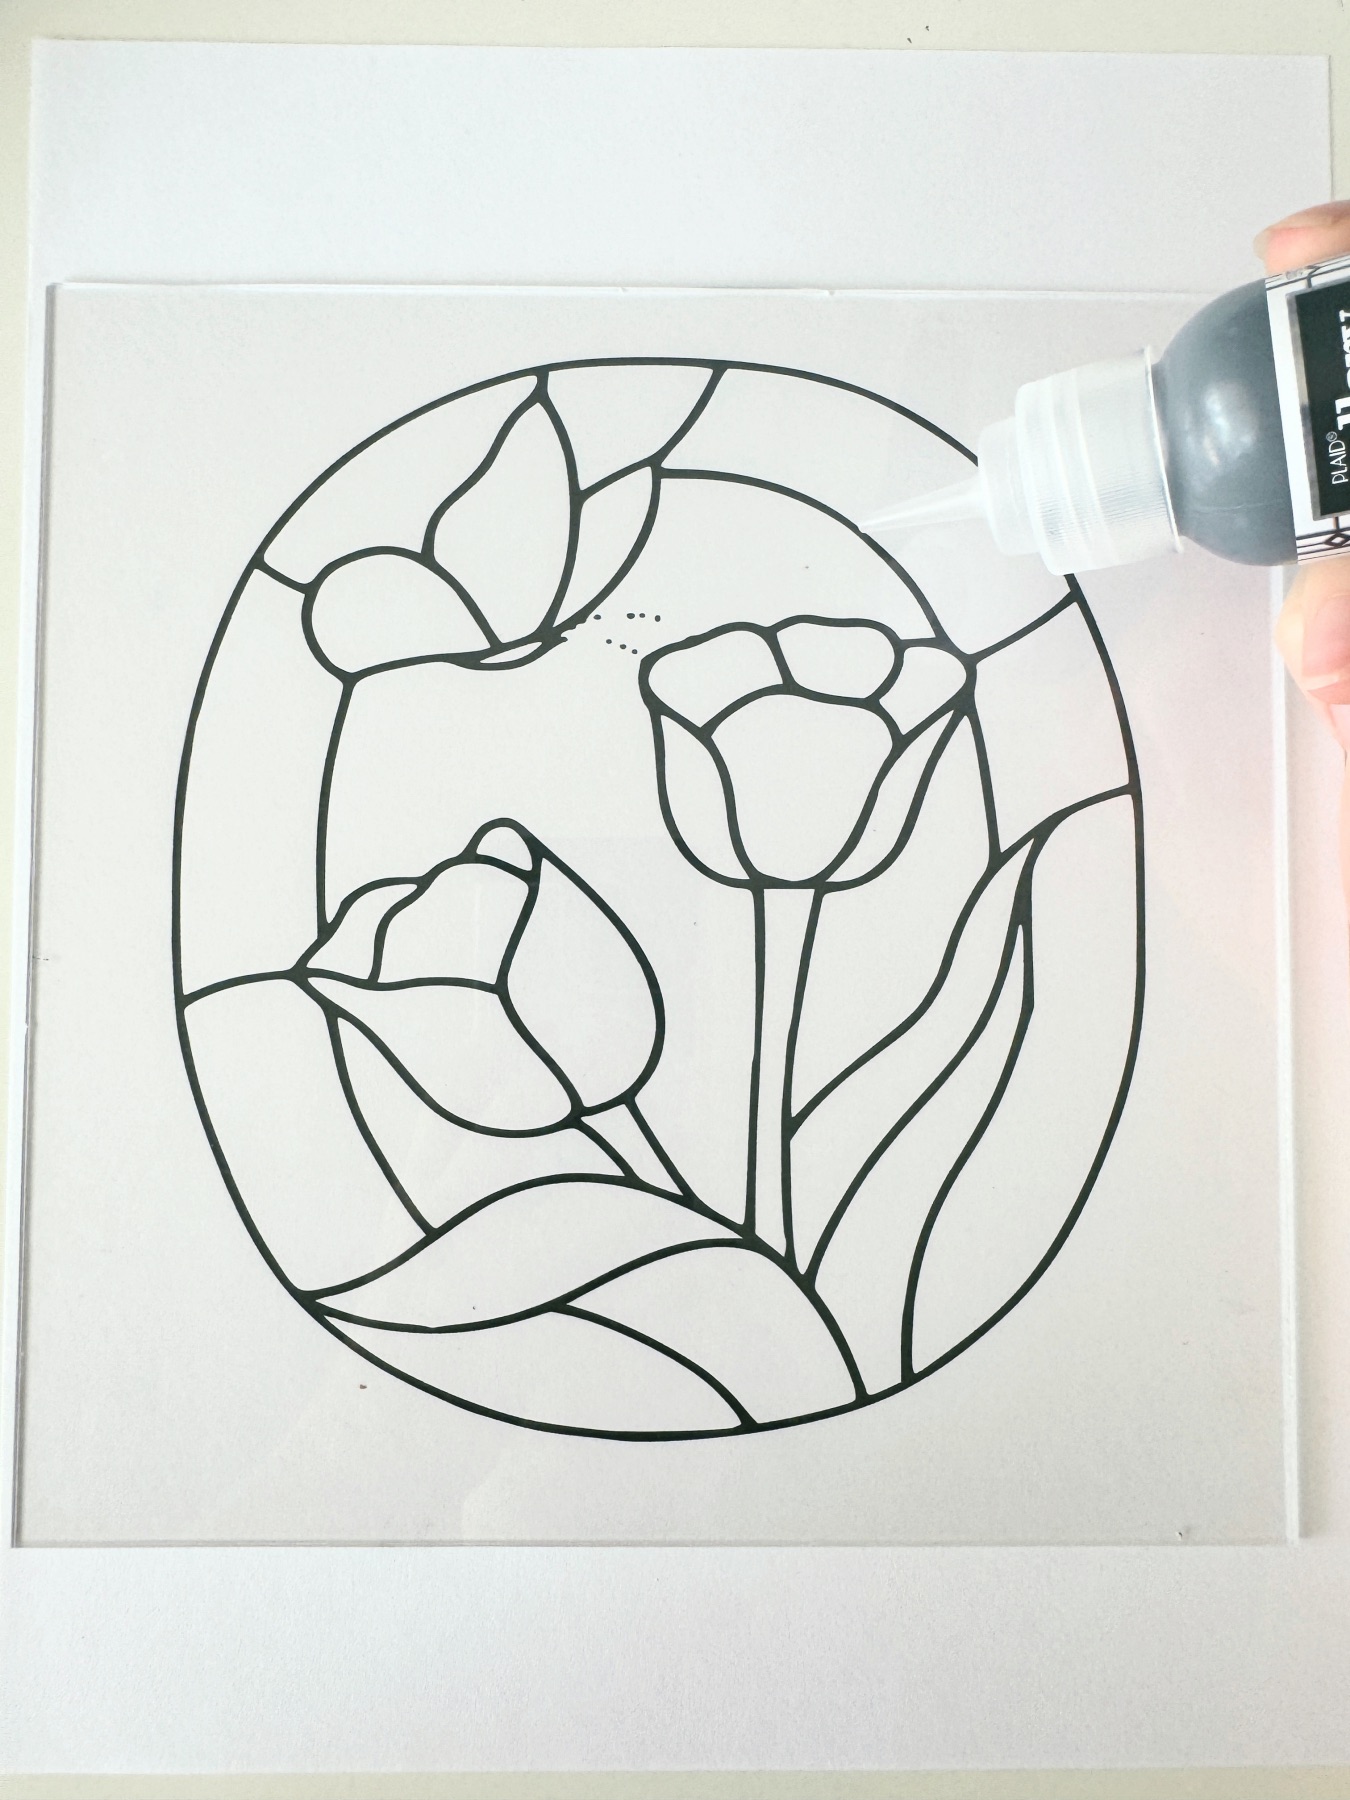
As you hover your hand slightly above the glass, allow the Gallery Glass to gently fall onto the surface of the glass. This process is exactly how you would handle icing when you are decorating cookies. So if you have done that before, use that as your guide to how to handle the Gallery Glass.
Be careful not to smudge any of the Gallery Glass with your hand as you work. To avoid it, you can rotate the glass around so that you are always pulling new lines away from lines you have already made. Or you can work slowly. If you are right handed, you can try working from your upper left to lower right.
If you do smudge it, use a toothpick, paper towel, or even a X-Acto blade to remove any of the Gallery Glass while it’s still liquid.
Step 4: Let it Set for Up to 8 Hours Before Moving On
Gallery Glass dries within a few minutes but will take around 8 hours to fully and completely dry. What happens is the outside of the Gallery Glass will seem dry, but there may still be liquid paint inside. If you decide to continue the project early, be extremely careful not to brush, pop or damage the work you have already done with your black lines.
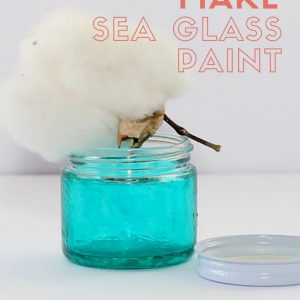
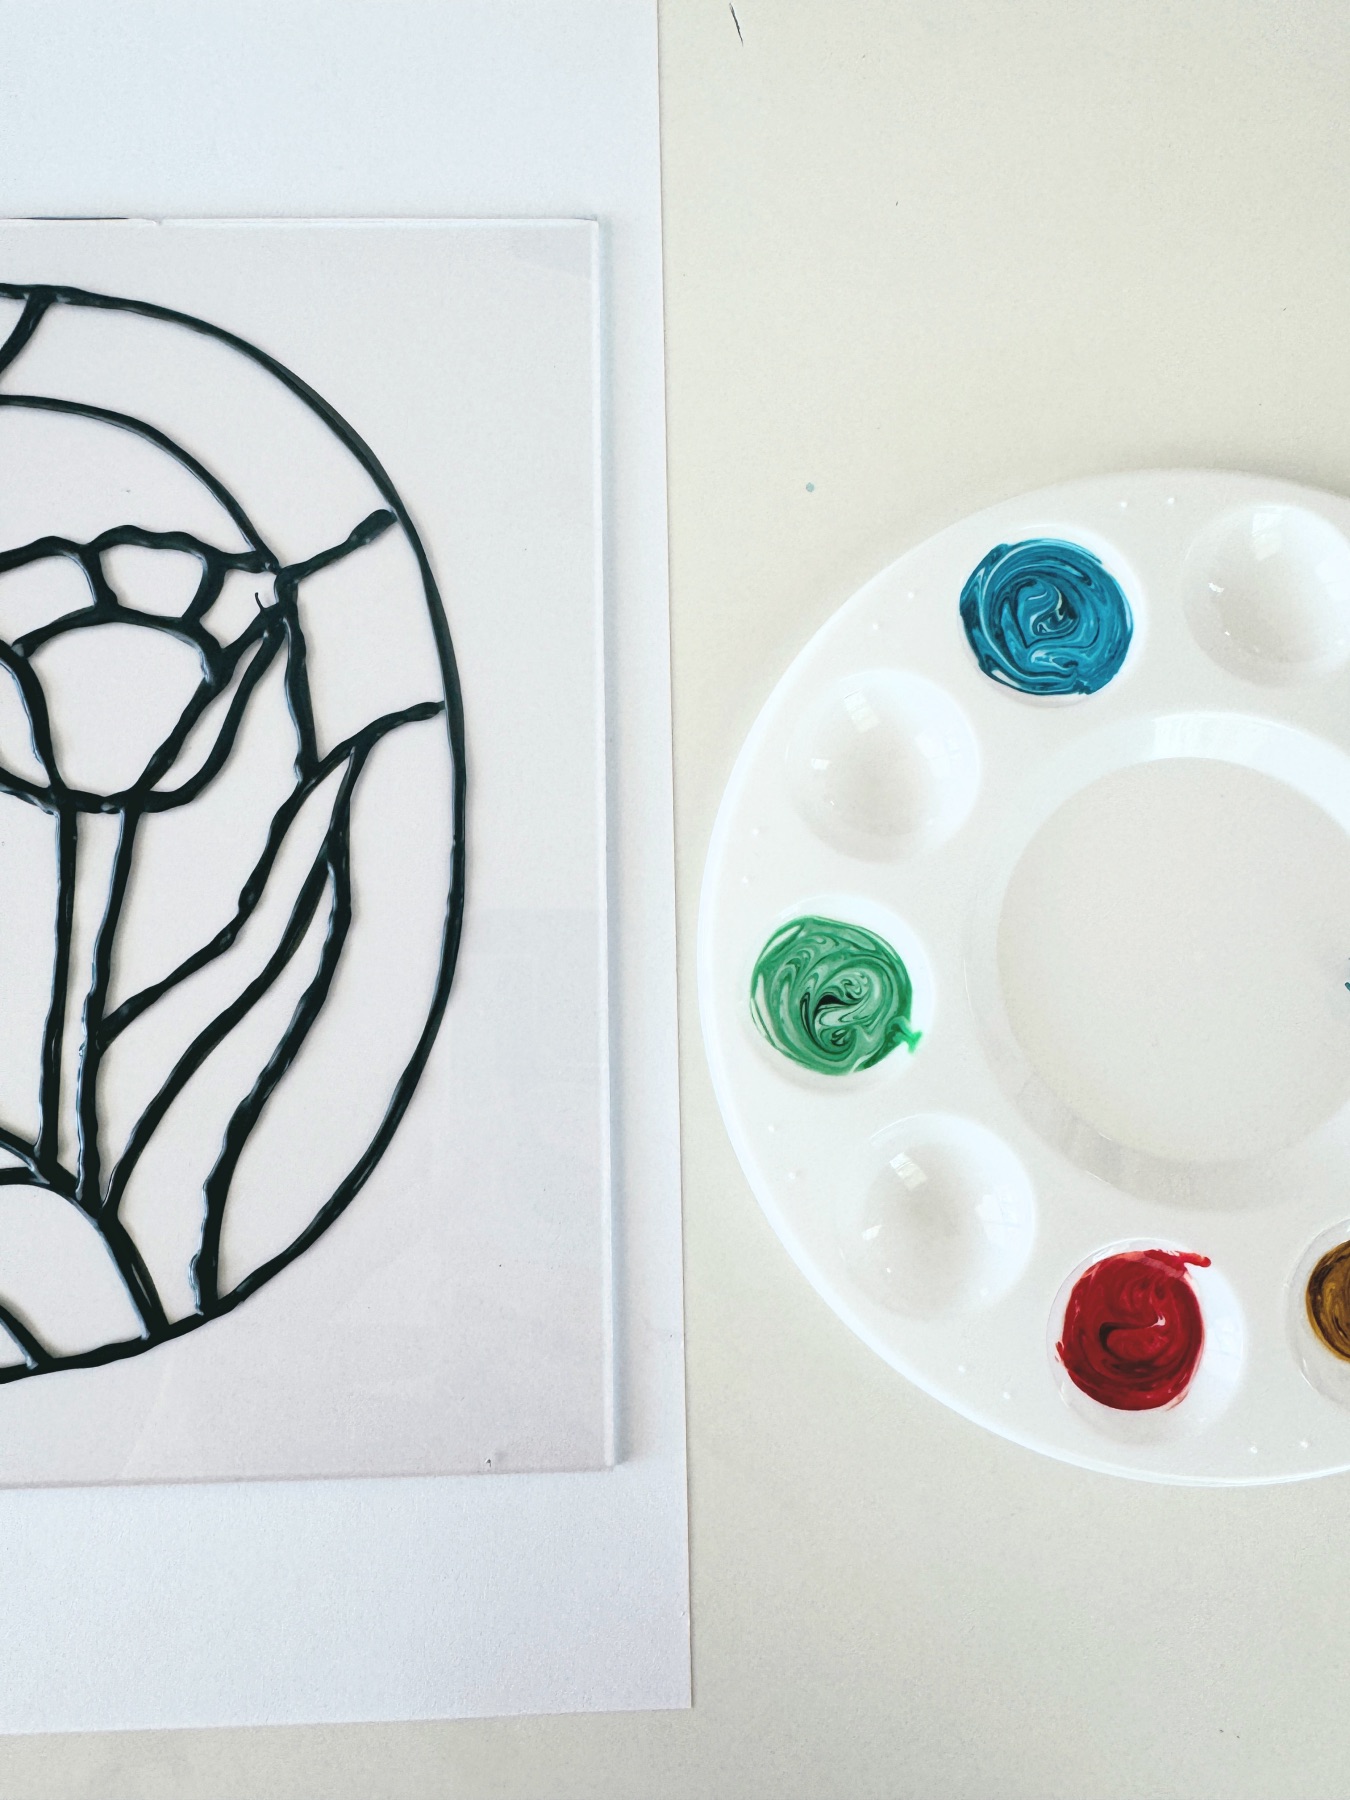
Step 5: Mix Your Food Dye and Mod Podge to Make Glass Paint
This type of paint is often called sea glass paint and is a gorgeous translucent paint that only requires these 2 supplies to make it! Just add a small amount of food dye into a teaspoon or so of Mod Podge. Mix it thoroughly with a toothpick, popsicle stick or your paint brush.

Remember your color wheel! You can mix together green and yellow to make 70s shades of avocado greens. You can mix black into any color to deepen and darken it.
Your color of Glass Paint will be true to life and not much darker or lighter than the shade you see in your painter’s palette.
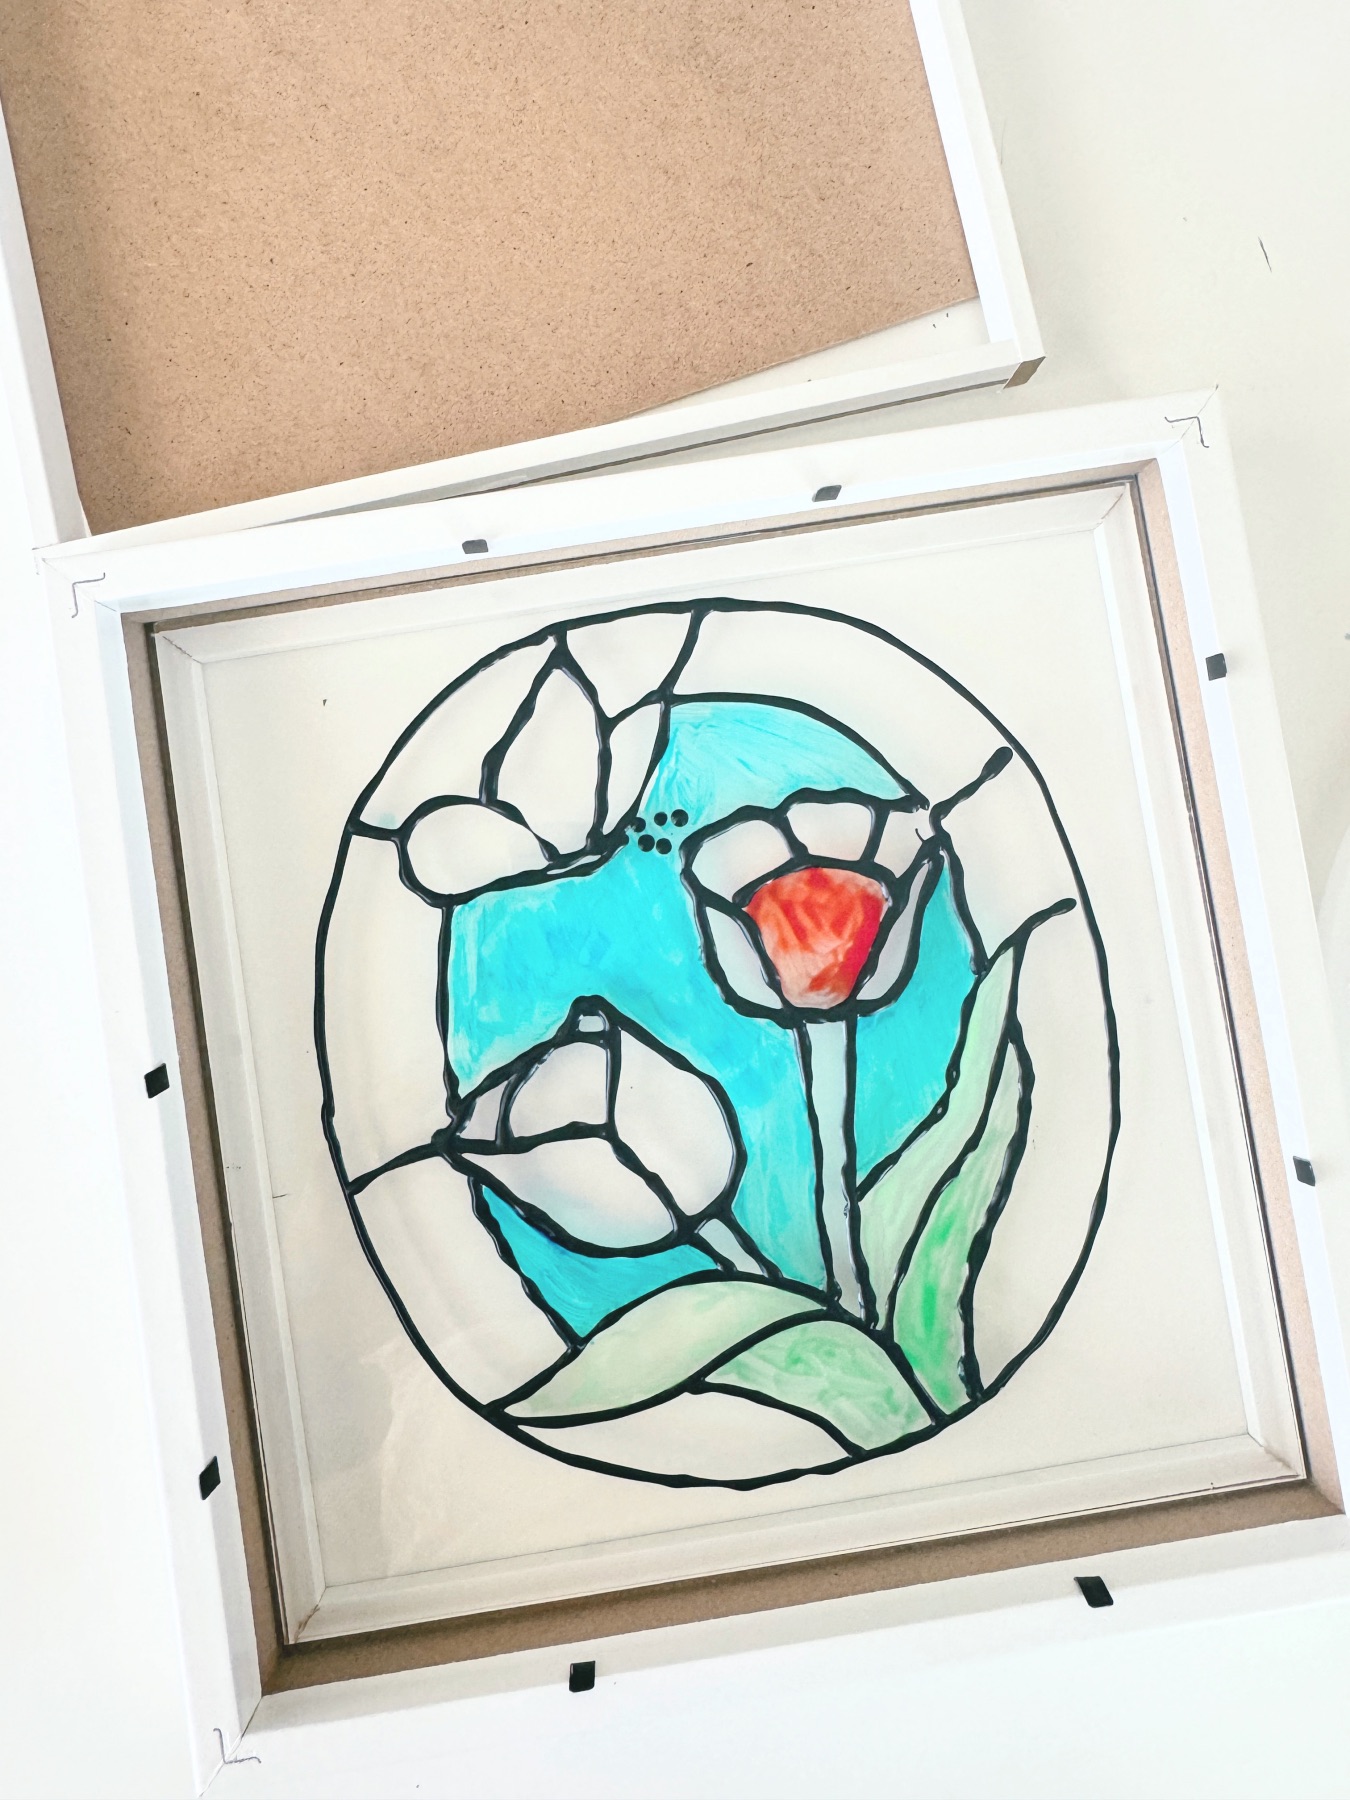
Step 6: Fill in Your Stained Glass Window with Glass Paint
Next, use a paint brush to fill in your sections of glass with color! Use extremely thin, even layers avoiding painting over the black lines as best you can. Using thin lines will help the stained glass look even and smooth when it dries. Wash your brush thoroughly with soap and water between each color and dry it off with a paper towel.
Because glass doesn’t absorb liquid like canvas does, just use a tiny bit of paint as you work!
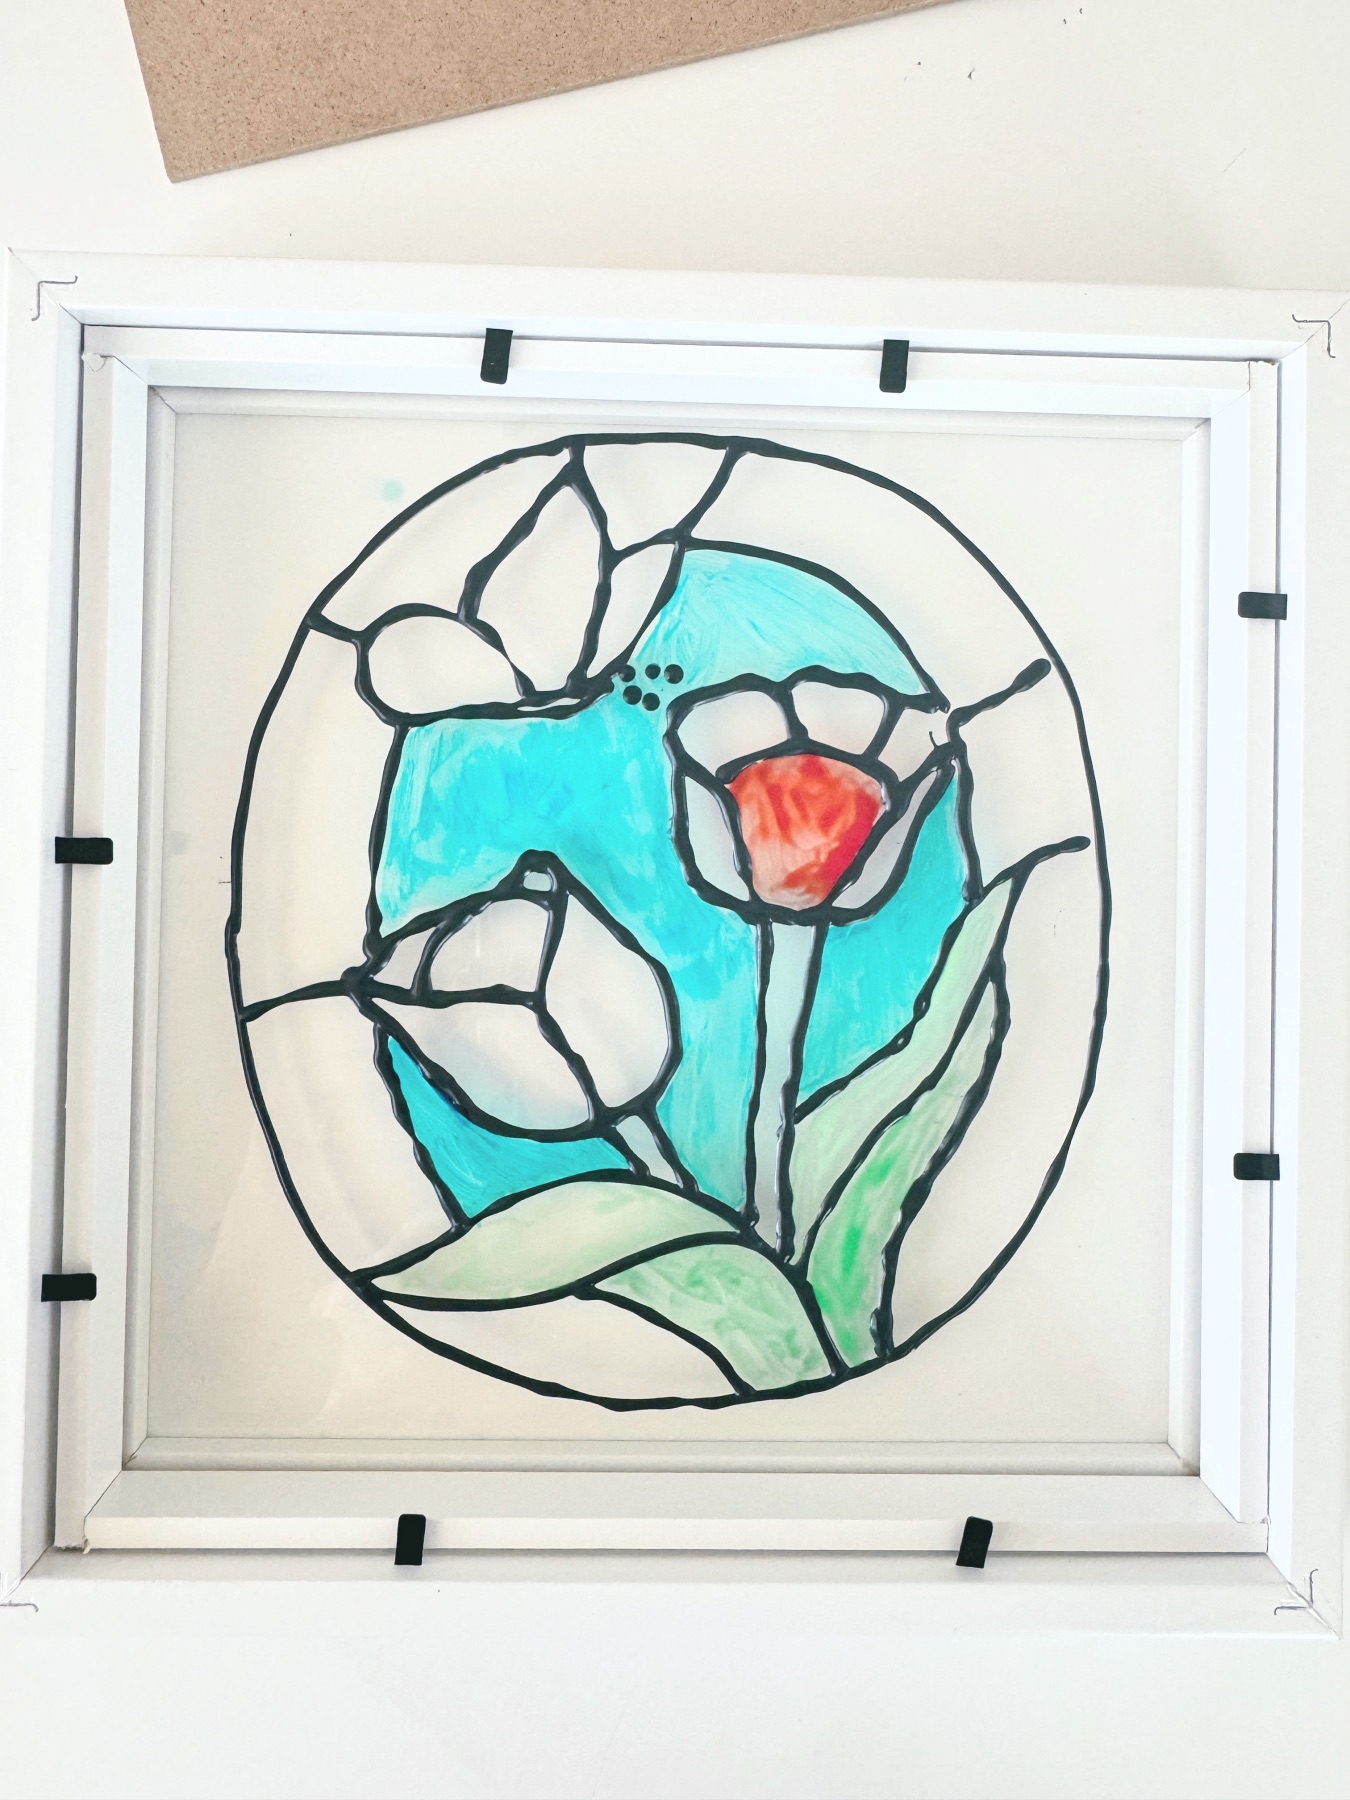
Step 7: Allow the Glass Paint to Dry and Put the Frame Back Together
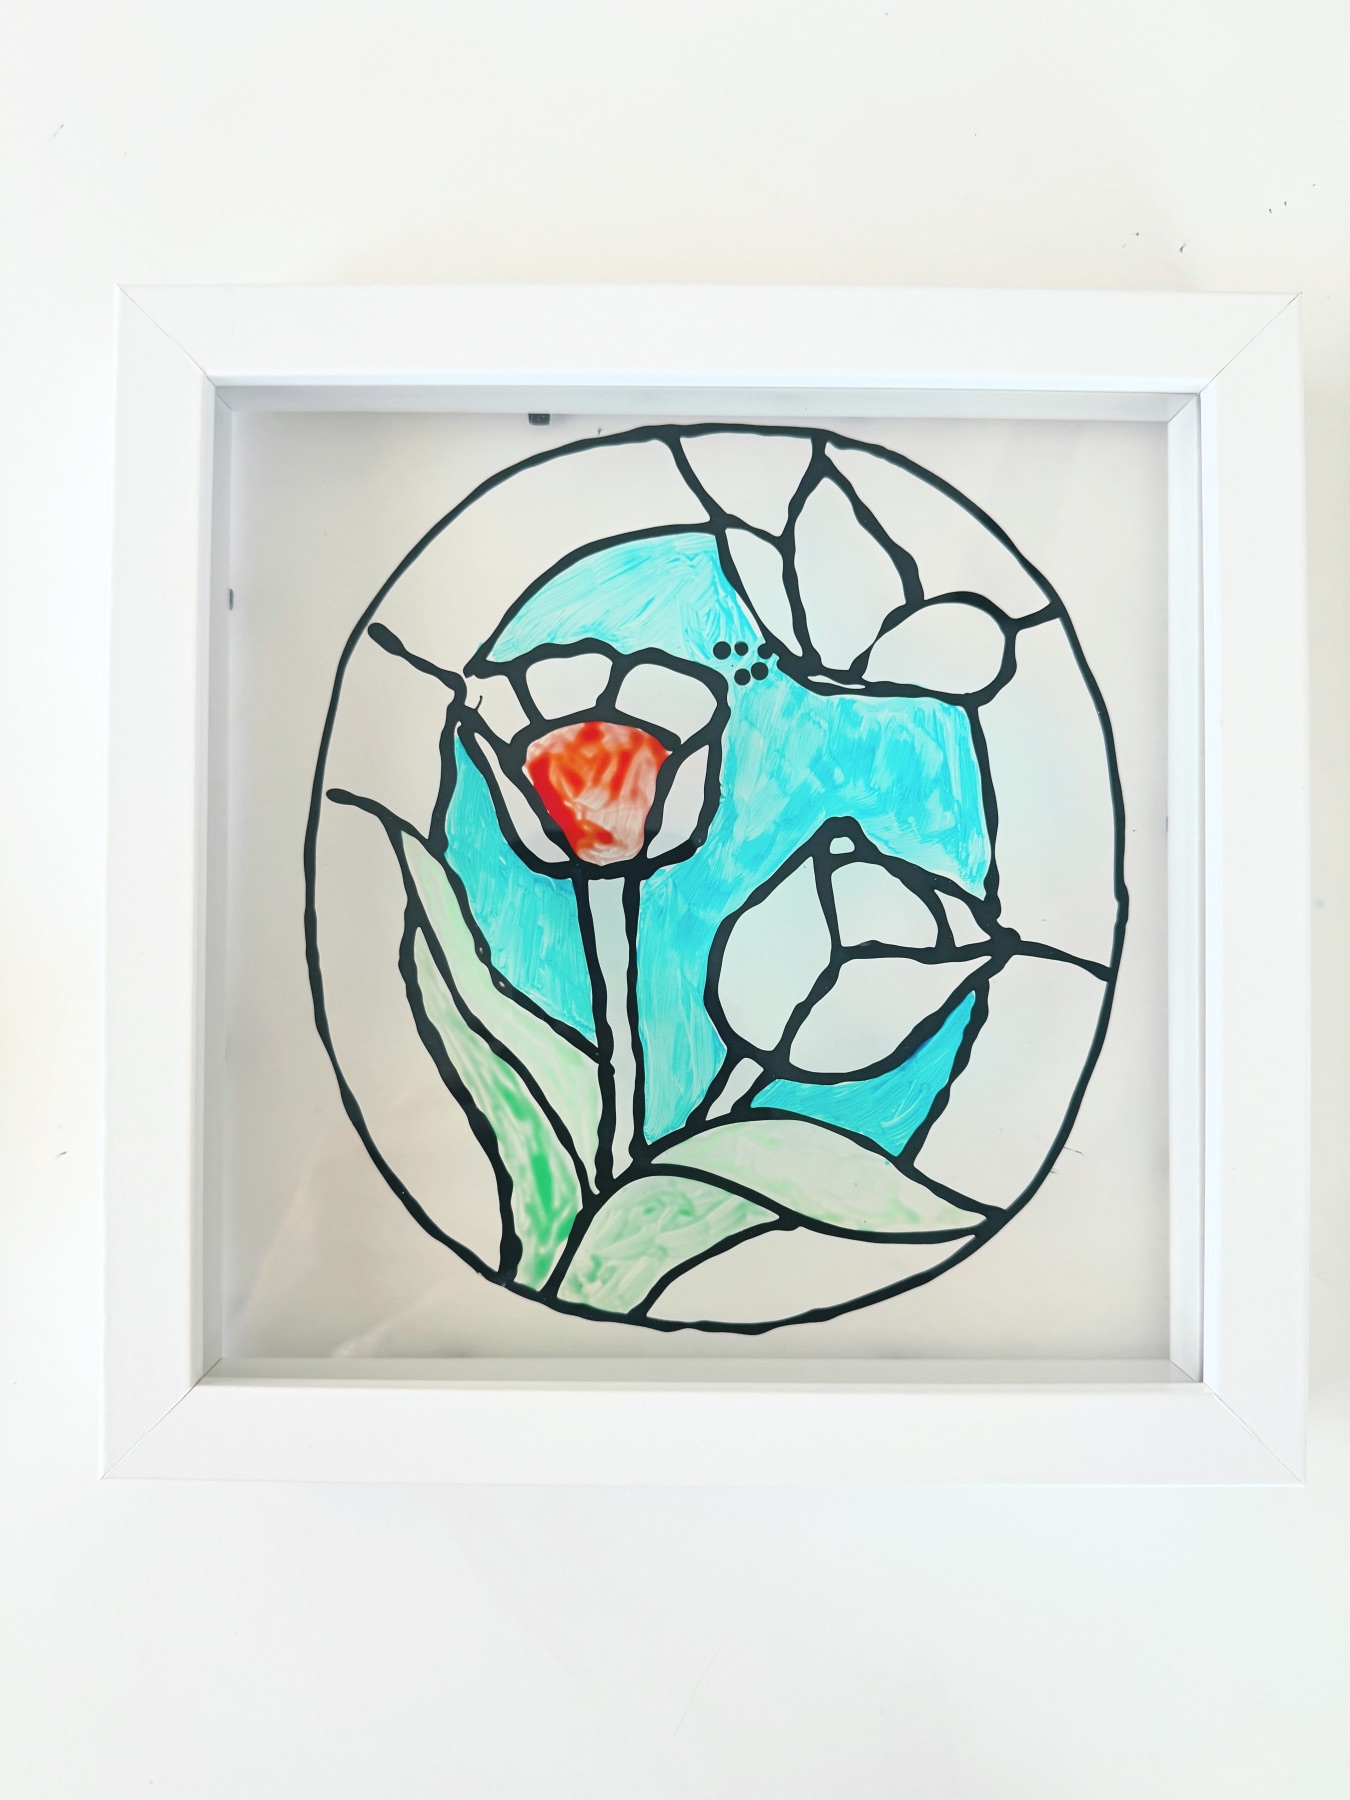
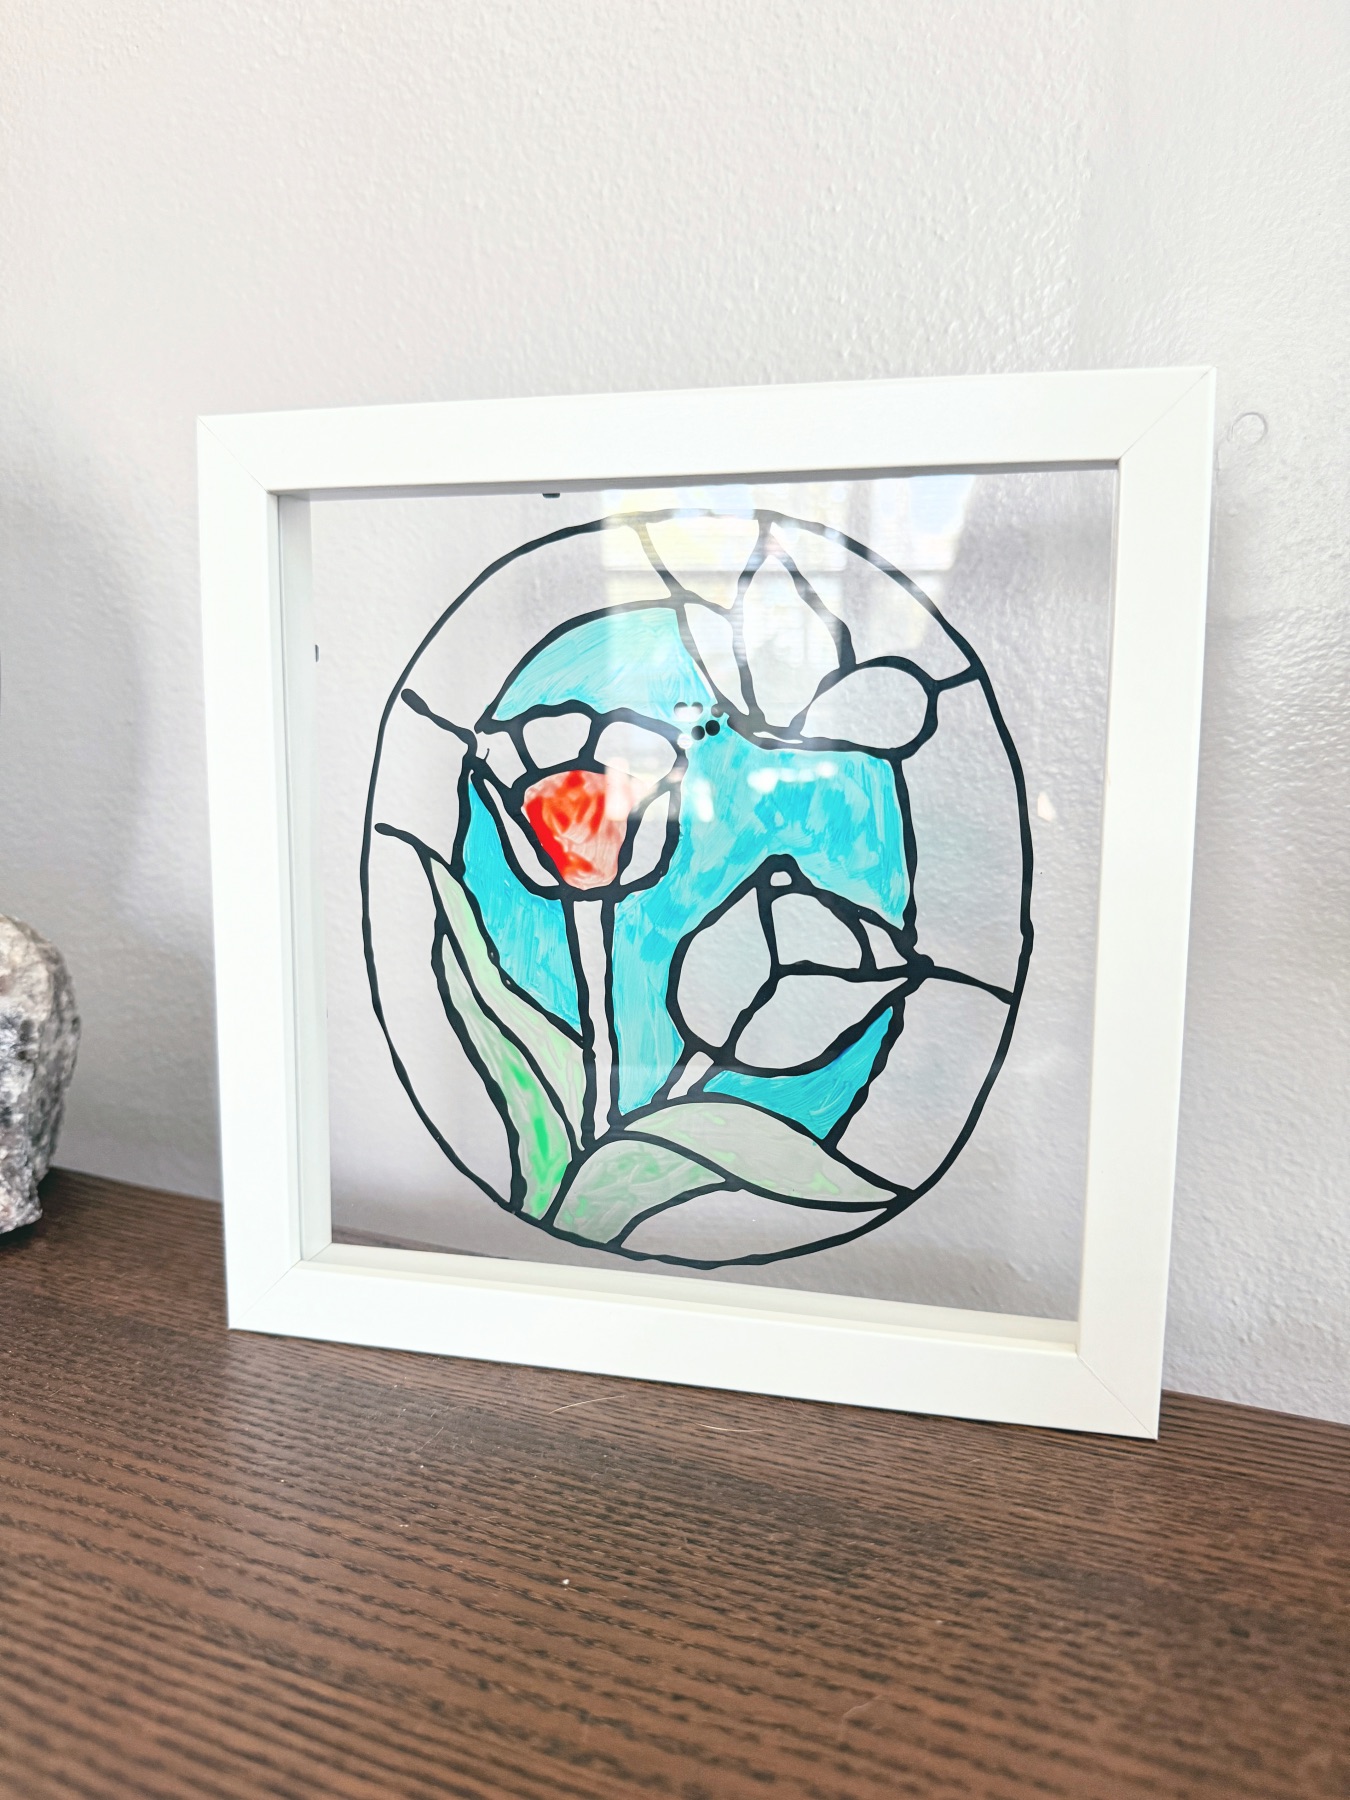
Your glass paint will take around 30 minutes to dry. And once it’s dry, put the frame back together with the painted side facing the interior of the frame. Thus the smooth side will be on display and will have a flat and even more professional finish.
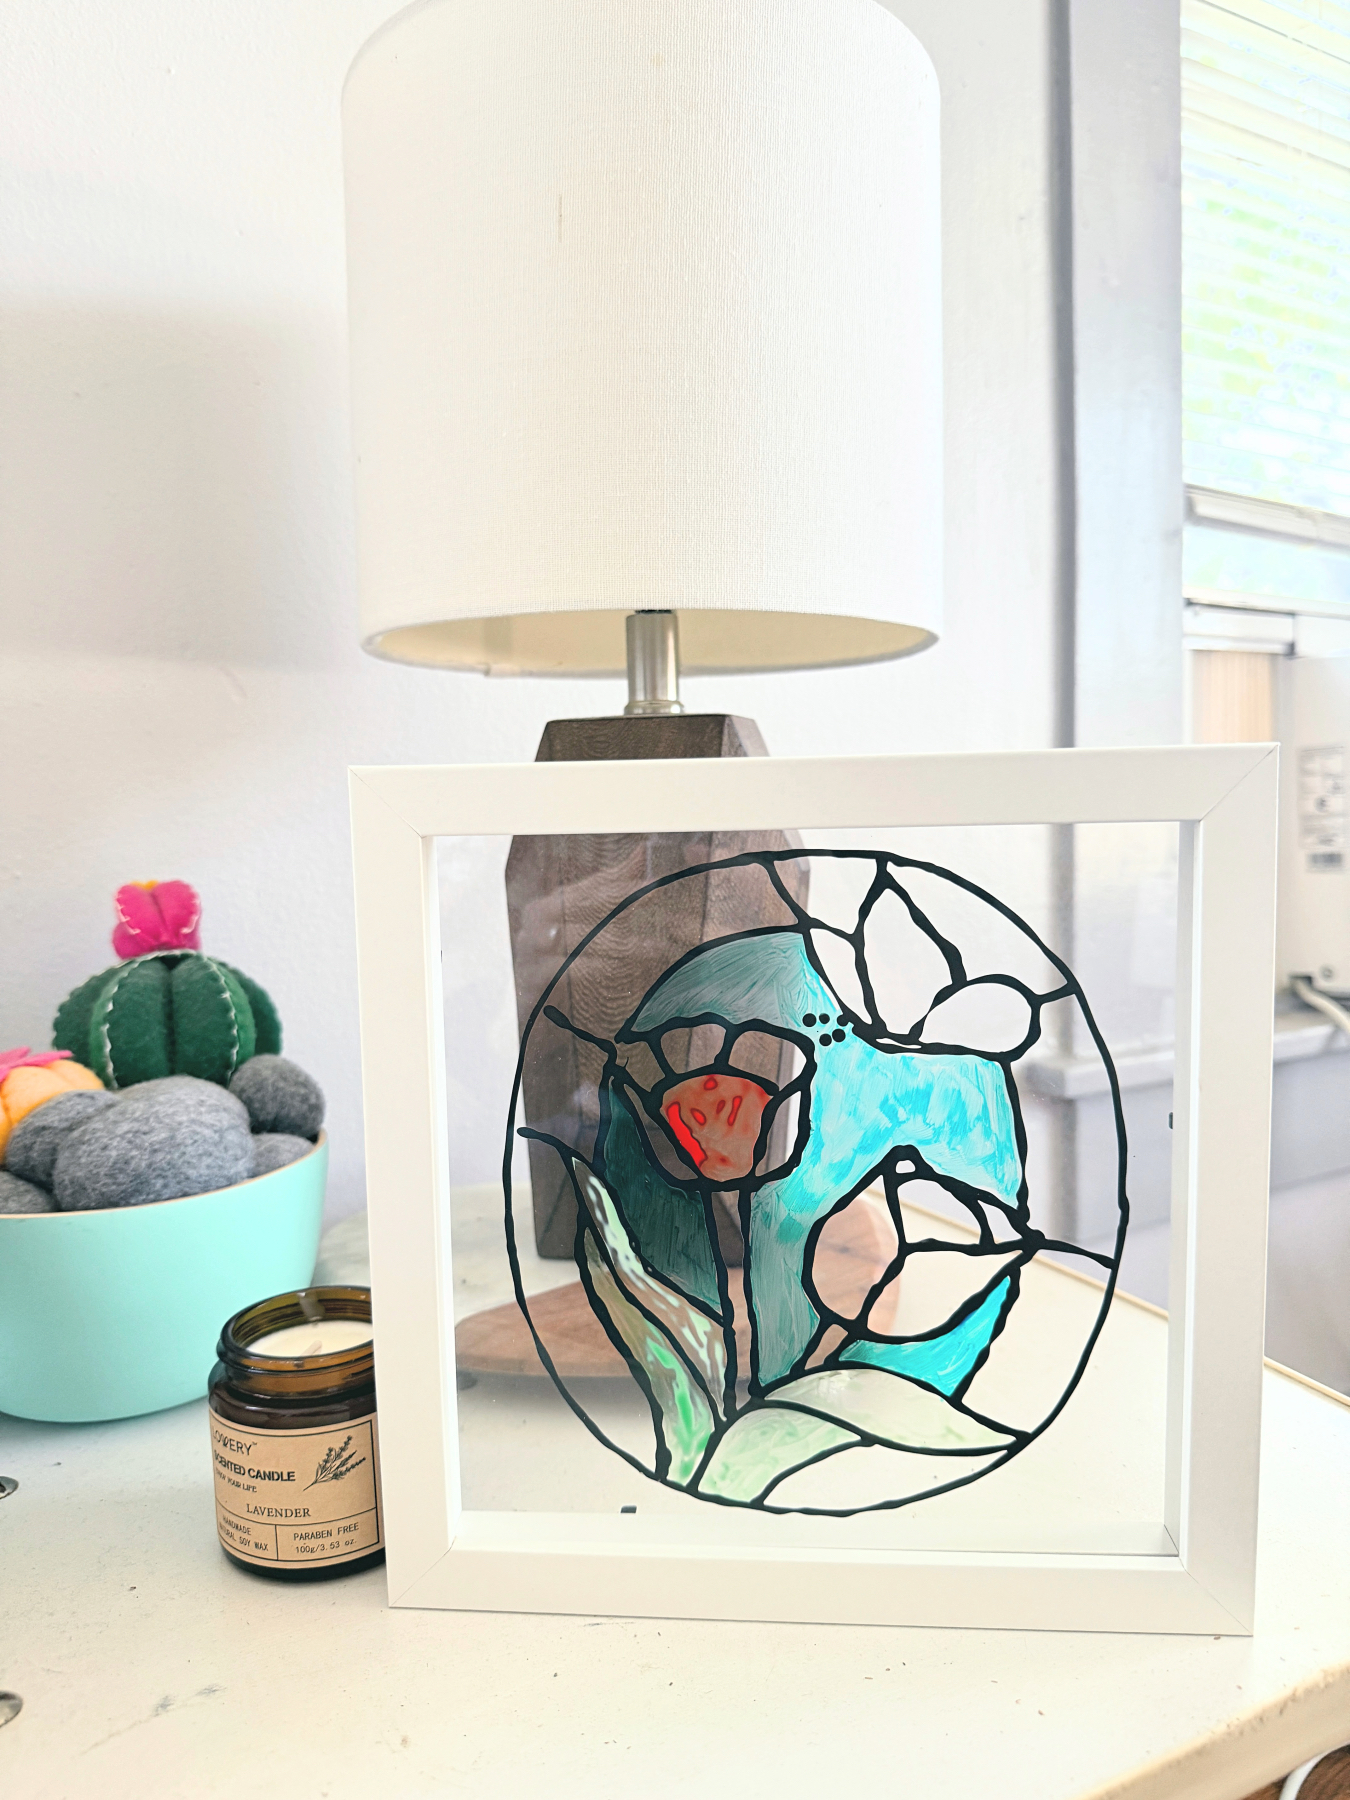
Place your DIY Faux Stained Glass Window in a window or anywhere that gets light through the frame. And voila! A gorgeous stained glass window that you made yourself.
Ready to get this kit for yourself? You can shop it here with an array of other craft kits that are so fun to try!
Let’s Stay Friends!
Insta | Pinterest | Enews | TikTok