DIY
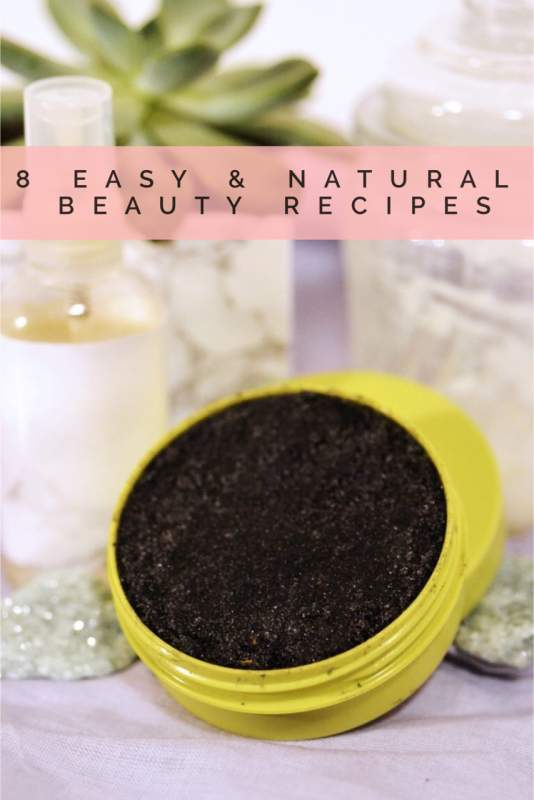
A Day of DIY Beauty | 8 Natural Beauty Recipes
In an effort to get rid of all the added chemicals that we encounter on a daily basis, I’ve been trying a lot of DIY beauty products. I’ve basically nixed all processed foods by always, (ok 90% of the time), cooking at home, so the next area that I wanted to tackle was my face and body.
If you’ve been debating switching over to natural products, Spring is a great time to do this! It’s a time of rejuvenation and new beginnings, so what better time than right now!?
After looking through a bunch of recipes and tips for making your own products, my friend and I bought all the supplies that we needed. We then sat down with about 30 ingredients around us, most of which came from the kitchen cupboard, and set out to have a day of DIY beauty.
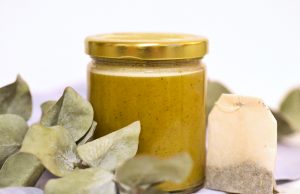
We each had about 5-6 products that we wanted to make to replace various store bought products.
The great thing is that a lot of the base ingredients in most DIY beauty products are the same (hello coconut oil) so we didn’t have to buy a ton of obscure things.
The other great thing is that you probably already have a lot of the ingredients in your kitchen cupboard. The spices, coffee, coconut oil, oats, and natural organic honey were among the things we didn’t have to go out and buy.
If you have to go out and buy a ton of essential oils for this, that might set you back a bit. I collected mine over time and was also able to ask for a bunch for Christmas, so that helped with the cost. Most of the other base ingredients that we bought ended up being a little pricey all lumped together. However, remember that you’l be able to use it to make a few different products, and you’ll probably be able to make each product many times. Here are the ingredients that we used:
- coconut oil
- castile soap – I bought the unscented baby variety
- essential oils (lavender, grapefruit, tea tree, lemon, peppermint, lemongrass, orange)
- shea butter
- almond oil
- argan oil
- vegetable glycerin
- honey – raw & organic is best here
- oats
- active charcoal
- coffee
- spices
- vitamin E oil
- witch hazel
- containers – I used containers from old products that I washed thoroughly & wrapped in marble contact paper! #recycle
You don’t necessarily need all of the oils that I outlined here, I just wanted to get a good blend for the eczema cream that I made! So with all our supplies rounded up, we began the DIY beauty making process. Here’s what I made:
- Eczema Cream
About a year ago, a couple fingers on my right hand started to get really dry for some reason. I could never get the dryness to go away, no matter what cream I used. I thought a DIY approach would be the next best option to try. This cream contains oat flour which helps to sooth dry itchy skin. It also has lavender essential oil, so it smells heavenly! It hasn’t entirely cured my eczema either, but its’s getting better and my hands feel so soft after using it! Recipe here.
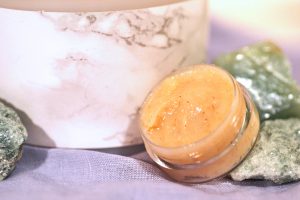
- Green Tea Body Wash
This is the second DIY body wash that I’ve tried and I like this one a lot! The smell is great, and it’s also fairly easy to make. I did find, however, that I wasn’t able to simmer the green tea for as long as the recipe said (it burnt the first time), so I just heated the coconut oil until it was hot and then took it off the heat, added the tea leaves and let it steep until it had cooled slightly. I then followed the rest of the recipe. I chose to use lemongrass essential oil because I love the smell and thought it paired really well with the green tea. Get the recipe here.
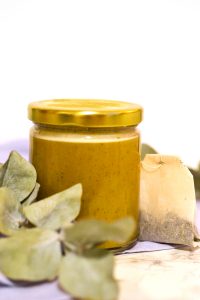
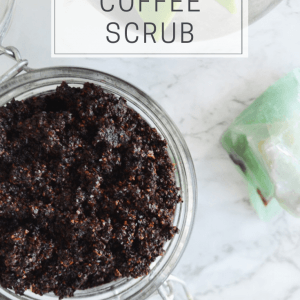
- Coffee Scrub
I always rave about this coffee scrub because I love the way it exfoliates my skin while moisturizing at the same time. As a bonus, coffee is also supposed to help reduce the appearance of cellulite, which is always a win for me. This scrub can be made with coffee that has been brewed or is freshly ground. I’ve actually shared the recipe before on Pop Shop America, so you can find the recipe in the archives.
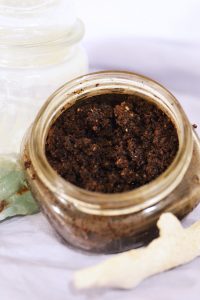
- Activated Charcoal Exfoliator
I bought activated charcoal capsules to try and whiten my teeth (more on that later) and still have about 95% of the capsules left. So, in an effort to find more uses for the charcoal, I found this recipe for an activated charcoal exfoliator. Charcoal is extremely beneficial in helping to pull toxins from the body. Instead of the olive oil, I opted for coconut oil and added vitamin E oil as my skin nourishing oil. I like the way the scrub works, but found that I did have to use a cleanser to wash it all off my face.
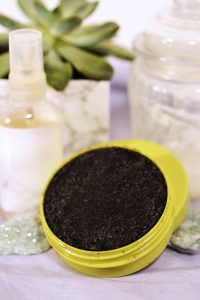
- Activated Charcoal Teeth Whitener
I actually bought the active charcoal to whiten my teeth. I’ve used crest white strips in the past, and as a result, my teeth felt sensitive for a long time. I think they’re fine now, but I’m definitely not eager to go back to that. SO, after seeing ads for charcoal teeth whiteners, I decided to try using it myself. I bought the separate toothbrush to brush with (highly recommended as it will turn black), got my activated charcoal capsules and started brushing! It’s recommended that you brush for 5 straight days and then do it once a week to keep your teeth looking white. To be honest, I didn’t notice a huge difference in the shade of my teeth. But, to be fair, my teeth are fairly white to begin with, so it wasn’t as if there was a ton of staining to get rid of. I think it has helped me to upkeep my white teeth though, and is hopefully helping to pull toxins either way! As you can imagine, it doesn’t look very pretty when brushing with the charcoal, so I opted for no photos 🙂 - Pillow Mist
I know pillow mist isn’t technically a beauty product, but it’s a nice refreshing way to add a pretty scent to your pillows. I chose to use lavender essential oil in mine, so I can use it to relax before I go to sleep. This is also a great product to make to spray on the linens in a guest bedroom to give that extra special touch! Recipe here.
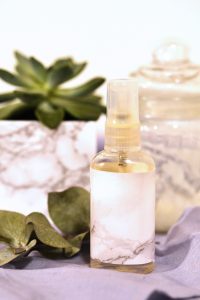
- Deodorant
After trying a few different store bought natural deodorants (and not loving the results) I decided it was time to try making one of my own. I was able to re-use an old deodorant container and was utterly delighted to find that when I poured my deodorant mixture into the stick, it hardened, held its shape, and looked like a real stick of deodorant. So cool! I will say that I don’t think natural deodorant is great for keeping you fresh when exercising, or when you’re sweating a lot. I walk to work and am usually quite warm by the time I get there, so I found that the natural deodorant didn’t hold up very well. I do use it on the weekends though, when I’m hanging out around the house or even before bed so I wake up still feeling fresh. The scent of the deodorant is great though – lavender and vanilla! I don’t have vanilla essential oil, so I just used real vanilla extract and found that it worked just as well! Recipe here.
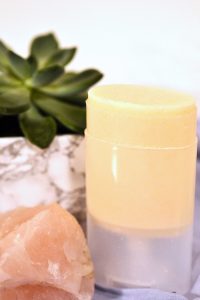
- French Toast Lip Scrub
Whenever I visit my parent’s place, I use this lip scrub that my sister has from Lush. My lips always feel so soft and moisturized after, so I debated buying one. But, as luck would have it, I found a recipe for a French toast lip scrub, so I knew I had to go the DIY route! The smell is amazing, only to be bested by the taste, which you get a little of every time you use this delicious lip scrub!
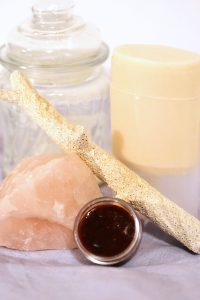
Overall, I’m really happy with how my products came out, and will continue to look for DIY beauty recipes in the future. Next up is a toner and soon after that, I’m going to try a DIY tooth paste as well!
Let me know your favorite recipes for DIY beauty products! I’m always eager to try something new!
xo, tess.
Follow Tess Ciarloni at
Angean Blog | Facebook | Twitter | Instagram | Pinterest
Let’s Stay Friends!
Insta | Pinterest | Enews | TikTok


