Craft in Style Subscription Instructions, DIY
How to Make Wood Burned Ornaments with Free Snowflake Template
This is November 2019 Craft in Style Subscription Box Part 1 of 4. Check back for links to the rest of the blog instructions here
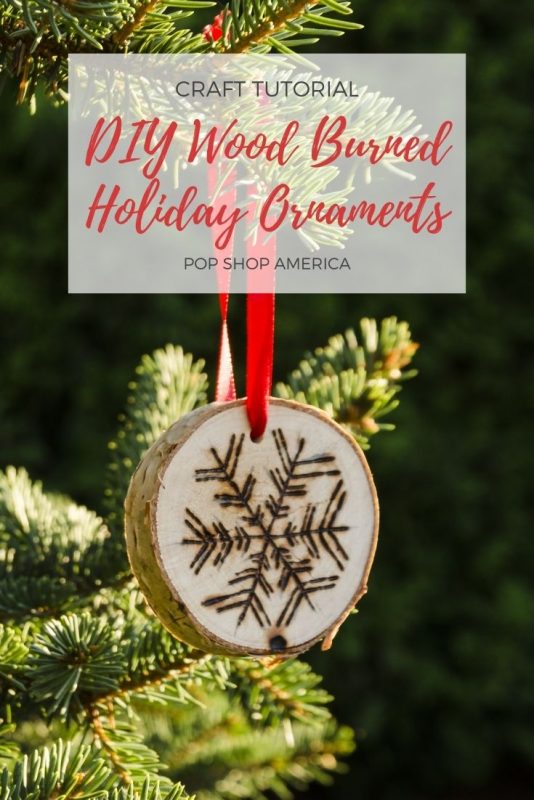
??It’s beginning to look a lot like . . . Christmahanakwanzika! Are you ready to decorate for the holidays? If so, you have to make these DIY Wood Burned Ornaments. Wood burning is the perfect diy to pick up in the winter.
Although, you should always be extremely careful while handling a wood burning tool, it’s so nice to work on a warm craft in the winter. Burning wood smells amazing and will remind you of the holidays! You can make lots of different types of wood burning projects with just a simple tool set and some wood. Ornaments are a perfect project to start with. So let’s make them!
Supplies to Make Wood Burned Ornaments
Craft in Style Subscription Box November 2019
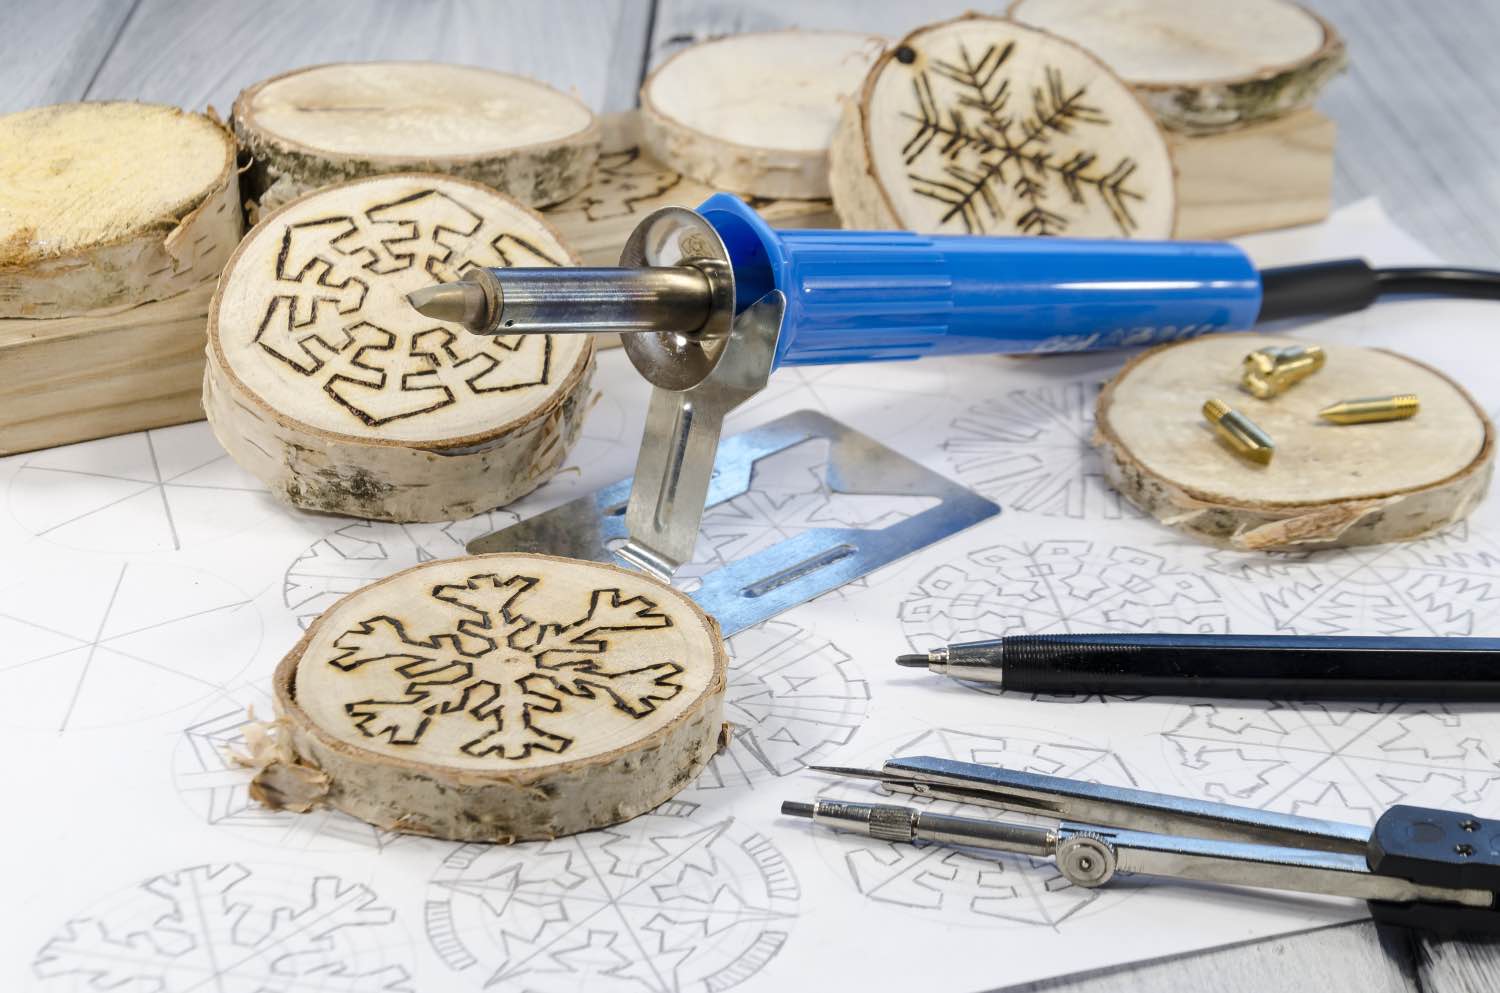
Wood Burning Tool Set
Natural Wood Rounds (or Laser Cut Wood Rounds)
Snowflake Template (or stencils)
A Pencil
Ribbon & Scissors
Optional: A Drill for Making a Hole to Hang the Ornament
Here’s what the template we created looks like. You don’t need to use this template, but it’s a great one to get started with! You could also free hand draw what you plan to burn or you could use a different type of stencil. Any kind of stencil will work, but cookie stencils are perfectly sized for this task!

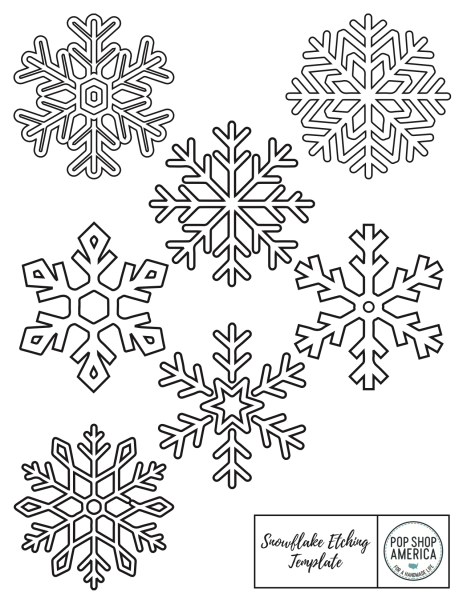
To get started making these Wood Burned Ornaments, use your stencil to pencil the wood where you intend to burn it. With a regular stencil, you can pencil right on to the wood. If you are using a template, you are going to use my favorite trick – making a mirror image rubbing!
We have an in depth tutorial on how to make a mirror rubbing here.
To sum up this step, first trace the template lines in pencil. Use firm hard pressure to get a lot of graphite on the paper. Then place the penciled drawing towards the wood round. Make sure your positioning is perfect! Then draw the template in pencil again on the blank side of the paper. Be sure to apply firm hard pressure here. And viola! This will transfer your original markings onto the wood.
Now it’s time to burn the wood! I always start with just dotting the wood burning tool to the wood. As you burn the wood, it almost pulls the tool towards it. So when you are first starting out, it’s hard pull back on the tool and have control over your lines. The harder and longer you press, the thicker and darker your lines will be.
Once you get the hang of it, you can start to use your wood burning tool like a pen or pencil, handwriting with a smooth and fluid motion.
You may notice that my lines on the snowflakes are not perfect. And that’s okay. Wood burning has a handmade quality. Don’t worry if yours are not perfect!
Once you have your drawing burned into the wood it’s time to hang your ornament! It’s easy to find pre-drilled wood to make ornaments. But if your wood doesn’t have a drilled hole, like mine didn’t, there are 2 ways you can make one. 1 is to simply drill the hole yourself. 2 is that you can carefully burn a hole! Hold the ornament in 1 hand, your tool in the other. Continue to press and dot one area until you work through the entire piece. Work slowly and carefully!
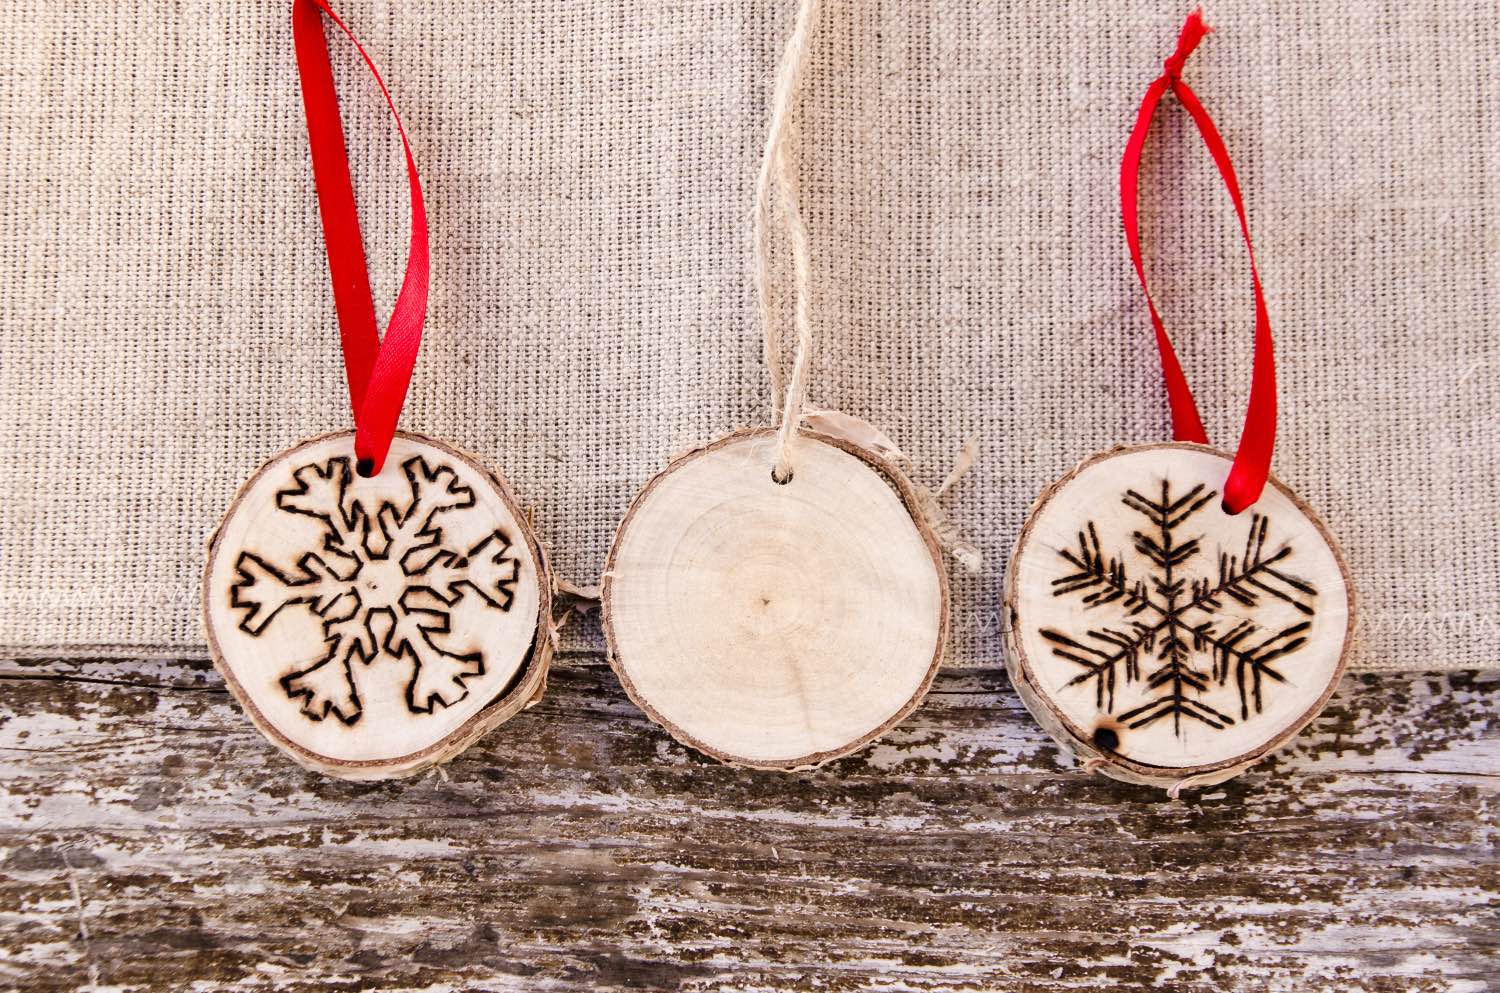
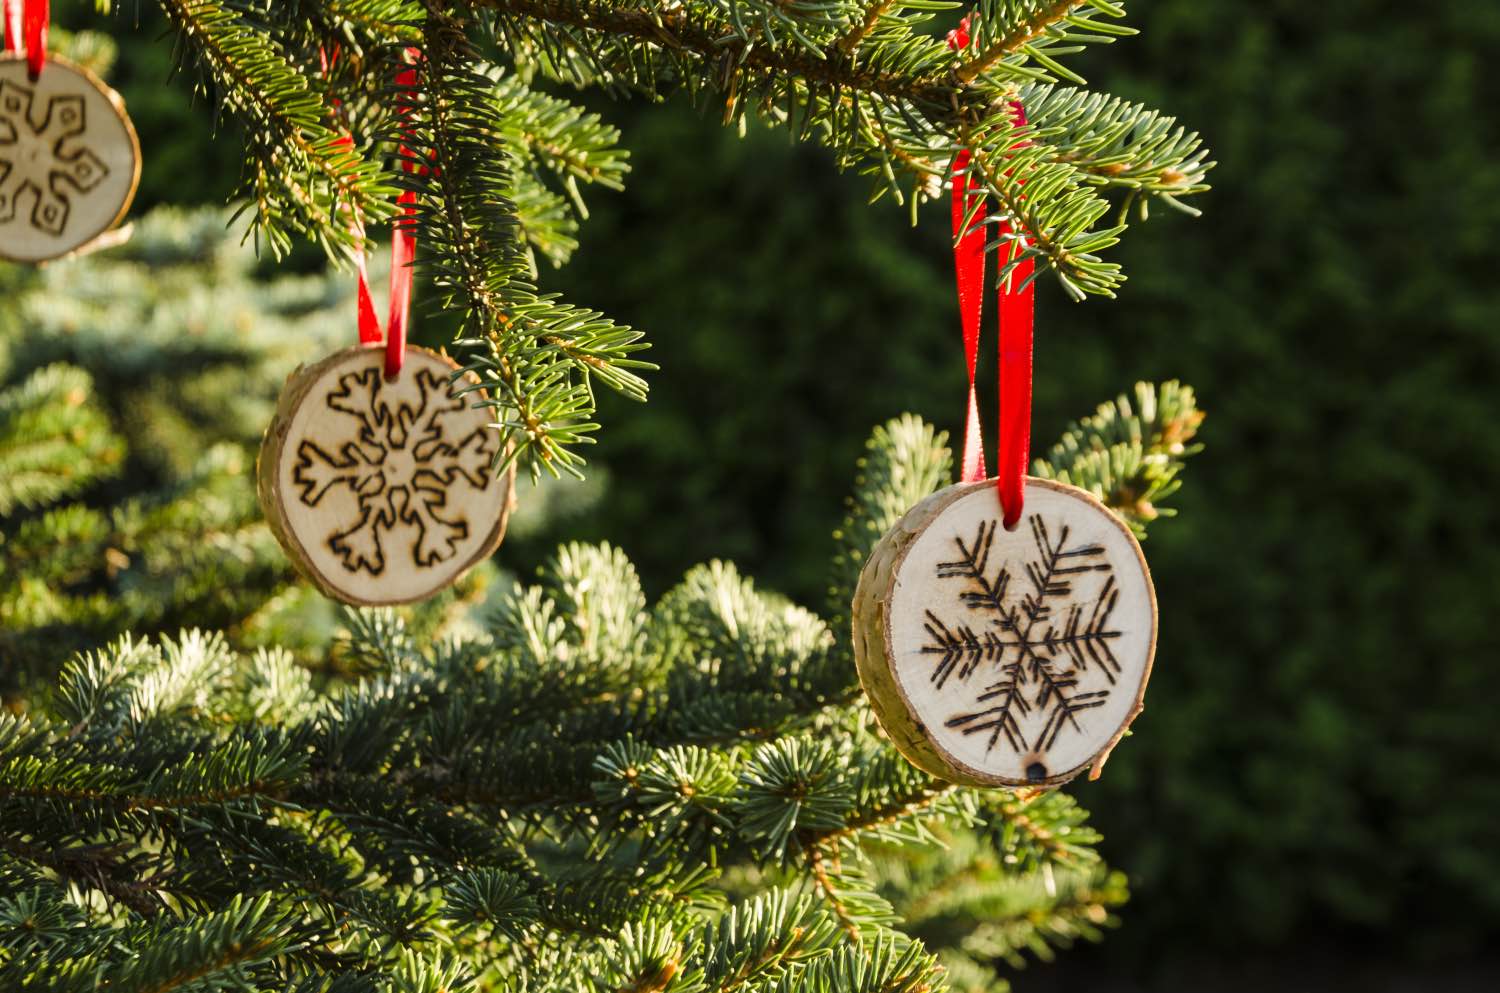
You can use any kind of ribbon or twine to hang your holiday ornaments. You only need a small piece per ornament which makes this the perfect way to use your scrap ribbon! And you don’t have to just hang them on a tree. These also make gorgeous holiday wall art pieces or you could hang them on a door or door knob! So where are you going to hang your Wood Burned Ornaments and what shapes and templates did you create? Tell us in the comments!
Let’s Stay Friends!
Insta | Pinterest | Enews | TikTok


