DIY
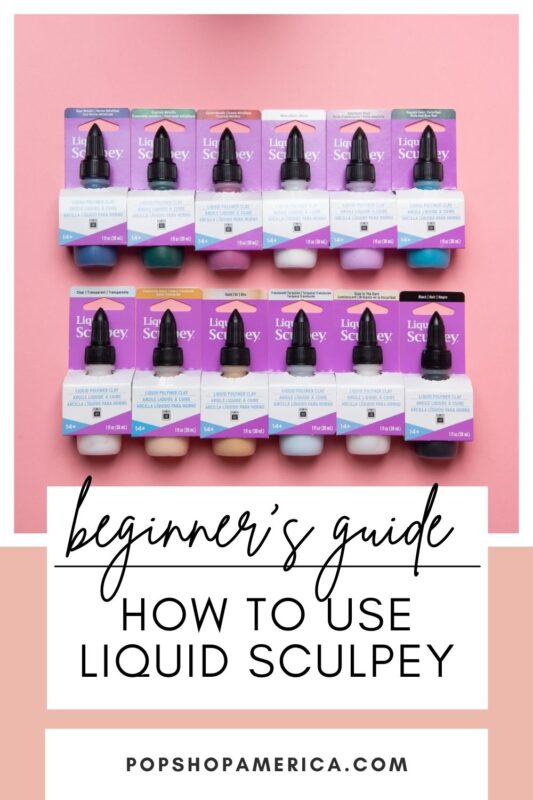
How to Work with Liquid Sculpey Clay: Beginner’s Guide
Jan
This blog is sponsored by Sculpey/Polyform but all thoughts and opinions are my own. Please note: We use Sculpey for all of our oven bake clay tutorials like this Marbled Clay Planters Tutorial or these DIY Clay Garden Markers you can find here. And we use Sculpey for all of our clay craft kits like this Marbled Clay Dish Kit here.
Liquid Sculpey is a new supply that’s versatile and can be used in lots of different ways. Because it’s so versatile, it can be easy to get overwhelmed with all the projects this supply can be used for. And there are new things to learn to use it correctly.
Best Liquid Sculpey Project Ideas:
1. Polymer Clay Accessory: Use it as grout (or score and slip) for regular polymer clay projects. It can help adhere separate pieces of clay or smooth over uneven edges.
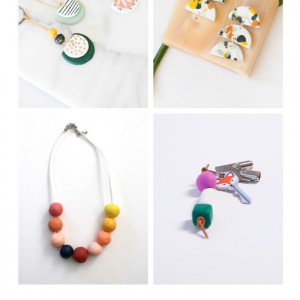
2. Flexible Clay Jewelry: Use molds to make bakeable flexible clay jewelry pieces like pendants and earrings.
3. Faux Stained Glass Windows: Drizzle it onto a sheet of parchment paper into a stained glass design. Once it’s dry peel from the paper and the smoother side will easily cling to a window.
4. Scrapbooking: Use bakeable molds to make shapes that are perfect for scrapbooks and papercrafting.
5. Tile Grout: Use the liquid sculpey to adhere pieces like sea glass or stone at the base of a coaster or serving tray.
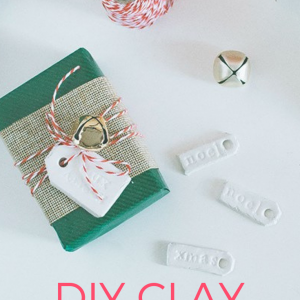
6. Card & Gift Wrap Accessories: Add dimensional embellishments to stationery, cards, or any kind of papercraft. Like a faux stained glass window, you could drizzle Liquid Sculpey directly on to the object and let it dry for hand drawn details. You can also use Liquid Sculpey or other molds and then adhere the finished shapes to your papercraft.
Now here are my tips on how to work with it!
Stir the Liquid Sculpey Thoroughly Before Use
This may sound basic, but it’s so important! You have to use something long and skinny to fit down inside the Liquid Sculpey Bottle all the way to the bottom. I used a wooden skewer. Then be sure to stir the entire bottle for much longer than seems necessary and be sure to scrape the sides and the bottom.
Clear can be a bit runny. But all the Liquid Sculpey colors will settle a bit making them thicker on the bottom than the top. That’s why they need to be stirred thoroughly before use.
You can Add Liquid Ingredients like Alcohol Inks
Liquid ingredients, like alcohol inks, are easy to add. Just add a drop or drizzle into your Liquid Sculpey. Then use a toothpick to stir the ink into the Liquid Sculpey. Then you can bake your Liquid Sculpey like normal.
Add Dry Ingredients like Glitter, Mica & Foil
In addition to liquid ingredients, you can also add dry additives like glitter, mica and foil. Dry ingredients can create air pockets. So if you are using a mold be sure to tap the mold to remove them. A toothpick also works quite well!
When I add glitter to a mold, I first add the glitter. Then a thin layer of Liquid Sculpey. Next I use a toothpick to swirl the Liquid Sculpey across the surface of the glitter. The goal of this is to incorporate the glitter and make sure it binds with the Liquid Sculpey and also remove any air bubbles. Then I fill to the top of the mold with Liquid Sculpey. Before I bake, I will tap the mold several times to be sure any air bubbles are gone.
If You Add Ingredients or Blend Colors Stir & Tap to Remove Air Bubbles
You will also get air bubbles when blending together Liquid Sculpey with other colors of Liquid Sculpey! Blending colors is fun and gorgeous – you can make infinite combinations. You can layer colors, marble colors, or make entirely new colors. But blending them will produce air bubbles that need to be removed with a toothpick and with tapping any molds that are used.
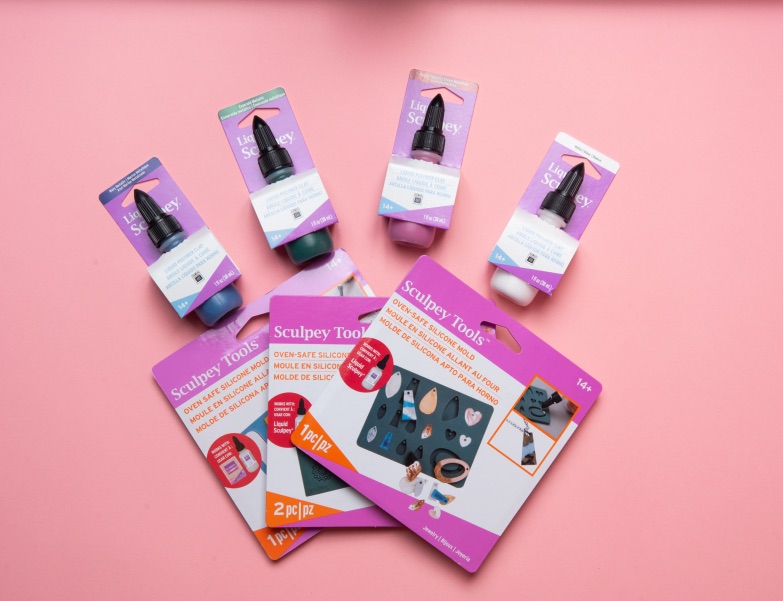
You Can Use Any Silicone Baking Mold with Liquid Sculpey
Got your eye on a cute baking mold from a cake shop? Any bakeable silicone molds are perfect for Liquid Sculpey. The ones you see here are ones that I found at Michael’s Craft Supply. What you can’t use are chocolate molds because they cannot handle the heat. Even molds intended for lollipops can’t be used. Although they can handle heat, they are not meant to be placed in the oven.
For Thin, Detailed Molds Use Your Finger to Fill
With deep molds or highly dimensional molds it’s easy to get air bubbles. With delicate and shallow molds like this, they can be hard to fill and can make a mess that doesn’t look professional! If it takes you several tries to get it right, don’t worry. It took me MANY. I found that using my finger to fill the mold in a swirling circle pattern was the best way.
With detailed molds like this, the trick is that you have to push the Liquid Sculpey into every crevice. Because this mold has so much fine detail, the best method is to push Liquid Sculpey in each direction – that’s why using a swirling circle works.
Then use a squeegee to remove any excess that’s outside the mold. Any remaining Sculpey will show in your finished product.
Use Scissors to Trim & Refine the Edges
After you bake your projects, if you notice uneven edges or misshapen pieces, you can still fix them! Because Liquid Sculpey is flexible after it’s baked. It’s soft, pliable and easy to cut. Use large sharp scissors or even an x-acto to clean up and trim any edges.
Now that you know all about how Liquid Sculpey works, what are you going to make with it? Tell us in the comments or tag us on social so we can see your projects! Looking for the best retailer to find Liquid Sculpey? Go straight to their website here. Liquid Sculpey comes in so many different colors and finishes. It comes in Glow in the Dark, Translucent, and Metallic finishes. And there are lots of different molds too. Going to their website is so much better than trying to piece together what’s available anywhere else.
Let’s Stay Friends!
Insta | Pinterest | Enews | TikTok