DIY
Ikea Hack: Millennial Pink & Gold Tarva Dresser Refinishing
Moving to Calgary, Alberta has been a whirlwind experience.
I’ve gotten and quit a job, I’ve reunited with my best friends, hiked several mountains, and have completely redecorated another apartment.
If you’ve been following along for a while you may be familiar with some of the past projects in my apartment. You may also know how much I love the space that my dad and I renovated together.
So, it was an incredibly difficult decision to sell the apartment when I left Toronto. However, it turned out to be a very exciting journey complete with decorating an entirely new apartment.
My Calgary Apartment
My Calgary place is about double the size of my place in Toronto, so right away I had a lot more room to play with. This is also known as room for more DIY projects if you’re anything like me haha.
Contrary to my last place, this apartment is a rental so there aren’t really many paint projects that I can do. But, I knew that I wanted this place to be more colourful than my last place. I also knew that I wanted it to cost a lot less to furnish than my Toronto apartment, so that’s where Facebook marketplace came in handy.
Before I left Toronto I sold nearly all of my furniture except for my mid century modern chair that I lovingly reupholstered. Everything else I bought when I got here. Some of the things I found are authentic mid century modern pieces that I know I’ll hold on to for a long time. A lot of the other stuff was mid century inspired but was made by modern manufacturers.
Finding the Perfect Dresser
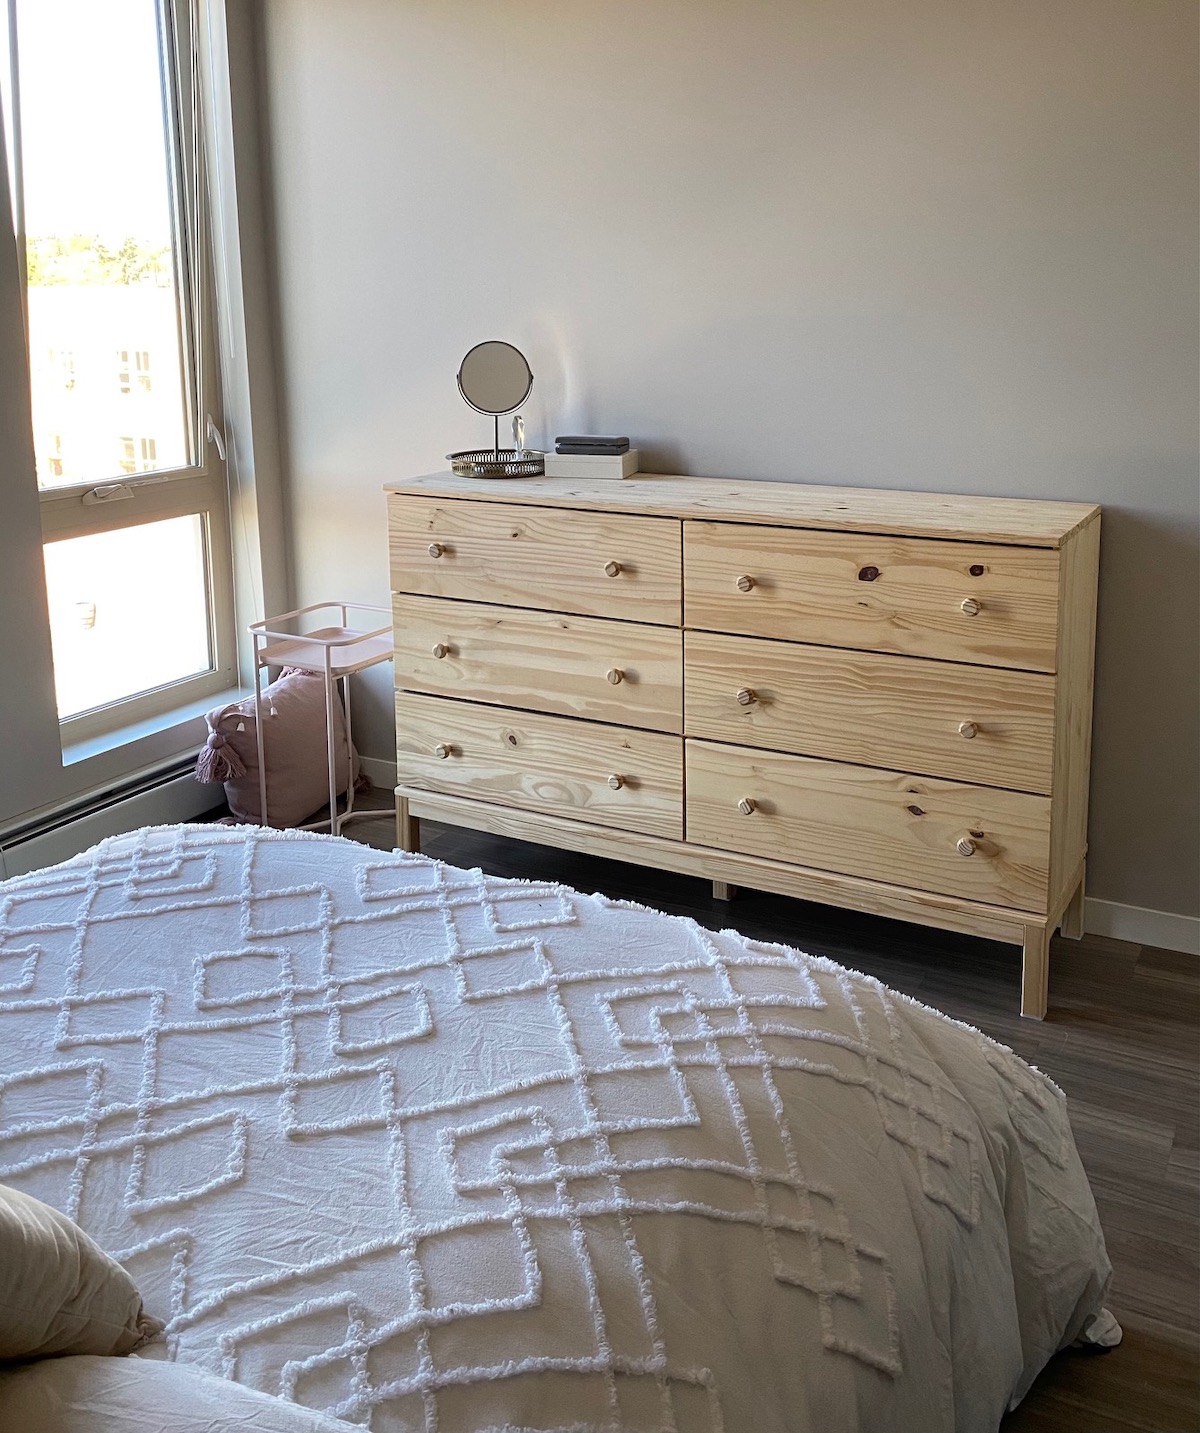
One of the more modern pieces that I found was an IKEA Tarva dresser that was just BEGGING to be transformed. The Tarva dresser is a plain pine dresser that has no finish on it. It’s got 6 drawers that have wooden handles and it sits on a platform with wooden legs. It was everything that I was looking for in a dresser – a long and thin blank canvas. The below photo is the dresser in its original state.
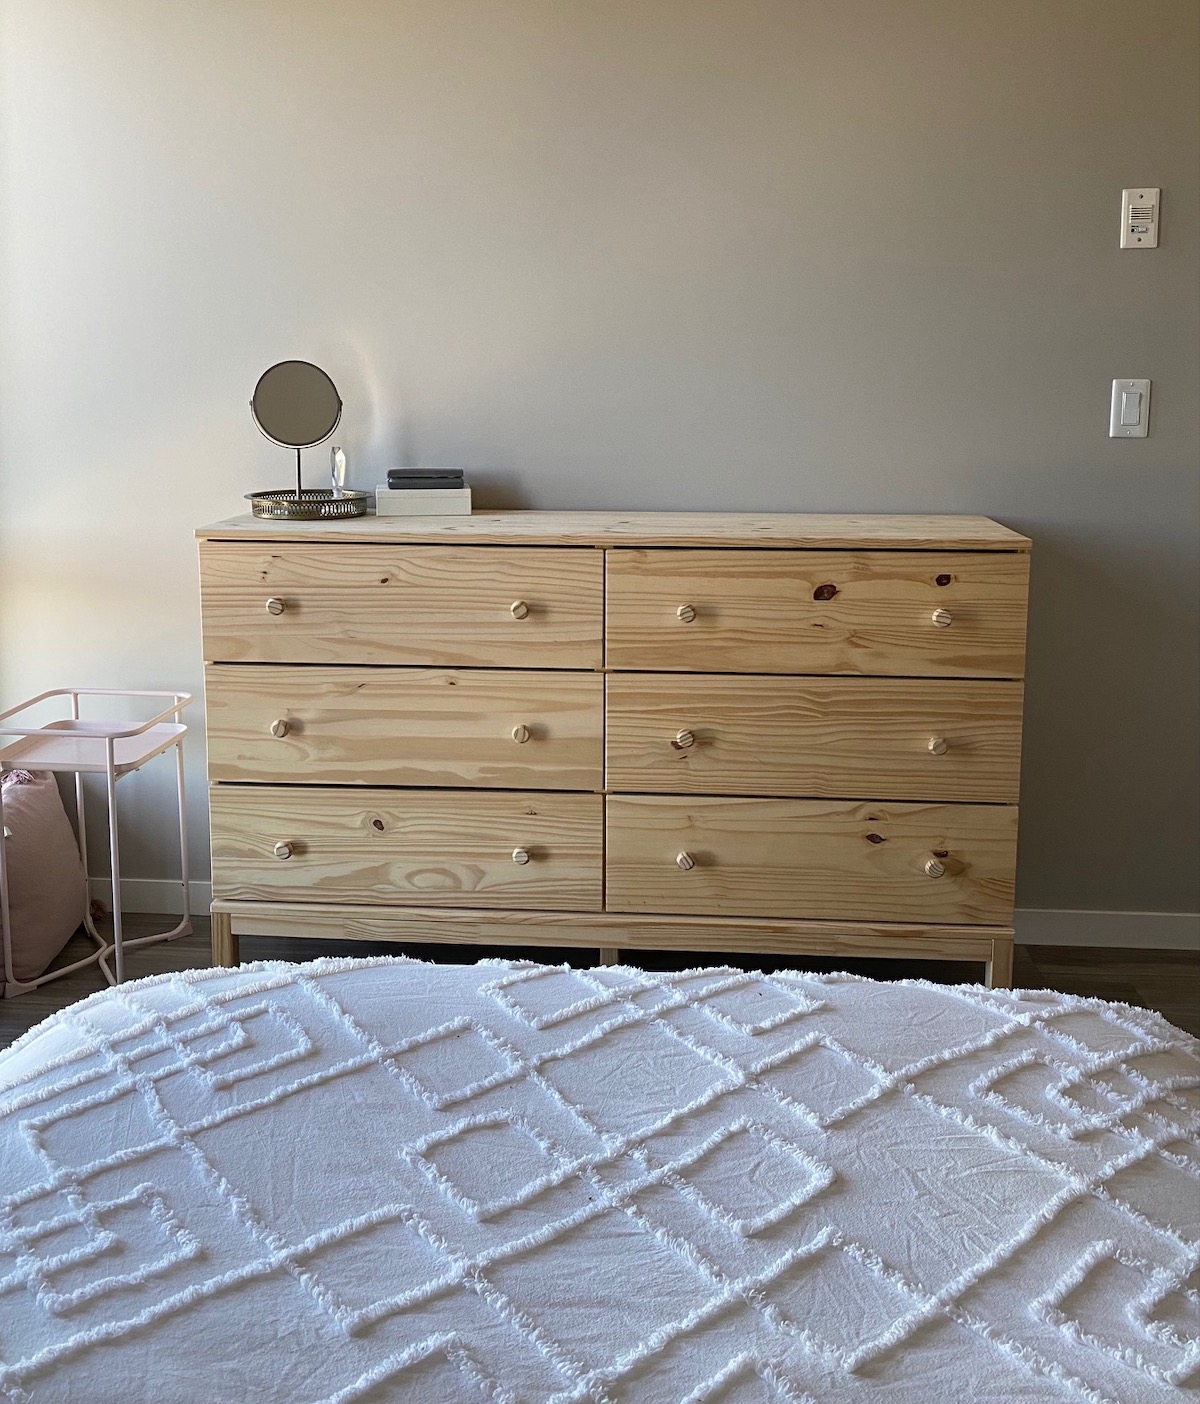
There were a number of authentic mid century options that I looked at, along with a lot of other basics. In the end, I felt like this dresser offered me the most creative freedom due to its simplicity.
Once I bought the dresser off of marketplace I started narrowing down an idea for my DIY.
Dresser Inspiration
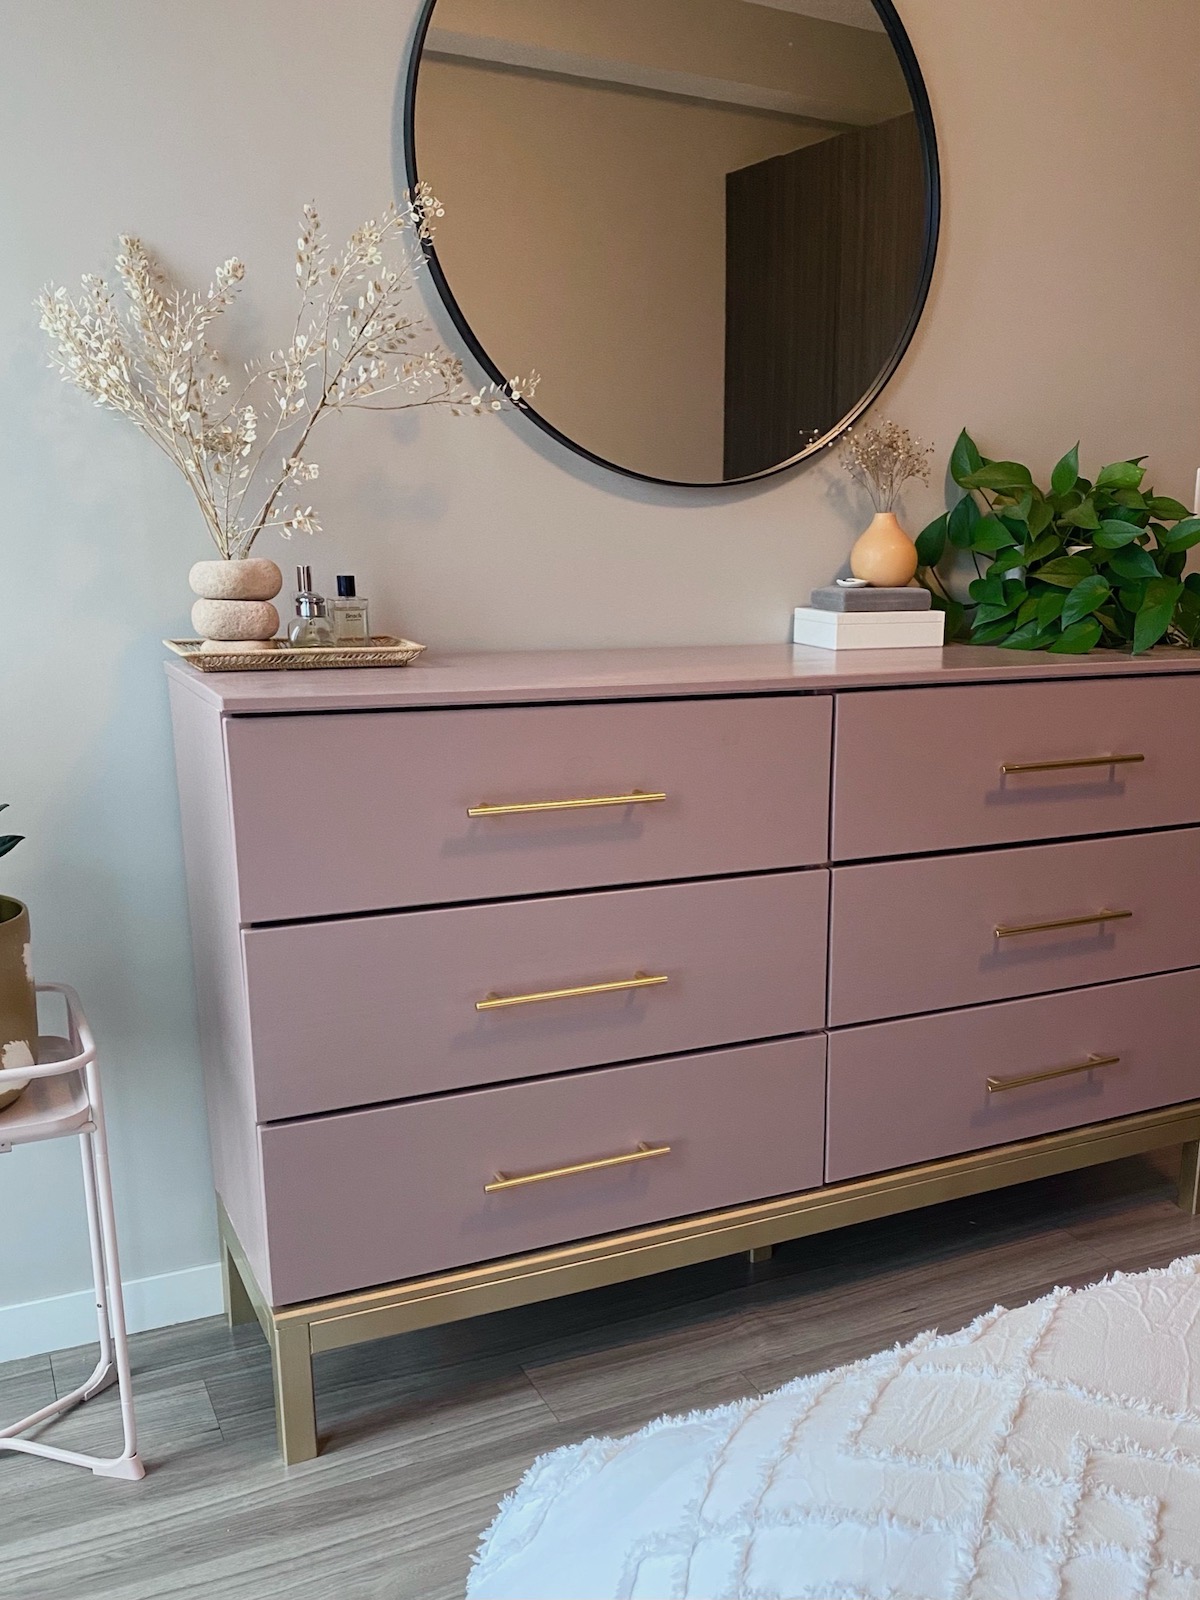
In my marketplace search, I found a dresser that was painted a deep blue and appeared to be sitting on a brass base. It was absolutely stunning, but was way out of my budget. However, that’s how I was able to narrow down on the shape that I wanted for my dresser. I knew that I wanted to try and give my dresser more visual interest by making it appear like it was sitting on a base, too. This would also make it look more expensive, but I had a much more cost effective way to achieve the look.
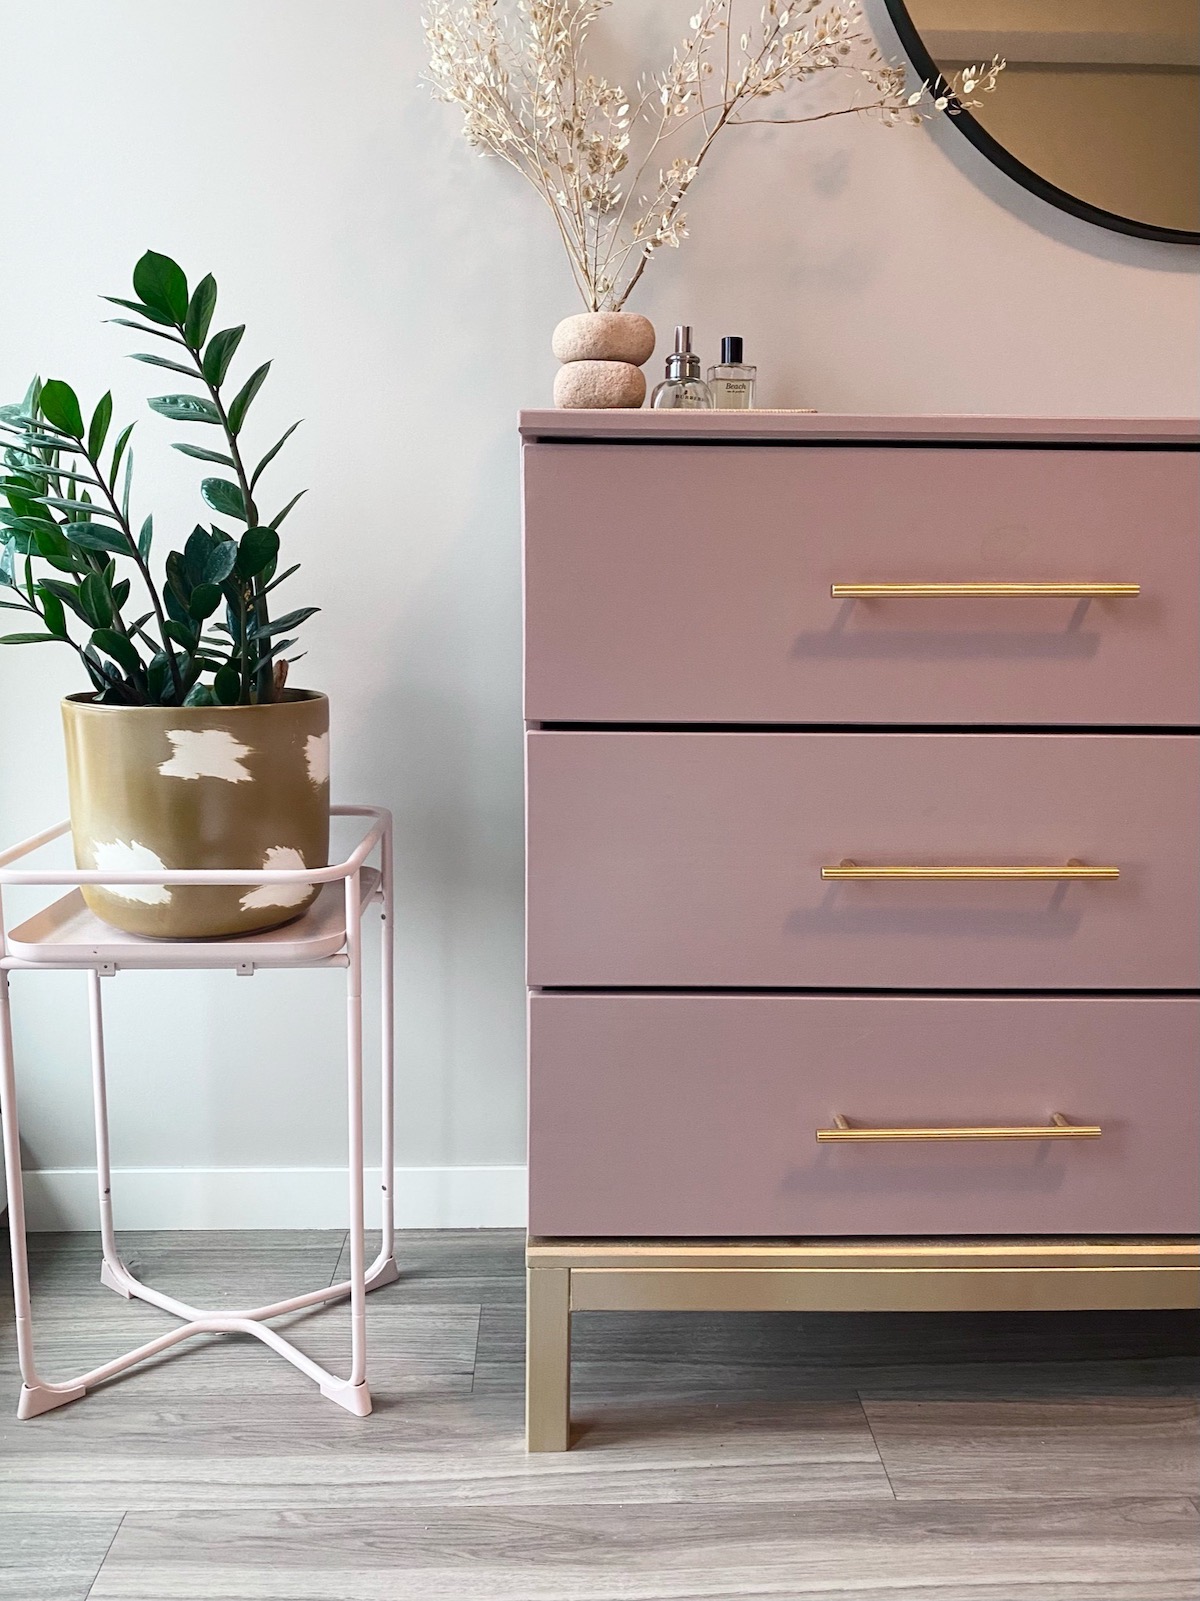
As far as colour goes, I knew that I wanted to bring in the same deep rose colour that I used on my painted circle headboard. The colour is sulking room by Farrow & Ball and it’s an absolutely perfect rich, romantic, and muted dusty rose. What’s interesting is that the colour looks much lighter here in Calgary. I still love it though! It works really well with the gold.
Of all the dresser inspiration I saw I knew I wanted to use simple, minimal gold bar pulls for the dresser. I was able to source some reasonably priced ones from Etsy and with that my vision came together.
Now, comes the hard part – executing all the work of refinishing the dresser.
Ikea Hack: Millennial Pink & Gold Tarva Dresser Refinishing
Supplies
- Ikea Tarva 6 drawer dresser
- 1/2 quart of paint (I used Farrow & Balls’ sulking room in a matte finish)
- wood filler (optional, but probably necessary if your furniture is old)
- sand paper in fine grit (220)
- primer (I use Bullseye 1-2-3)
- tack cloth – and lots of it!
- painter’s tape
- newspaper
- Minwax polycrylic water based protective finish in a matte finish
- 2 paintbrushes (1 for paint & primer, 1 angled for the polycrylic coat)
- a paint tray for the primer & paint
- a drop cloth
- spray paint in gold colour
- 6 handles (I used these in the 192mm size)
- a drill or screwdriver
Prep Instructions
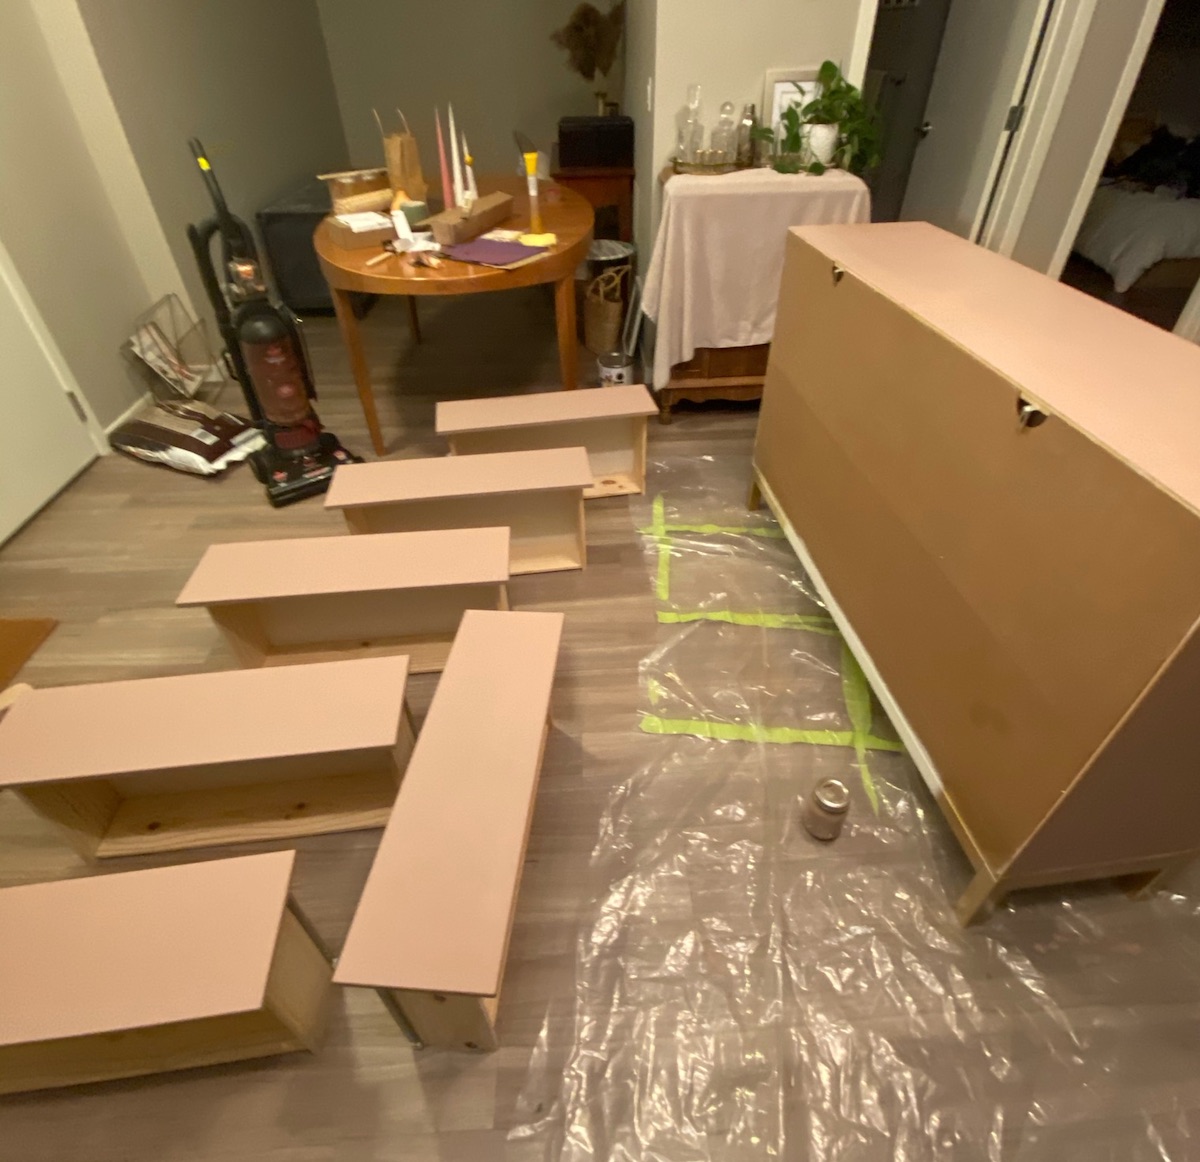
- Start by laying down a drop cloth and placing the dresser on it.
- Remove the drawers from the dresser and place on the drop cloth with the fronts facing up. Remove handles from dresser.
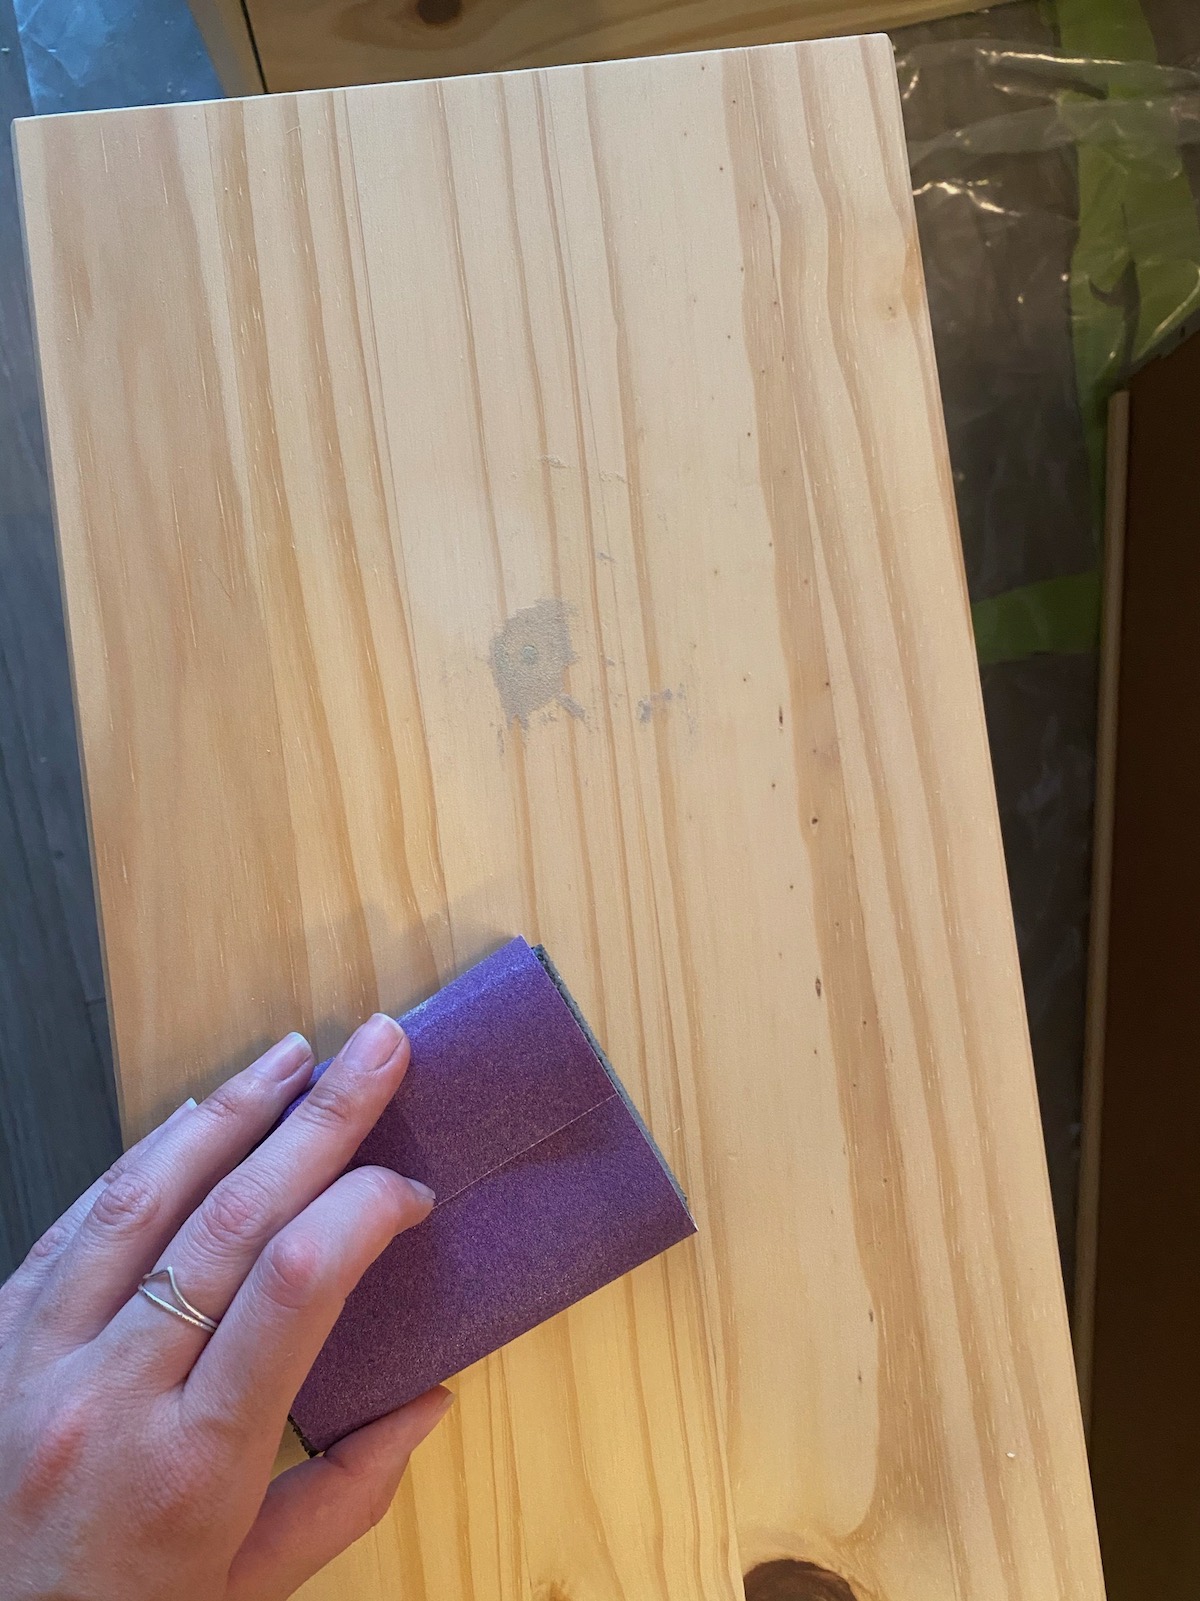
- For my project, I knew I wasn’t going to use the same handles so I used a fine grit sandpaper to sand then fill in the holes where the knobs were.
- Note any other scratches or imperfections in the dresser and use the wood filler to fill them. Allow wood filler to fully dry.
Priming Instructions
Now, it’s time to prime your dresser. For optimal results, you’ll want to do 3 coats of primer and will want to follow the below steps each time you prime the dresser. If you’re using the Tarva dresser like I did, you’re going to want to remove the protective plastic feet that come with the dresser. Also, if you’re going to keep the handles that the dresser came with, include priming/painting/finishing them in the same way as the dresser.
- Sand the entire dresser with fine grit sandpaper.
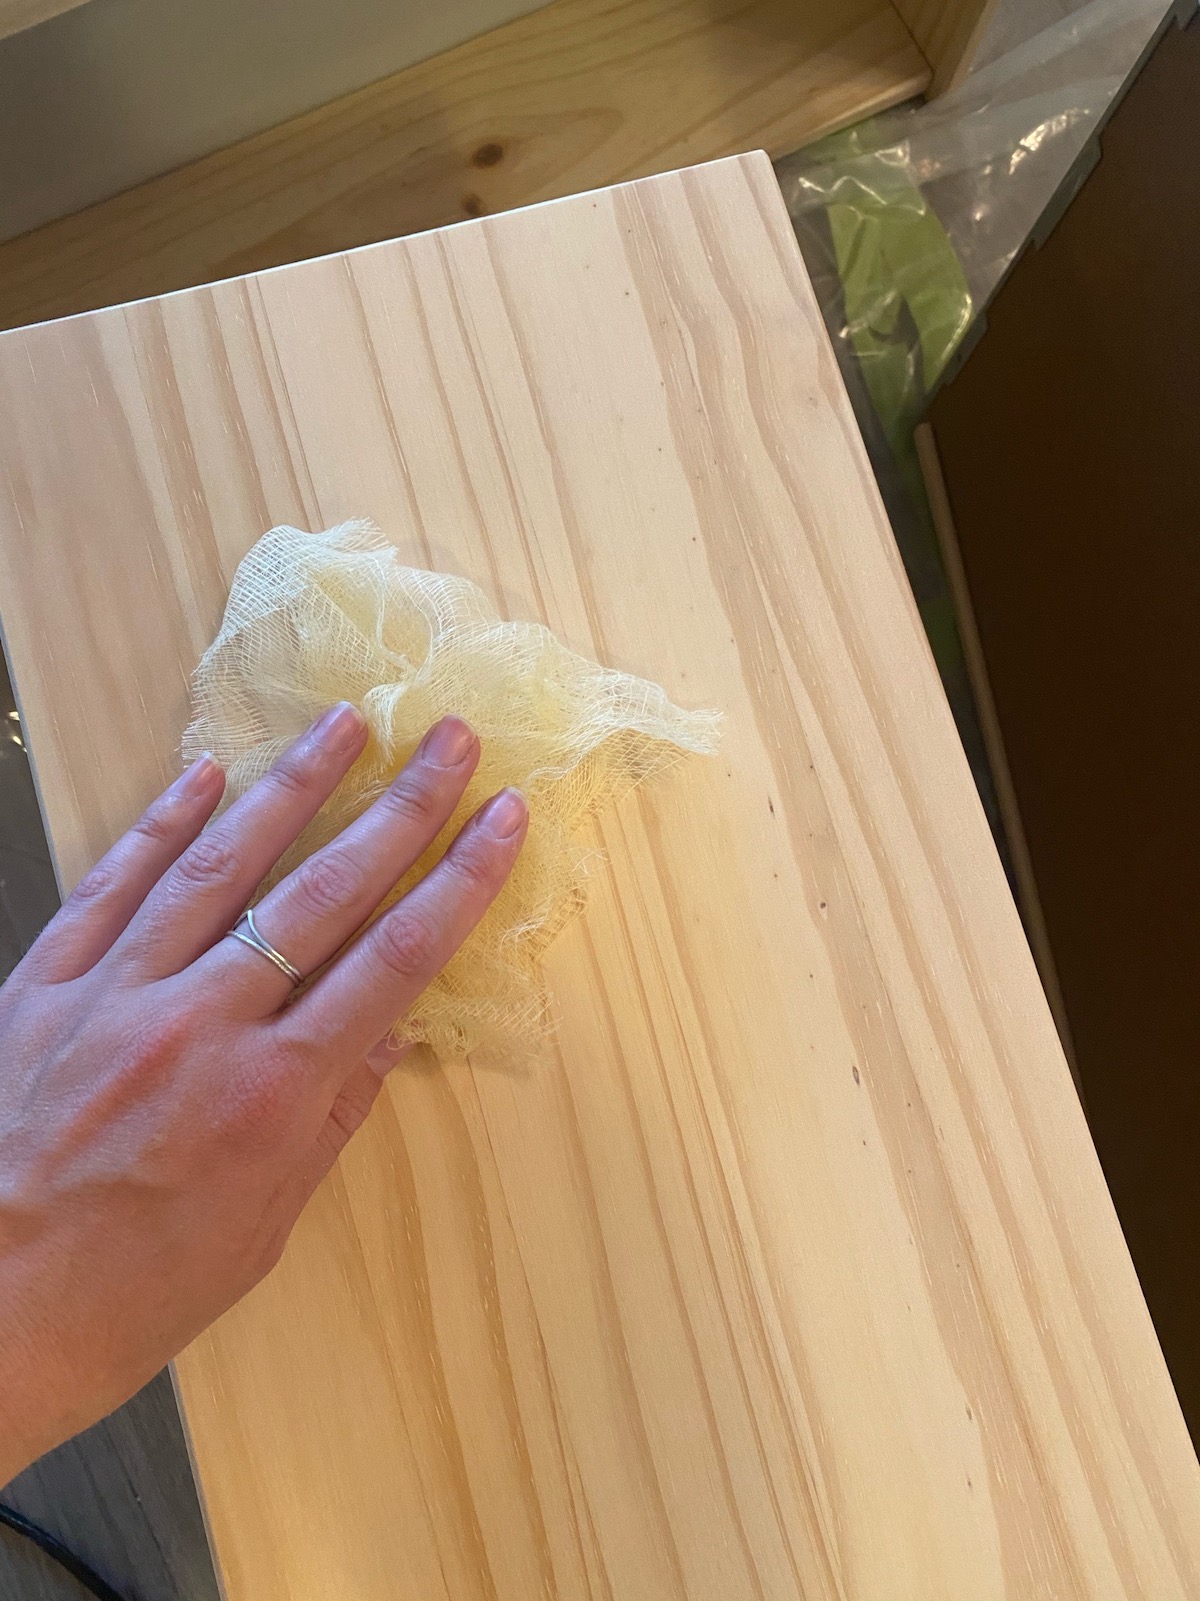
- Use tack cloth to wipe down the entire surface of the dresser. This removes all debris and ensures that your paint will go on smoothly without any dust or hair getting stuck in it.
- Using your paintbrush, prime all the nooks and crannies of your dresser. You’ll probably have to use the brush for the legs, any corners or any very thin portions.
- Next, take your roller and finish priming the rest of the dresser so that one full coat is done.
- Allow to dry for at least 3 hours. To speed up the drying process, you can direct a fan on the dresser.
- Repeat steps 1-5 for the remaining 2 coats of primer.
Painting Instructions
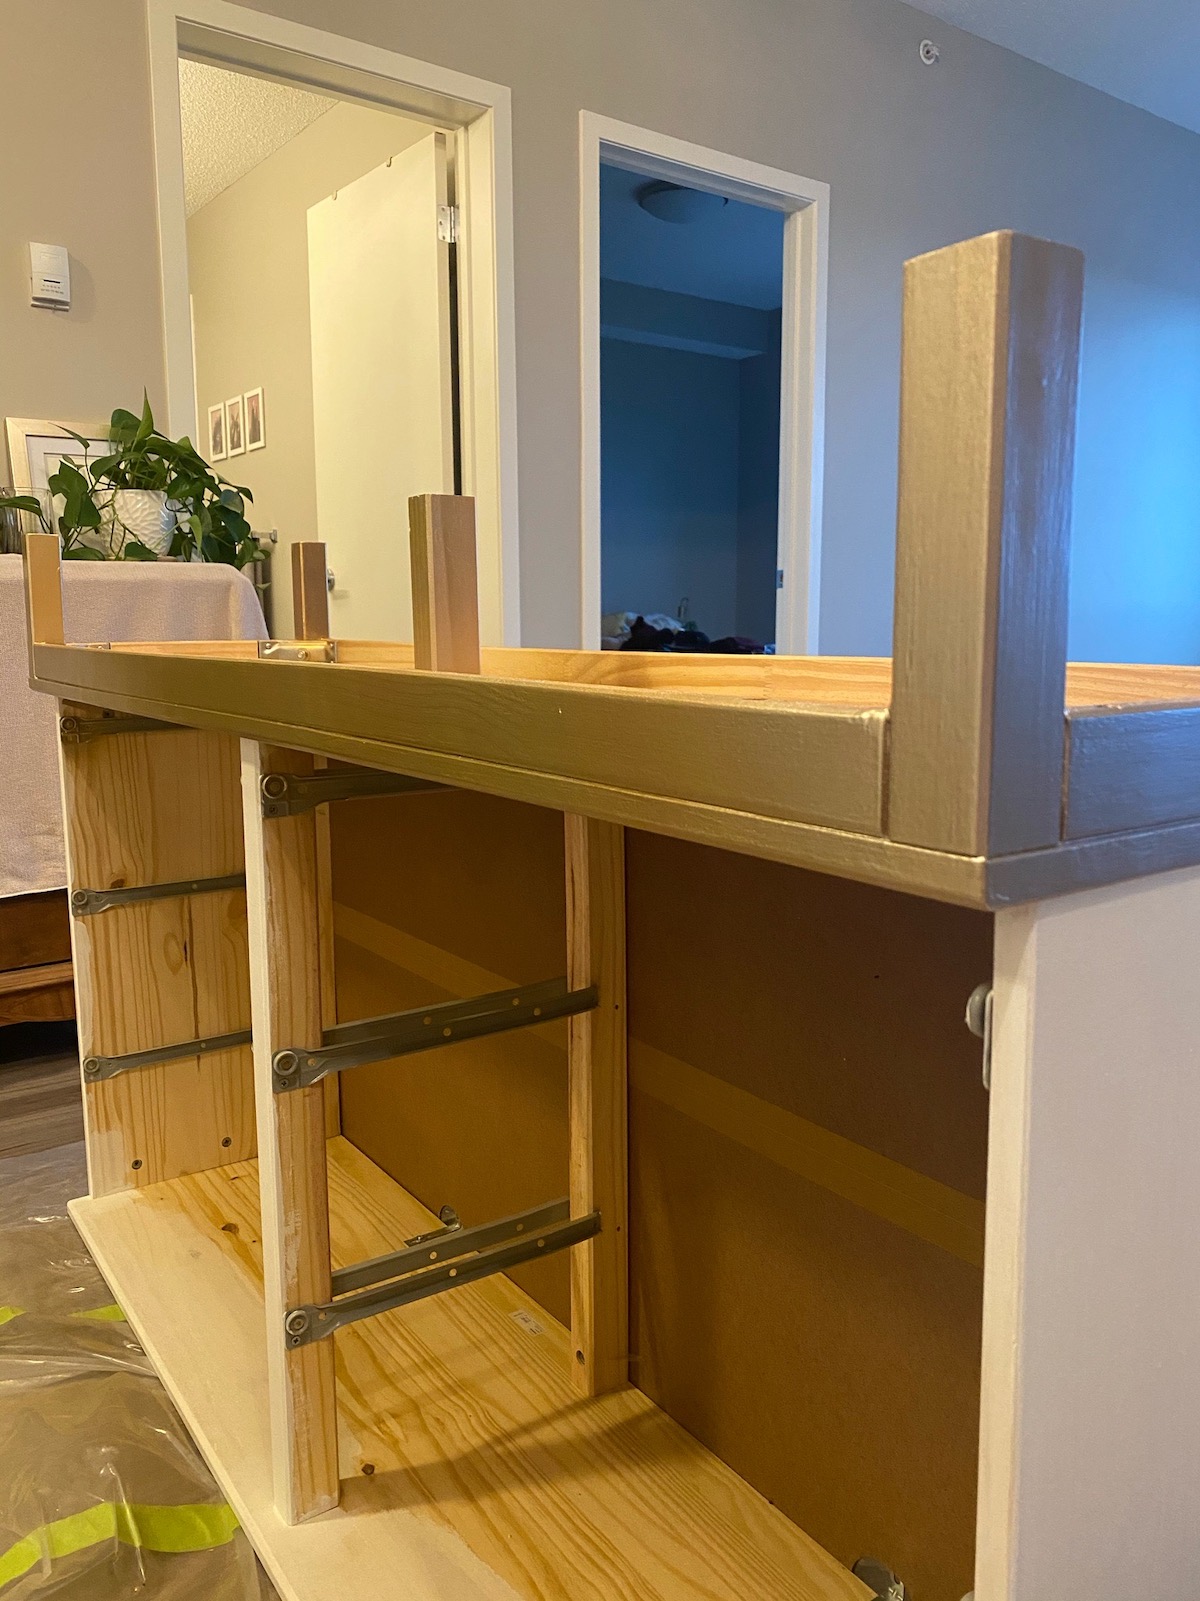
For my dresser I wanted the legs to be a different colour than the rest of the dresser. This means that you’re going to want to do the legs first so that you can cover any mistakes with the main paint colour.
- Using the painters tape and the newspaper, tape off the top of the dresser so that it won’t be spray painted as well. I just wanted the base of my dresser to be gold, so I covered everything else with newspaper and used the tape to create a crisp line.
- Next, I lightly sanded the primed legs and used tack cloth to wipe off any debris.
- For my gold colour I used two coats of matte gold spray paint and allowed the paint to dry for about an hour in between coats. For the spray paint I didn’t sand or use tack cloth in between. Just make sure you’re spraying even coats in a well ventilated area.
- When the spray paint is dry carefully peel of the tape and discard the newspaper.
- Now is the fun part! We’re going to use the same process for the paint as we did for the primer. I also did 3 coats of paint on the dresser.
- Sand the entire dresser with fine grit sandpaper.
- Use tack cloth to wipe down the entire surface of the dresser.
- Using your paintbrush, prime all the nooks and crannies of your dresser.
- Next, take your roller and finish priming the rest of the dresser so that one full coat is done.
- Allow to dry for at least 3 hours. To speed up the drying process, you can direct a fan on the dresser.
- Repeat steps 6-10 for the remaining 2 coats of paint.
Sealing Instructions
In order to properly finish a piece of painted furniture, it’s essential that you seal it. This ensures that the piece won’t scratch easily and that it will hold up a lot better to everyday wear and tear. For my projects I use Minwax polycrylic in a matte finish. It’s a water based sealer that won’t yellow overtime.
- Sand the entire dresser with fine grit sandpaper.
- Use tack cloth to wipe down the entire surface of the dresser.
- Using your angled paint brush, apply the Minwax to the entire dresser. Try to work quickly using long strokes so that it comes out evenly. Work with small amounts on your brush at a time.
- Allow to dry for at least 3 hours. To speed up the drying process, you can direct a fan on the dresser.
- Repeat steps 1-4 for the remaining 2 coats of minwax polycrylic.
- After the last coat, allow your dresser to dry for at least 4 hours before light handling and up to 24 hours for regular use.
Finishing Instructions
To finish the dresser we’re going to put all the drawers back in and reattach the handles. If you’re using the same handles that came with the dresser, simply attach them. If you’re using new handles, measure to find the centre of each dresser drawer and use that as a guide to attach the handles.
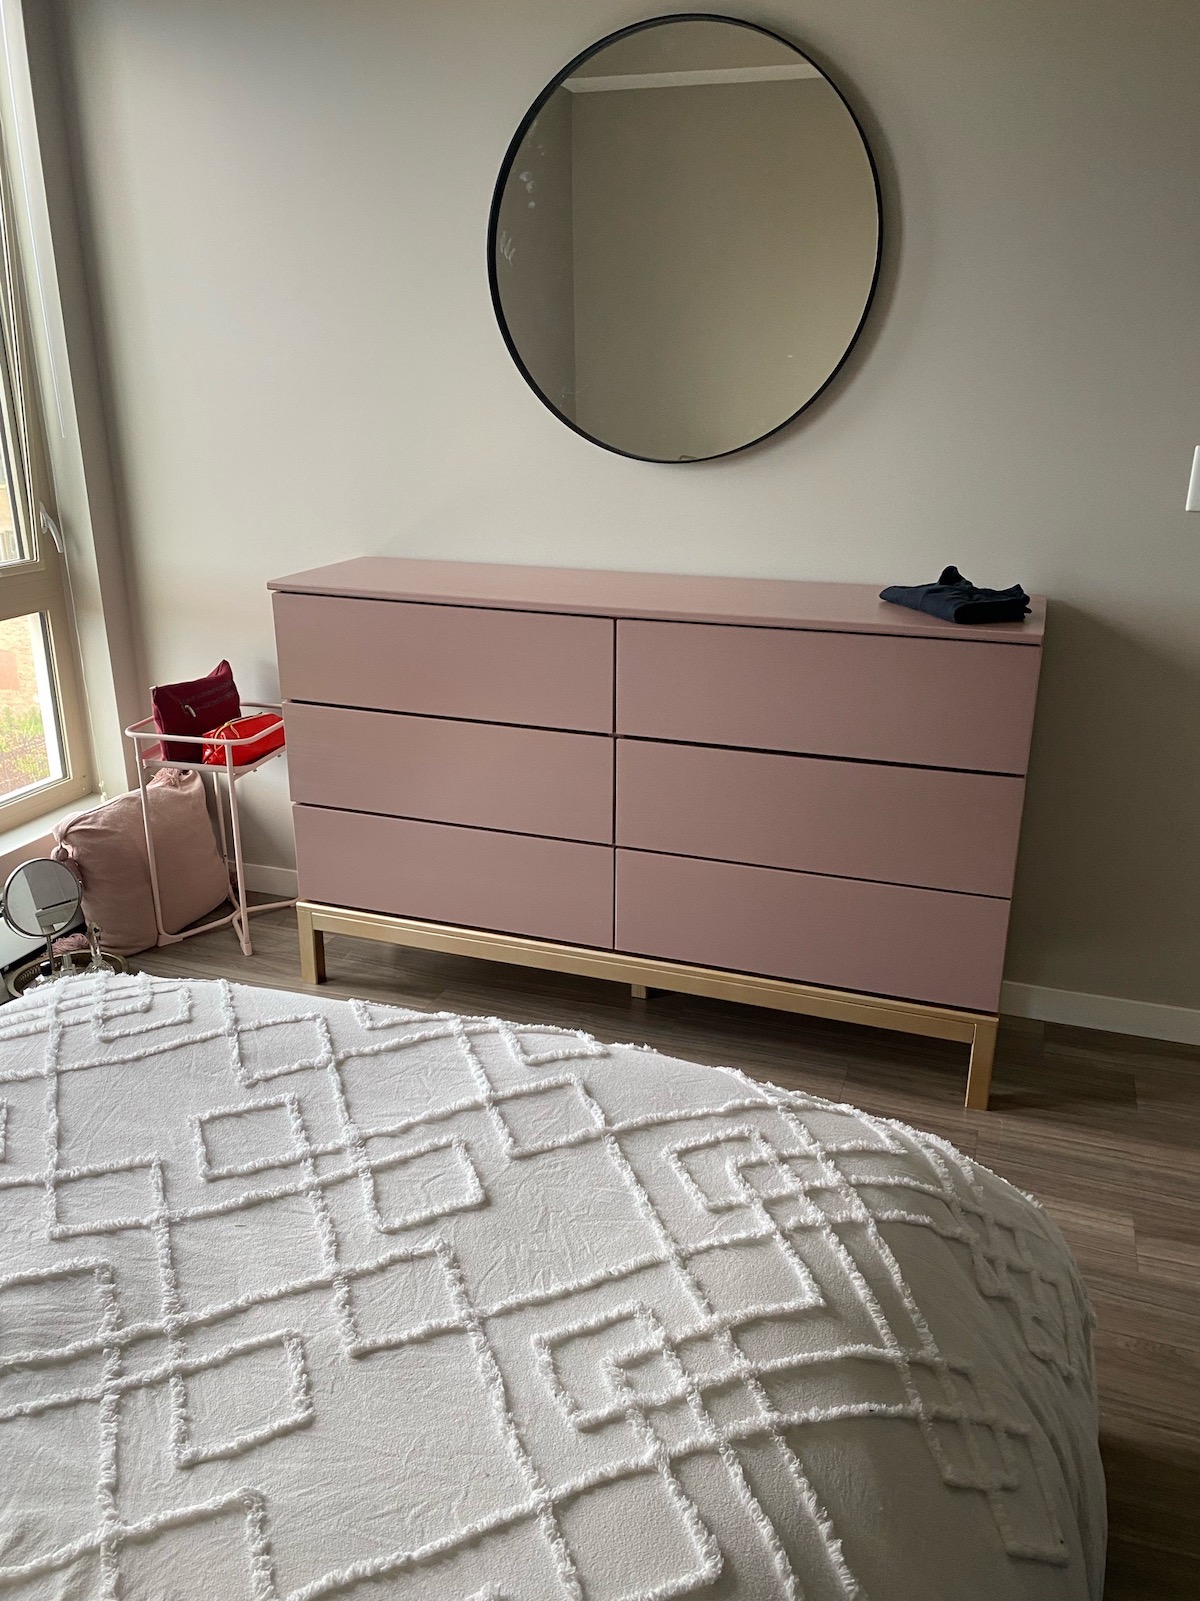
I like to measure and mark the centre of each drawer. I then place a piece of tape over the attachment point(s) of the handle and find the centre of the piece of tape. Next, I mark the handle attachment points on the piece of tape. I then take the tape off the handle and line up the centre of the piece of tape with the centre of the dresser, ensuring the tape is level. From there I’m able to use a drill to make holes in the dresser front and screw in the handle that way! The piece of tape ends up being your guide and you can reuse it to attach each handle.
The Finished Dresser
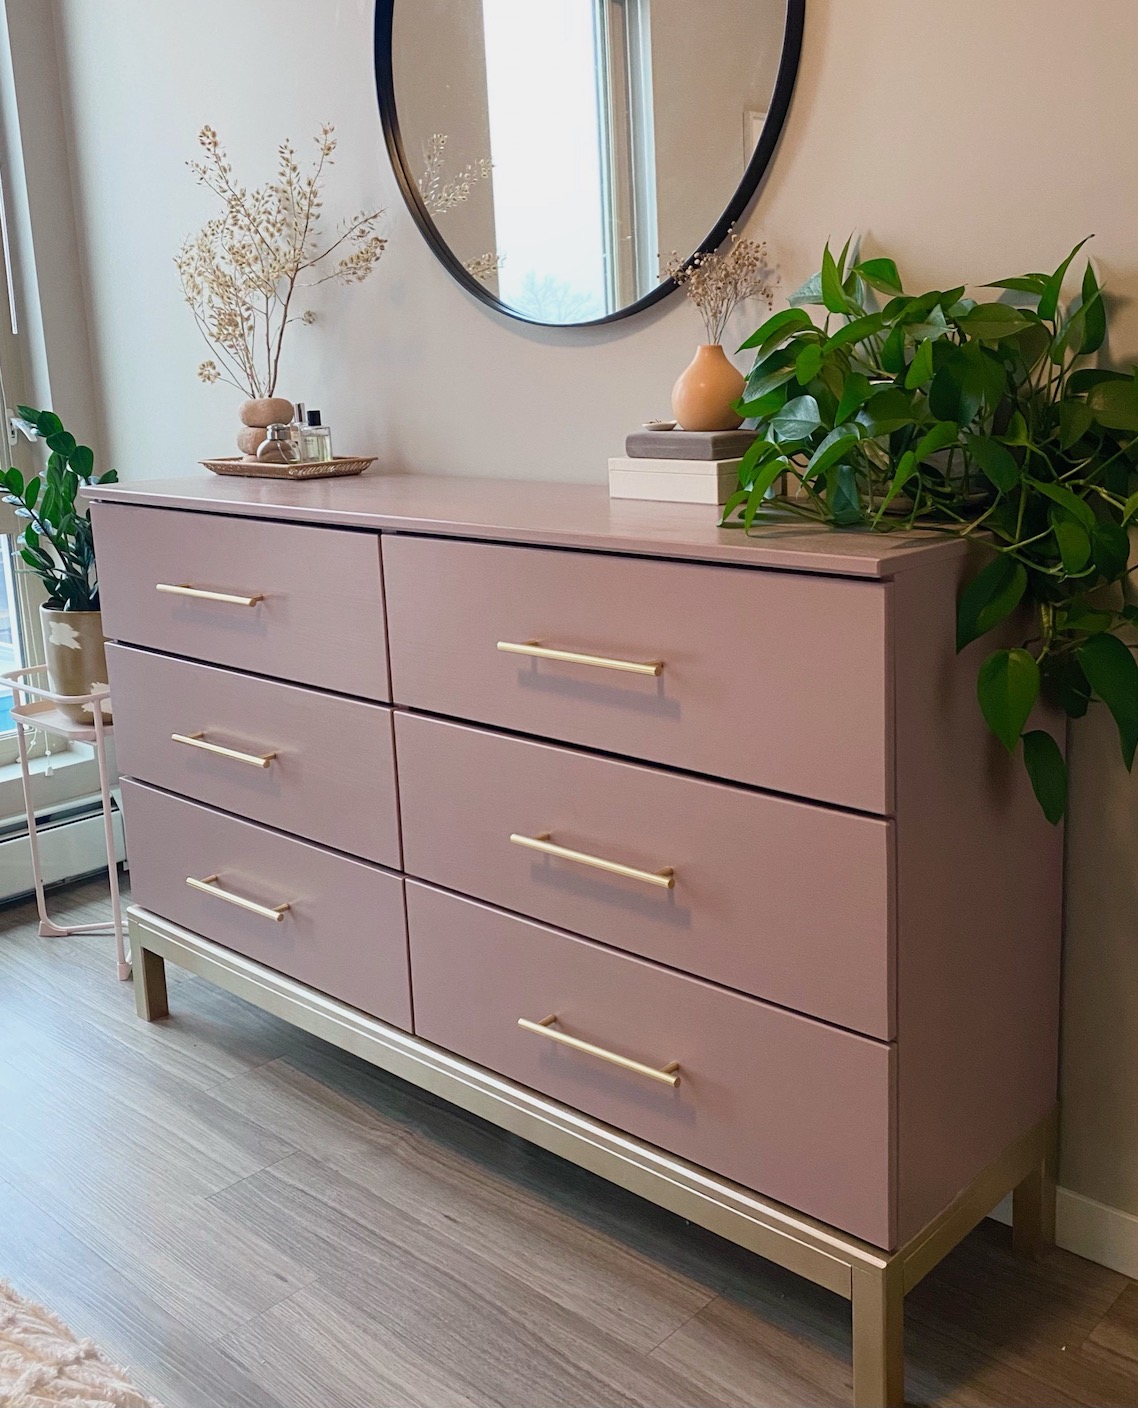
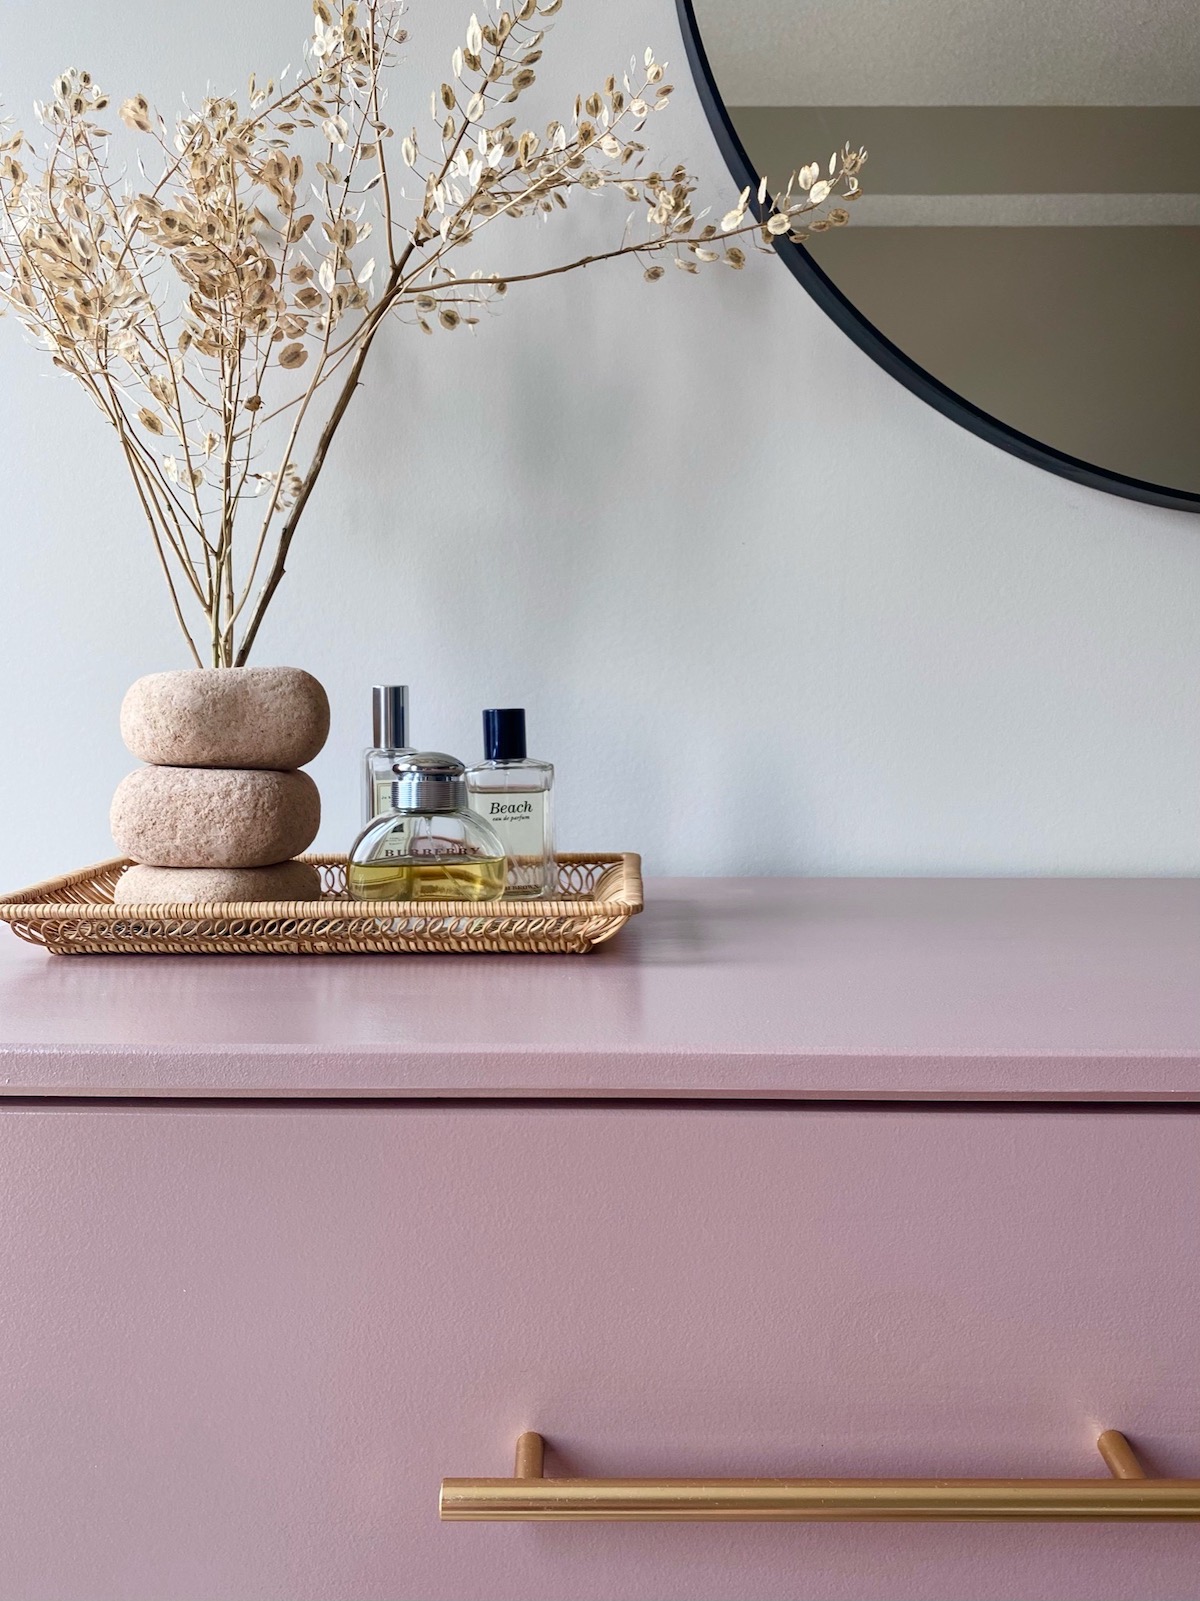
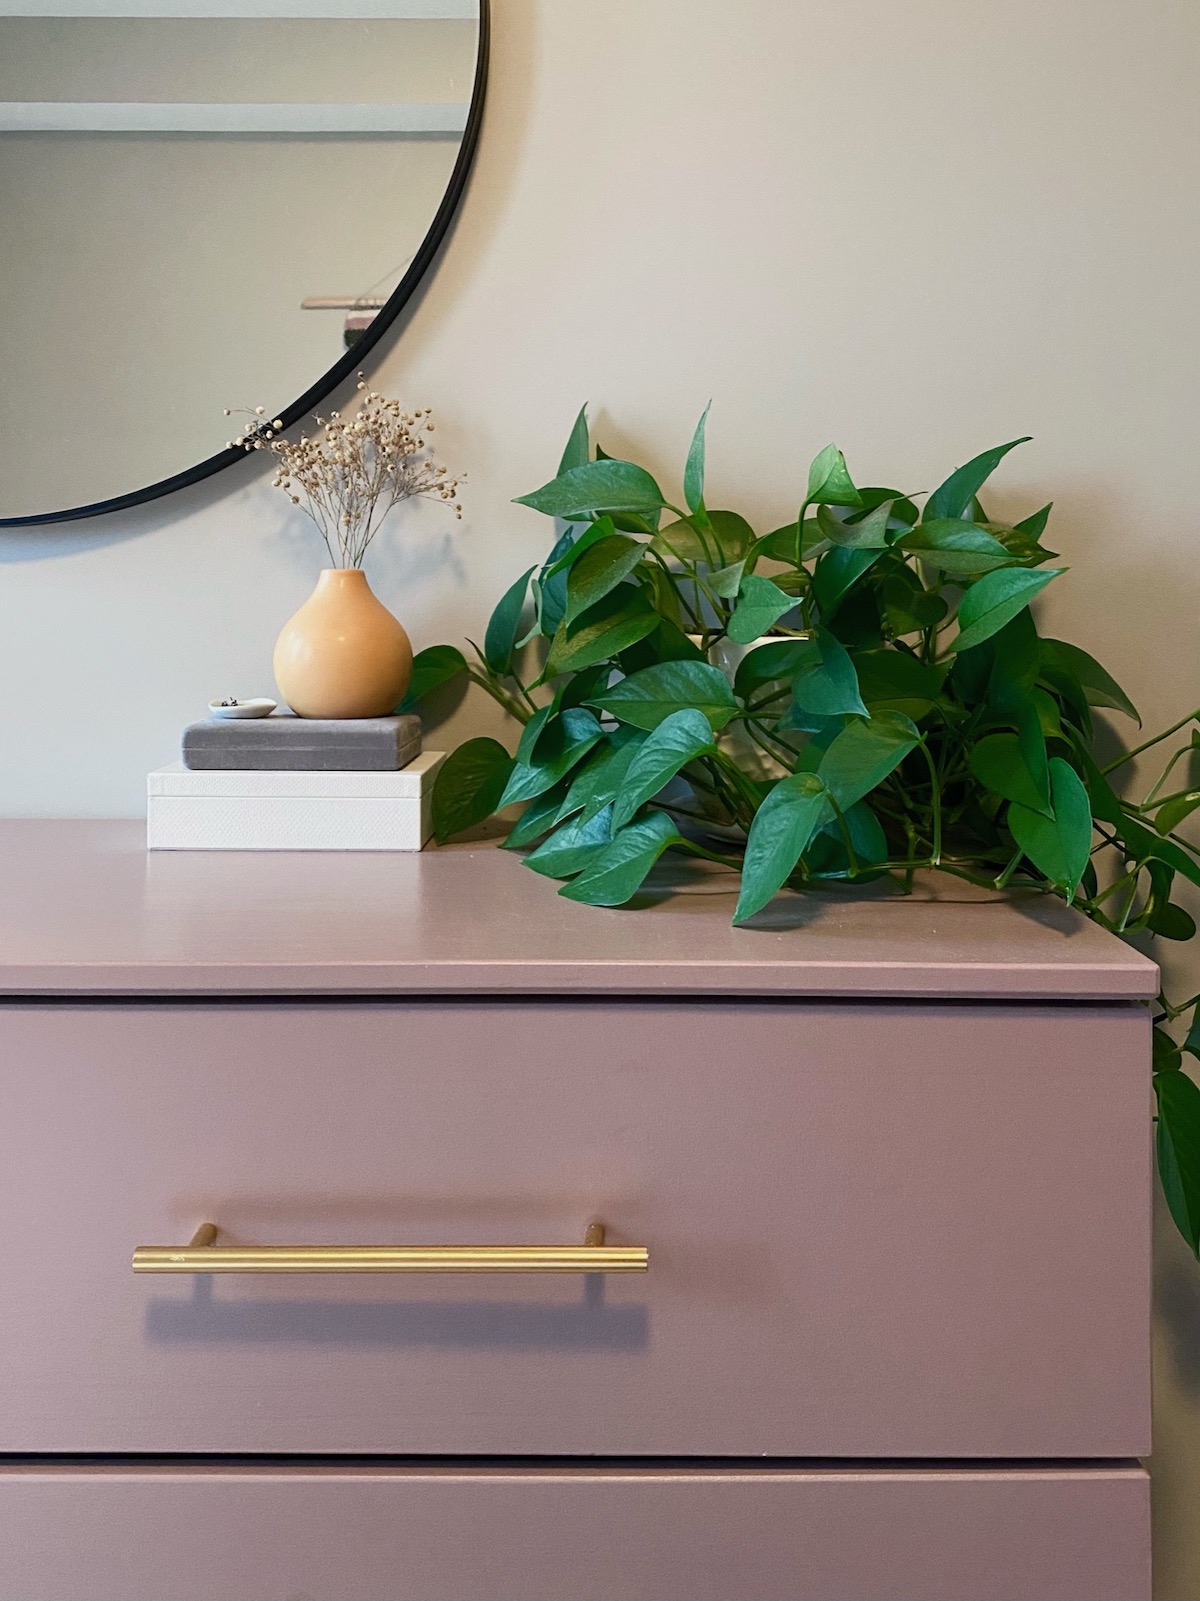
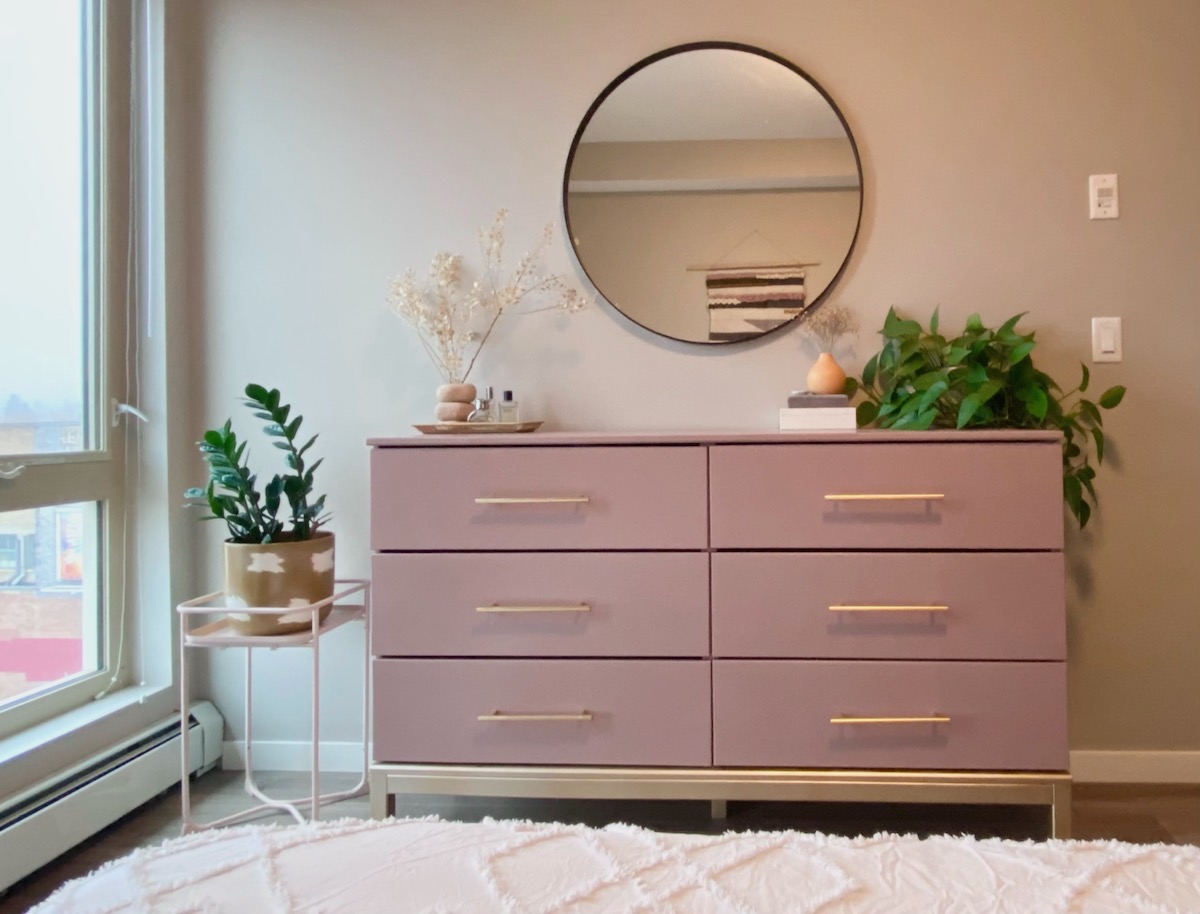
Overall, this project is a huge labour of love. However, trust me when I say that it is absolutely worth it! I now have a completely unique piece that looks nothing like the basic IKEA dresser it originally was! The gold base and handles give it an elevated look and the dusty pink paint colour imparts a rich, yet romantic feeling.
I’ve had the dresser in my room for about six months now and it still looks absolutely perfect! If you’re looking for a unique piece for your home, I highly recommend making one yourself! I love mine so much!
xo, Tess
Let’s Stay Friends!
Insta | Pinterest | Enews | TikTok



Love this! Can you tell me the color of the wall behind the dresser?
Hi Jillian! Thanks so much! I live in a rental so I’m not sure of the exact shade as it was there when I moved in, but it looks a lot like silver satin by Benjamin Moore to me!
Thank you!! I’m super new to DIY and in trying to learn I’ve read so many blog posts and yours is by far the most detailed and beginner friendly. I really appreciate it!!
That is so sweet Cat! Thanks for reading. 💖 🥰
Do you mind telling me the color you used for the dresser??
Hi Natalie, This is the color >>> https://www.farrow-ball.com/en-us/paint-colours/sulking-room-pink