DIY
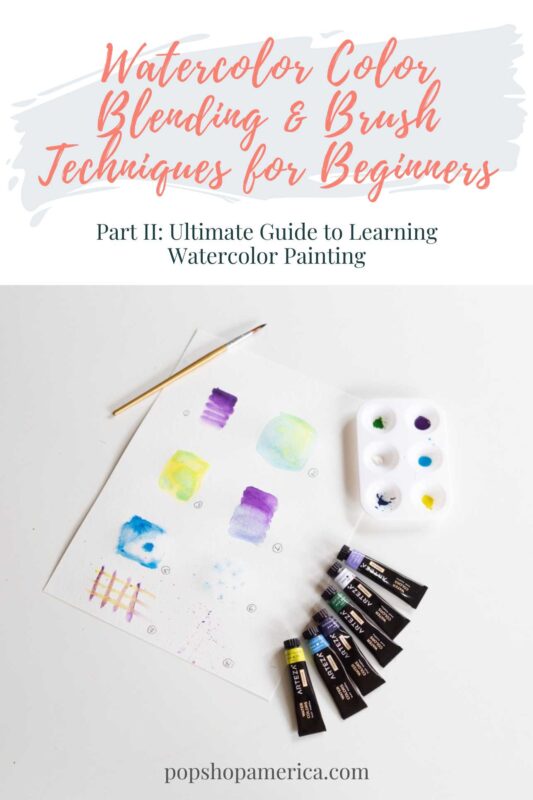
Watercolor Color Blending Techniques for Beginners
Aug
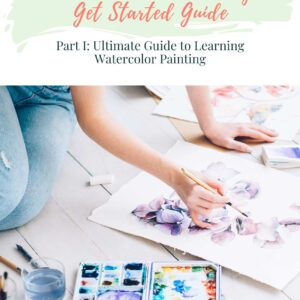
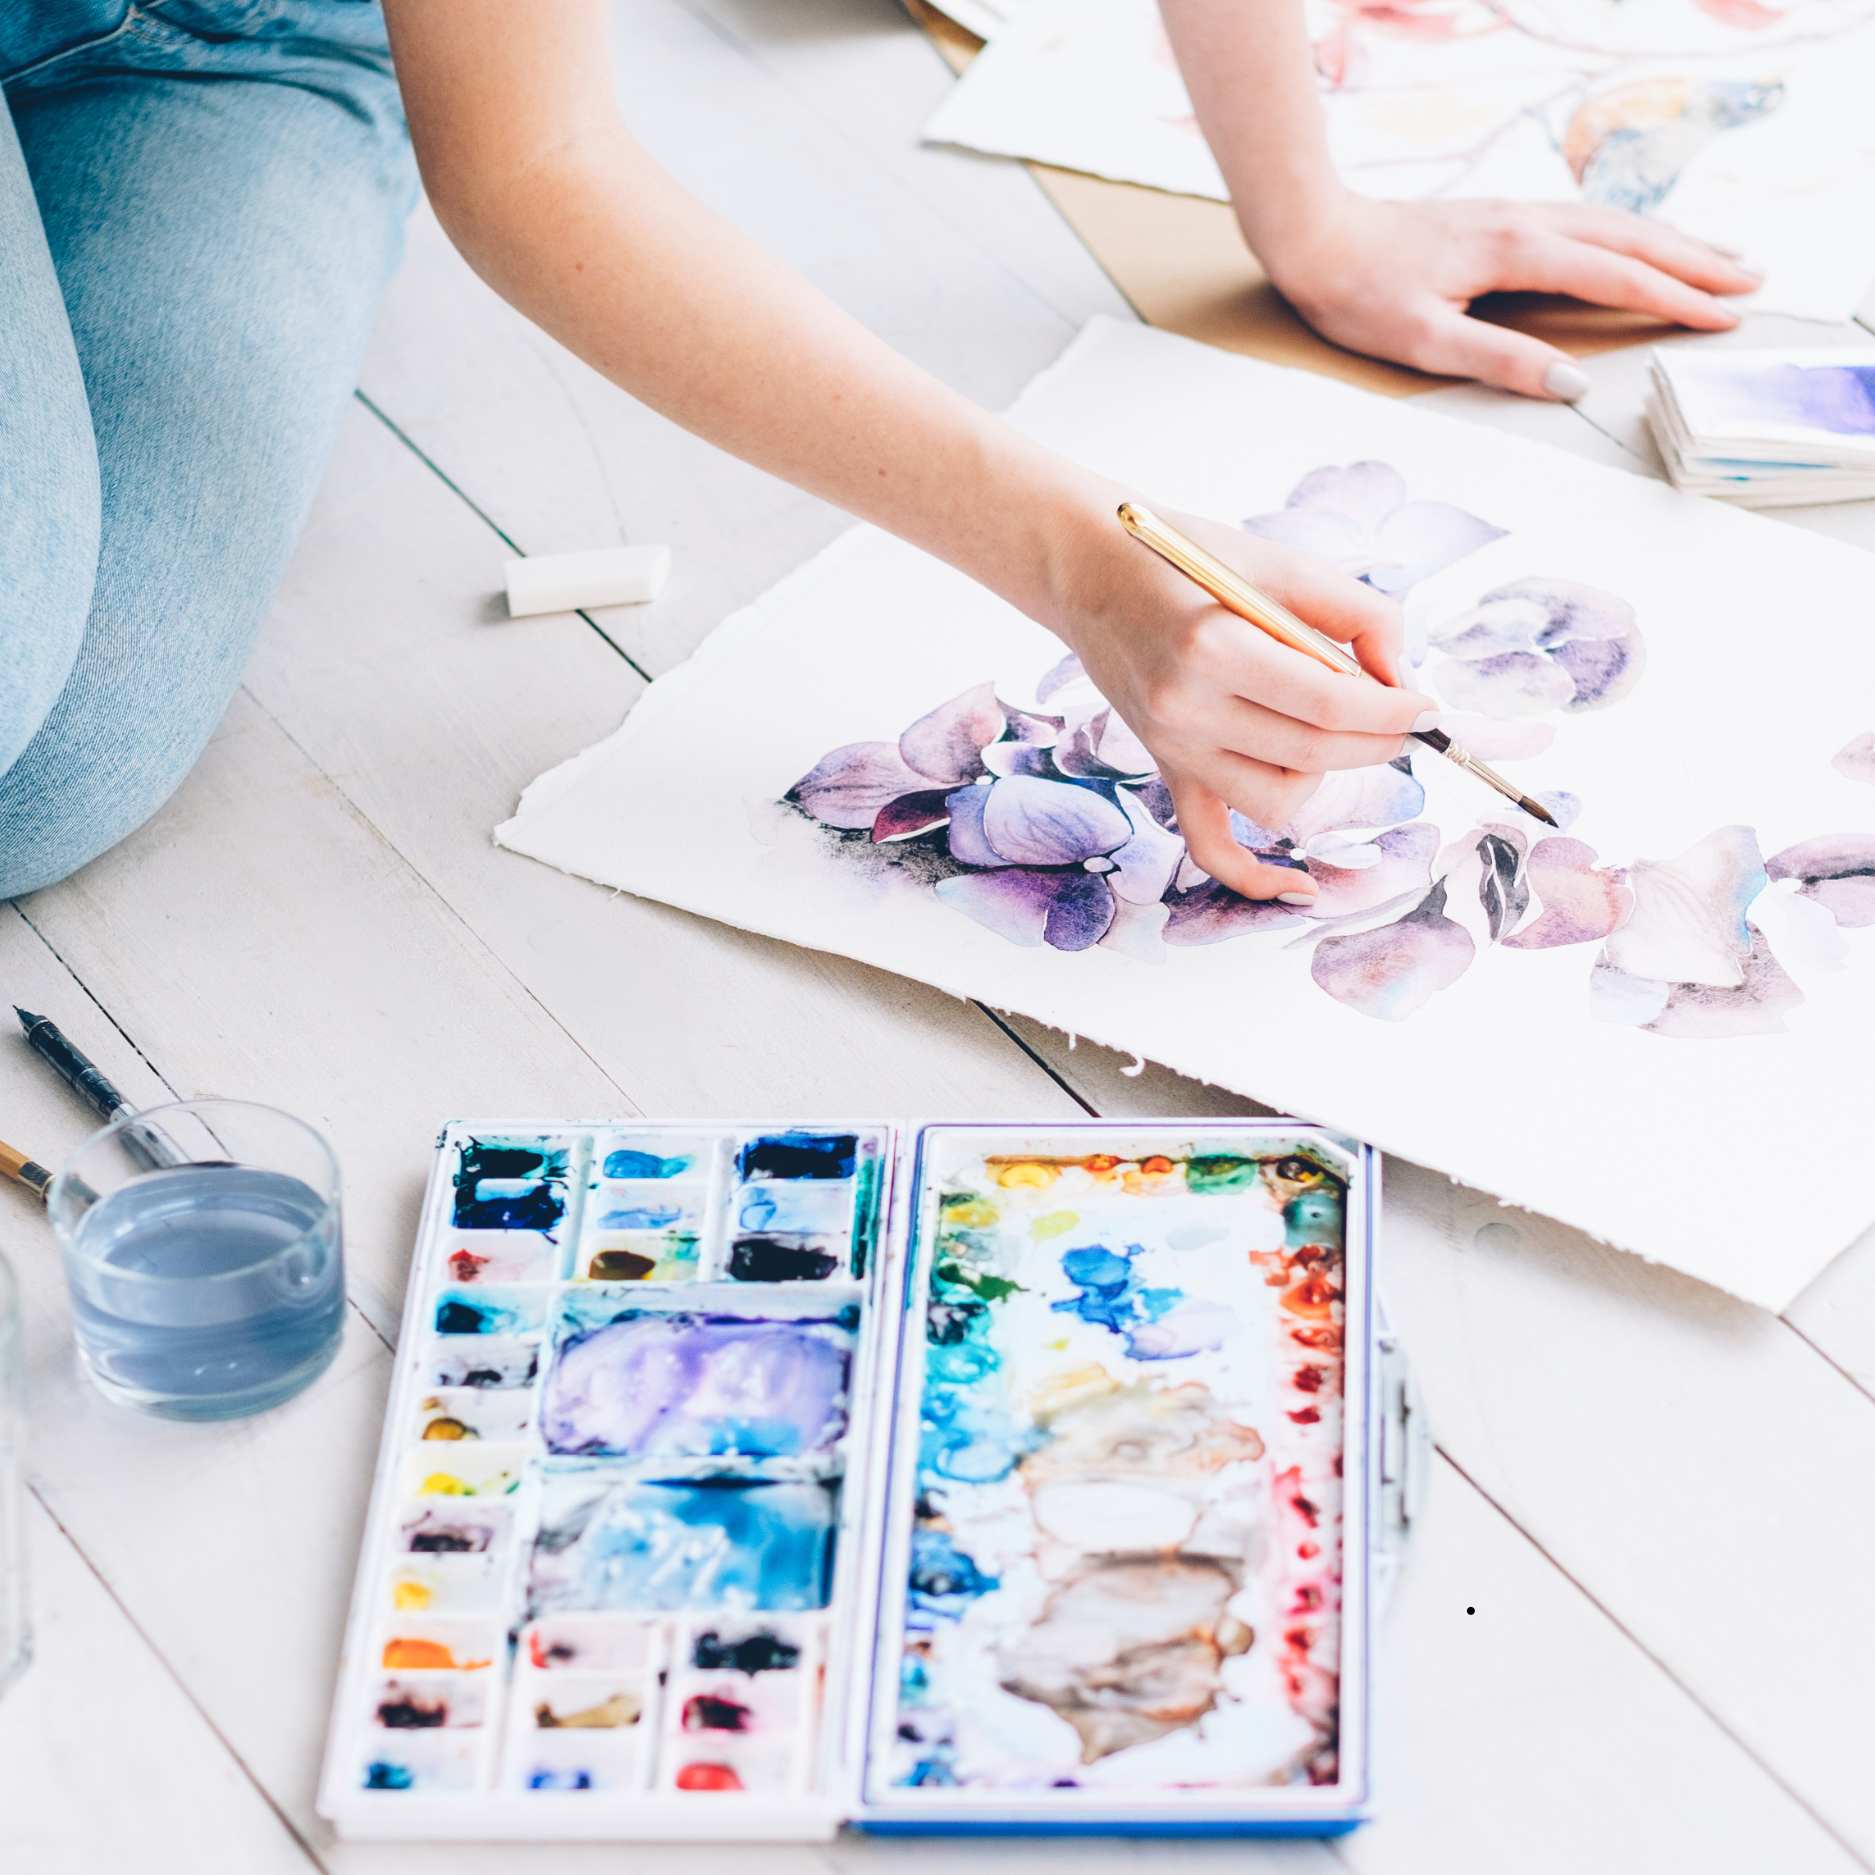
This is part 2 of 2 of the Get Started with Watercolor Painting Guide. You can find Part 1: The Ultimate Guide to Learning Watercolor Painting for Beginners here. This tutorial is all about the basics – supplies, brushes, paper, and so much more!

This tutorial is how to move your paint and water along your paper. This is where it start to get fun! The easiest thing is to watch this video and follow along with your own watercolor painting supplies.

The goal for this blog is familiarize you with all the different ways you can use your pigment, water, and paper to get to know watercolor as a medium. All 3 of these supplies – pigment, water, and paper have unique qualities that can change how your finished painting looks.
This blog is all about the foundation of working with watercolor. It’s beginner friendly and all these practice brush strokes should be really fun because you don’t need any natural talent to work with them – all you need is time, patience, and the willingness to try something new!
Let’s get started with these beautiful and fun brush and color blending basics.
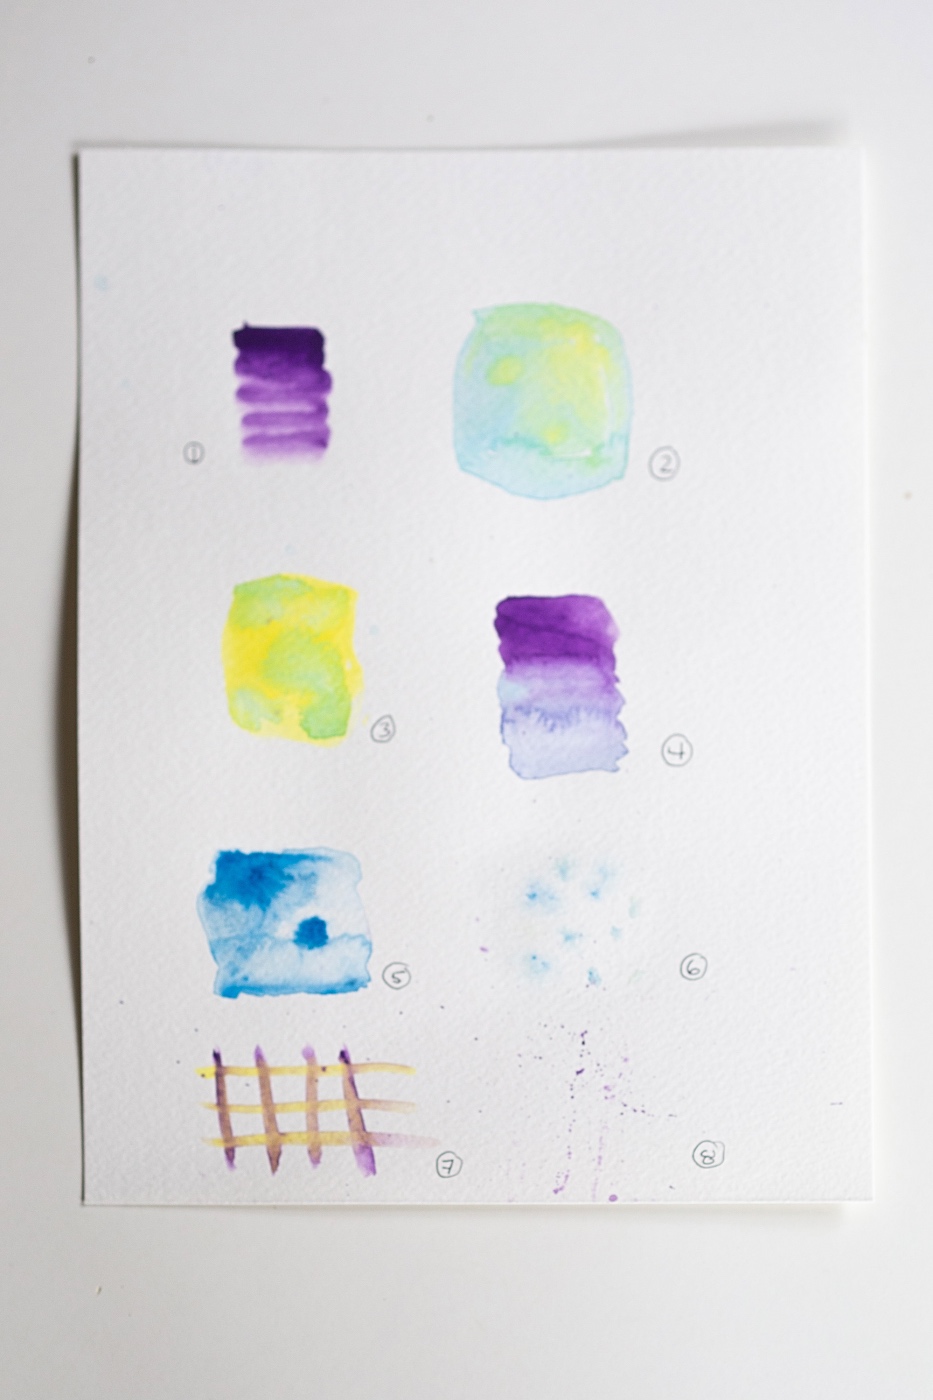
All your basic blending techniques will fall into one of these categories:
1. The paper is dry before you start painting.
2. The paper is wet, but no water is pooling before you start painting.
3. The paper is wet and water is pooling on the surface before you start painting.
4. You are using one color that is seamless.
5. You are using one color and creating a gradient from light to dark in that color.
6. You are using the tip of your brush to drop color onto the paper.
7. You are blending multiple colors (using the techniques above).
8. You are using fun techniques with salt, wax crayons, or other items.
It may sound like a lot, but as you work through them one at a time, it will all come together.
Before You Get Started with Watercolor
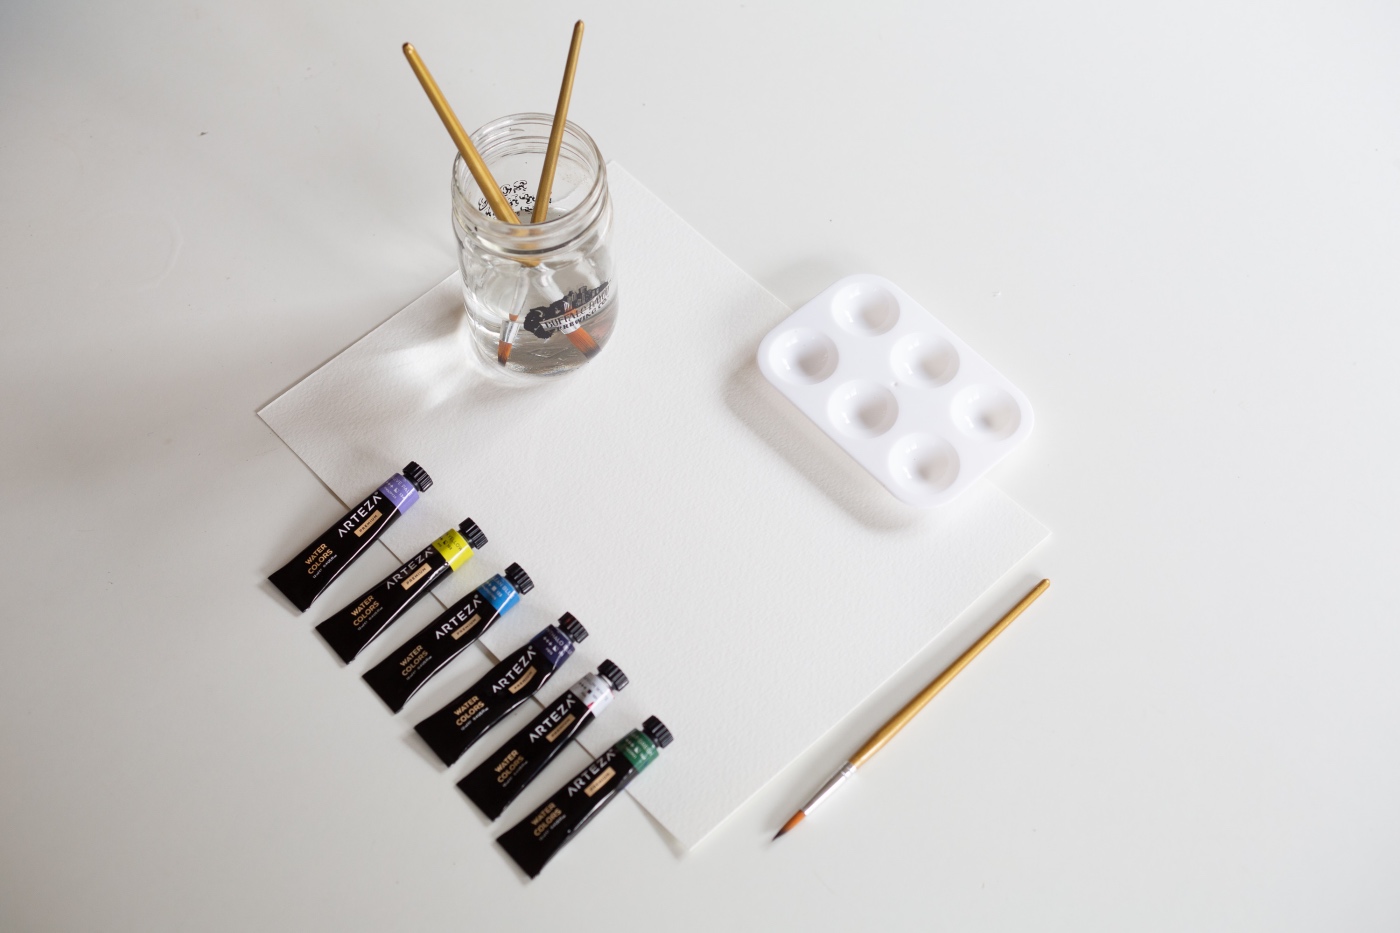
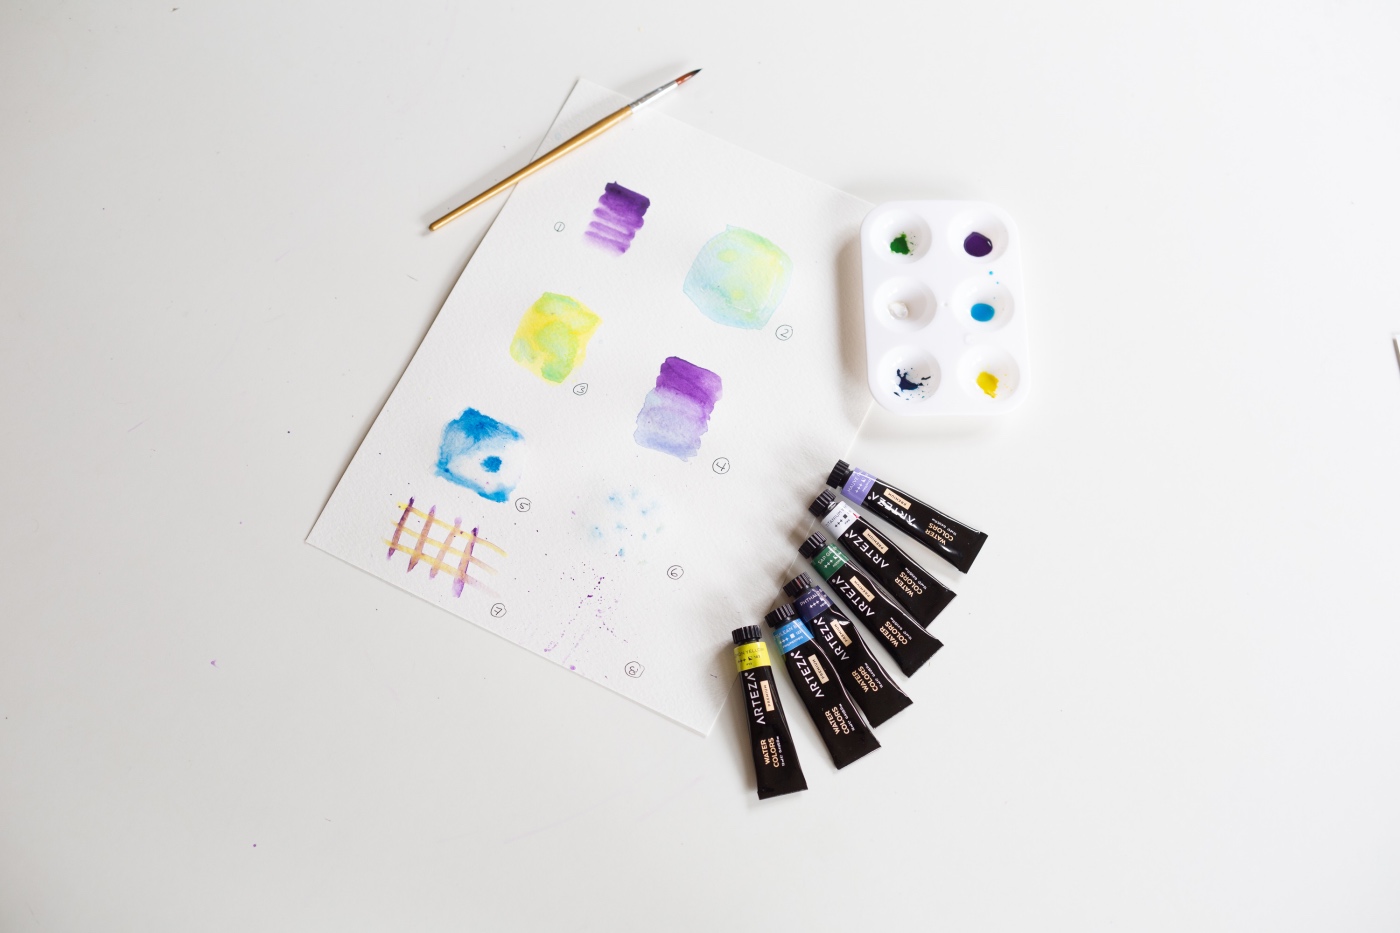
When you are ready to start painting, begin by setting up your space with:
1. A Piece of Watercolor Paper
2. A Pen to Label Each Area You Paint
3. A Paint Palette with a Few Drops of Watercolor Paint in an Array of Colors
4. A Few Round Brushes Size 4-12
5. A Container of Water
6. Paper Towels

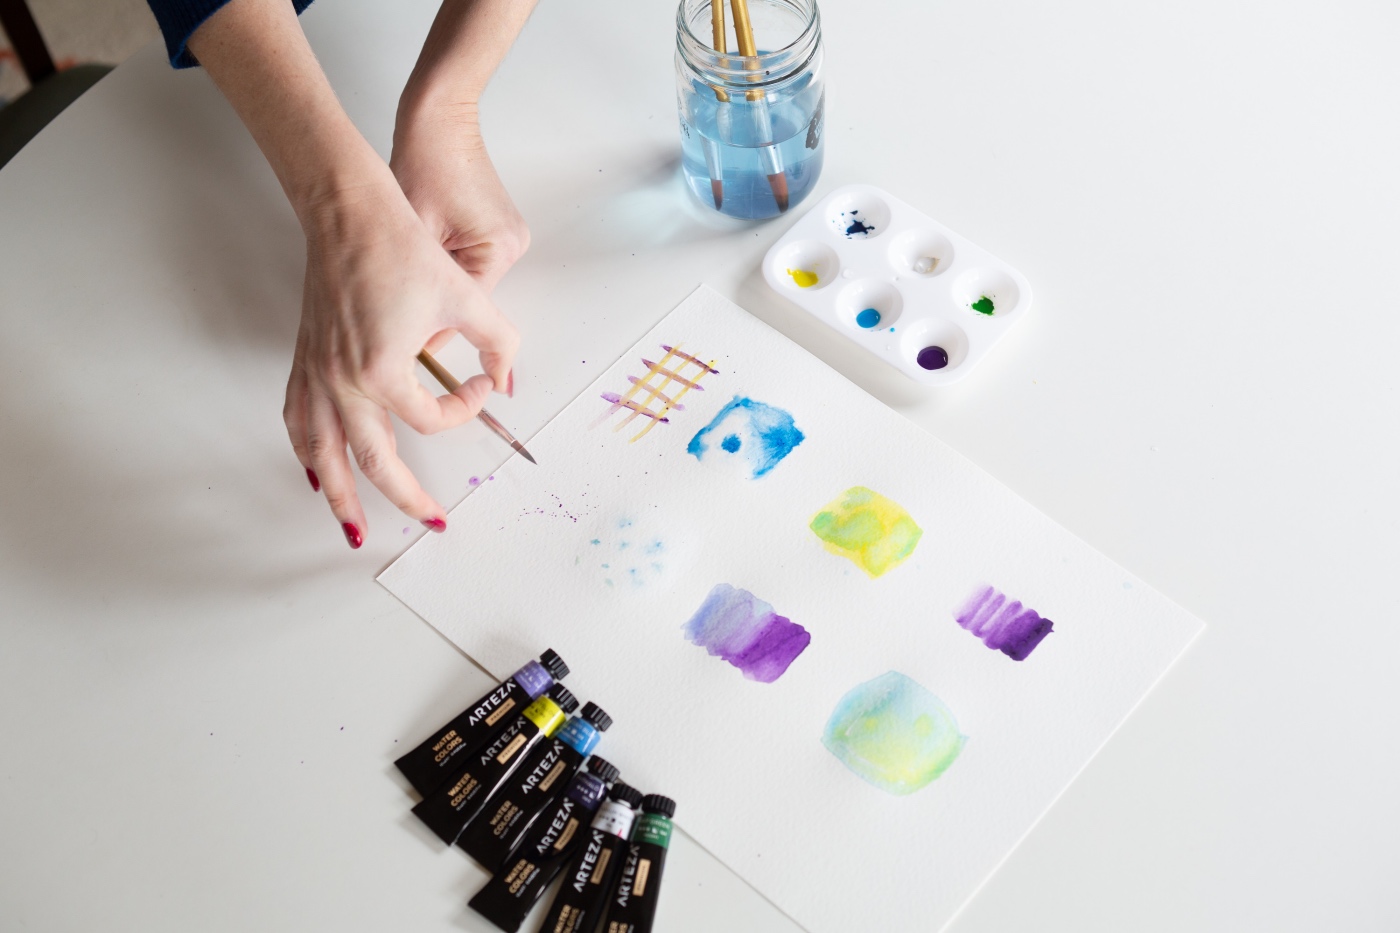
How To Get Started with Watercolor
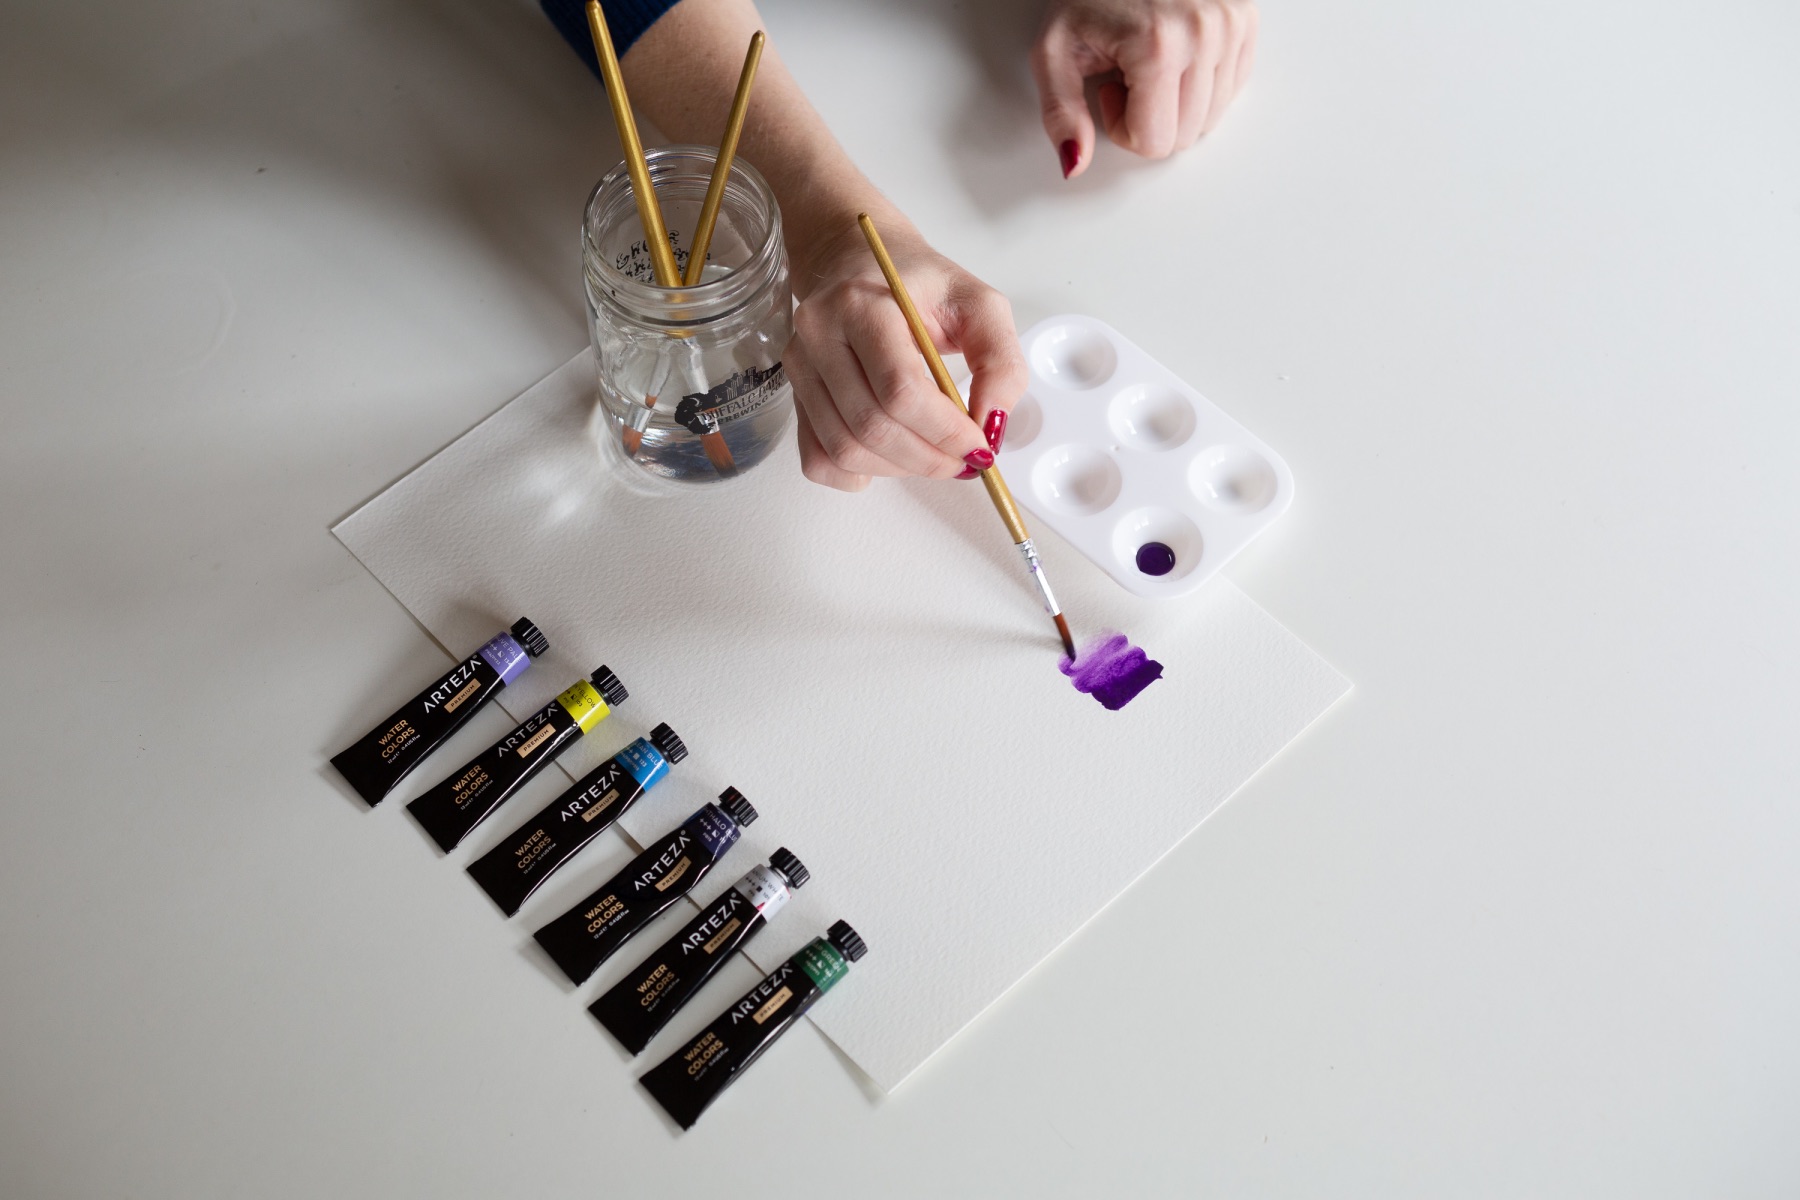
Before practicing any of the painting techniques, mix a small amount of water into your watercolor pigment to make it ready to apply to your paper. As you paint, you will move back and forth between your pigment, fresh water, and may even dip the brush into your paper towel from time to time.
How you move between these different supplies depends on how light or dark you want each area to be and it will not be exactly the same for every person trying out these Watercolor Color Blending Techniques!

1. Light to Heavy Lines
Start with one of your smaller brushes. Dip a tiny amount of pigment onto the very tip of your brush and as lightly as possible press it to the surface of the paper.
Continue making lines pressing slightly harder with each line so each new line is slightly thicker than the last. Try to keep your pressure even across the entire line.
2. Wet on Dry Flat Wash
This Watercolor Brush Technique is called wet on dry because the paper is dry when you start. And it’s called a flat wash because you want your entire section to be even in color from the top to bottom.
Start by adding a bit of pigment and water to your brush. Make an S shape brushstroke through your section reapplying pigment and water to your brush as necessary to ensure that the entire area is the same color.

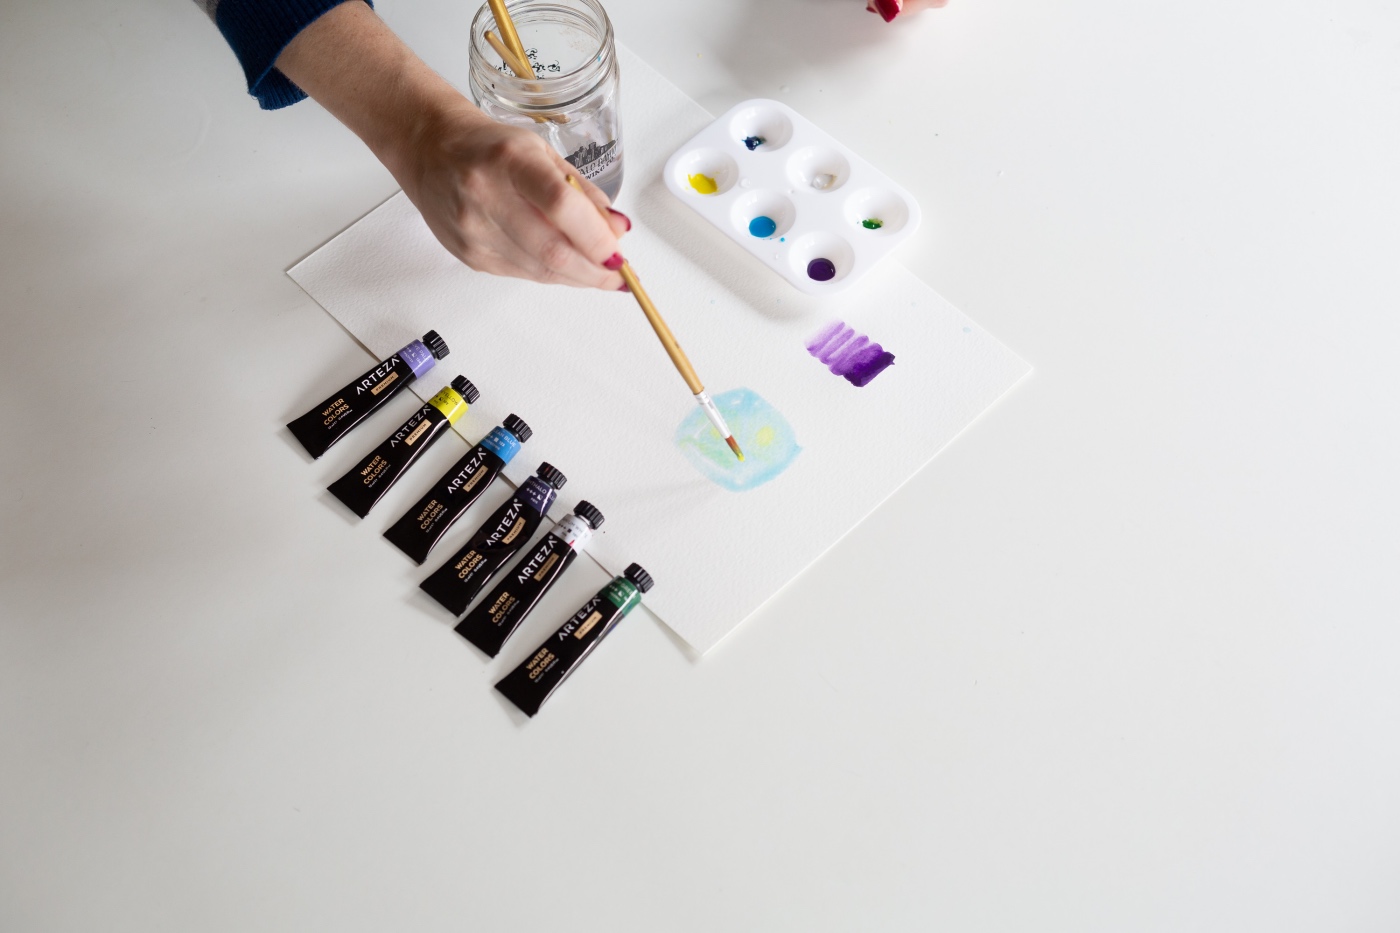
3. Wet on Wet Flat Wash
This is exactly like the wet on dry flat wash except that we will start with wet paper. I recommend trying some of the wet techniques with paper that is wet but no water pooling on the surface, while trying others with wet paper and plenty of clear water sitting on top. The goal is to learn the difference between the two.
Start with wet paper and add a big of pigment and water to your brush. Make an S shape brushstroke and fill in your box so that the entire box is the same color.
Do you see how much more easily the paint moves?
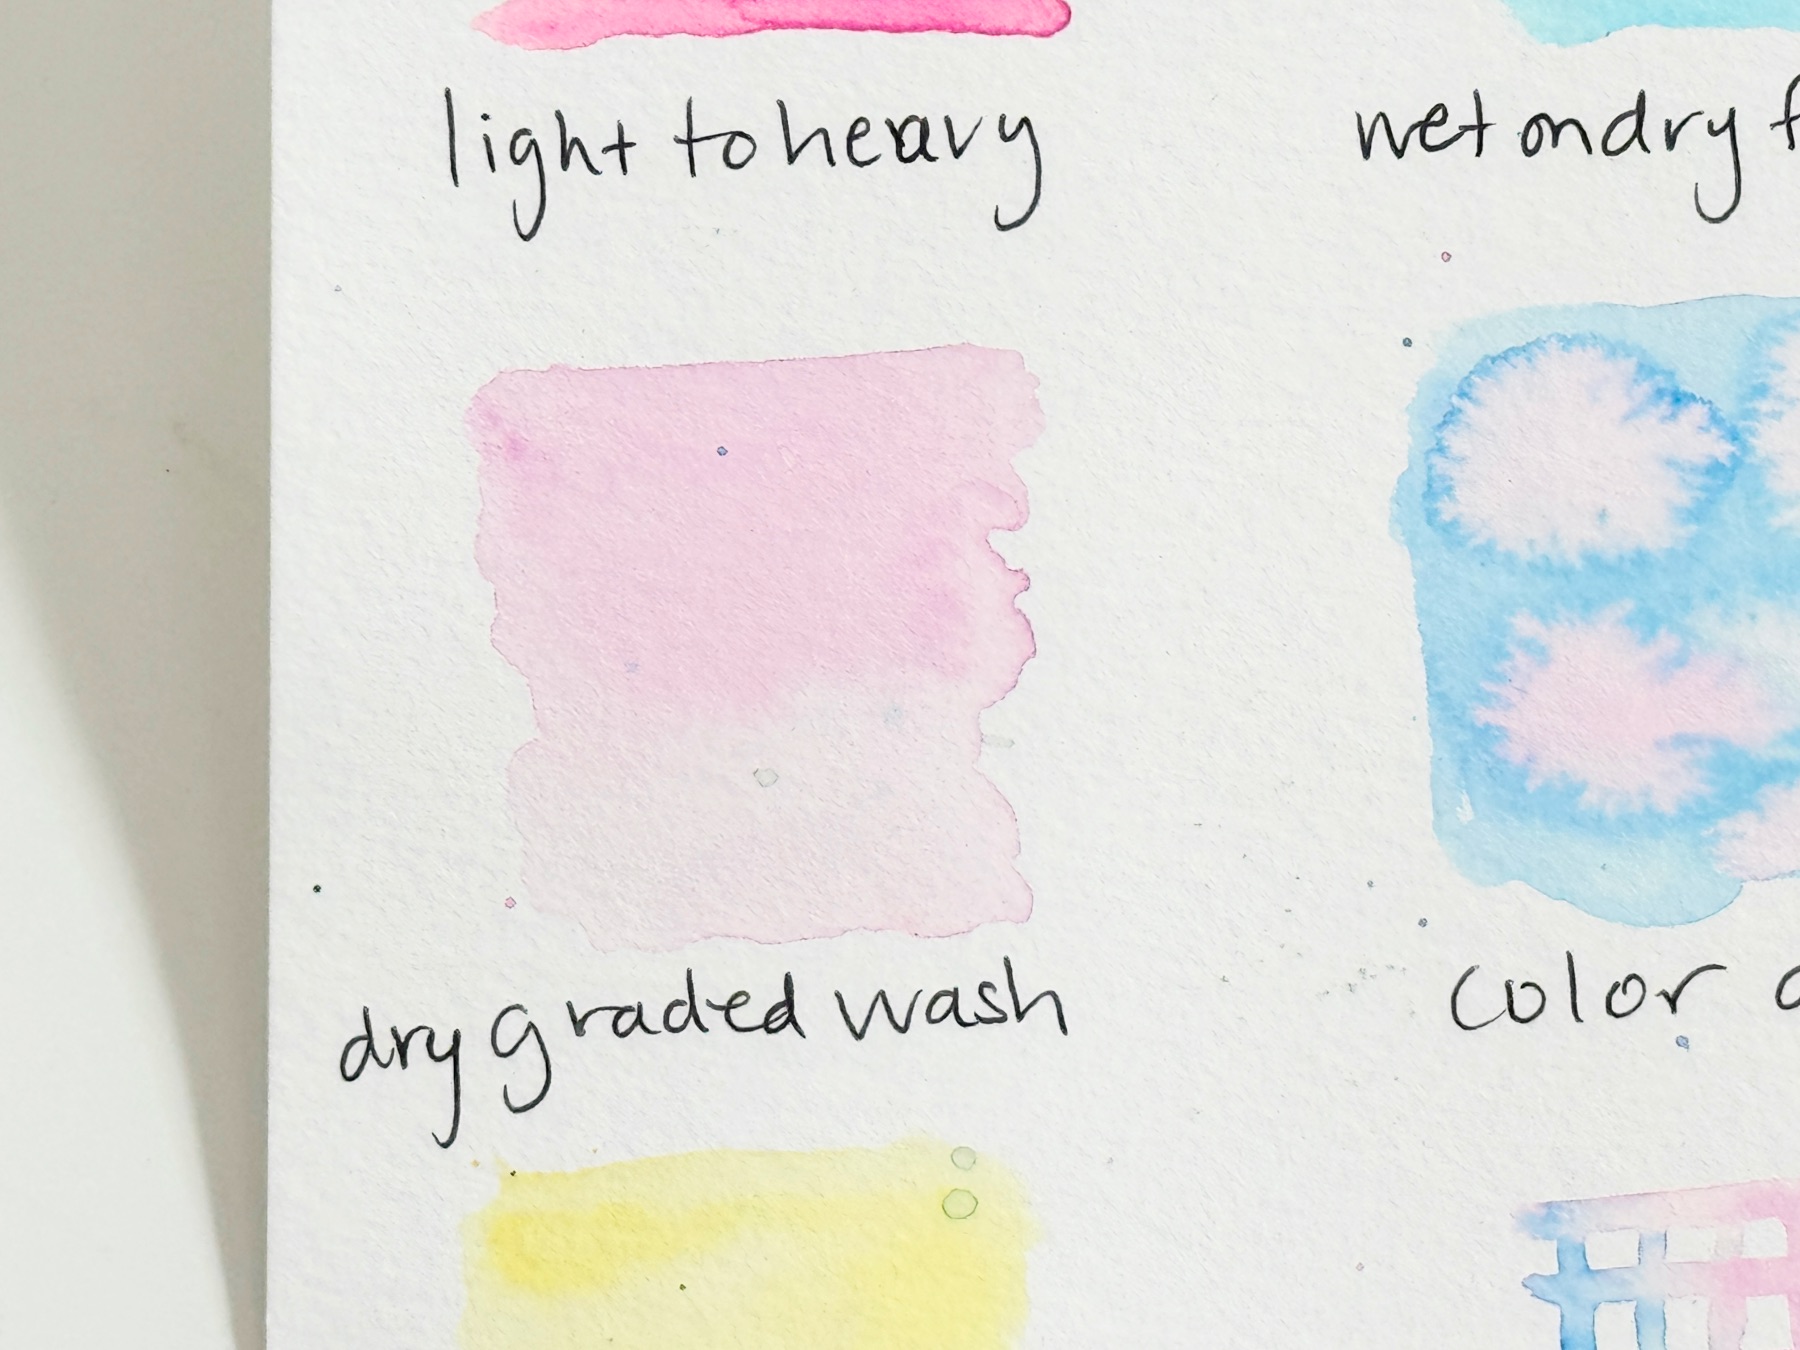
4. Dry Graded Wash
With a dry graded wash, you are working dry paper again. But this time you will want to create an ombre of color with your color being darker at the top and slowly getting lighter by the bottom. You are going to do that by continually adding a small amount of water.
Start in the upper left of your box and dip your brush in pigment. Make an S shape brushstroke and once you reach about halfway, dip your brush in water. Continue your S shape, slightly overlapping your painted color so that you pull some of that color through the water. That’s what will create the color gradient.

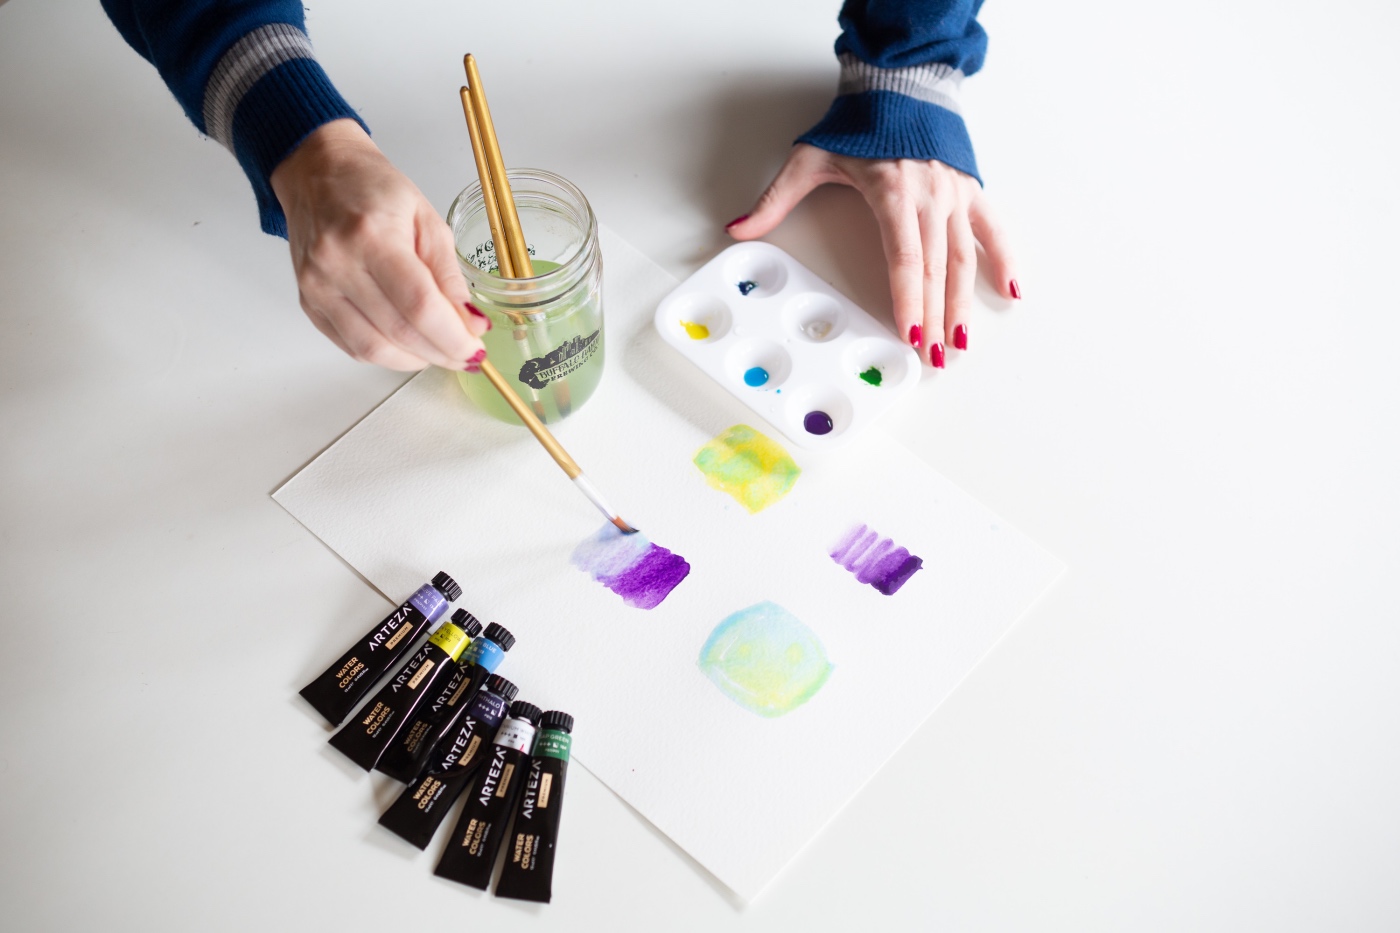
5. Wet Graded Wash
With a wet graded wash, get your paper wet and try this technique again. Start with a brush full of pigment of make an S shaped brushstroke. Once you reach about half way, remove some of the pigment and replace it with water. Begin your S brushstroke again, but start it slightly above where you stopped so that it pulls some of the pigment into the water.
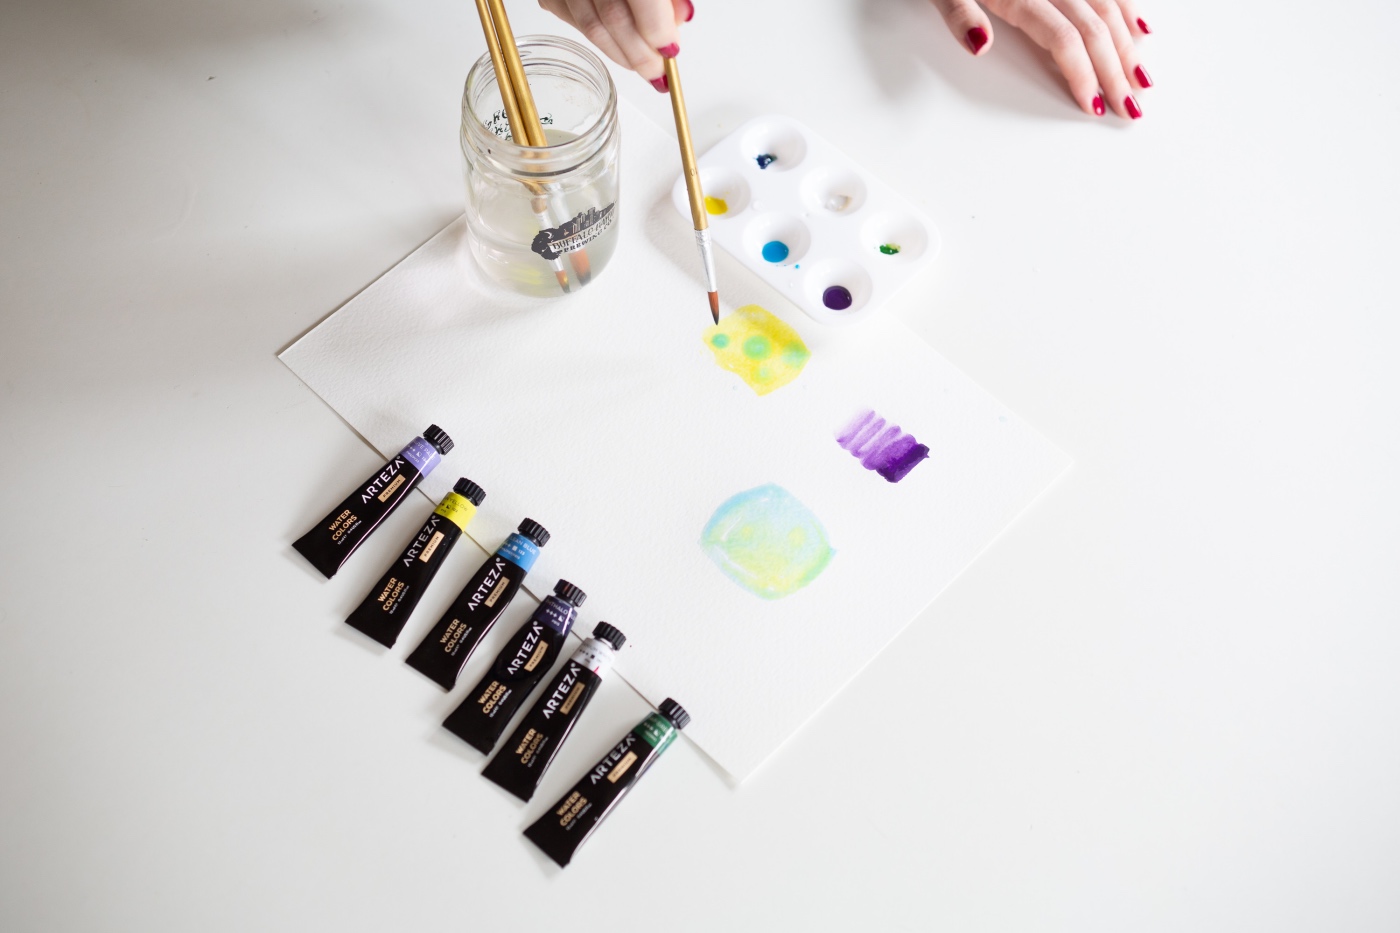
6. Color Dropping Light to Dark
Start by using any of your lighter colors like pink, yellow or orange with lots of water to make a background. Just fill in the whole box and make sure the box of light color is nice and wet. So be sure to work quickly!
Remove all the light color from your brush and then use a darker color that’s more pigmented – like a purple or a blue with less water. Just touch the tip of your round brush to the light color so that circles of your darker color spread outward.
7. Color Dropping Dark to Light
Now reverse your lights and darks. Make a dark background – it could be blue or purple, or even gray or brown. You still need it to be quite wet, but make it deeply pigmented by adding less water to your watercolor pigment.
Now remove all the dark color and replace it with a light watery color. Just touch the tip of your brush gently to the surface of the paper.
Notice how you still see a bit of your original darker pigment through the lighter color?
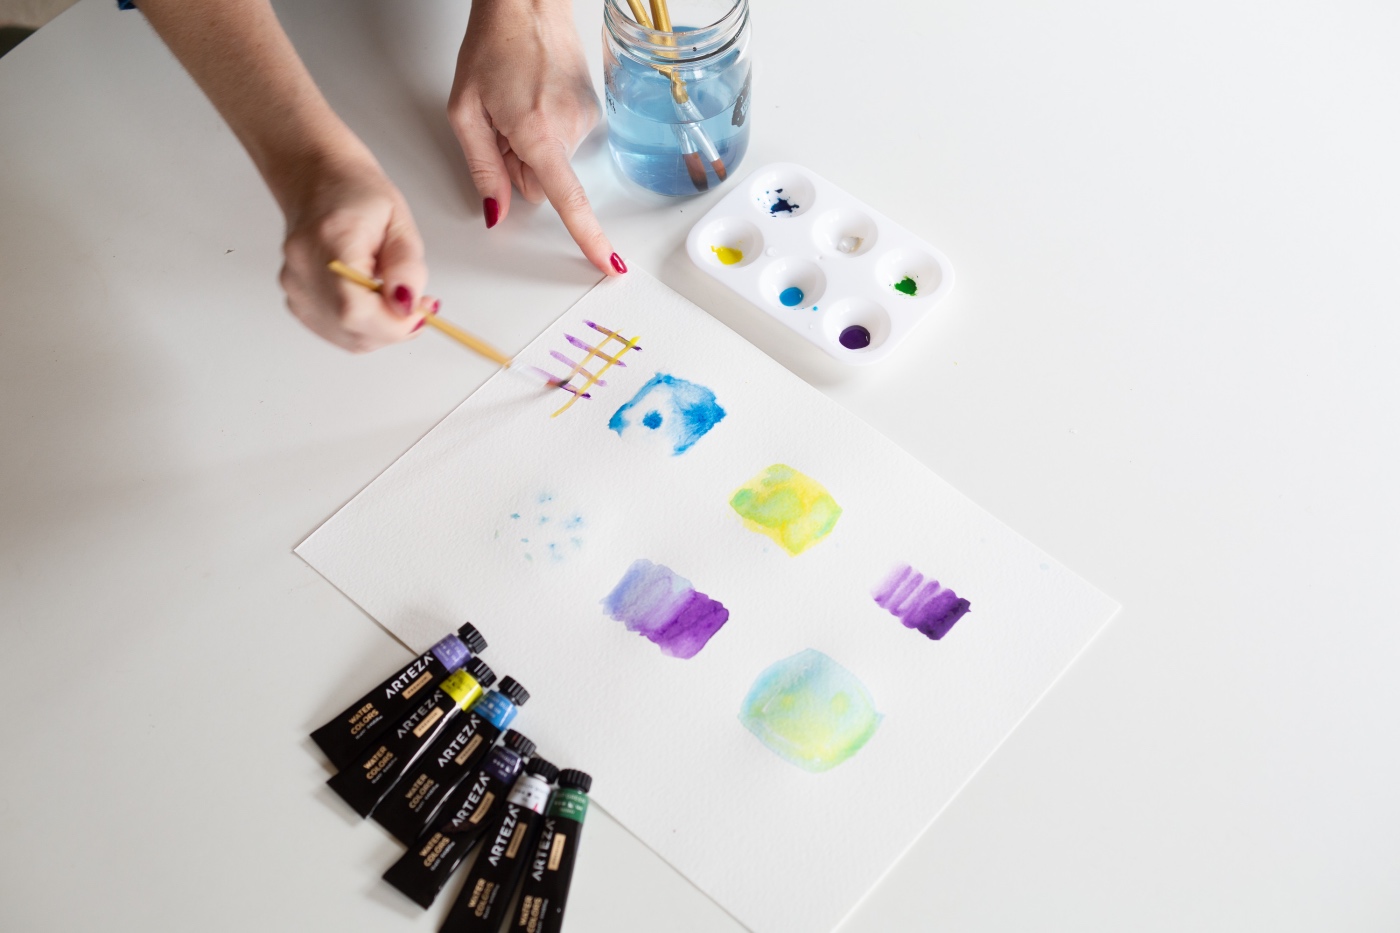
8. Controlled Blending
Hopefully you have noticed that watercolor pigment moves more freely through wet areas. To illustrate this concept make a series of super wet stripes horizontally and vertically. Use a different color for your X axis and Y axis. I recommend choosing a light color for one and a darker color for the other.
Do you see how when the colors touch they start to move along the stripes in the wet area but the dry area stays dry? It’s like magic!
9. Color Blending
Use the same technique as you did in your graded wash except use a different color at the top of your box than at the bottom. First start by choosing a color and making an S brushstroke starting in the upper left. Stop when you reach 1/3 down from the top.
Then start at the bottom right of your box using a different color and making an S shaped brushstroke upwards stopping 1/3 of the way up.
Now remove the pigment and replace with clear water. Pull the pigment from the top downward. Clean your brush again and move the pigment from the bottom upwards. Repeat until your pigment meets in the center.
10. Splatter Painting
Now this one is fun! Splatter painting is the perfect way to create starscapes, seeds inside a fruit, or a cool textured background.
Get lots of pigment on your brush and hold it parallel to the paper. Use your opposite hand to tape and flick the brush near the bristles so that tiny droplets land on the paper.

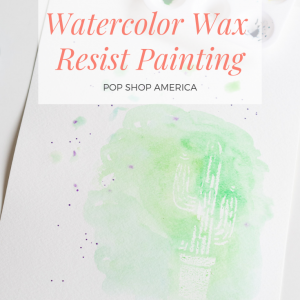
11. Watercolor Salt Painting
For a more in depth look at watercolor salt painting, follow this tutorial here. But the idea is make a box of any color using a flat wash or graded wash. While the paint is still want, sprinkle with salt. Allow the salt to dry completely and then remove it with a paper towel. Don’t use your hands because of the natural oils.
Notice how little crystal like shapes of pigment have been lightened and removed? This technique is perfect for making geodes or images of space.
Are you getting excited about watercolor painting? I hope so!
Here are all our Watercolor Tutorials in order from easiest to most advanced.
Beginner’s Watercolor Tutorials
The Best Flower, Succulent, and Cactus Watercolor Painting Tutorials
Advanced Watercolor Tutorials
Let’s Be Friends!
Insta | Pinterest | Enews | TikTok