Craft in Style Subscription Instructions, DIY
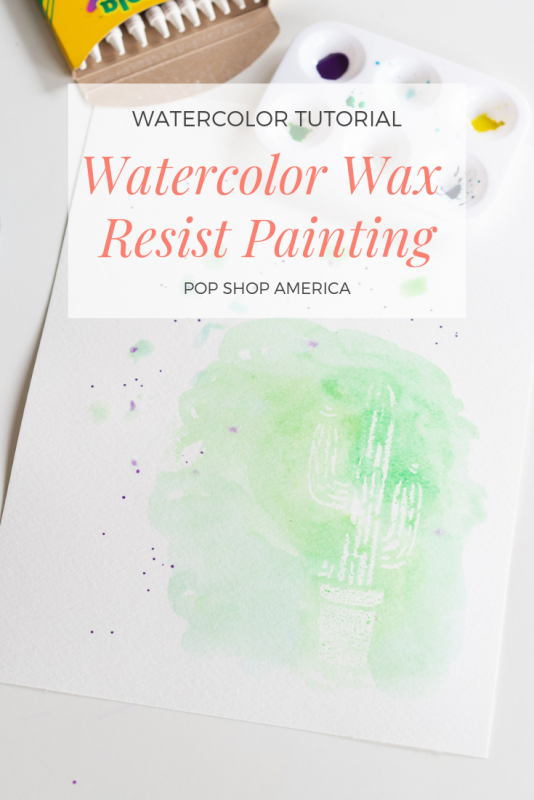
Watercolor Wax Resist Painting Tutorial
Let’s start with the Basics:
Craft in Style Subscription Box (Shown Here February 2019 Edition)
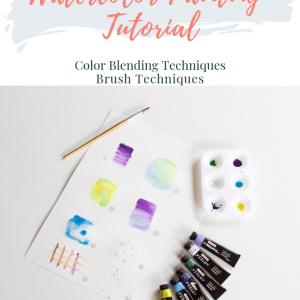
Brush Basics & Watercolor Blending Techniques
Ink Stenciling on Watercolor
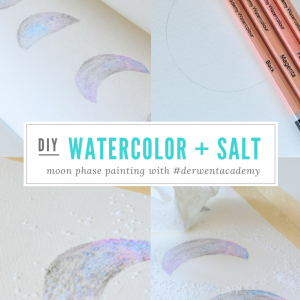
Watercolor + Salt Painting (Moon Phase Painting)
Watercolor + Salt Painting 2 (Wall Mural DIY)
If you are getting started with watercolor, there are a few beginner friendly techniques that are so fun to learn. First of all, start with your brush techniques and watercolor blending tutorials here. This will take you through all the basics.
Next, try this gorgeous stenciling with watercolor and technical pens. It’s graphic, it’s fun, and it’s gorgeous!
Last, try this Watercolor + Salt Painting. Here’s a tutorial of a moon phase that’s super pretty. And here’s a tutorial that shows how to make a big abstract piece of art with the technique. Both are fun diys to follow! Now let’s get started making this Watercolor Wax Resist Painting.
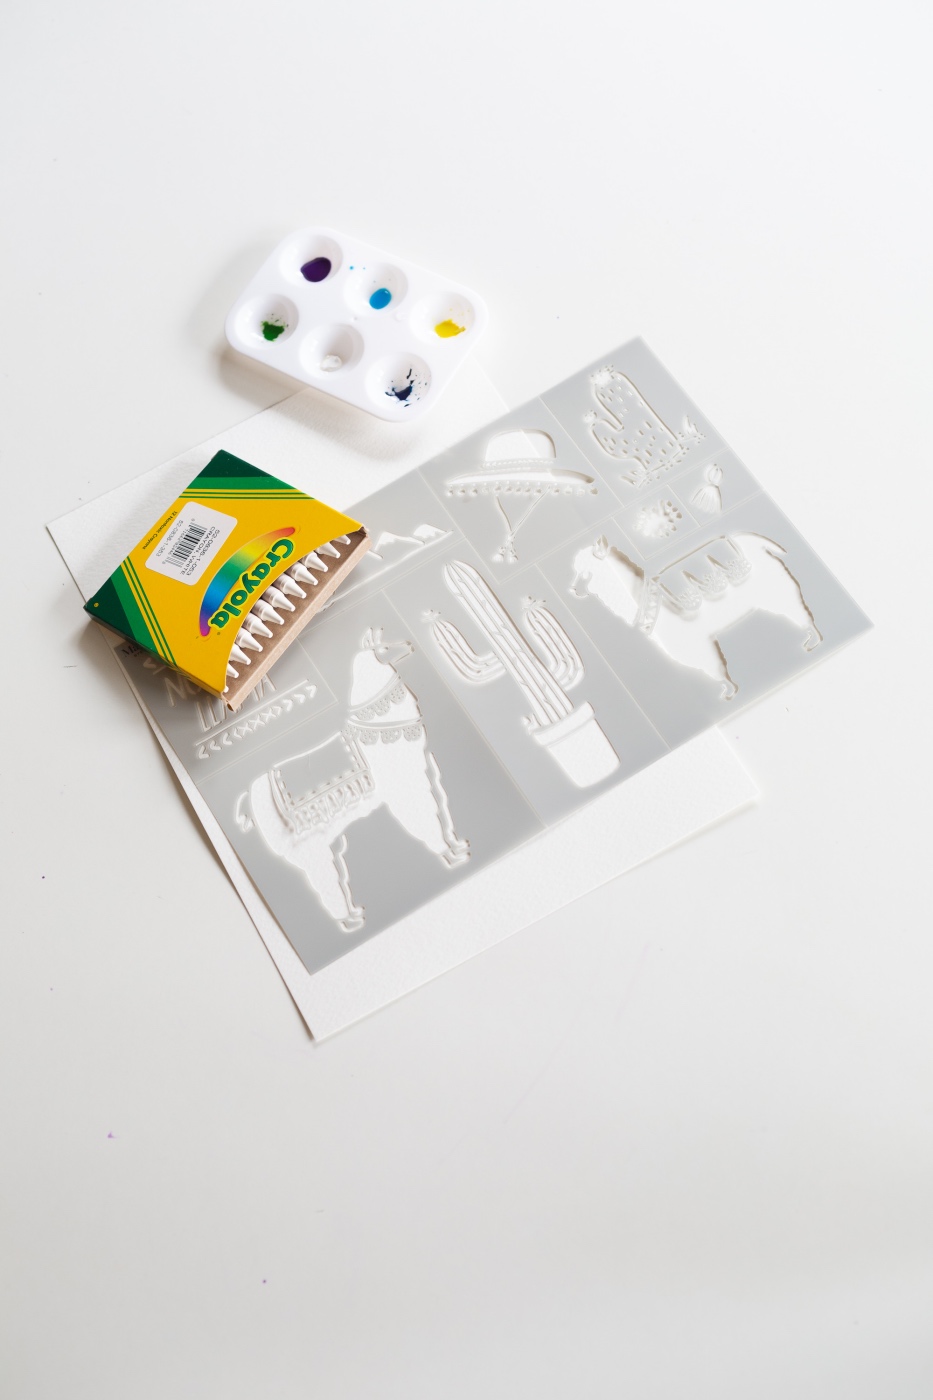
Supplies to Make a Watercolor Wax Resist Painting:
Craft in Style Subscription Box (February 2019)
Watercolor Paint
Watercolor Paper
Watercolor Brushes
Wax Stick or Crayola White Crayon
A Stencil
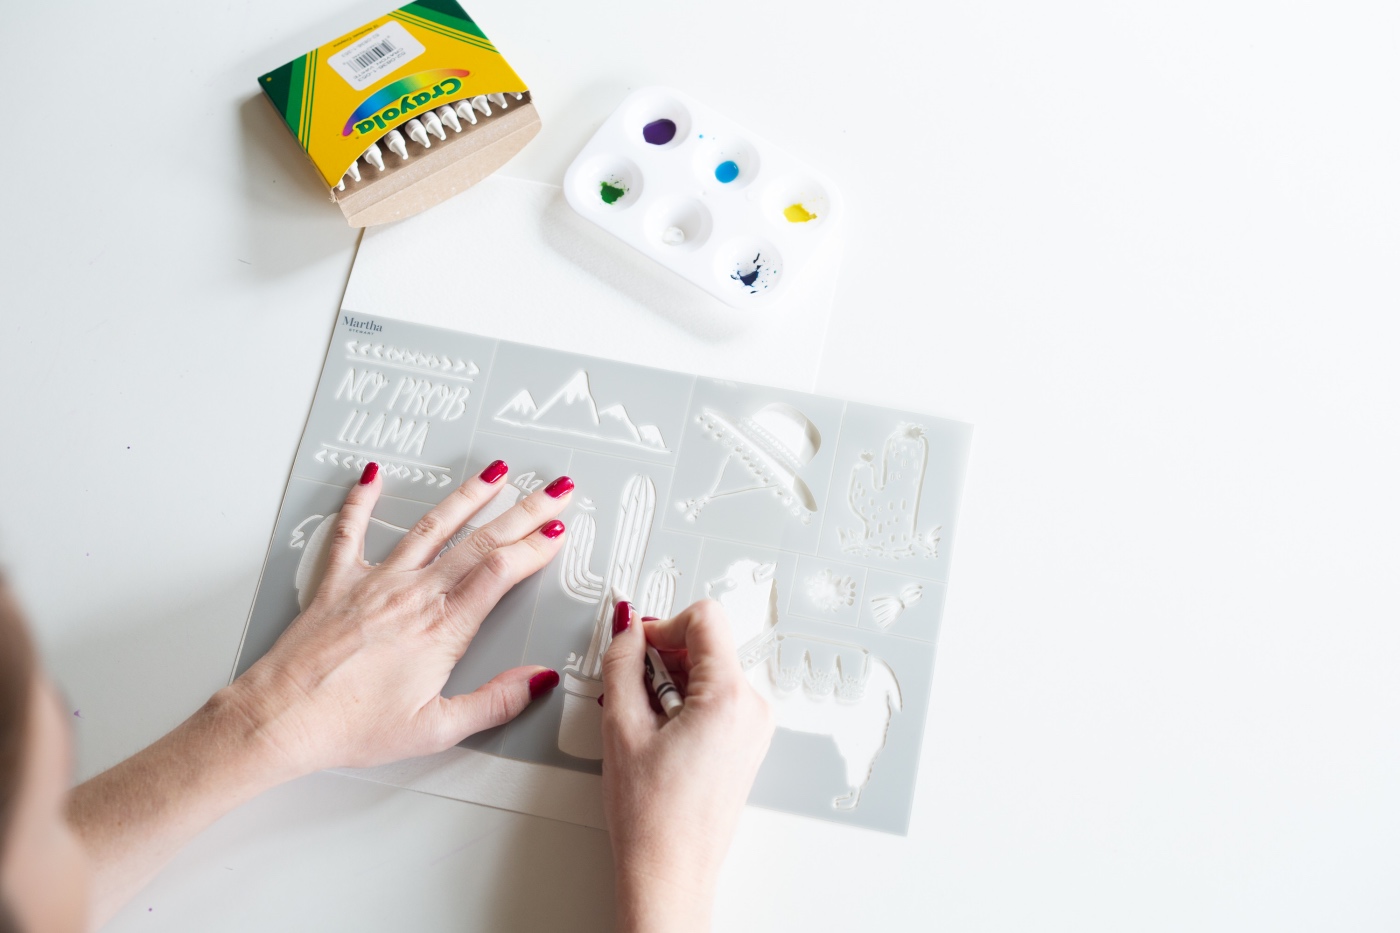
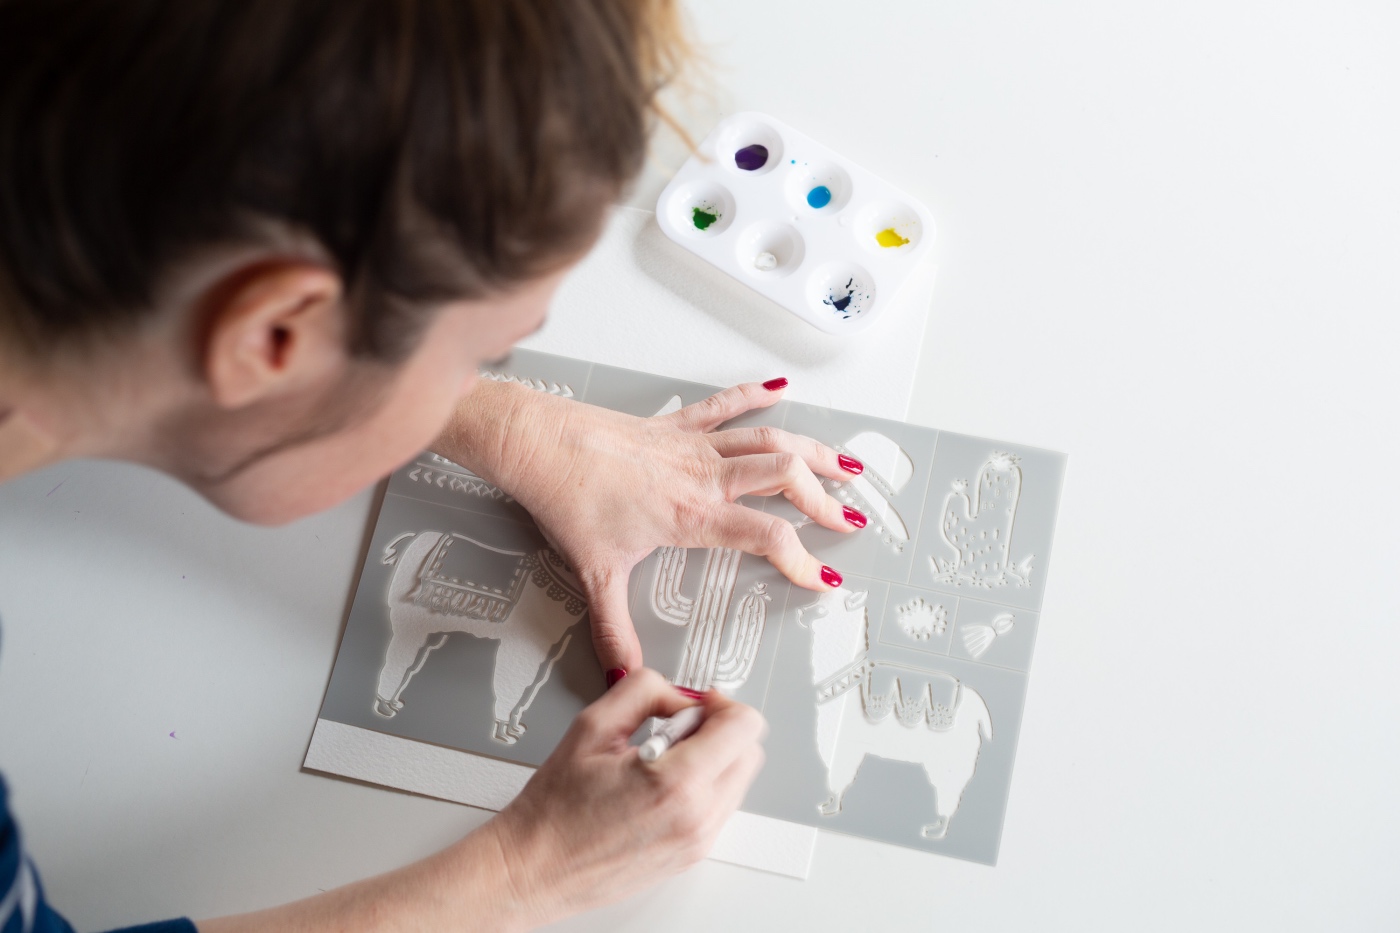
First, use your wax stick or white crayon to fill in your stencil. Of course, playing around with the composition is always fun to do before you get started. For mine, I chose to place the stencil in the lower right. Anything slightly off center will give your watercolor painting an artistic look.
When working with anything white or clear like this crayon, it’s hard to see the marks that you make. So here are some tips. First, be sure to hold your stencil firmly with one hand. If your stencil moves around, your image will become warbled. Also, be sure that you are filling in the stencil all the way to the edges with your crayon. Having a clear and distinct border to your image will help it have a recognizable shape. To do this, firmly color the interior edges of the stencil many times with your crayon.
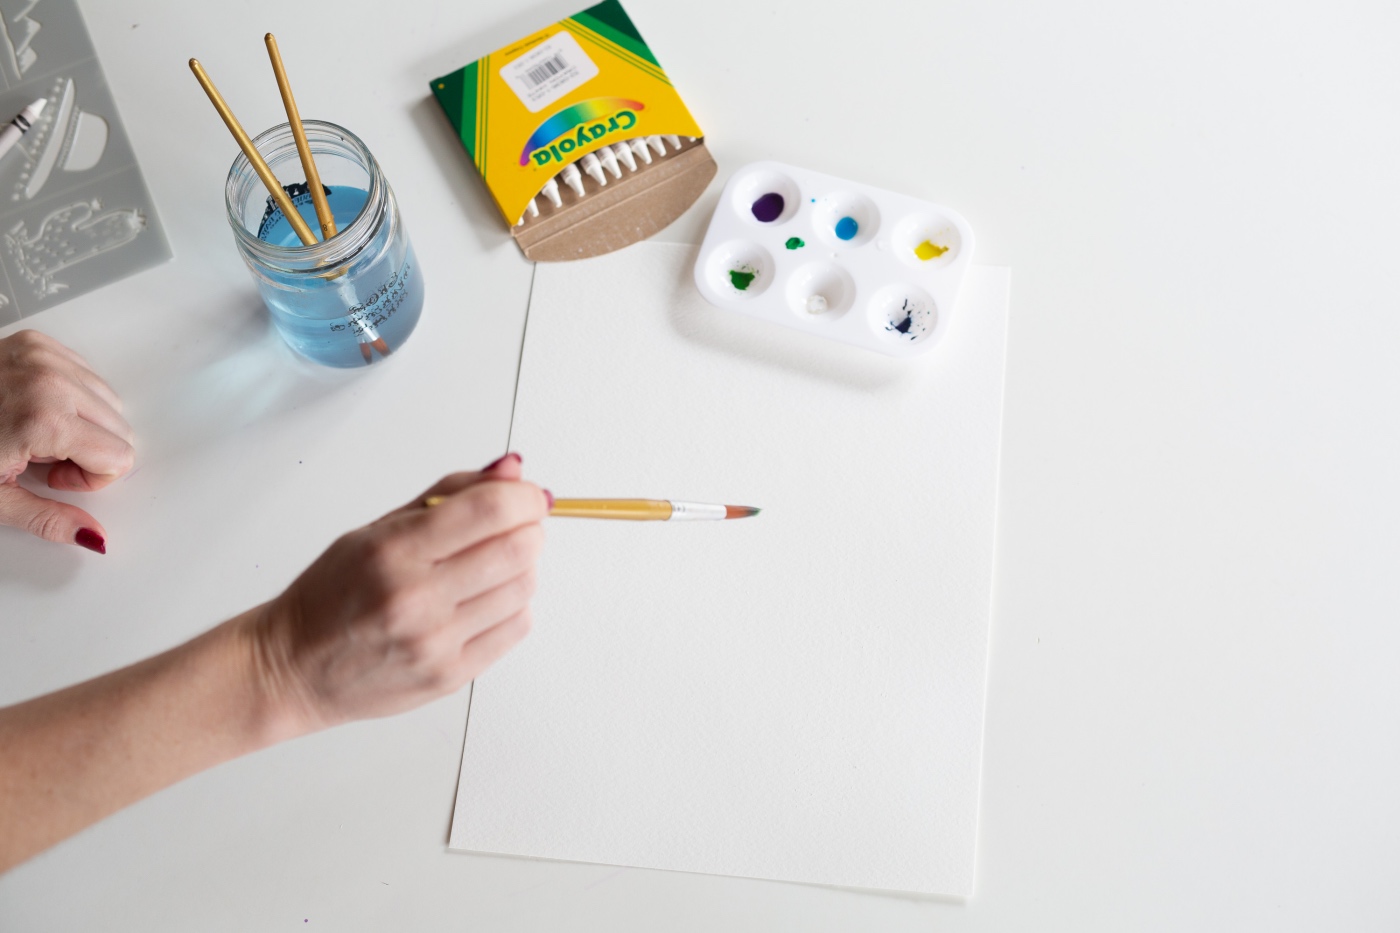
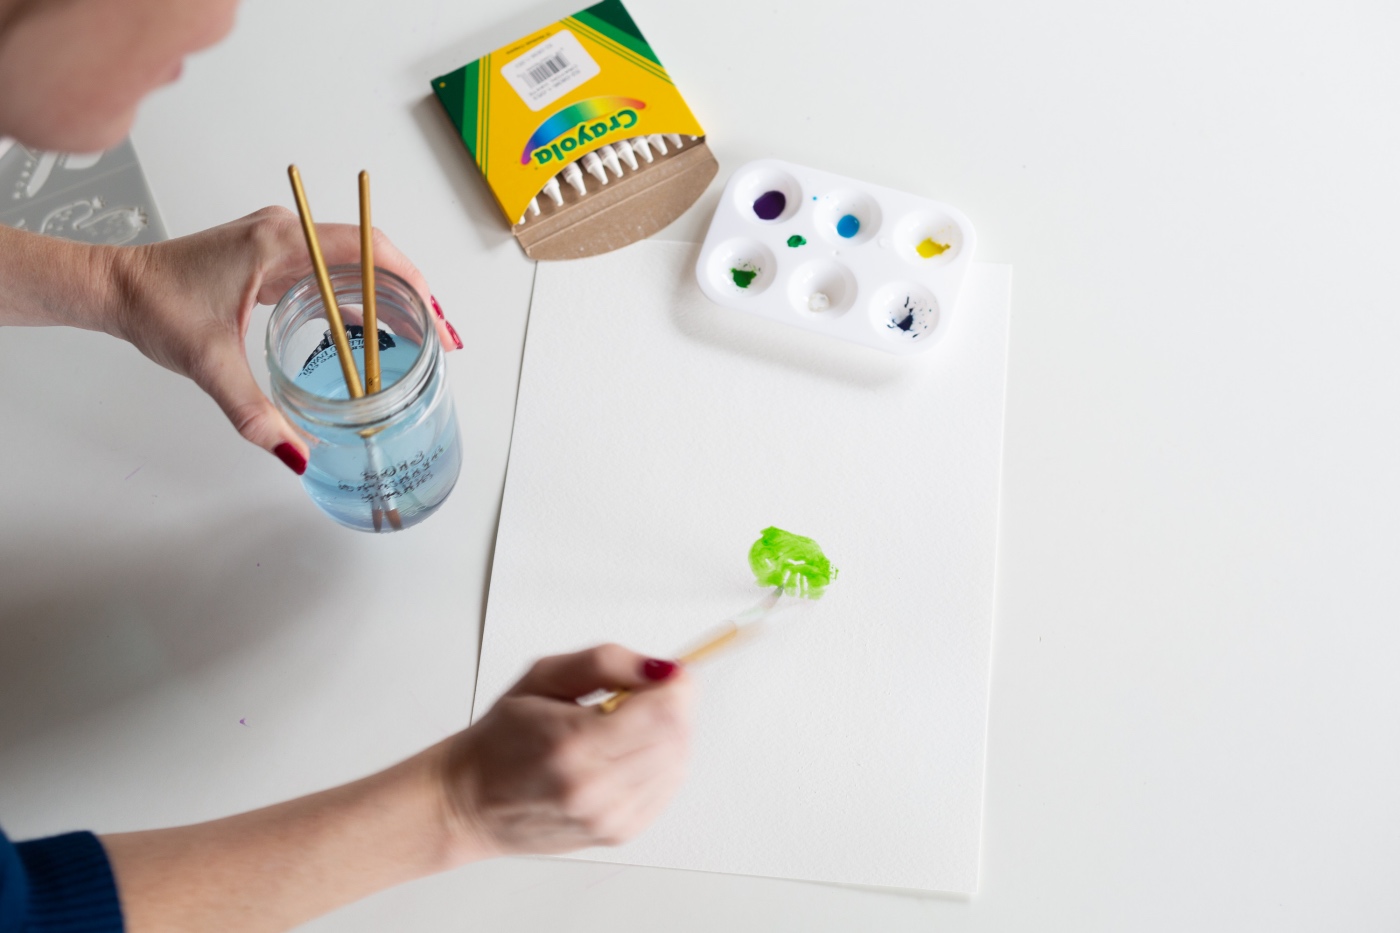
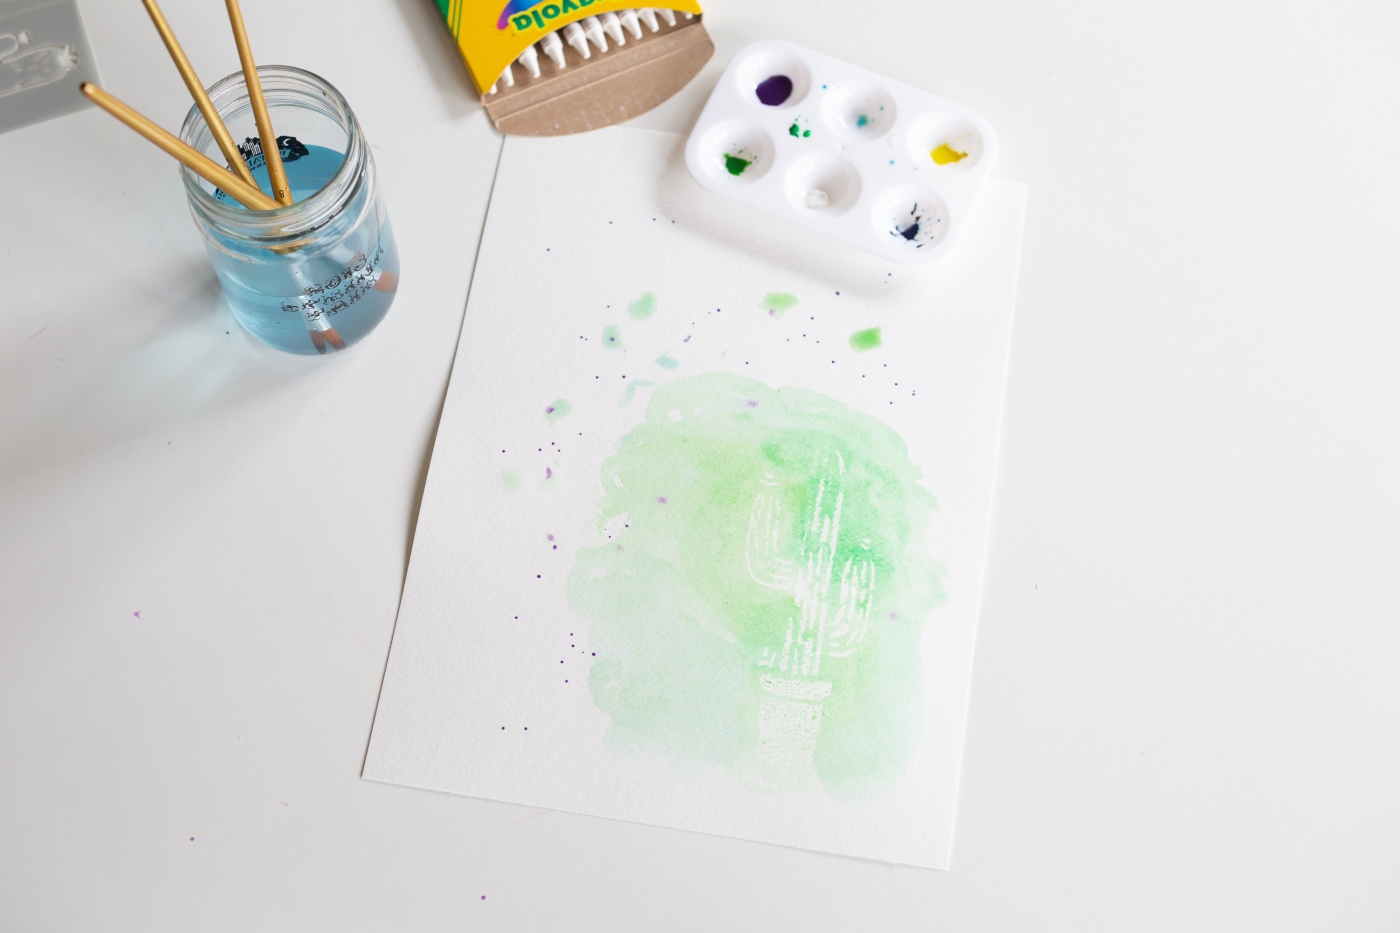
Once your stencil is filled in, it’s time to start adding the watercolor paint. The stencil I used was an adorable cactus! I chose a series of light, pretty, washed out greens. You could choose any stencil you like and you can choose any colors of watercolors that you like!
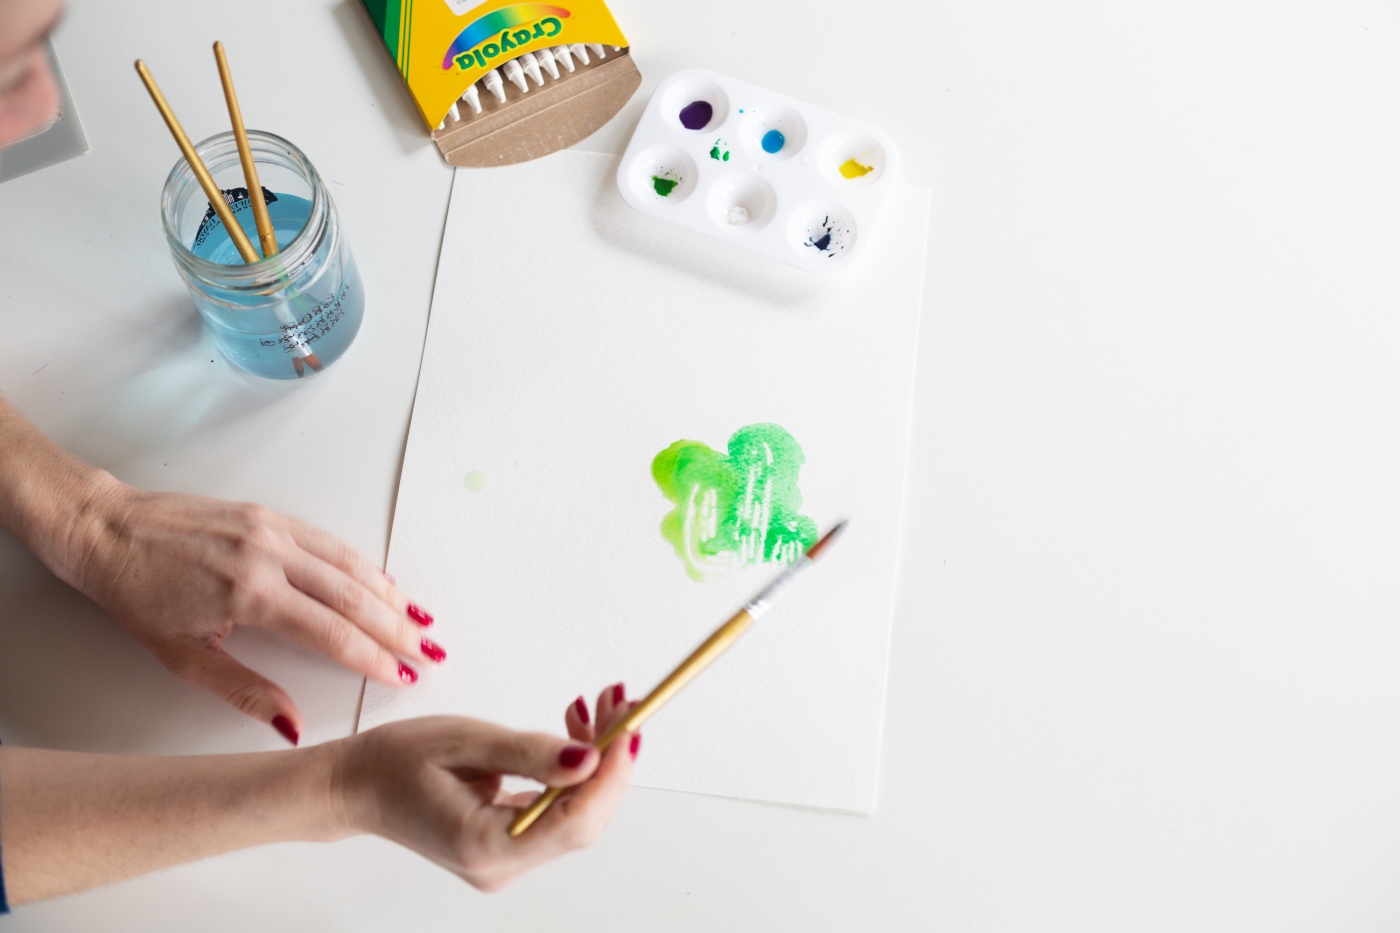
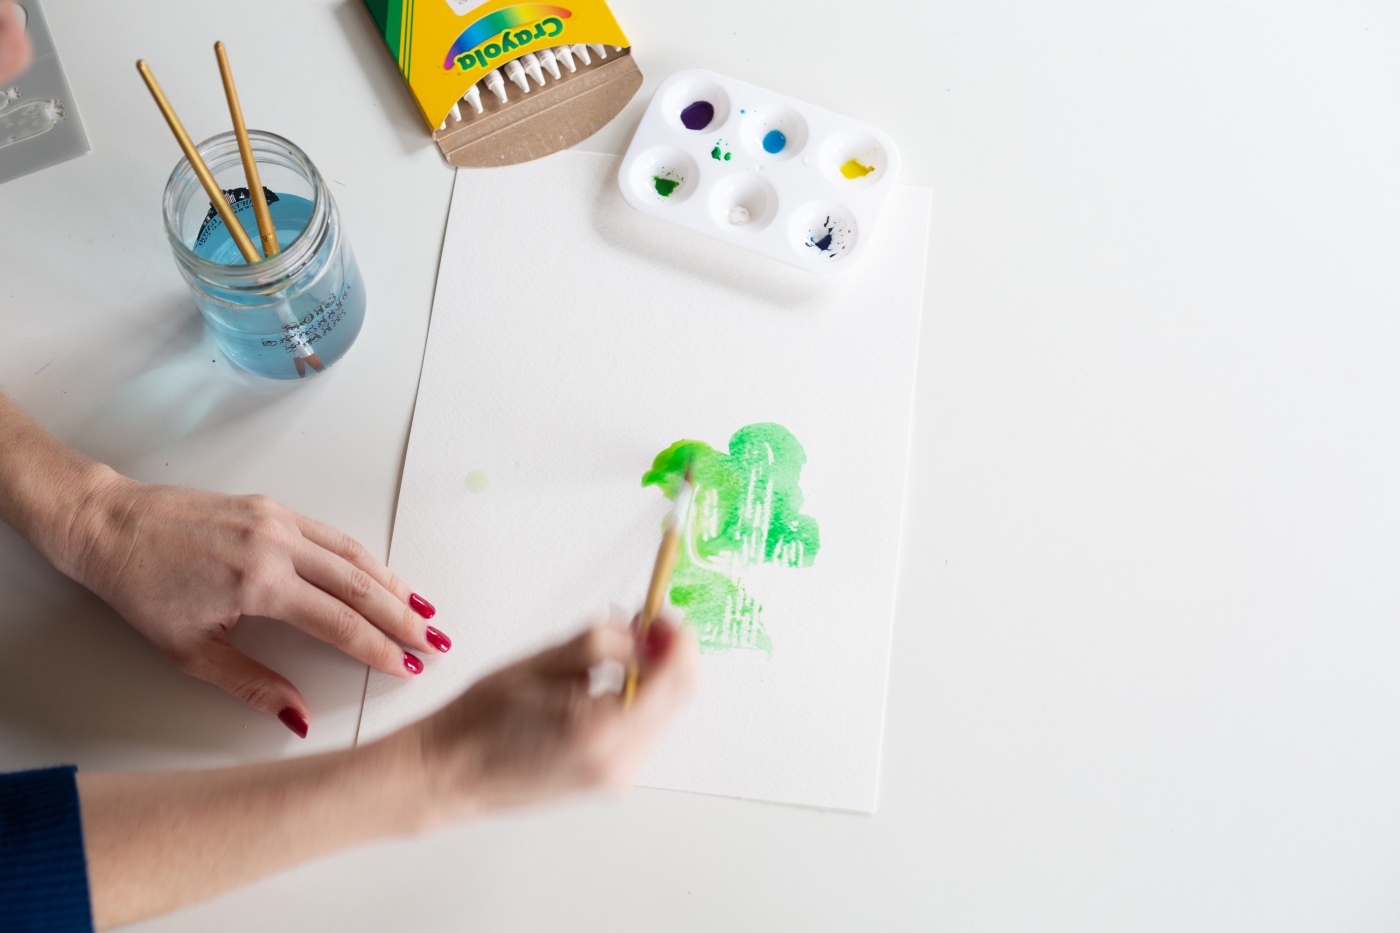
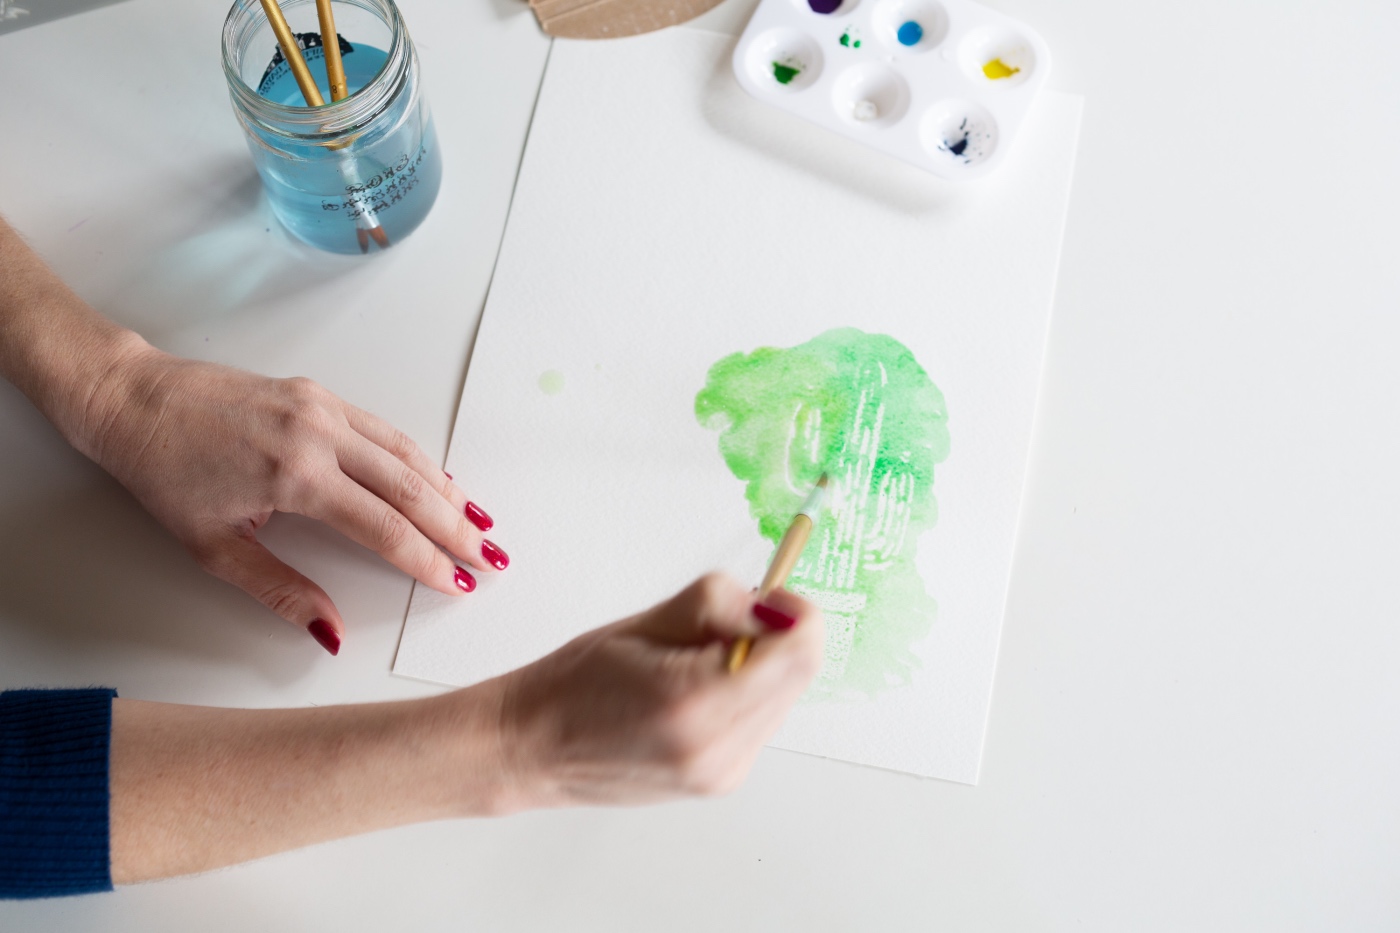
Using your brushes, begin to fill in the paper with watercolor, across the space where you colored with wax. As you paint, you will reveal a gorgeous washed out image of your stencil! If too much watercolor pools on the surface of the paper for too long, it will begin to degrade the shape of the wax resist image. If you want your image to be clear and crisp, use a cloth or paper towel to soak up the excess watercolor. Gently dab the surface but don’t rub the towel around.
If you want your image to be more muted, just leave the watercolor pooled on the surface to soak into the paper thoroughly.

Here’s a video of the process so you can see the whole Watercolor Wax Resist Painting in process together. It’s actually really fun to make and creates such a pretty image.
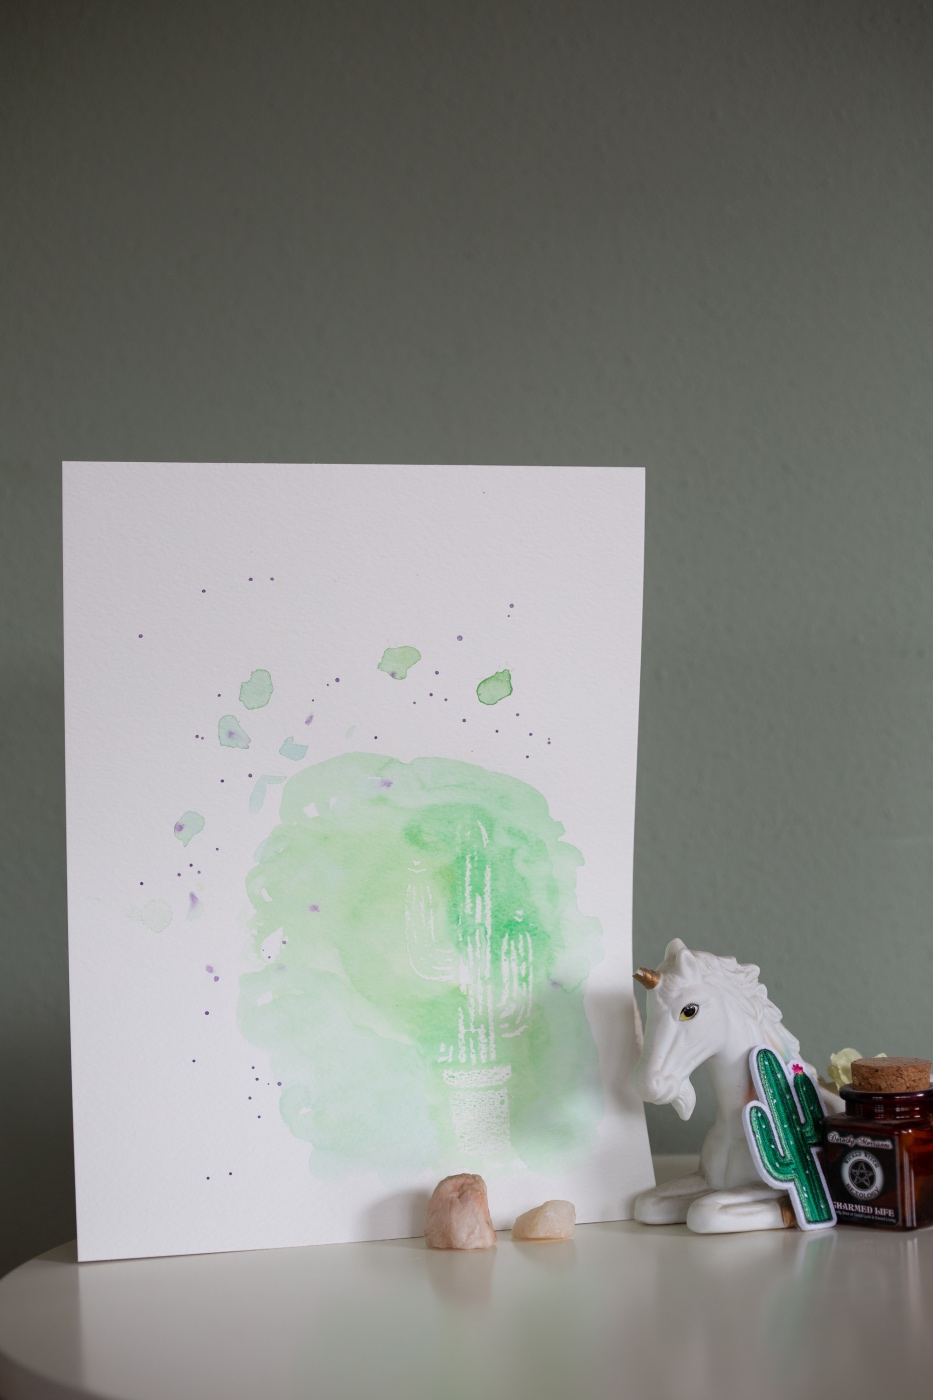
So where will you place your Watercolor Wax Resist Painting? I chose a little shelf in my living room. And if you have to make one of these for yourself, be sure that you are subscribed to our Craft in Style Subscription Box where you will get new projects each month that are stylish and fun.
Let’s Be Friends!
Insta | Pinterest | Enews | TikTok


Very cool idea Brittany! I love how the supplies are very basic too, and anyone can do this painting. Thanks for sharing!
Cheers,
Jasmine
Thanks Jasmine!