DIY
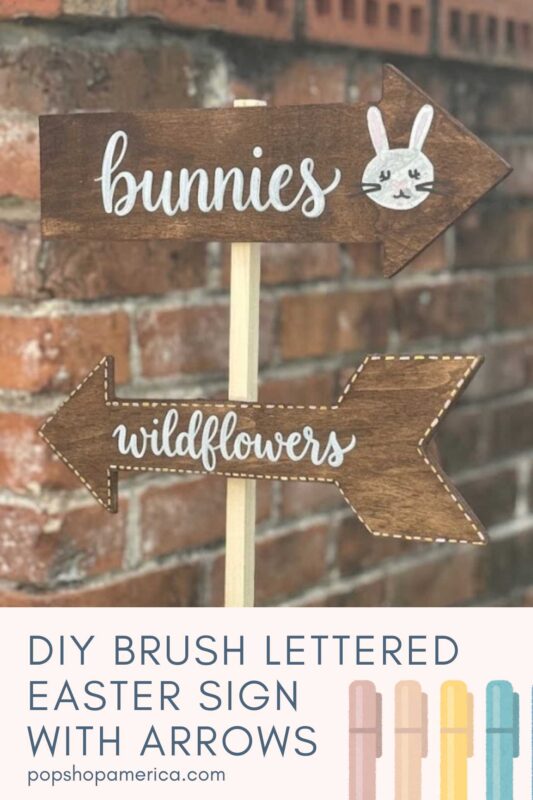
DIY Brush Lettered Easter Yard Sign with Arrows
Mar
Brush lettered wood sign?
Holiday wood arrow sign diy?
Brush Lettered Easter Yard Sign?
I don’t know what to call it, but I just know that’s it’s gorgeous! This can be customized to any holiday – Christmas, Valentine’s Day, or Halloween. Or you could make it seasonal decor by making it spring themed or fall themed.
You could even make this for a wedding or a kid’s birthday party. It’s a super cute way to show people where to go when you need to give directions. So let’s make it!
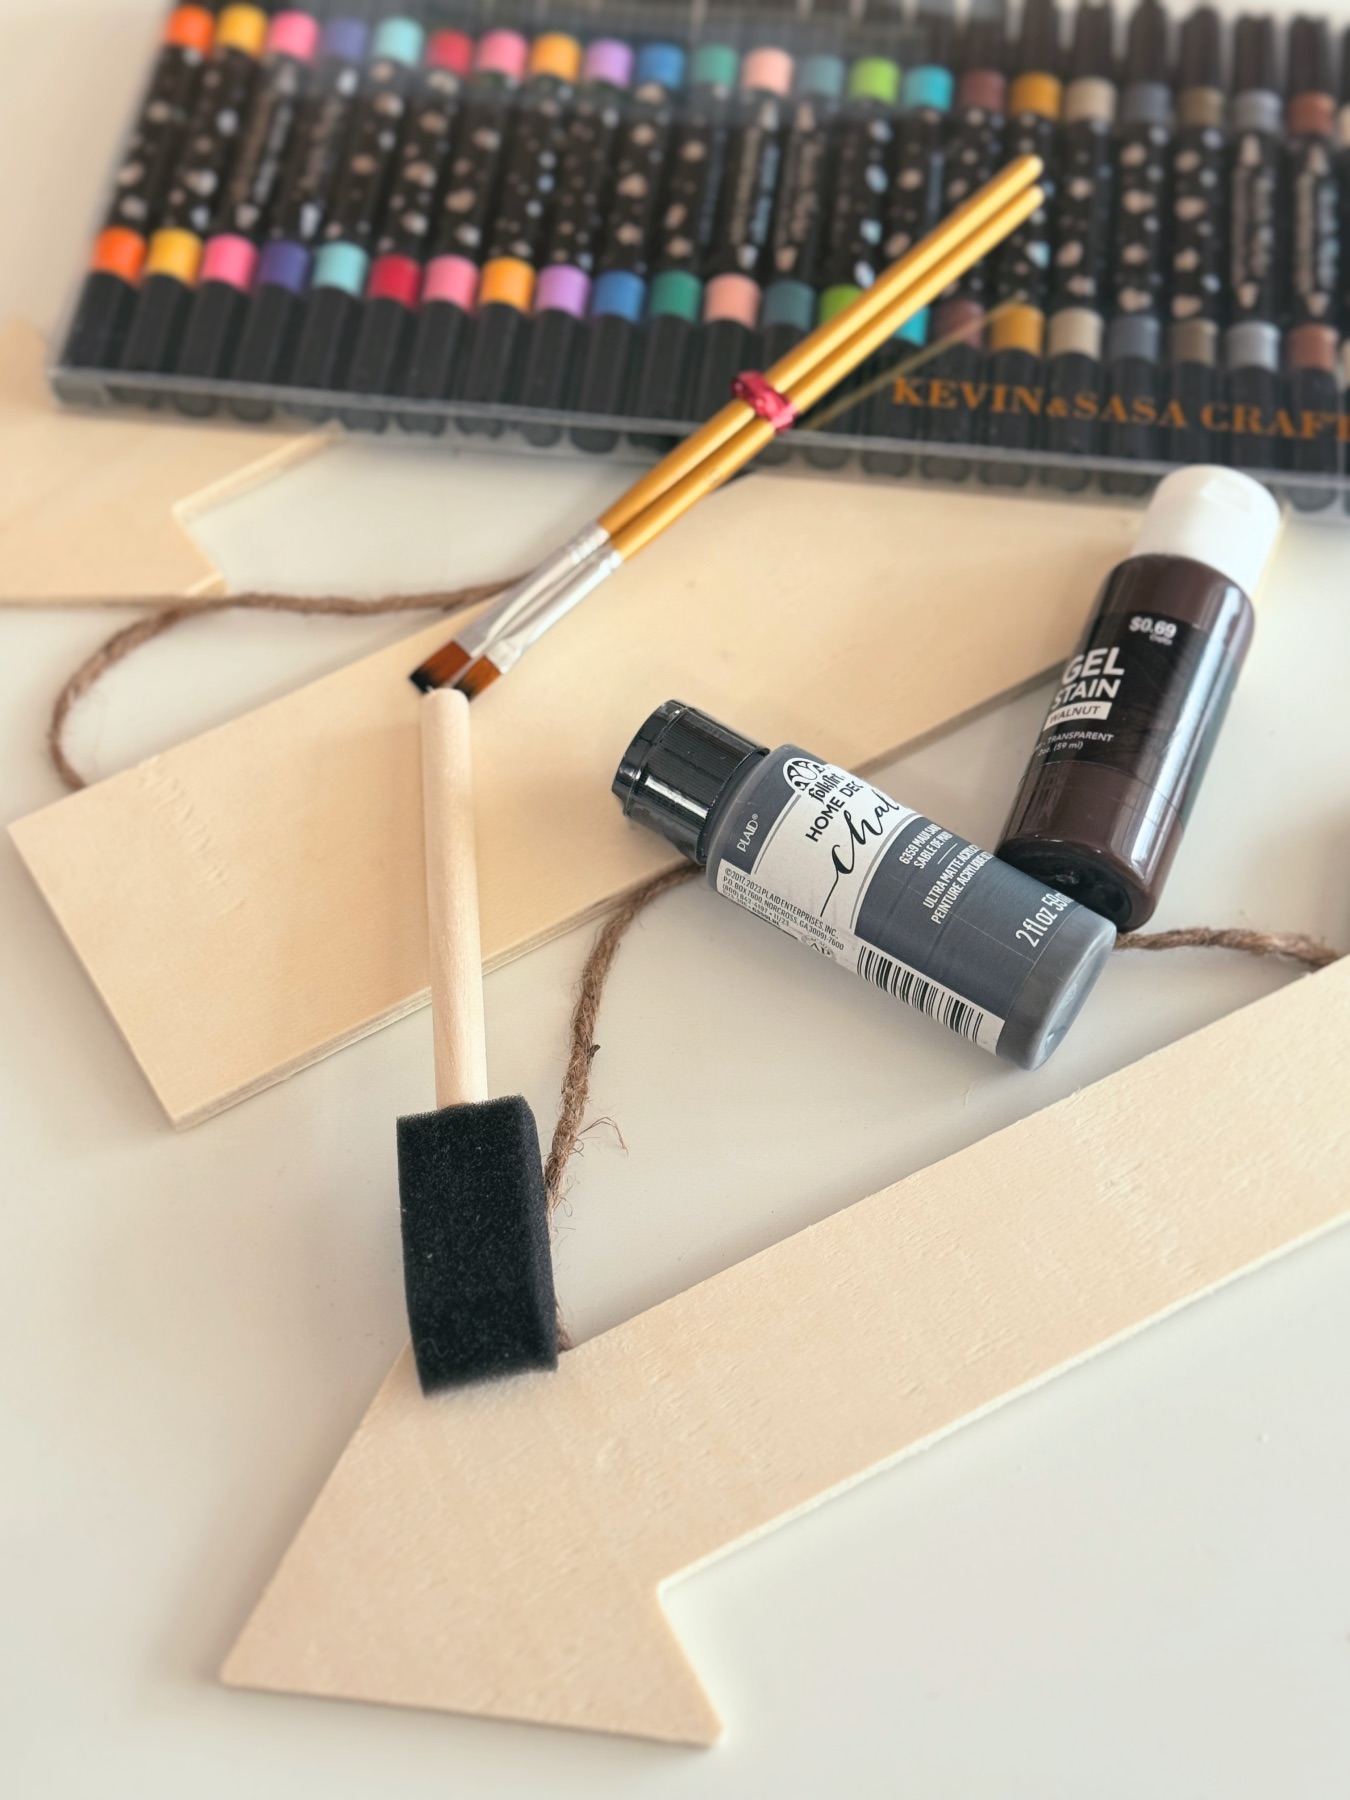
Supplies for the DIY Brush Lettered Easter Yard Sign with Arrows
This Kit (coming soon)
or
Raw Wood Arrows
Wood Stain -or- Chalkboard Paint
Brush Lettering Tutorial Book
Foam Brush
Brush Letter Pens -or- Chalk Ink Pens
Optional: Carbon Paper, Pencils
Pro Tip: You can find chalkboard paint in every color of the rainbow. I recommend keeping it classic with black or white chalkboard paint. Black is especially great choice. White chalk will make so many people immediately reminiscent of school. It’s a charming choice.
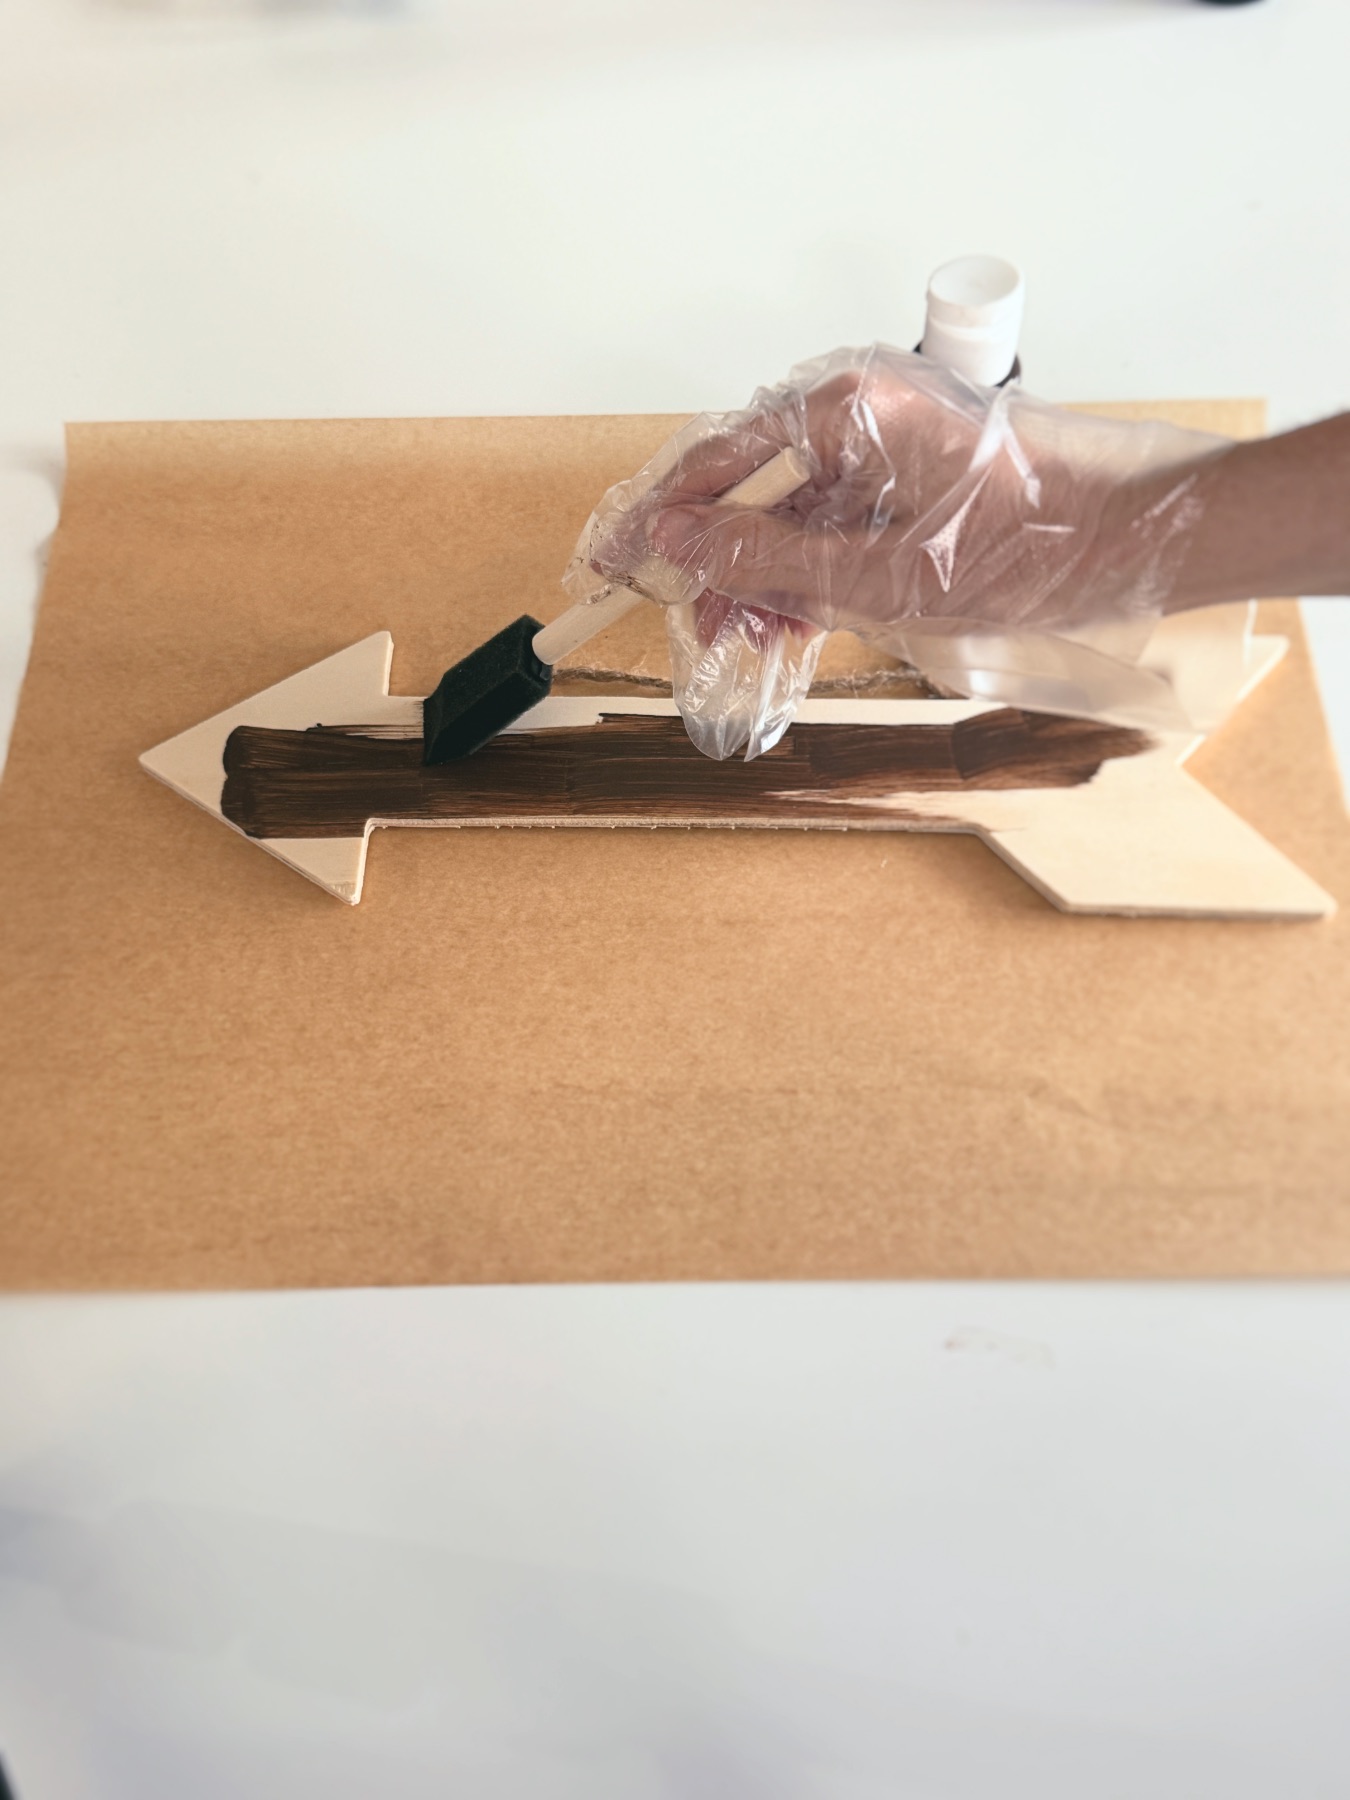
Step 1: Stain the Wood
Wood stain can have some variation, so read the label before starting this step. But most wood stain requires very long drying times. Most wood stains also require to be applied a certain way with the excess removed with soft towels.
The wood stain I used could be applied with a foam brush, needed 2 coats, and each coat needed to dry for a full 24 hours.
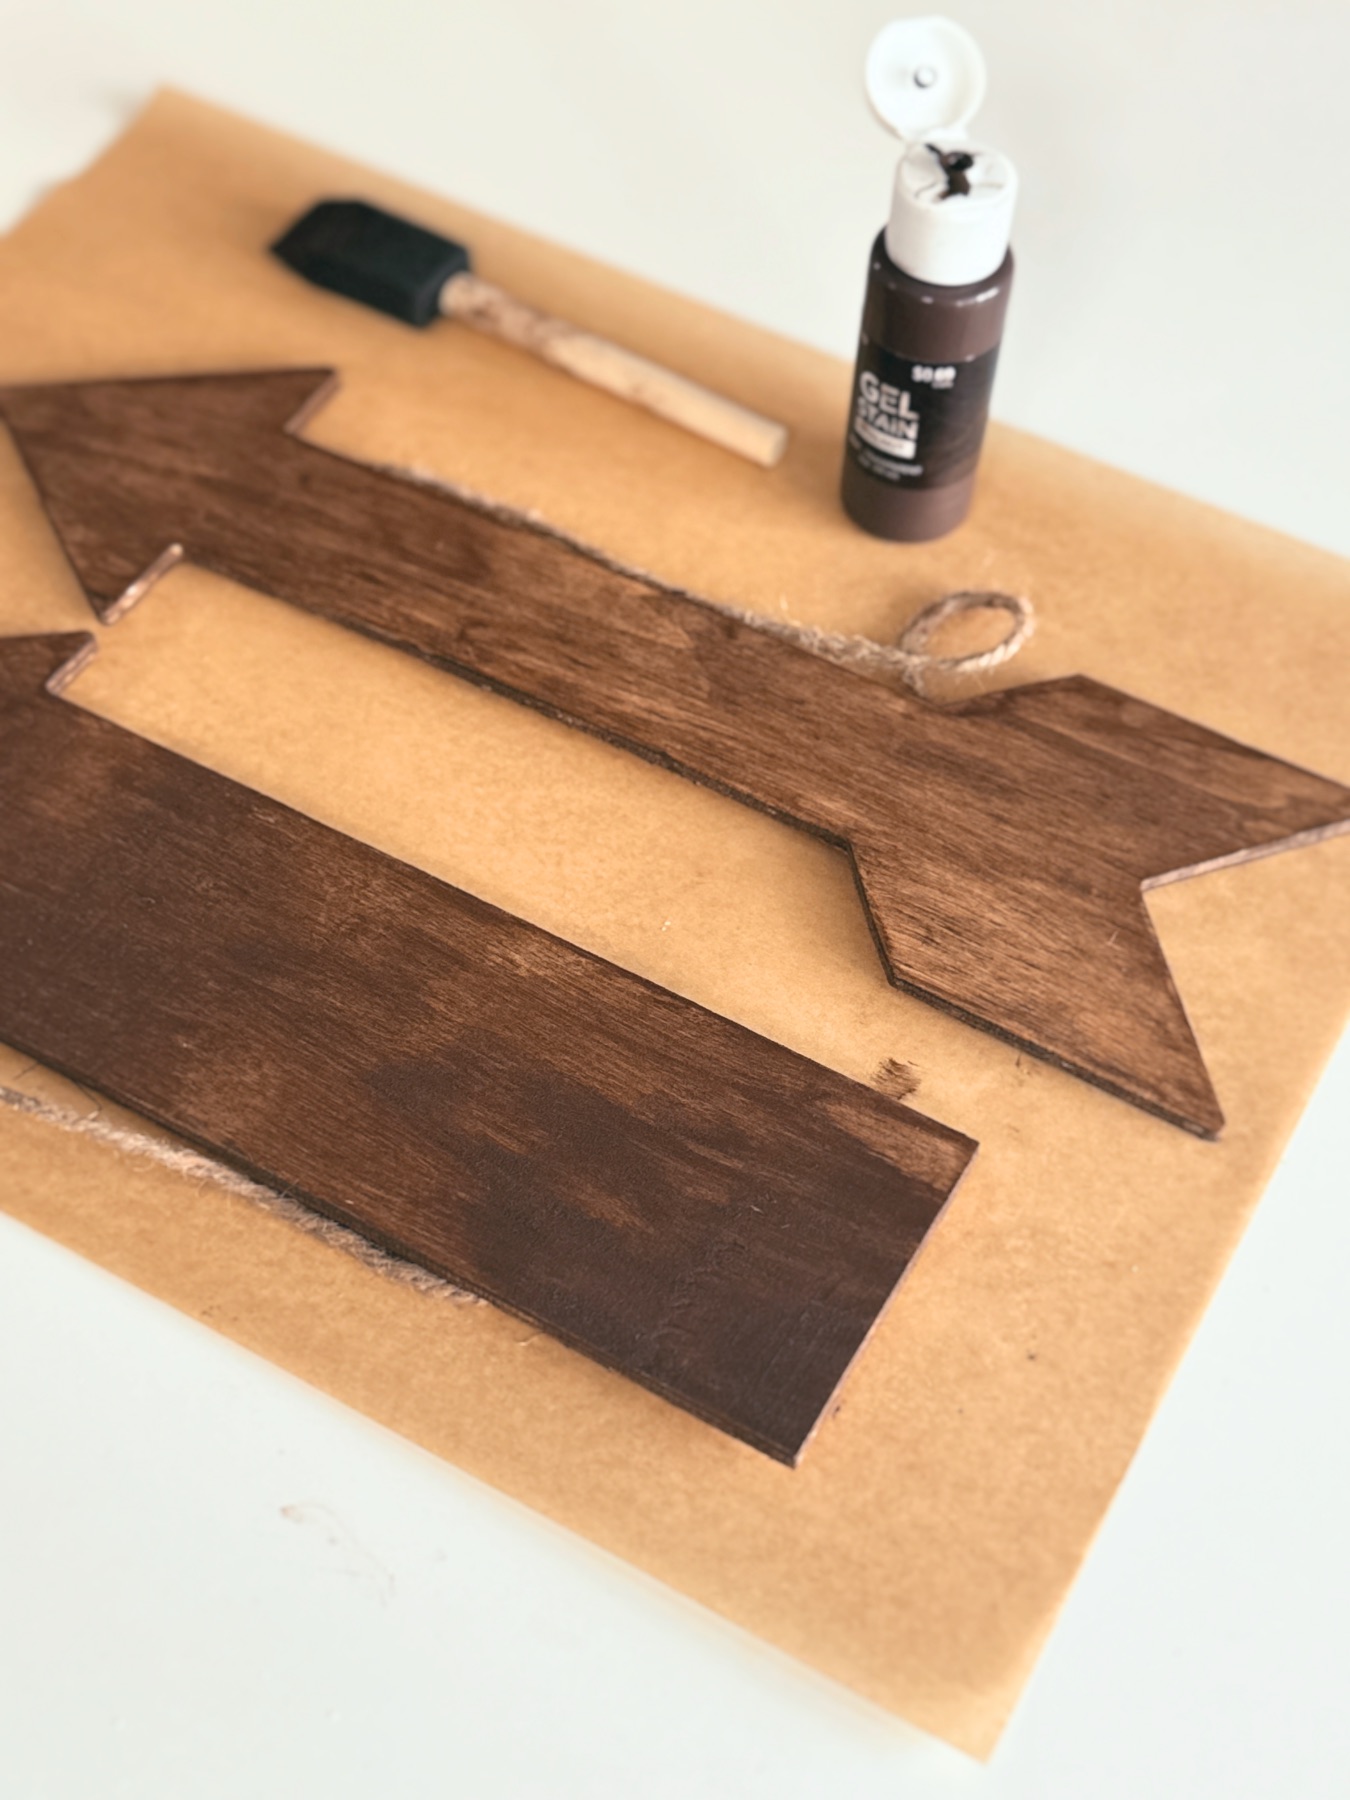
The staining part of this craft can alone make the project take several days, so be sure that you account for that time before starting the project!
![]()
Step 2: Pencil Your Lettering (Optional)
Penciling in your lettering can be a great way to practice your letter spacing or have a template to follow. But for me, it just makes it more confusing. Try this method to see if it helps you create more even lettering. Just know that you have to make a choice – are you using just a thin pencil line for what will become thick brush lettering strokes? Or are you actually drawing in the entire letter – including the thickness of each letter? Both can have their own challenges.
Depending on how confident you are with brush lettering, using carbon paper might be a better choice – let me explain.
Pro Tip: What to do If You Aren’t Comfortable with Hand Lettering
If you are just getting started with hand lettering, a supply and method that may be helpful is using carbon paper! Place the carbon paper on top of the wood sign. Place the tutorial book on top of the carbon paper. Trace the letter. Remove the book at the carbon paper to ensure you got a perfect transfer. Voila! You now have a carbon transfer of the image on your wood sign that you can trace.
Phrase Ideas for Your Wood Sign
I made my signs Easter theme because it was spring when I made them! But you don’t have to choose Easter. Here are some other ideas:
Spring: wildflowers, greenhouse, vegetable patch, butterflies, baby chicks, strawberry patch
Summer: beach, sunflowers, towel station, bicycles, boats
![]()
Valentine’s Day: kissing booth, chocolate candies, tunnel of love, lovebirds, cupid’s arrows
Halloween: witch’s house, broomsticks, pumpkin patch, monster mash, halloween candy, Dracula’s mansion
Christmas: santa’s workshop, north pole, reindeer, Frosty the snowman,
![]()
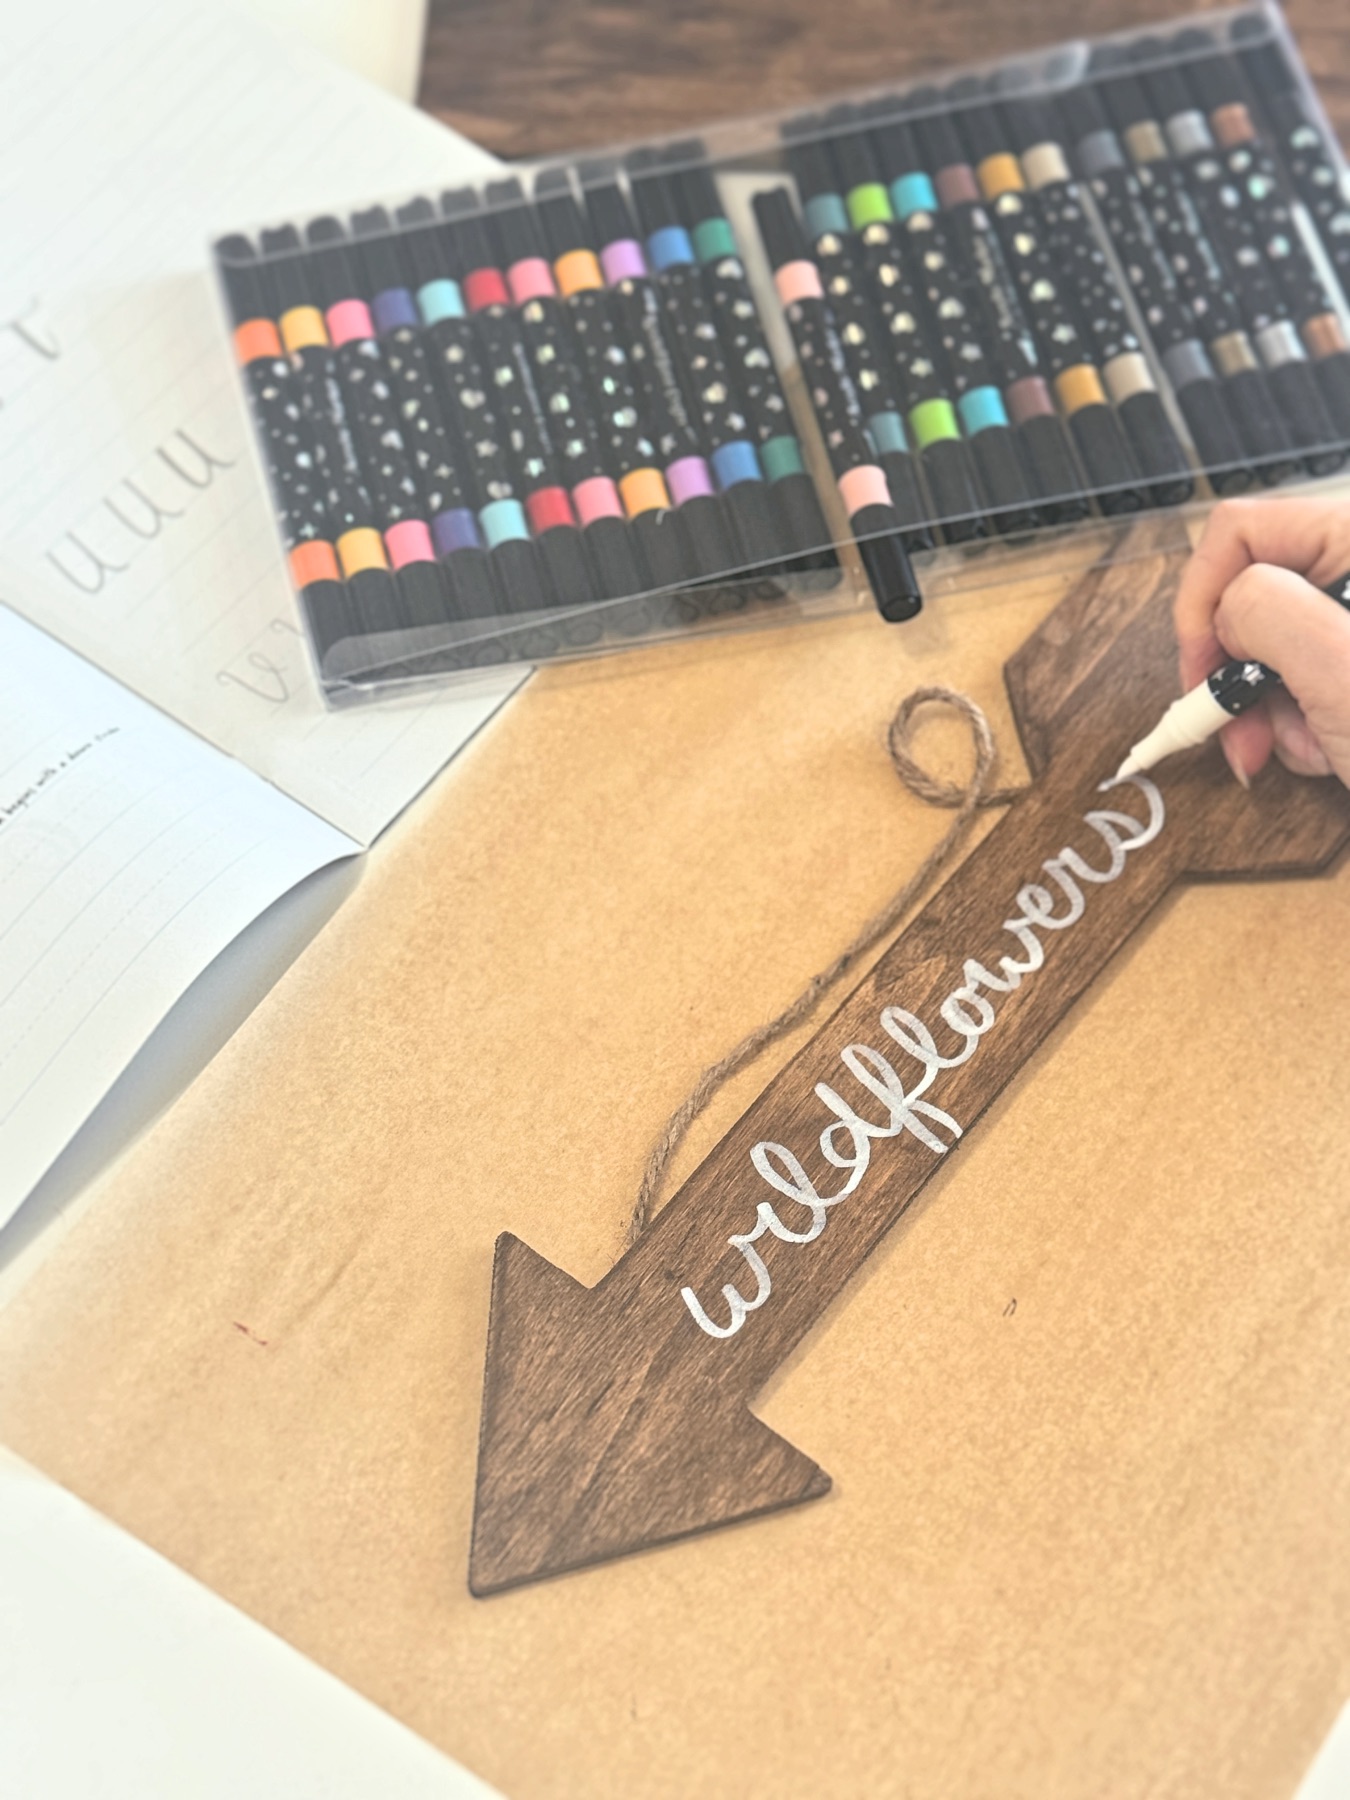
Step 3: Letter the Signs
Make sure your wood stain is fully set before you draw in the letters. Now everyone will approach this differently, but my lettering looks best if I just make one pass at it. The more I go back and try to refine lines, the worse it looks.
Whatever you do, practice on paper or in your workbook before you draw the letters on your board. If you are working on chalkboard paint you can remove the chalk ink. But if you are working on stained wood, you really only get 1 pass.
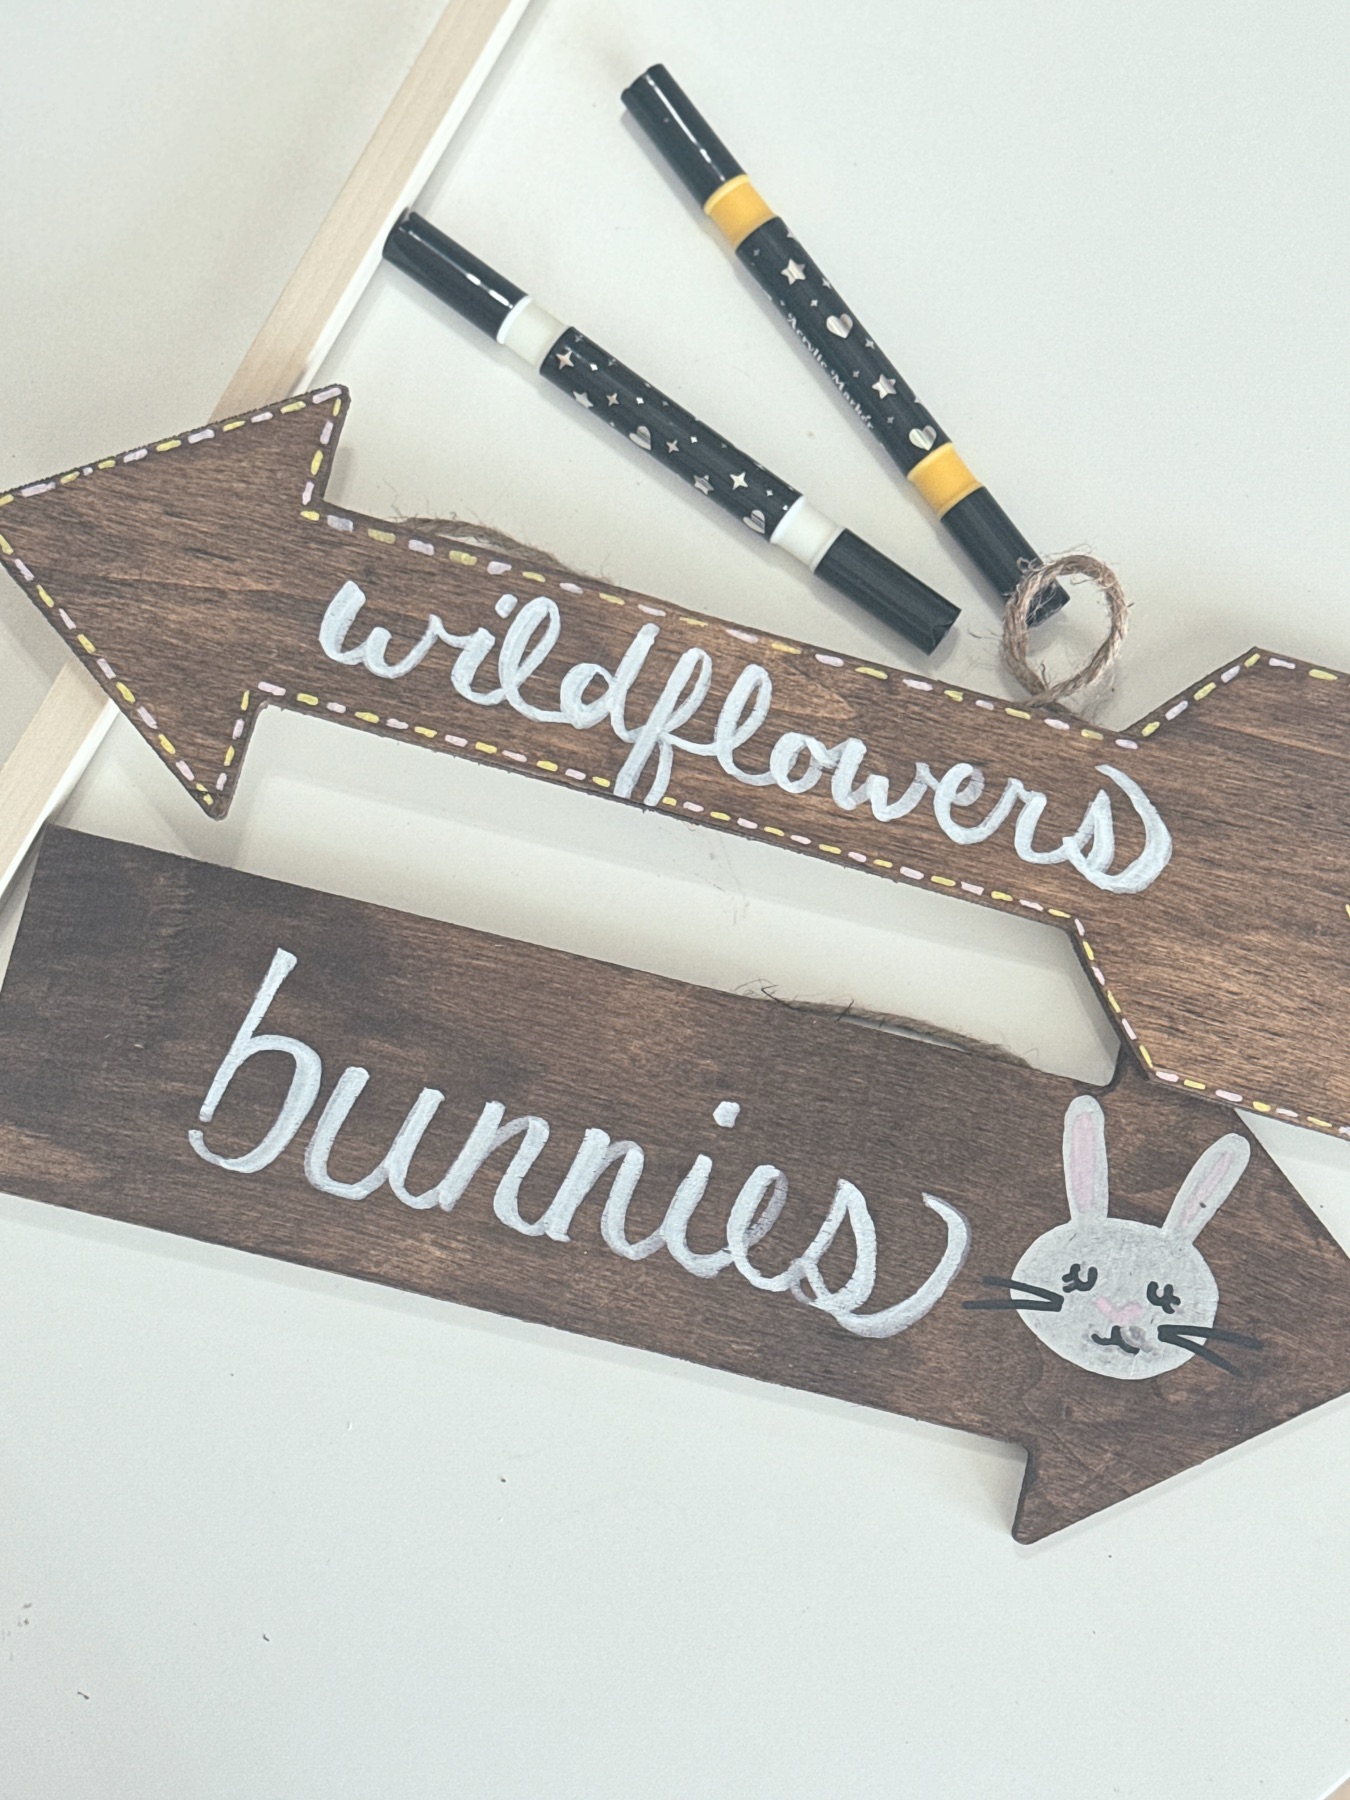
Step 4: Add Drawings & Details
You may want to add doodles, drawings, or embellishments to the arrows. For example, I drew a simple bunny on mine and made a dotted line in yellow and pink on another. You don’t have to be a talented artist to add these details. Just keep it simple! You want to enhance the lettering but not distract from it. For this reason, I also recommend keeping your color palette of your illustrations simple – or at least make sure that they match the color of the lettering.
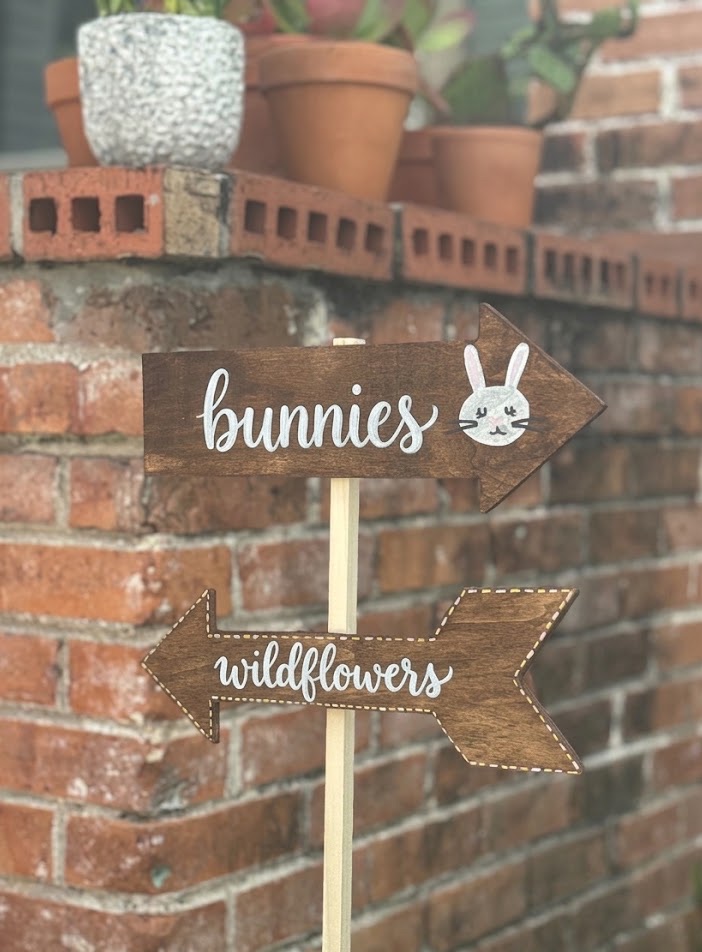
How & Where to Install Your Brush Lettered Wood Signs
Once your arrows are lettered, detailed, and finished, it’s time to install them! The arrows I used, already had twine on them which is a perfect way to hang them down a wall. But I wanted to install mine outside of our office front door! So I bought a less than $5 wood stake at a hobby store and used a screw to attach them to the wood stake.
What do you think? What season will you make these for? Tell us in the comments and happy crafting!
Let’s Be Friends!
Insta | Pinterest | Enews | TikTok