DIY
DIY Felt Coffee Sleeve
Happy Fall, y’all! Here’s a fun way to celebrate the season and to get in the cool weather spirit! I made this DIY with the Downtown District in Houston TX. They are amazing.
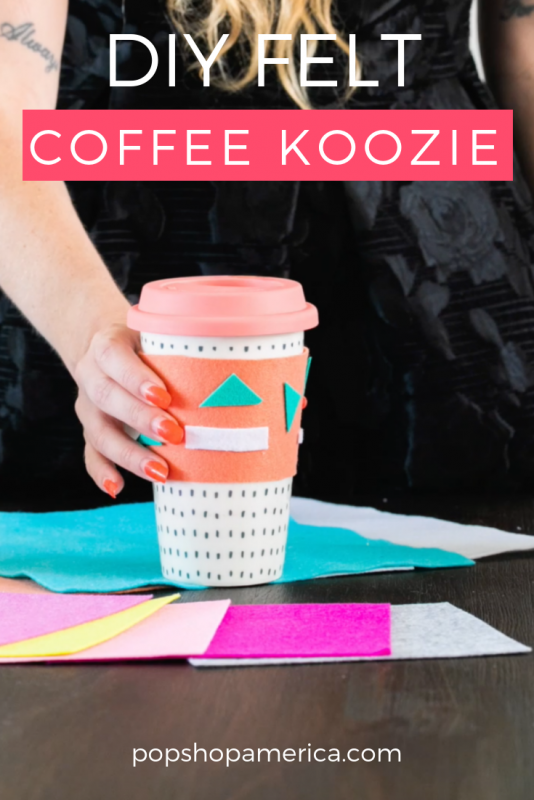
It’s a DIY Coffee Sleeve made in a soft and fun felt! It’s perfect for a travel mug or when you need to stop by the coffee shop. It’s easy to make and only requires a few simple supplies.

Supplies for a DIY Felt Coffee Sleeve:
Felt (There’s a lot of variation. Get the Good Kind.)
Coffee Sleeve Template
Heavy Scissors
Glue Gun
Optional: Shape Templates, Letter Templates

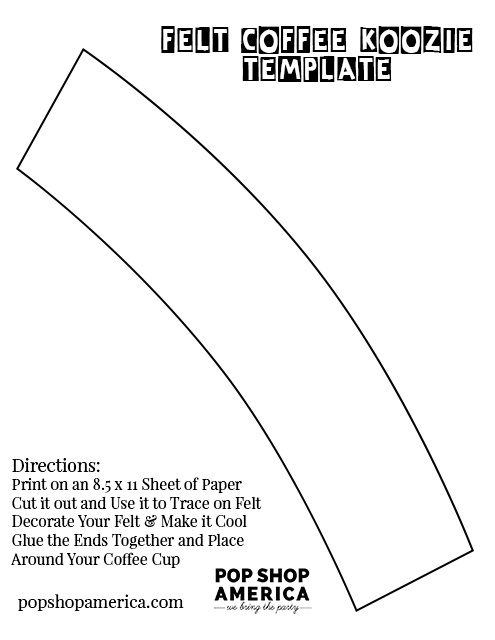
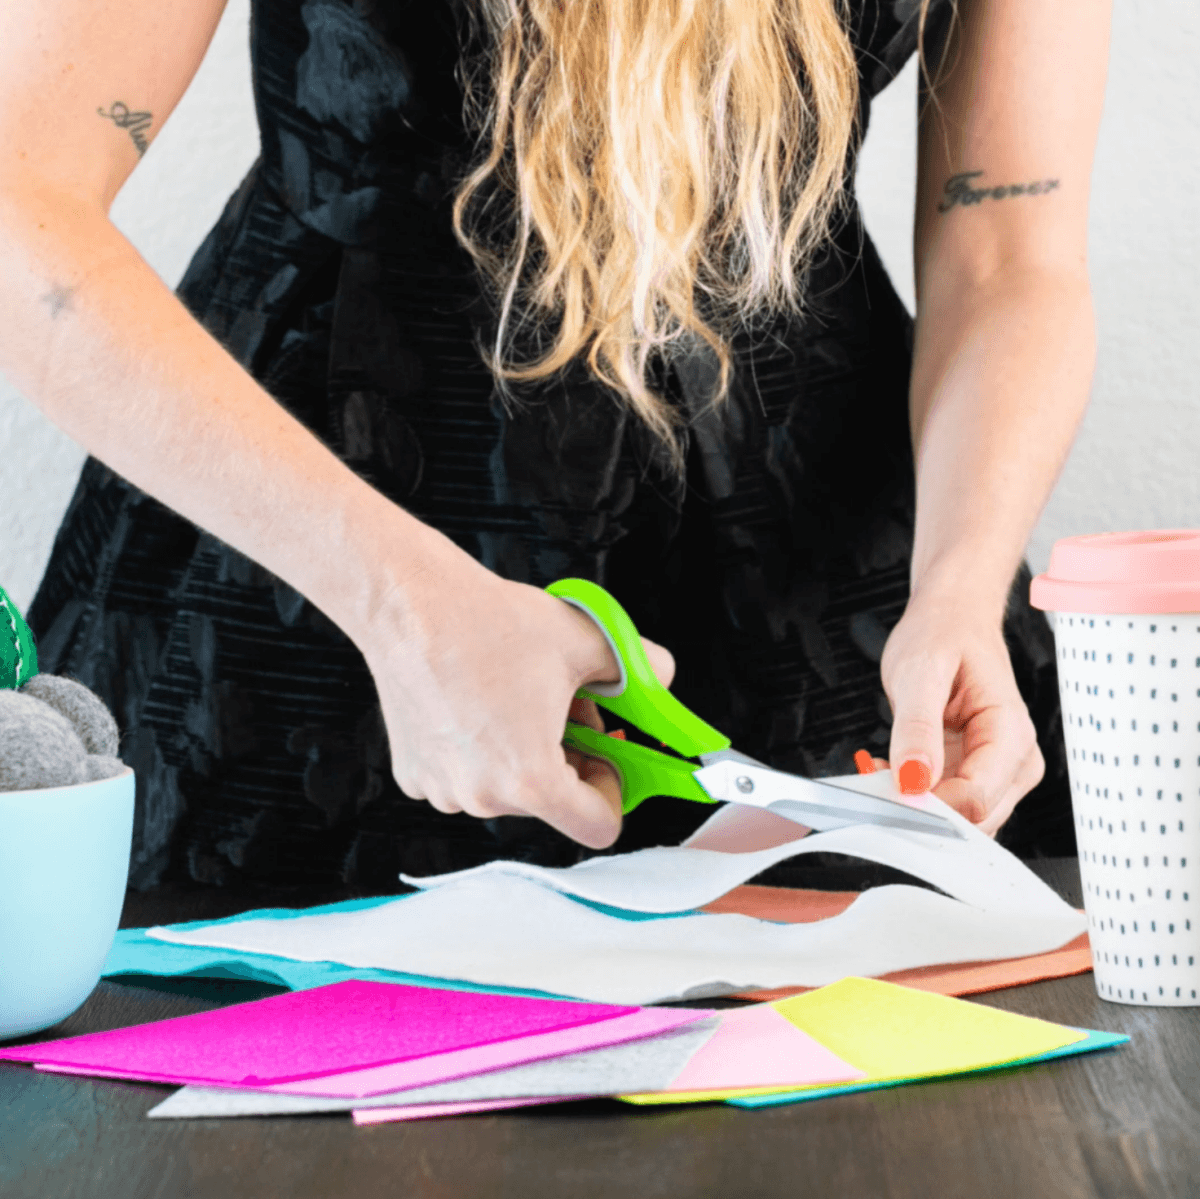
First, draw and trace the coffee sleeve template in whatever color felt you would like to be your base. I just used a regular pen. But if you could use a pencil or something really light, that will keep your sleeve looking professional.
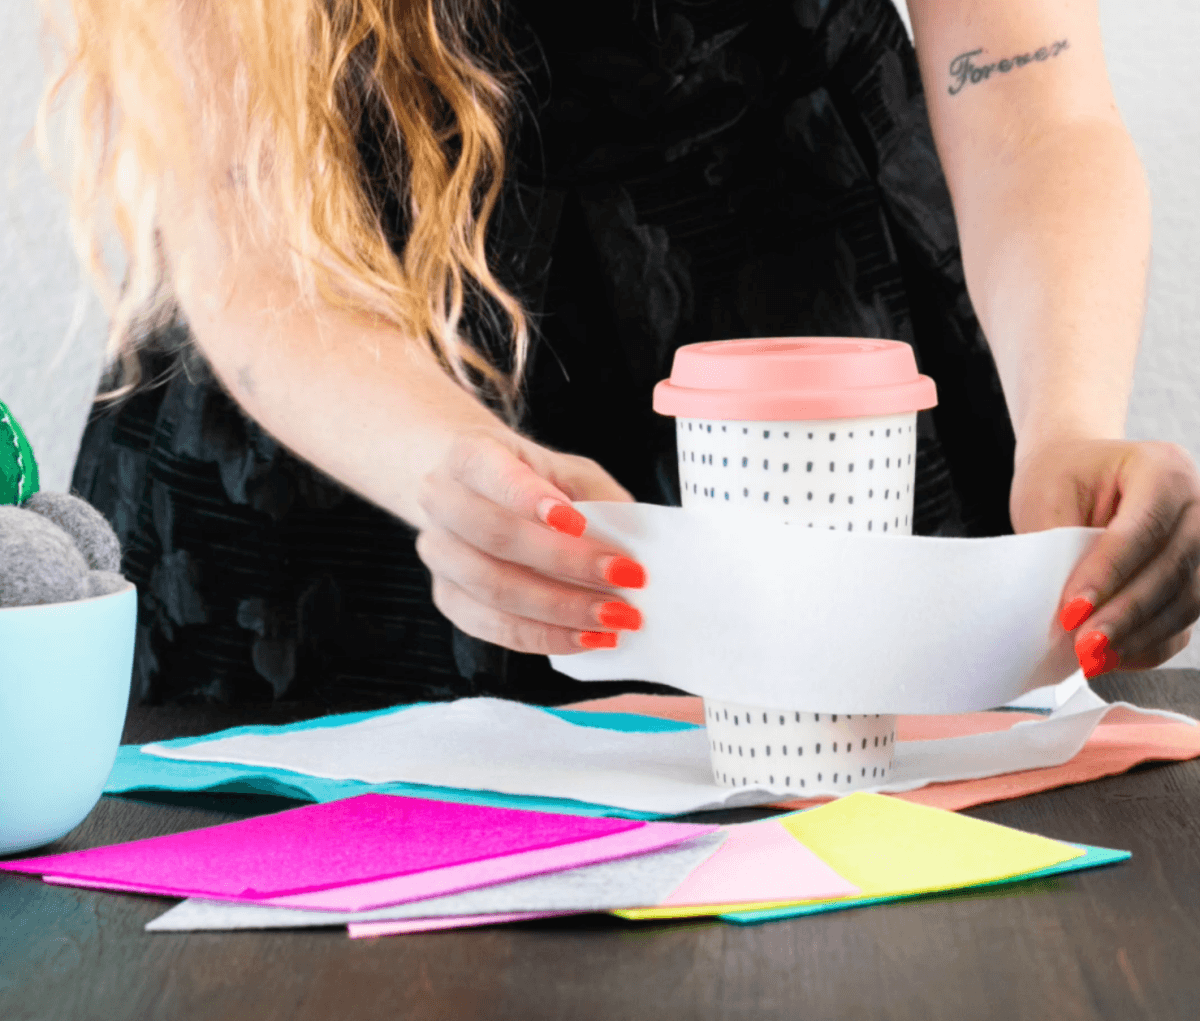
I wrapped it around my coffee mug just to make sure that everything was lining up properly.
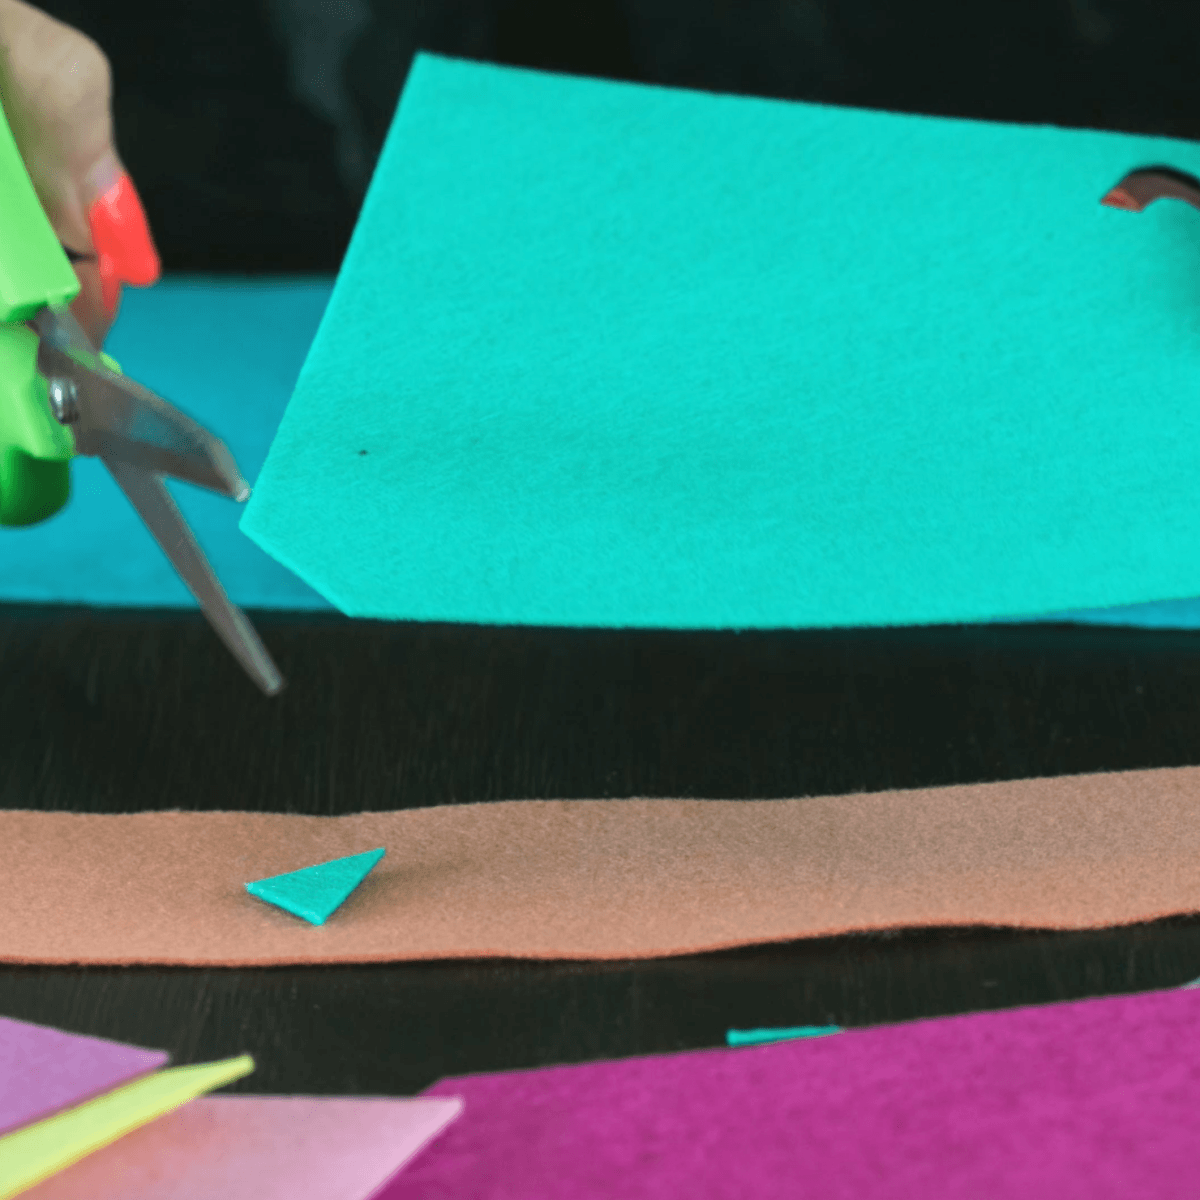
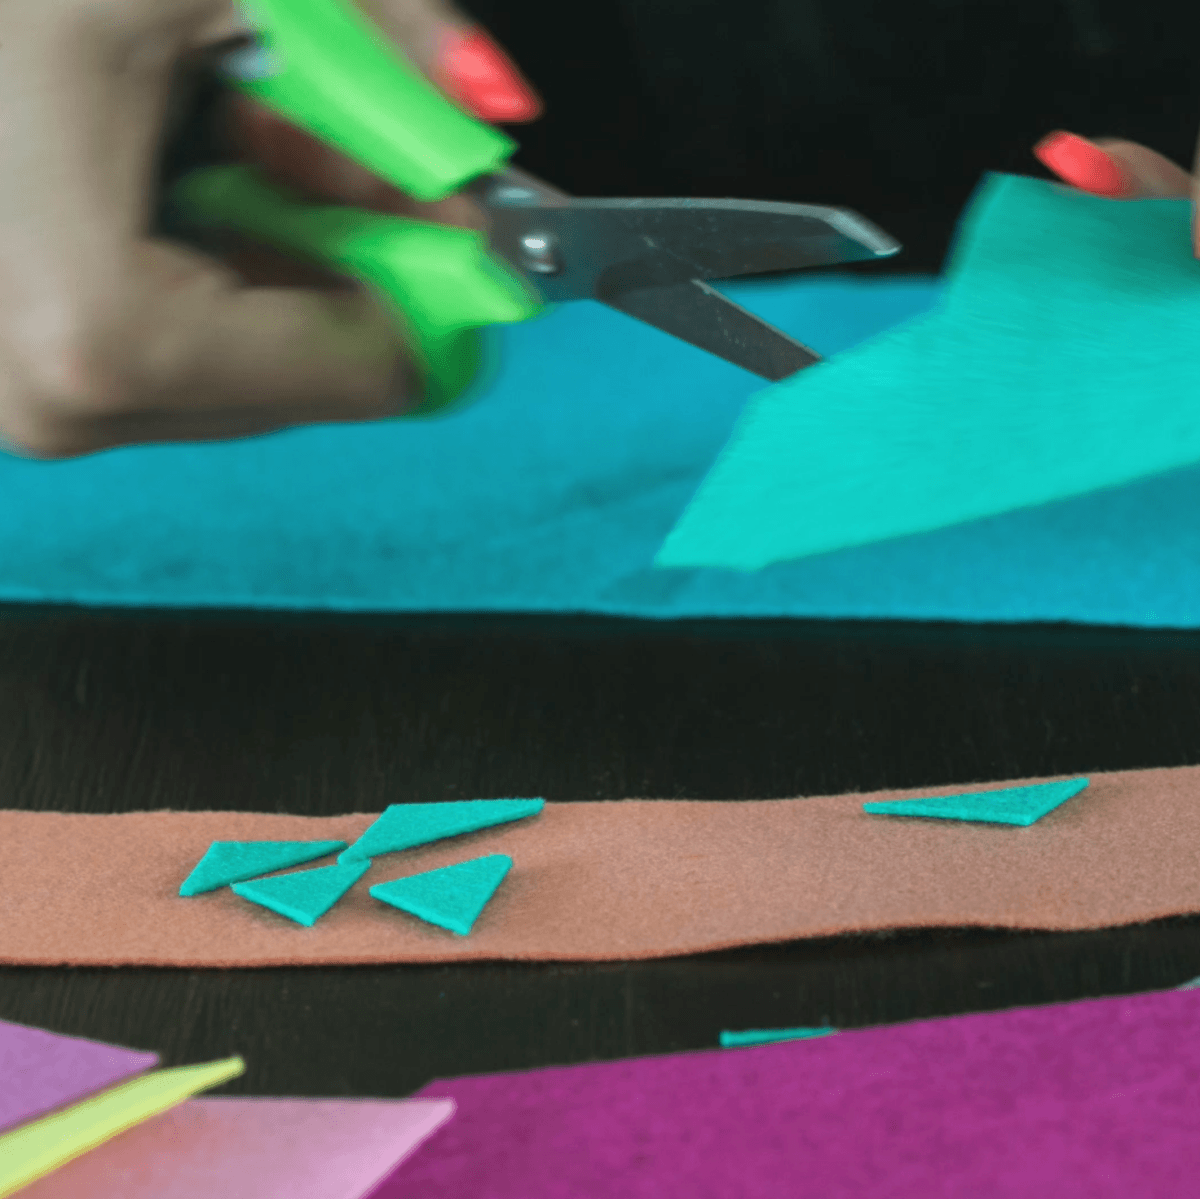
Once the sleeve is cut, start to cut your shapes that will go on top. I’m a big fan of keeping it simple. Bright colors and color blocking are a great approach because they look great and are easy to do. I used my signature salmon and cut triangles and rectangles in teal and white.
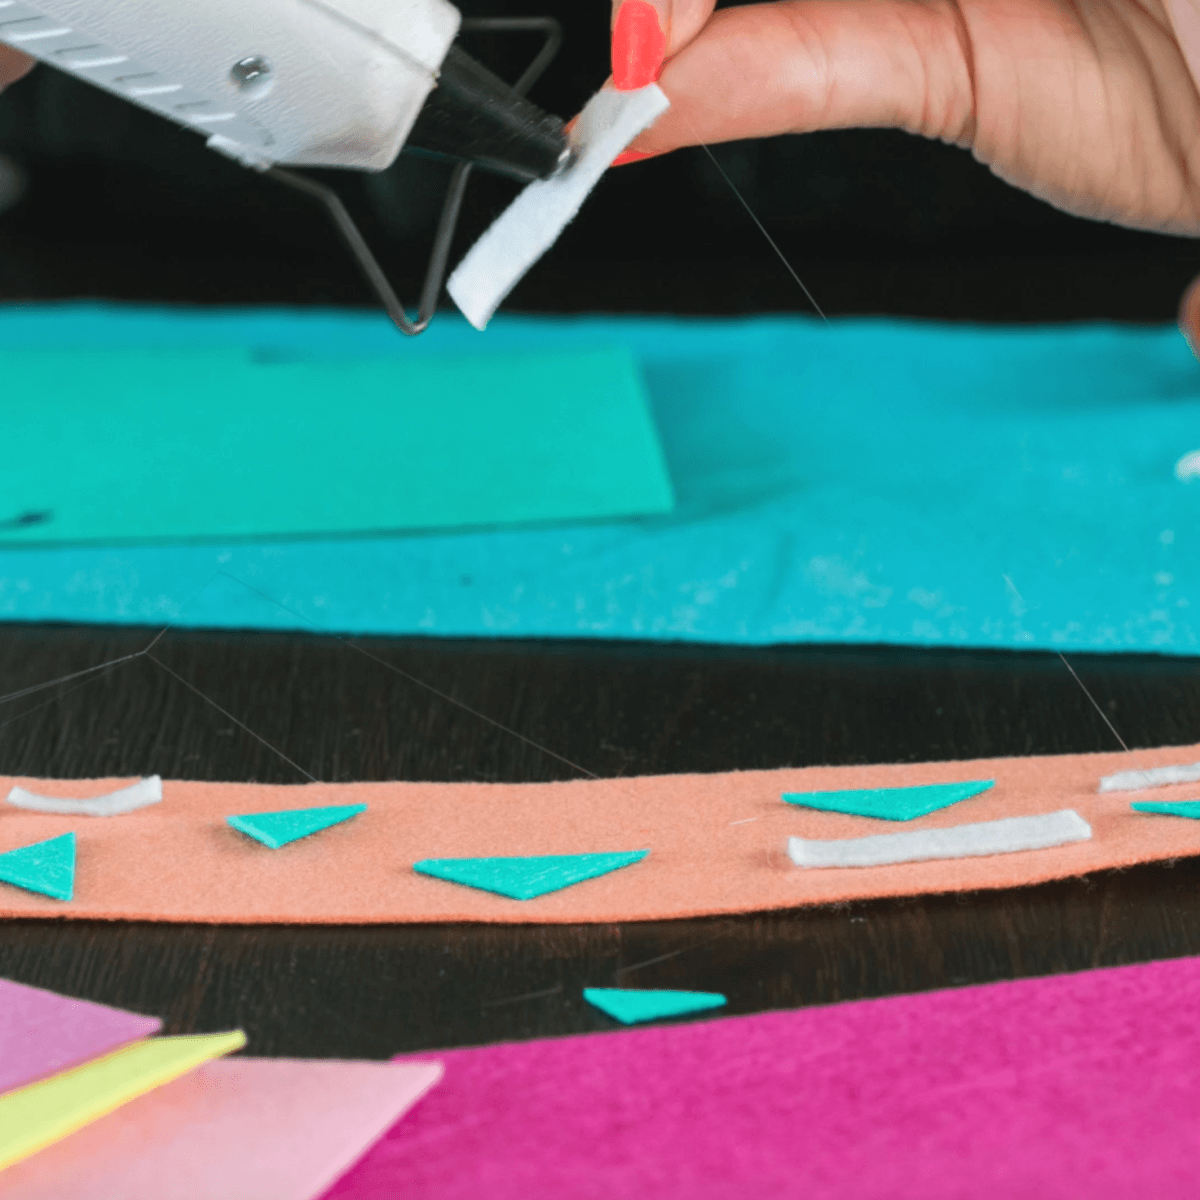
Lay your shapes out across the sleeve so that you can plan where they will be glued. Once you have your composition planned, use a glue gun to affix the pieces one at a time. If you don’t have a glue gun, you can use my favorite glue – E6000. But E6000 takes a full 24 hours to dry – so don’t use your sleeve the first day!
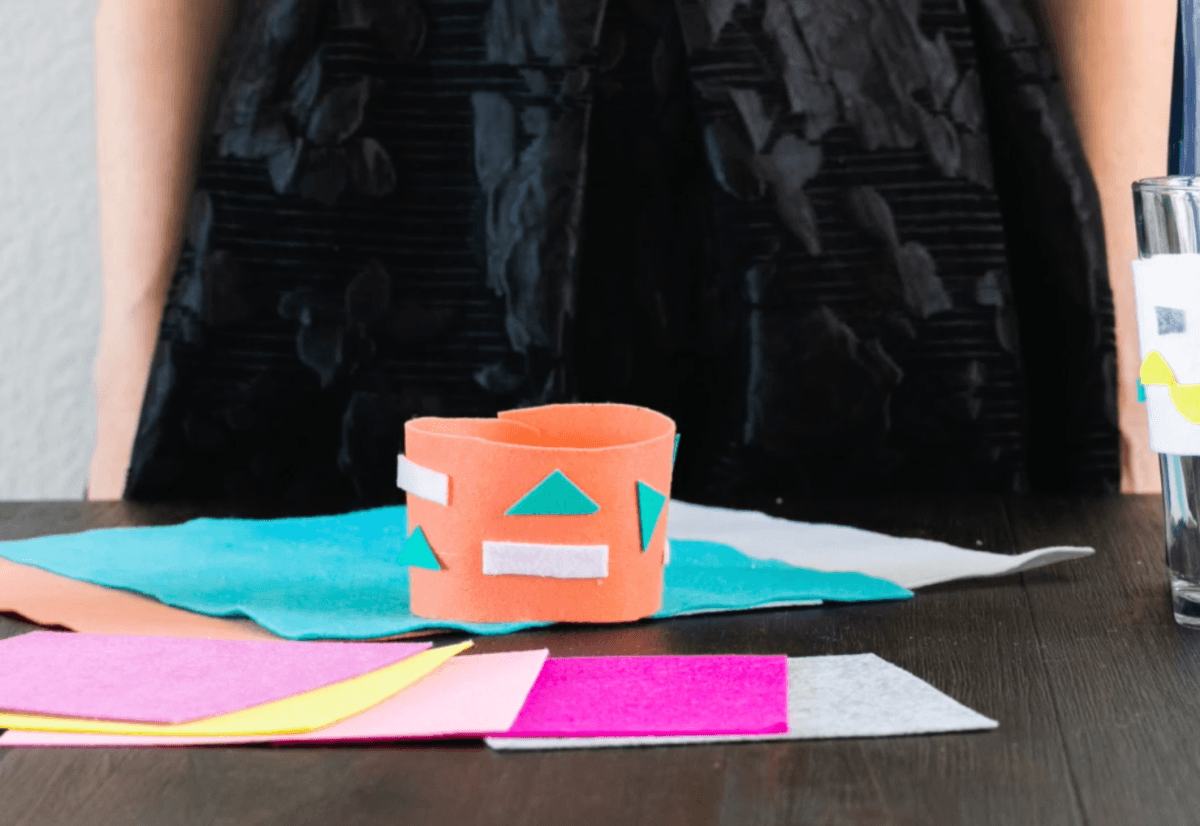
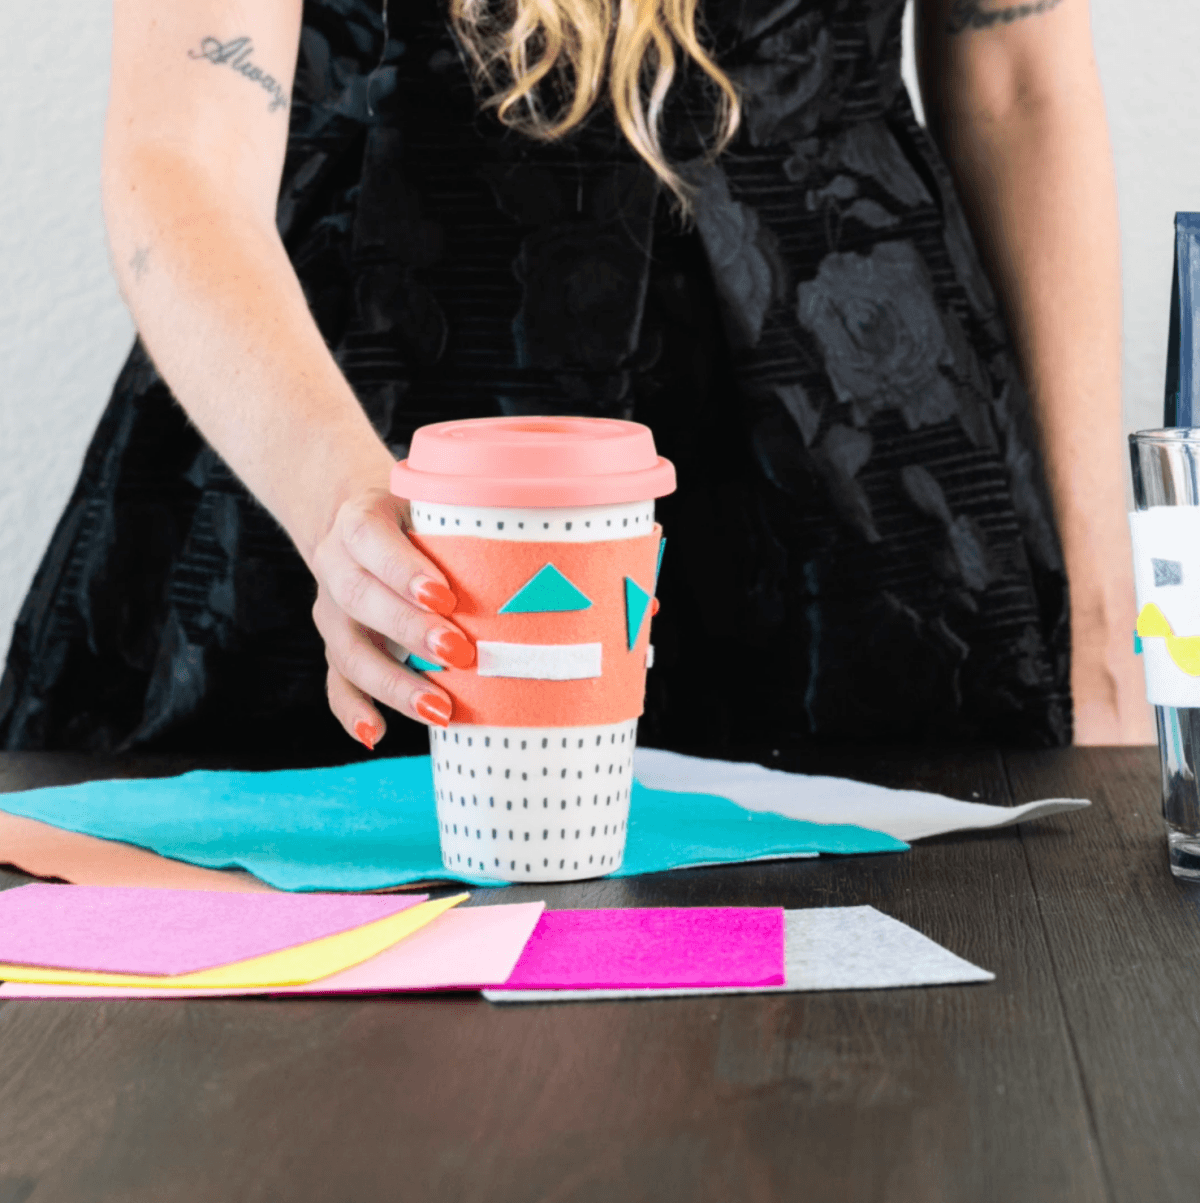
Last, glue the ends of your of the sleeve together making a loop. Whenever you are ready to use your DIY Felt Coffee Sleeve, just slide it onto your mug! Totally adorable right?!
Let’s Be Friends!
Insta | Pinterest | Enews | TikTok


