DIY
3 Ways to Make DIY Sharpie Coffee Mugs
Cheers! Who doesn’t love a personalized Coffee Mug? These DIY Sharpie Coffee Mugs are so easy to make and I bet you already have the supplies lying around your house! Because all we’re going to use to make these Coffee Mugs are sharpies. Isn’t that cool?
There are different techniques so you can make all kinds of styles, colors, and personalize them for anyone. You can even use this technique across other ceramics like a ring dish or bakeware.
Here are my three favorite techniques for making DIY Sharpie Coffee Mugs.
Supplies:
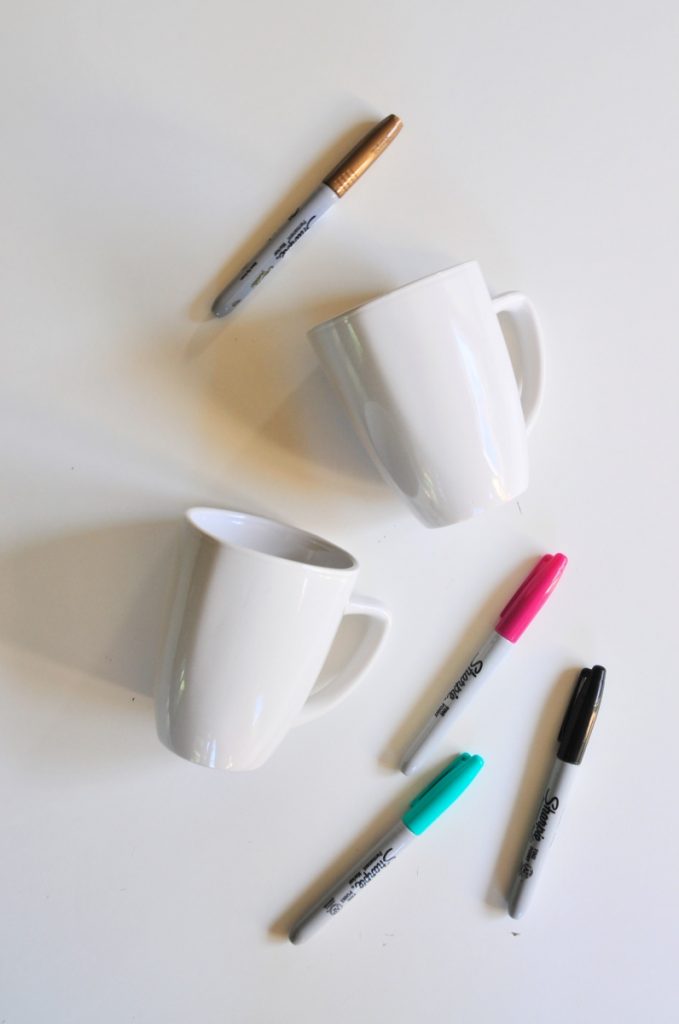
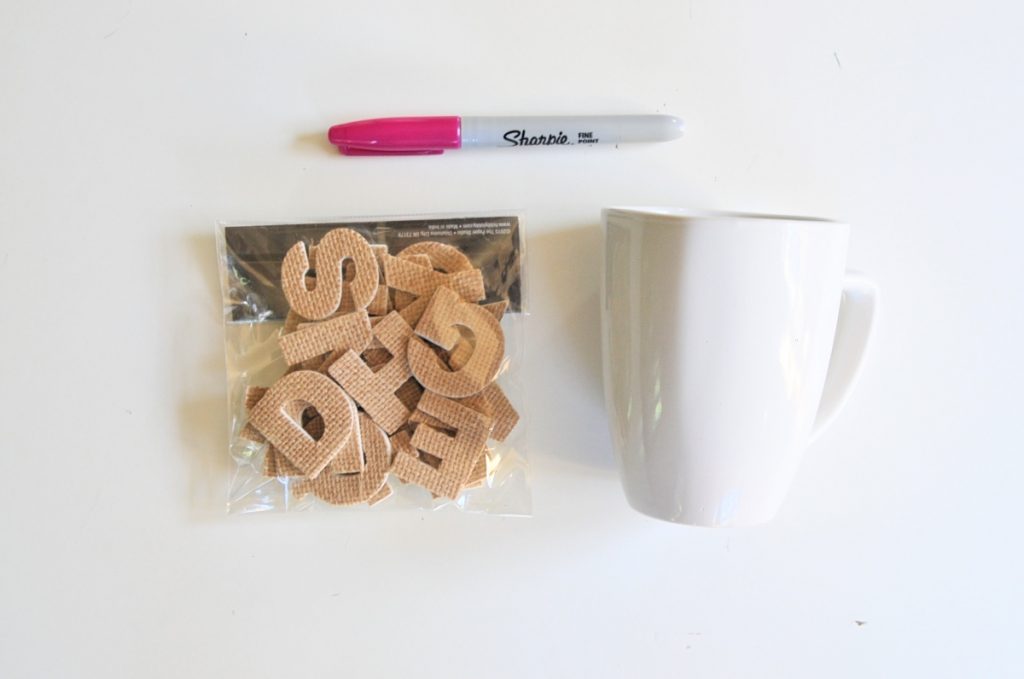
Blank Coffee Mugs (any size or style)
Sharpies (in any color)
Stencils (Use the Size for Bullet Journaling)
Shaped Letter Stickers
Oven (To Bake the mugs at 350° for 30 minutes which will set the Sharpie)
There are two things you need to know about supplies.
1. You have to get the coffee mugs at Dollar Tree. You will pay twice as much if you get them anywhere else! Even Amazon.
2. To find the right size stencil search for “Bullet Journaling Stencils.” You can find these online or at any craft supply store near you.
Technique 1: Free Hand Illustration
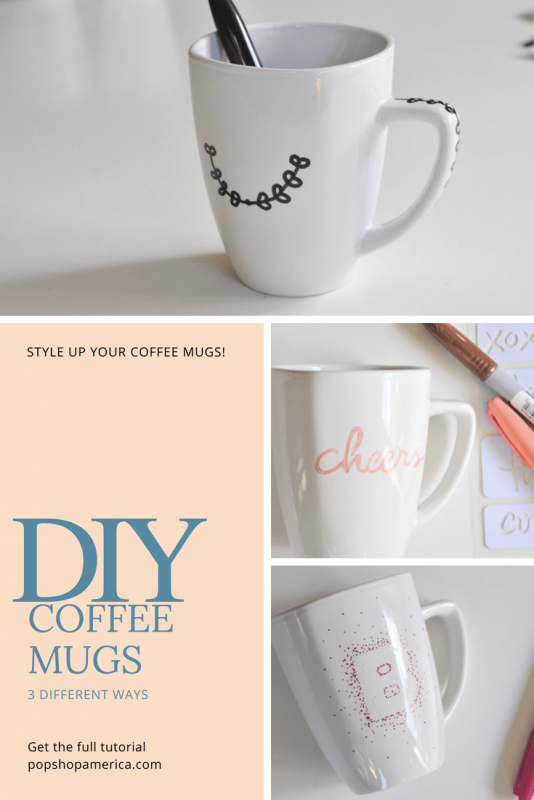
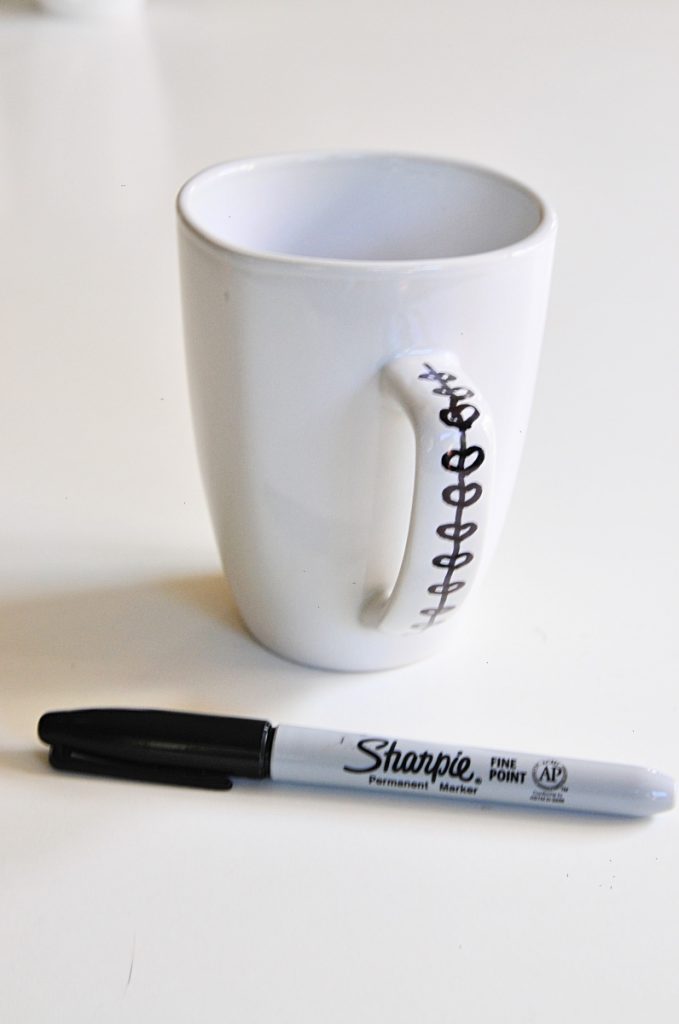
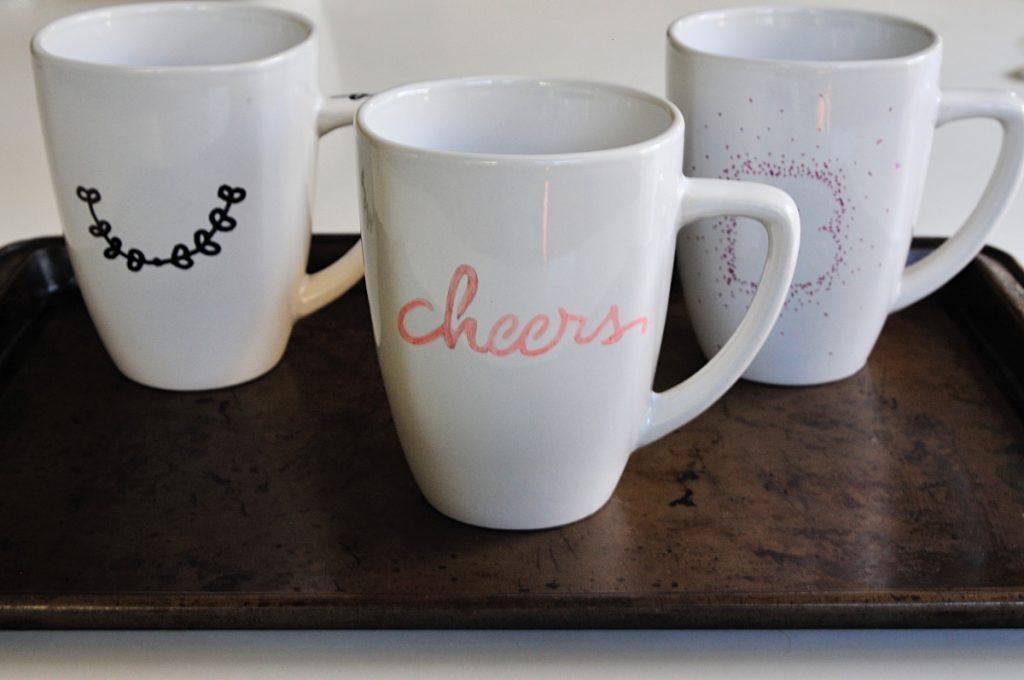
You don’t need to be a perfect artist to make a really adorable mug. I free handed this. And trust me when I made it, I was shaking from the coffee I was drinking! If you notice, these lines are not perfect but it still looks cute.
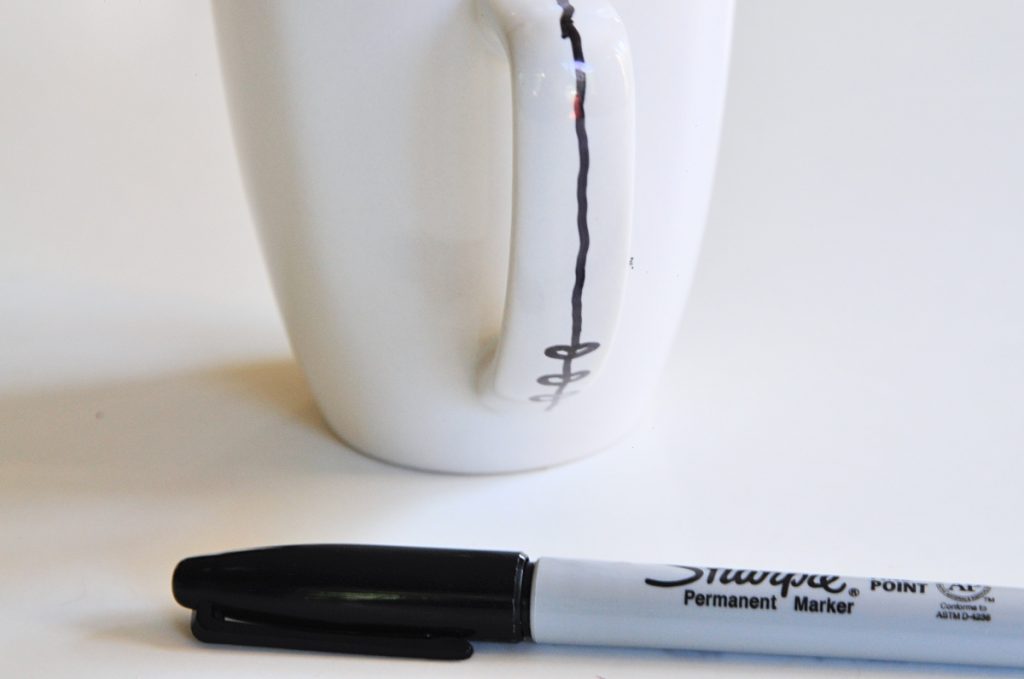
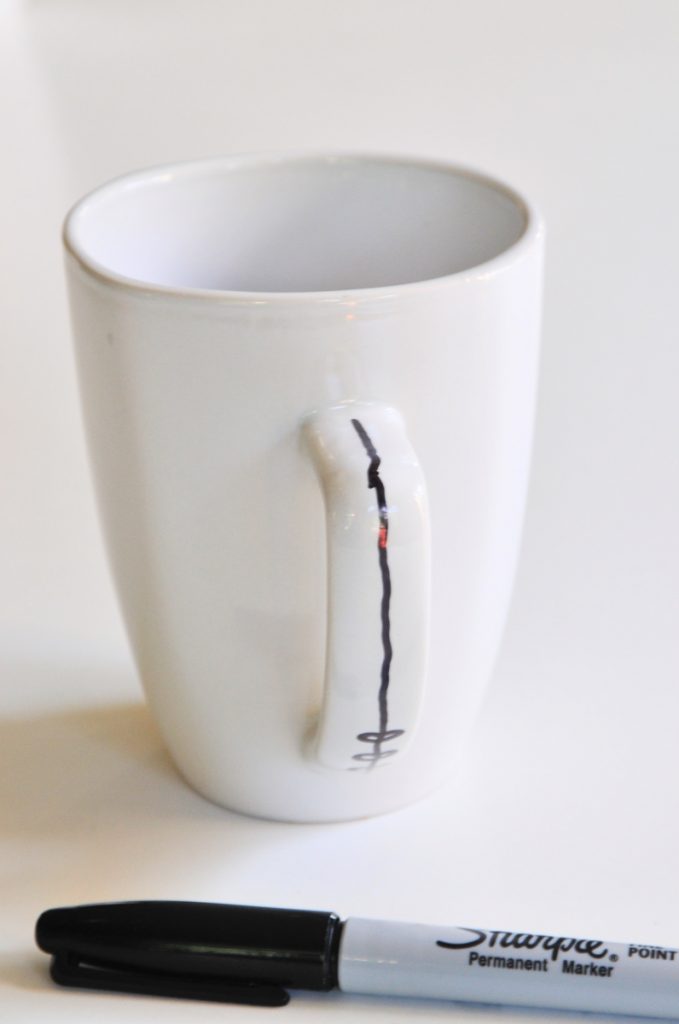
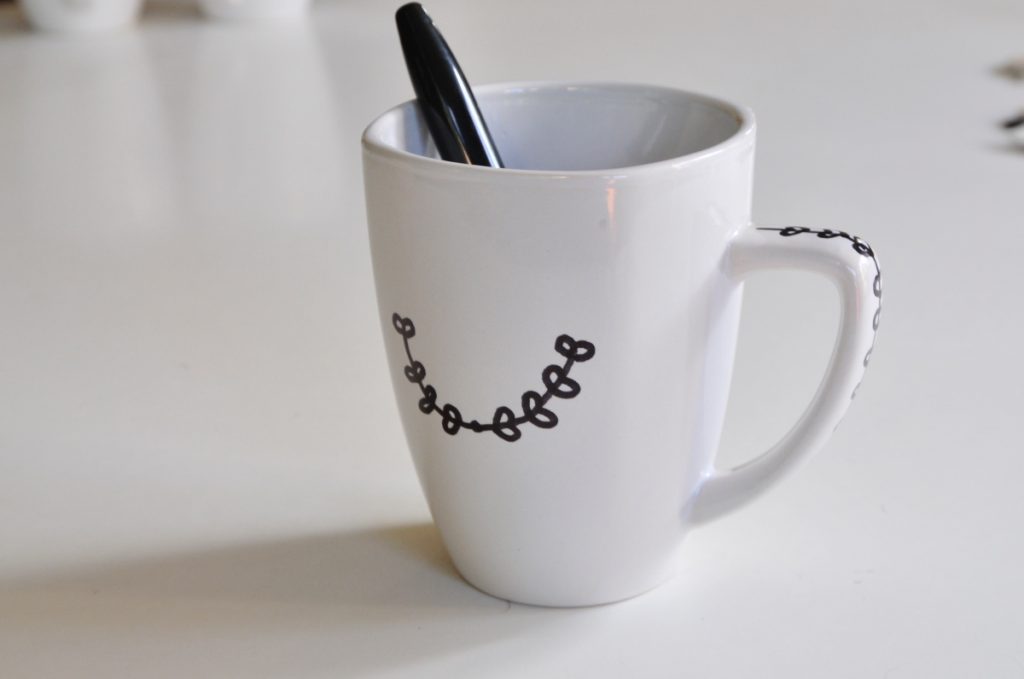
I chose to make a simple ivy vine up the coffee mug’s handle. Start with your center line and then work your way in one direction. When you are creating this DIY always be careful of smearing for the first few seconds. The good thing is that sharpies dry quickly.
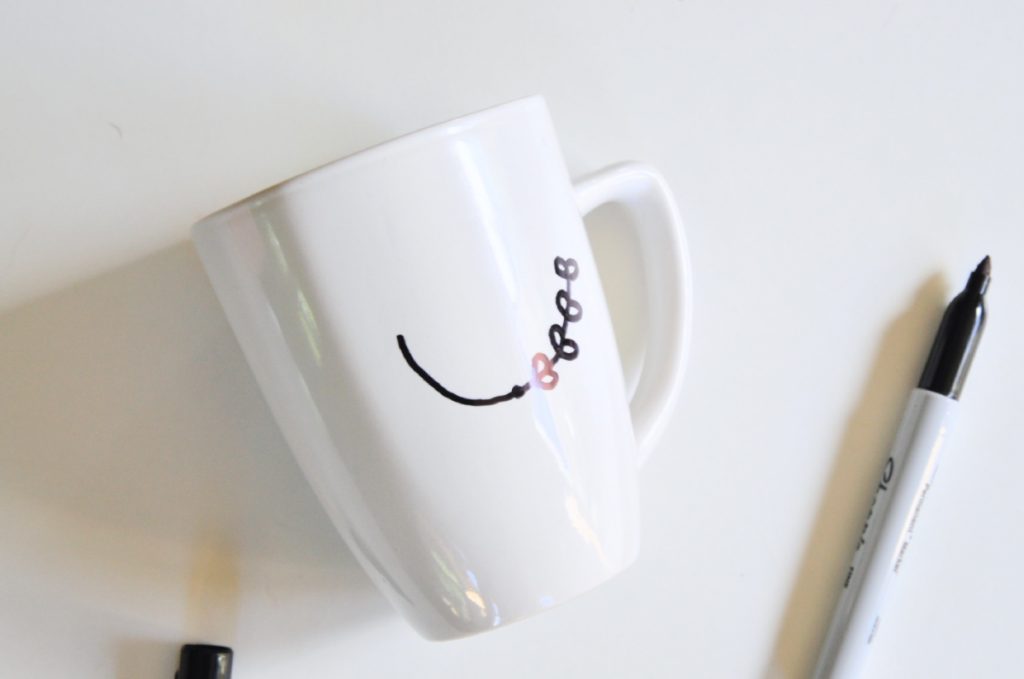
Then I made a laurel ivy shape on the front. Just start with one line and slowly fill it in. Use a table or any surface to steady your hand and steady the mug while you are drawing.
When you are free handing your DIY Sharpie Coffee Mugs, keep it simple!
Technique 2: Easy Stenciled Mugs
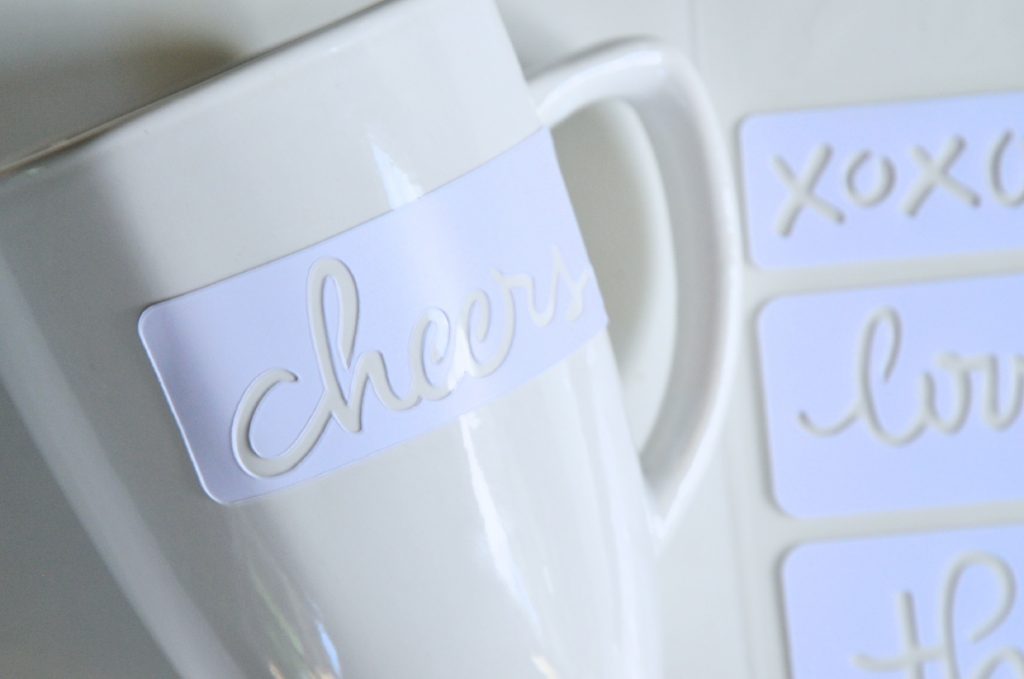
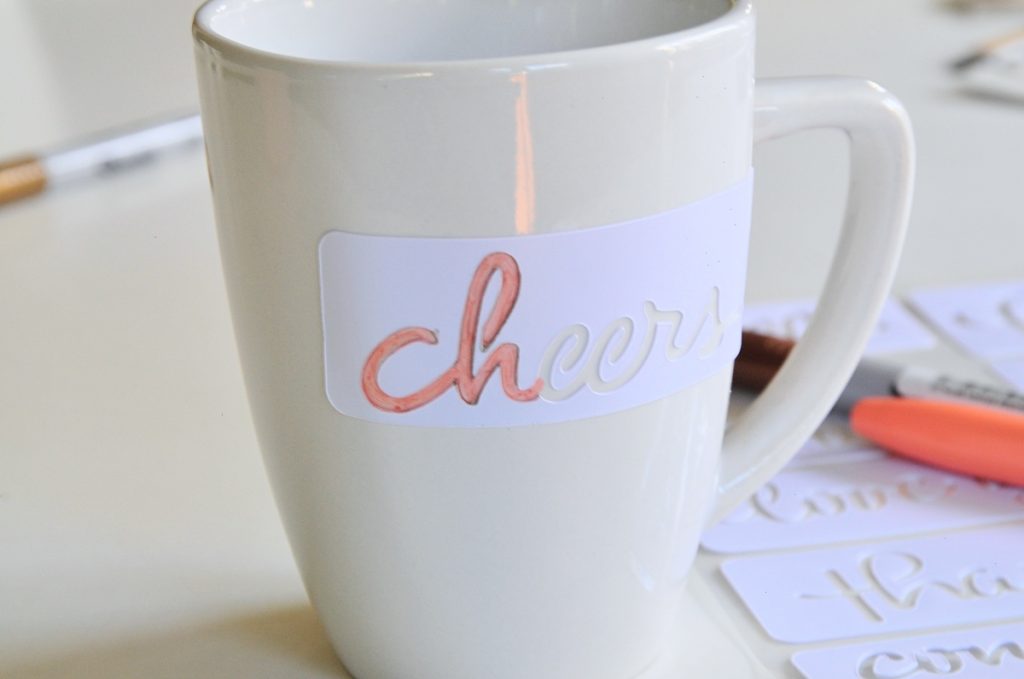
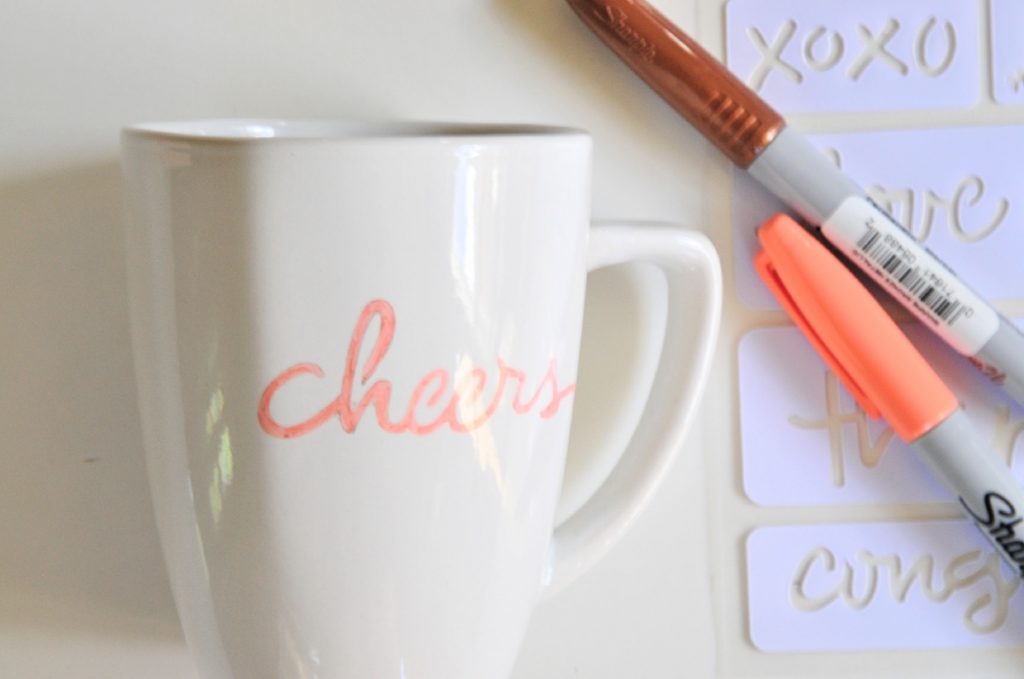
I found these adorable stencils that read “cheers” “hello” and other fun phrases. They are stickers, so you can apply them directly to the mug. The stickers peel off so you can reuse them too.
When you apply them, be careful to get the stencil straight. As you are filling in this stencil, be sure that you are filling it in really thoroughly along the edge. This will help the image be clear because it will give it strong borders.
Technique 3: Stippling Dot Effect
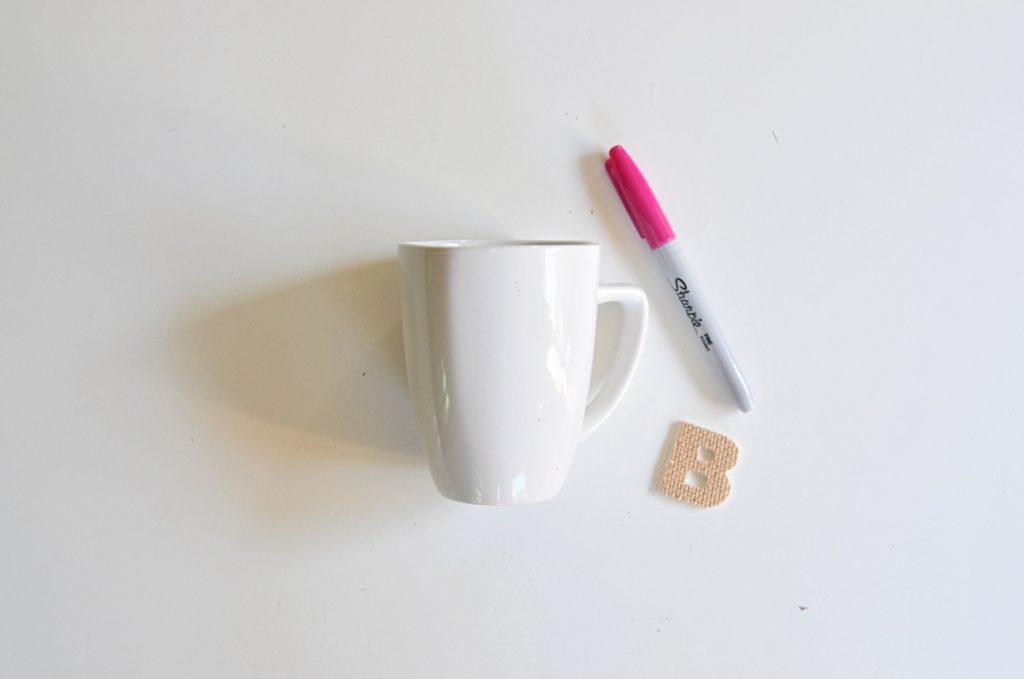
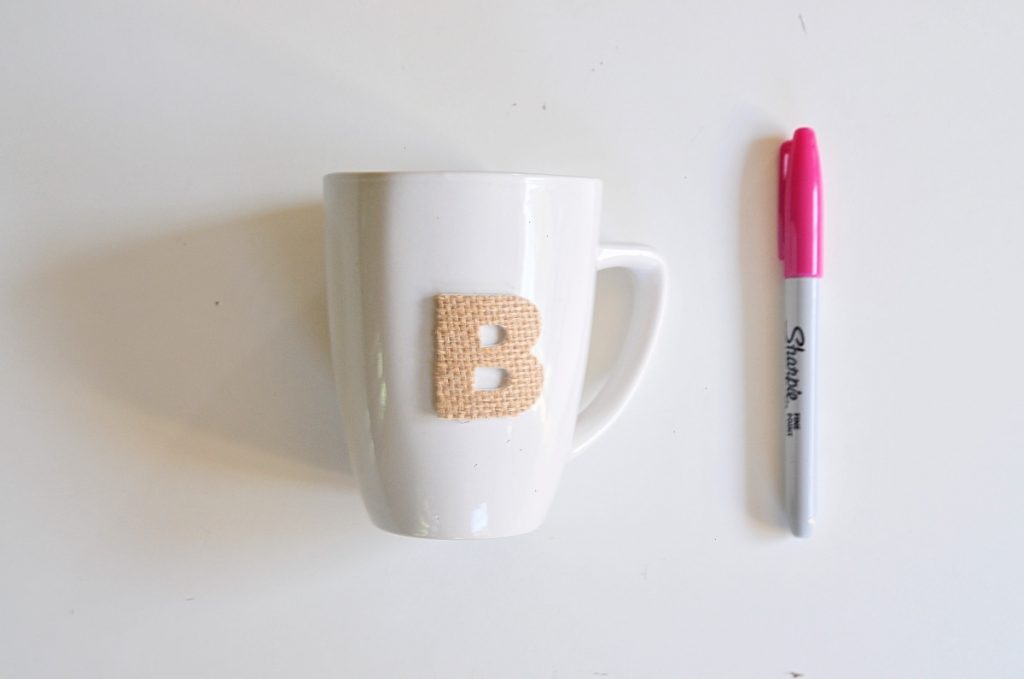
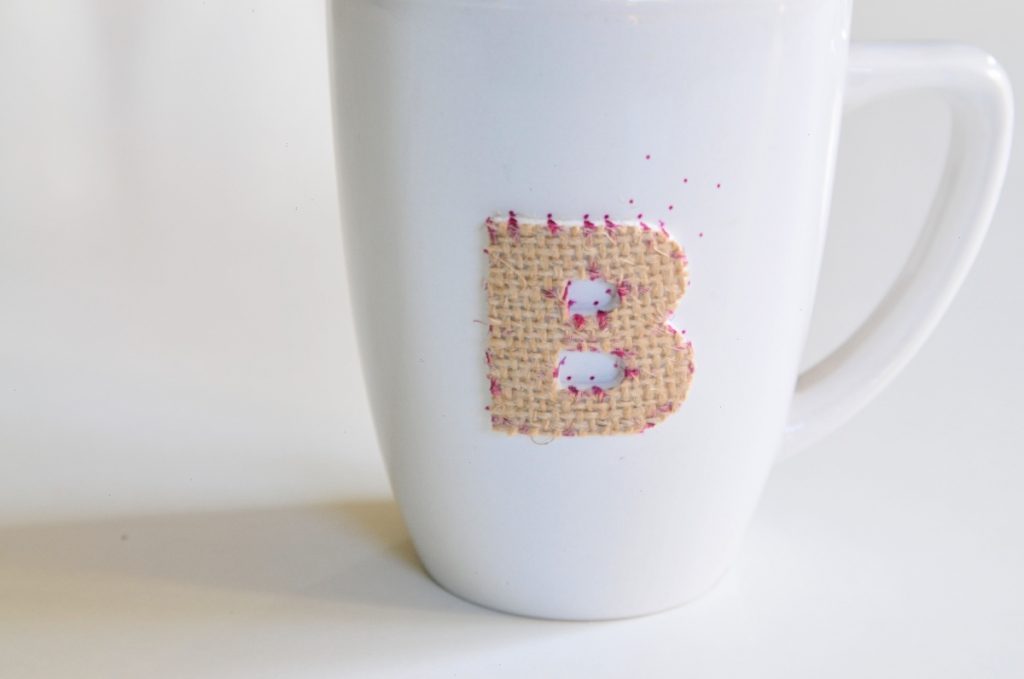
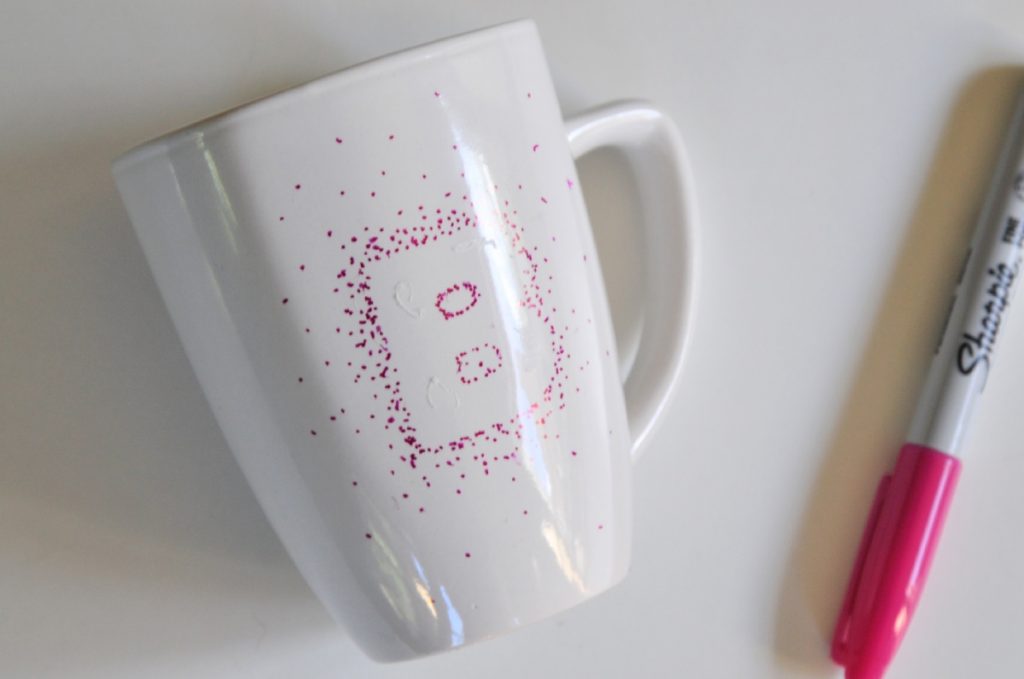
This technique is totally adorable because it’s like creating starbursts on your mug! I used a “B” for “Brittany” to make my own monogrammed mug.
To get started, place your sticker on your mug being mindful that it’s nice and straight.
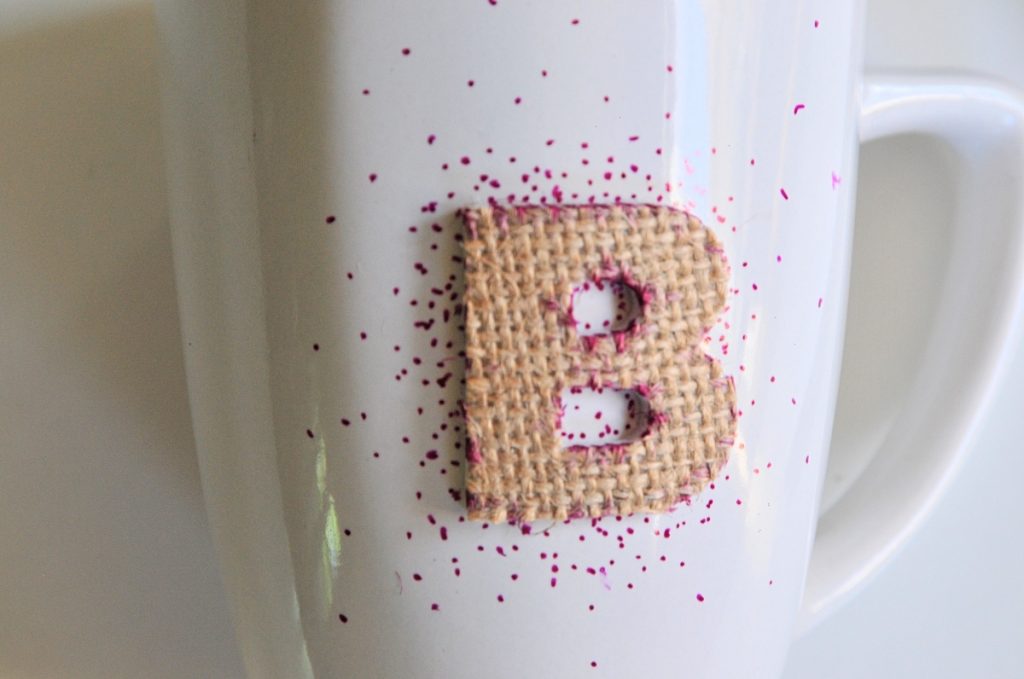
Start by making simple dots around the edges of the sticker and concentrate the most dots along the edge of the sticker. Make the dots more sporadic as they get farther away from the sticker. Be sure to fill in A LOT of dots. Then just peel your sticker off!
Now all you need to do to make the DIY Sharpie Coffee Mugs permanent is bake the mugs at 350° for 30 minutes. Place them on a cookie sheet and make sure there are not any stickers, stencils, or residue left on the mugs.
You will want to hand wash your DIY Sharpie Coffee Mugs – it’s best not to put them in the dishwasher. This will help your mugs last a lifetime!
Let’s Stay Friends!
Insta | Pinterest | Enews | TikTok


