Craft in Style Subscription Instructions, DIY
DIY Map Stationery Set
This blog was Part 3 of 4 of the Craft in Style Subscription Box for July 2019. You can find Part 1: DIY Chalkboard Painted Globes here and Part 2: Easy Faux Calligraphy here.
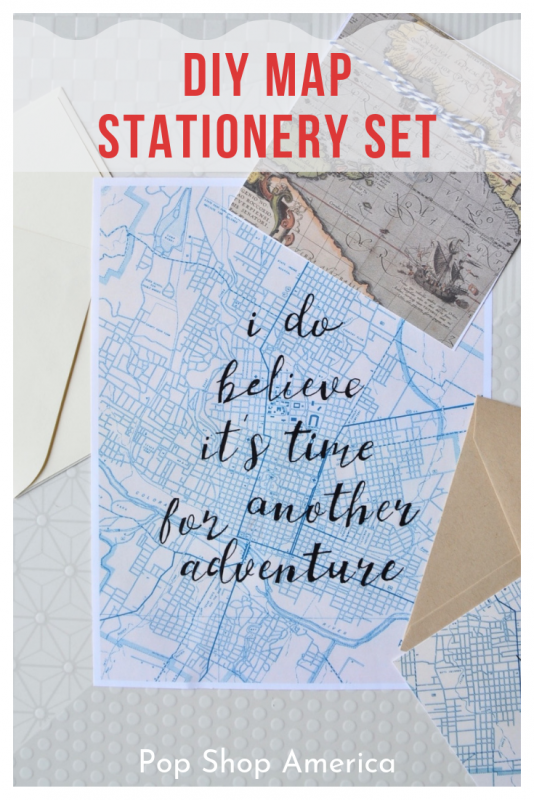
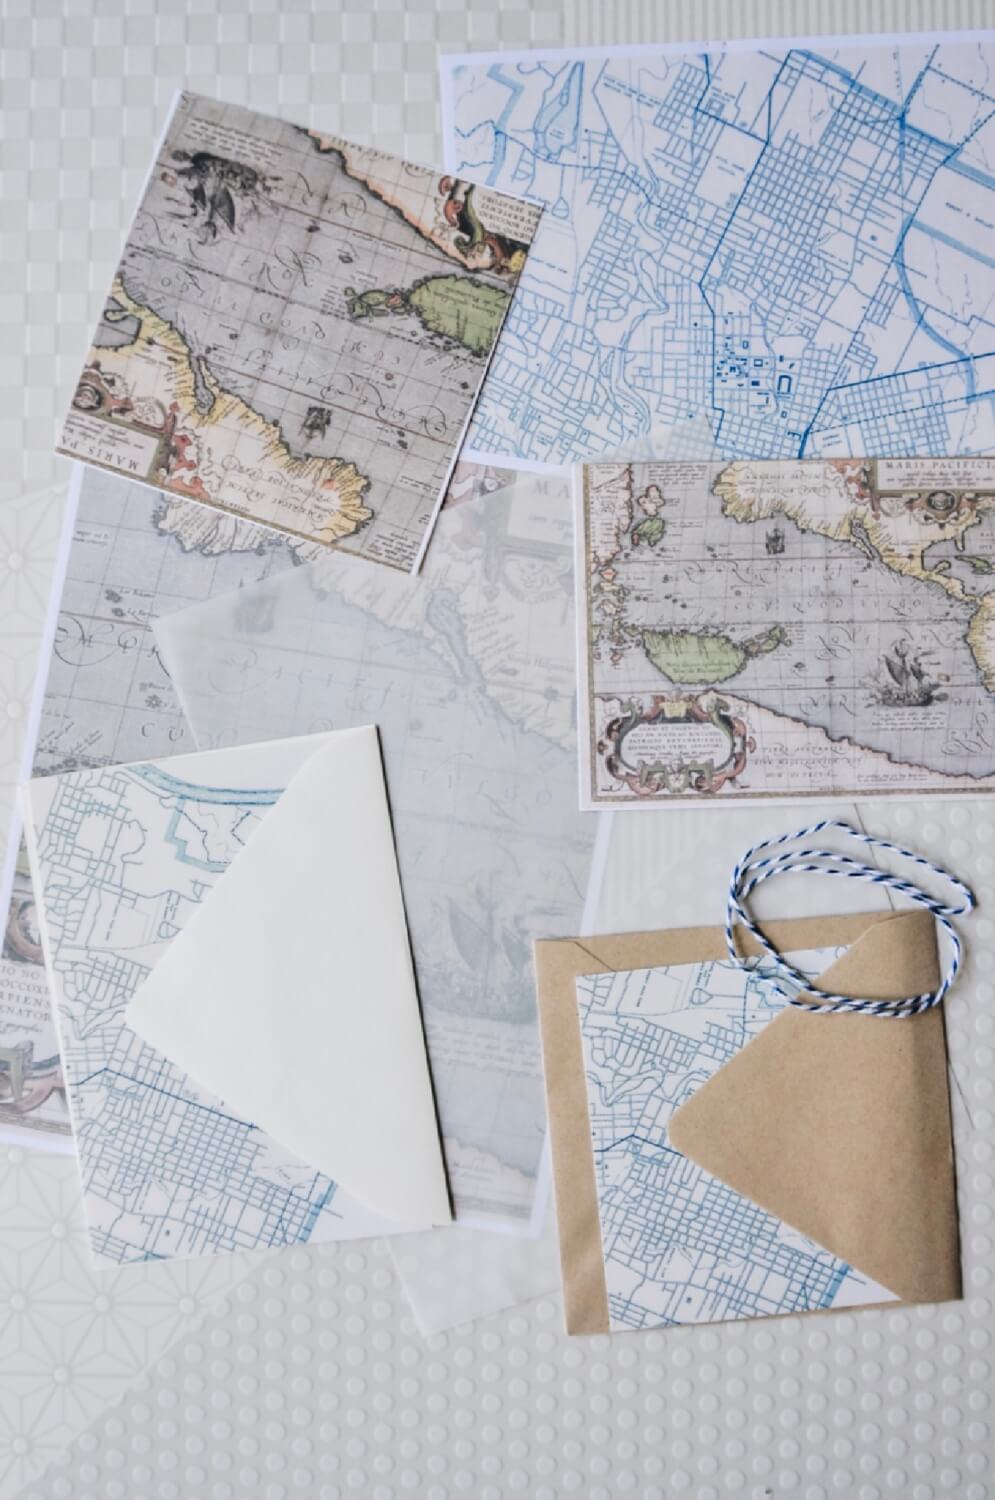
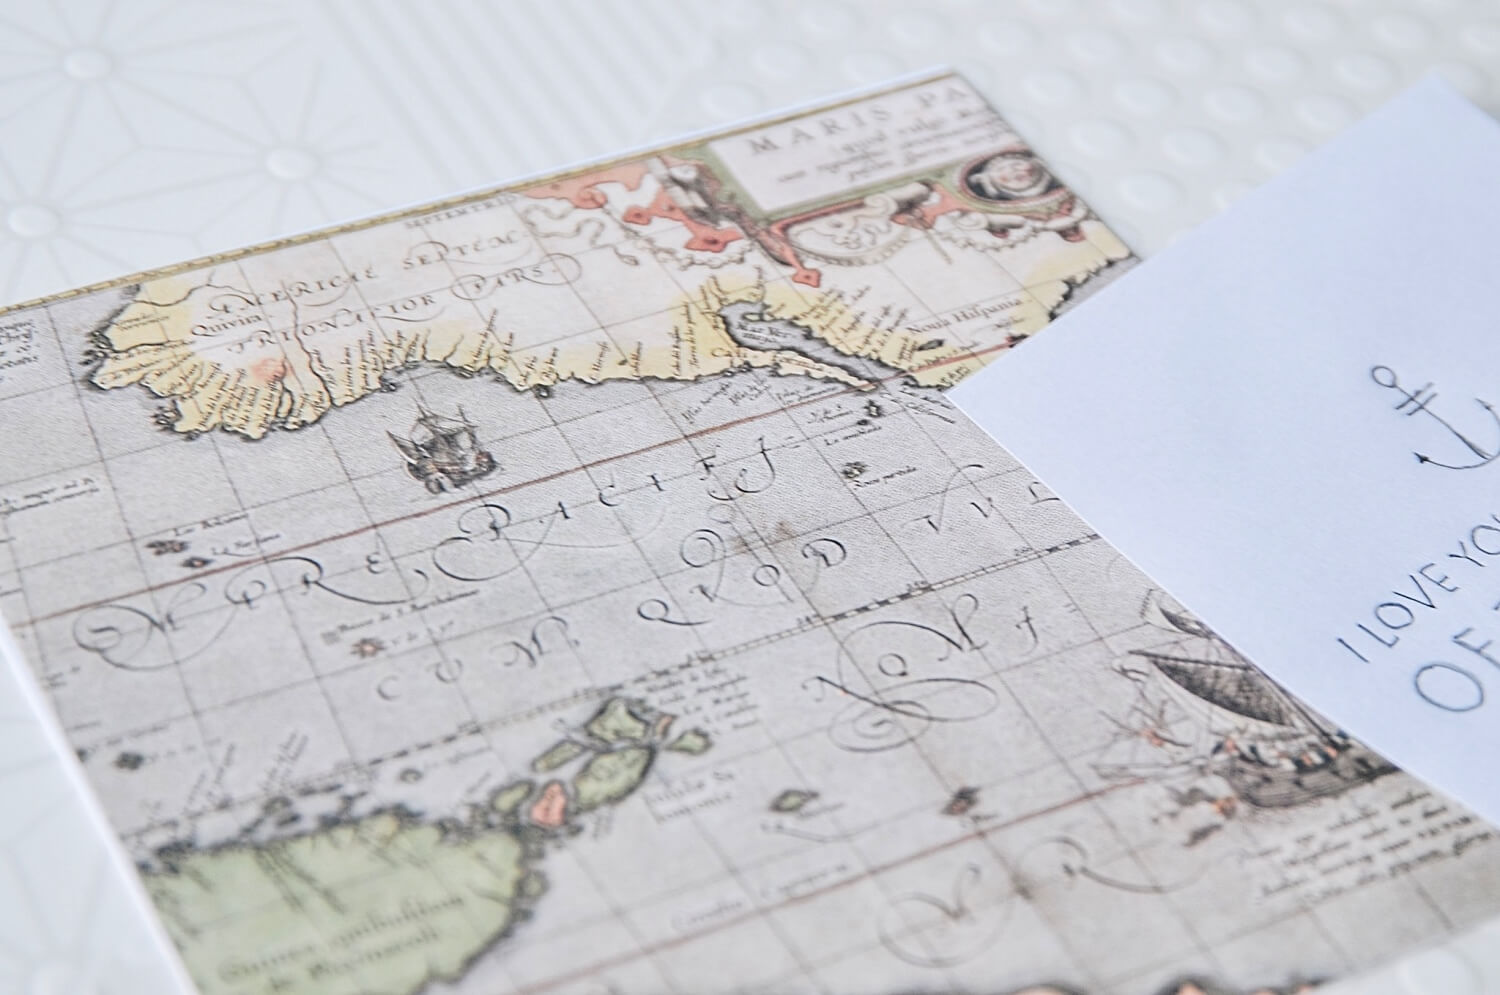
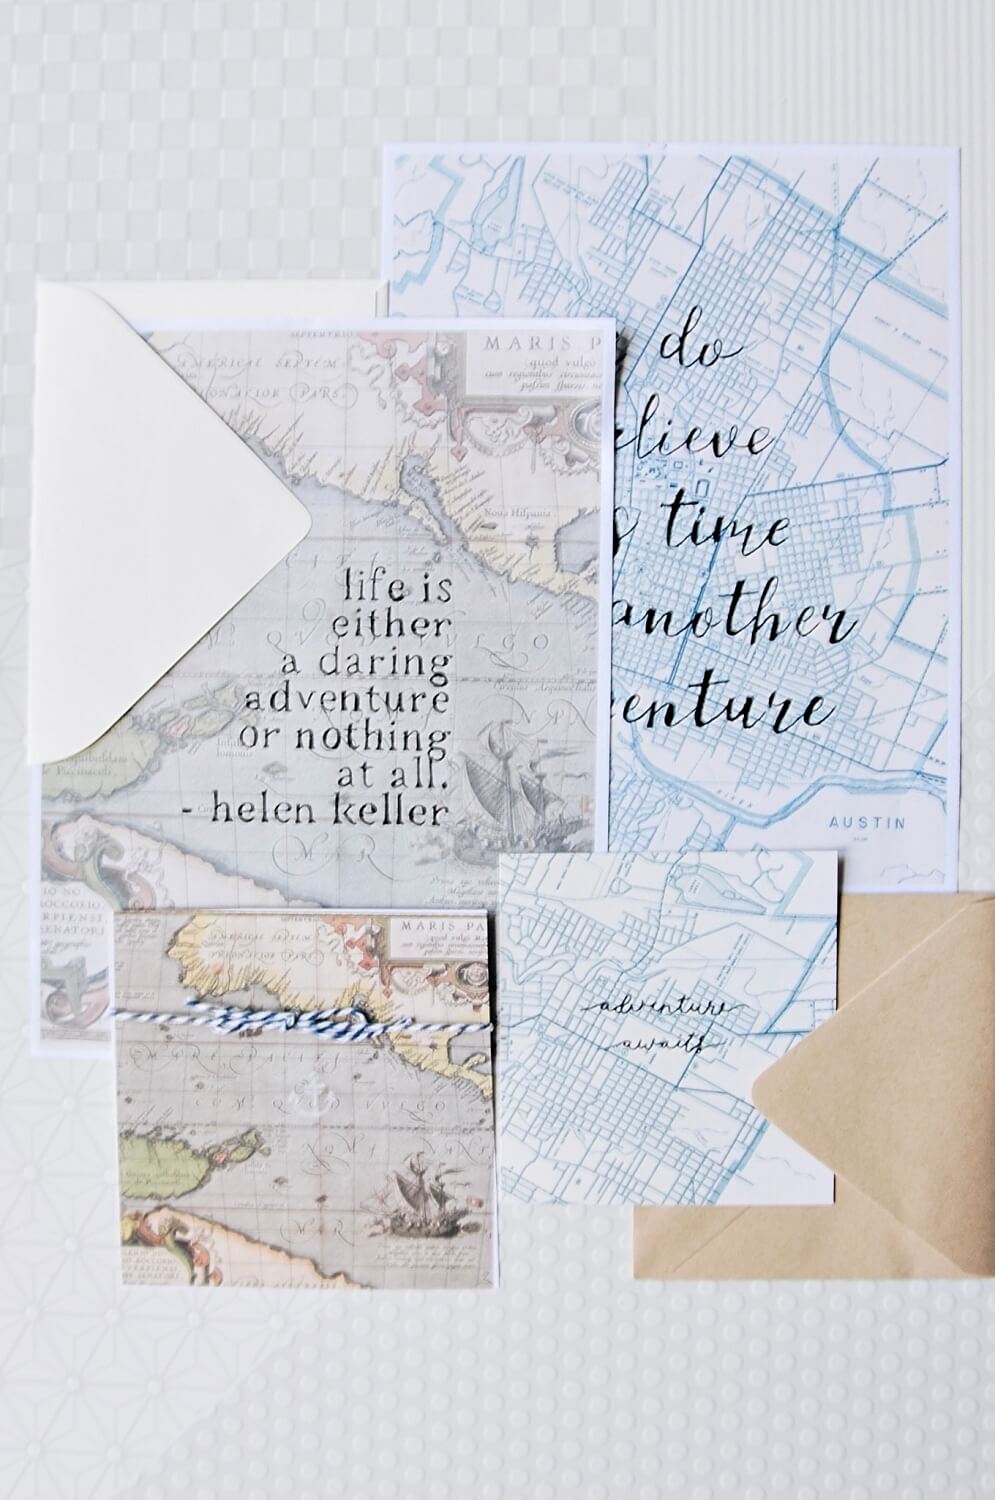
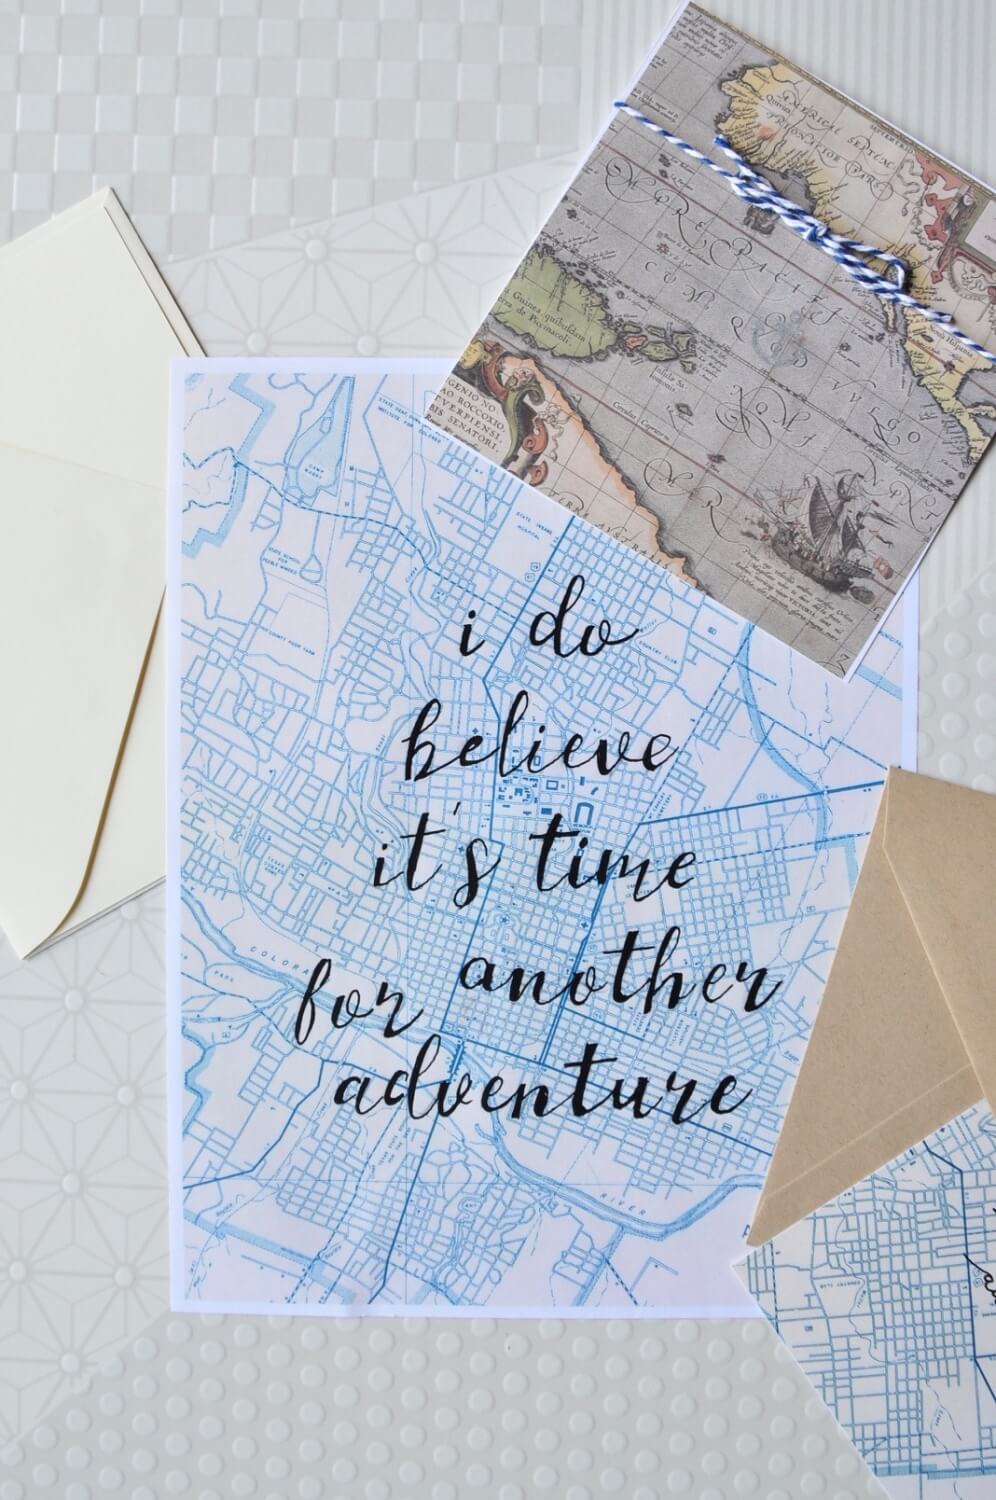
Are you ready to sail away? This gorgeous DIY Stationery Set is the perfect way to write camp style letters or just send gorgeous notes during the summer. With this set, I created map cards, envelopes, and map paper with blank backs that are perfect for letters. I added vellum because it’s soft subtle translucency went so well.
Supplies to Make DIY Map Stationery Set:
8.5 x 11 inch map paper (2 or more)
8.5 x 11 inch cream textured paper
8.5 x 11 inch sheet of vellum
4 x 6 cream card stock postcard
4 x 6 maps on card stock (2 or more)
5 x 5 square maps on card stock (2 or more)
5 x 5 square craft paper envelopes
Plus:
These Calligraphy Stencils
Gold, Silver, or Black Paint Pens
Baker’s Twine
Vintage Travel Stamp Stickers
If you don’t have map paper, you can find lots of cool printable maps here.
First, find a few key pieces of your cards, envelopes, or paper to letter with your calligraphy templates.
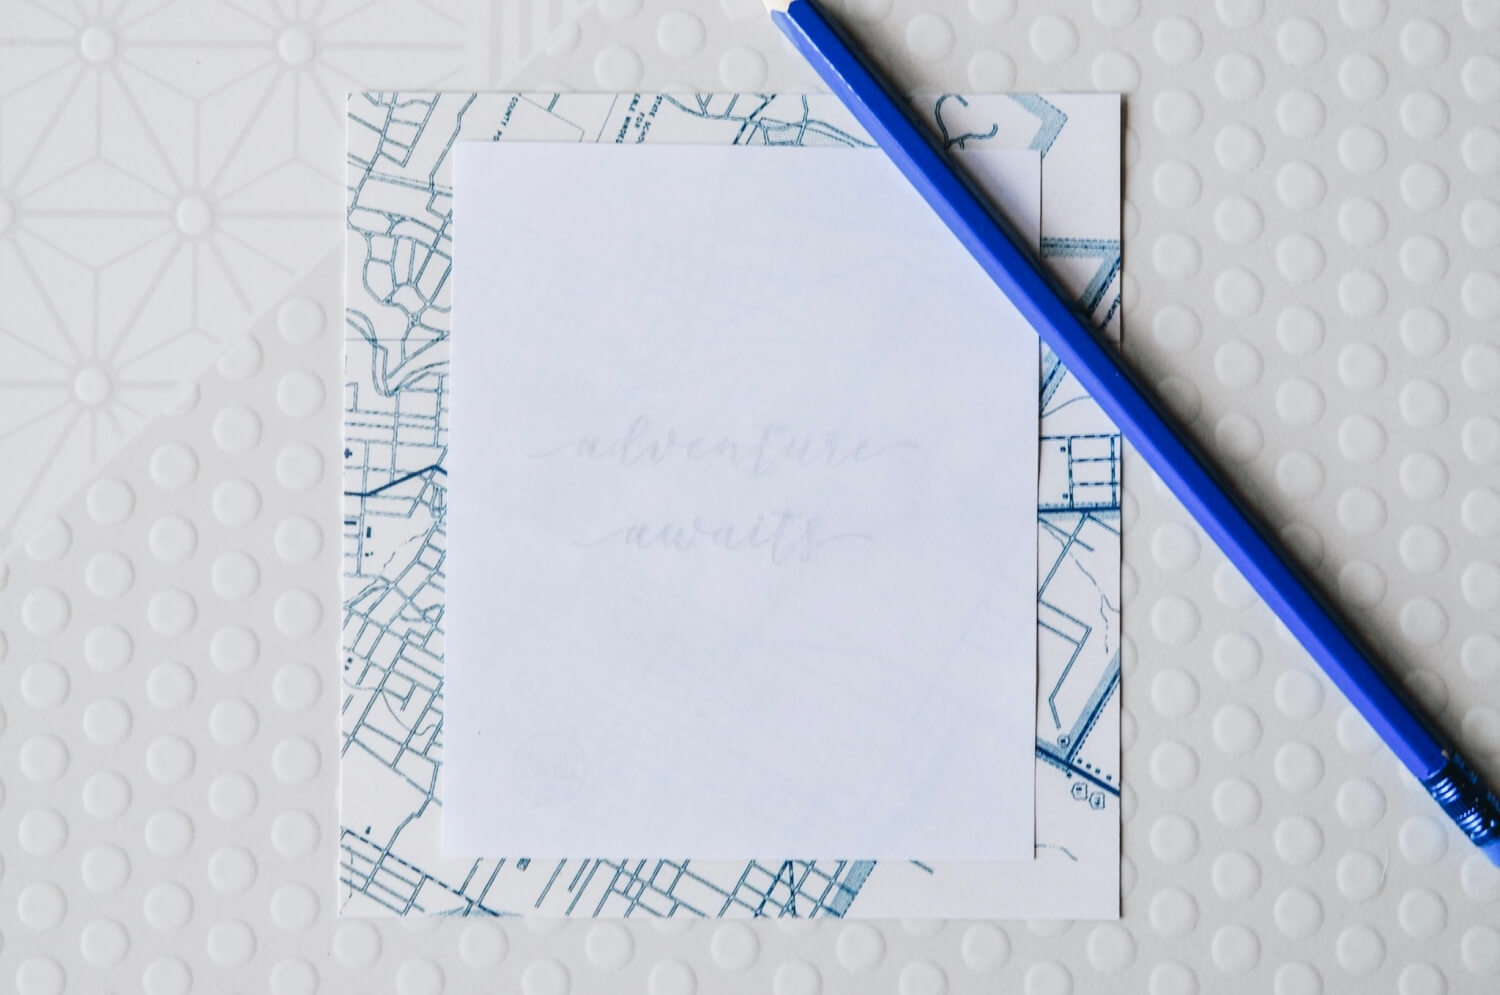
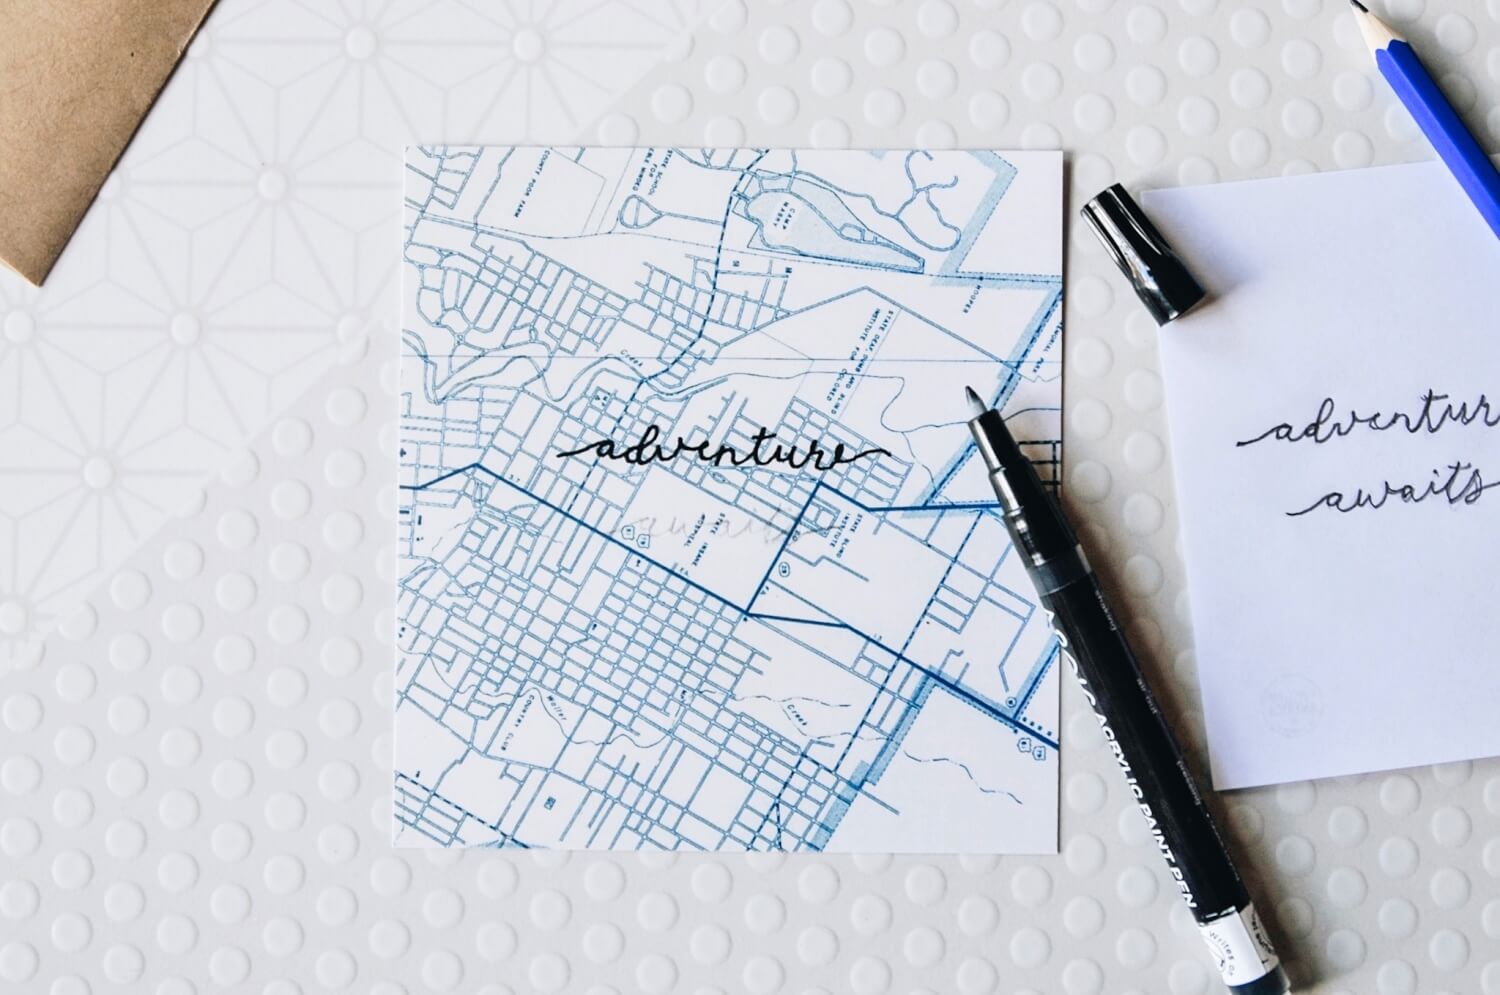
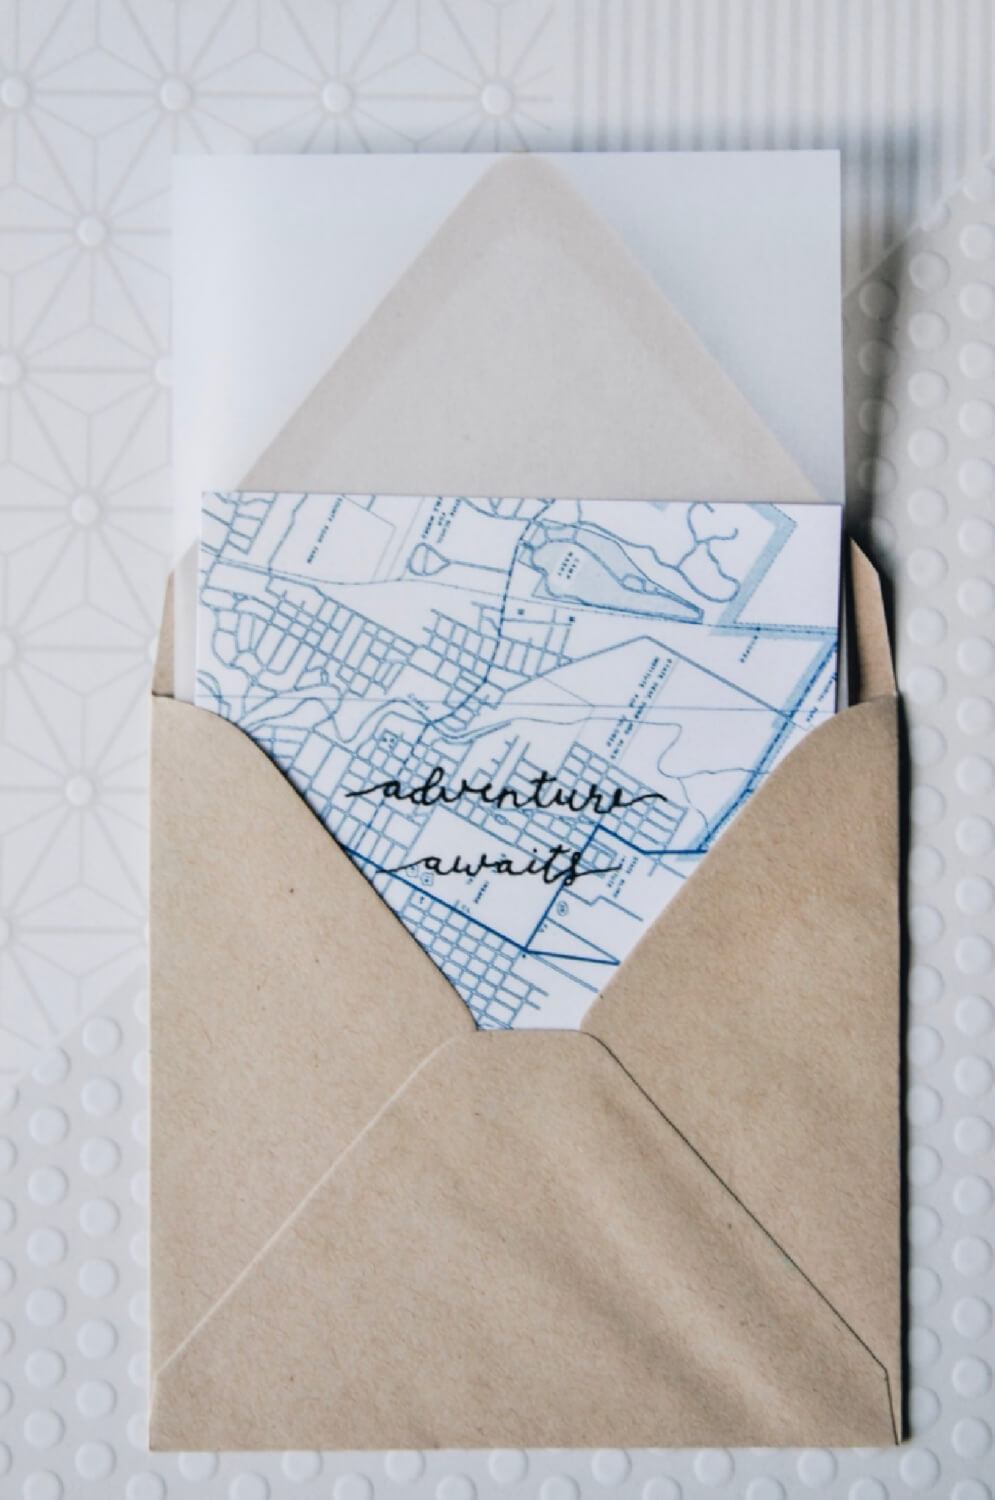
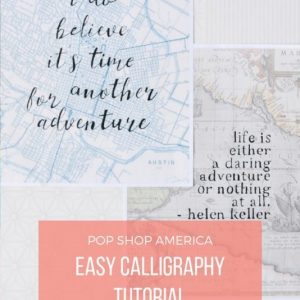
To make the calligraphy like this Adventure Awaits card, follow the full tutorial here. Start by penciling the black letters backwards. Use firm hard pressure to be sure there’s a lot of graphite on the paper.
The flip the paper over so the letters face your map card and pencil the letters again – this time in the right direction.
It will leave a rubbing of the pencil on your final piece that you can trace. Use long, even brush strokes and don’t worry if it’s perfect or not.
Once I had my finished Adventure Awaits Card, I added a gorgeous slip of vellum. It adds a bit of elegance and fits with the maps so perfectly.
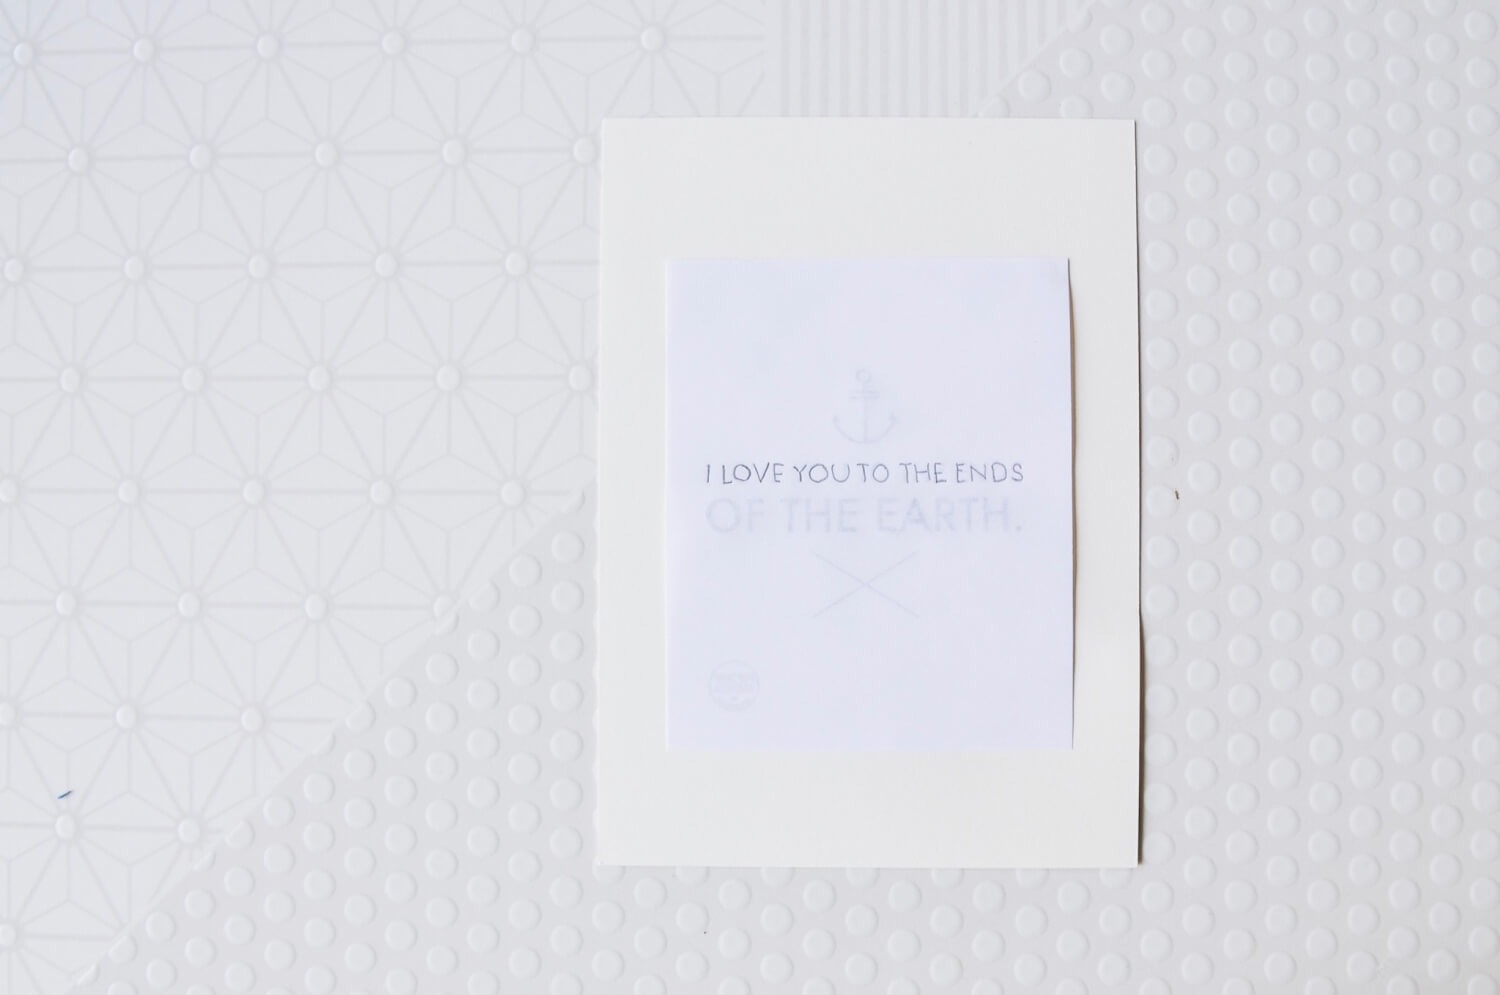
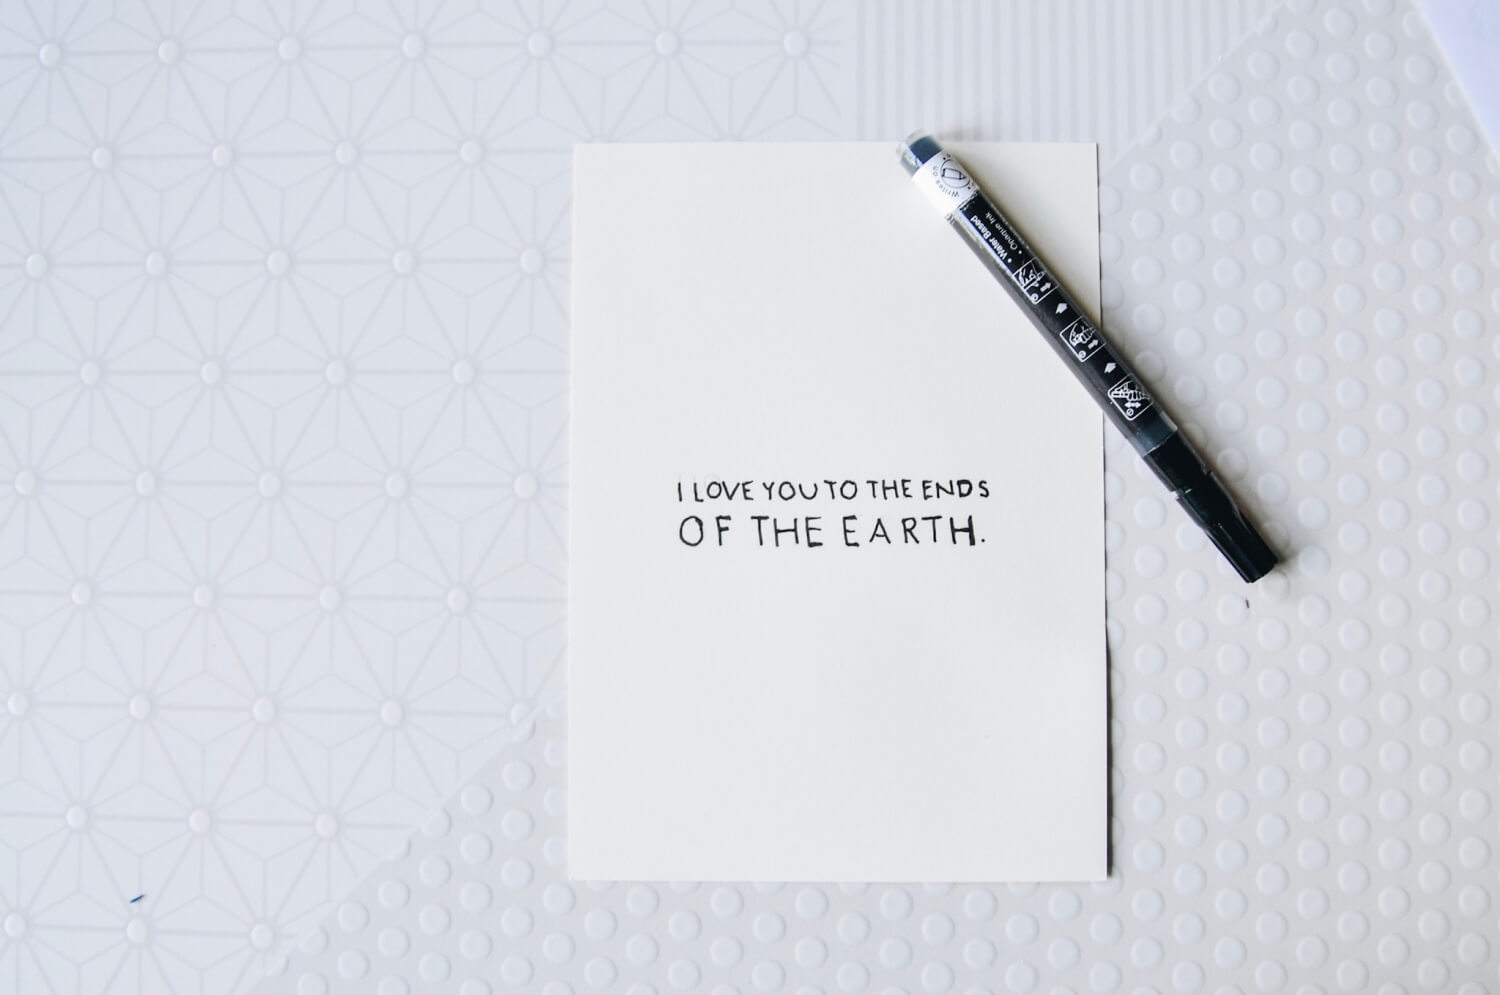
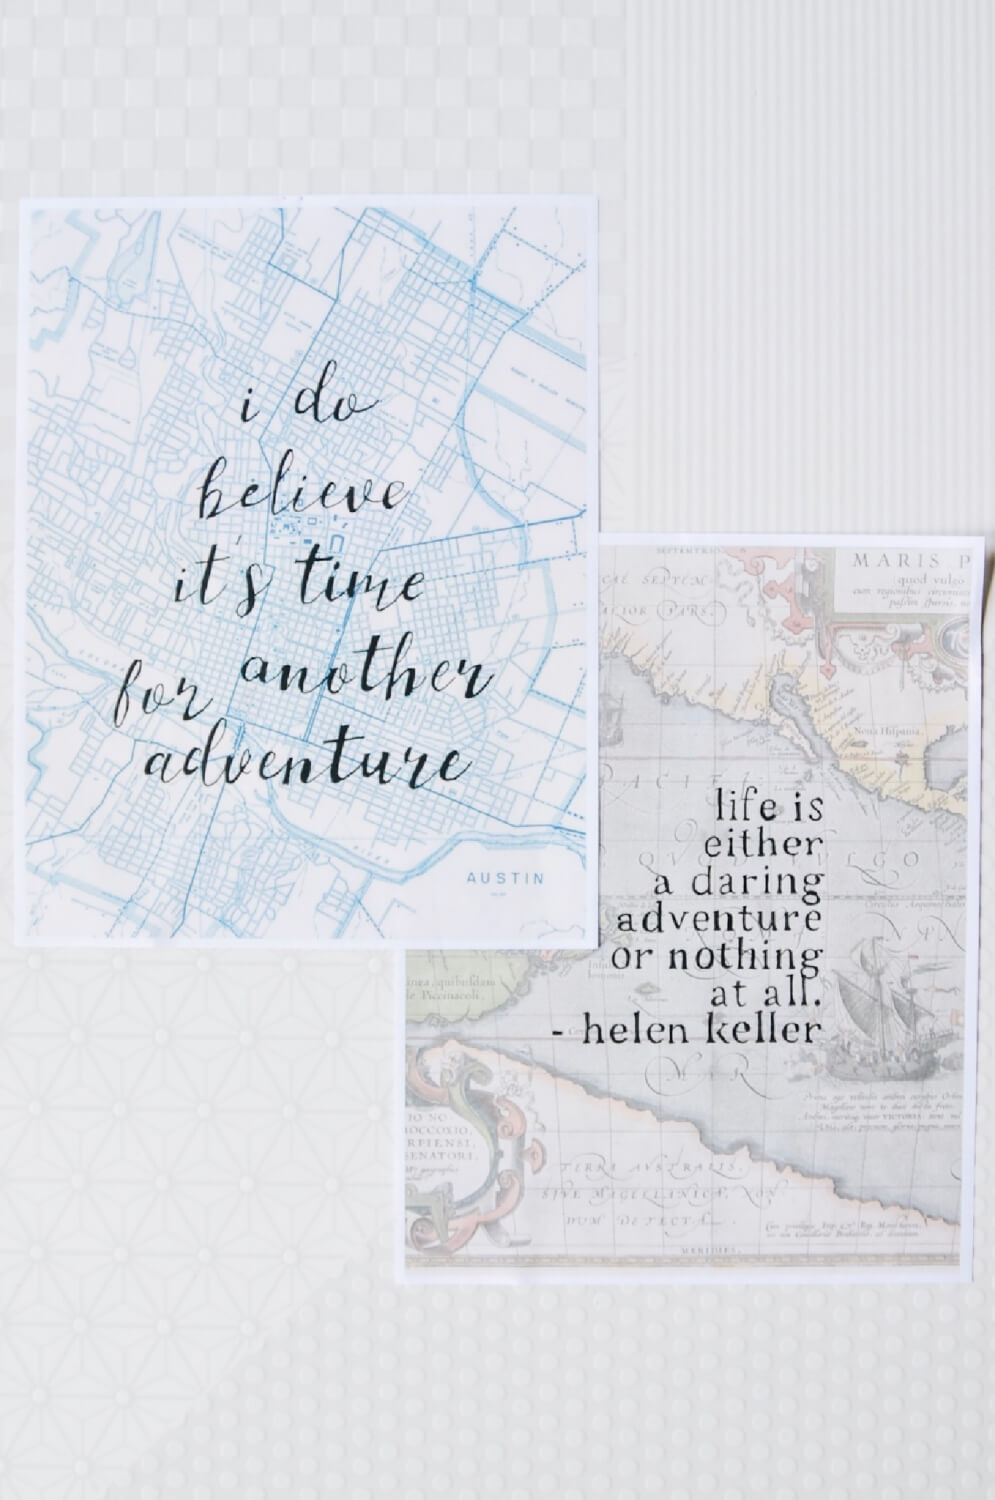
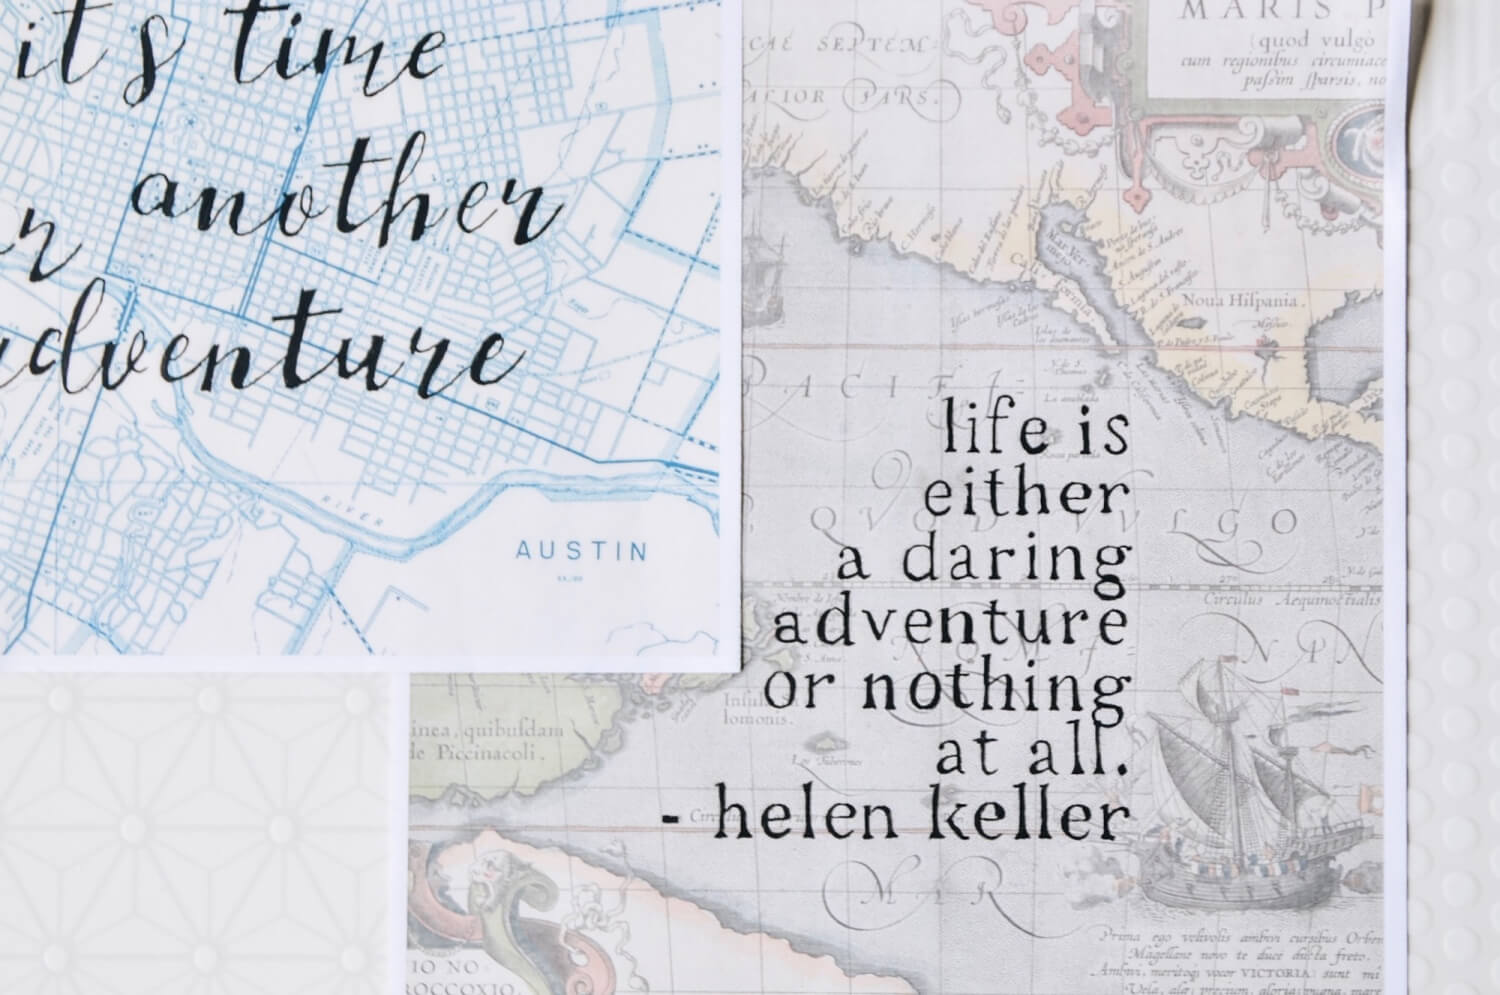
You may want to make several calligraphy pieces for your DIY Map Stationery Set. So I chose to make another card. This time I used a print font, so that the finished set would have a bit of variety.
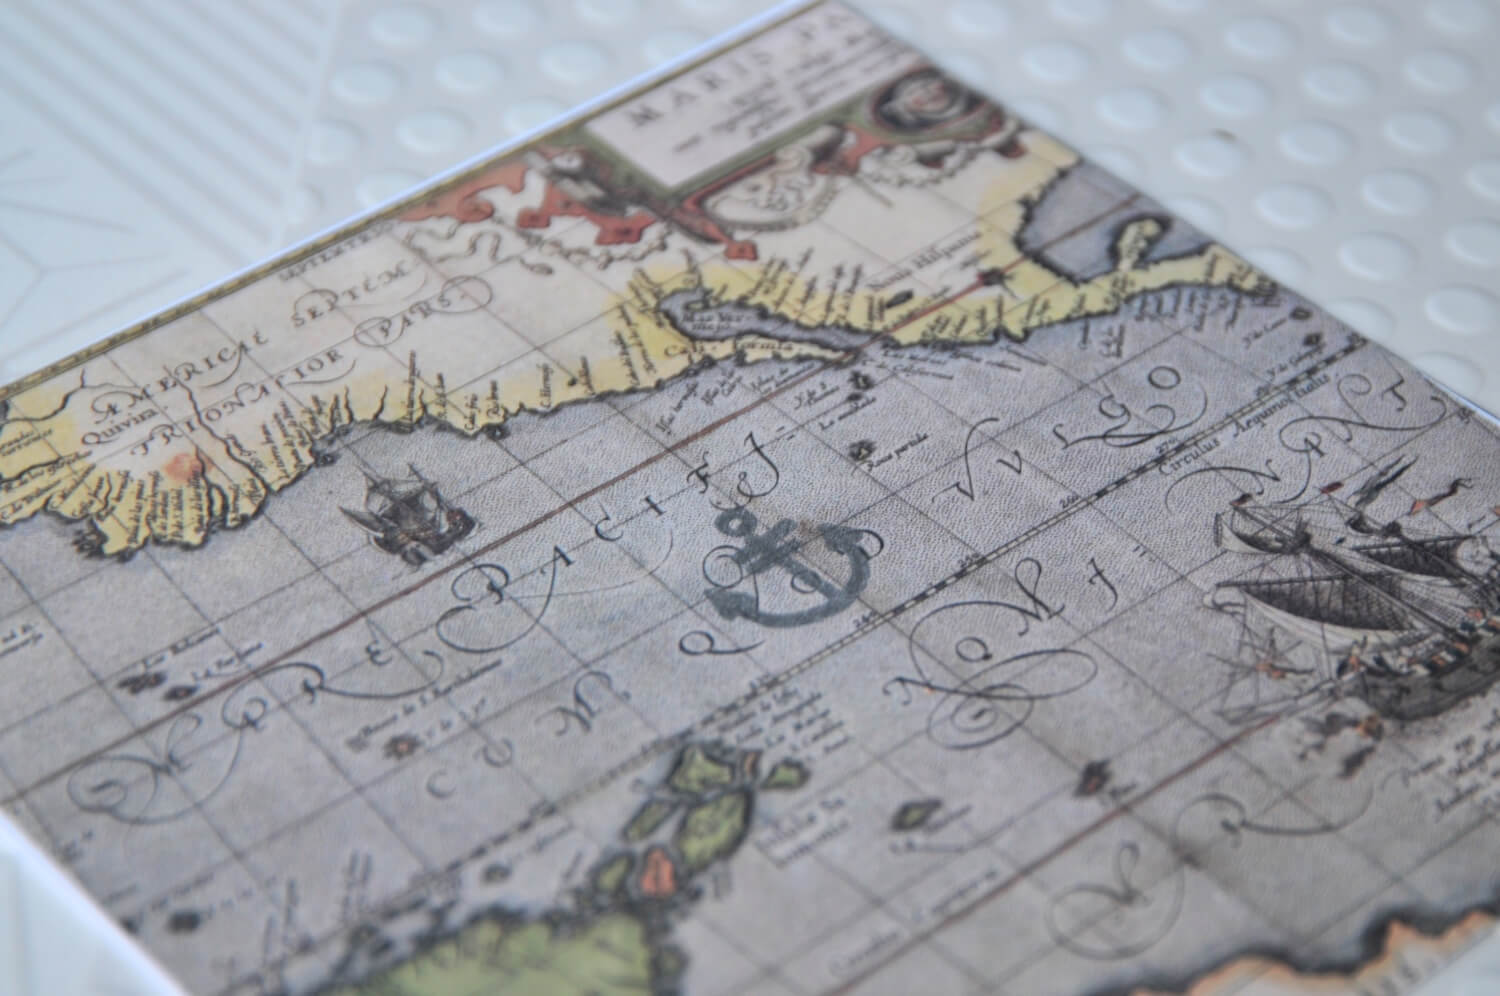
I also wanted to add a pop of gold and silver, so I made one of my map cards with just anchors. They we’re subtle and just perfect! You have an anchor shape in your calligraphy templates but you could also add polka dots, stars, or other simple shapes.
I also added calligraphy to the larger pieces. Again, I used a technique where 1 piece had cursive lettering and the other piece had print. It gives a gorgeous push/pull to the style.
You could leave the large pieces of your stationery set blank, and write your letters across the maps. But you could also write your letters on the back. The choice is yours.
Now that you have finished cards, envelopes, paper, and more it’s time to assemble it into a set. For an extra pop, I added some baker’s twine in a bow across one of my cards. I used a vintage travel stamp sticker to seal one of the envelopes.
And viola! Your very own Map Stationery Set. What will you do with your set? Write letters to friends? Use it to accompany gifts? Tell us how you use your set in the comments below!
And if you love this DIY you must shop the Craft in Style Subscription Box! You will receive different supplies each month to make fun DIY and craft projects. Enjoy and happy crafting!
If you’re sad you missed out on this specific box, you can purchase the Chalkboard Painted Globe Kit and you can also buy a set of cute map stationery, too!
Let’s Stay Friends!
Insta | Pinterest | Enews | TikTok


