Craft in Style Subscription Instructions, DIY
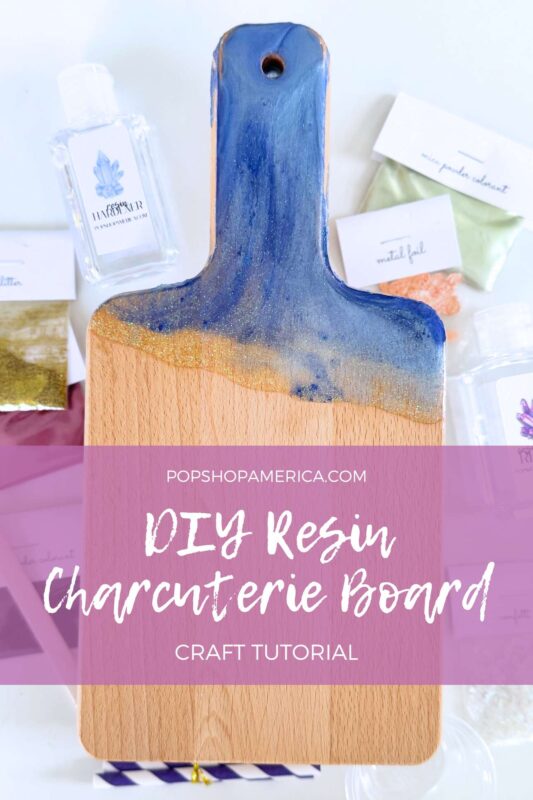
DIY Resin Charcuterie Board Making Tutorial
Jul
This is the tutorial for the DIY Resin Charcuterie Board Supply Box by Pop Shop America.
Okay, this isn’t the first time I’ve seen a project like this, but I just had to jump on the bandwagon because it’s so cute!
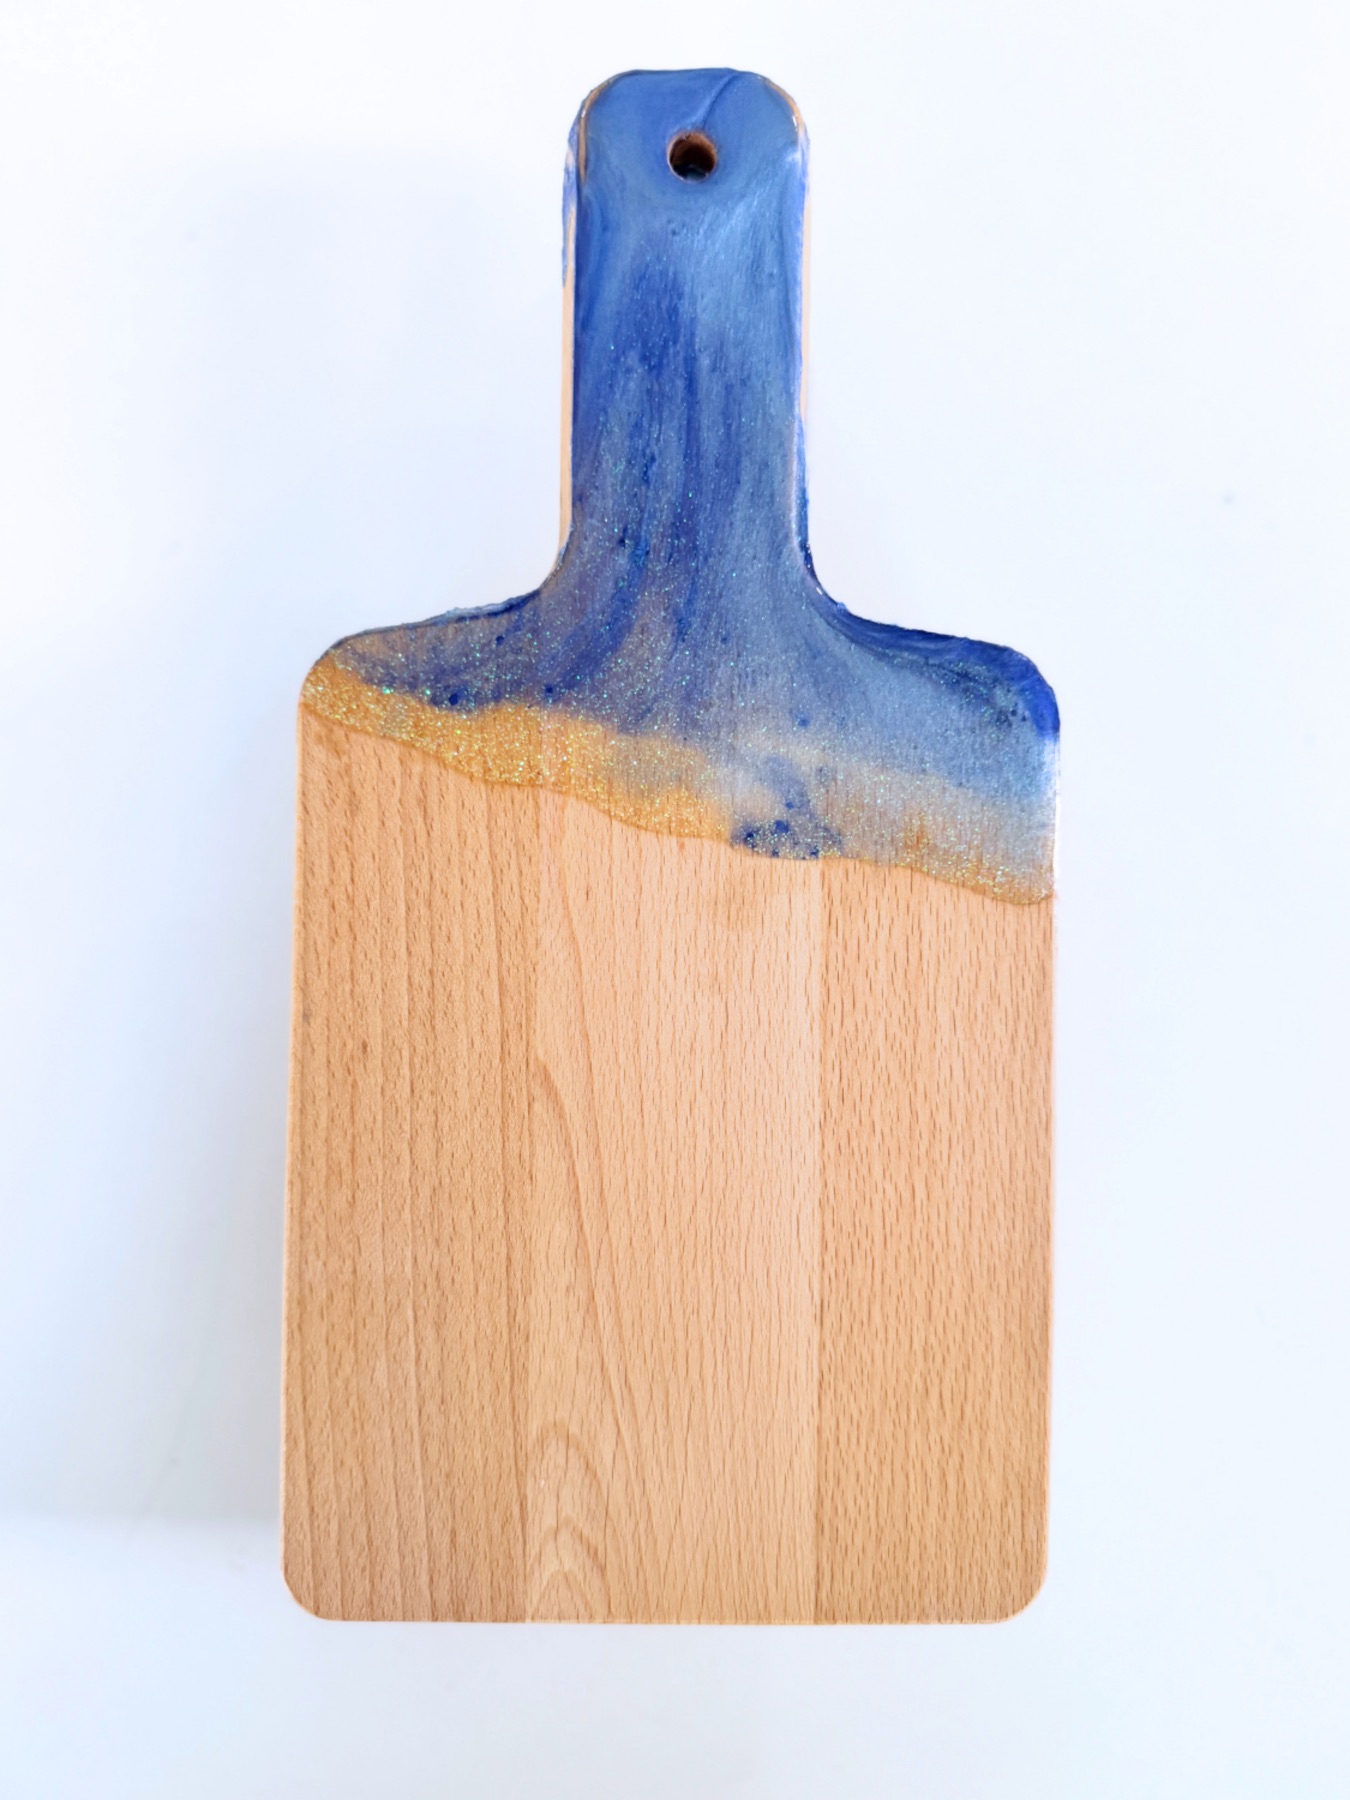
Ordinarily I see this tutorial styled as an ocean wave – with white foam and an array of blue striations representing water. But you could make this DIY Resin Charcuterie Board in any color you like. You could use paint underneath the resin and then use clear resin. You could embed a beautiful array of pressed flowers. You could add gemstones and glitter to make a geode charcuterie board. Or you could make swirls and stripes of mica like I did with mine. It’s gorgeous, versatile, and fun to craft.
So let’s make it!


Supplies to make a DIY Resin Charcuterie Board
This Kit
-or-
Charcuterie Board (any size or shape you like)
around 2-4 ounces of Resin
Painter’s Tape
Popsicle Sticks
Measuring Cups
Pouring Cups
A Palette, Box or Place for the Resin to Drip
Gloves
Mica in an Array of Colors
Glitter
A Lighter
Sandpaper
Optional: Straws or Blow Dryer on Cool Setting
Optional: Food Grade Clear Coat & Foam Brush
Additional Optional Supplies:
As I mentioned before, this is a really creative craft, so you could also consider these supplies as well:
Acrylic Paint & Paint Brushes (underneath the resin)
Gemstones
Rhinestones
Alcohol Inks
Pressed Flowers


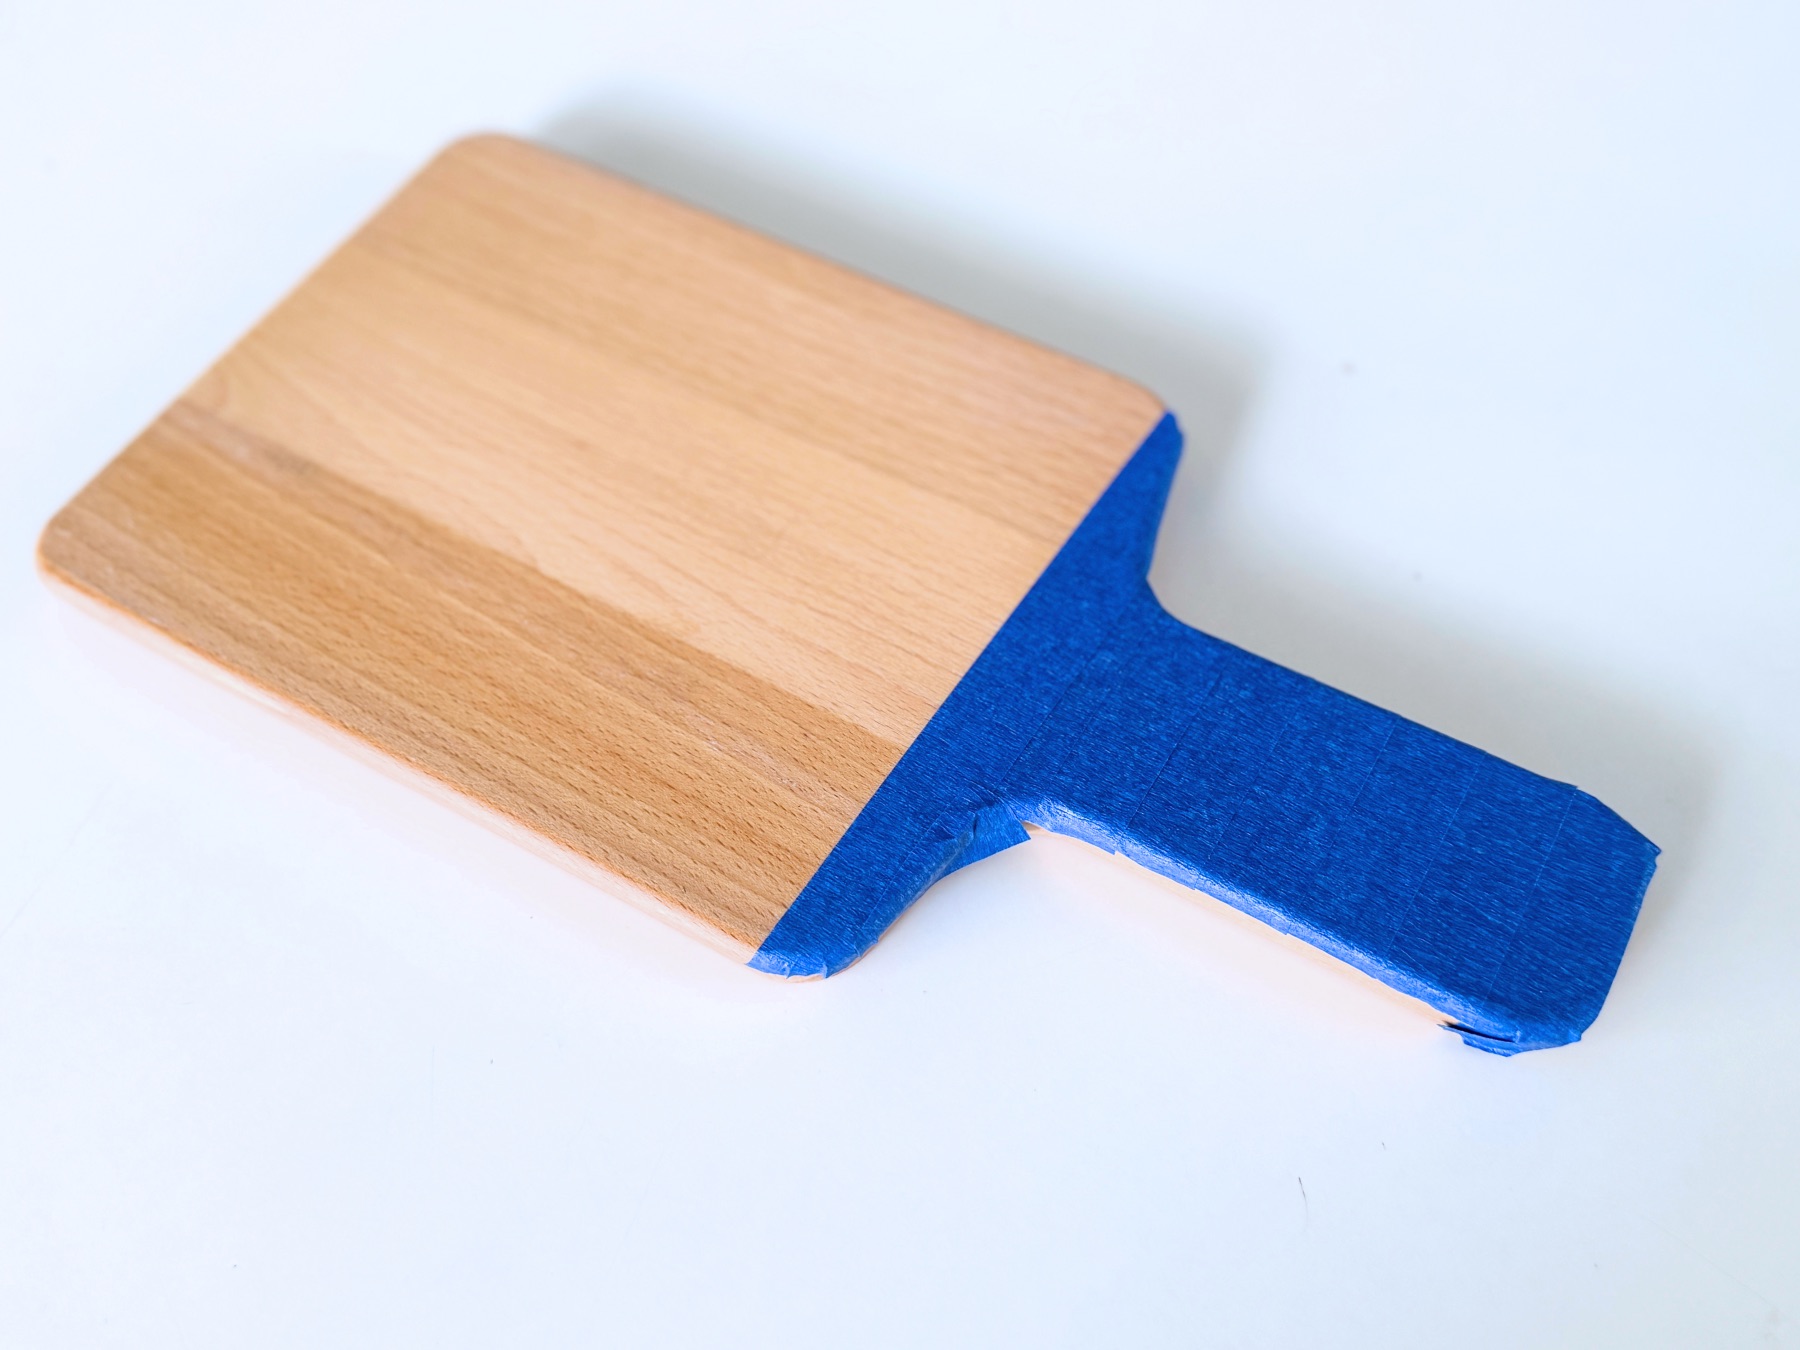
Step 1: Prep Your Cutting Board with Painter’s Tape
Cover all the places you don’t want to coat with resin in your painter’s tape. I covered the back and sides of my charcuterie board. Because your board likely has curves, you may notice the tape pulling away from the board. Make sure you add an extra layer of tape and take any necessary steps so that the tape lays flush against the board.
Any cracks will allow resin to soak through.

Step 2: Prep Your Area
Next, find a large piece of cardboard, sheets of parchment or wax paper, or anything thick that will now allow moisture through to place under your cutting board. (If you shop our Resin Charcuterie Board Kit, I recommend using the shipping box.)
Then, lift the board off your table with small flat objects so that the resin can drip freely off the board. I used 2x 1 ounce portion cups.

Step 3: Put on Gloves & Mix Your Resin
Before you get started mixing your resin, put on gloves! It’s essential. Getting resin on your hands is frustrating because it stays sticky and takes forever to work it’s way off.
When mixing resin, your measurements need to be perfect. Read our in depth tutorial about how to mix resin here.
All the resin from Pop Shop America mixes at a 1:1 ratio. That means that for every ounce of Easy Cast Resin you use, you need to blend it with 1 ounce of Resin Hardener. Note: I used this amount for my board and had some leftover – 2 ounces total.
I prefer to mix my Resin into the Hardener because if you even have a touch too much Resin to Hardener, your Resin might remain tacky when it dries.
Use a popsicle stick to stir and mix your Resin & Hardener for 3 full minutes, scraping the sides and bottom of your cup regularly.

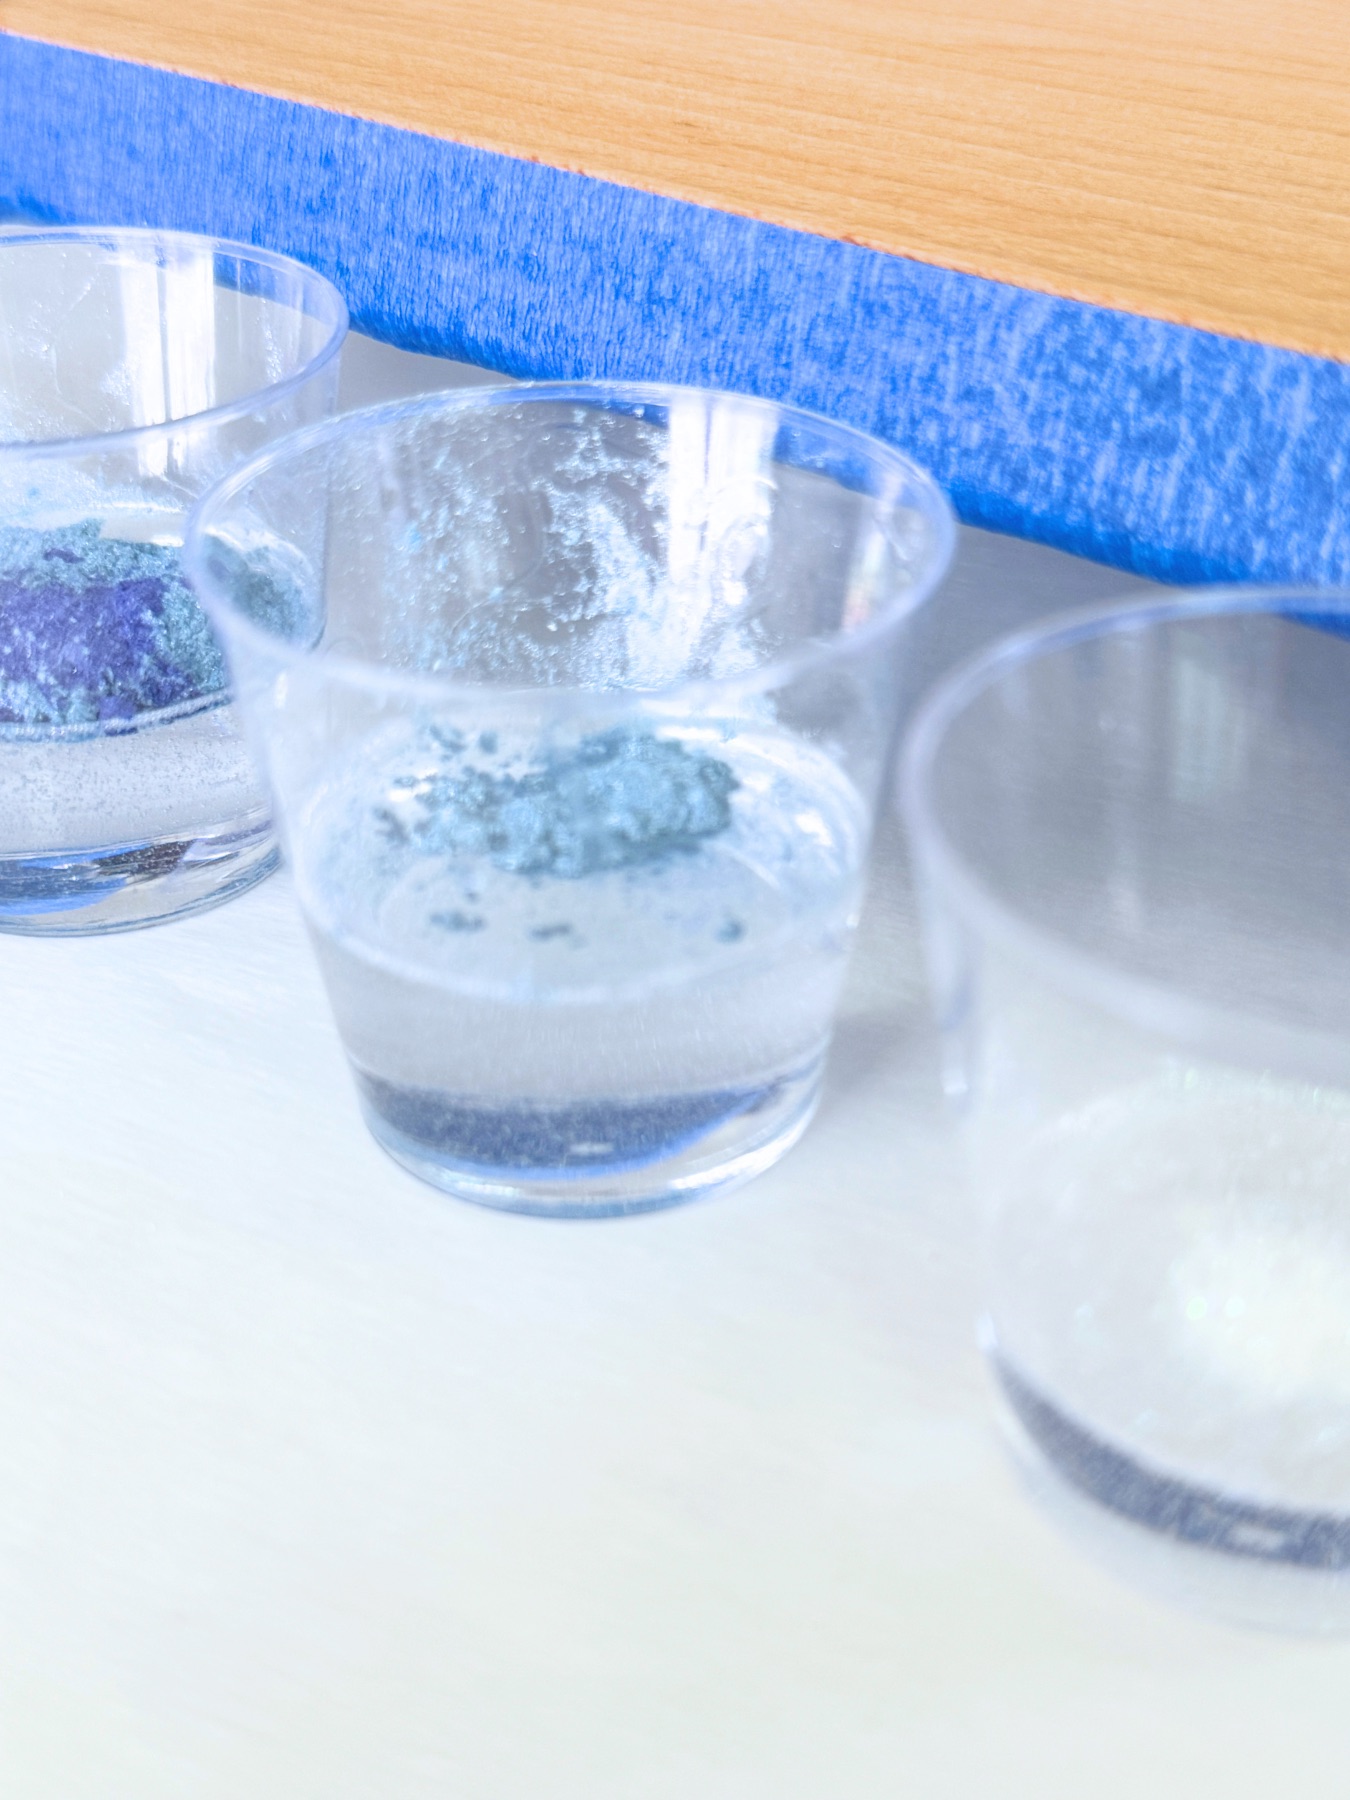
Step 4: Add Your Mica & Embellishments
Once your resin is blended, divide it into small cups – 1 cup for each color. I used 4 cups total, and divided the resin fairly evenly so each cup had about 1/2 ounce of resin each.
Mica is extremely potent so you only need a touch. Stir the mica and embellishments thoroughly into your resin with a popsicle stick.
There are 2 ways to change the color of your resin:
1. Add less mica to make lighter hues or more mica for darker and more vivid hues.
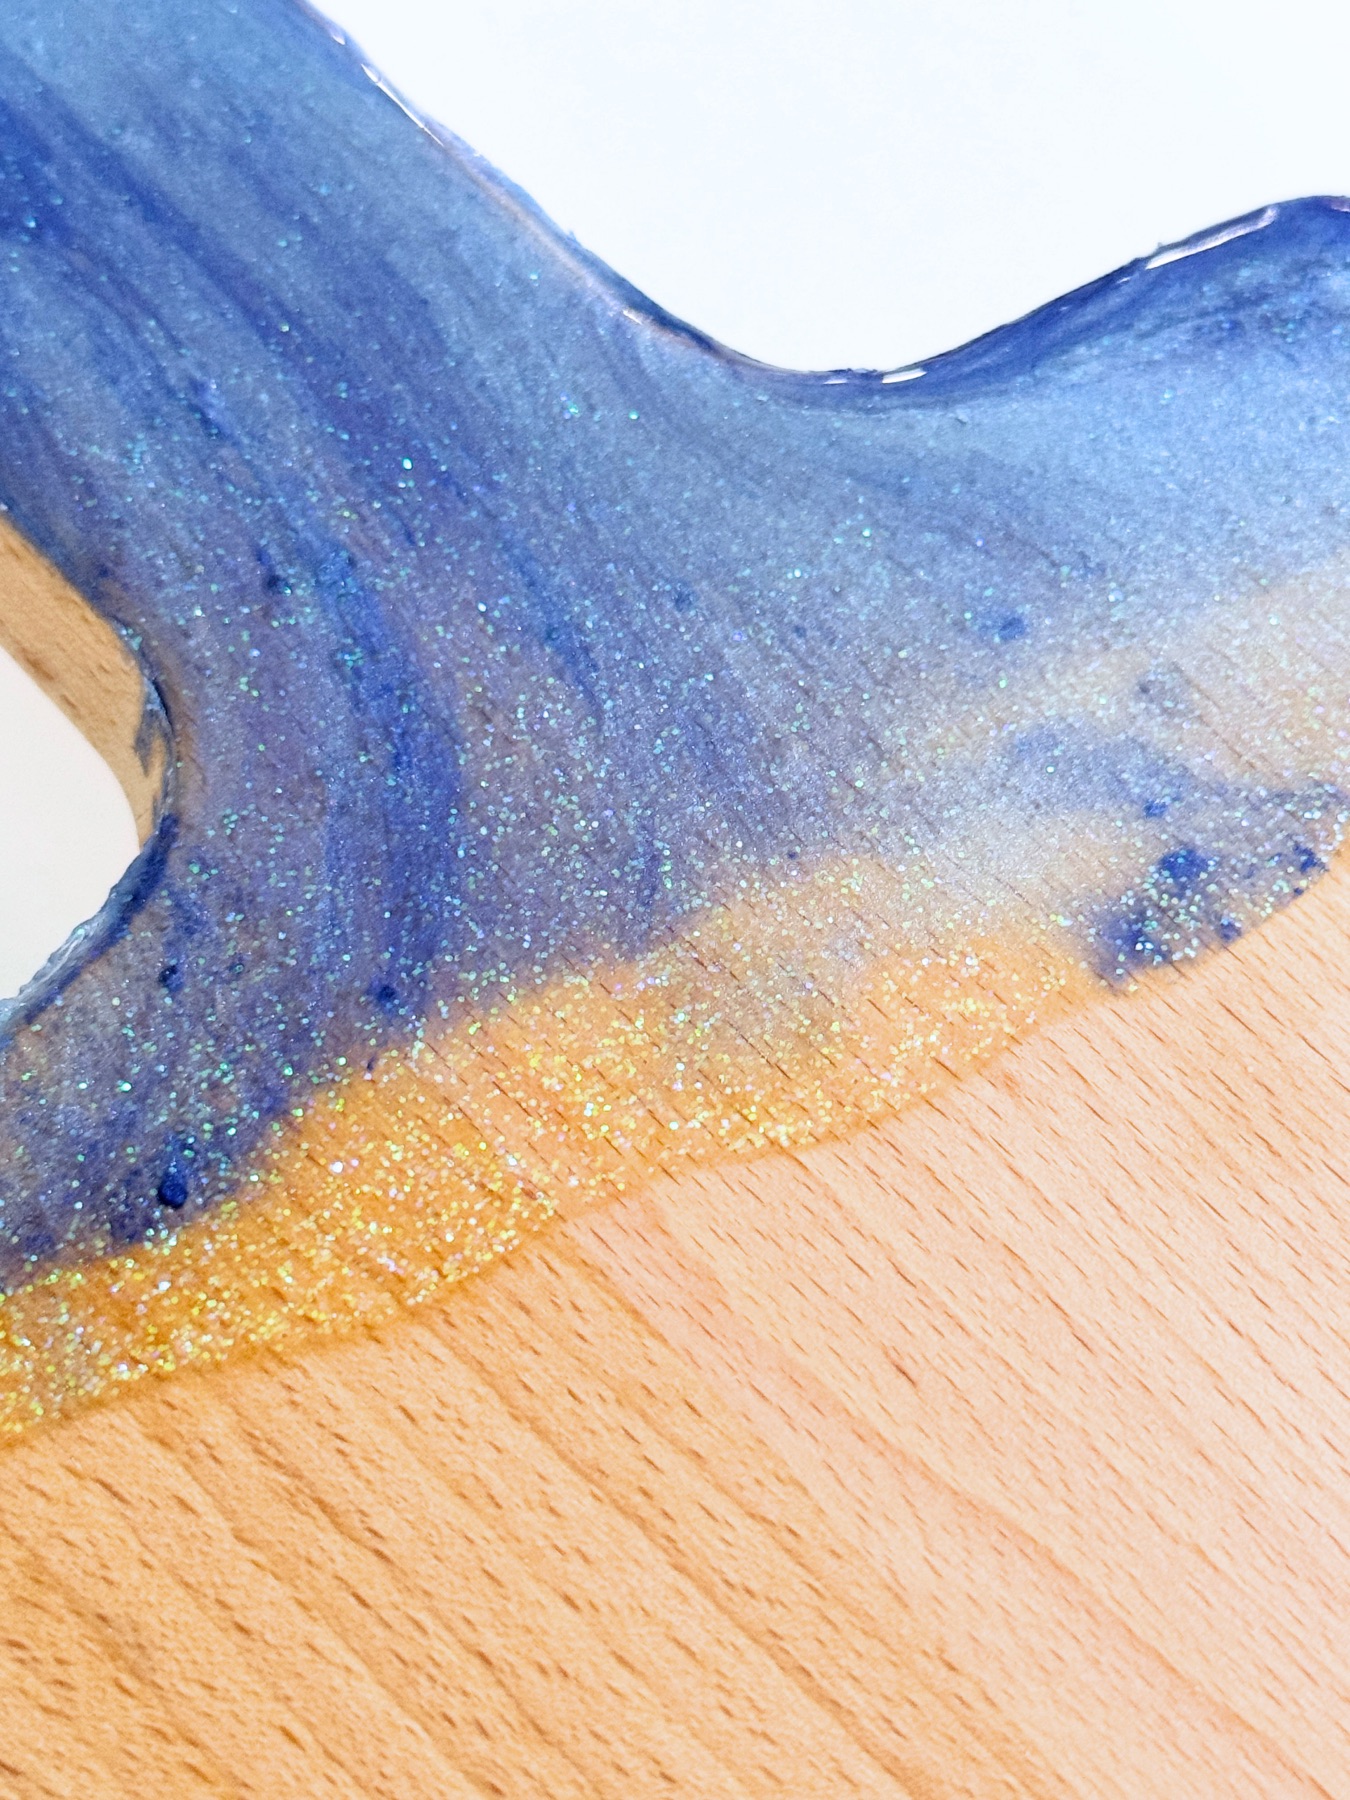
2. Blend more than 1 color of mica to make unique colors. Or you can add glitter to make sparkling colors.

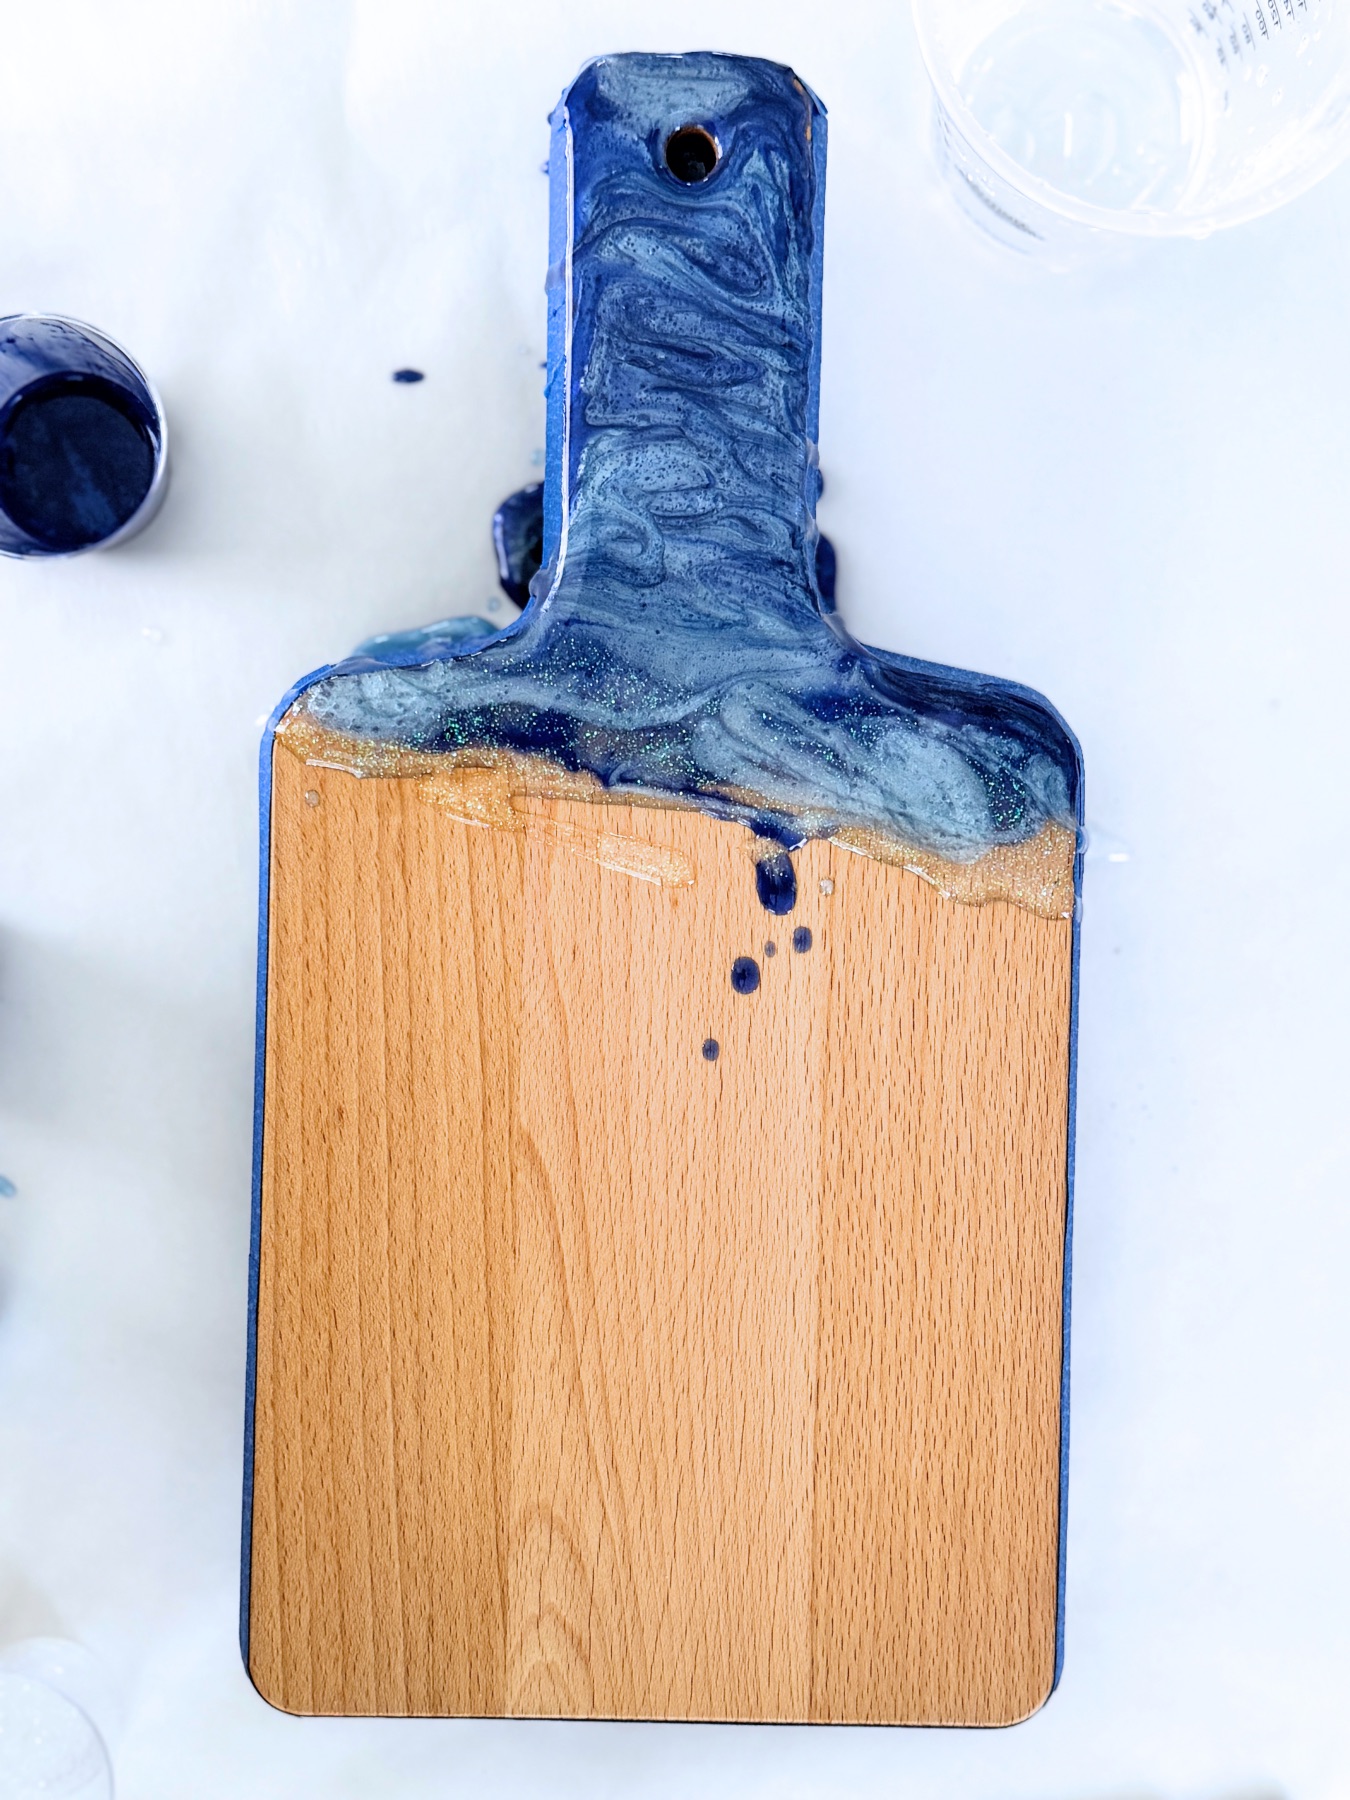
Step 5: Pour!
Now is the fun part. Pour your resin on your board! A lot of people like to make stripes. But you can make swirls or anything you like. Alternate your colors but be careful not to blend them too much.
The resin will continue to mix and settle on its own. But you can also move the resin with a popsicle stick, straw, or blowdryer on its cool setting. Just know that it’s easy to accidentally overblend and just end up with 1 color instead of a variety of colors.
Step 6: Finish Your Pouring
Before you finish pouring, make sure you do the following things.
1. Be sure you are happy with your edge or seam lines. If you aren’t, use a popsicle stick, straw, or even blow dryer on cool to move the resin where you want it to make an edge.
2. Be sure that there aren’t any holes or gaps between the colors. If there are, use the same technique as above to fill in those gaps.
3. If you accidentally dripped resin anywhere you don’t want it to be wipe it off thoroughly with a damp paper towel before it sets.

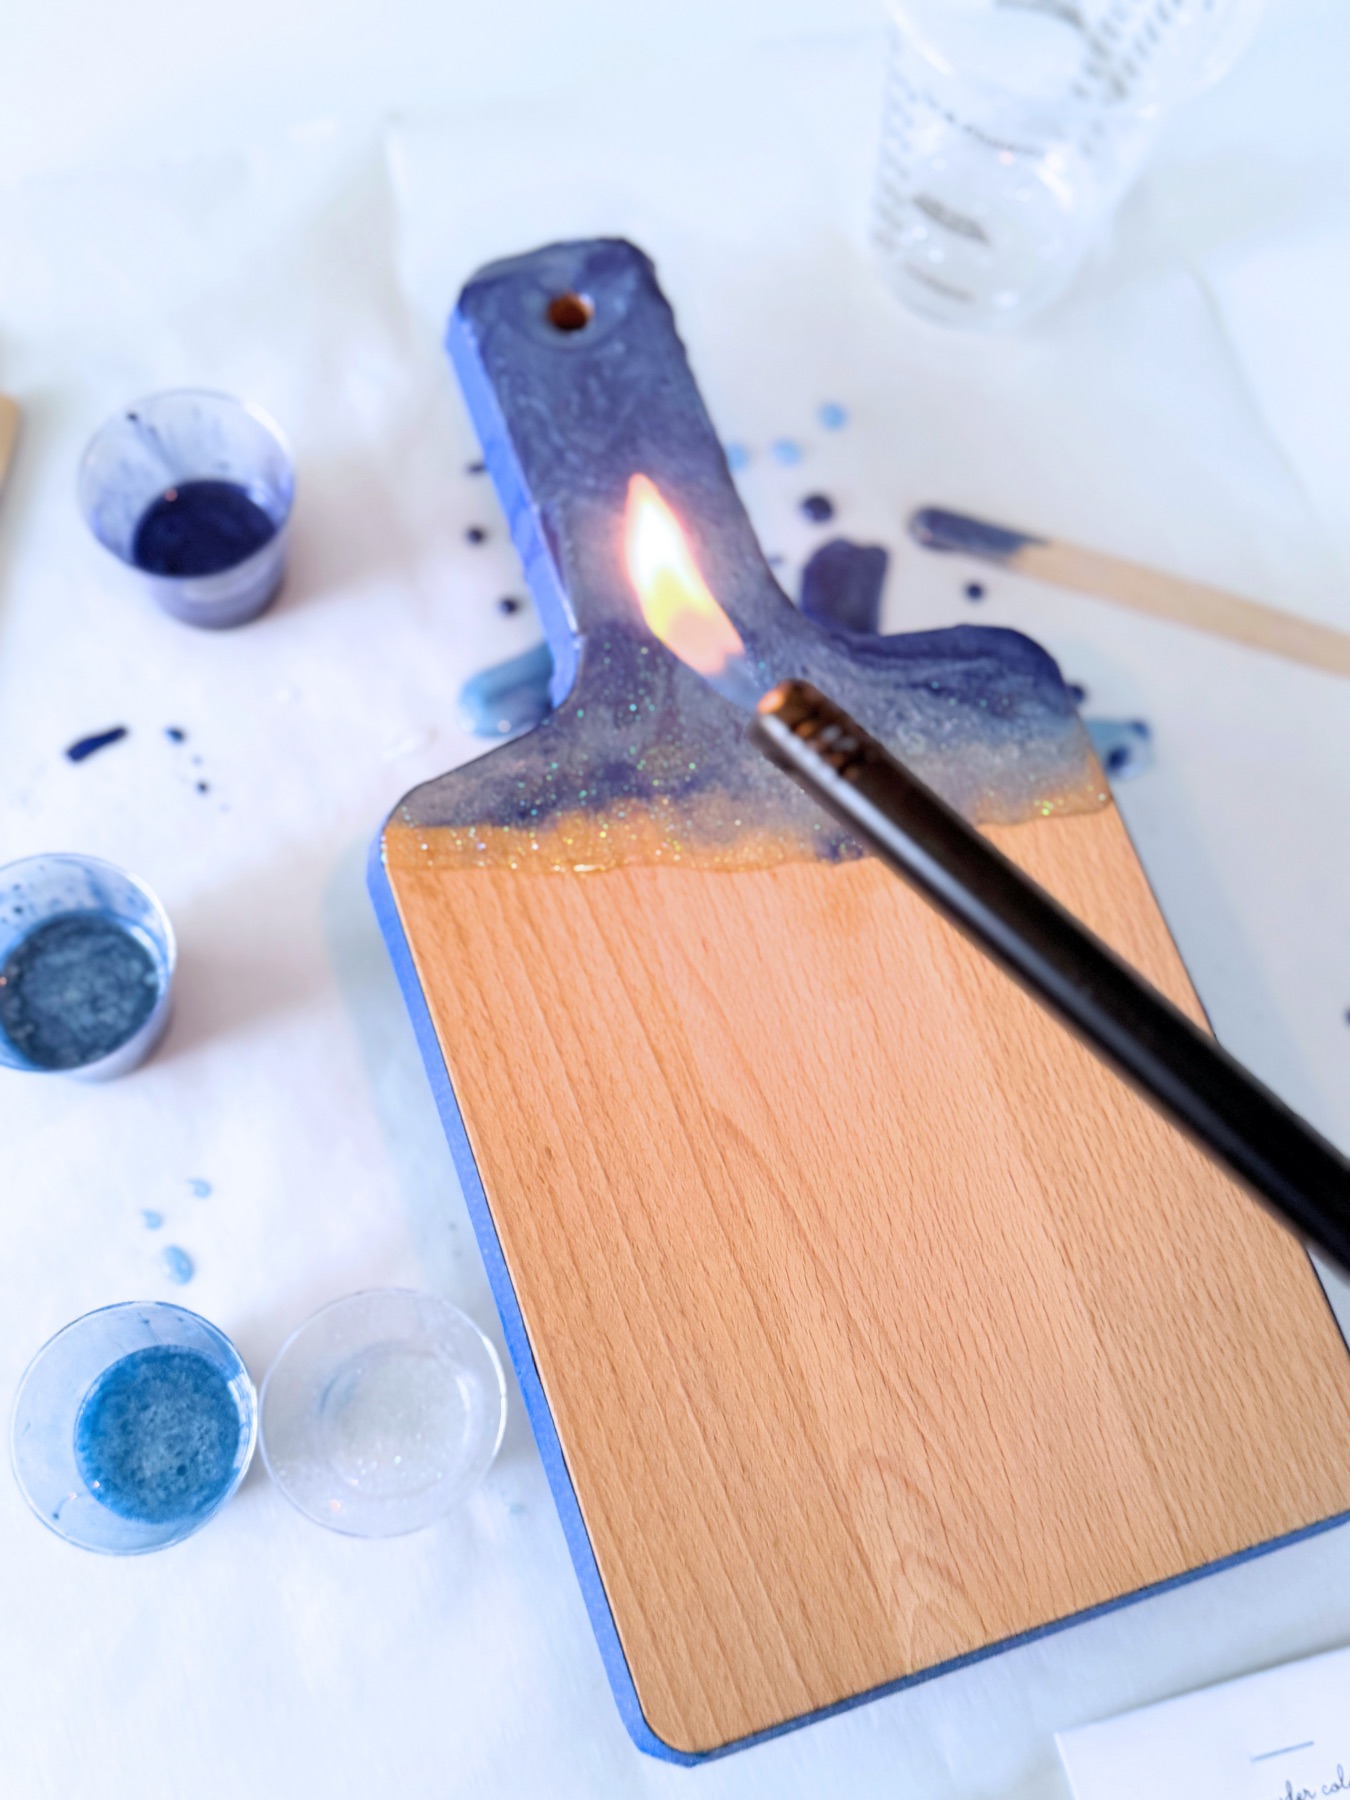
Step 7: Remove Air Bubbles with a Lighter
Before you resin sets, look for any air bubbles and remove them with a lighter. Just hold the flame to the area with the bubble until it rises to the surface.
Lighters are the easiest way to remove air bubbles from resin, but you can use any concentrated heat to remove air bubbles. Blow dryers or heat guns could be an option, but they will move the resin as they remove the air bubbles.
Step 8: Let the Resin Set
Once you are happy with your pattern allow your charcuterie board to set for 24 – 48 hours. Leave the board in a place where it won’t gather any dust and won’t be touched. While it’s setting, it’s easy to accidentally leave finger prints and it’s easy for the board to pick up animal fur, so be careful.
You will know when the resin is set because it will have a hard crack texture – just like candy – smooth, glossy, and shiny!

Step 9: Remove the Tape
Do not remove the tape until the resin is completely set. If you remove the tape early, the resin can get pulled, stretched and damaged.
Don’t be shocked if this is difficult, takes longer than what seems reasonable and even requires a razor blade to scrape tape that’s stuck underneath resin. Just take your time.

Step 10: Use Sandpaper to Clean Up the Board
If any resin was able to soak beneath the tape, use sandpaper to remove it. Be extra cautious and mindful of your edges as you work.

Is Resin Food Safe?
I have seen so much misinformation about this on the web. Please don’t trust anyone else on this issue! Pretty please!
No. Resin is not food safe. So what does that mean? It just means that I do not recommend putting food directly on the resin portions of your charcuterie board. Please also be especially careful to not cut or dig into the resin portion of your board to create flakes of resin that flitter away.
If you do not put food directly on the resin, everything is fine and perfectly healthy!
Step 11: Coat the Resin Charcuterie Board with Food Grade Clear Coat
If you want to put food directly on the charcuterie board, or just for peace of mind, coat the board in a thin layer of Food Grade Coating. Shellac is always safe to use. But other brands are often food safe too. To know if your wood finish is food safe, read the label or check out the brand’s website as this is a common need.
To apply the finish I used and that’s included in our kit, use a foam brush to apply a thin even layer and allow each coat to dry for around 2 hours. Apply a total of 2-3 coats.

How to Clean Your Resin Charcuterie Board
I strictly use my board as a stylish tray. It’s perfect for candies, tea, or a mini cheese and meat board. Because your board is wood, don’t use it for cutting raw meats! I actually don’t use more board for cutting at all to protect the resin, but if you choose to chop on the board, stick to fruits and veggies.
To clean the board, use a soft sponge. Don’t use steel wool or anything abrasive. Hand washing is essential for wood boards as well.

Now voila! Your very own DIY Resin Charcuterie Board that’s so cute! If you want to get all the supplies to make your own, shop the kit here. And check out the tutorials below if you are ready to go resin crazy!
Let’s Stay Friends!
Insta | Pinterest | Enews | TikTok