DIY
How to Make a Paint Sample Ombre Ice Cream Garland
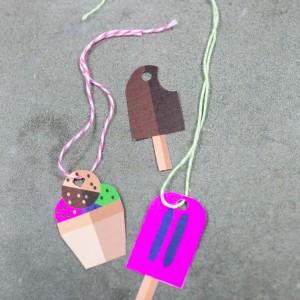
Here’s how to DIY an Ombre Ice Cream Cone Garland! This is a fun activity and an adorable decoration that’s perfect for a summer party. Ombre Ice Cream Garlands take about 10 minutes to make and would be so sweet as a birthday or just a fun thing to have around the house. It’s an especially fun activity for kids.
All you need are a few very inexpensive items and things you probably already have the house! Check out the instructions below.
Your Supply List:
Paint Samples from the Hardware Store – Any Color You Like!
(To Make the Ombre Effect Choose Paint Samples that Have Several Different Colors on the Same Sample
+ Choose the Paint Samples that Are Similar in Shade)
Cookie Cutter (We picked Ice Cream but Birds, Stars, or Fairies would Be Great Too)
Pencil
String
Hole Punch
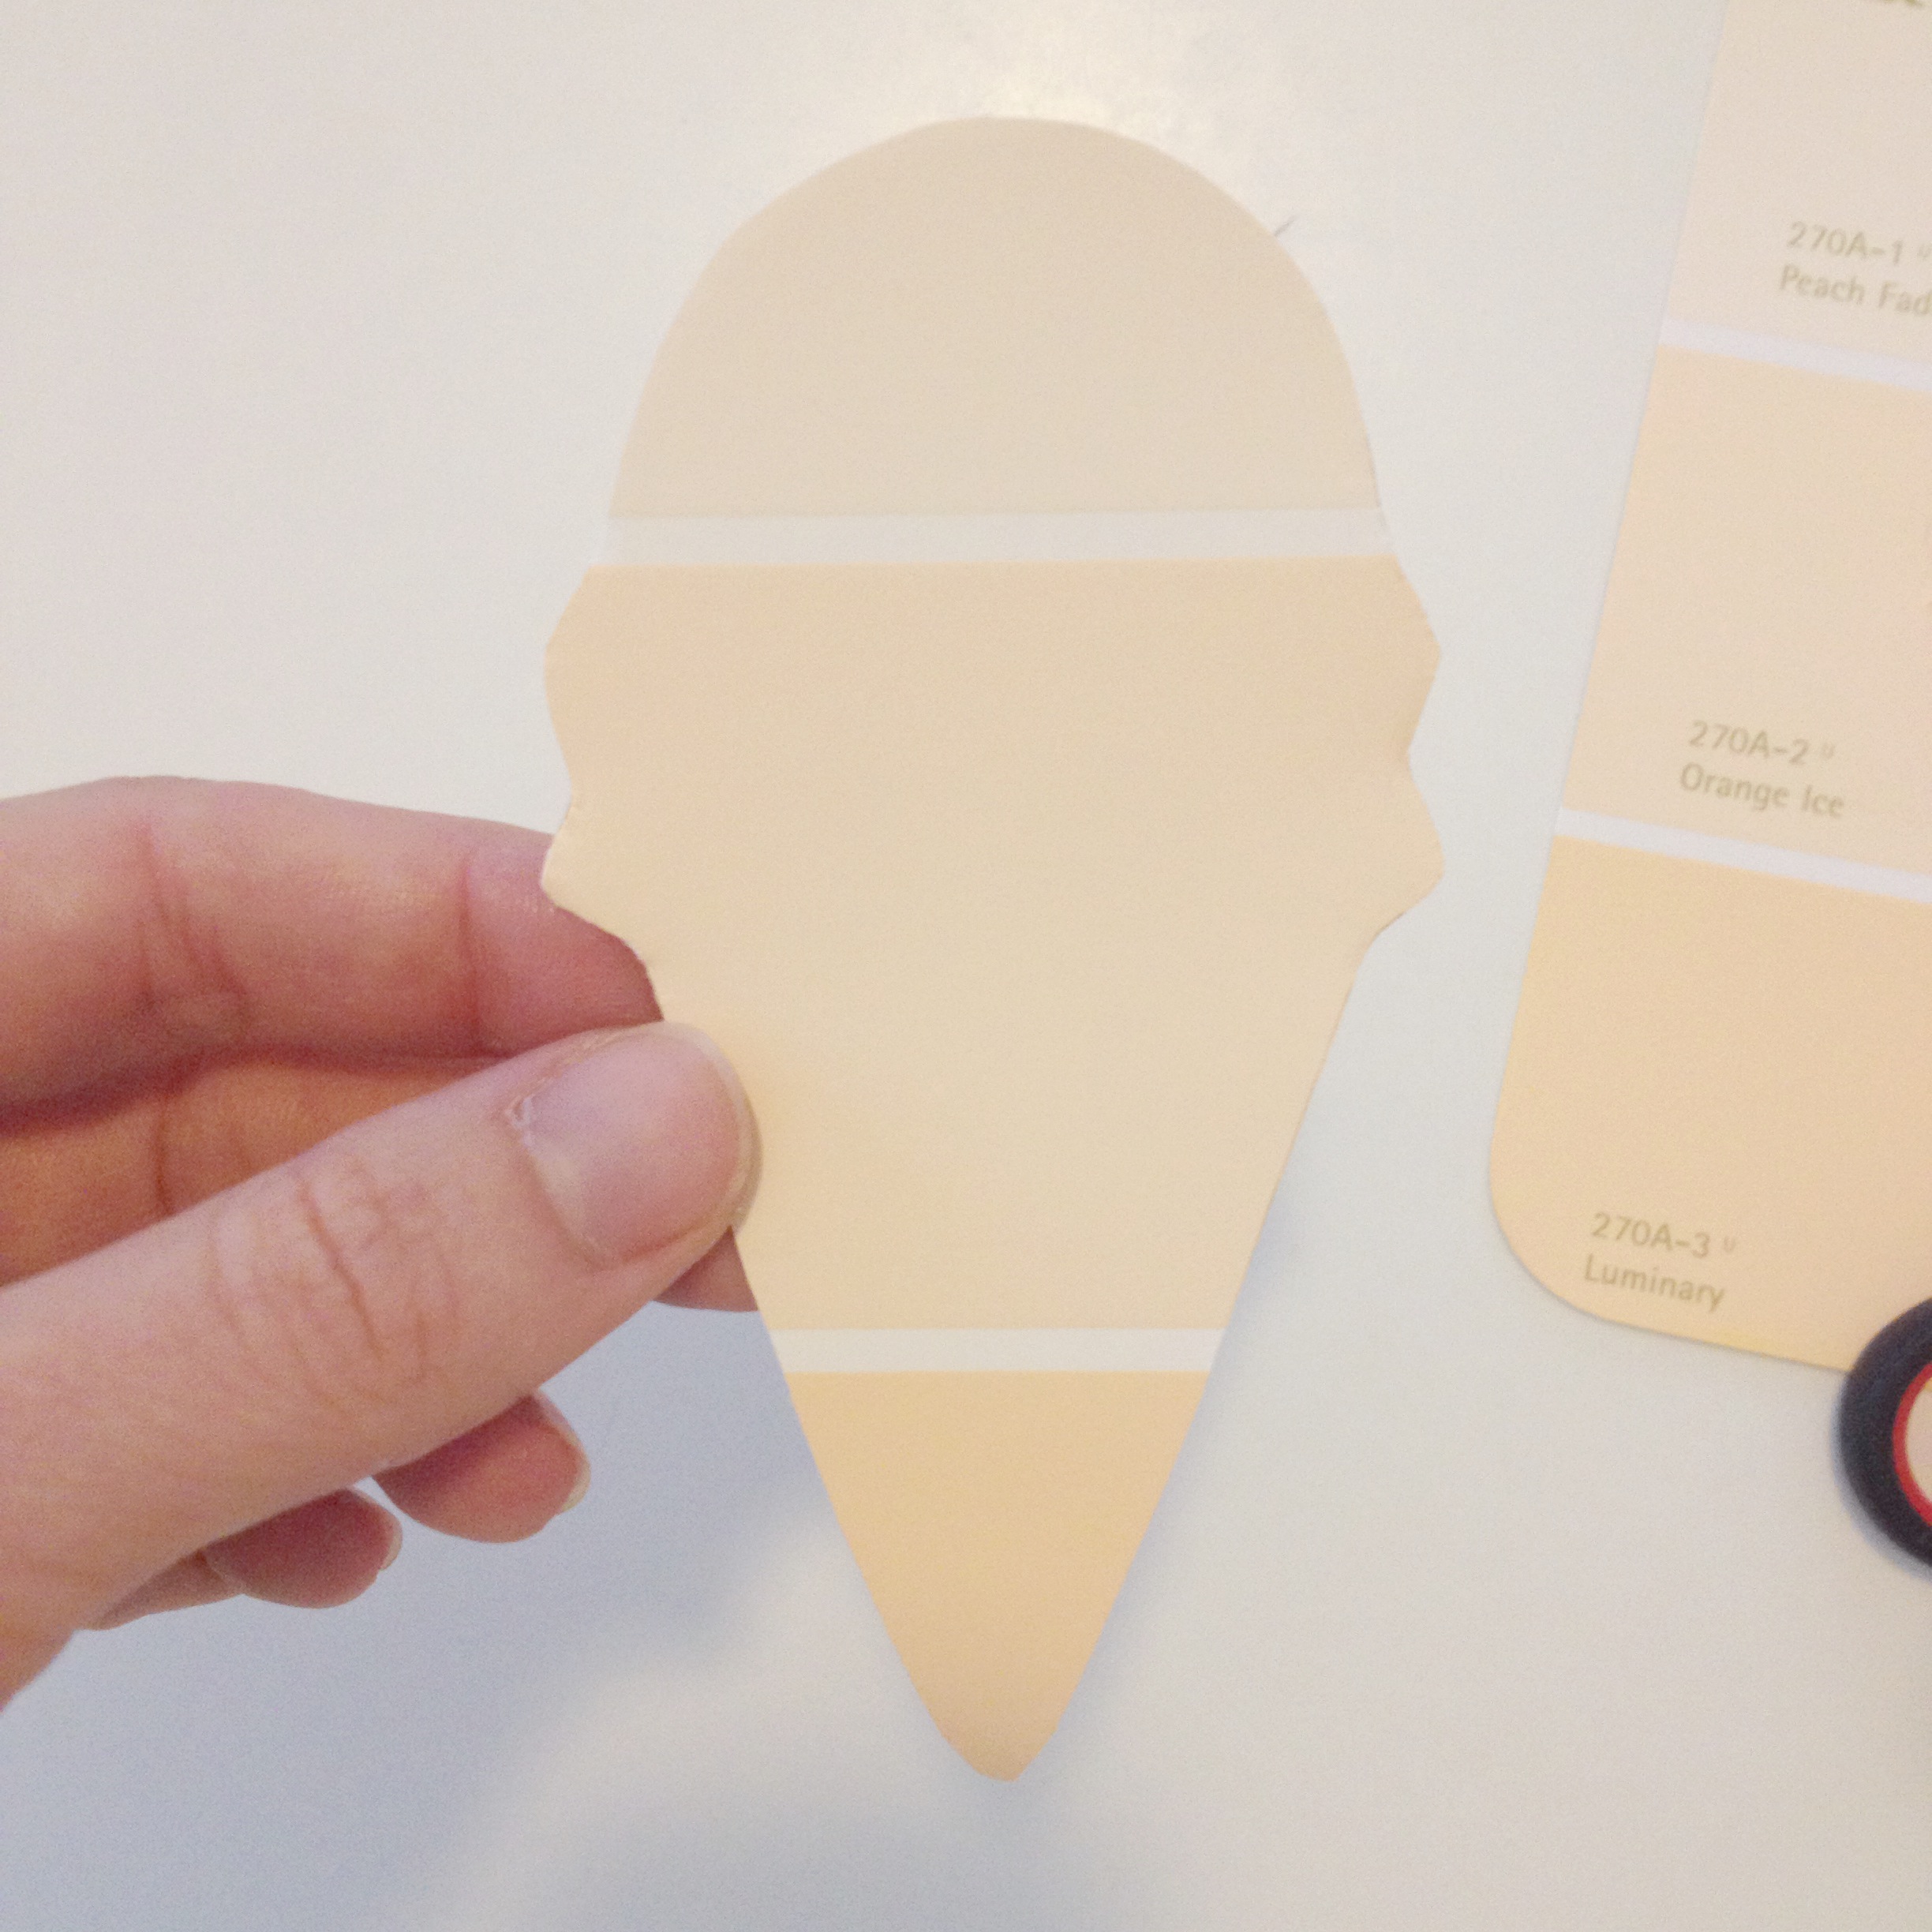
Use your pencil to trace the cookie cutter on the sheets of paint samples like they are paper. Use the scissors to cut out your shapes. Sharp scissors are best because it’s easy to accidentally tear the paint samples! Cut slowly because creating an even cut is the most important thing you can do to make a professional looking finished product.
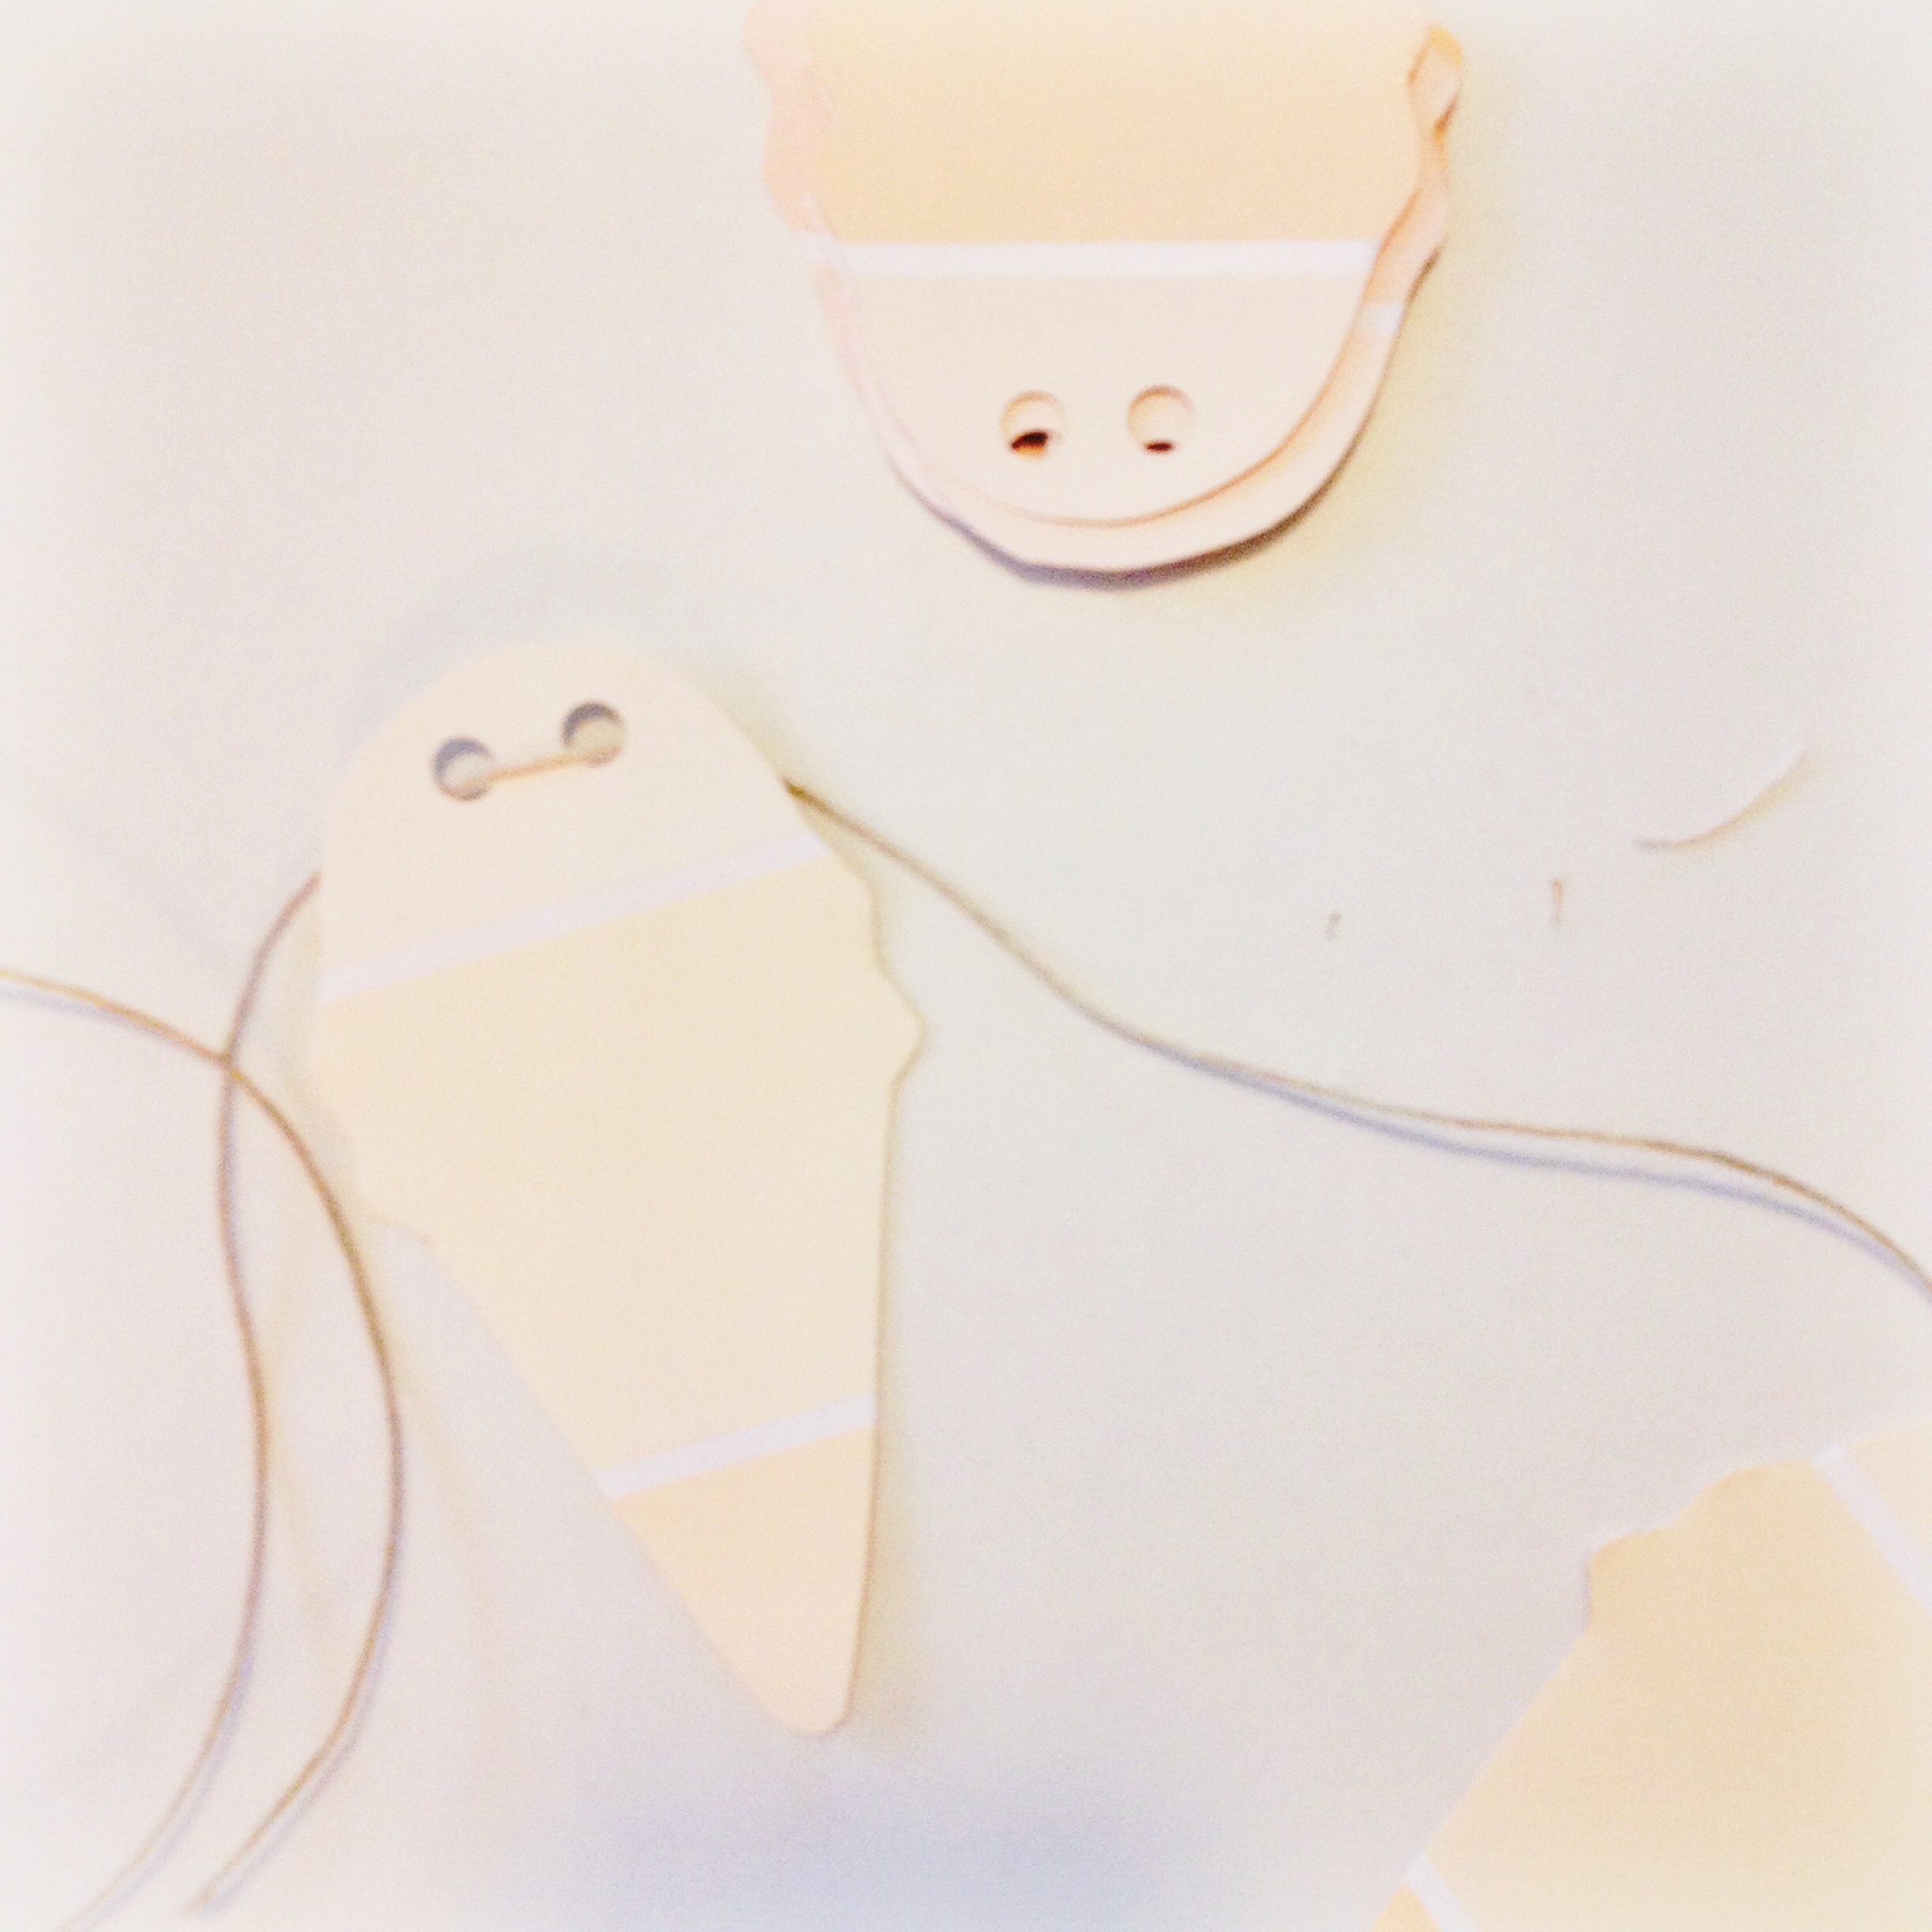
Double hole punch at the top so your paper will face in one direction. Try to make the holes line up so that it will hang evenly. Weave the string and hang your garland. Make sense why you need two holes instead of one?
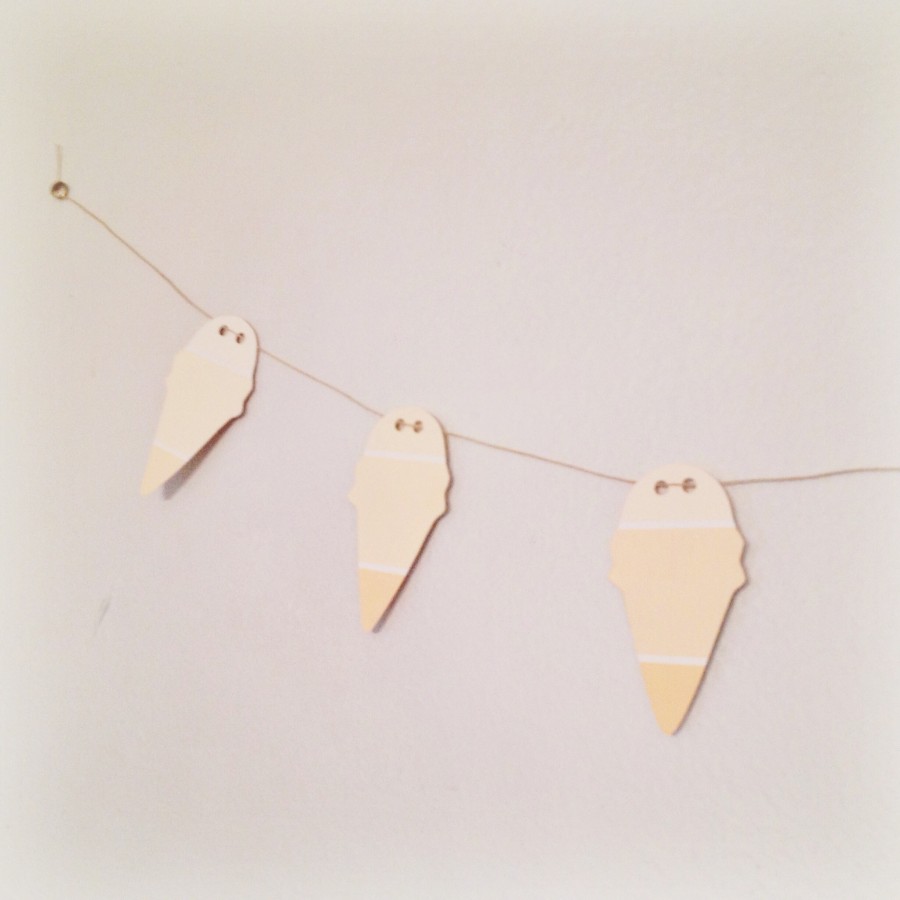
Now hang your Ombre Ice Cream Garland! Enjoy this fun and easy DIY.
Let’s Stay Friends!
Insta | Pinterest | Enews | TikTok


