
Jul
You know what I hate? It’s wasting food! How often do you buy herbs at the grocery store for 1 dish, use half of the herbs and end up throwing the remainder away a week later after they’ve lost their color and started to look terrible?
Or better yet, have you ever grown your own herbs, and watched them die off when the season changes instead of harvesting them?
Drying them is the best way to keep and store your fresh herbs long term. Homemade dried herbs taste better, look more beautiful and may even save you a buck or two! So let’s make them.
Two Ways to Dry Fresh Herbs at Home
The two main methods of drying fresh herbs are:
1. Air Drying: This may involve using a screen or hanging bundles of herbs upside down (which can look very pretty). This method is best for hearty herbs with thick stems.
2. Using a Food Dehydrator: An oven should only be used when desperate, because it can be hard to dry herbs in an oven without browning or burning them. A food dehydrator is a great option because it can be set to lower temperatures giving you a safer, slower dry time. This method is better for delicate herbs that have broad leaves.
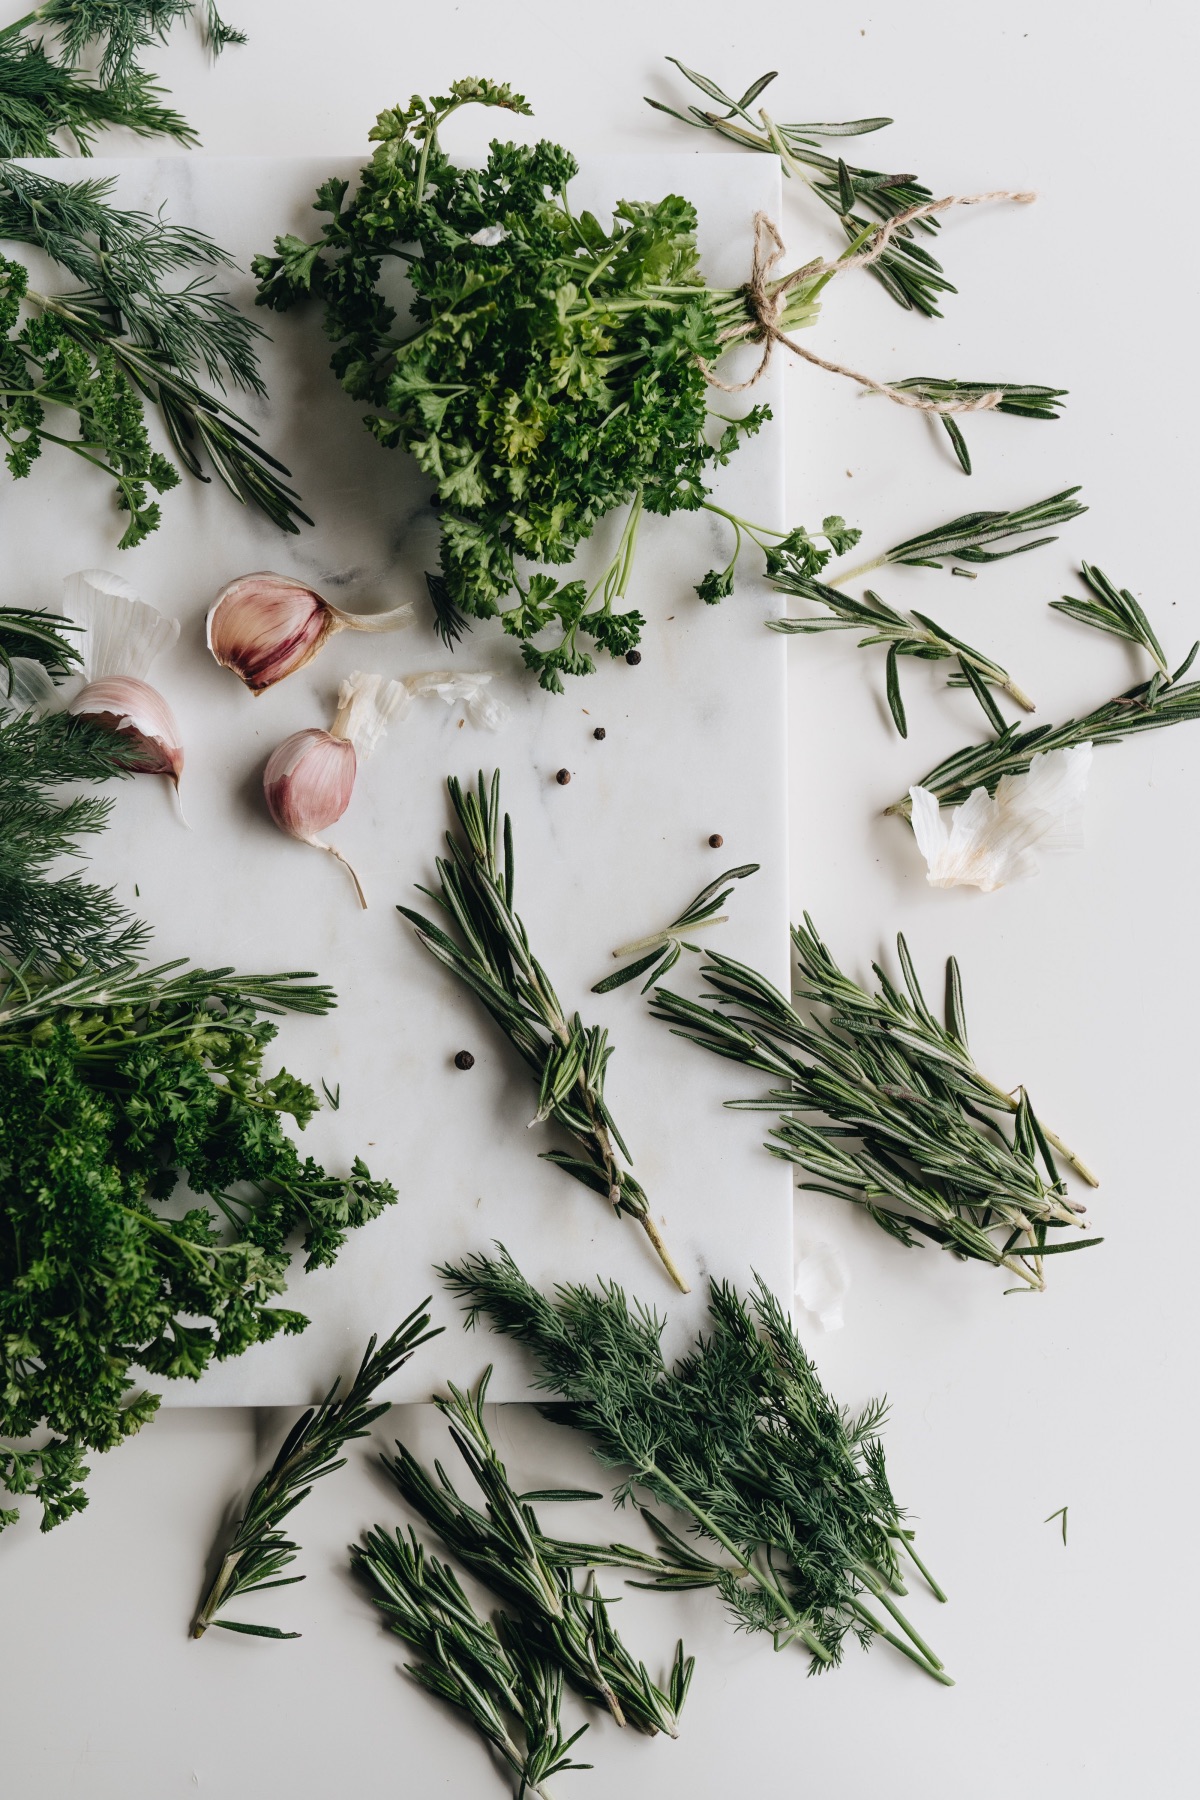
The Best Way to Wash Fresh Herbs
Which ever method you choose to dry your herbs, make sure you start with herbs that have been washed and free from any water.
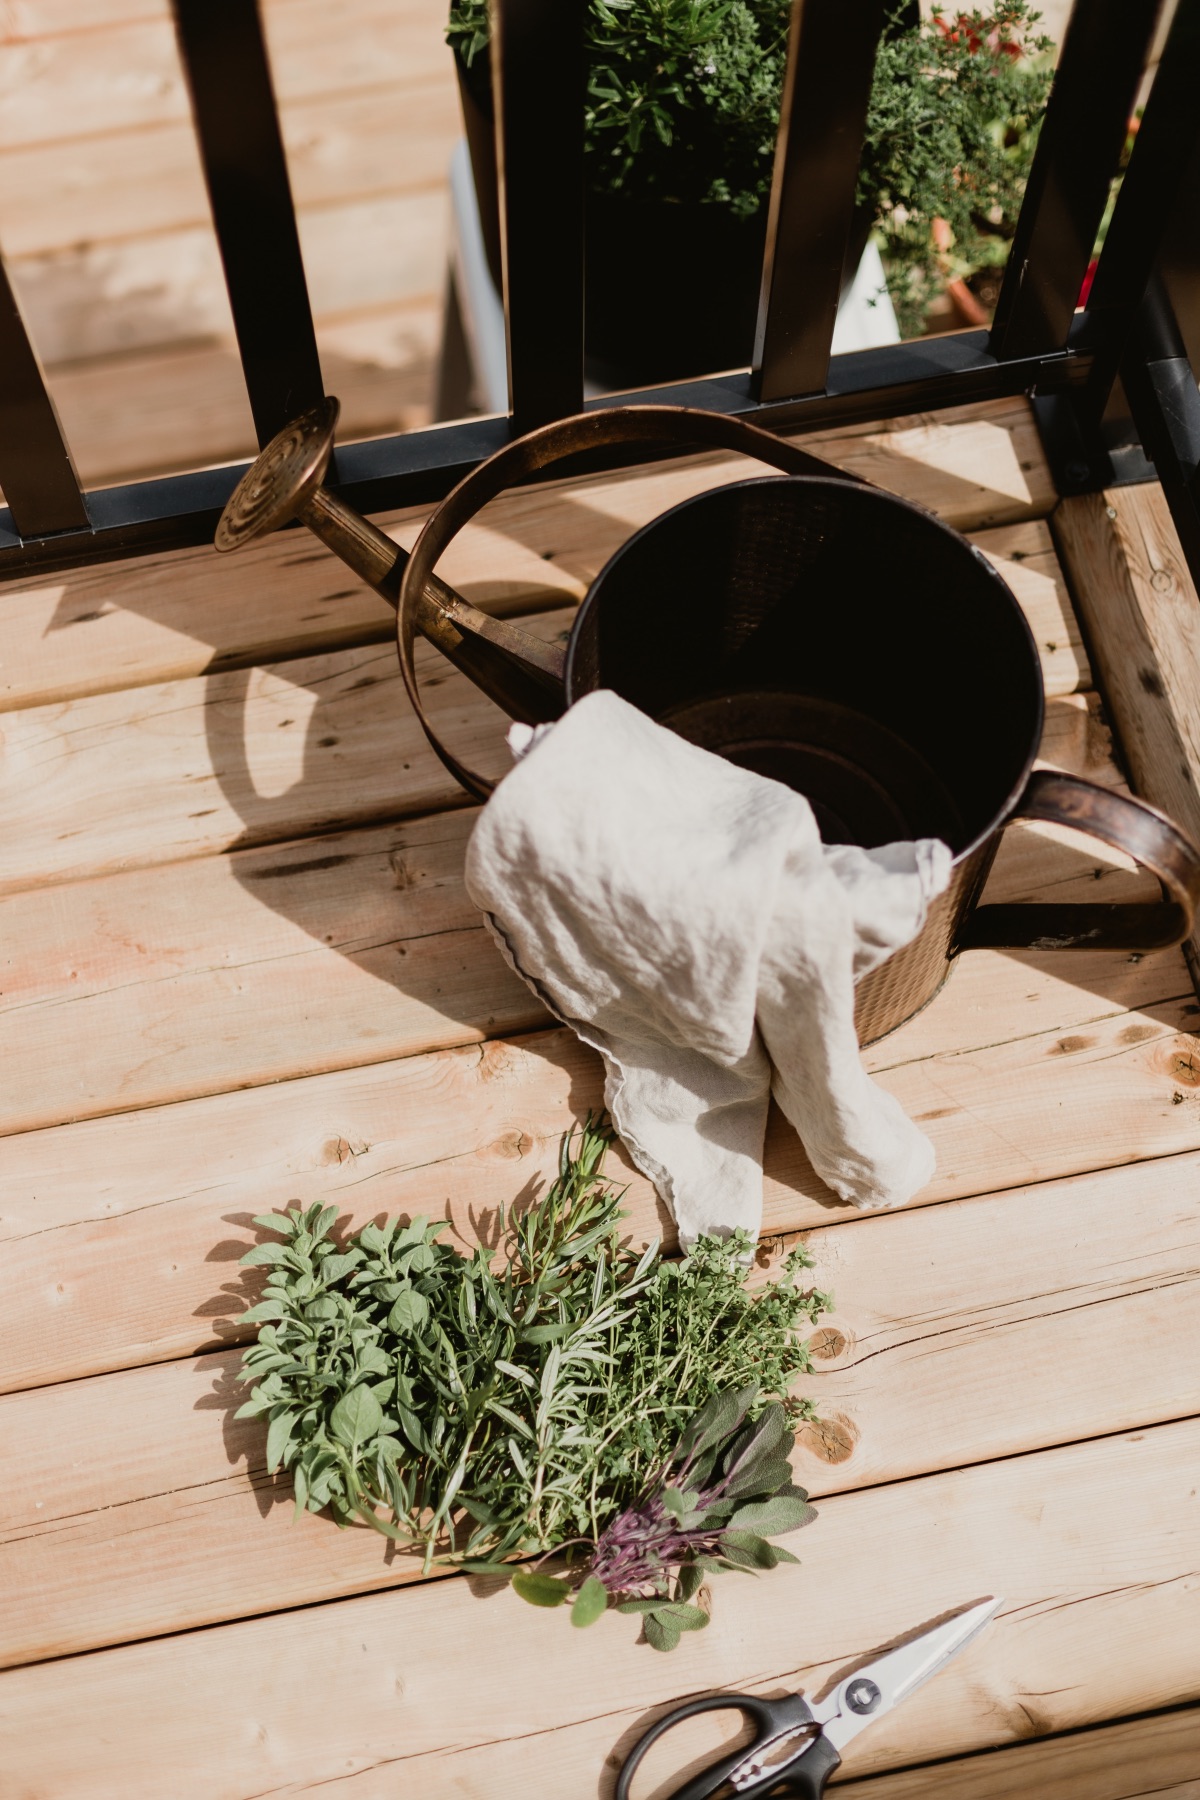
The best way to wash herbs, especially delicate herbs like parsley, basil, or cilantro is to make a bath of cold water and let them soak. Gently agitate to remove any debris.
Place the herbs on a cotton cloth and gently dab to remove moisture. Let the herbs rest on the cloth or a few minutes and until all the excess water is gone.
How to Air Dry Fresh Herbs
My favorite method of drying fresh herbs at home is to air dry them. There are 2 different ways you can air dry herbs.
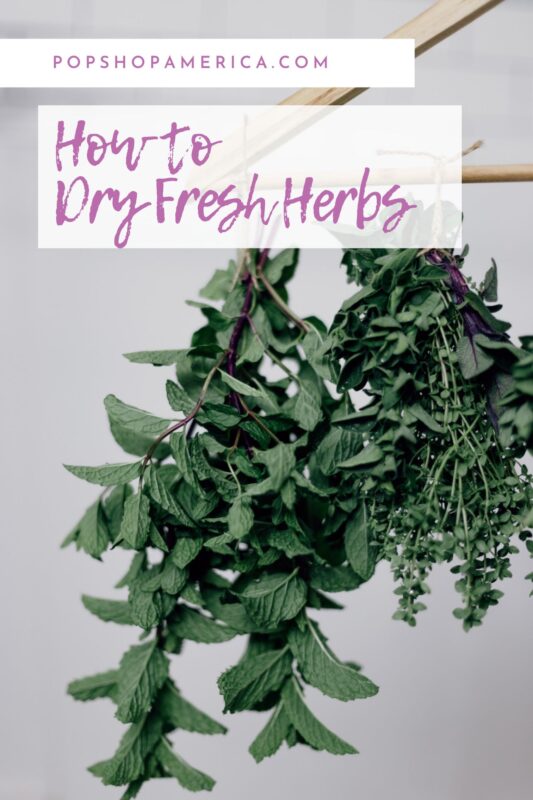
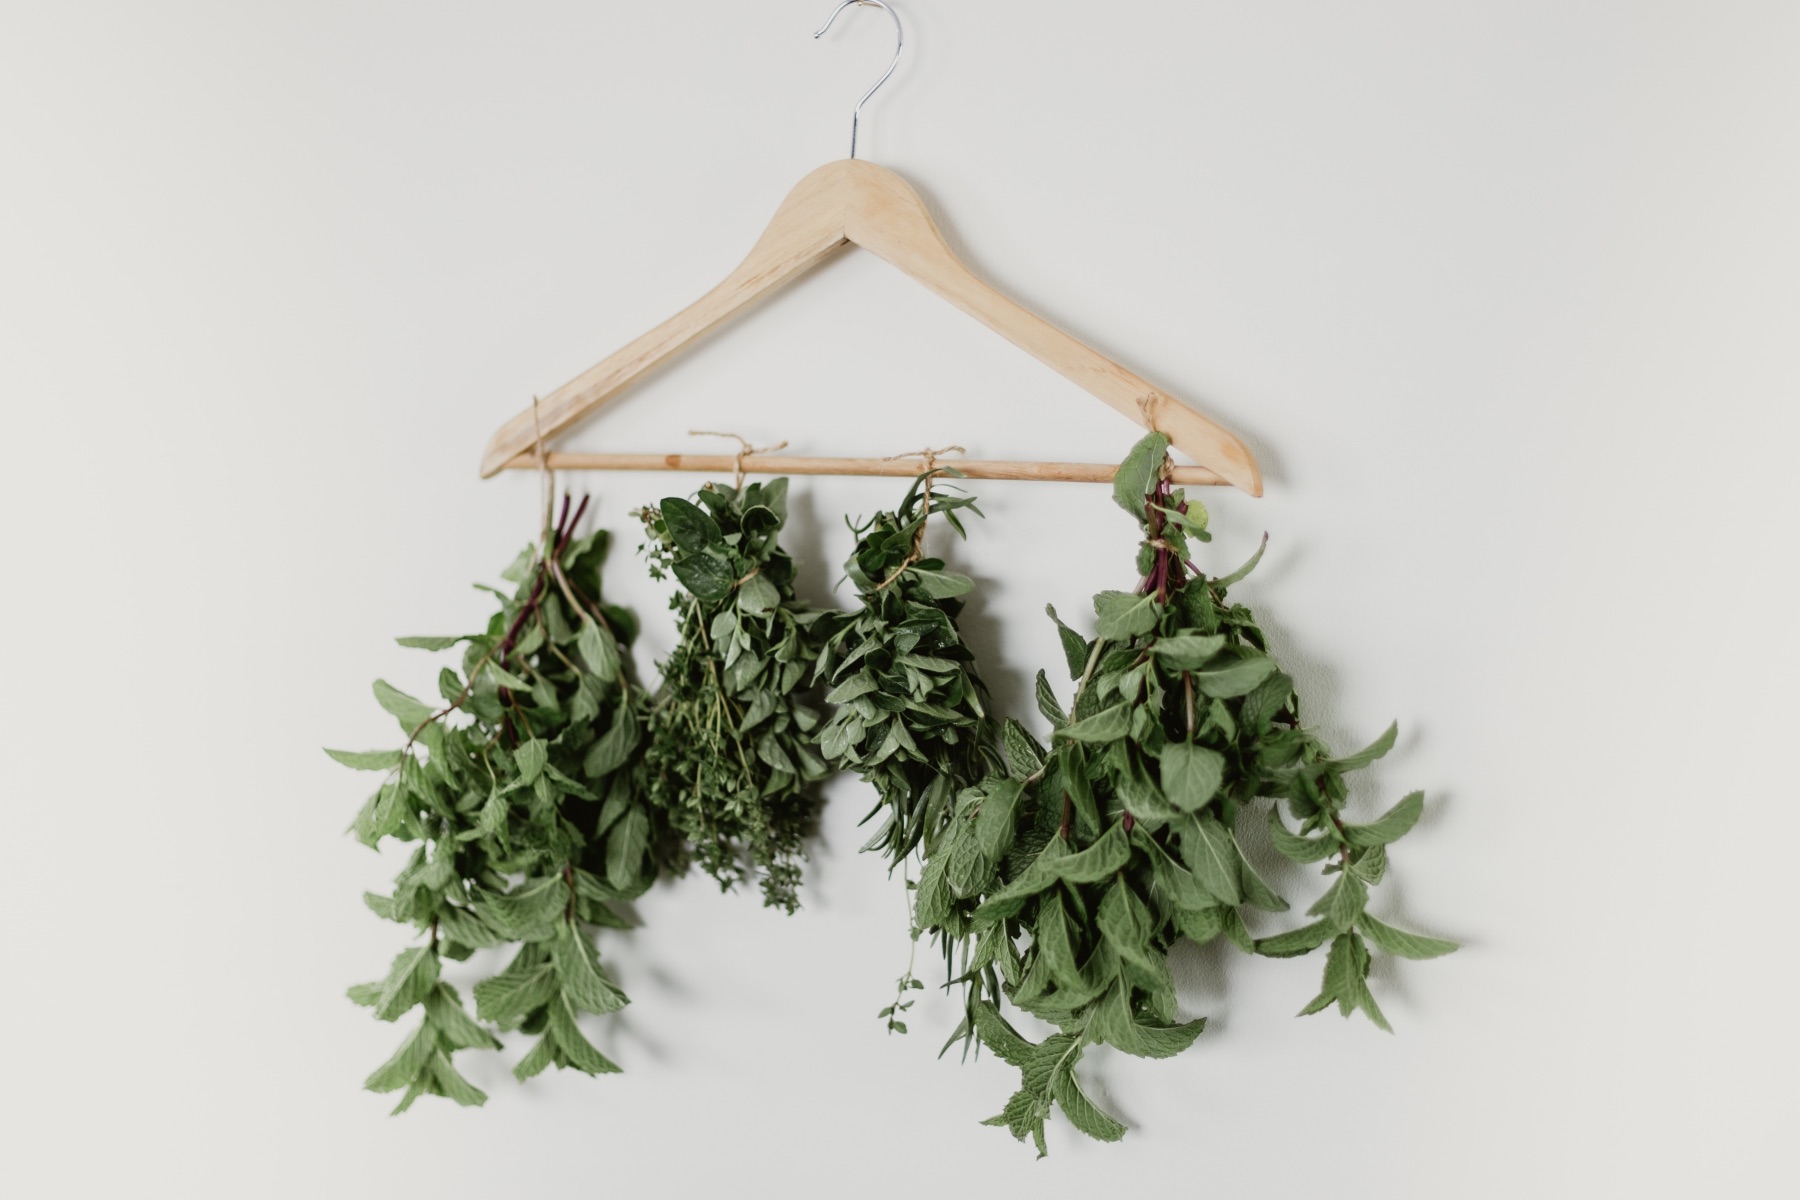
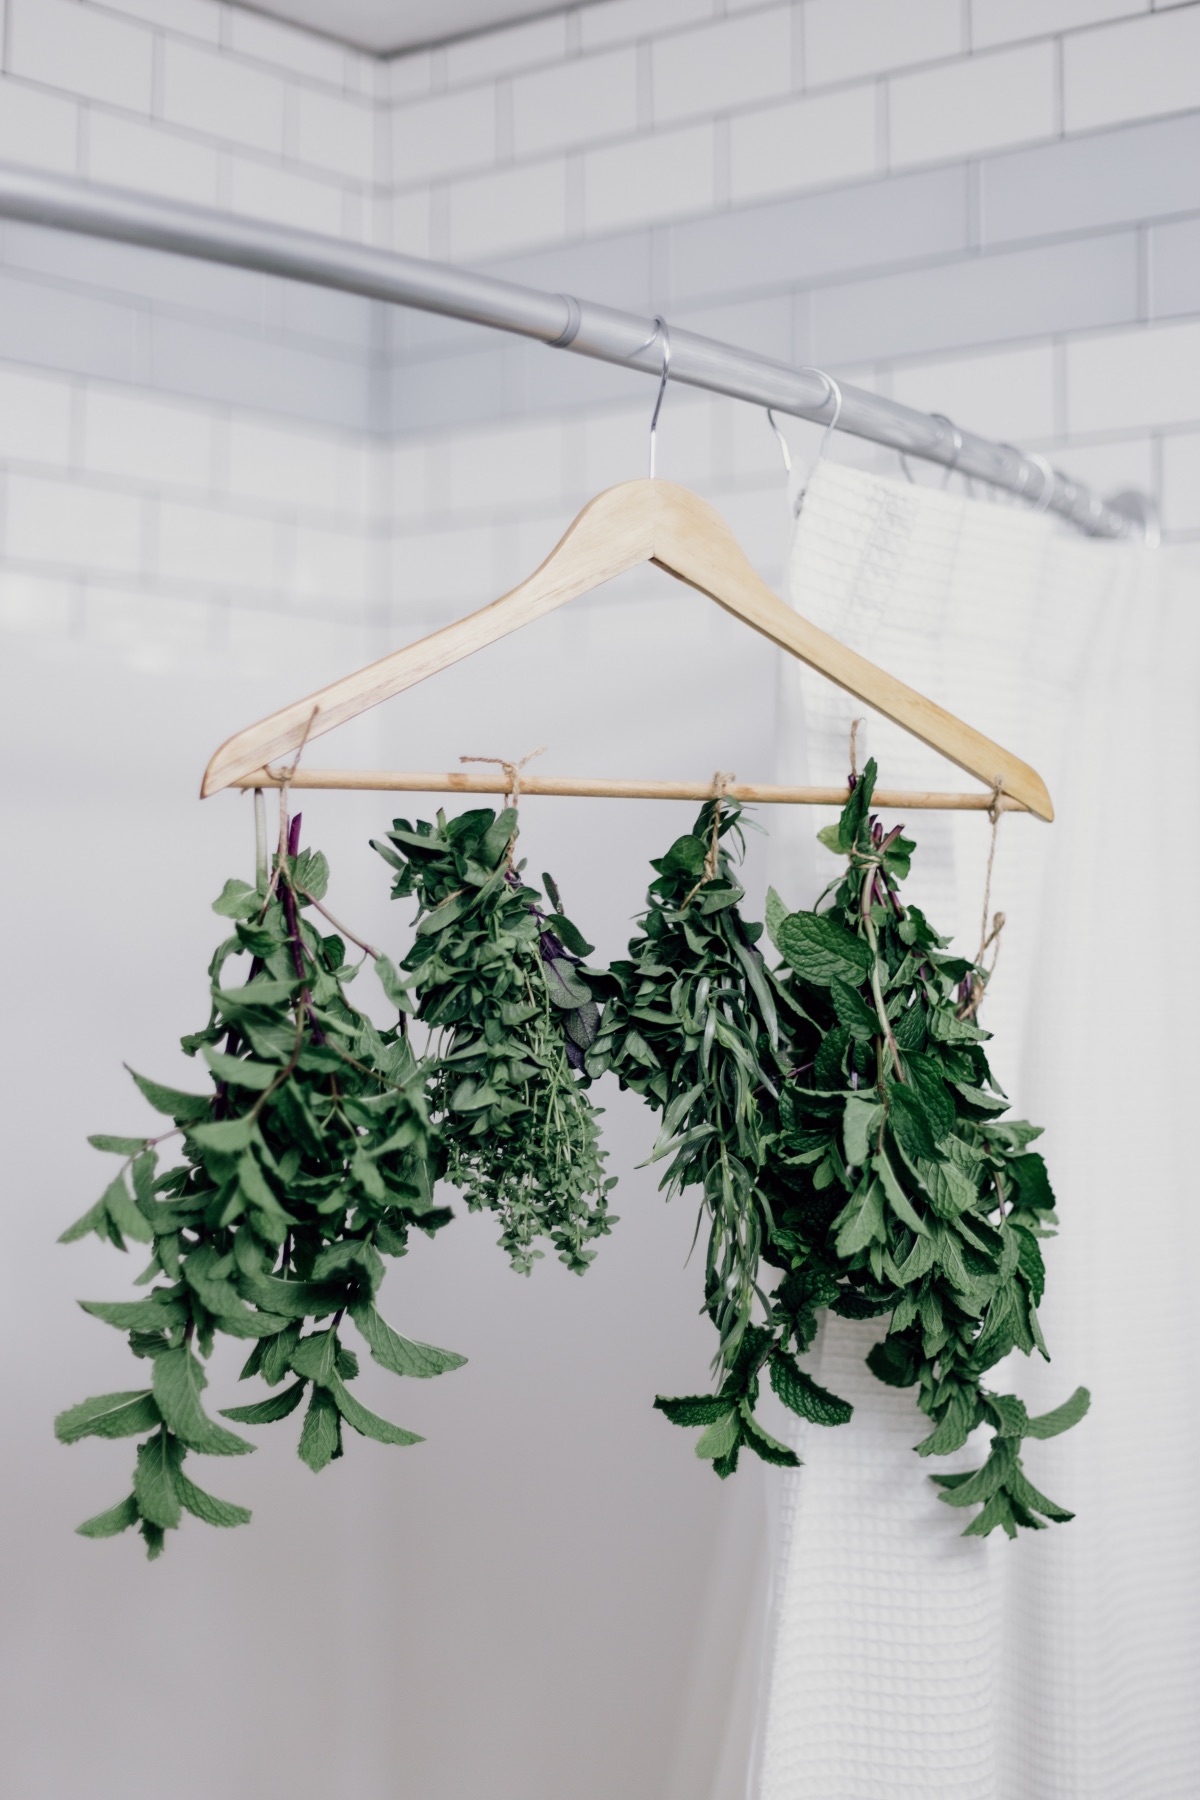
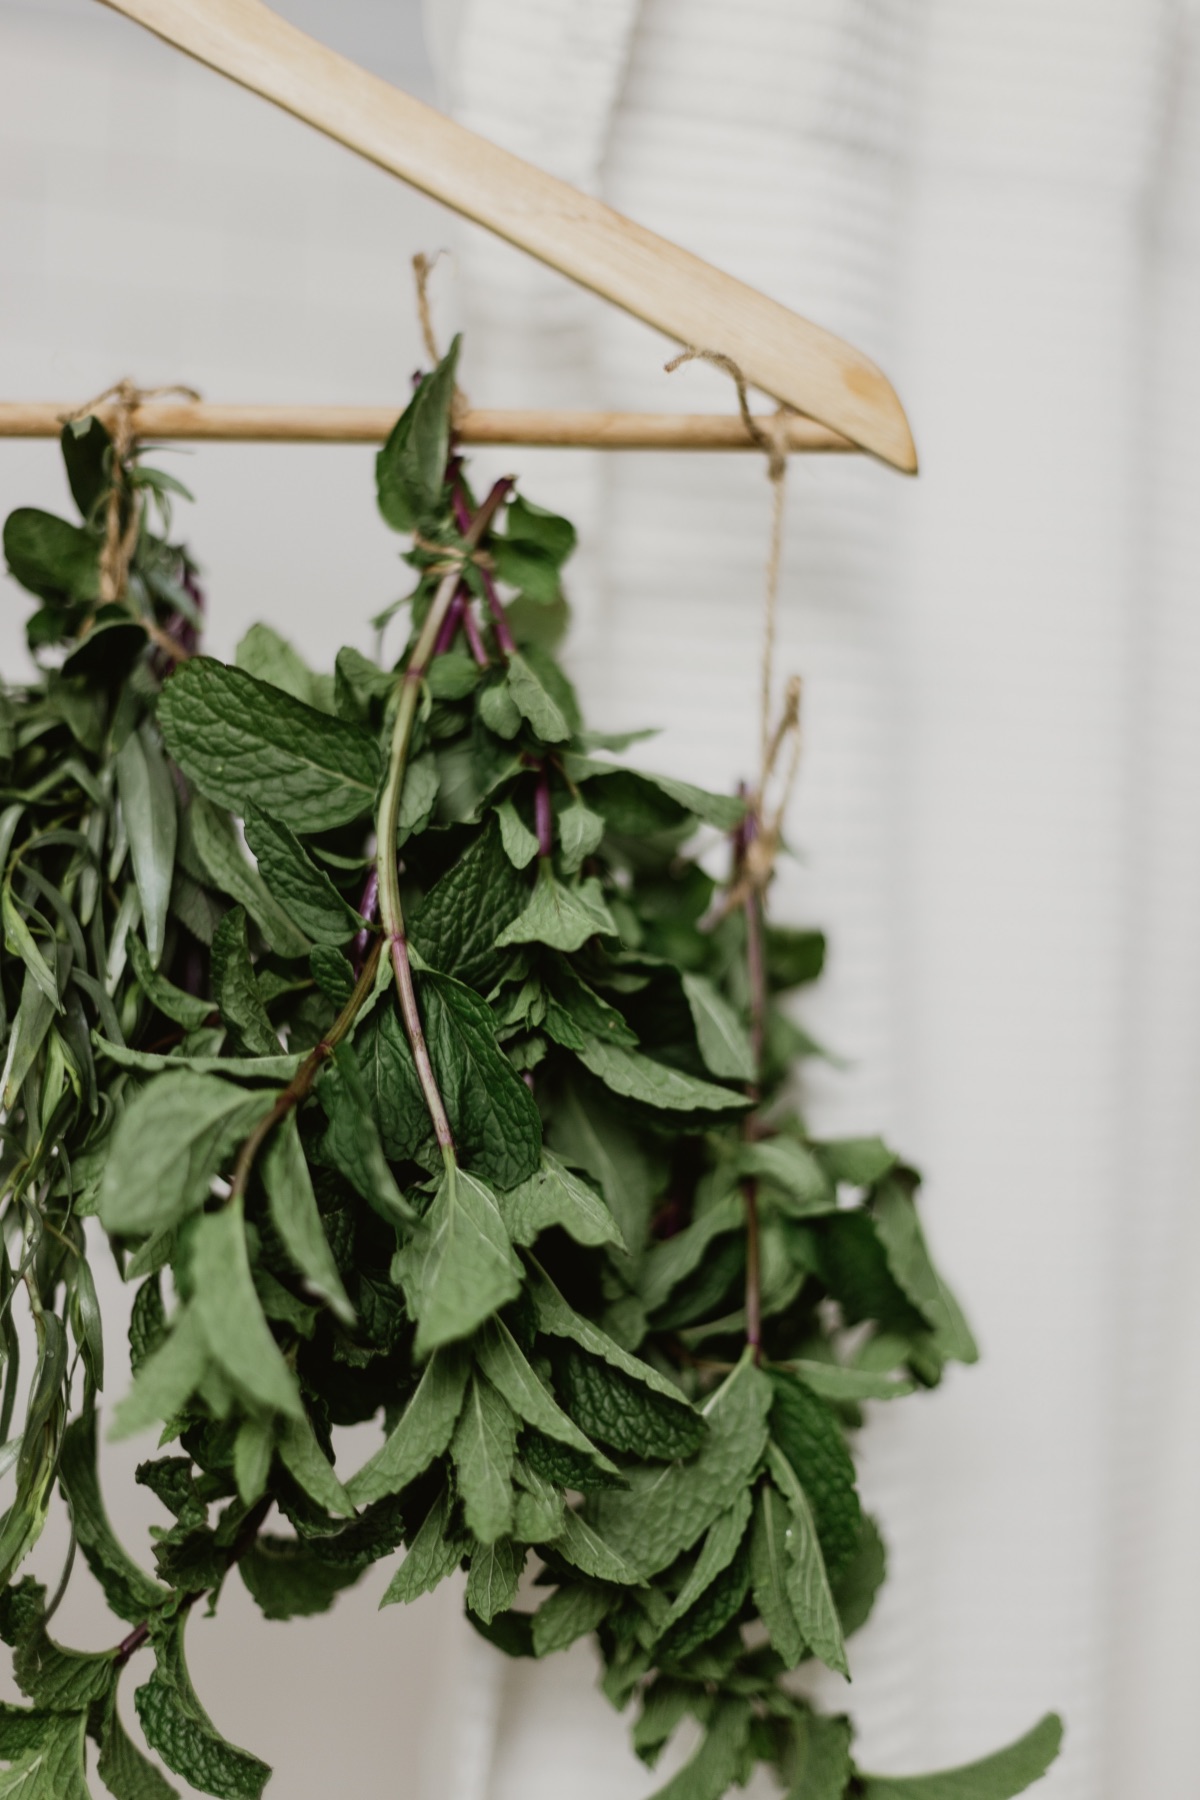
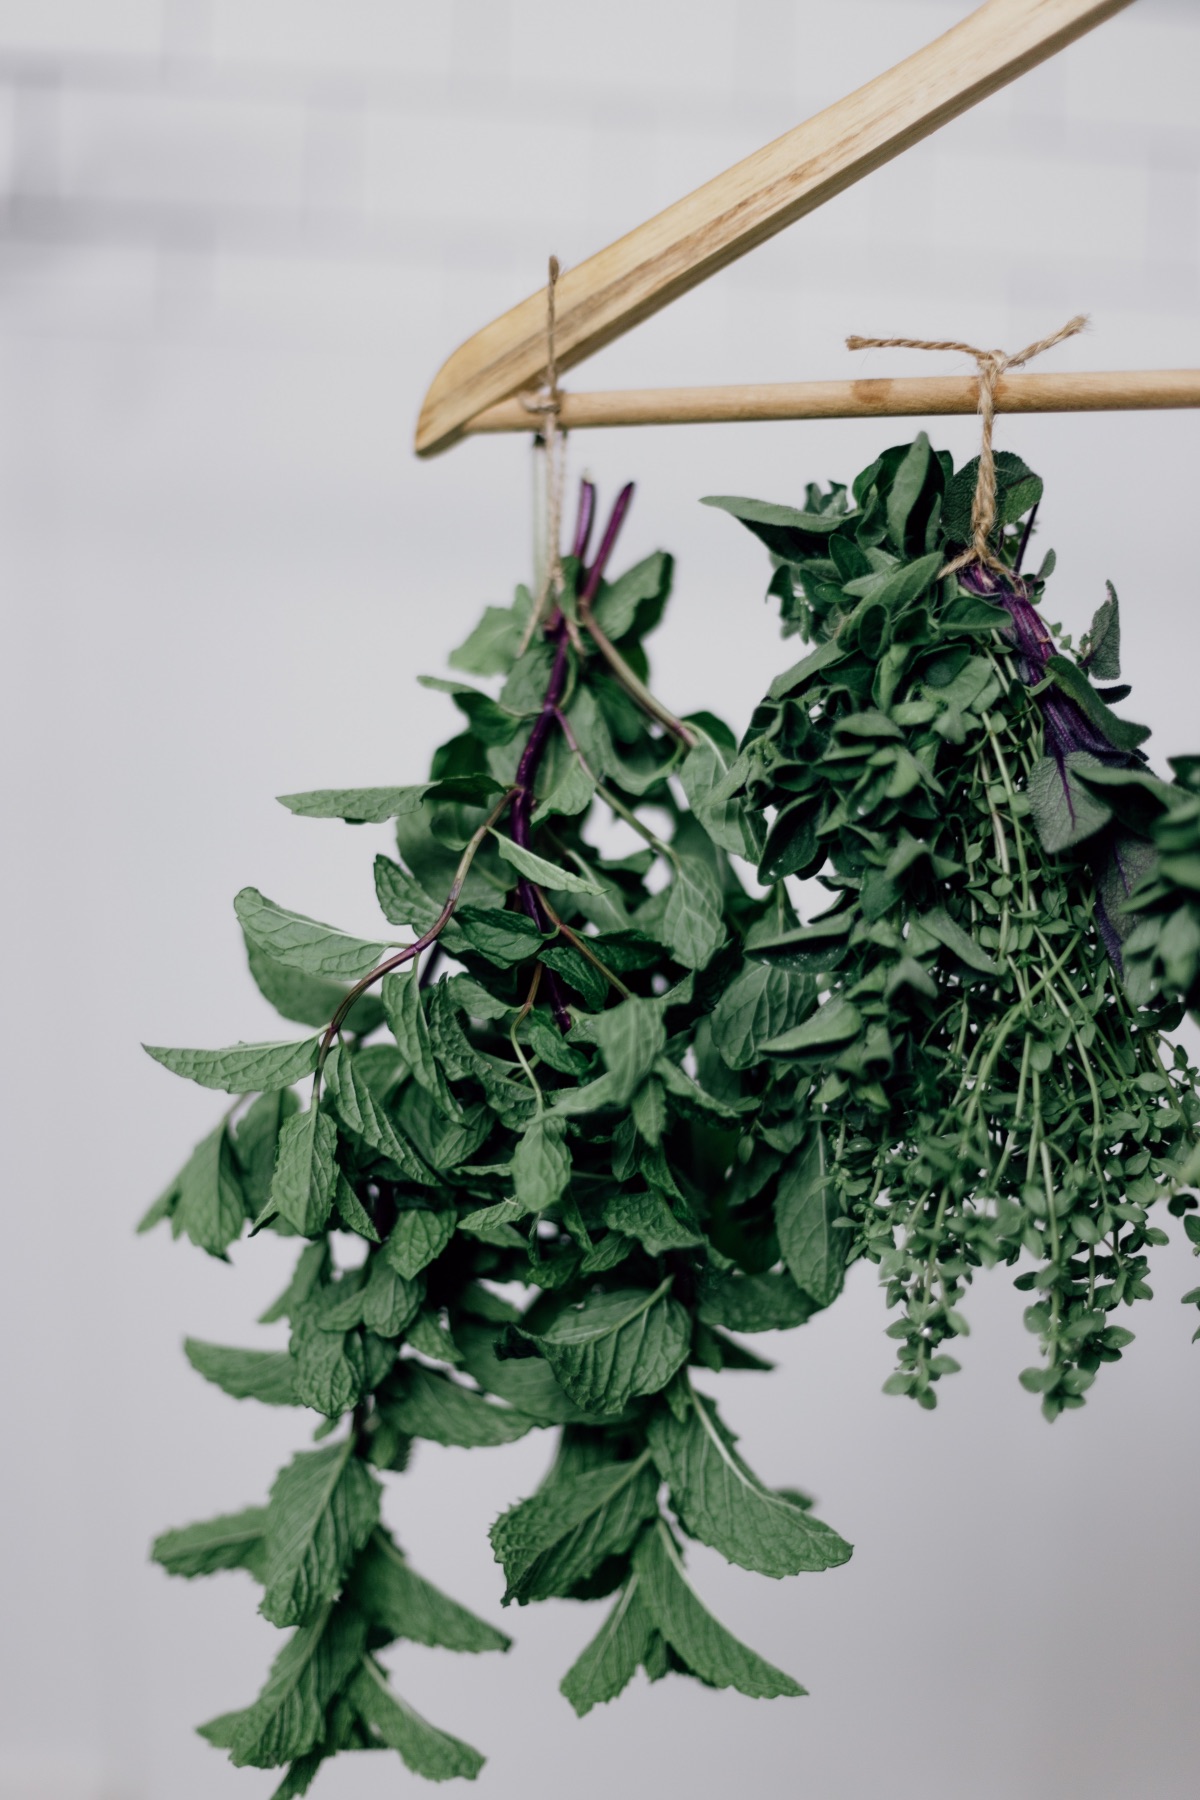
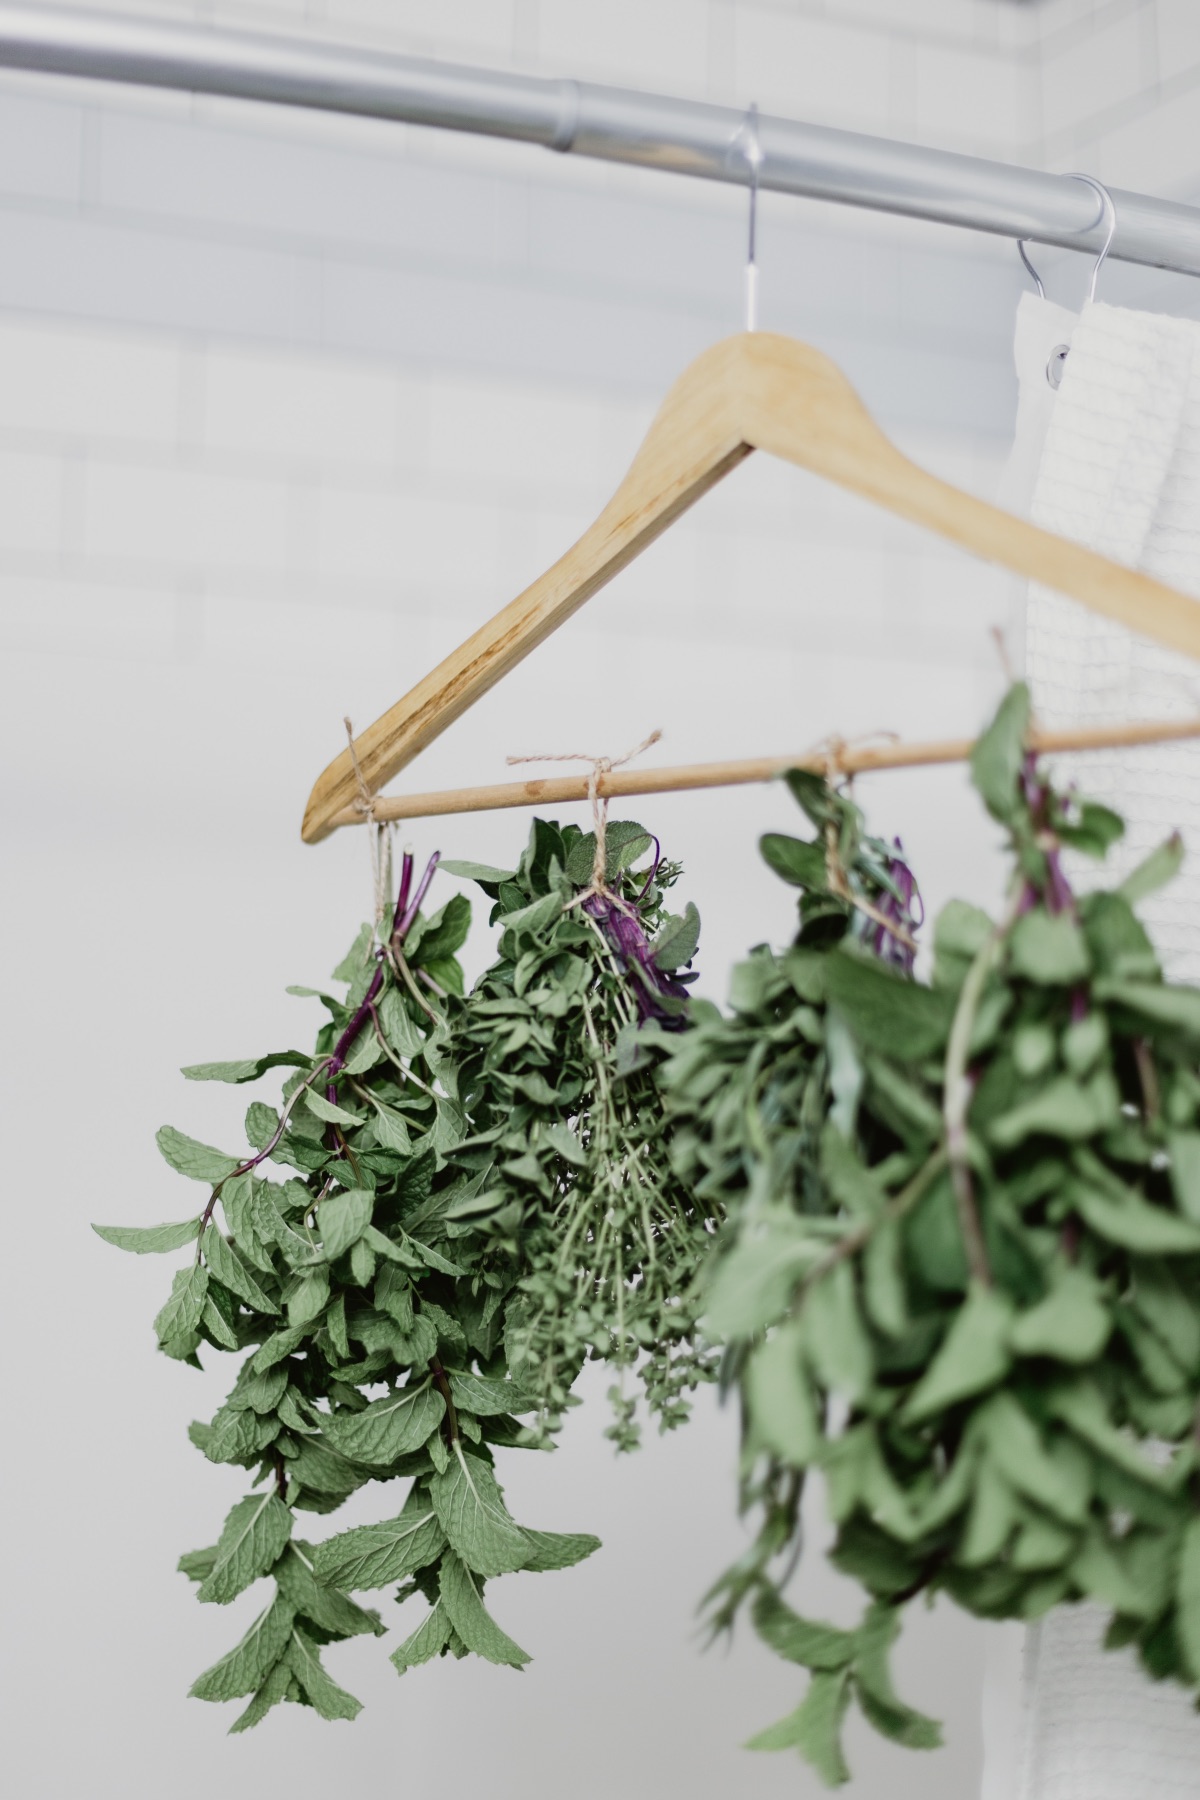
First, you can do exactly what you see in the photos here – take a piece of natural twine and gently and loosely wrap bundles of clean, dry herbs. Arrange the herbs into bundles with around 5 to 6 sprigs each. It can be any length of sprig, but it is best to align the cut ends together and hang the herbs downward from the cutting.
Then hang those herbs from your wall or from a hanger like I am using here. Place them in the corner of a clean room that gets good air circulation, and doesn’t have any direct sunlight. Let them hang for around 2 weeks or until the inside of the stems are dry.
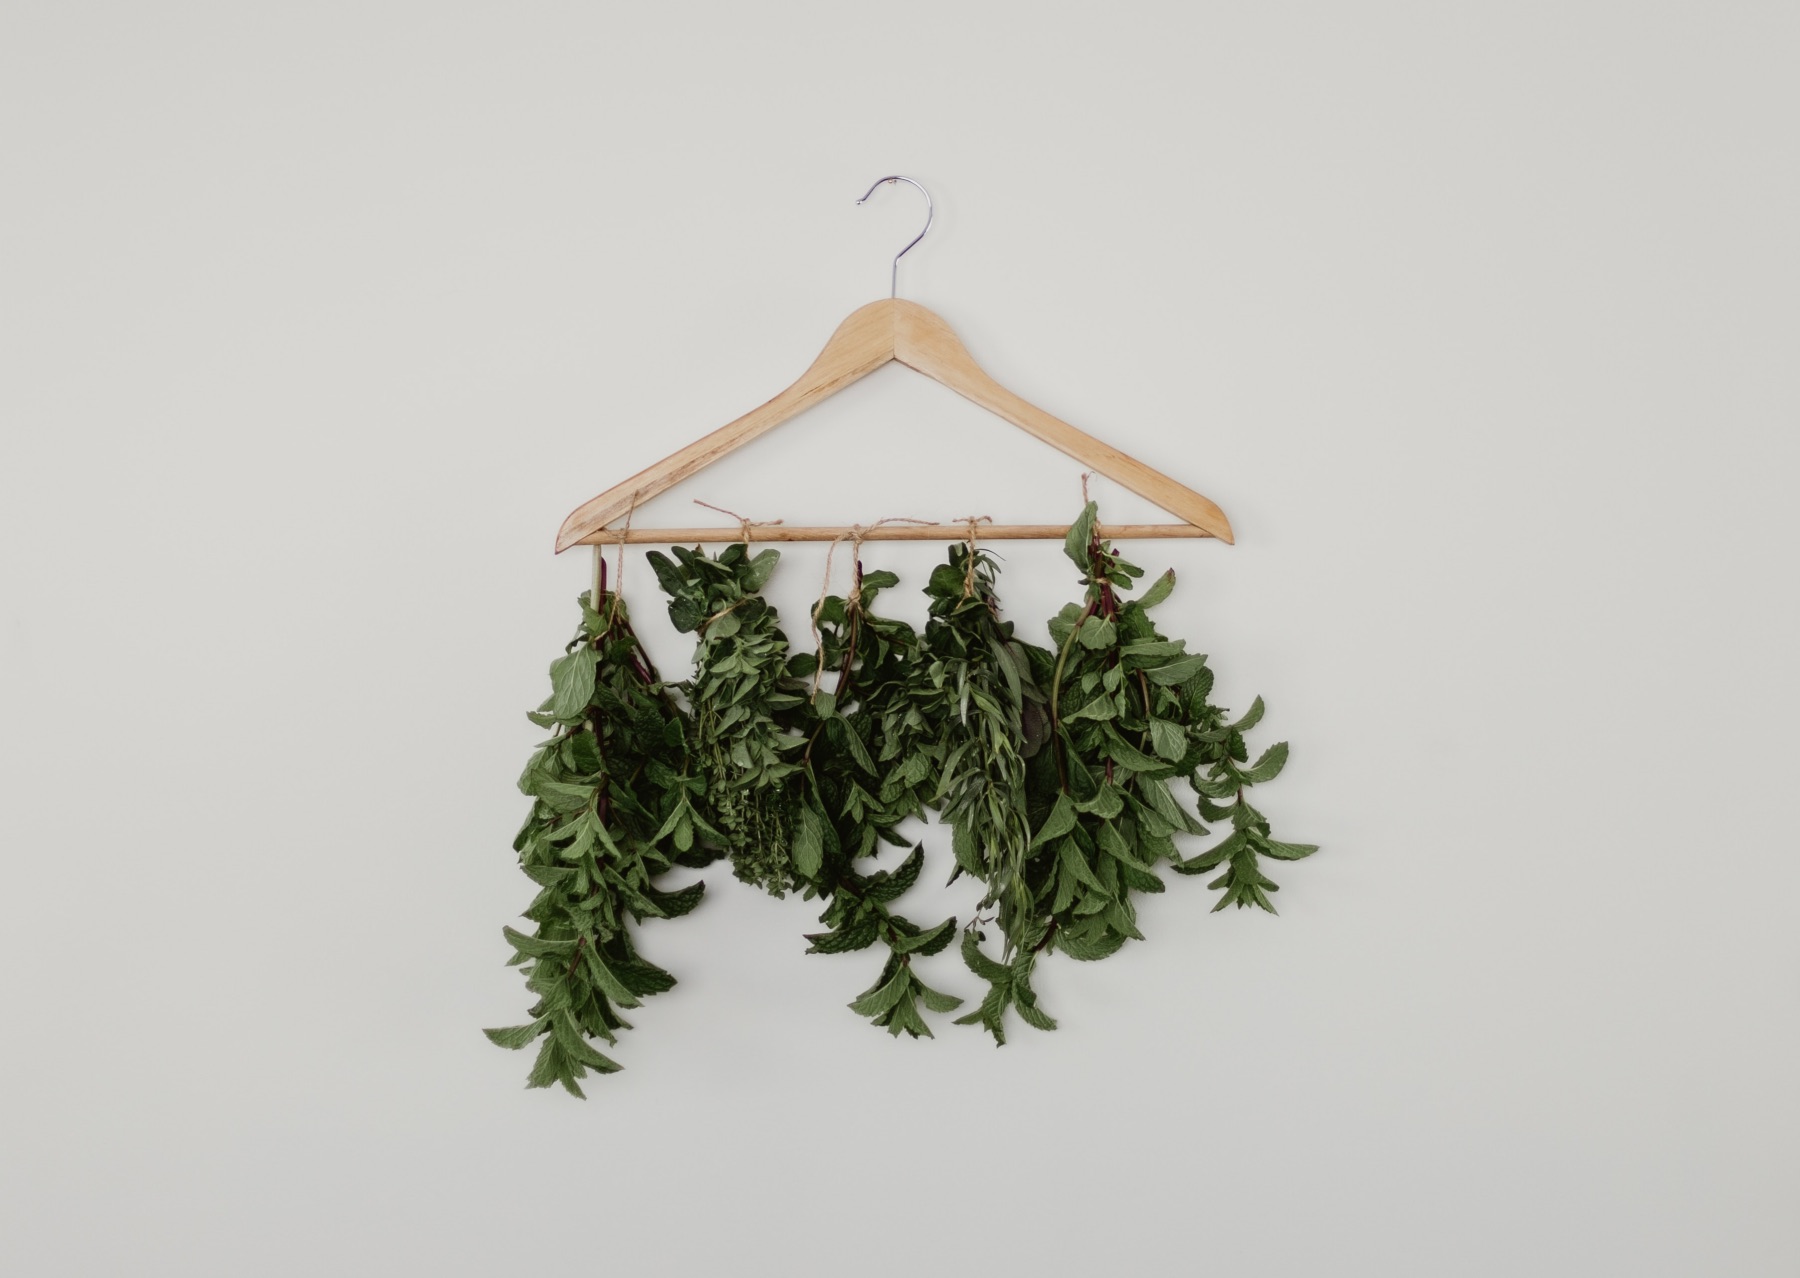
The other way you can air dry herbs is to place them on a screen like a cooling rack for baking. You may need to rotate or move your herbs around to expose all sides of the herbs to enough air flow. Let them rest on the screen for 2 weeks or until the inside of the stems are dry.
Some herbs are a better fit for air drying using these methods. Hearty herbs with woody stems like oregano, rosemary, lavender, bay leaves, tarragon, and sage are the best herbs to air dry. They have a lower moisture content than many other herbs, which allows them to dry easily on their own.
How to Dry Fresh Herbs in a Food Dehydrator
Just like with the air drying method, make sure to start with washed, clean herbs that are free from water droplets.
If you have a food dehydrator, it make include a recipe guide with specifics that differ from mine, but the tried and true temperature for drying herbs is 95°F or 35°C.
If you heat your herbs at a temperature much higher than this, you run the risk of browning or burning. This is why using an oven can be tricky. If you have a proofing oven, the place underneath your oven that is used for bread dough, that could work, just be sure to test the temperature before you use it.
A food dehydrator will take 6-10 hours and needs to be monitored during the drying process. You may need to rotate, flip and move your herbs around during the drying process to ensure that the herbs dry evenly.
Soft herbs that hold larger amounts of water, like basil, parsley, cilantro, chives, lovage, dill, and mint, dry much better in a food dehydrator and are not as easily air dried. This doesn’t mean you can’t try the air dry method, but they are more likely to mold because of its water content.
How to Know When Your Fresh Herbs are Fully Dry
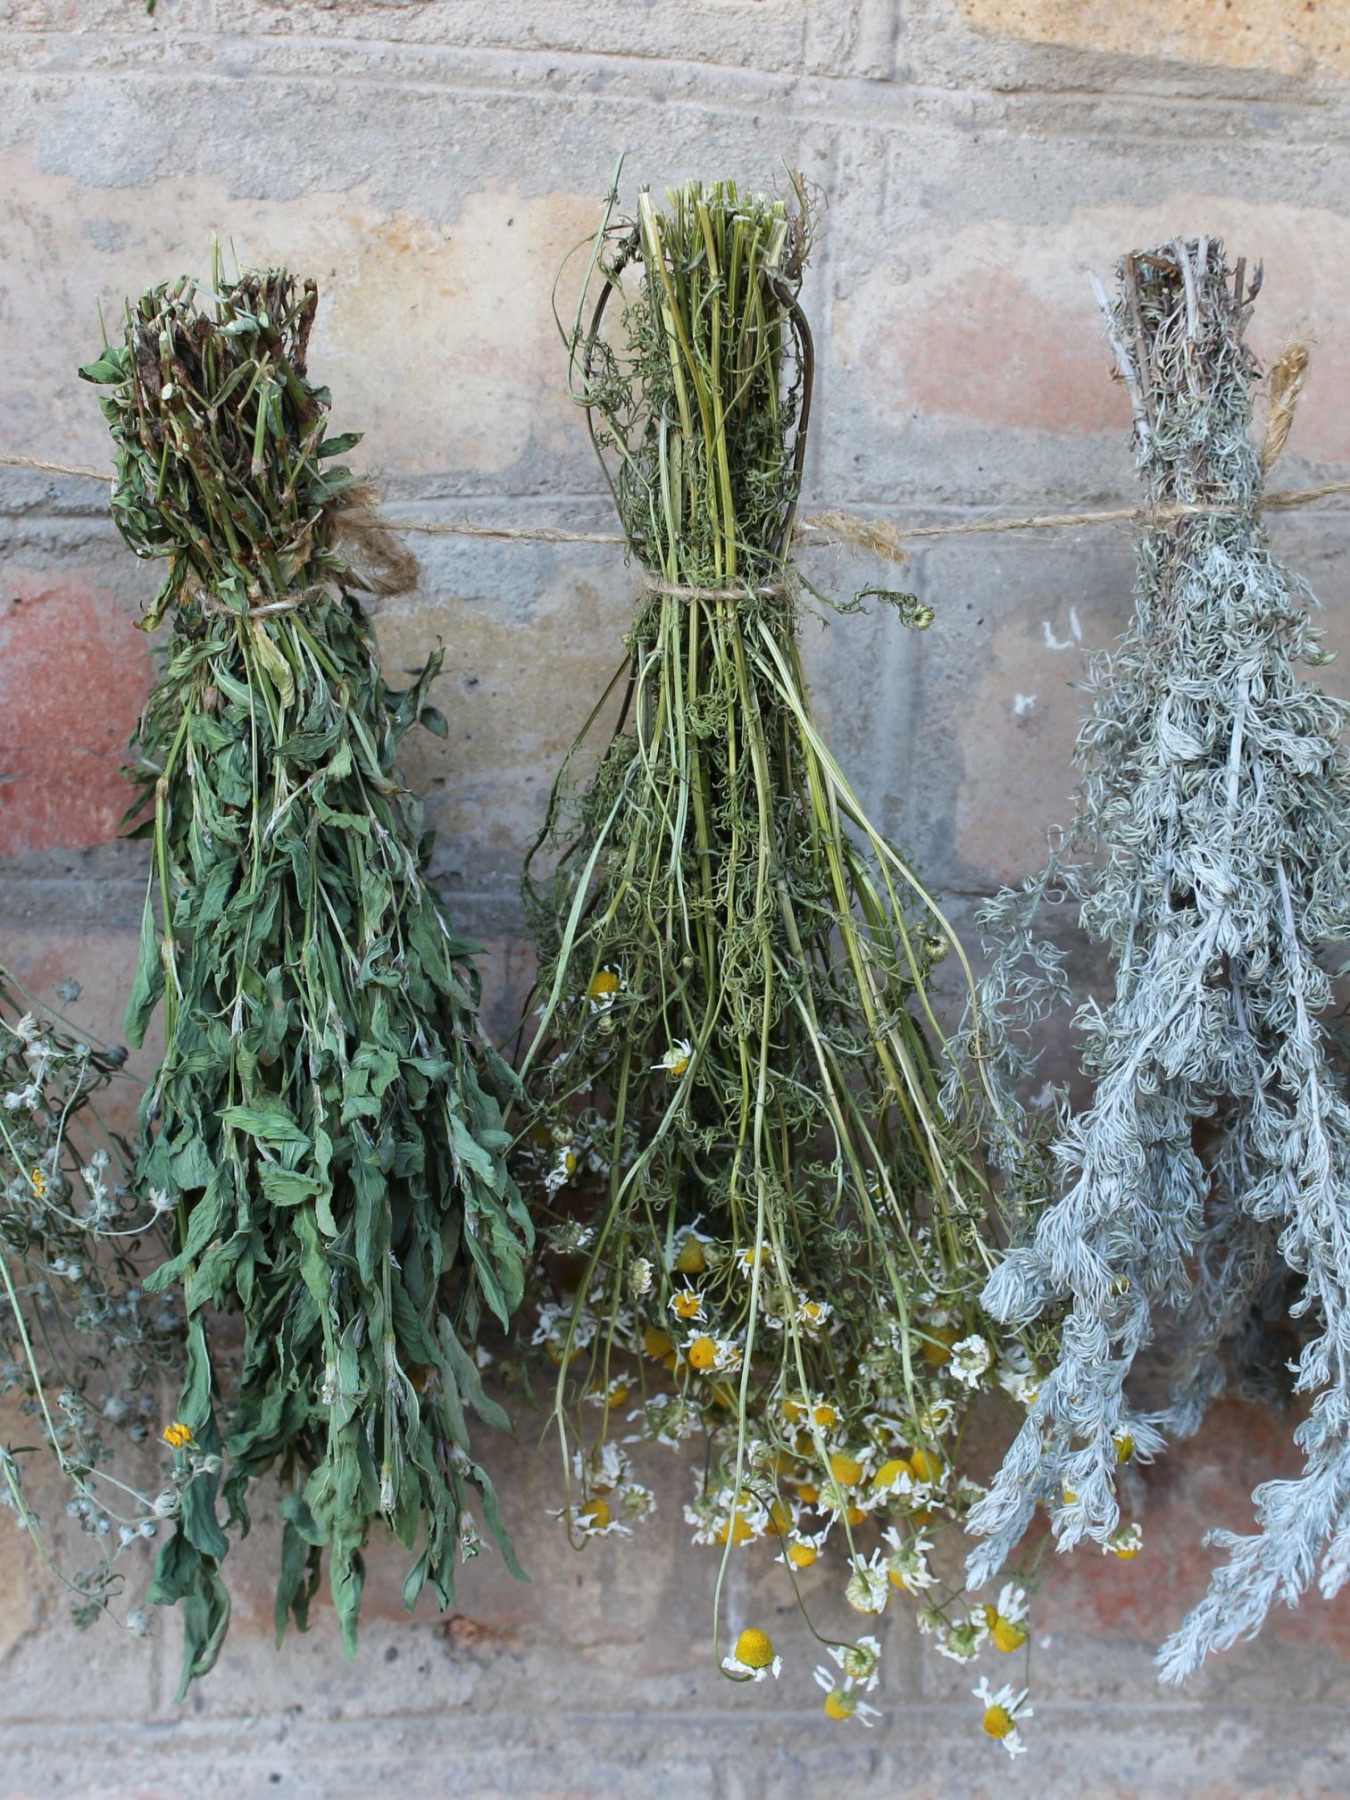
Your herbs are ready when they are totally crisp. You should be able to crumble them just by pressing them in between your fingers.
When you think your herbs are dry, you should always test them by cutting into the roots. If there is any moisture left in the roots, the herbs are not ready and you should continue the drying process.
How to Process & Store Homemade Dried Herbs
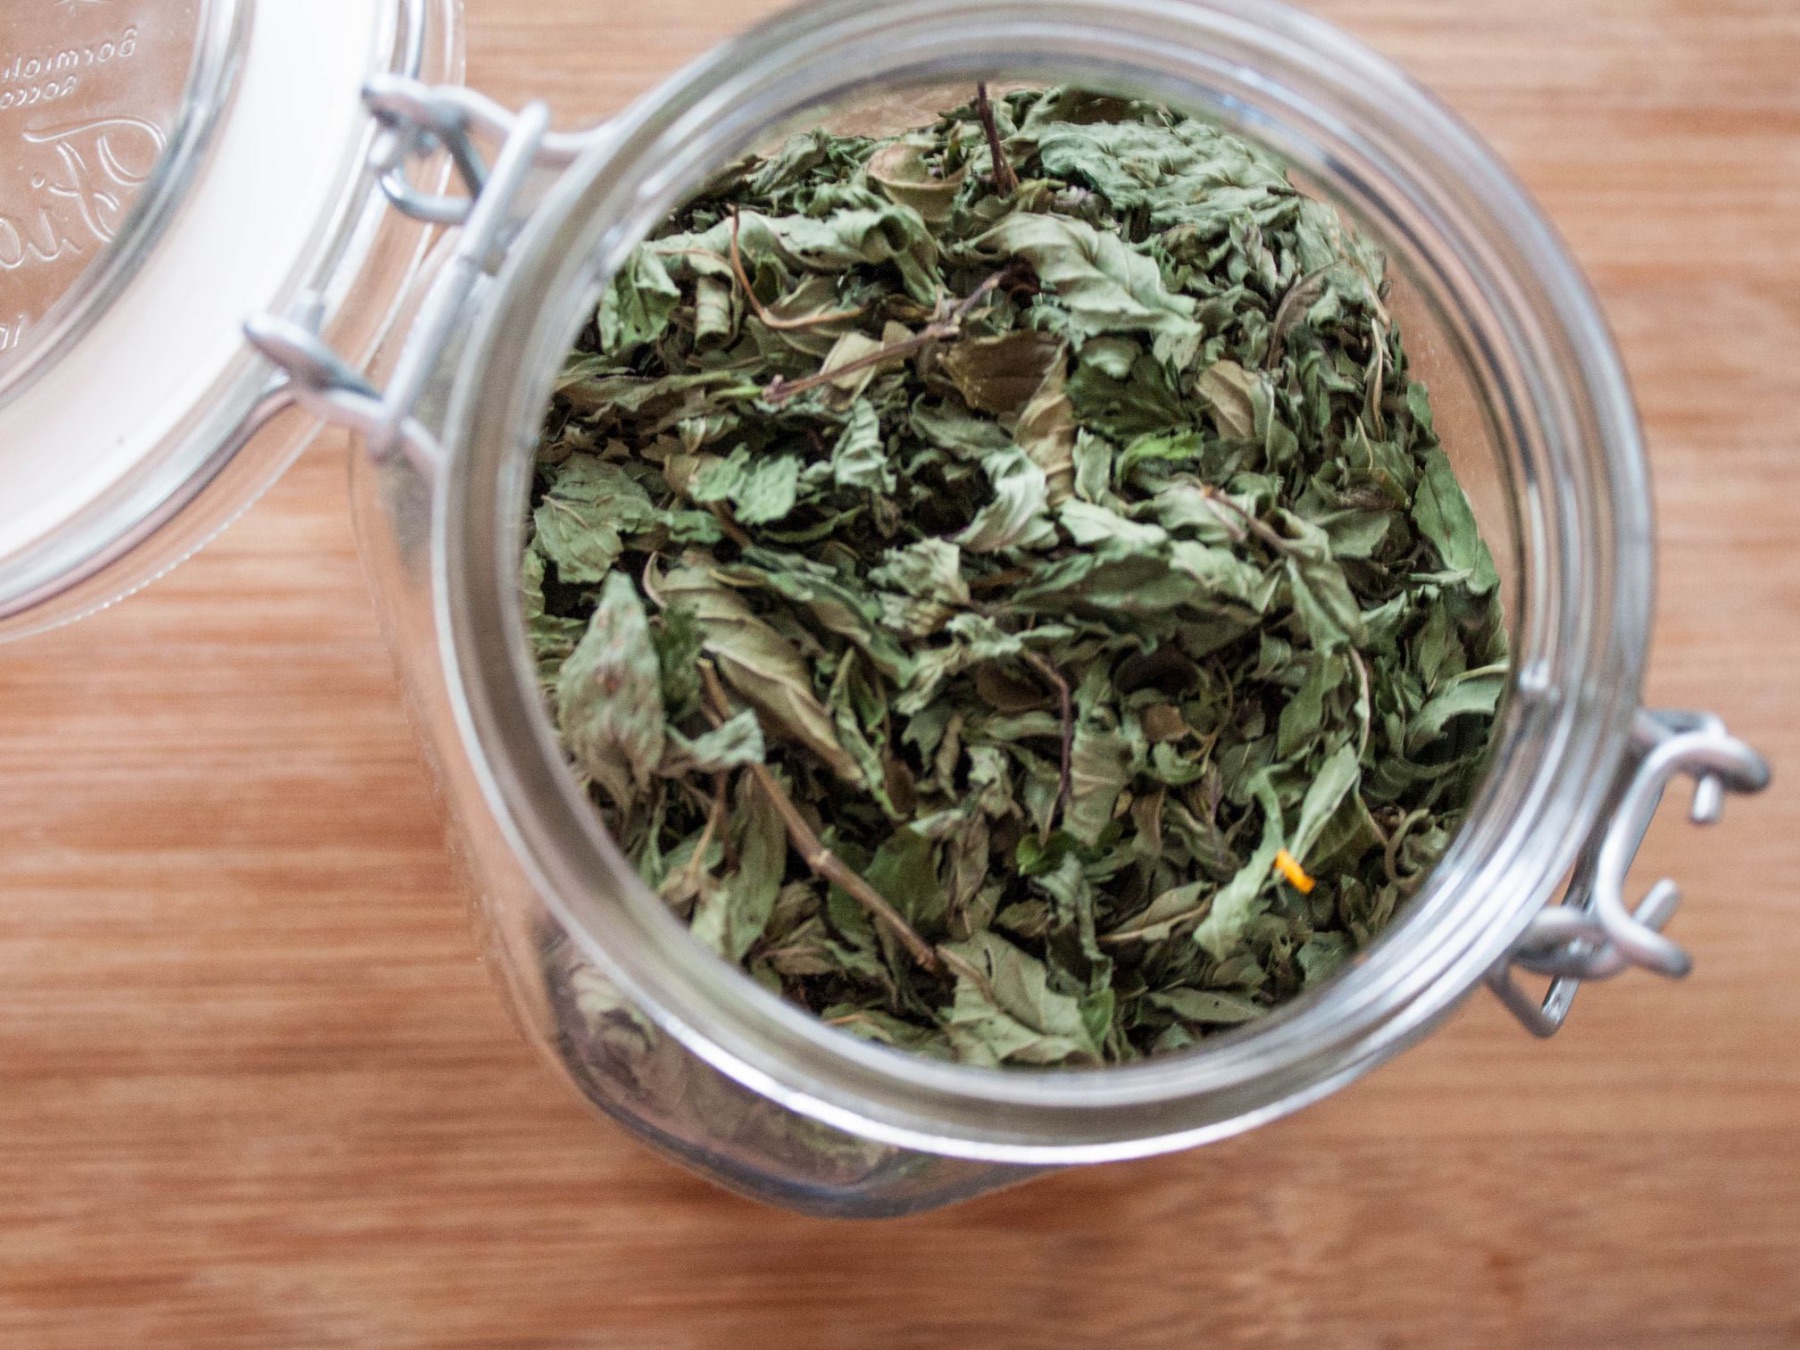
Once your herbs are dry, you can crush them, chop them, or keep them whole, depending on their intended use. Place them inside a jar with air tight lid. Glass is best, because it doesn’t leech or alter the scent. Plastic containers will make your herbs smell like plastic overtime and the herbs inside will not last as long.
Your dried herbs will last 6-12 months, and after that you may notice that the flavor starts to diminish. You can also store your homemade dried herbs in the freezer, which can help the flavor last longer.
So how are you going to use your dried herbs? Are you going to save them for a rainy day? Do you have a recipe in mind? Tell us in the comments and check out the tutorials below for herb-alicious recipes!
Let’s Stay Friends!
Insta | Pinterest | Enews | TikTok

Looking for something similar?