Craft in Style Subscription Instructions, DIY
How to Make a DIY Paper Lamp
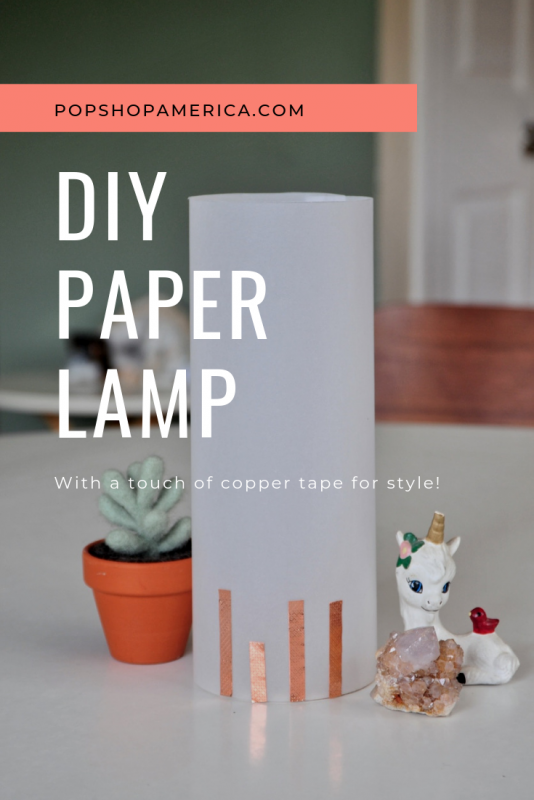
Now you know we didn’t learn how to make a simple circuit in a previous blog post for nothing! Now it’s time to use that circuit! We’re going to make a simple DIY Paper Lamp. This is a gorgeous and simple way to learn about circuits, electricity, and lamp construction and they happen to be really pretty.
This is all a part of the March 2019 Craft in Style Box. First we made a circuit. Now we are making a simple paper lamp. Next we will learn how to make a lamp with pressed flowers. And last we will create some other shapes with cutting and folding and then some simple origami. Sounds like a lot of fun, right? Here are the other tutorials for this kit.
Part 1: How to Make a Paper Circuit
Part 2: How to Make a Paper Lamp (this post)
Part 3: How to Make a Pressed Flower Paper Lamp
Part 4: DIY Mason Jar Lights
Part 5: Copper Wrapped Candles + Pressed Flower Candles
Part 6: Copper Tape + Pressed Flower Matches
So let’s get started.
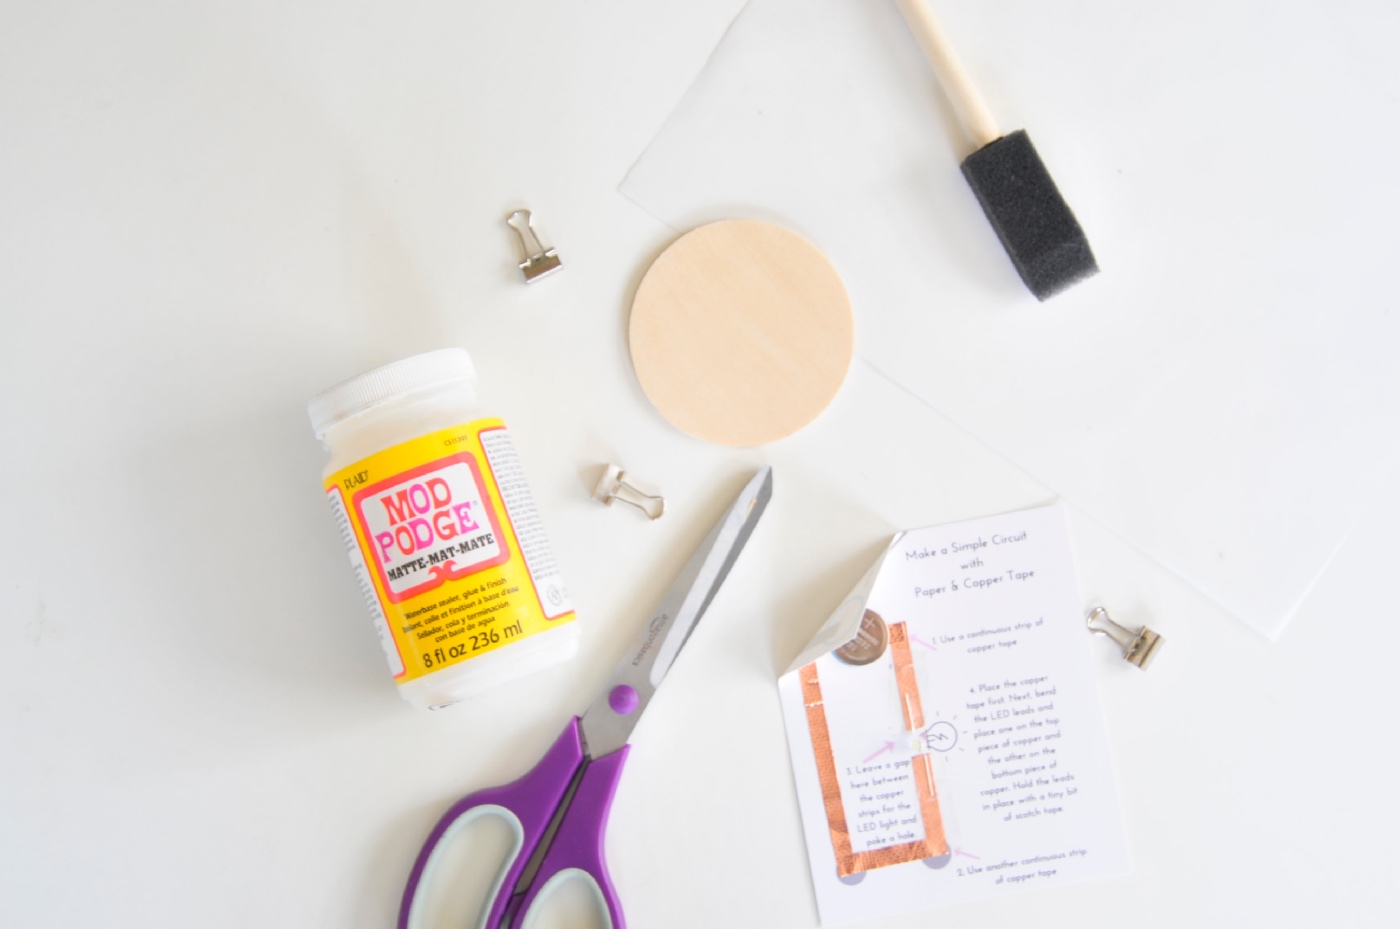
Supplies to Make a DIY Paper Lamp
March 2019 Craft in Style Subscription Box
-or-
A Simple Circuit with a Light (or a Tea light Candle, or a Mini String Light)
10.5 Inch x 8 Inch Piece of Vellum Paper
A 3 Inch Wood Round
A 3 Inch Rustic Style Wood Round
A Tiny Touch of Mod Podge
A Foam Brush
Optional: Binder Clips & Copper Tape
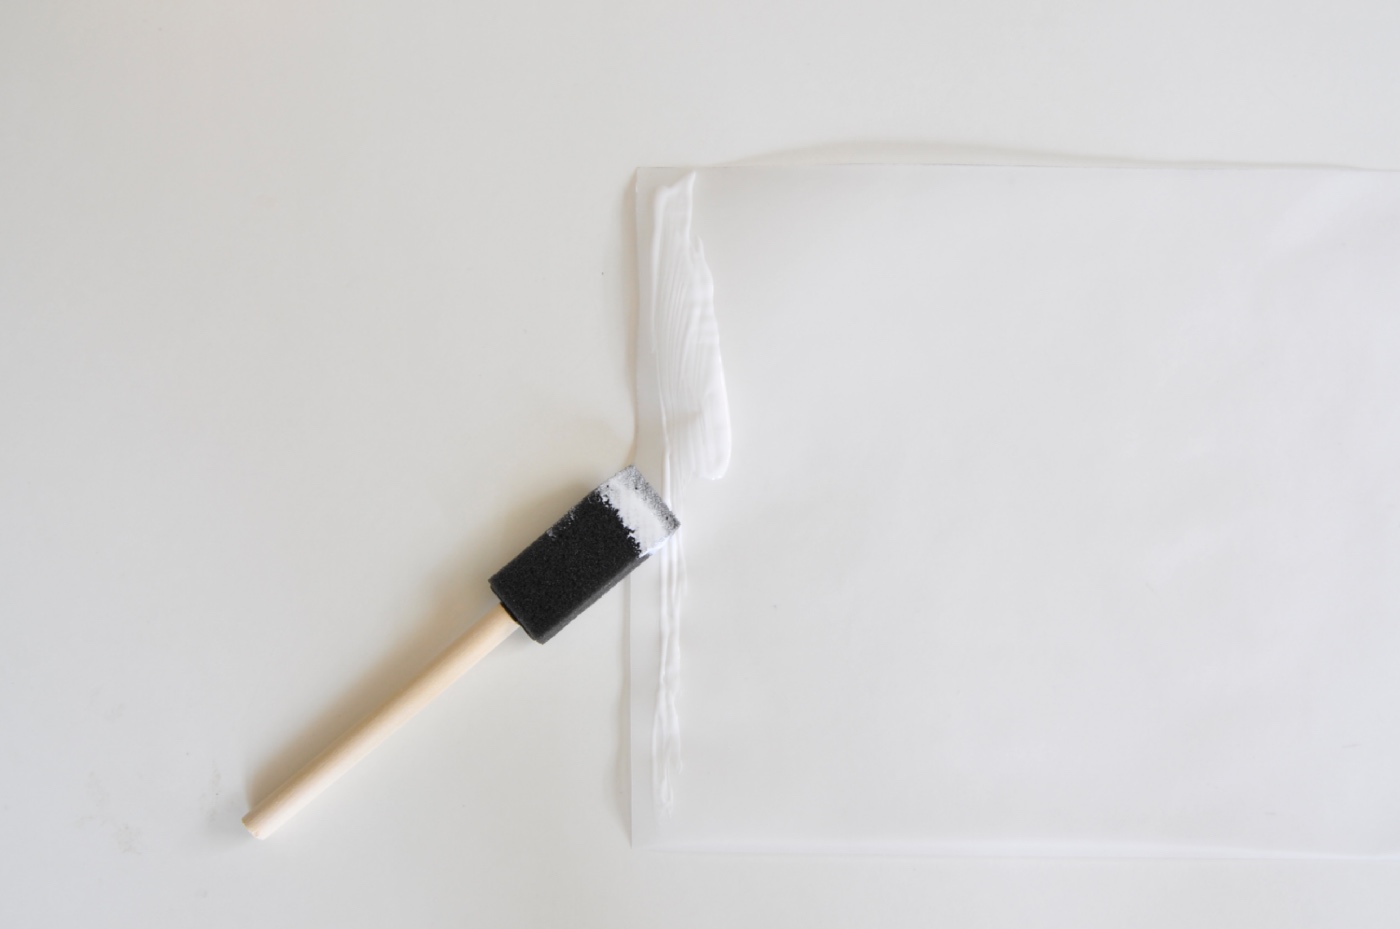
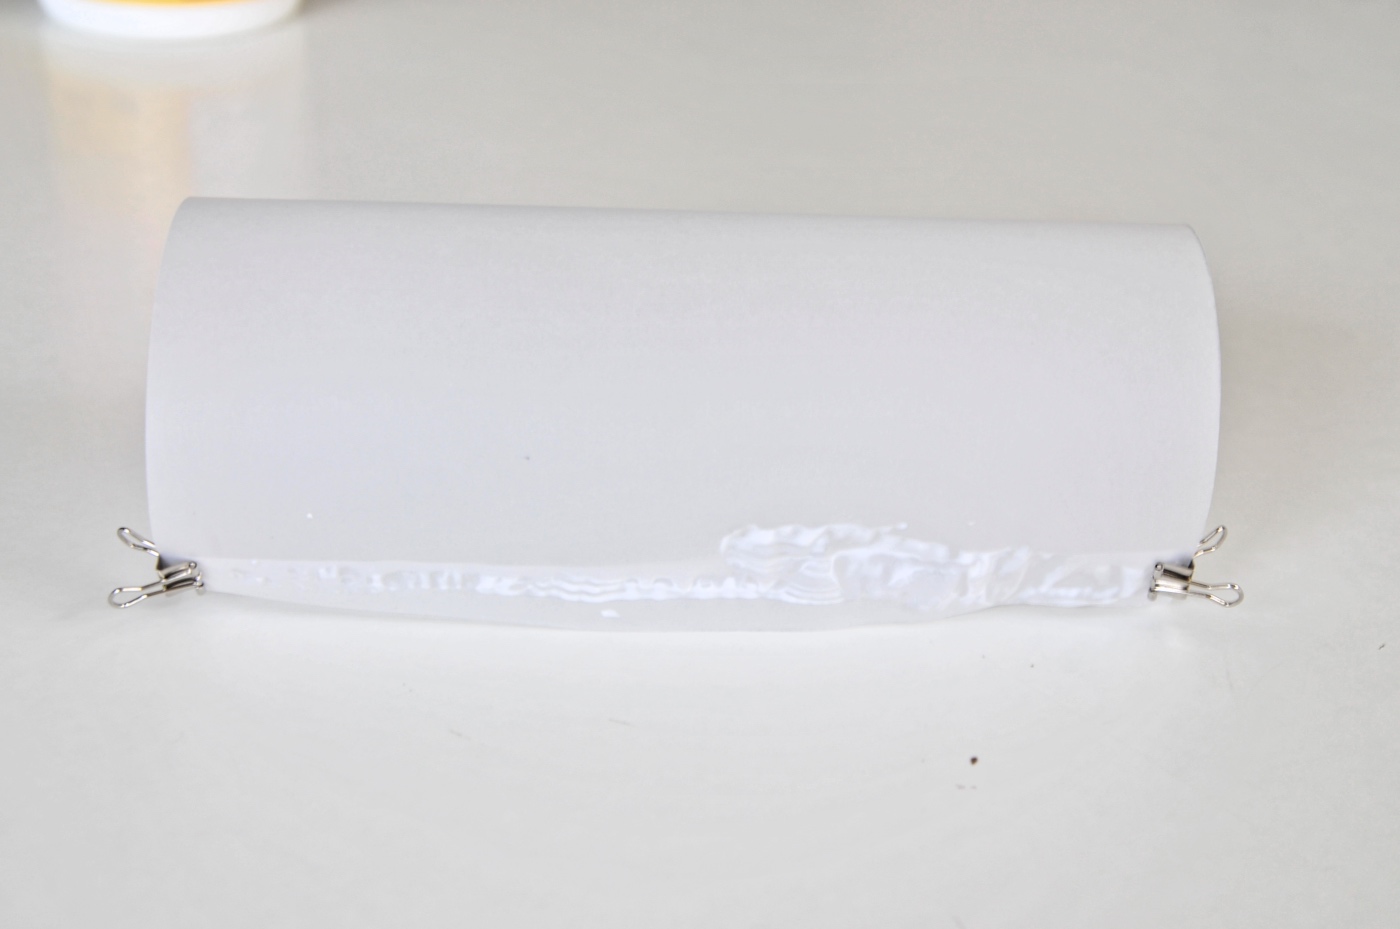
First start with attaching the long edge of the vellum to the other side and creating a cylinder. Don’t be like me!!!!!!! I accidentally used wayyyyyy too much glue. Just use a drop on each end and a tiny drop in the center.
Sometimes it’s good to own these little mistakes since that’s part of the joy of crafting and that way you can see what not to do!
You will want to make sure all your edges line up perfectly while your glue is still wet. Lining up your edges will be the difference between a lamp that stands up tall and one that leans. It will be difference it it looking professional and gorgeous or looking totally DIY. So carefully move your edges where there is glue to line up perfectly.
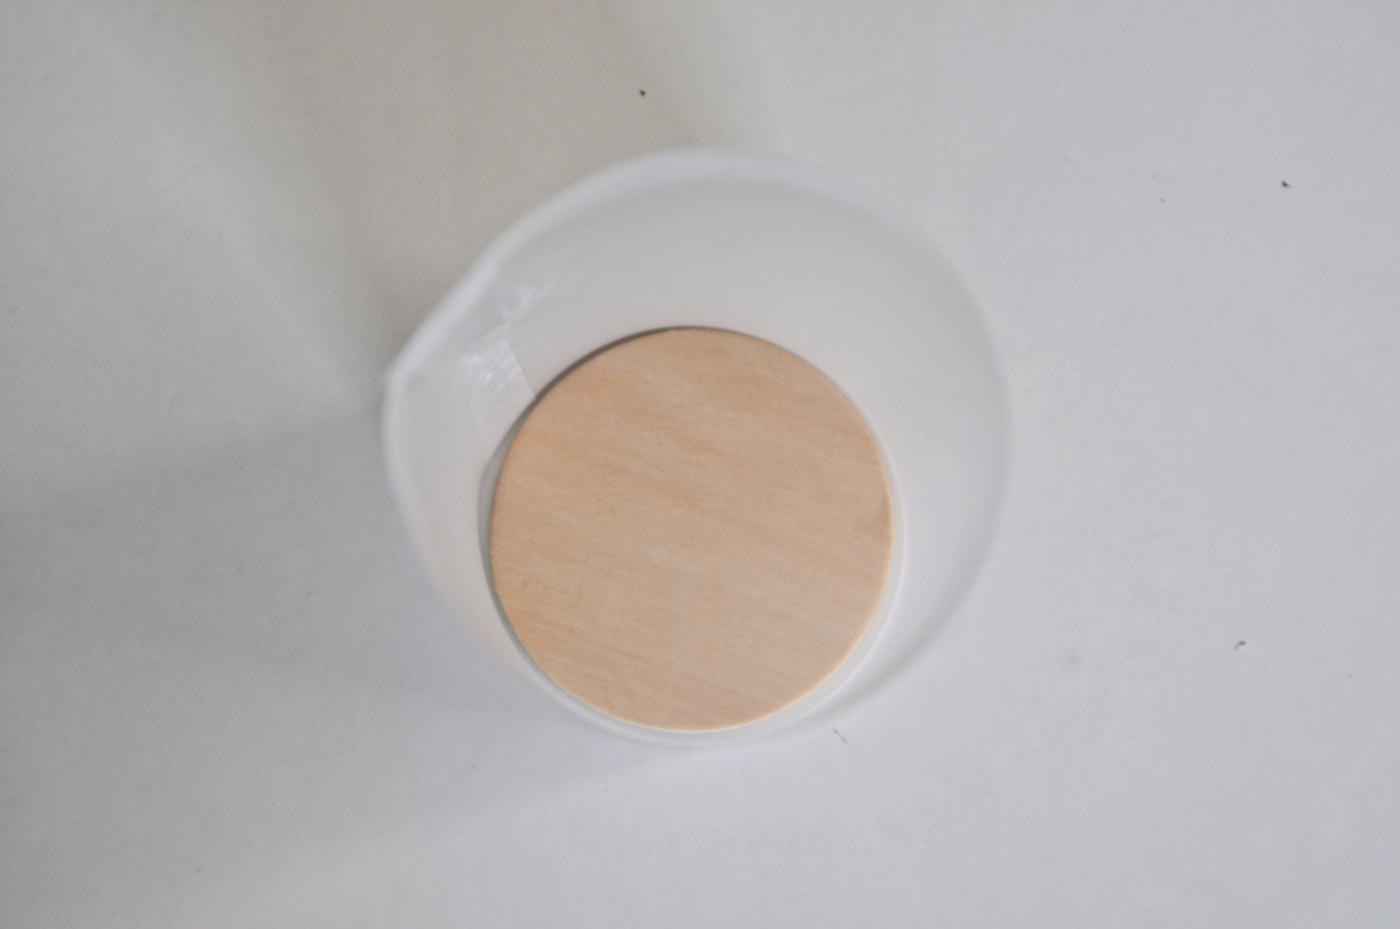
Before your glue sets, you will also want to take your plain wood round (the one that has perfectly even edges) and make sure it will fit perfectly inside because we will glue that next.
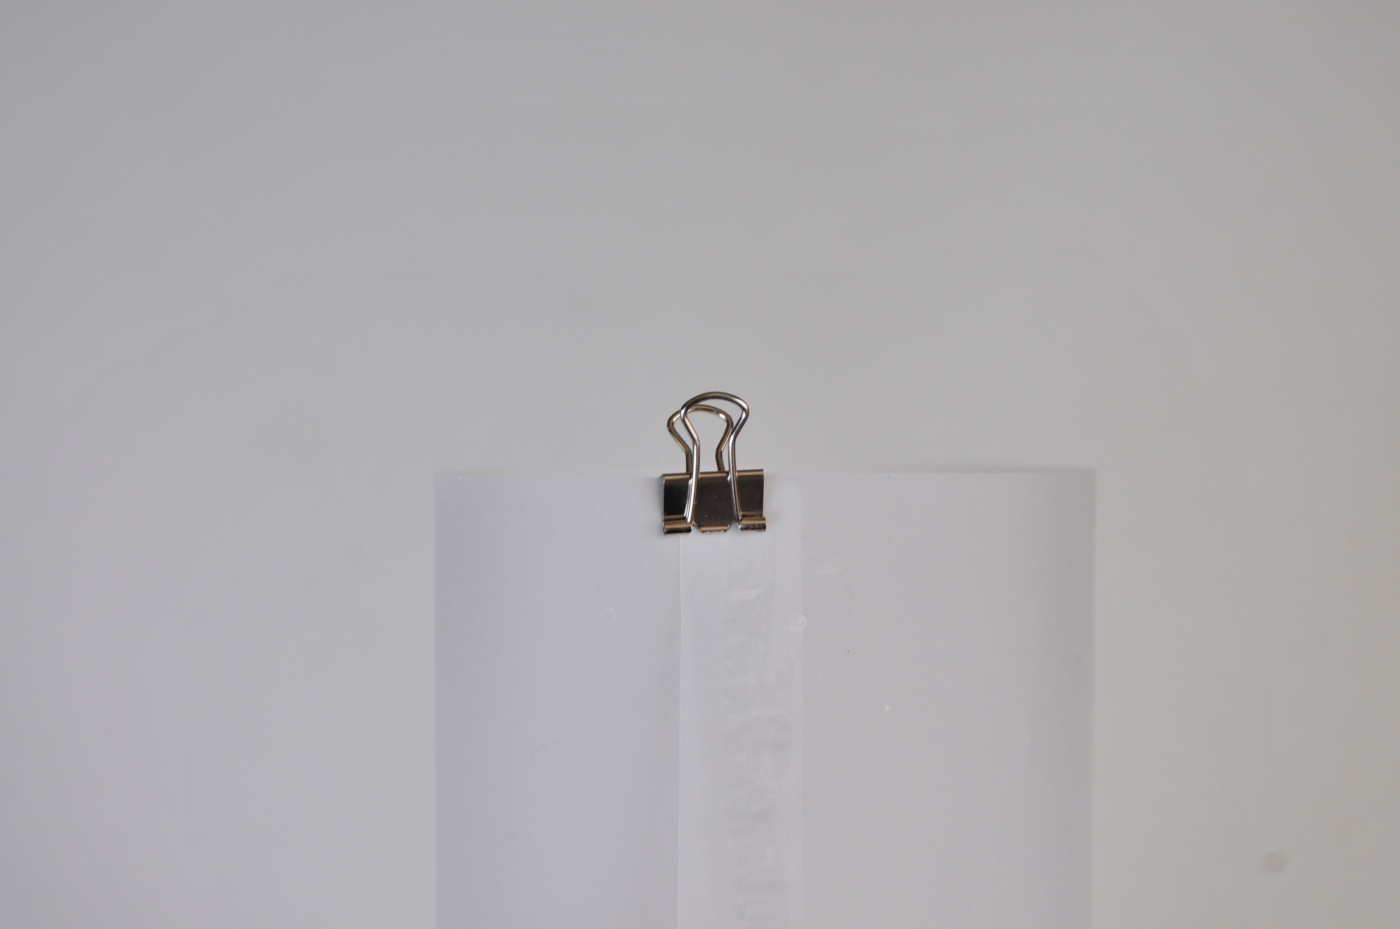
Follow the edges of the vellum paper all the way to both sides, where they are connected, to ensure that it’s even. Once everything is looking good, use your binder clips to help hold your edges in place. Mod podge dries quickly so it won’t take too long!
Now using just a tiny dot of mod podge, glue the wood round to the bottom of the vellum cylinder. Again, you will want to be sure that your vellum cylinder will stand upright and that your wood base will lay flat on your surface. Once you feel good about the positioning, allow the glue to dry.
If you choose to, you can adhere to the rustic wood circle to your plain wood circle and give yourself a gorgeous wooden base. I will update these photos to show you shortly! But for now, you will just have to imagine it . . . or create it for yourself and see!
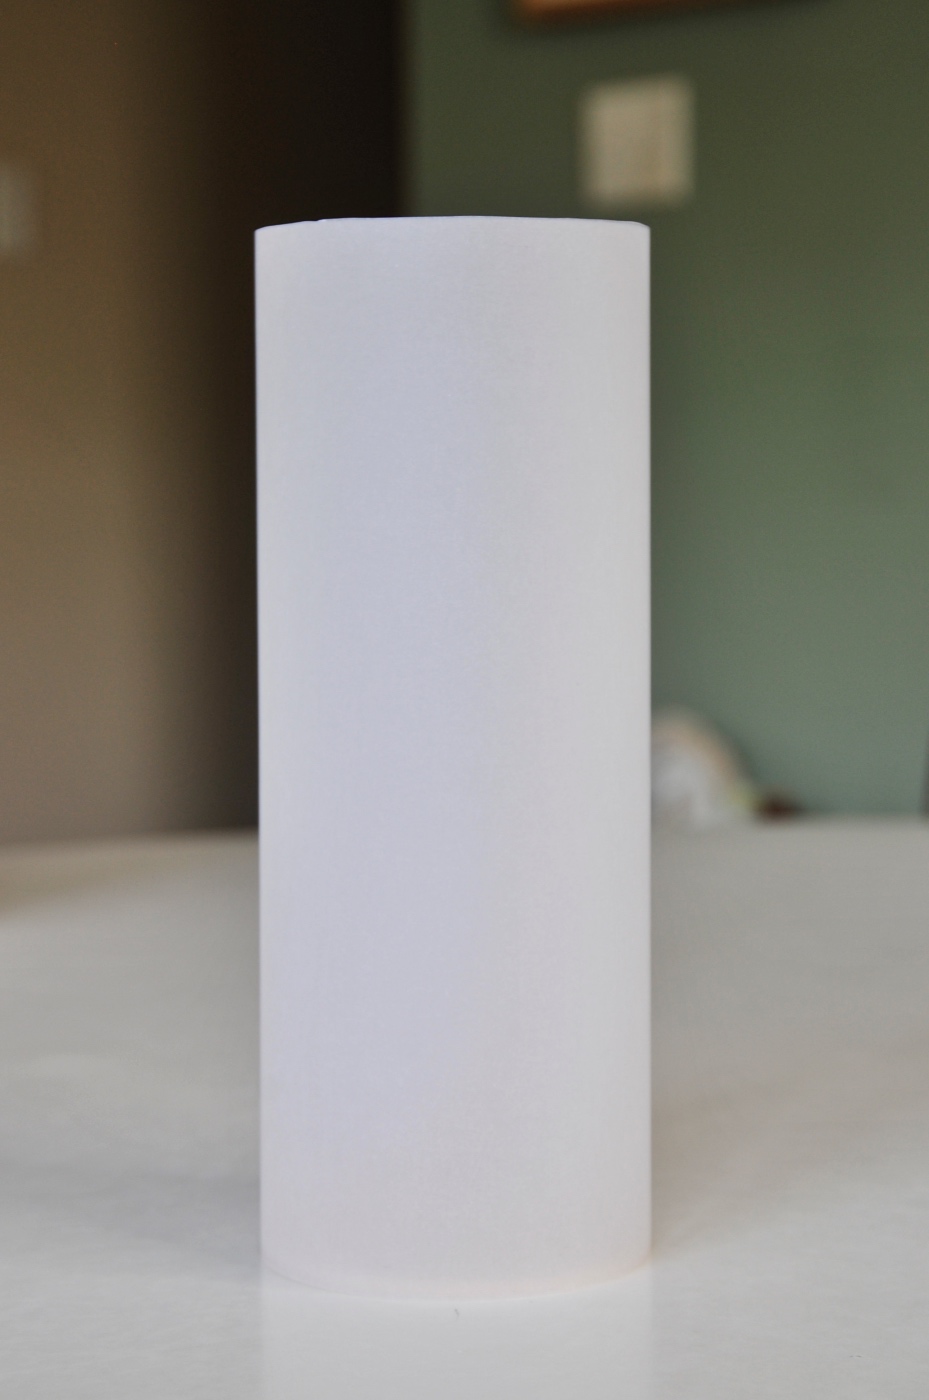
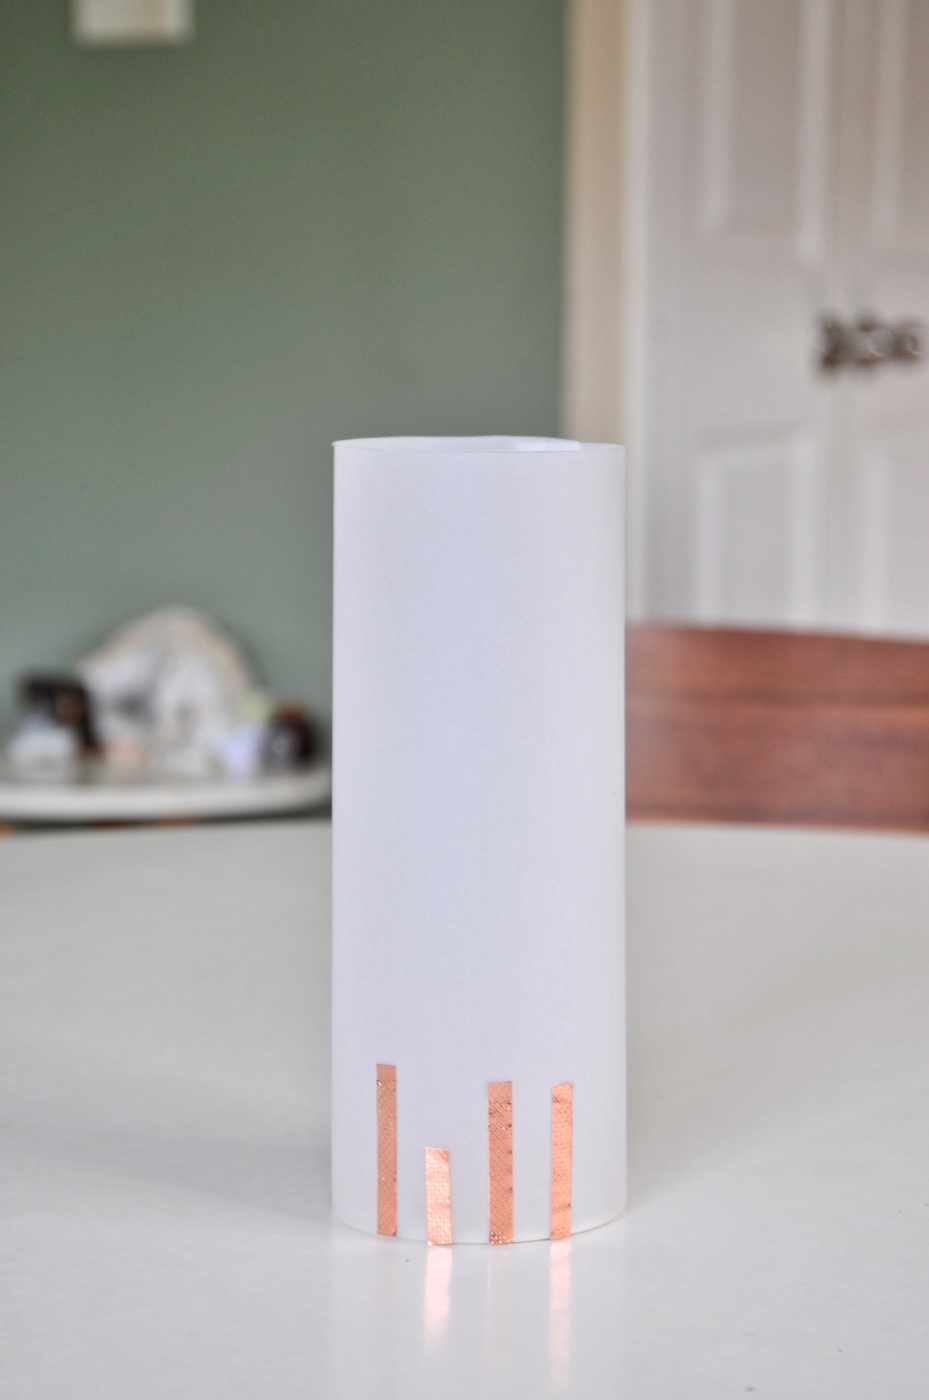
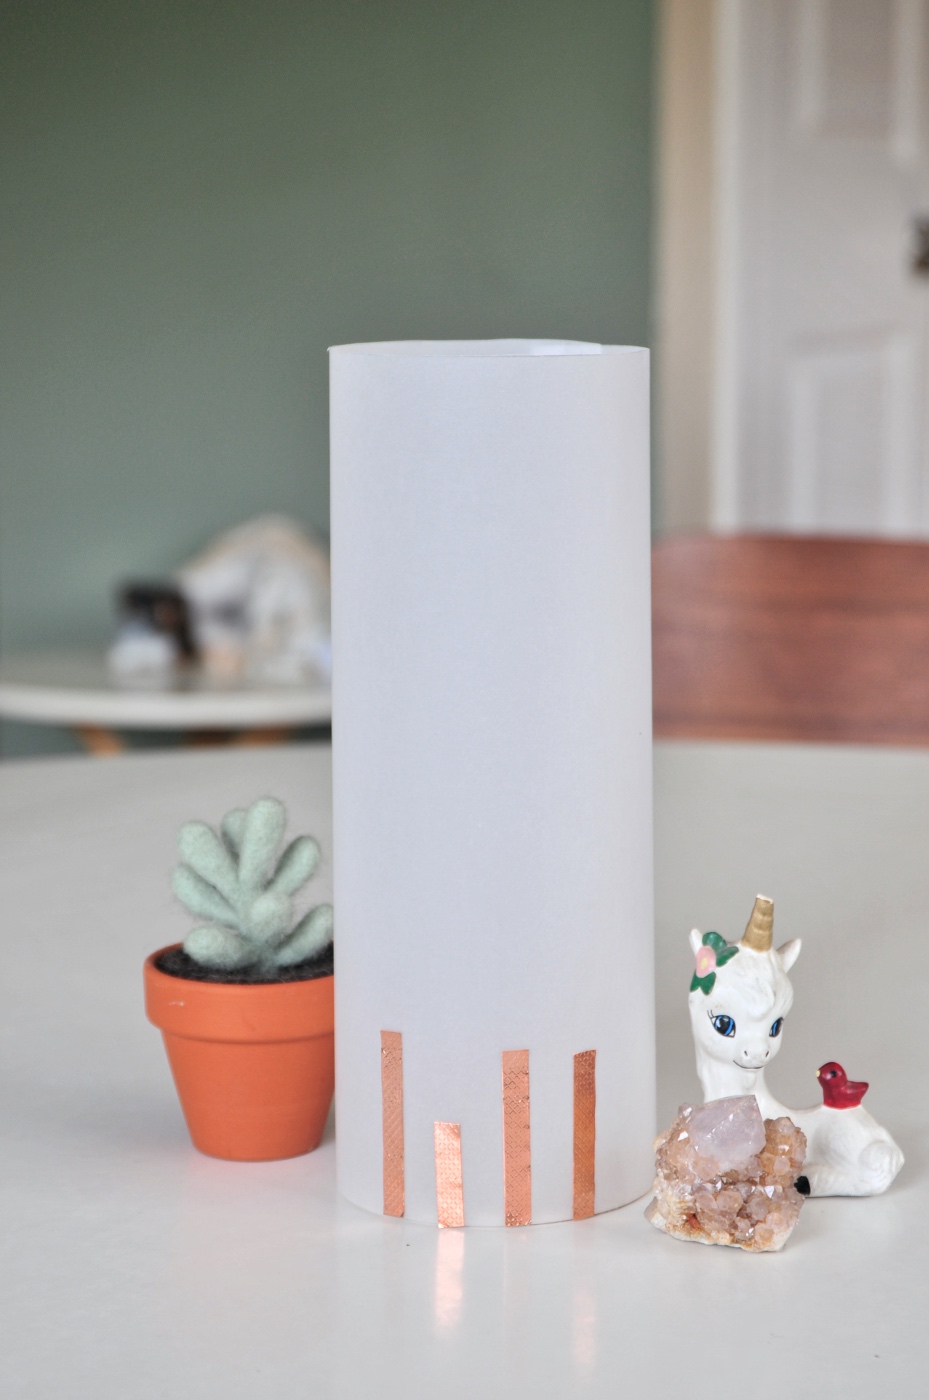
Now your vellum cylinder can stand up all on it’s own! So you only need to do a couple of things to complete your DIY Paper Lamp! First, if you want to decorate it, now is the time. I used pieces of copper tape in a stripe pattern to the outside. But you can get creative. Copper tape has a gorgeous texture so it’s a real treat to style with. There are no wrong ways to style it, so just have fun!
Remember in our next tutorial we will show you how to make a Pressed Flower Lamp so stay tuned.
Last, you will want to add your light source. If you are working from the March 2019 Craft in Style Box, we have given you 3 options: tea light candles, a mini string light, and last a simple circuit that you can create! Any of those light sources will put this gorgeous DIY Lamp to use. Just remember to be careful if you are using a candle!
Let’s Stay Friends!
Insta | Pinterest | Enews | TikTok


This is such a great idea! I love anything DIY and you make the steps so crystal clear