
DIY
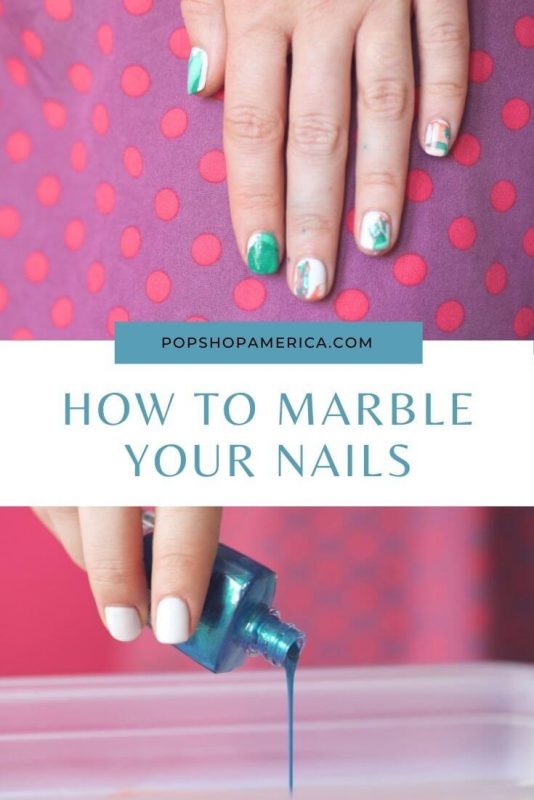
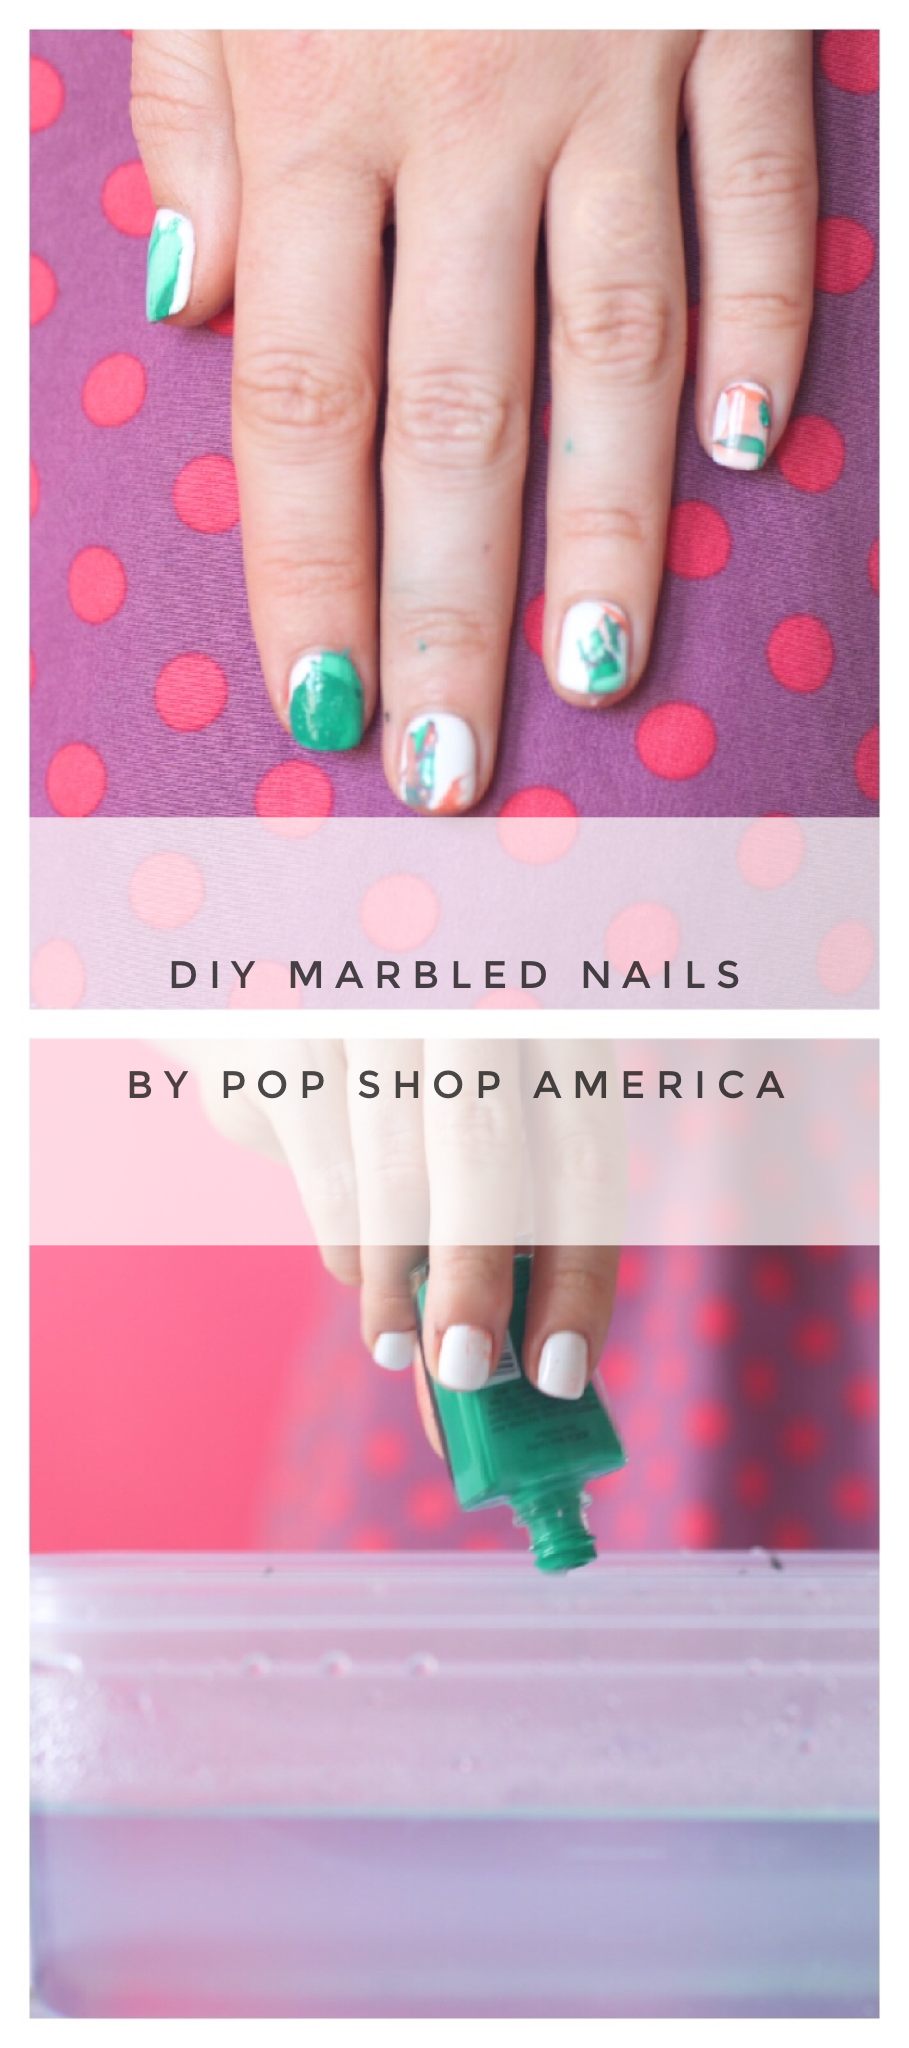
How to Marble Your Nails – Nail Art by Pop Shop America
Aug
If you are looking for gorgeous pops of color and swirls of color on your fingernails, you must try this super easy DIY Nail Polish Marbling. It’s so fun! You can marble your nails in any color. It doesn’t take any longer to dry than regular nail polish!
Also, you only need a couple of extra supplies. I bet you already have the supplies too. So let’s get started Marbling Your Fingernails!
Supplies to Marble Your Nails:
A Disposable Container that is Large Enough to Dip Your Nails In
Warm/Hot Water
Thin Painters Tape
Nail Polish (High End Nail Polish Works Best)
Nail Polish Remover
I started with a coat of stark white nail polish already on my nails, so that you could really see the color swirls! Whenever you pick out what colors you want to swirl, consider how they are all going to look together and build a color palette. More than 1 color is especially fun. I swirled 3 different colors on top of the white.
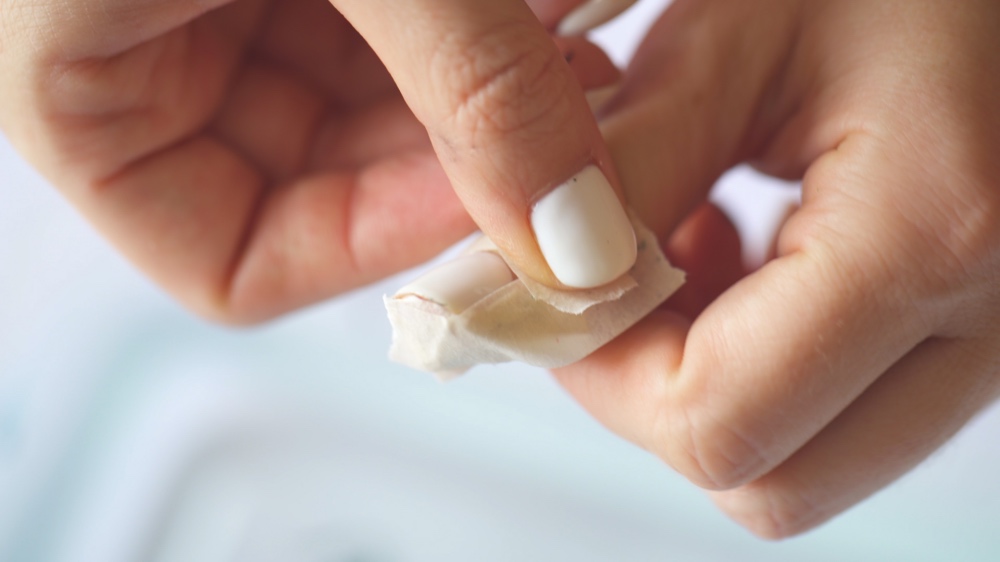
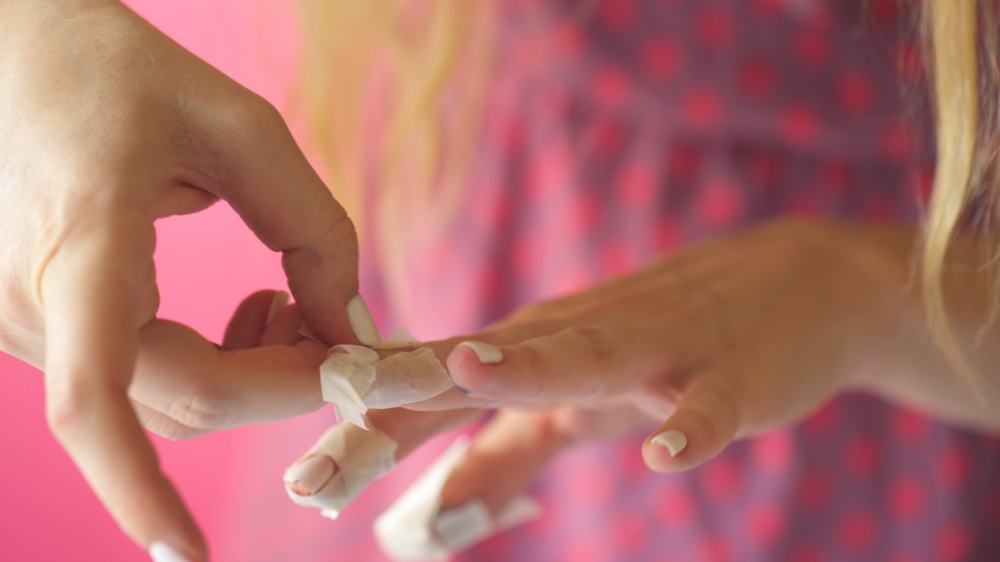
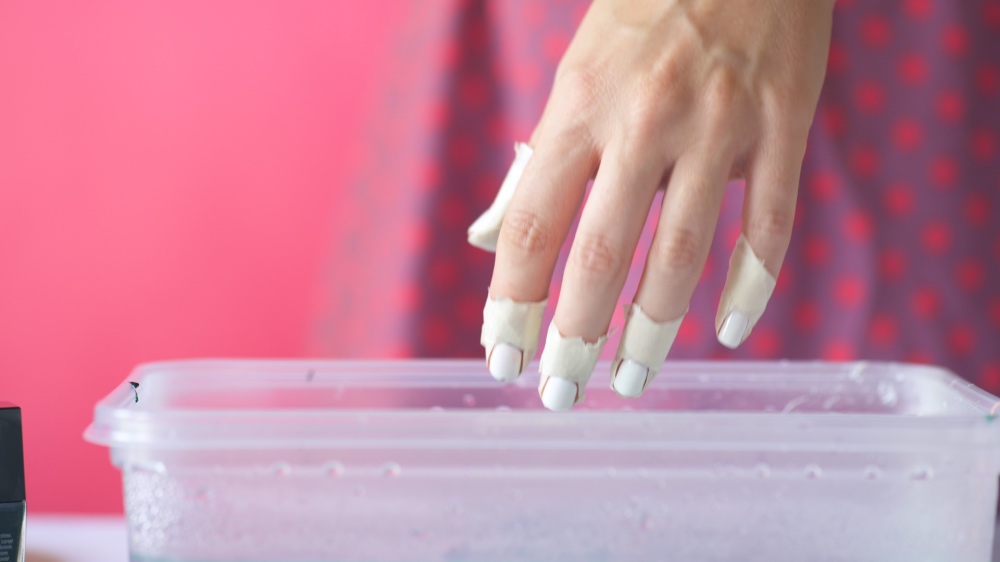
Once you have your colors picked out, start by lining your fingers around your fingernails with tape. I used painters tape because it’s easy to peel and sticks well. This takes a few minutes and will leave you looking like you had some kind of weird finger surgery! It’s not the most attractive look.
But try your best to place the tape as close to the edge of your nails as possible. And do this for every single fingernail that you want to swirl.
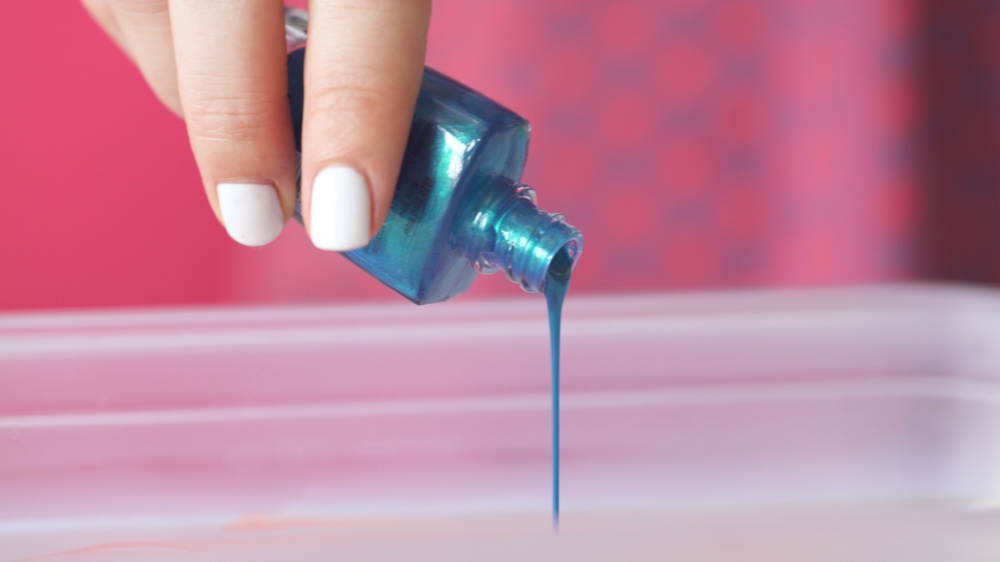
Next, fill your container with water that is between warm and hot. Not lukewarm. But not boiling either.
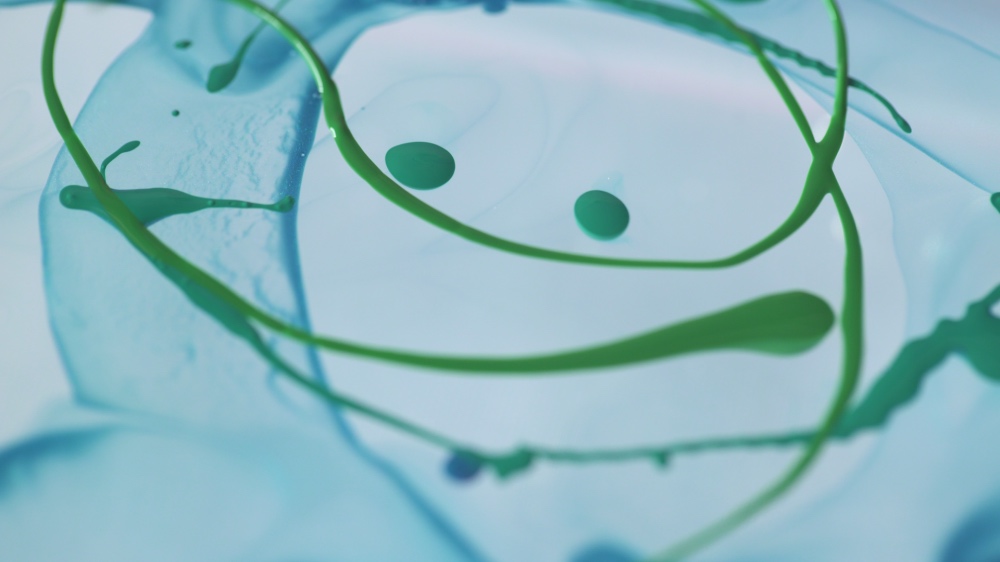
Stream your nail polish across the surface of the water. Most of the nail polish will separate on it’s own, like the blue in the image below. But you may want to use a toothpick to break it up more. This is where the quality of your nail polish will come into play, I used some really cheap stuff for this tutorial and it didn’t break apart as well as more expensive brands. But that’s okay because it still looks great thick!
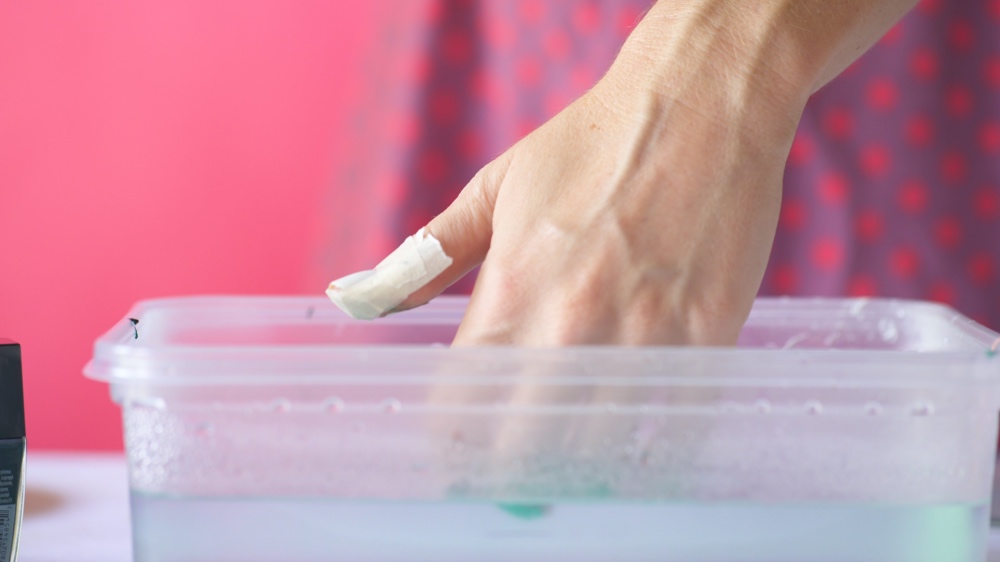
And now dip!
You can strategically dip at the water’s surfaces that you find the prettiest. You can plan out where you dip to make your desired finished design.
If for any reason, you needed some time in between dips or in between hands, you may want to start with a fresh container of hot water and fresh nail polish. For whatever reason, the hot water and nail polish mixture is really just good for a one time use.
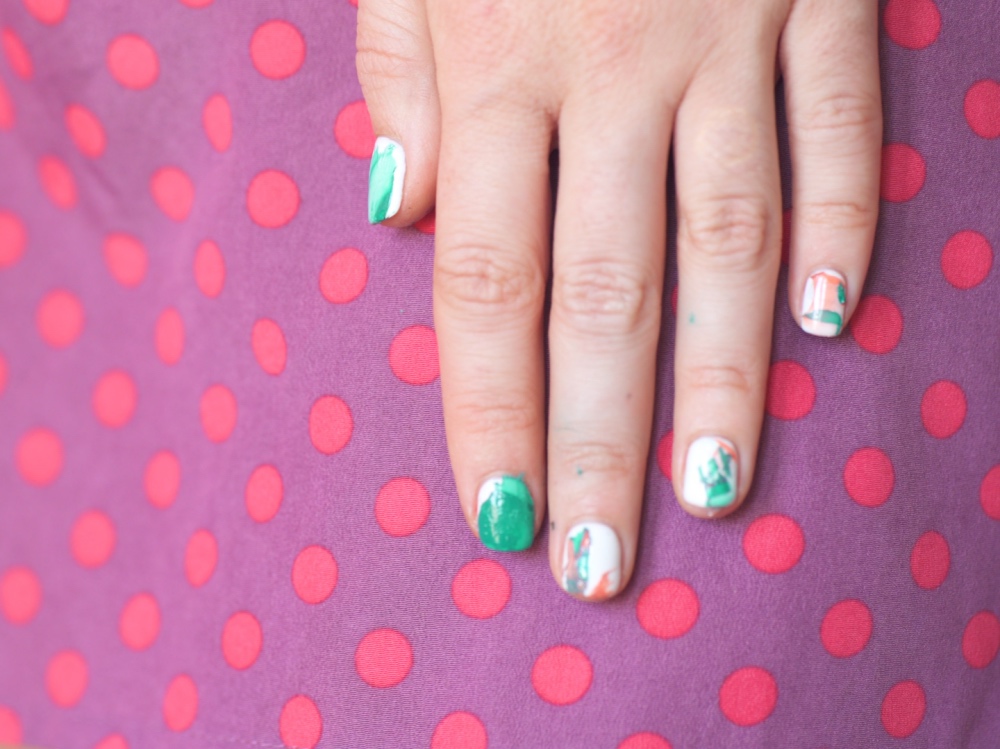
I would personally wait for your nails to dry before peeling off the tape. Just to be careful. After you peel the tape, use your nail polish remover to remove any polish that ended up on your fingers or surrounding your nails.
One of my favorite things about DIY Marbling Nail Art is that every nail will be different! It’s absolutely impossible for them to be the same. Which makes it so much fun and different every time!
And Viola DIY Marbled Nails with just some Nail Polish & Hot Water!
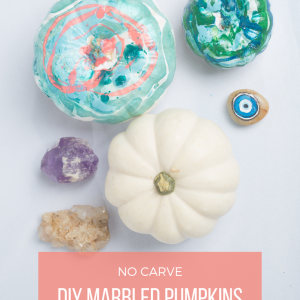
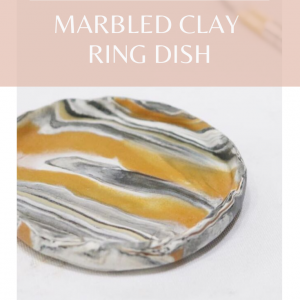
What’s really cool about Nail Polish Marbling is that you can treat just about any surface with it. For example you could marble: pumpkins, wine glasses, shot glasses, bracelets, phone cases, picture frames, a canvas, your fingernails, eggs for Easter, rocks, paper, notebooks, and more!
Here’s a video that shows you more!
Let’s Stay Friends!
Insta | Pinterest | Enews | TikTok

Awe-inspiring marble design. I love the colors and the step by step images. It’s easier for readers like me to understand nail art designs with very detailed images. Great work.
Thank you so much! I agree photos make a huge difference. Here are some more marbling demos that will further illustrate the technique: https://www.youtube.com/watch?v=bpkfMzyq8e8&t=1s
http://popshopamerica.com/blog/diy-marbled-pumpkins-no-carve-pumpkins/