Craft in Style Subscription Instructions, DIY
Back Stitch: An Easy Embroidery Stitch Tutorial
This is Part 3 of 7 of the Craft in Style Subscription Box Instructions for February 2021. Find the Craft in Style Subscription Box here. Read Part 1: A Beginner’s Guide to Embroidery here. Read Part 2,4-6: Running Stitch | Stem Stitch | Chain Stitch | French Knot Tutorials here. Read Part 7: How to Make Floating Nature Embroidery Hoops here.
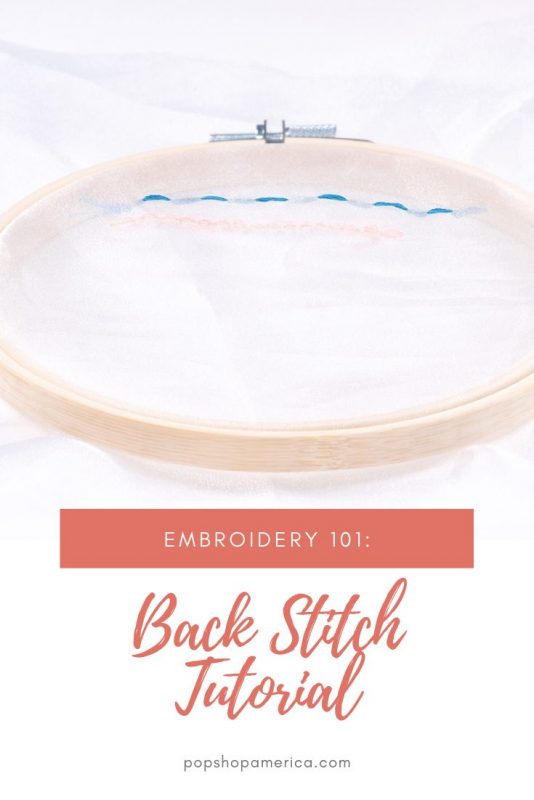
A back stitch is one of the most simple stitches you can learn, when getting started with embroidery. It’s a strong stitch that uses and really cool motion that’s unlike just your typical forward motion. It’s easy to learn and very useful.
So let’s learn it!
If you are just getting started, take a moment to review our Beginner’s Guide to Embroidery here. This will take you through all the supplies you will need in addition to the right fabrics, stitches, tips, and more.
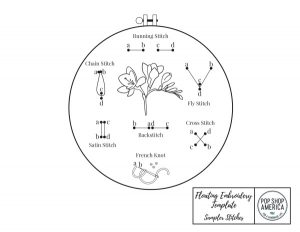
You can also use this Embroidery Stitch Pattern Downloadable Guide too. Just download it here. Print it on regular copy paper. Use a fabric pen to transfer the pattern to the fabric of your choice. Then copy the patterns shown on the guide.
Each has a unique pattern and motion of the hands.
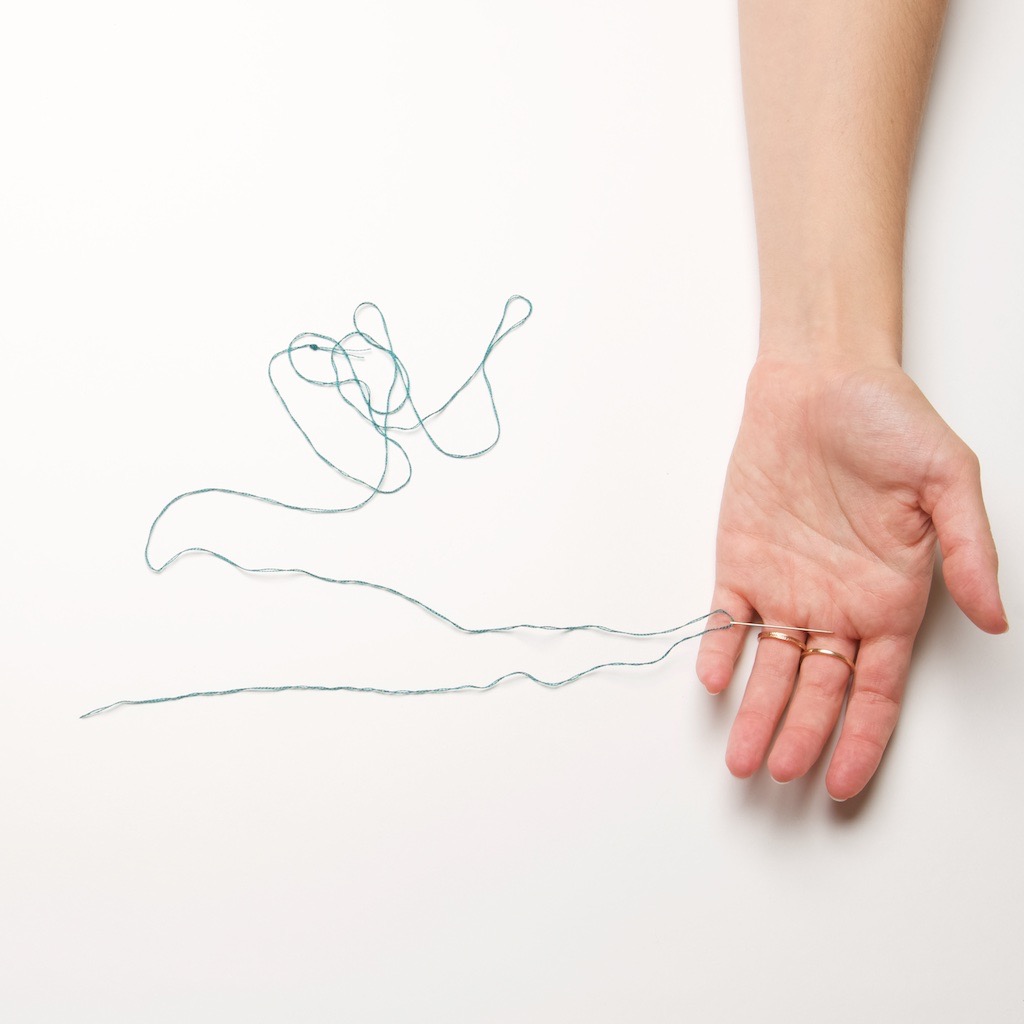
How to Prep Your Embroidery Floss
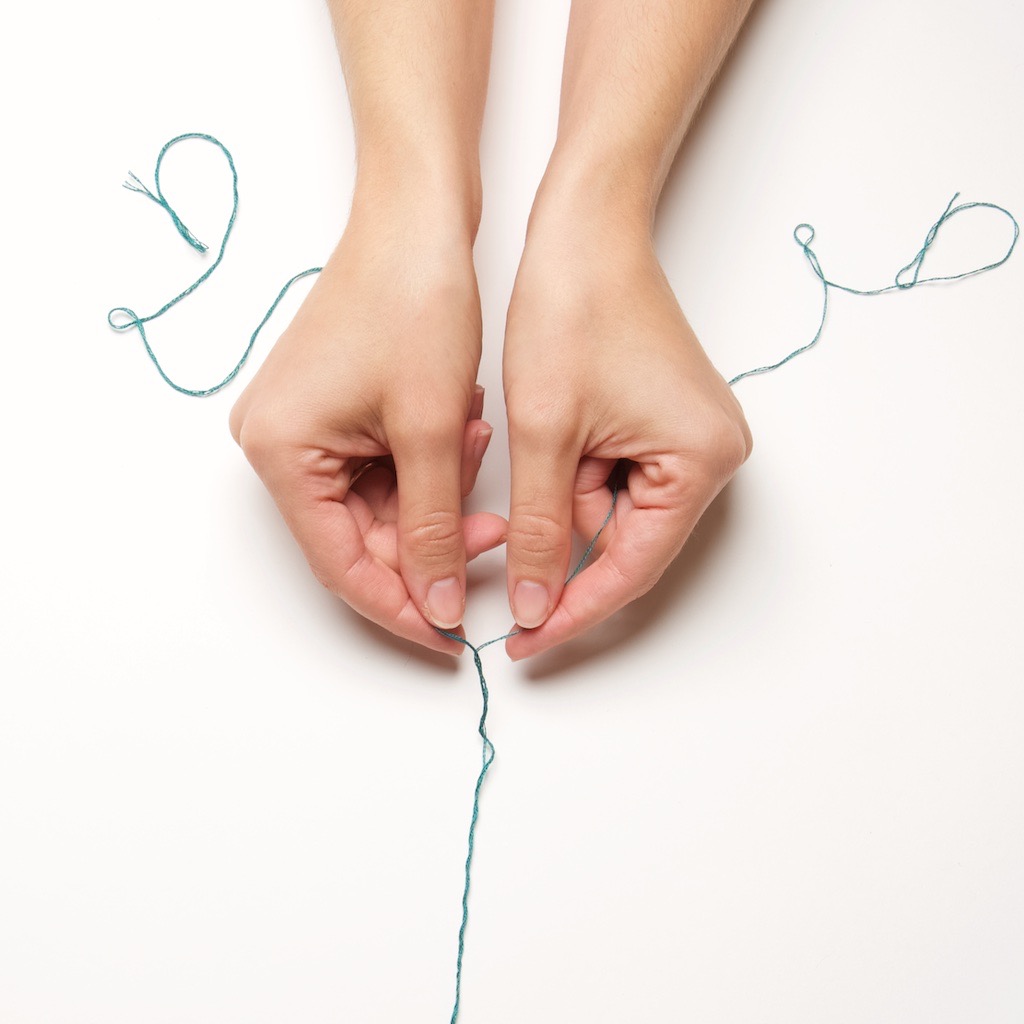
You don’t have to use embroidery floss just as it comes. Embroidery floss is a cluster of individual threads that can be separated. This is perfect for making smaller lines.
With fabrics that are more delicate, like the organza we use in this Floating Embroidery Hoop Art Tutorial, you may also want to I most commonly separate them into 2 halves.
How to Create a Back Stitch
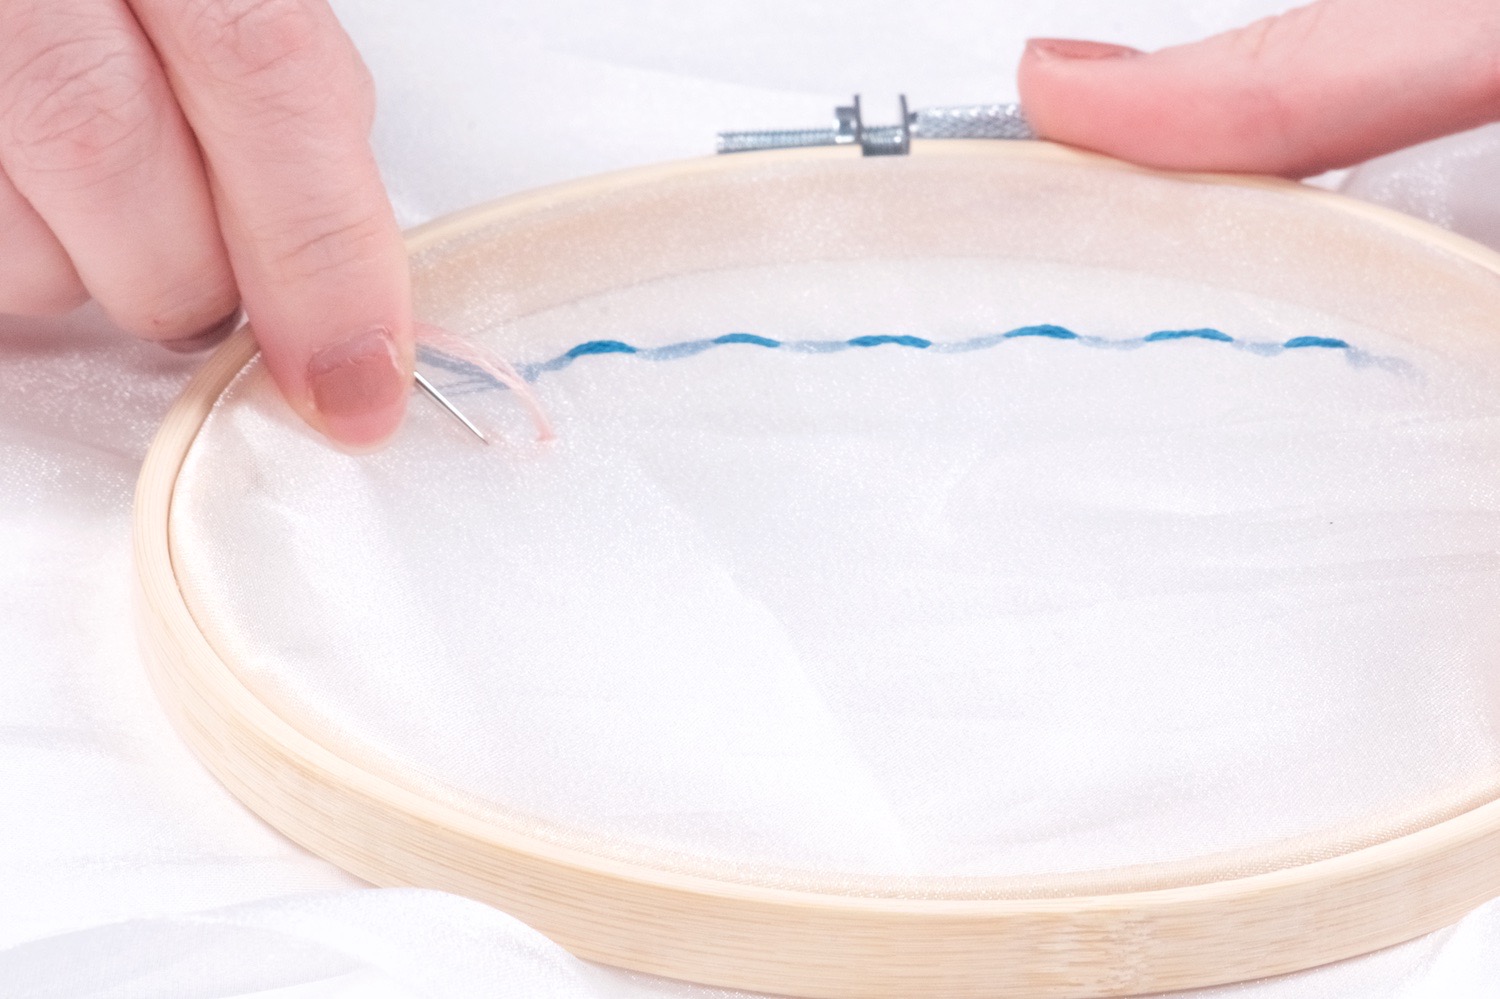
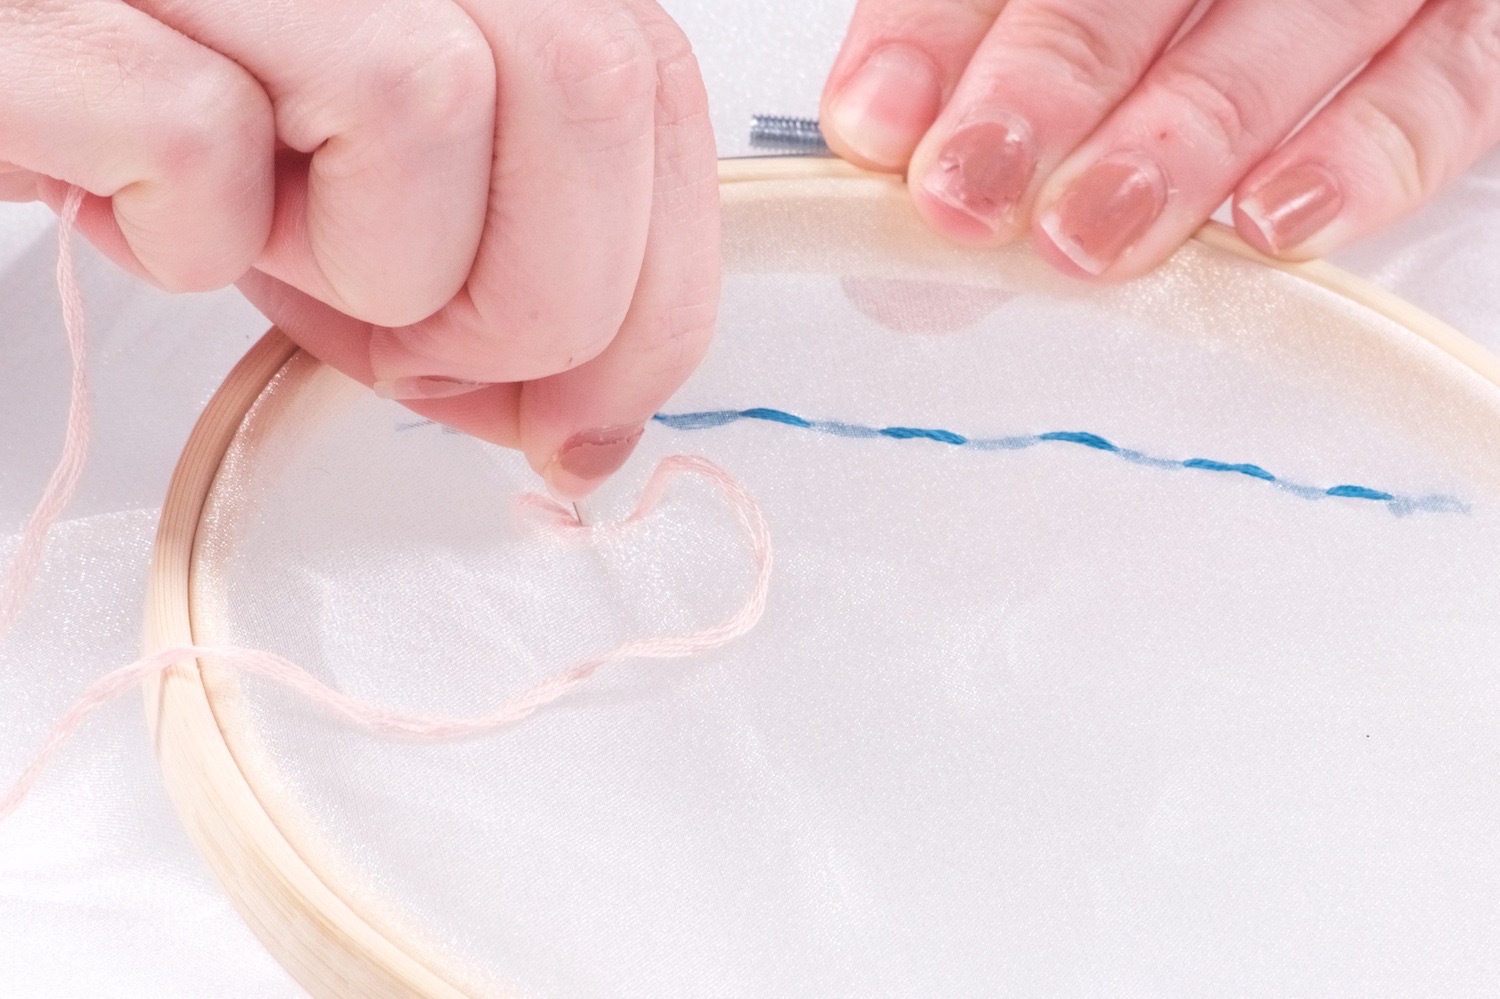
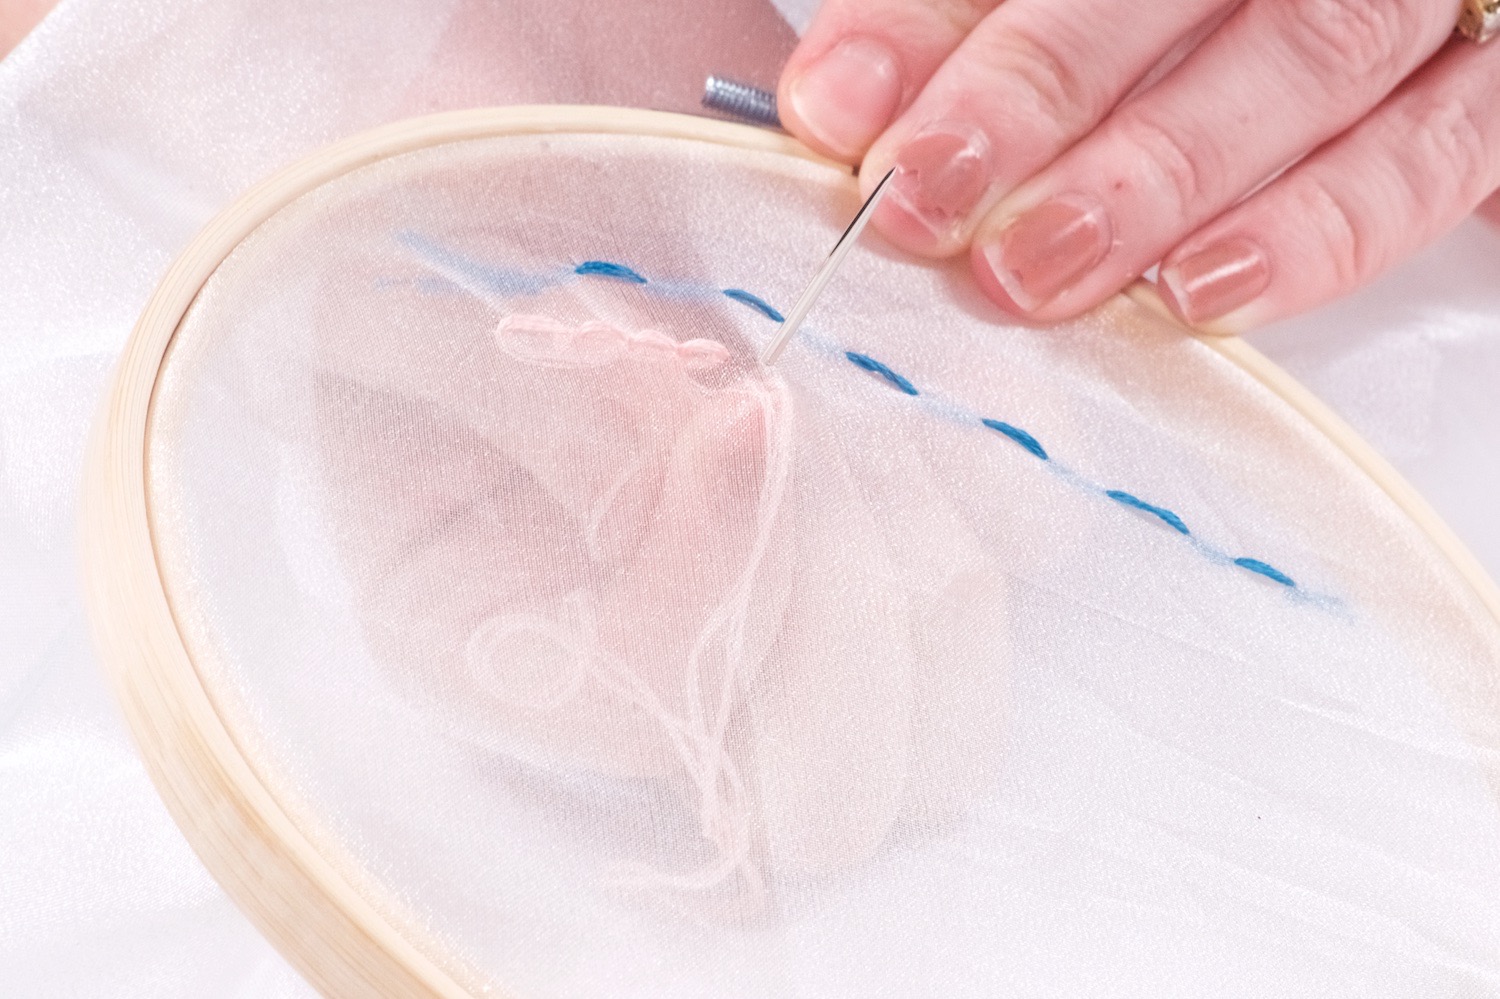
A back stitch uses a forward and back motion.
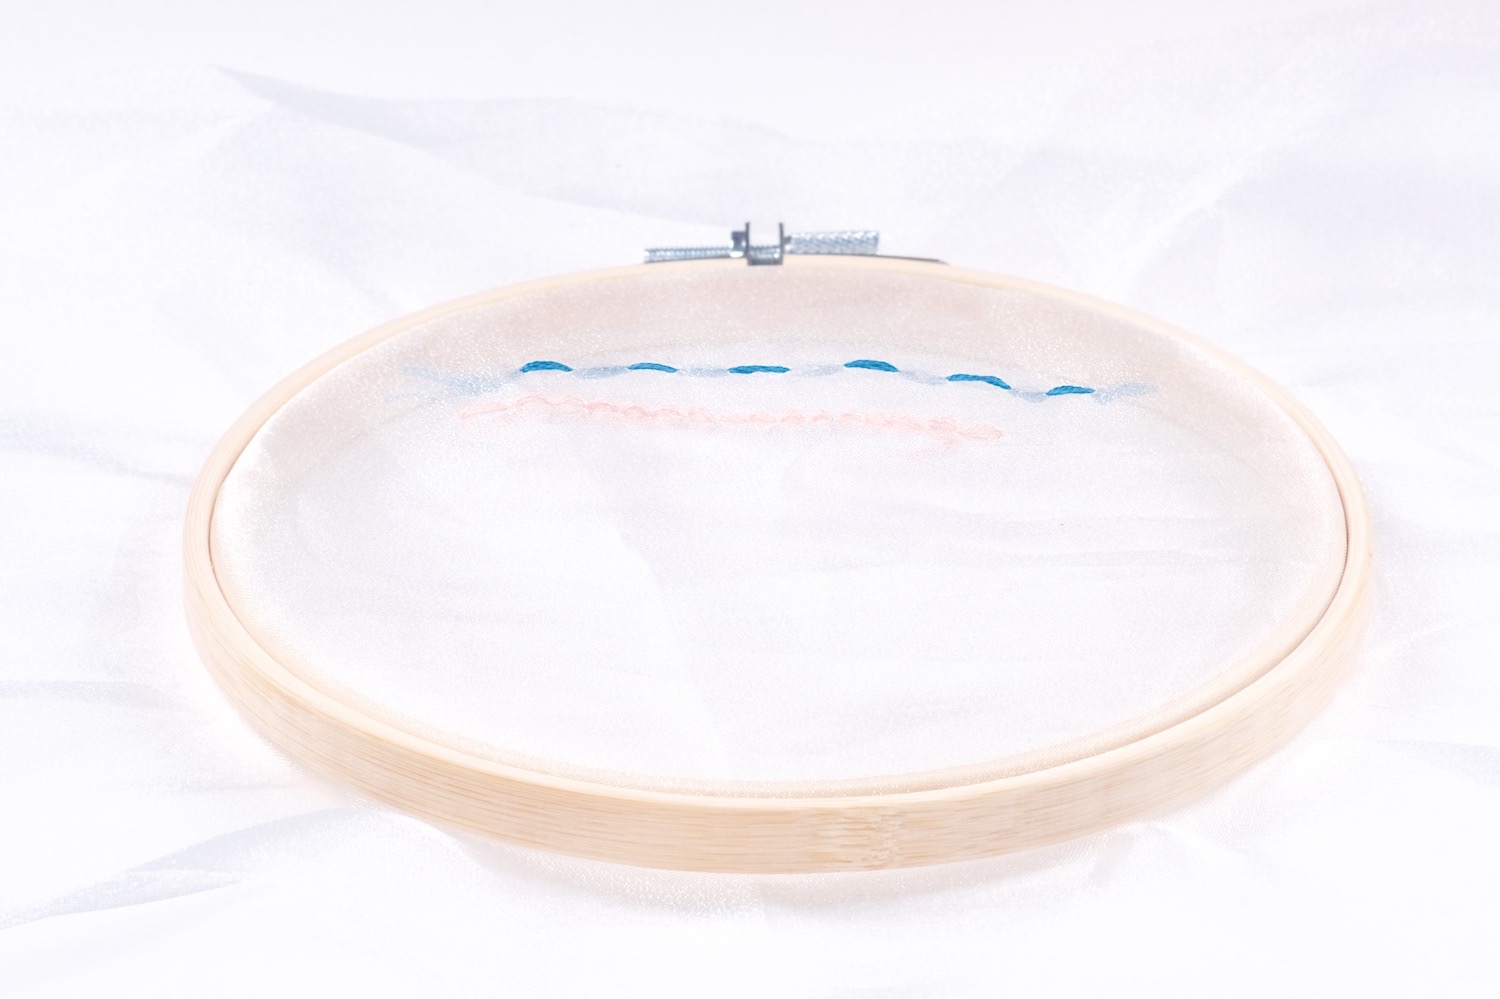
You will want each stitch to be an even length to make it look professional.
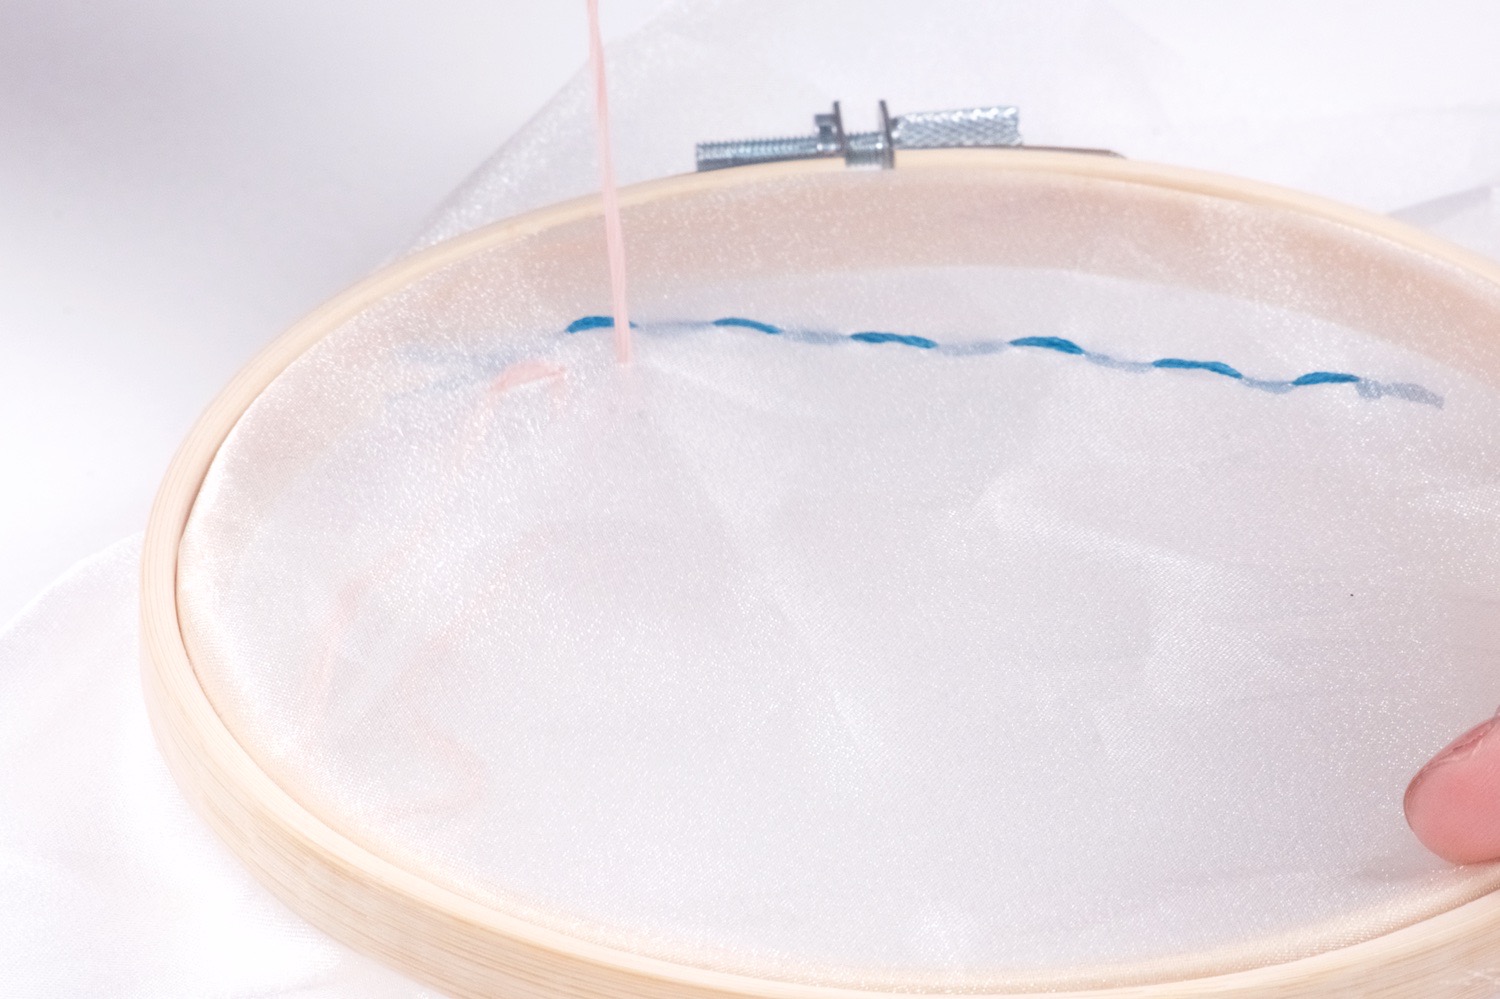
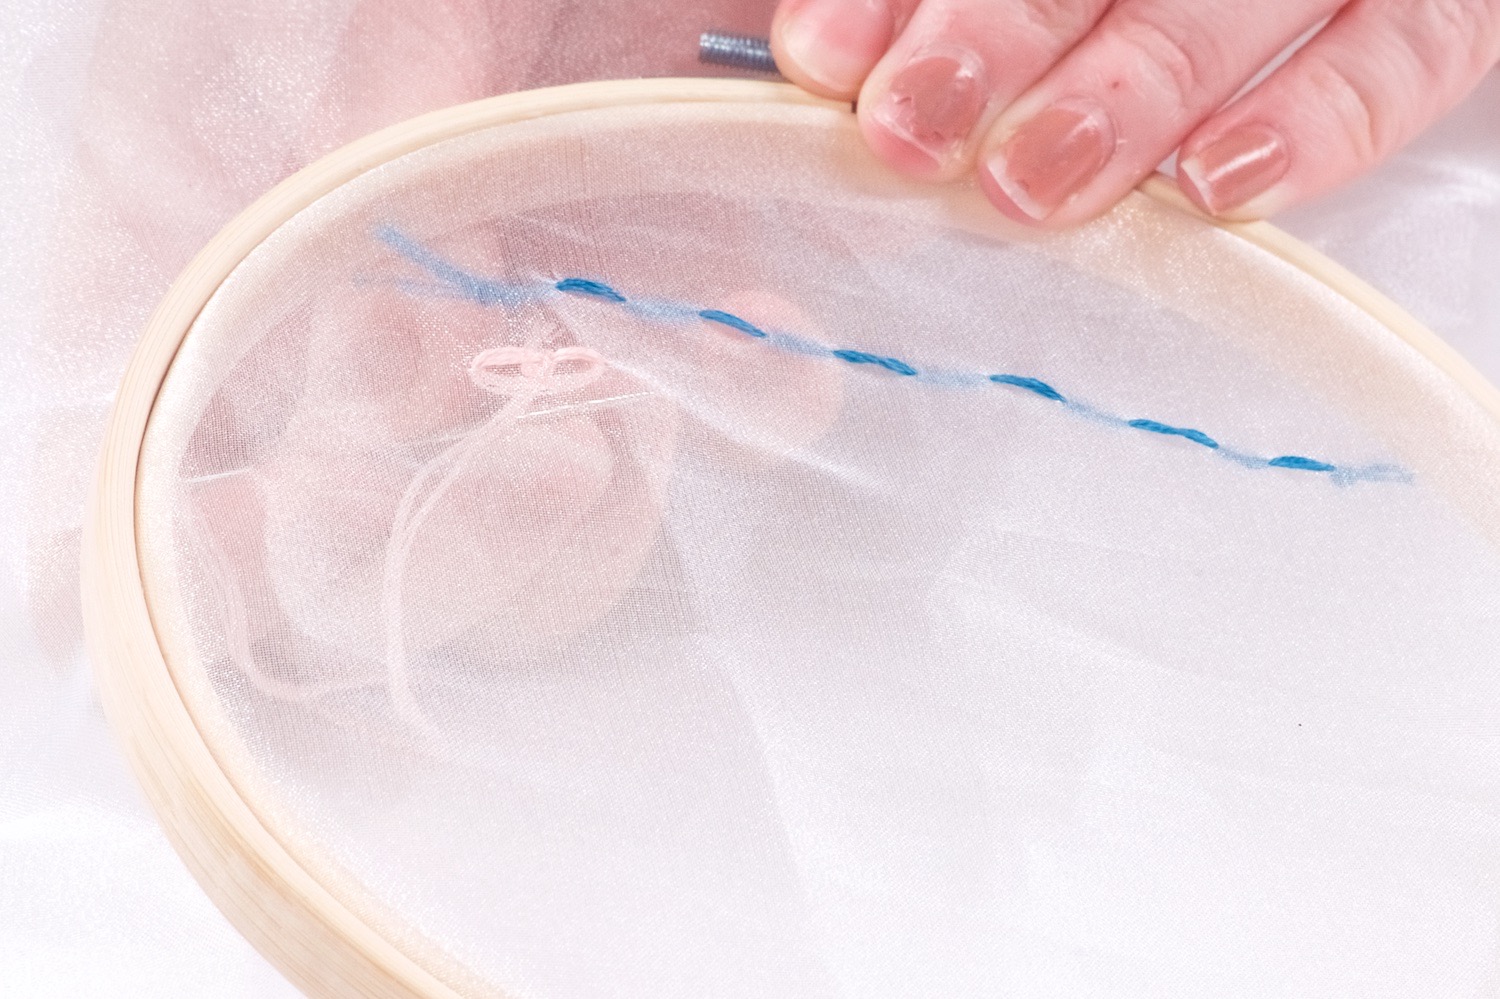
Start with your needle pushing from the back of the fabric to the front. When your needle and thread is on the front side of your hoop, bring the stitch backwards 1 step. When your needle and thread is on the back side of your hoop, move your stitch forward 2 steps. Follow the pattern in the stitch guide above to continue.
Or in other words, each stitch is made by inserting the needle in the same place you started. You are making backward loops moving forward through your fabric.
How Long Should the Stitches Be?
The distance of the stitches depends on you and mostly your patience! The best looking stitches will be small and most of all even. You might choose 1/4 (6mm) long stitches the first time you practice your back stitch and aim for 1/8 inch (3mm) stitches after a few completed projects. Finer fabrics, like this organza, will require smaller stitches than thicker fabrics such as denim.
How to Finish a Back Stitch
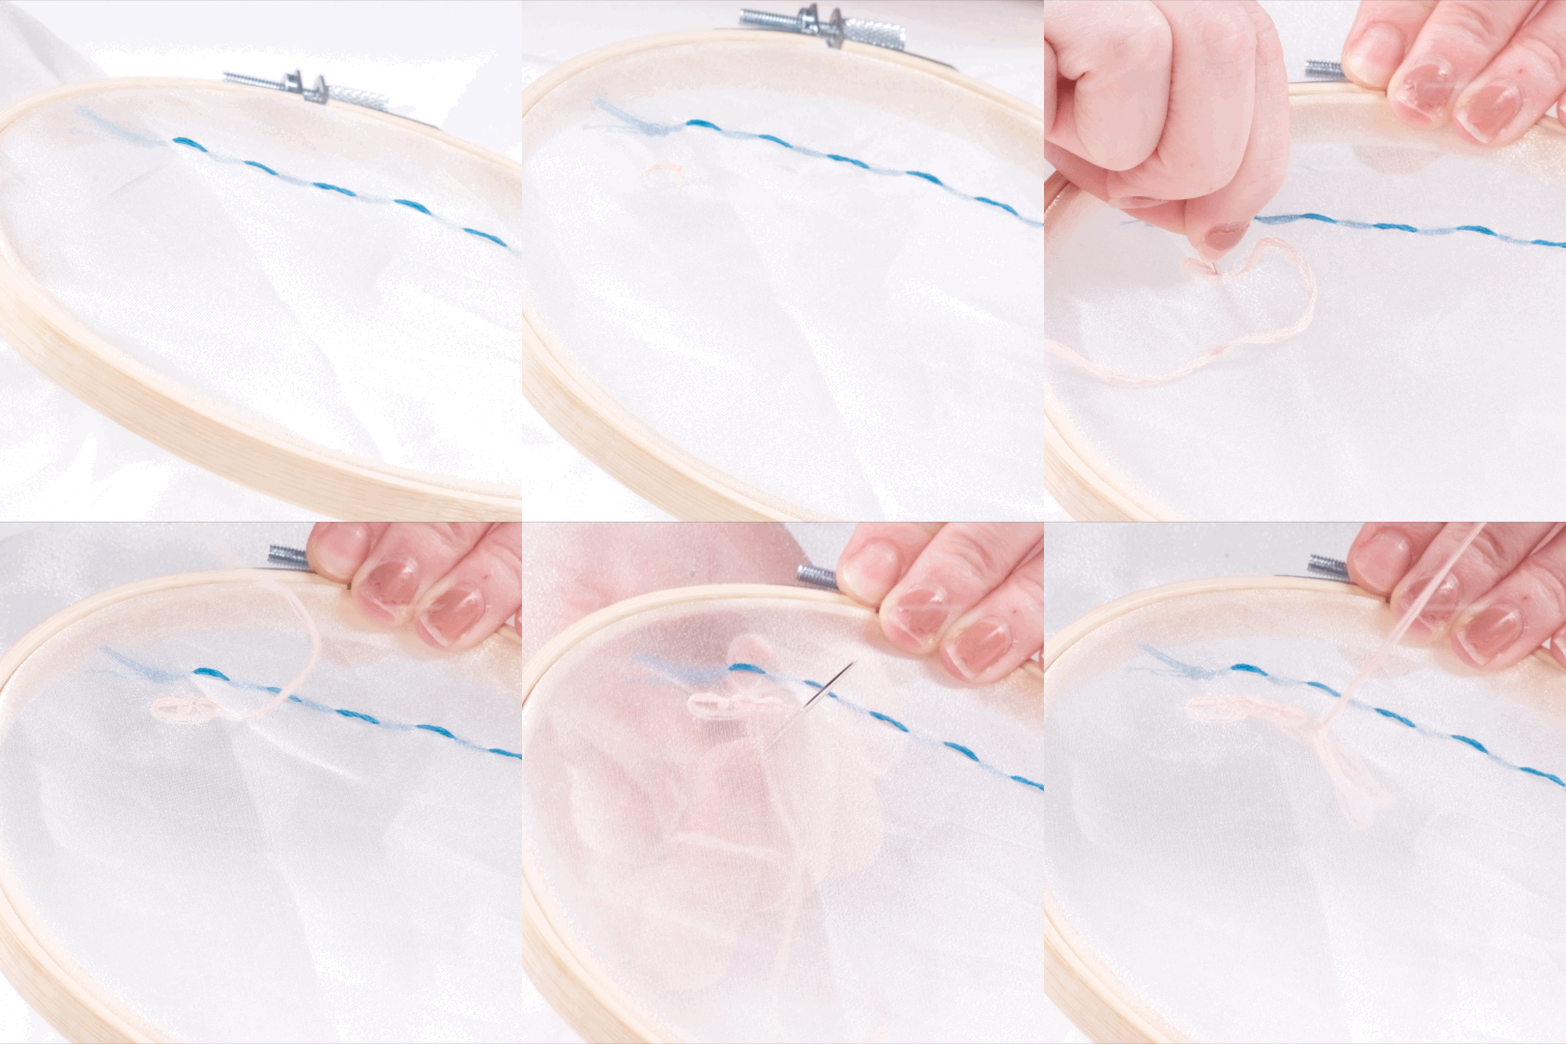
To finish a back stitch, simply finish your stitch on the back side of the fabric. Double knot the end of the thread and trim the thread nice and short.
As an alternative, you can knot the thread around one of your stitches on the back side. This will give it slightly more oomph!
When to Use a Back Stitch
Because you are creating a back and forth motion, this is the strongest of the emrboidery stitches. It’s perfect for when you can’t use a sewing machine. That’s why it’s often used for sewing embroidered patches onto jackets or making diy hems.
Ready to learn more stitches? Try these >> Running Stitch | Stem Stitch | Chain Stitch & French Knot Tutorials!
Let’s Stay Friends!
Insta | Pinterest | Enews | TikTok


I can’t locate the instructions 4 thru 7 for this embroidery box. Where can I find them? Thx
Hi Pam! That’s my fault. I was doing some editing. I will have those back for you today and will message you when they are back. So sorry for any inconvenience.