Craft in Style Subscription Instructions, DIY
Chalkboard Lettering Tips & Tricks + Free Printable Templates
If you’ve ever wanted to learn the basics of chalkboard lettering, you may realize it’s easier than you think! No you don’t need to have perfect handwriting. No you don’t need to be the most talented artist! Trust me, I’m a lot more creative than I am actually talented!
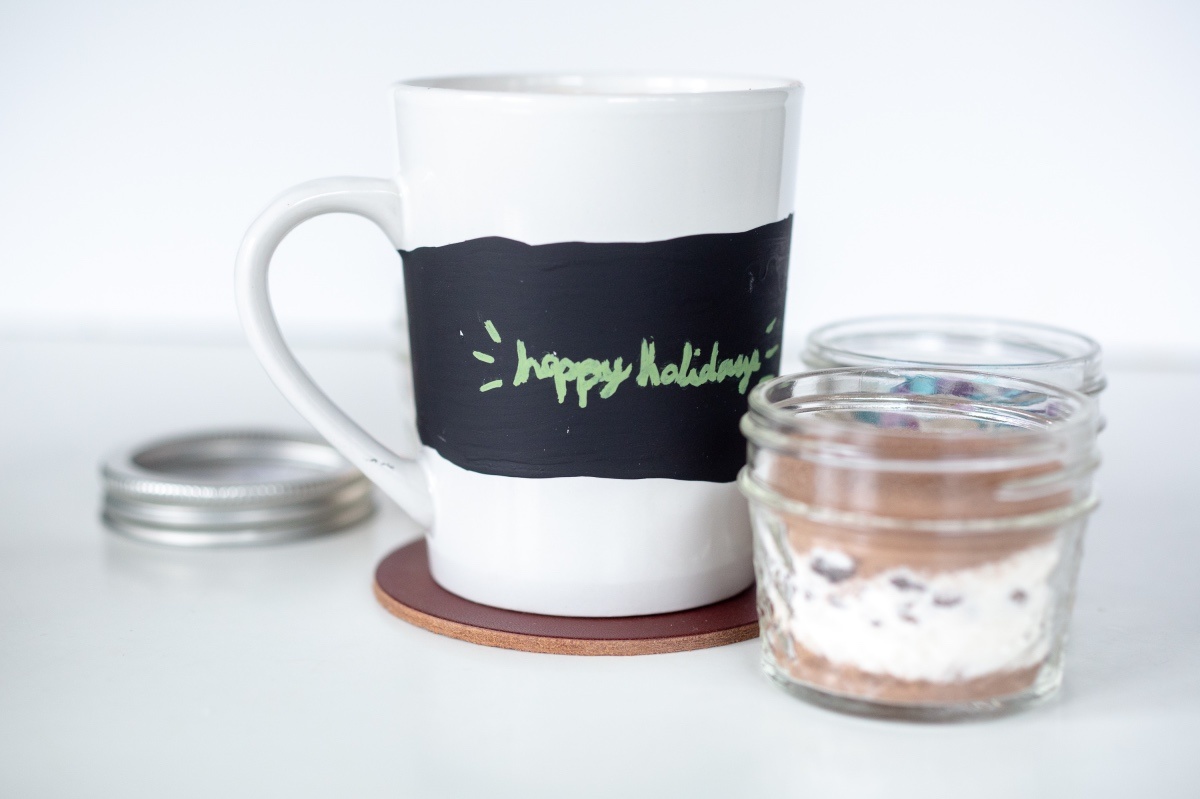
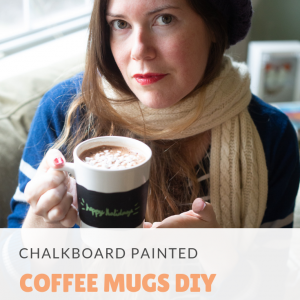
Chalkboard lettering is fun and gorgeous with a bit of extra technique. Learning this pairs perfectly with our DIY Layered Hot Chocolate & Chalkboard Mugs and Jars Kit because you can use these techniques on your DIY Chalkboard Mason Jars or your DIY Chalkboard Coffee Mugs. So let’s get started!
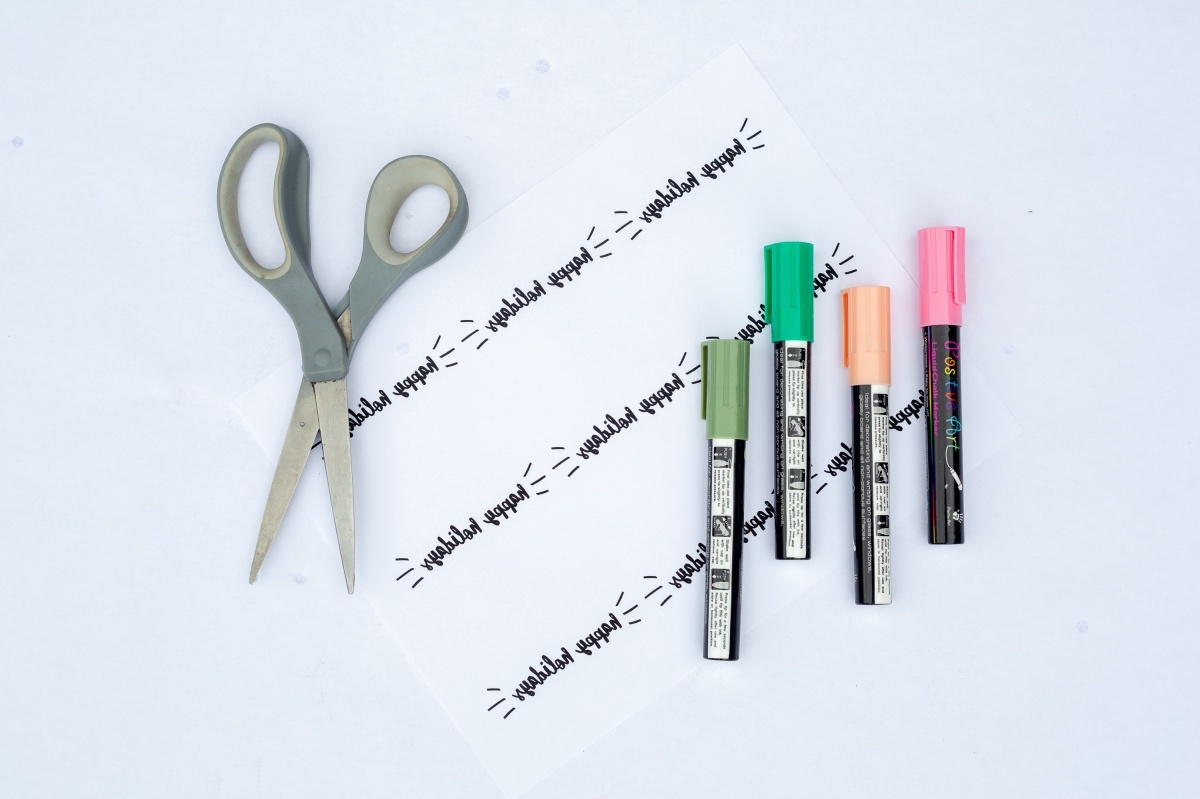
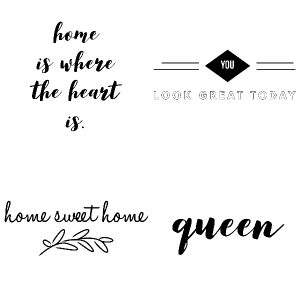
First of all, I recommend that you have some templates. Here are 6 that you can download for free.
Anything Chalkboard like these Chalkboard Mason Jars or Chalkboard Mugs
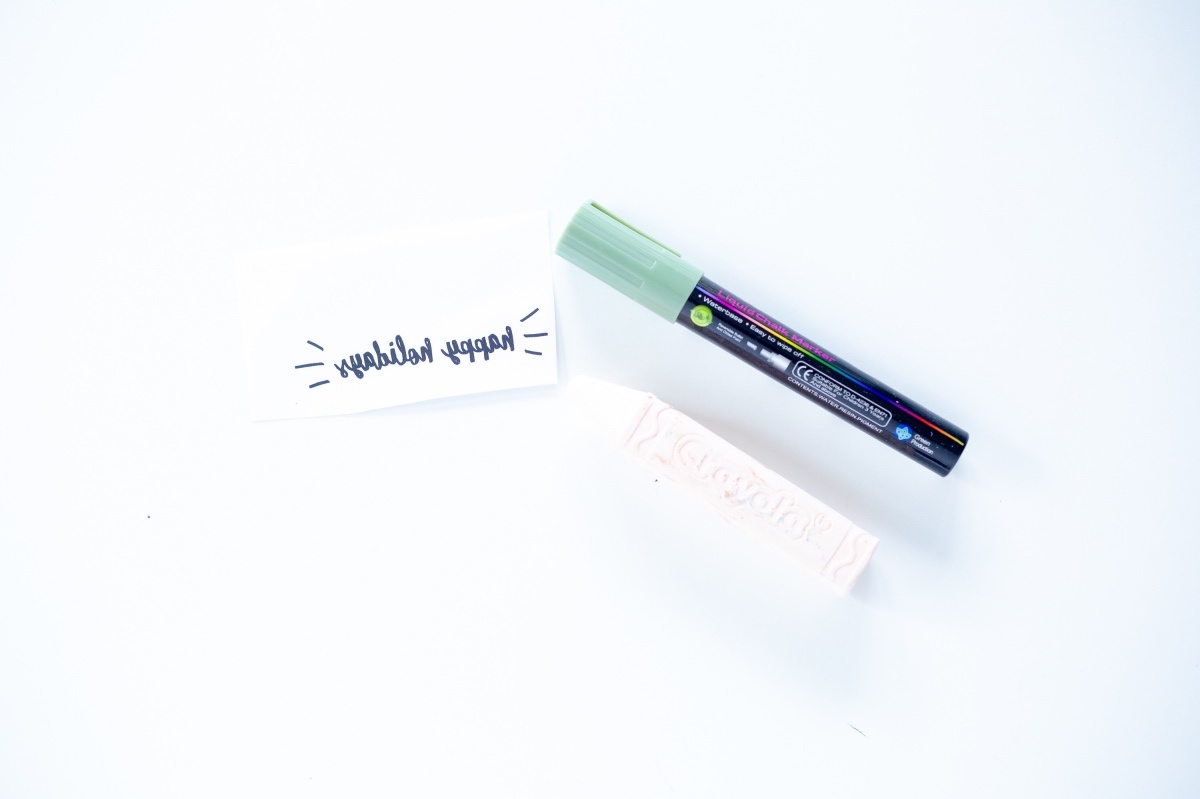
A Chalkboard Marker or Chalk (a marker will give you more accuracy)
A Popsicle Stick
Water
Cotton Swabs
OR this DIY Layered Hot Chocolate & Chalkboard Painted Mugs and Jars Kit
You can use your printer functions to allow them to print full size on your page or many times on your page – thus making them smaller. I printed mine 9 times per page which made them the perfect size for the mug I wanted to add the chalkboard lettering to.
That means these templates can be used for a large project – like a wall or mirror or a small project like what we’ve shown here.
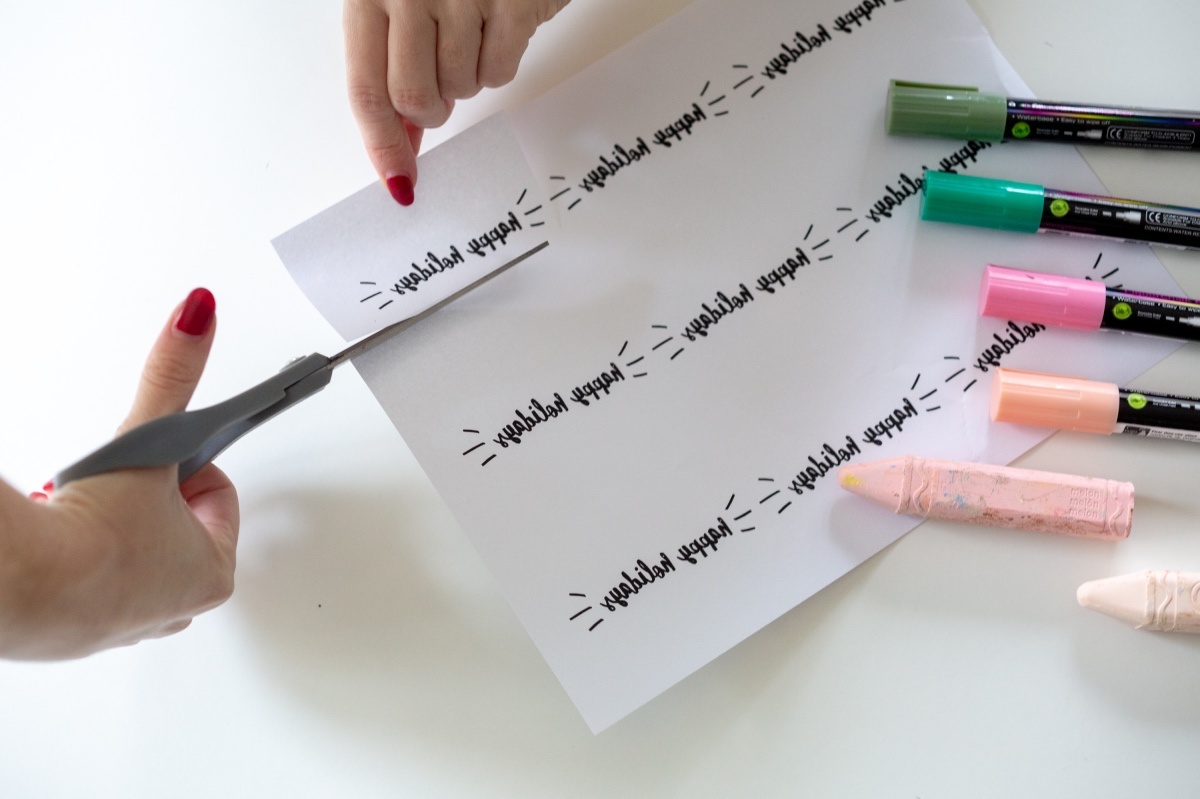
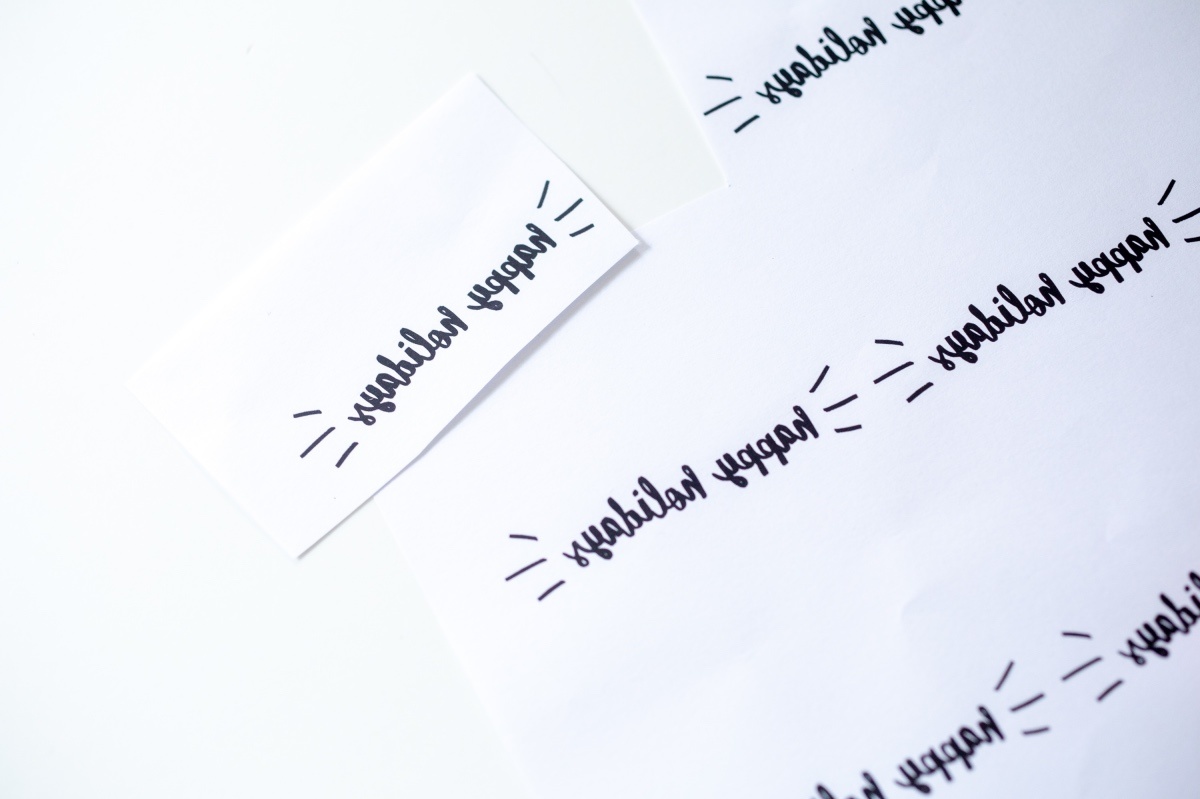
I cut my template out and removed as much of the white negative space that I could. This will give you more accuracy when you are transferring your design.
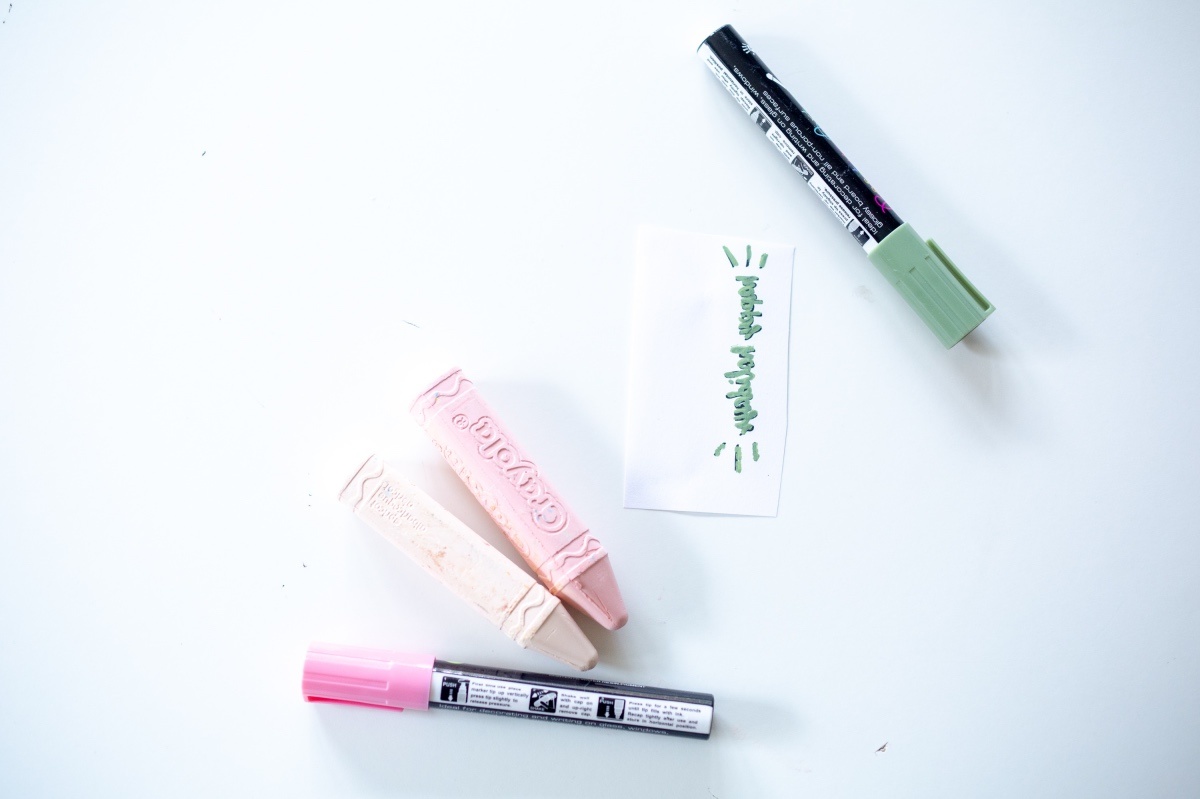
For the next step, you could use chalk or a chalk marker, but again the chalk marker will give you a lot more accuracy than regular chalk. What regular chalk is great at, is a wispy beautifully muted image.
For transferring lettering, your original image will need to be backwards. Any lettering will be a mirror image so that as you lay the template on the chalkboard surface, it will face the correct way.
If it’s a design or pattern, the template does not need to be reversed. All of the lettering templates that you can download here are already prepared for you.
If you want to make your own templates, the easiest way is to use Photoshop. If you click image, you can reverse the image along a horizontal axis.
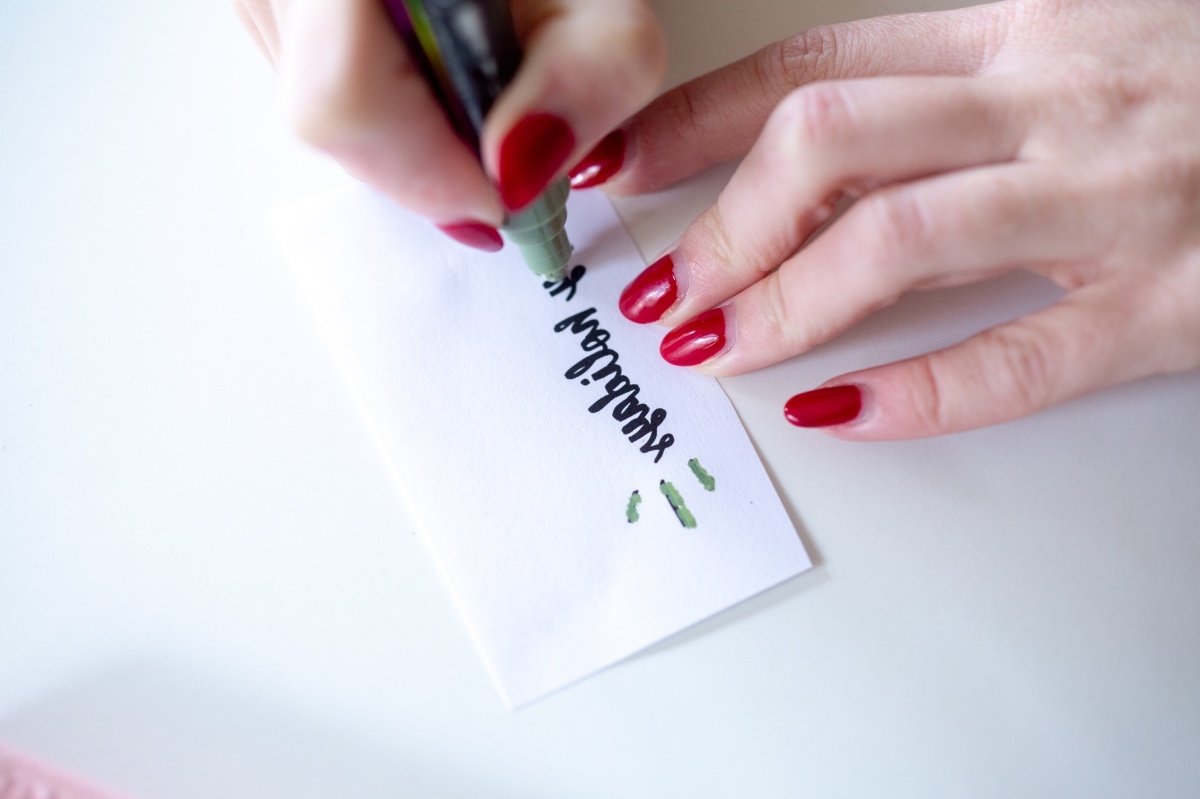
Once you have your template cut and ready to go, trace the lettering with your chalk marker.
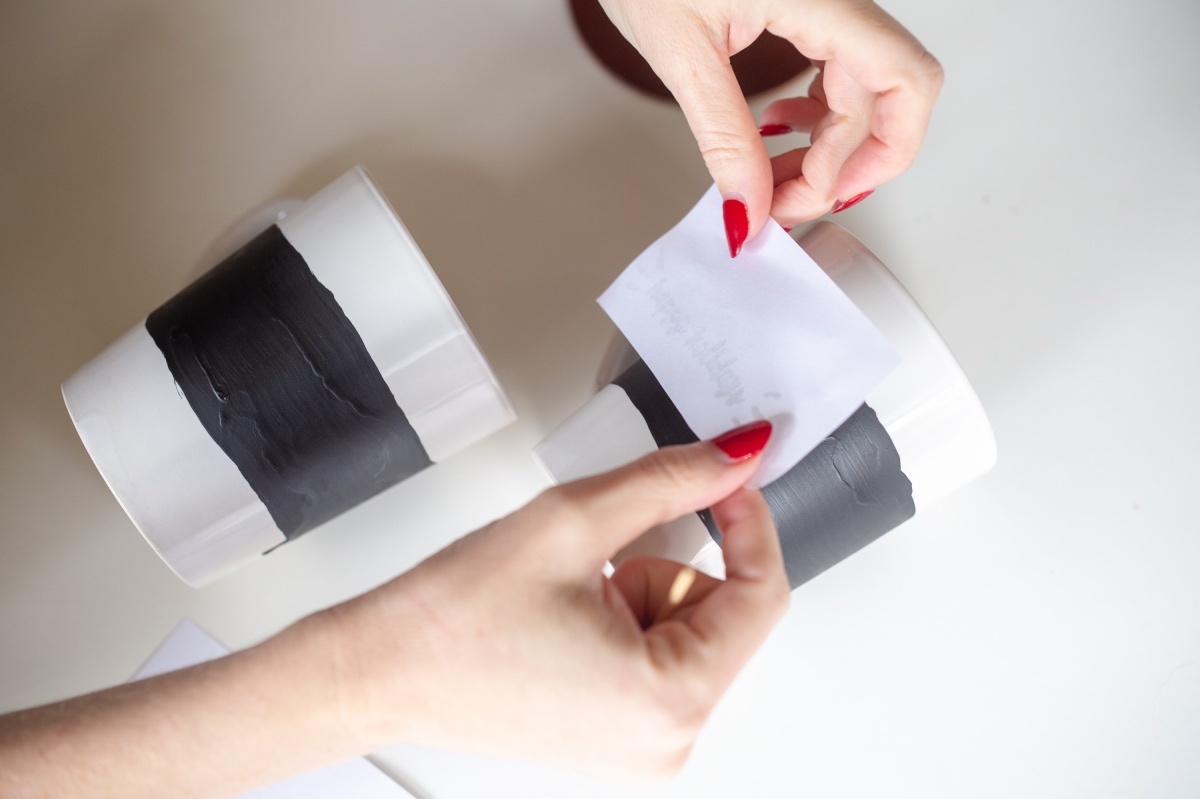
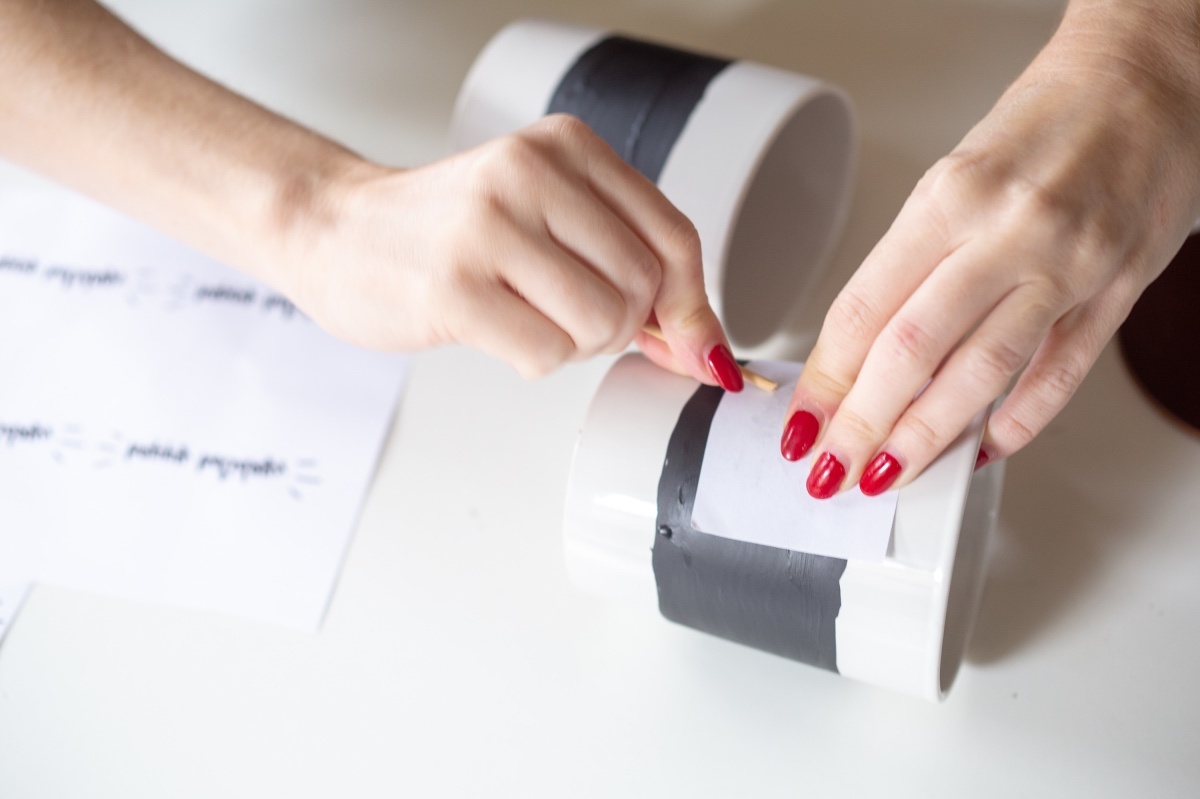
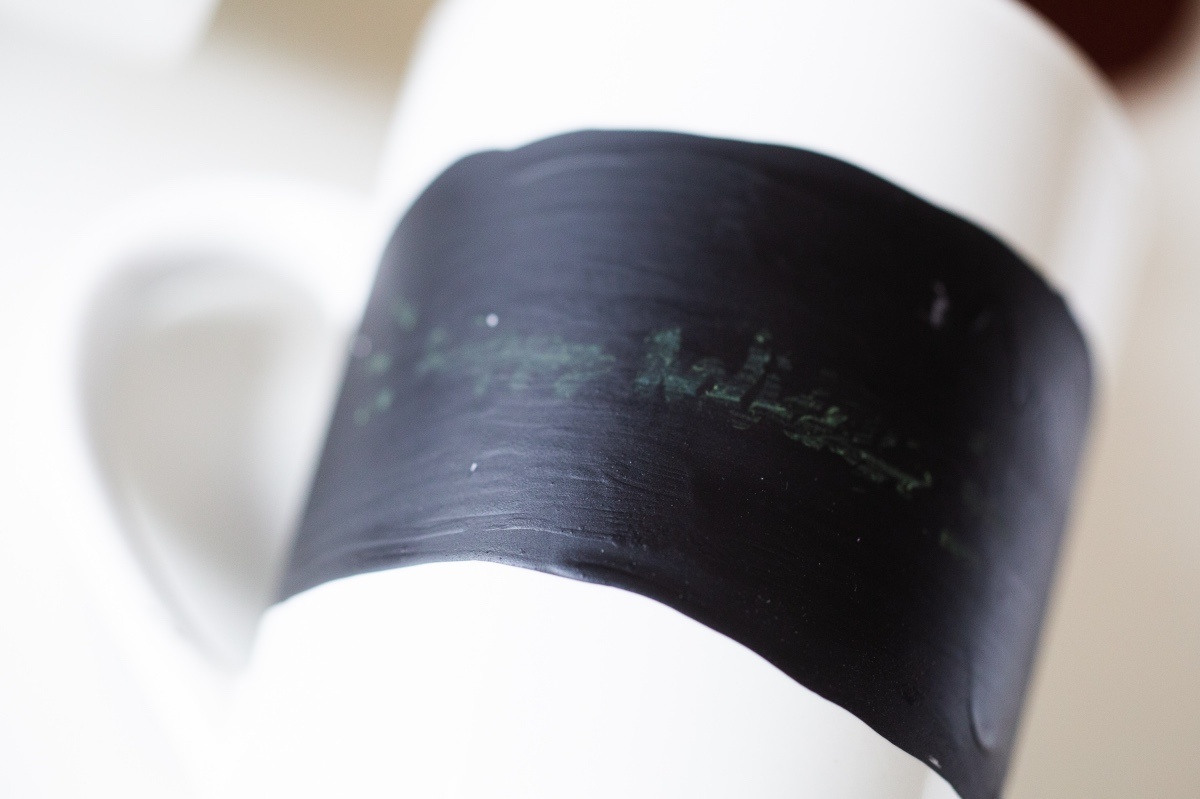
Flip the template over, so that the chalked side is facing your chalkboard. Use a popsicle stick to scrape and press the template to the chalkboard. It will leave a wispy and light image on your chalkboard surface.
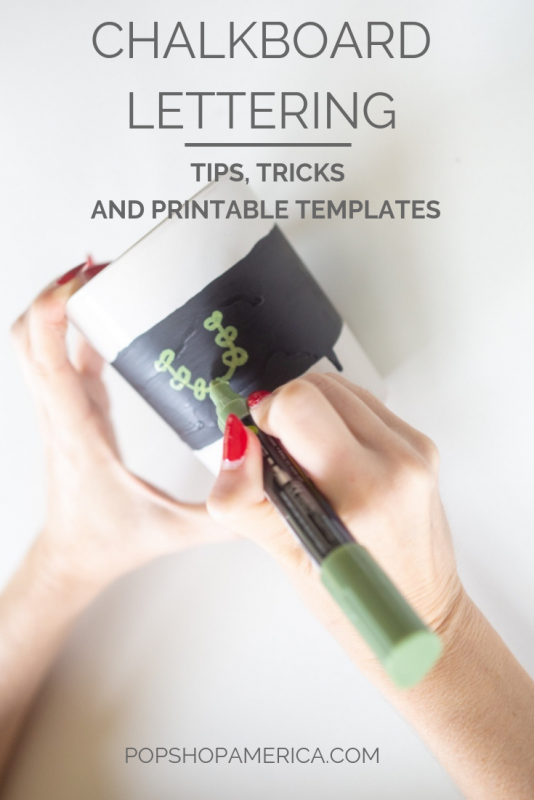
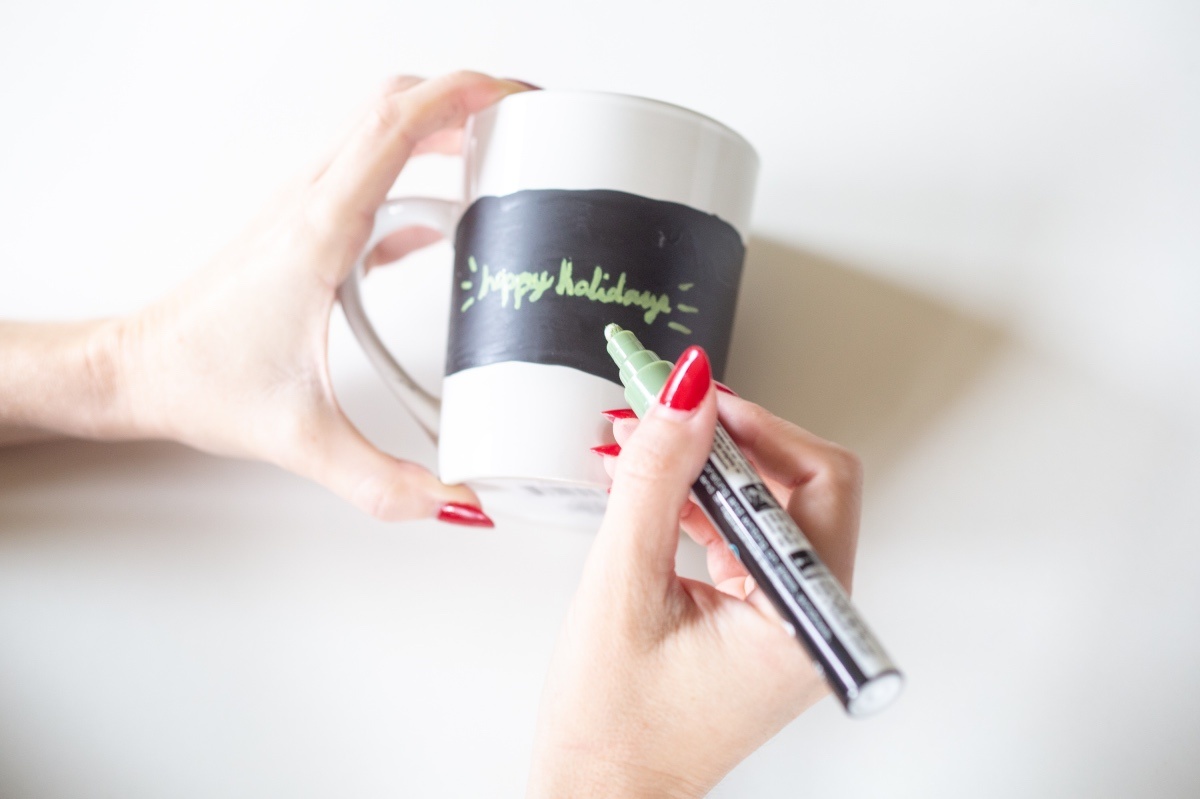
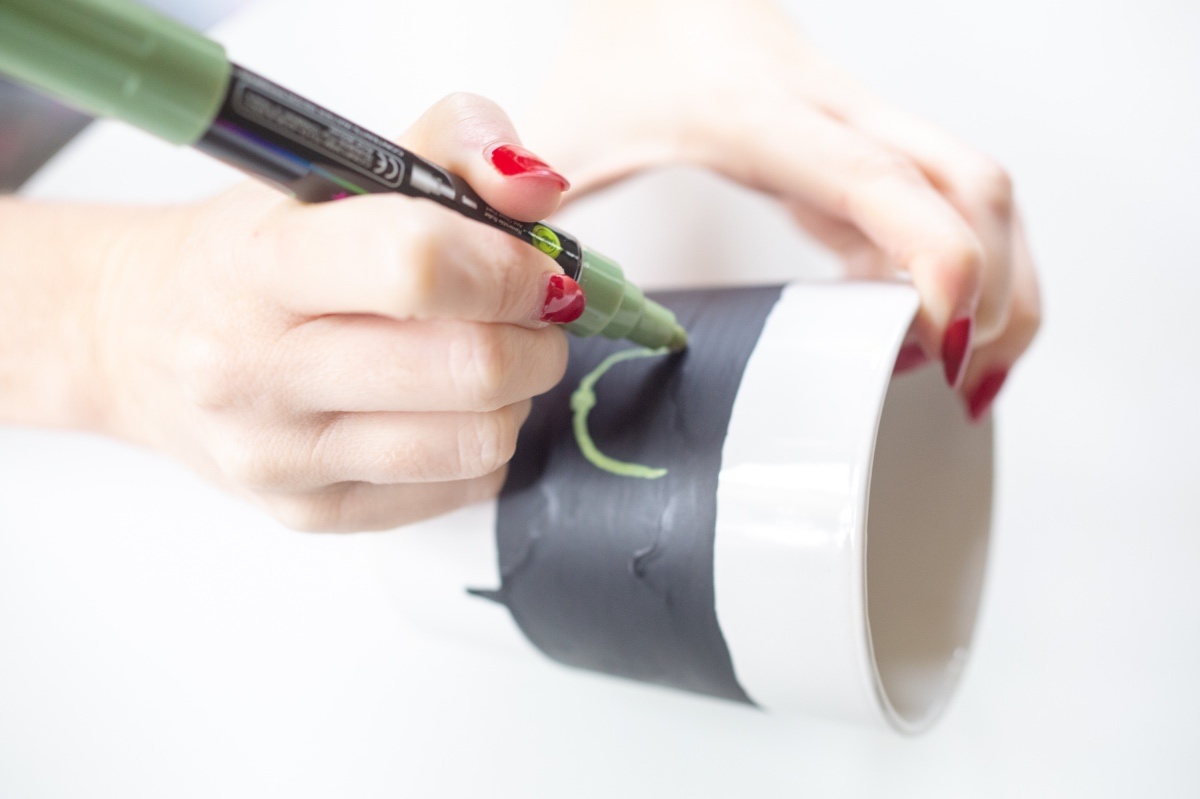
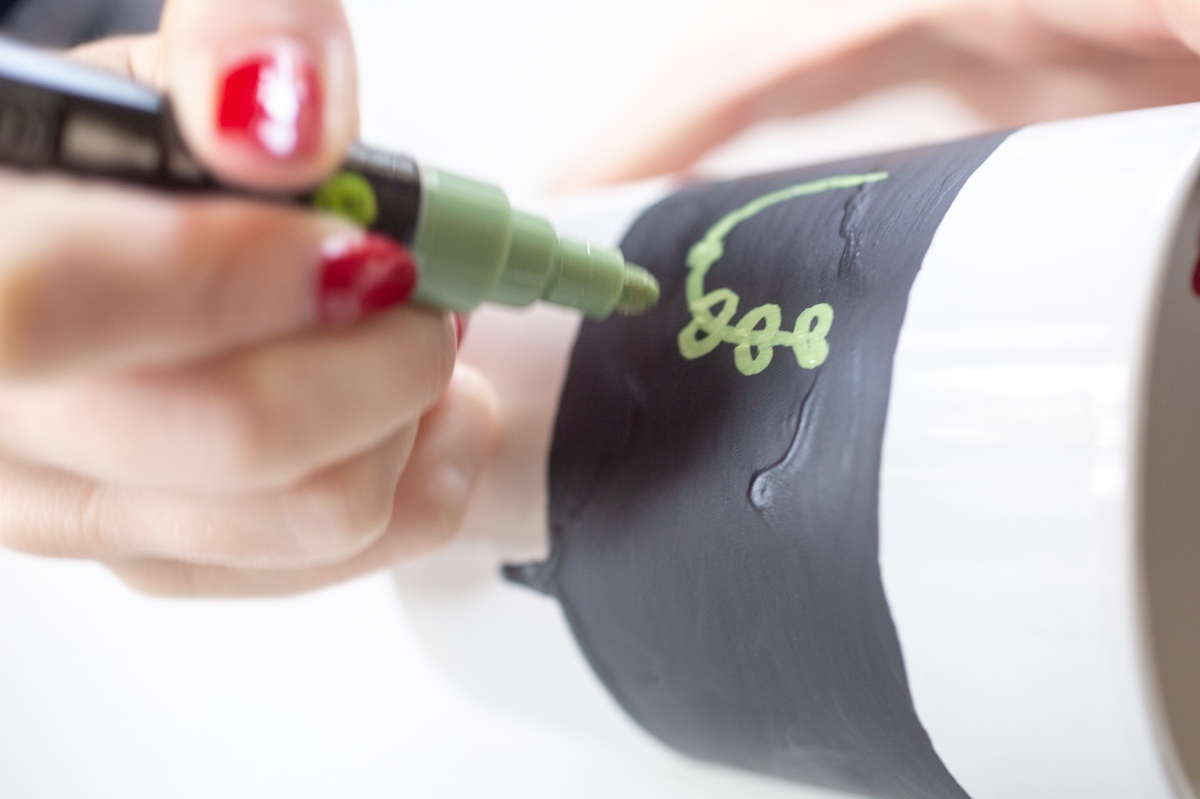
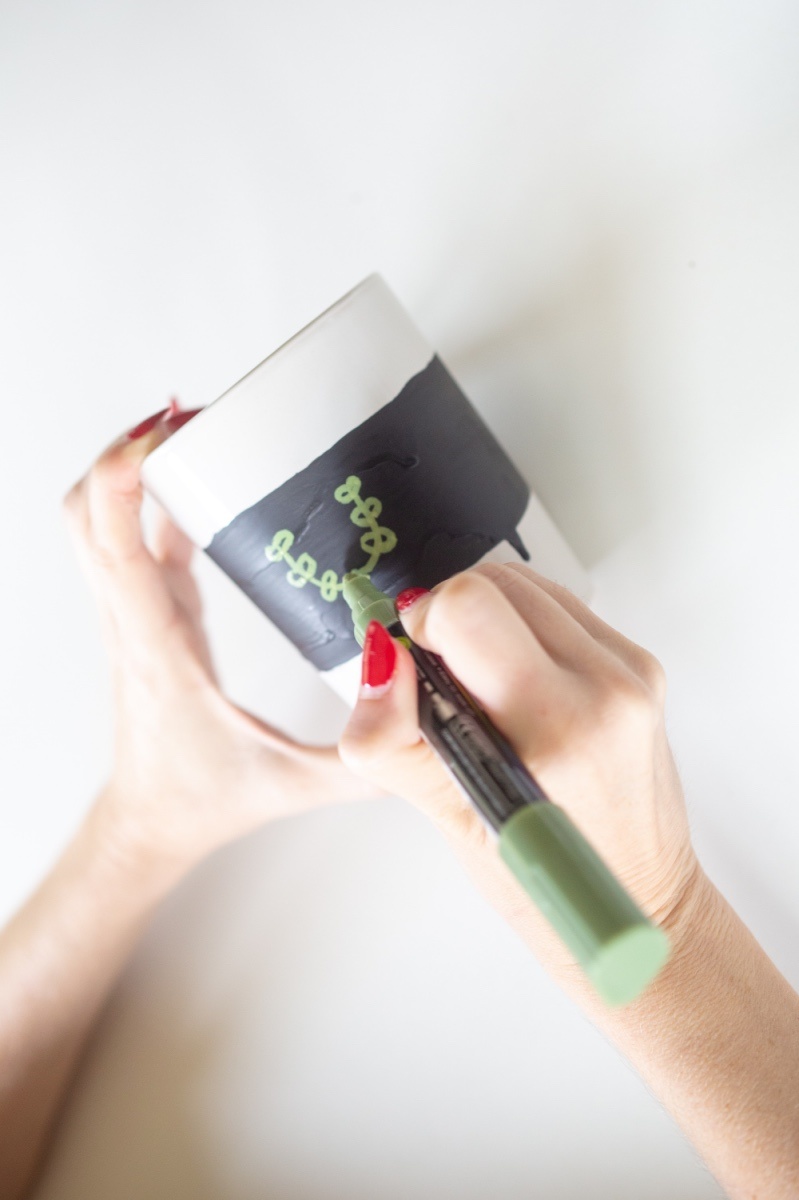
Now use your chalk marker to trace along the lines and darken the image. Try to use one fluid motion instead of picking up your chalk marker. The motion of your pen is an important component to how to finished piece looks.
If you make any mistakes along the way, just touch it up with a bit of water and a cotton swab. This is the best technique for being precise and exact.
If you don’t want to use a template, you can also free hand your designs. With free handing, stick to simple shapes. Anything with too much detail won’t be easy to create and won’t look good from far away.
If you need more ideas of how to use a template, try our hand lettering terra cotta pots here. You can also grab a Mr. & Mrs. Template on the blog too! It’s perfect if you are looking for more ideas for chalkboard lettering templates.
If you love this kit, you should think about subscribing to our Craft in Style Subscription Box! This kit was the November 2018 kit, and we love getting the chance to send you amazing cute and stylish crafts every single month!
If you are looking for Part 1 of your Craft in Style November Tutorials you can find it here. And if you are looking for Part 2, layered Mason Jar Hot Chocolate Recipes you can find that here.
Let’s Be Friends!
Insta | Pinterest | Enews | TikTok


