Craft in Style Subscription Instructions, DIY
How to Make Chalkboard Painted Mason Jars
Are you excited about the DIY Layered Hot Chocolate & Chalkboard Painted Mugs and Mason Jars Kit? Because I am! This craft kit’s box has 5 different DIY’s that all fit together seamlessly and here is the first one. . .
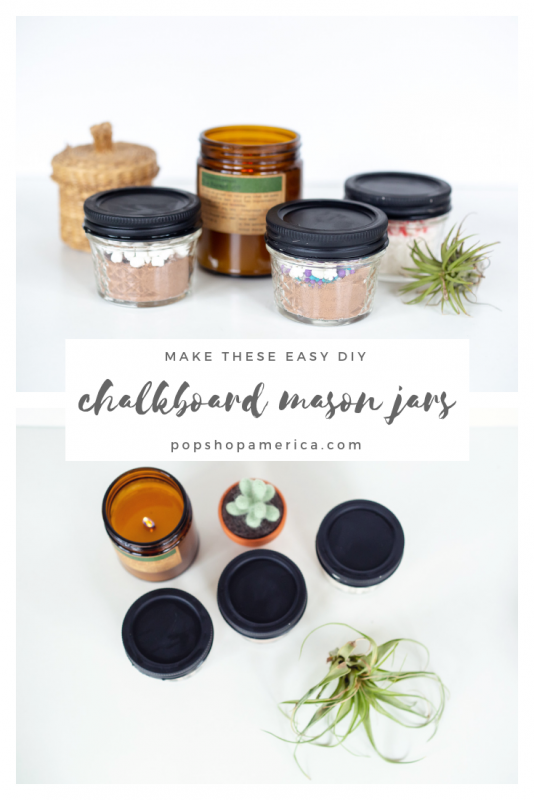
DIY Chalkboard Mason Jars! Here’s an upgrade to an everyday household tool that is so stylish and modern. Mason jars are perfect for storing all kinds of things. They are great in craft rooms, the kitchen, or holding personals in your bathroom.
This kit was originally our November 2018 Craft in Style Subscription Box. That’s our super fun subscription box for people who love to craft! Every month we send you a whole box filled with DIY crafts and everything you need to create them!
But don’t worry, you don’t need the sub box to make these lovely Chalkboard Mason Jars. Here’s how to make them.
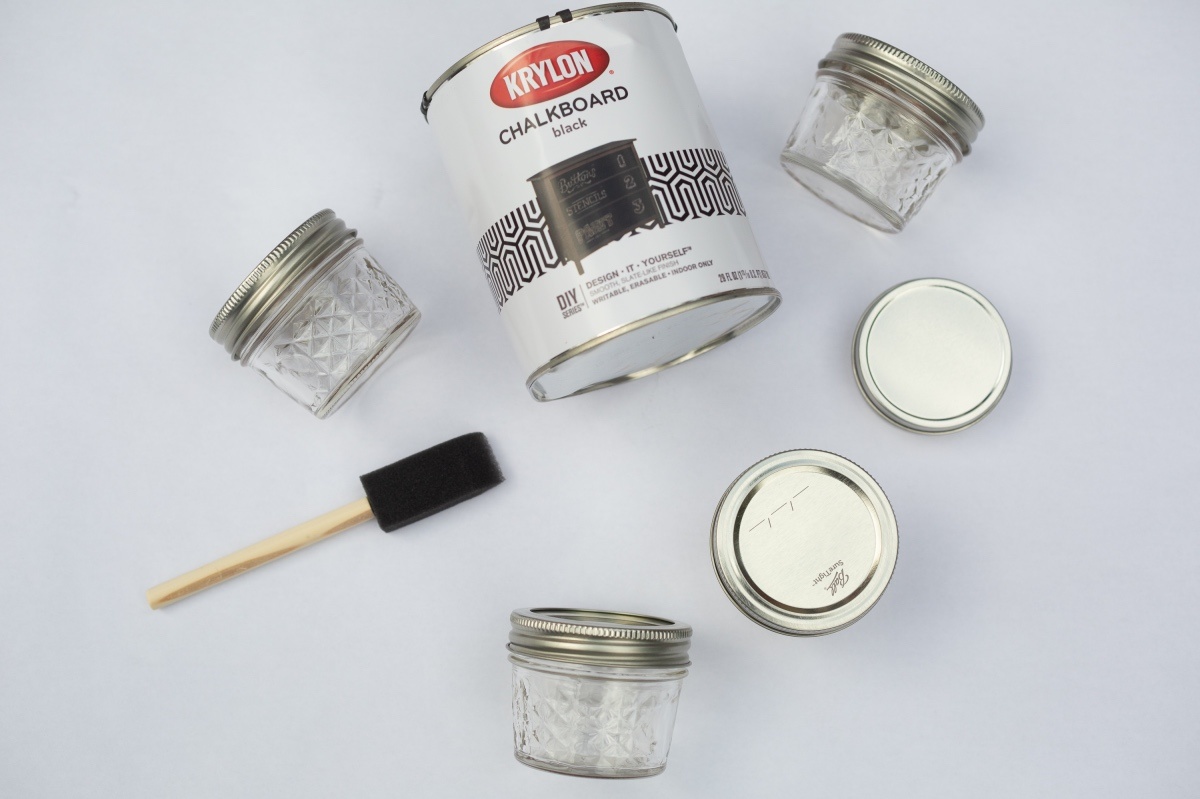
Supplies to Make Chalkboard Mason Jars
DIY Layered Hot Chocolate & Chalkboard Painted Mugs and Mason Jars Kit
-or-
Chalkboard Paint
Foam Brush
Any Size Mason Jars
Paper to Protect any Surface Where you are Painting
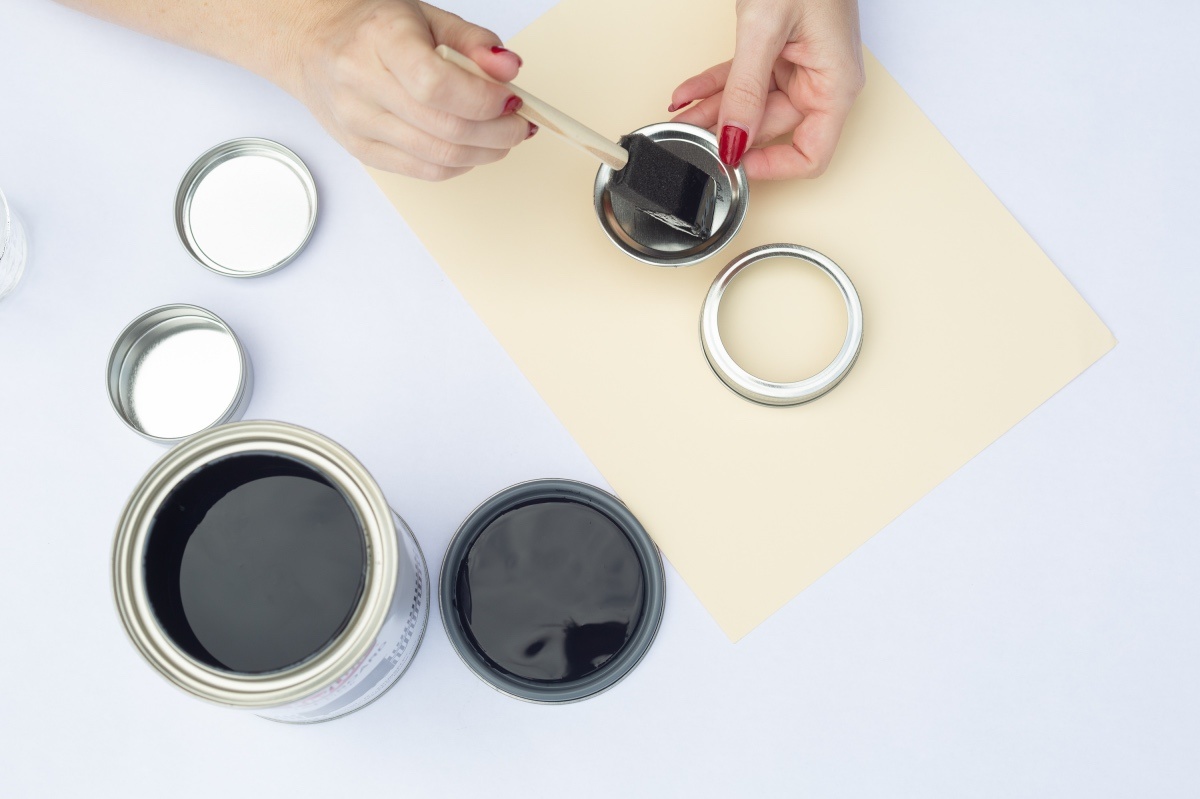
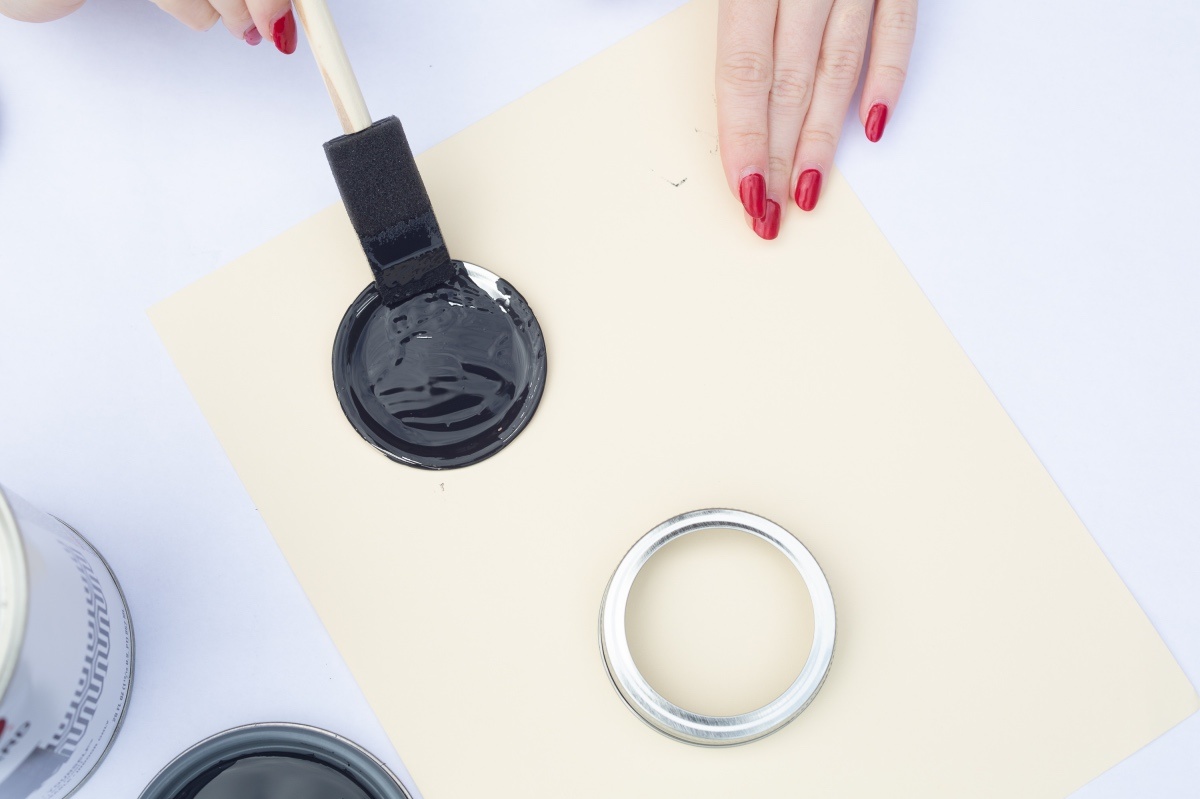
Before you get started, lay down a surface of paper, newsprint, or anything to protect your surfaces from the chalk paint. Then let’s get to painting!
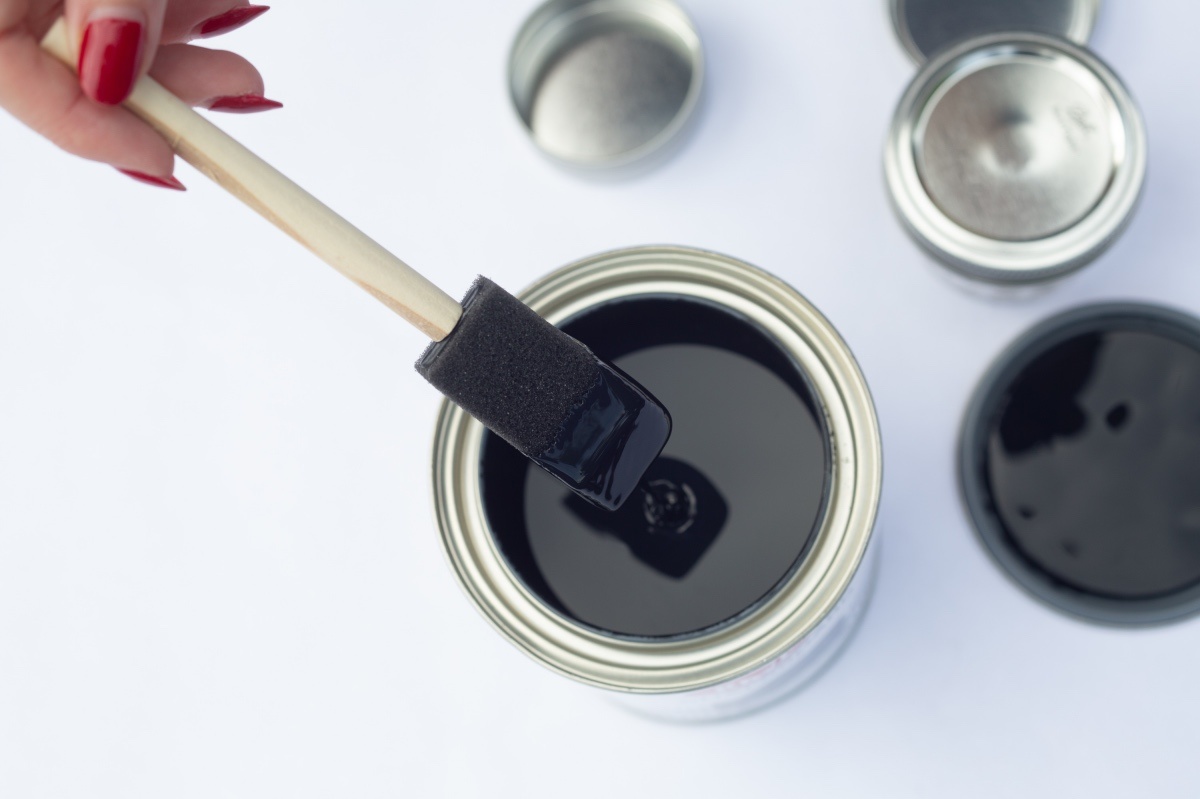
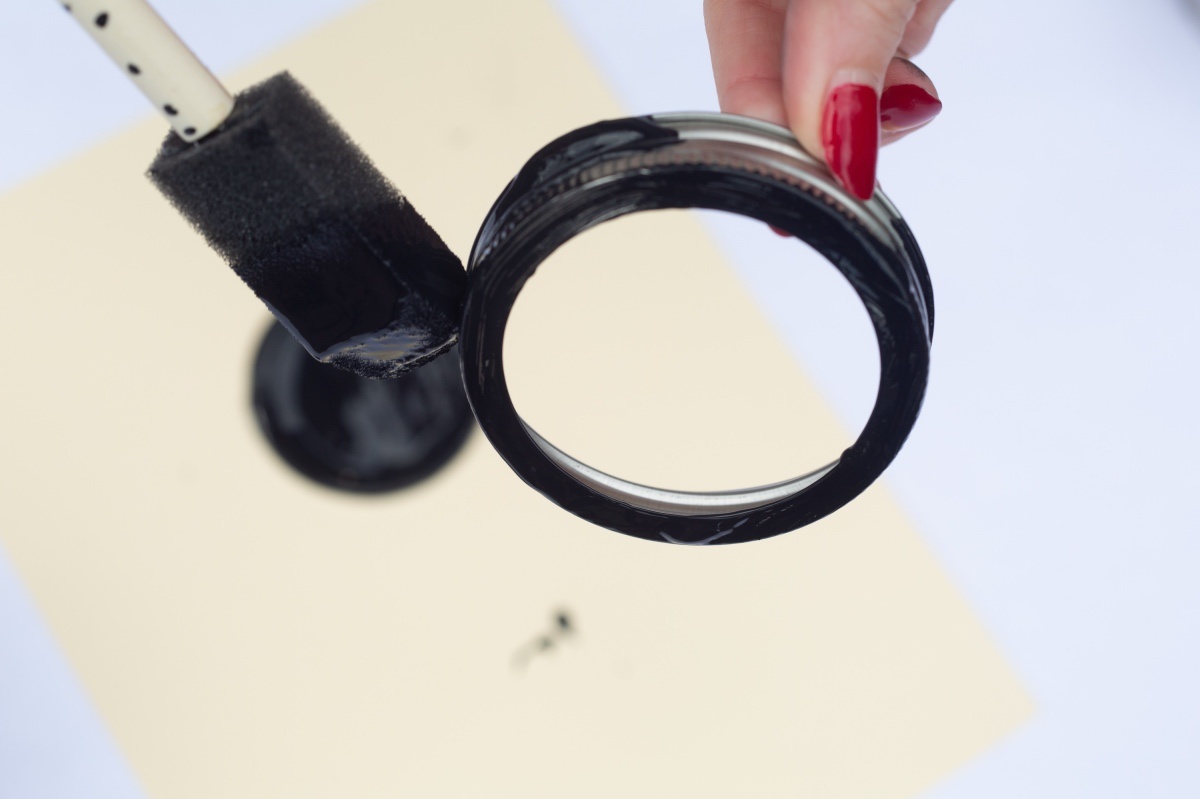
Chalkboard paint has the most glorious texture! It’s just wonderful to work with. When it’s liquid it’s think and dense like ink. You do not need to stir it like other house paint. So just dip your brush in carefully and thickly coat the entire surface.
When painting the mason jar lids, it can be hard to get all the edges at once. And that’s okay because you will be applying a second coat. Chalk paint takes about 30 minutes – perhaps up to 1 hour to dry. And then we can apply the second coat immediately after that.
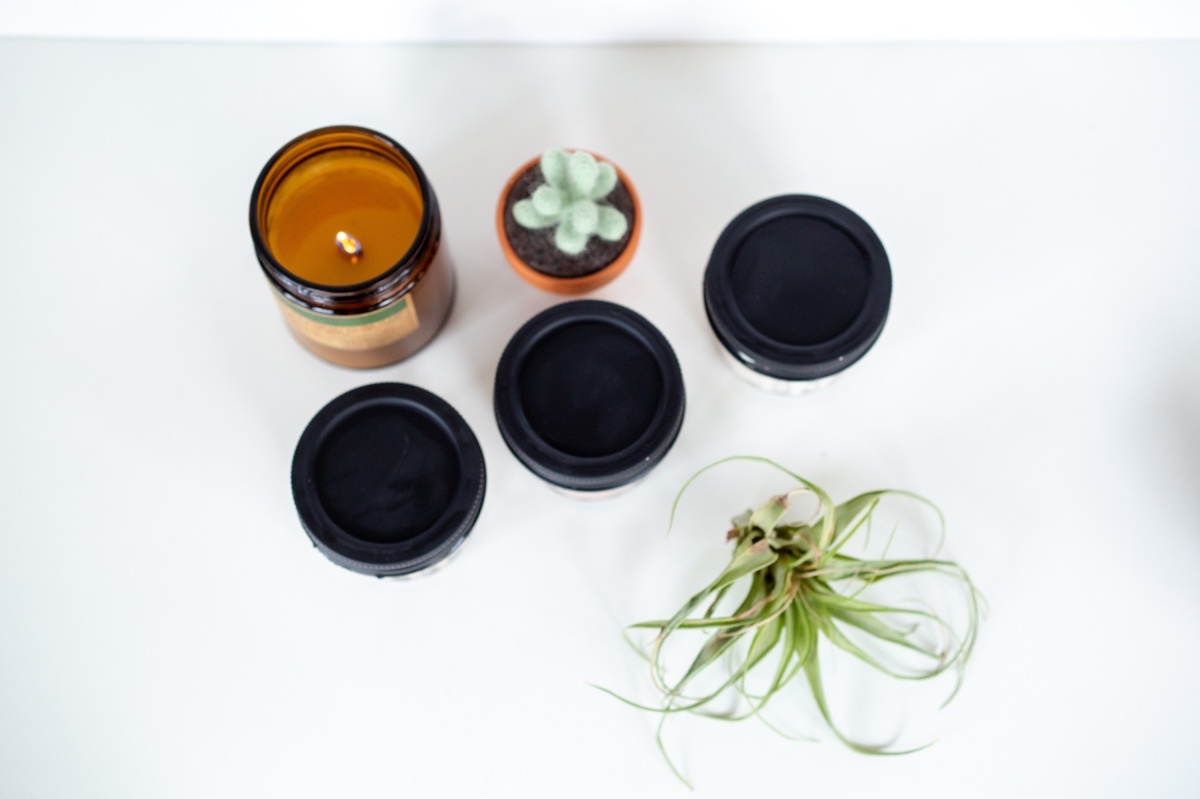
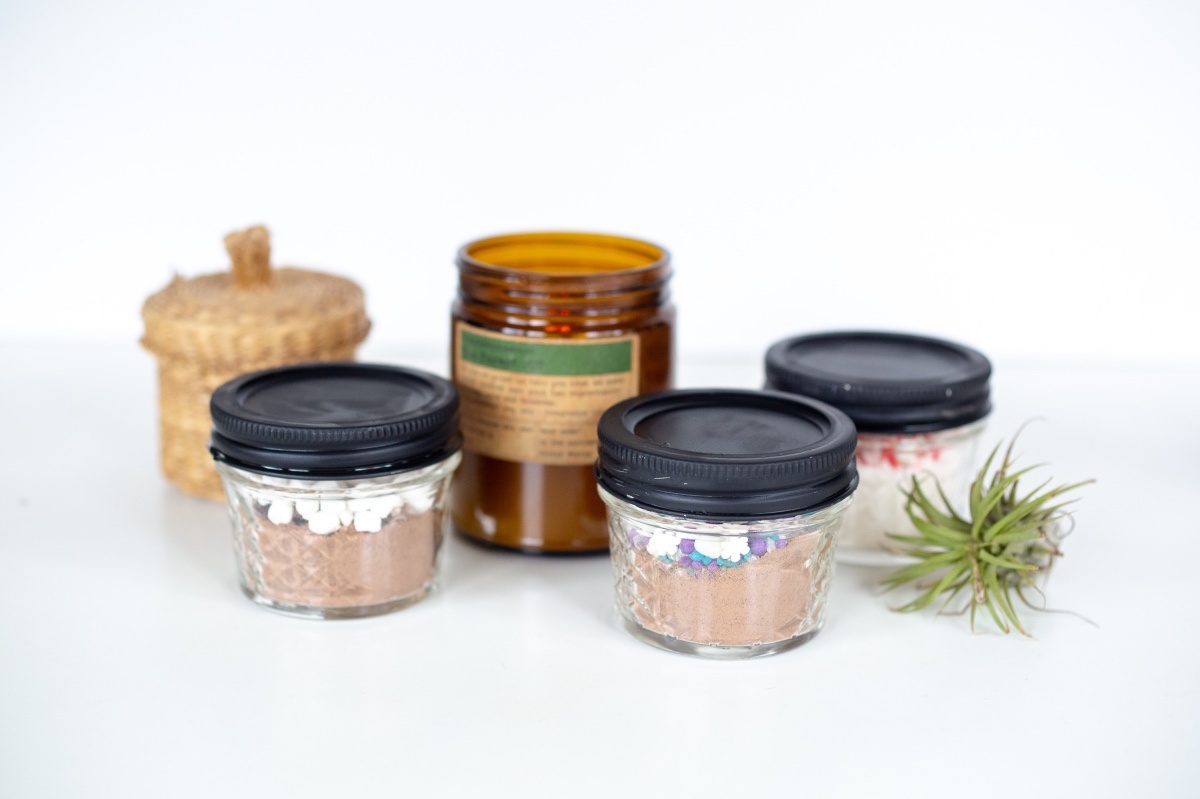
For these mason jars, we just painted the lids because we wanted to be able to see through the glass at the contents inside. But you could paint the entire surface! The choice is up to you.
Whatever you decide to paint, only paint the outside surface that way you can use the mason jars for food items or personal items without worry.
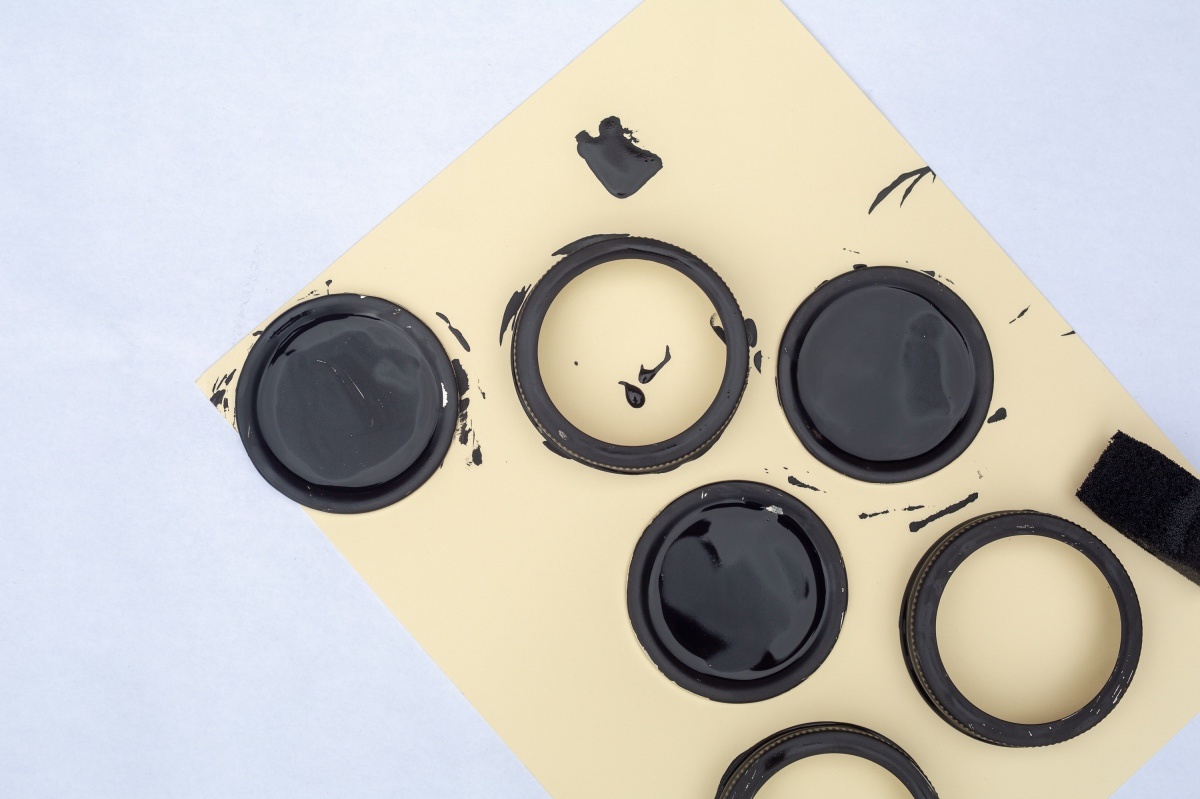
This is what our Chalkboard Mason Jars looked like after one coat of paint. They always end up with little pieces that aren’t quite covered. If you look carefully at the photo you can see what parts are dry and what parts are still wet.
The dry parts have a matte texture while the wet parts are still shiny and glossy.
Pretty right? Once your lids are dry, you can place them pack on the mason jars! These mason jars are dreamy enough for just about any use. Looking for the instructions for October’s Craft in Style Subscription Box? You can find them here.
Let’s Stay Friends!
Insta | Pinterest | Enews | TikTok


