Craft in Style Subscription Instructions, DIY
How to Make Chalkboard Painted Mugs
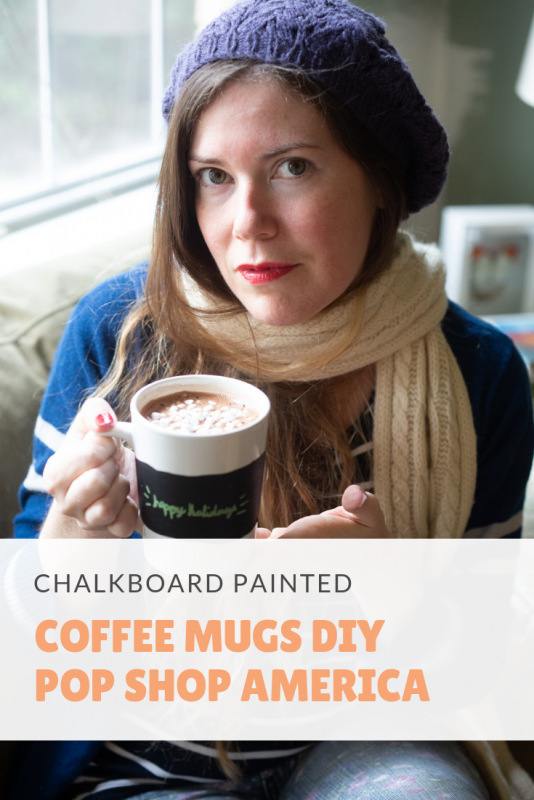
Is it just me or do you love the rich matte black of chalkboards? I love chalkboard everything right now and it’s so fun and modern. That’s why our DIY Layered Hot Chocolate & Chalkboard Painted Mugs and Mason Jars Kit is all about chalkboard mugs and mason jars.
This kit was originally our November 2018 Craft in Style Subscription Box. You can find the 1st tutorial for the box here – Chalkboard Painted Mason Jars here. And you can find the 2nd tutorial for for the kit – Layered Hot Chocolate Mixes in Mason Jars here.
Now let’s get started on crafting these super stylish DIY Chalkboard Painted Mugs!
Supplies to make DIY Chalkboard Painted Mugs
DIY Layered Hot Chocolate & Chalkboard Painted Mugs and Mason Jars Kit
-or-
Chalkboard Paint
A Foam Brush
Ceramic Mugs
Soap & Water
Oven (to bake them and make them dishwasher safe)
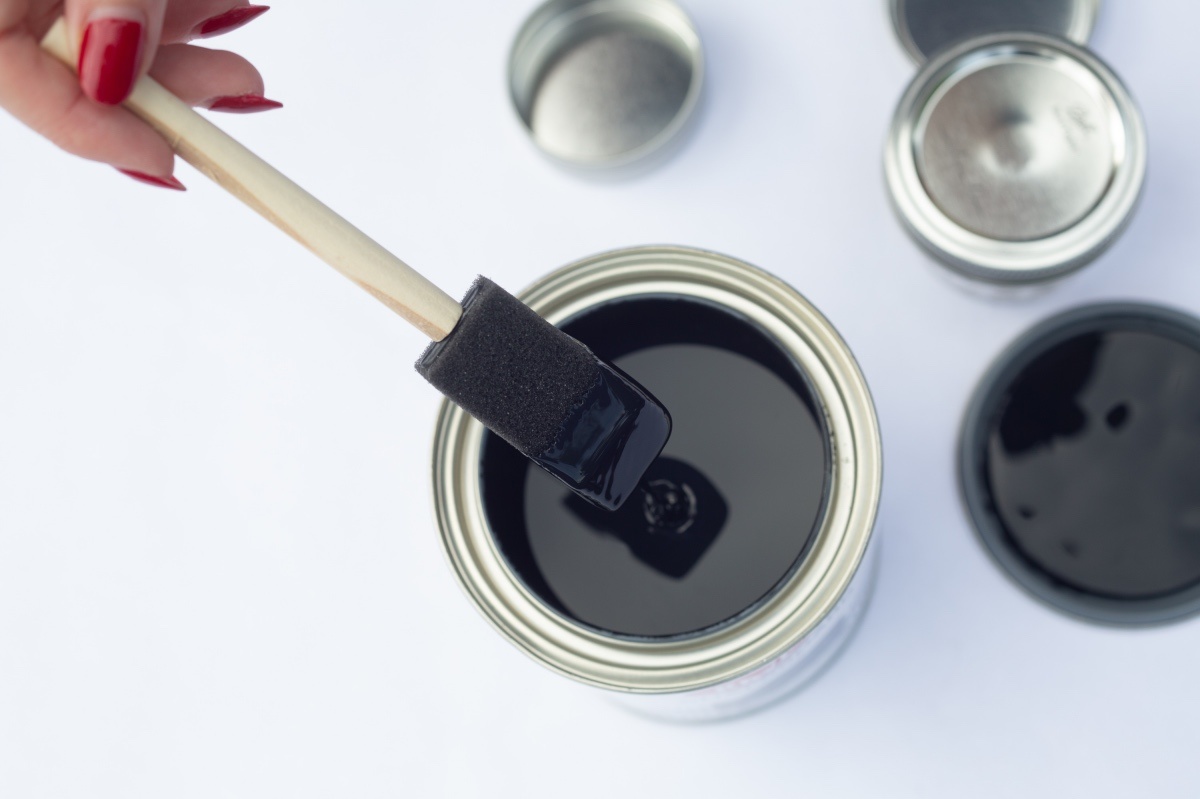
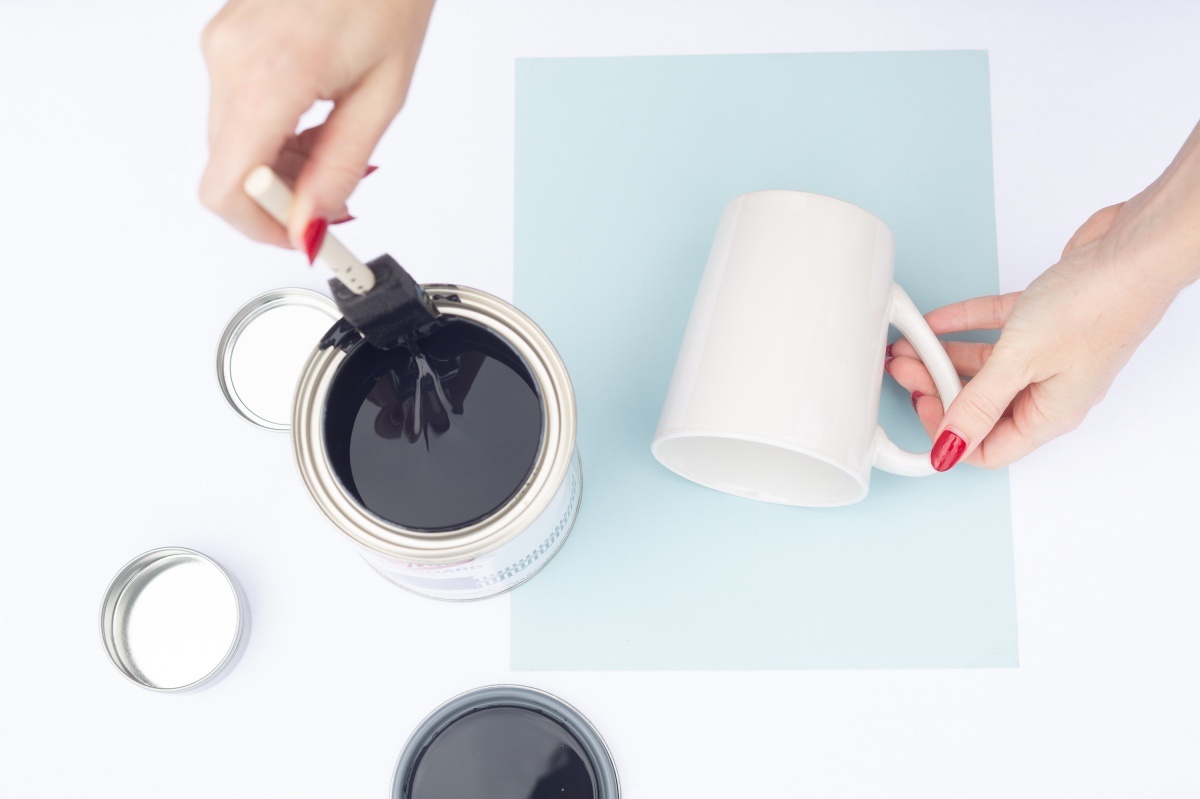
First, always open up your chalkboard paint carefully! If you received the craft kit, your paint will arrive in a small silver paint tin. And always be sure to create a newspaper surface to protect your belongings from damage.
Next, clean the mugs thoroughly with soap and water or swipe with an alcohol cloth. Either one as fine as long as you are working with a clean surface. And be sure that your mugs are dry too before you begin to paint them.
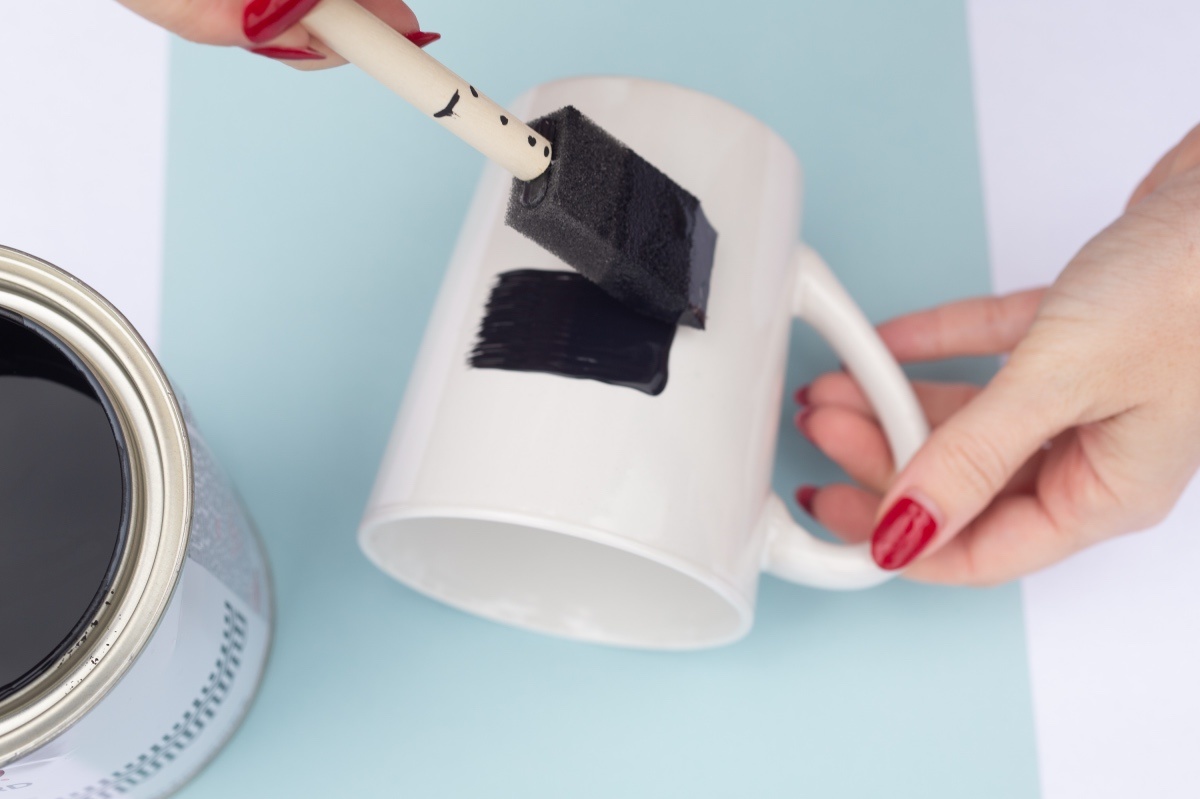
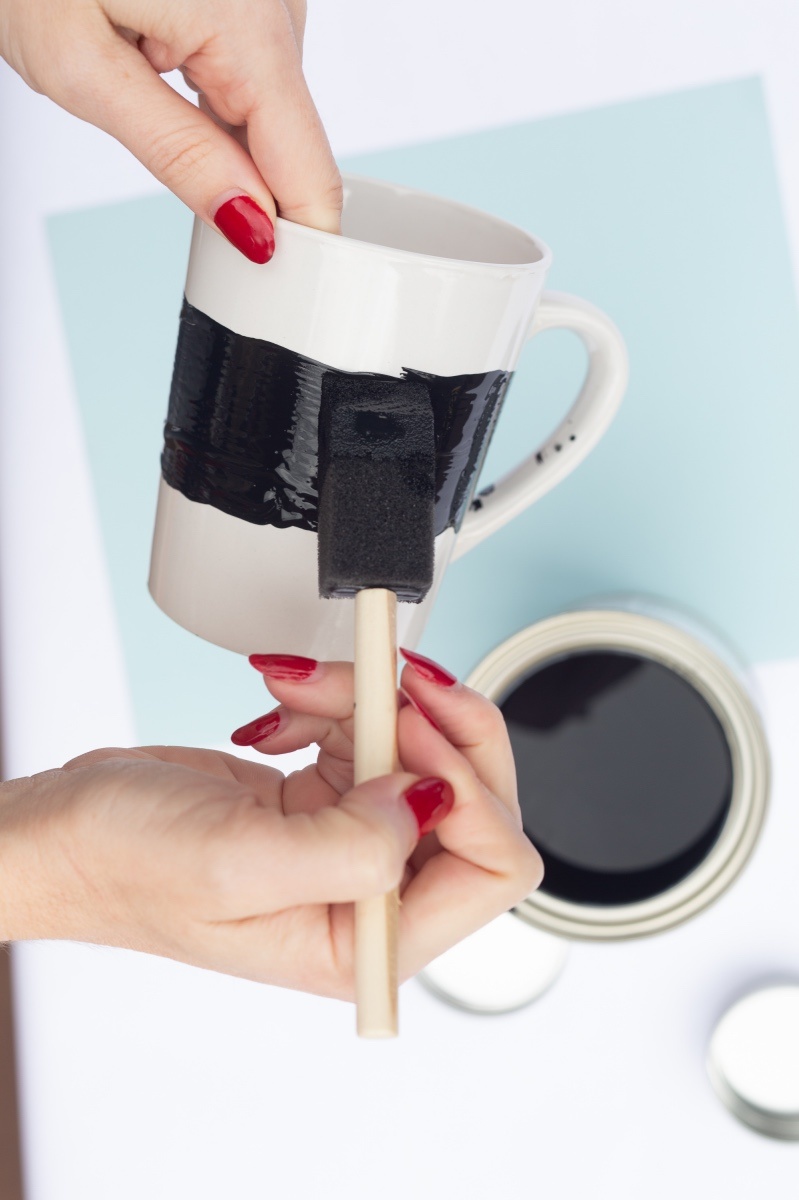
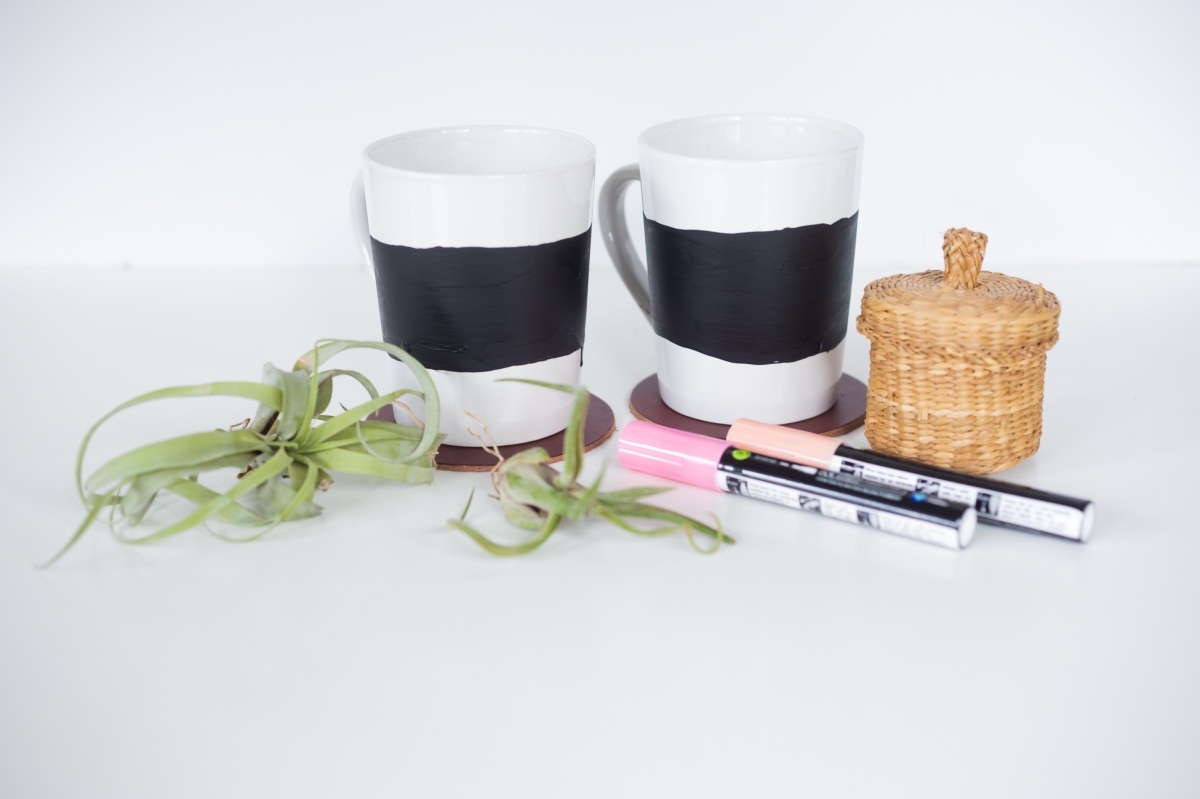
As far as how and where you should place the paint, I just made a simple stripe. I think it would also be cute to just paint the bottom of the mug. Do not paint around the lip of the mug where you drink from.
If you are a perfectionist, you may want to tape the edges where you are going to paint. I wanted mine to look a bit handmade, so didn’t tape a thing!

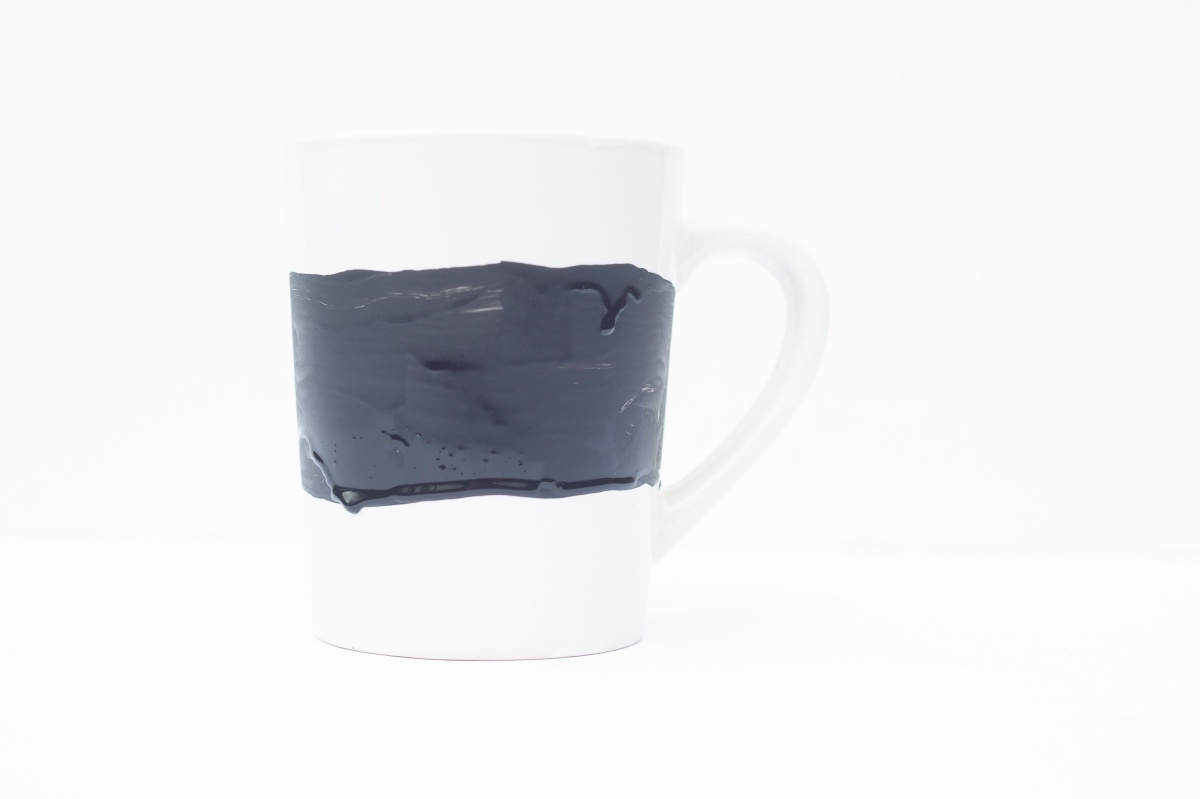
Chalkboard paint always needs two coats. Always. The first coat is going to look splotchy and a bit messy. But the good news is that it dries really quickly – it only takes about 30 minutes to an hour. You will know that your paint is dry when it becomes matte and all it’s glossy shine is gone.
You can apply the second coat just as soon as the first one’s dry. At this point your mugs are done and ready to use! If you want to make them dishwasher safe you will want to take one additional step.
After several days, 4 is recommended, heat your ceramic mug in the oven to finish the chalk paint. It should be heated at 325° for 30 minutes. And viola – modern, sweet Chalkboard Painted Coffee Mugs.
And for our next tutorial we’re going to learn how to letter these Chalkboard Mugs! So grab your DIY Layered Hot Chocolate & Chalkboard Painted Mugs and Mason Jars Kit and we’ll see you later for the Basics of Chalkboard Lettering!
Let’s Be Friends!
Insta | Pinterest | Enews | TikTok


