Craft in Style Subscription Instructions, DIY
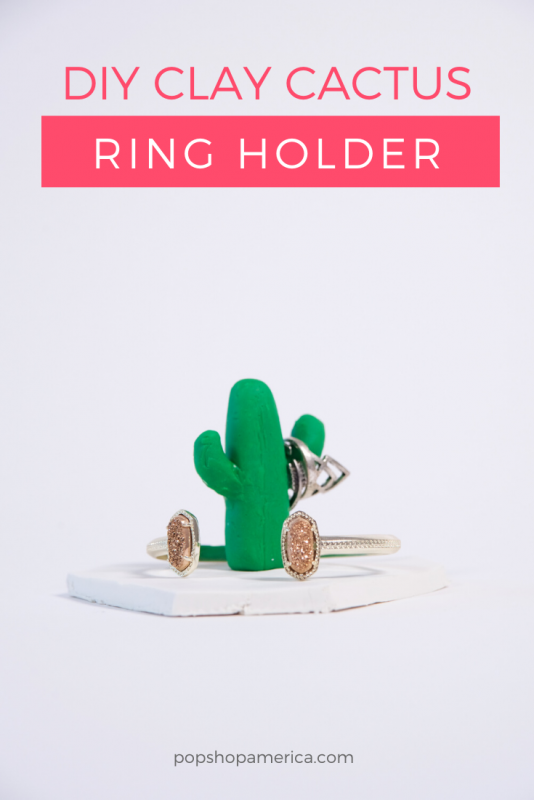
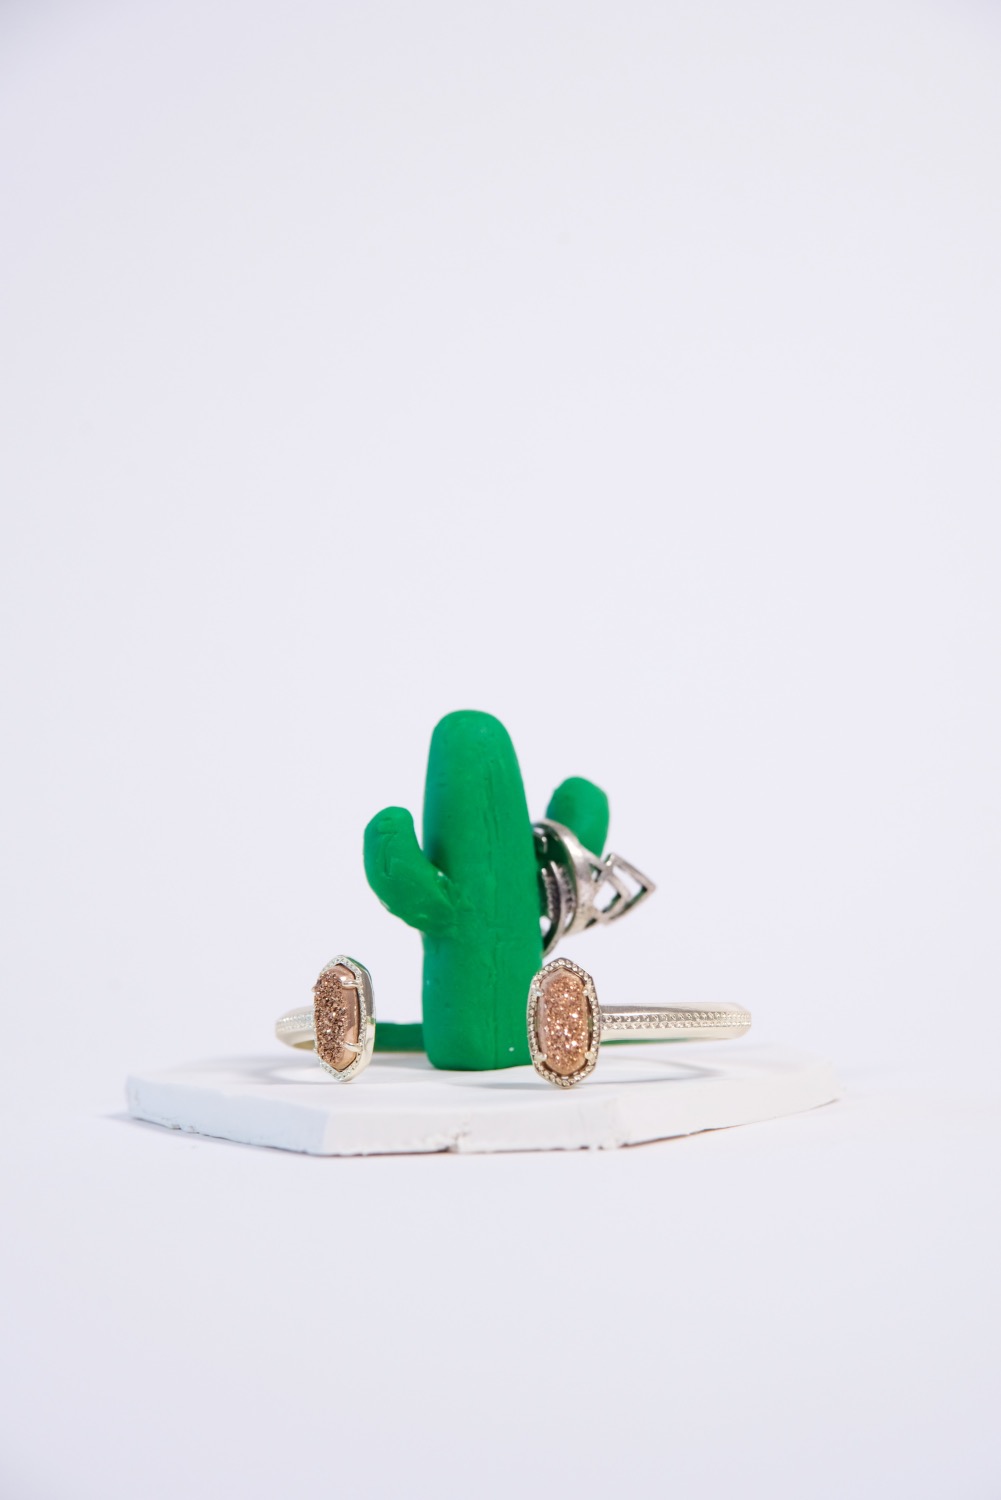
DIY Clay Cactus Ring Holder Trinket Dish
Mar
This is Part 1 of 3 for the March 2020 Craft in Style Subscription Box. Get this box, or find out more about Craft in Style here. Find Part 2: How to Make Clay Beads here. Find Part 3: 21 Stylish Oven Bake Clay Projects here.
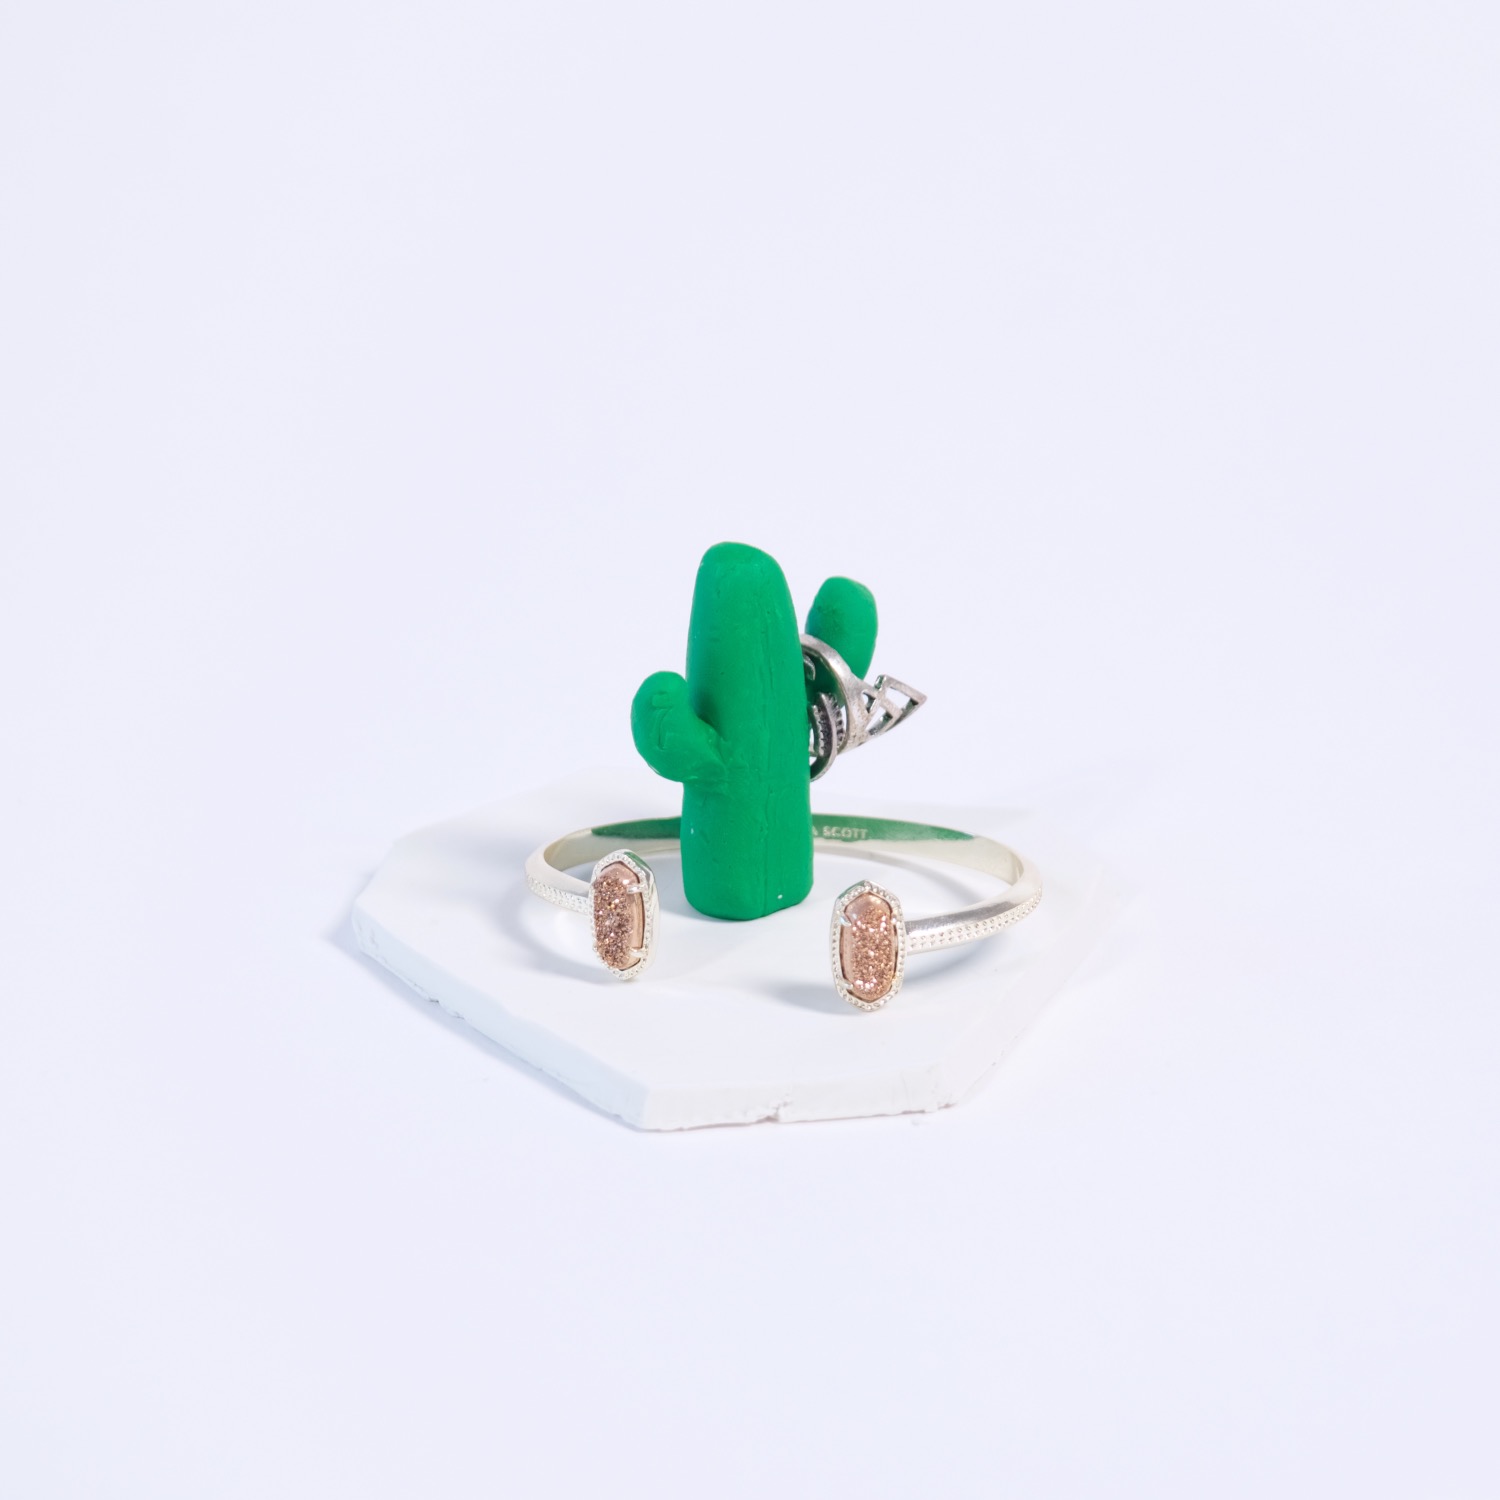
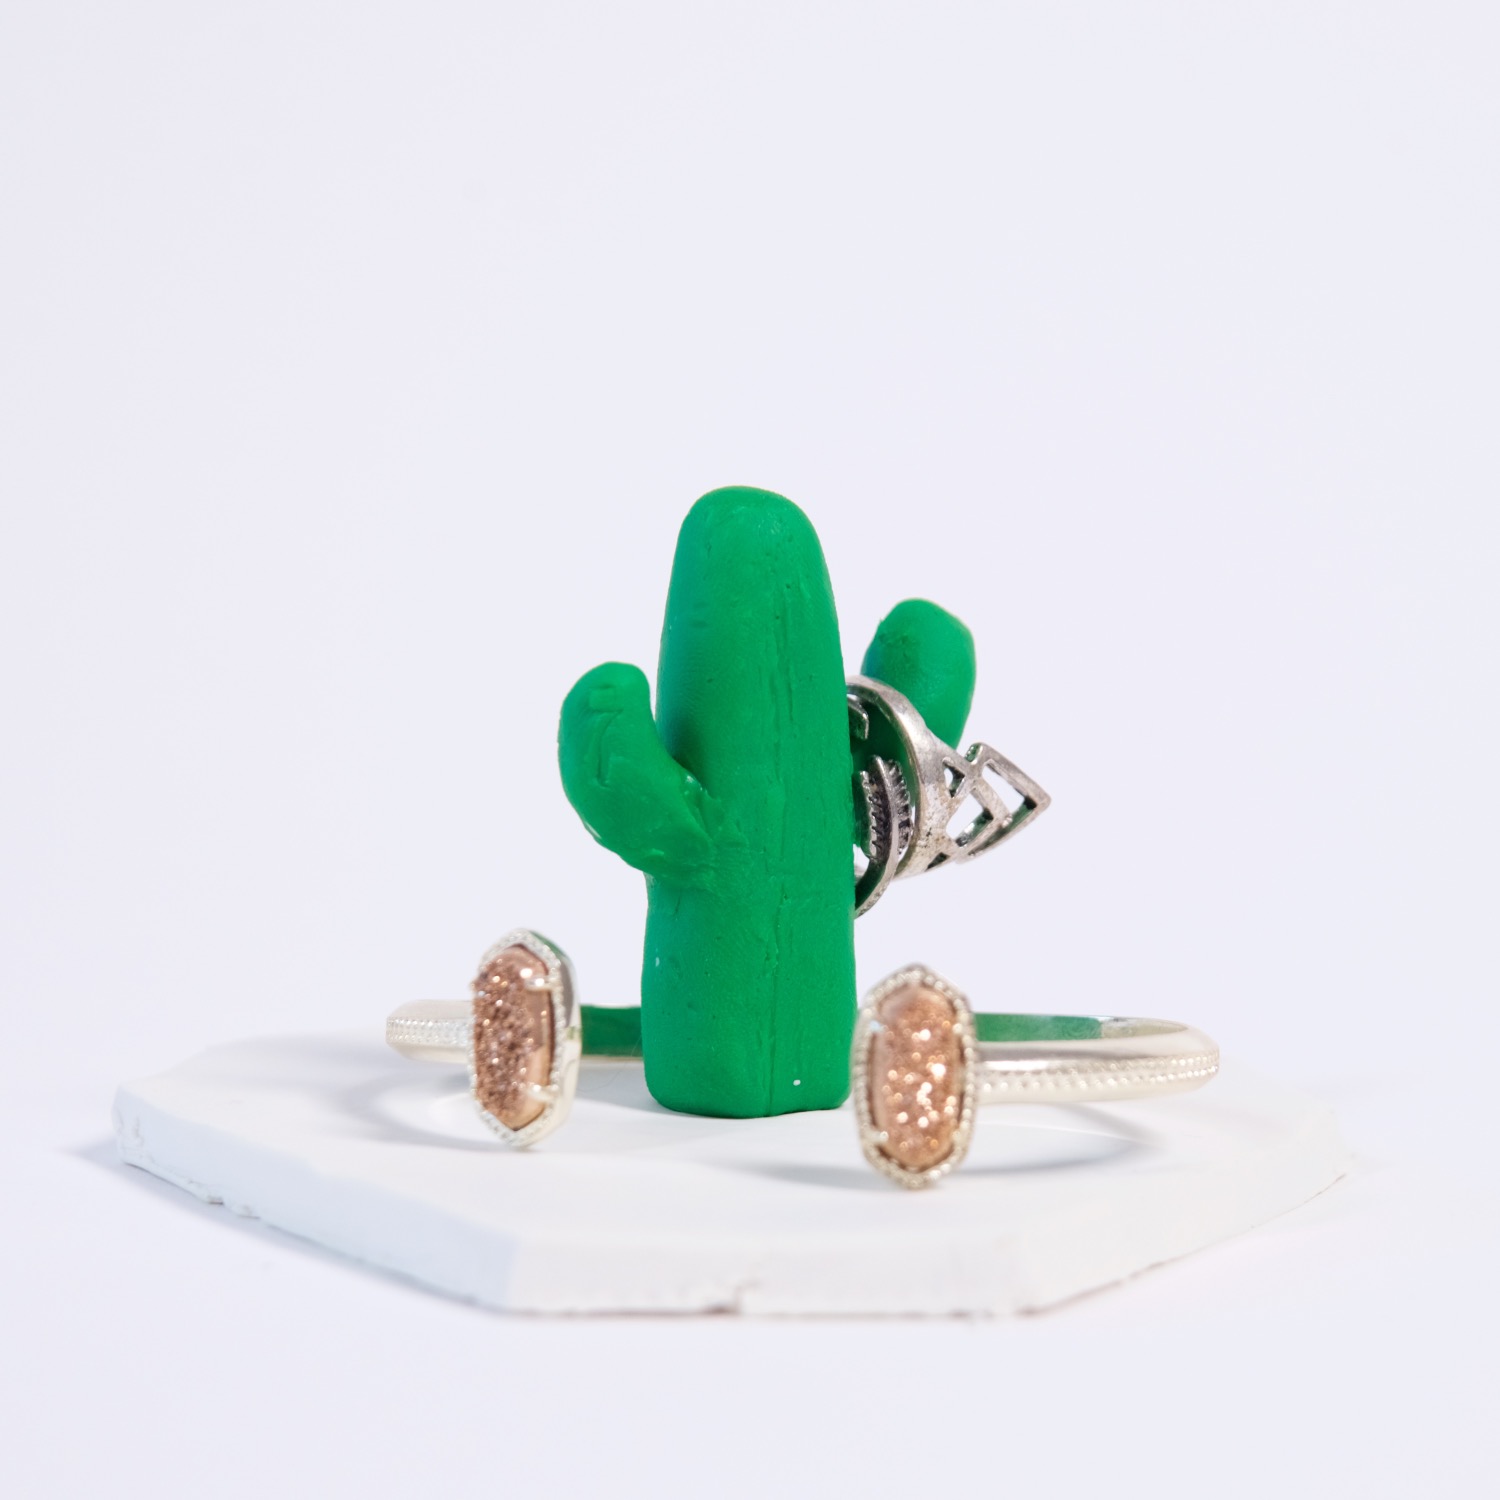
Are you ready to make something truly special with oven bake clay? This little DIY Clay Cactus Ring Holder can be made in a variety of cactus styles and even a variety of colors of green! It’s so much fun and it’s the perfect place to store your small trinkets.
You could place it by the front door to hold your keys. Or you can place it on your night stand for your jewelry! So let’s make this DIY Clay Cactus Ring Holder!
Supplies to Make a DIY Clay Cactus Ring Holder:
March 2020 Craft in Style Subscription Box
-or-
2 oz White Oven Bake Clay
1/2 oz each Variety of Green Oven Bake Clay
A Way to Roll the Clay:
A Rolling Pin, A Pint Glass, Dowel Rod, or Small PVC Pipe
An Oven or Toaster Oven to Fire the Clay
Make the Base of the Trinket Dish
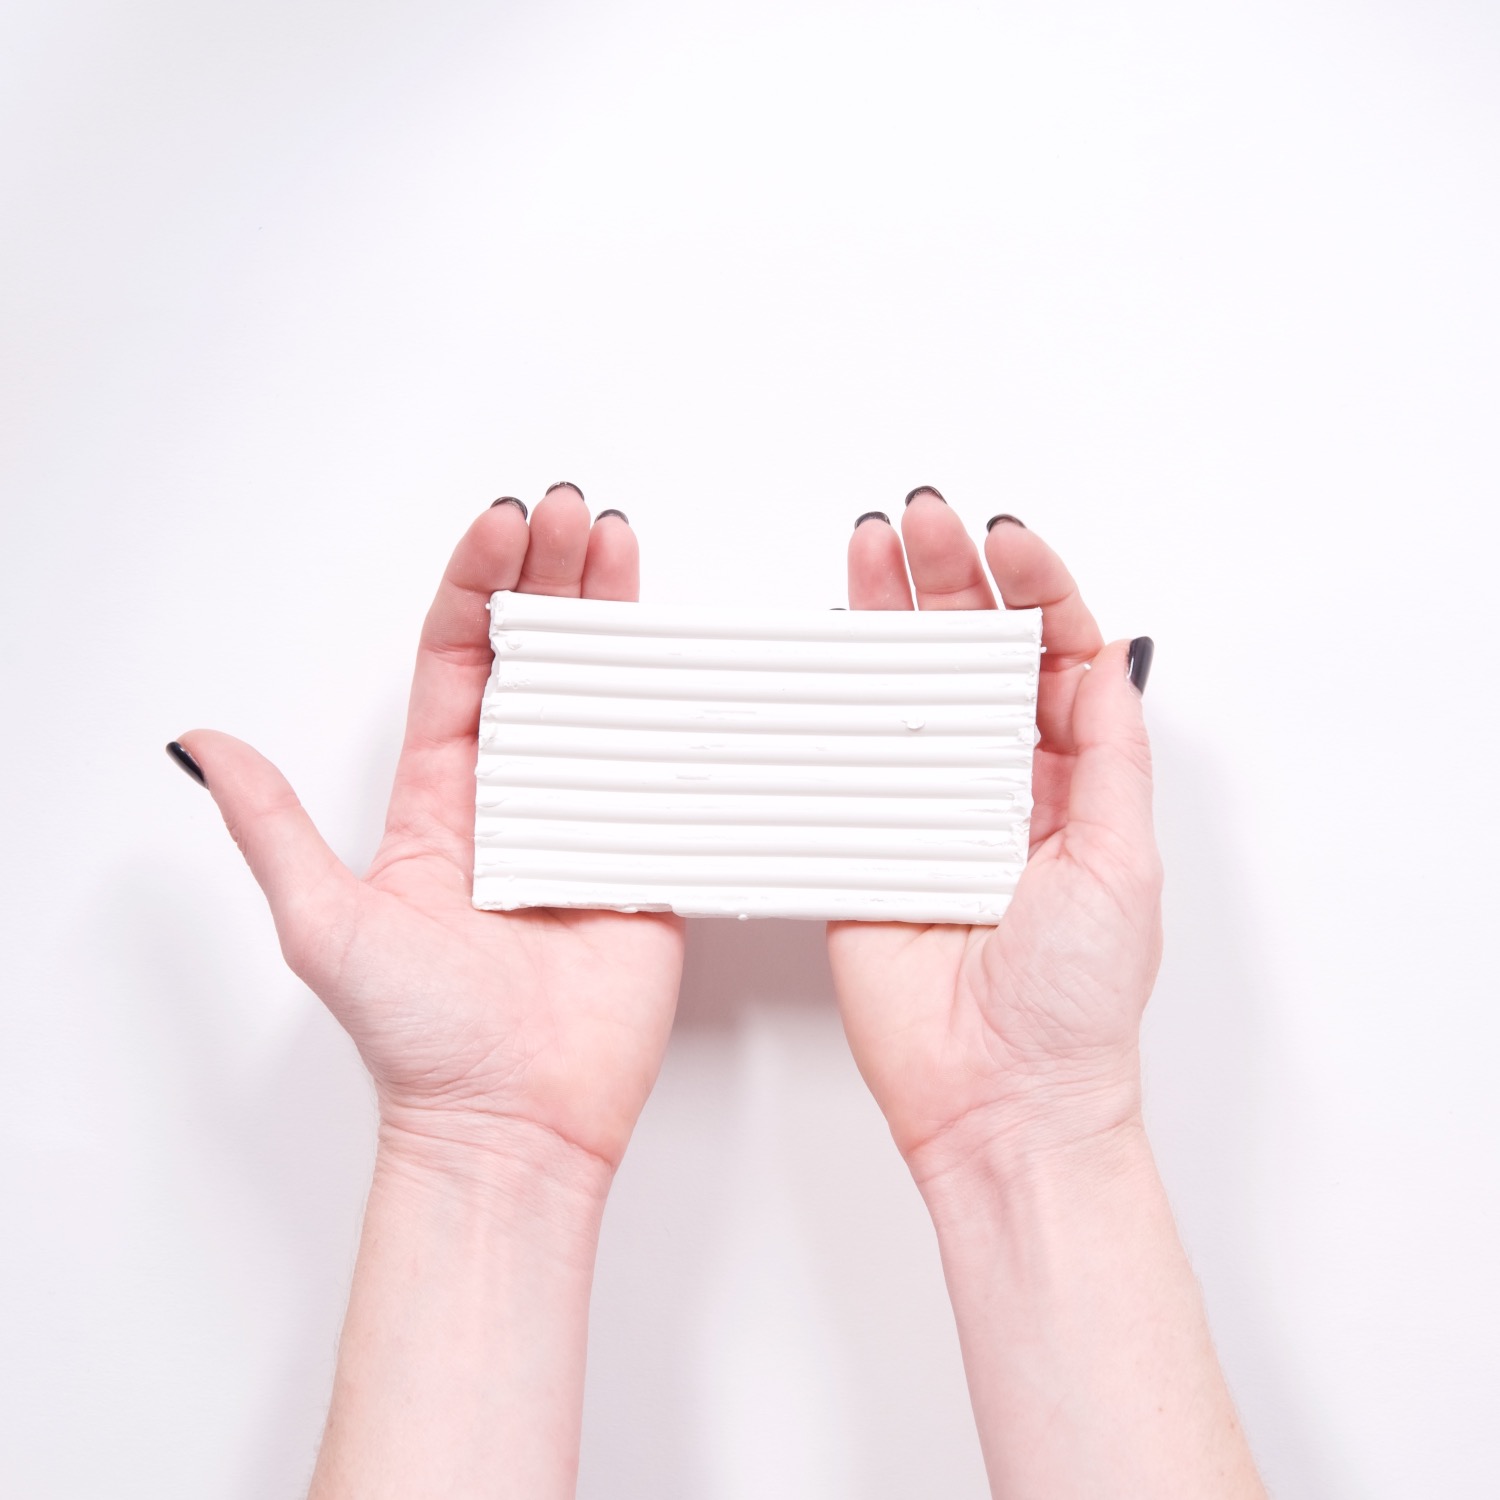
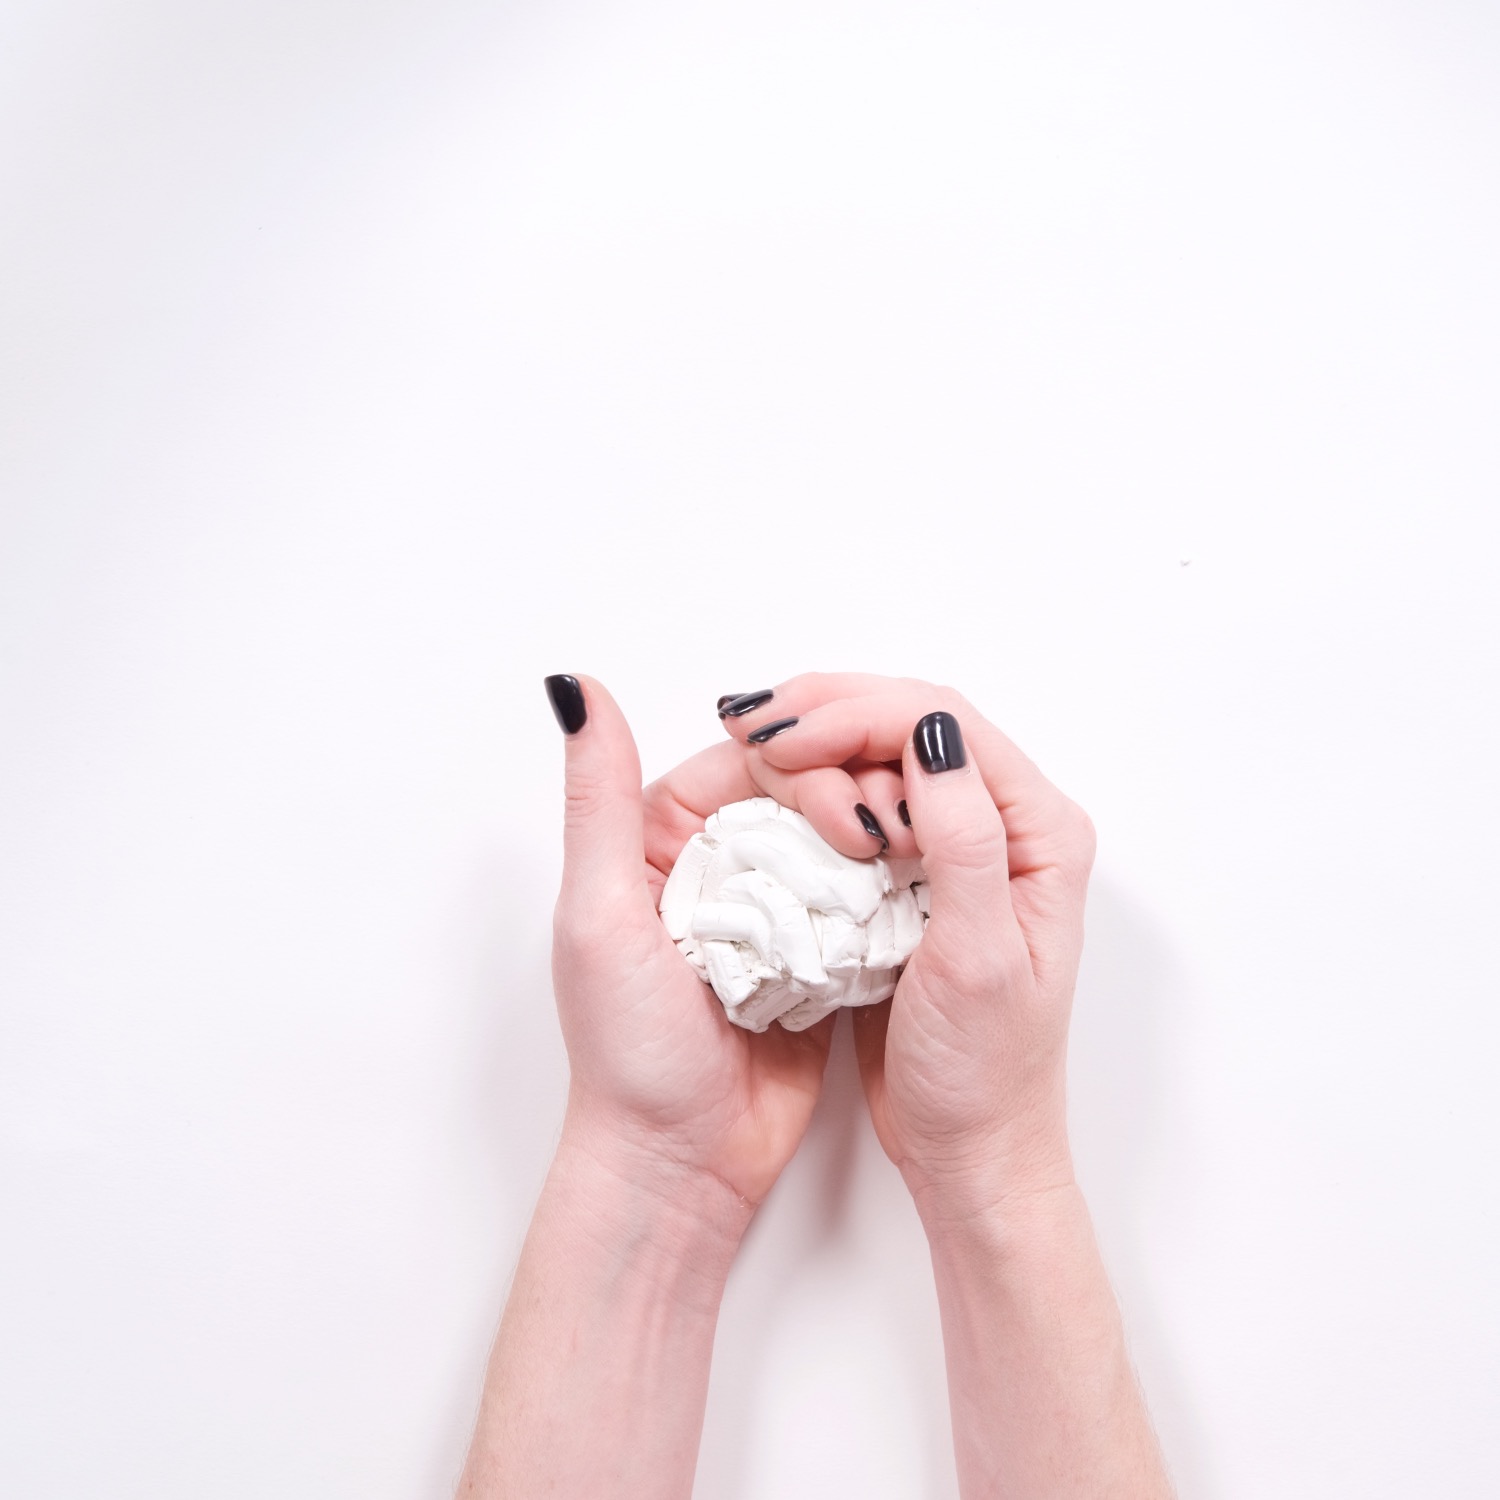
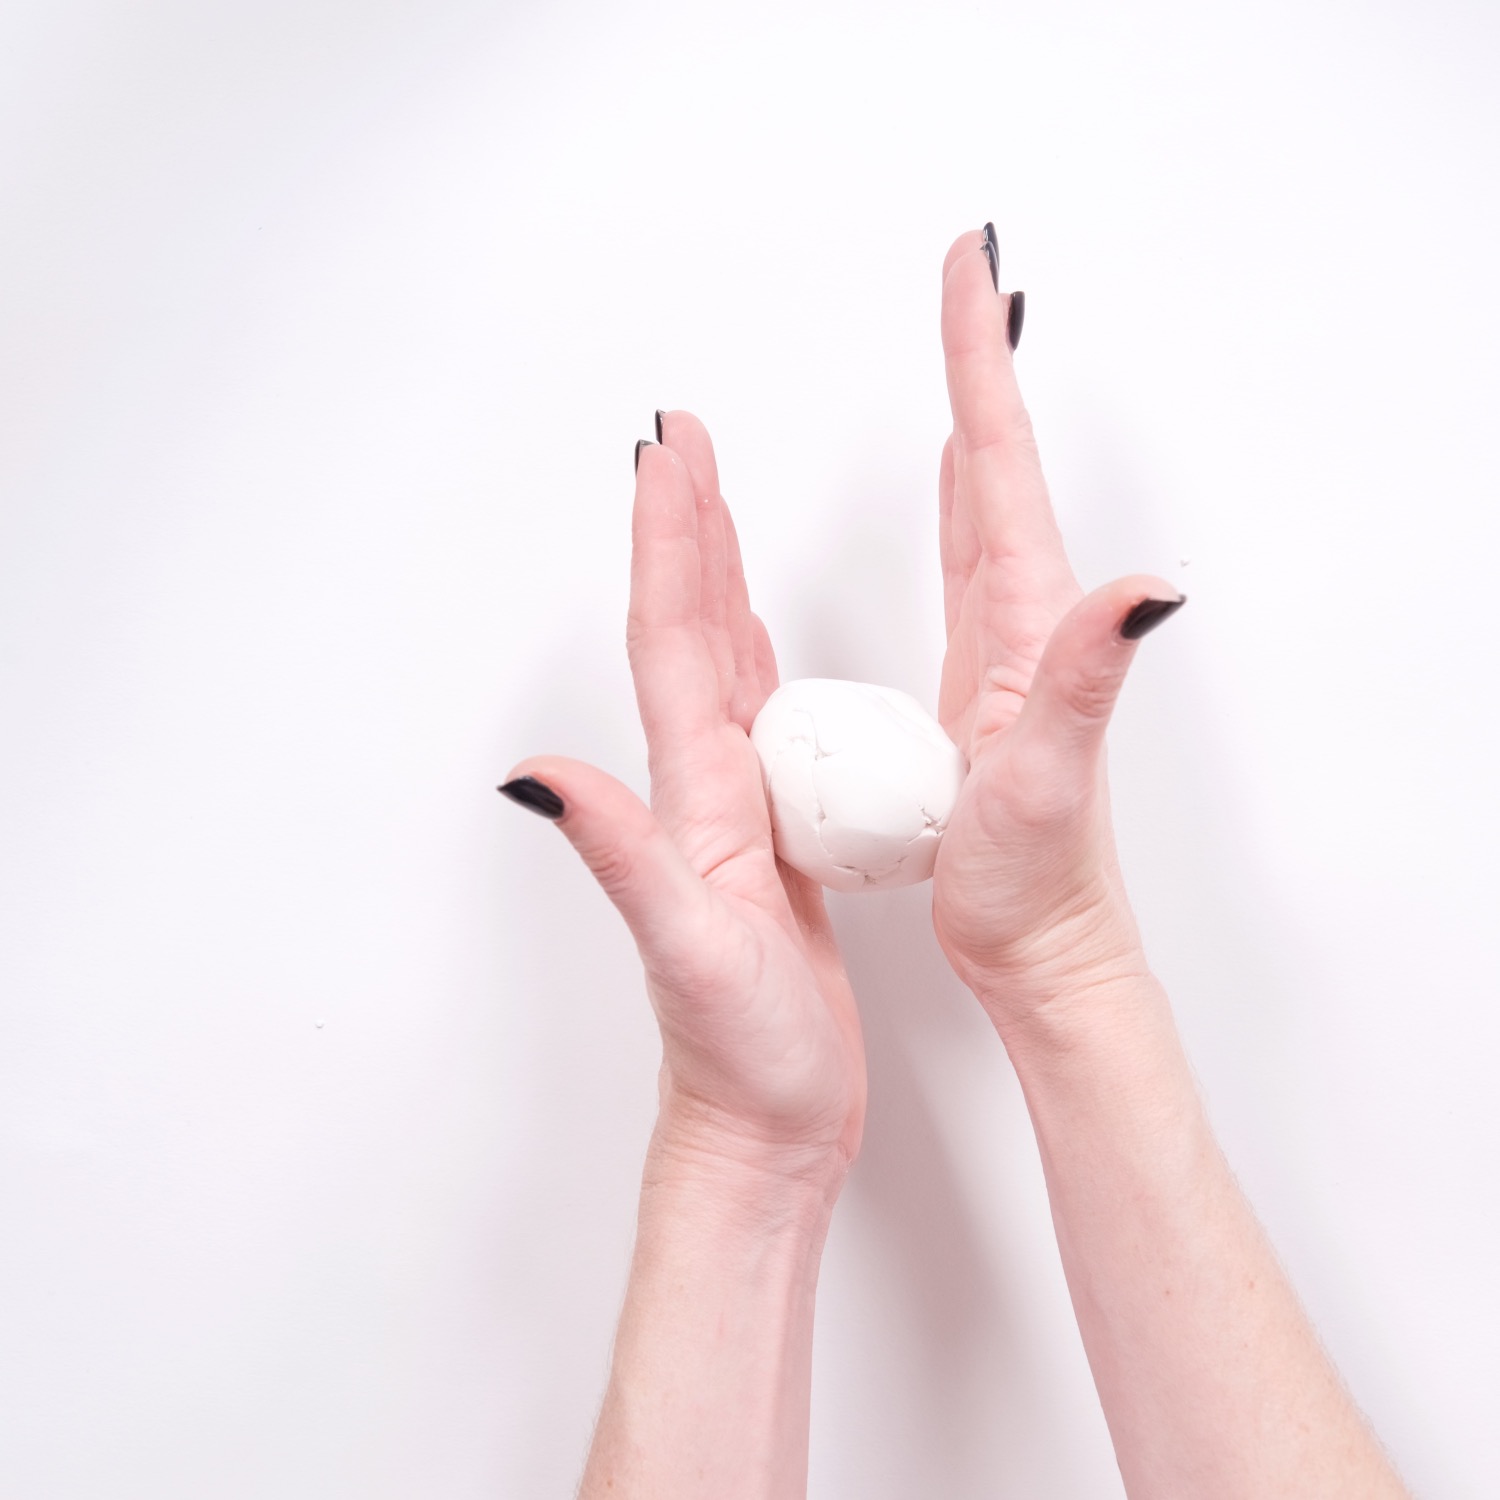
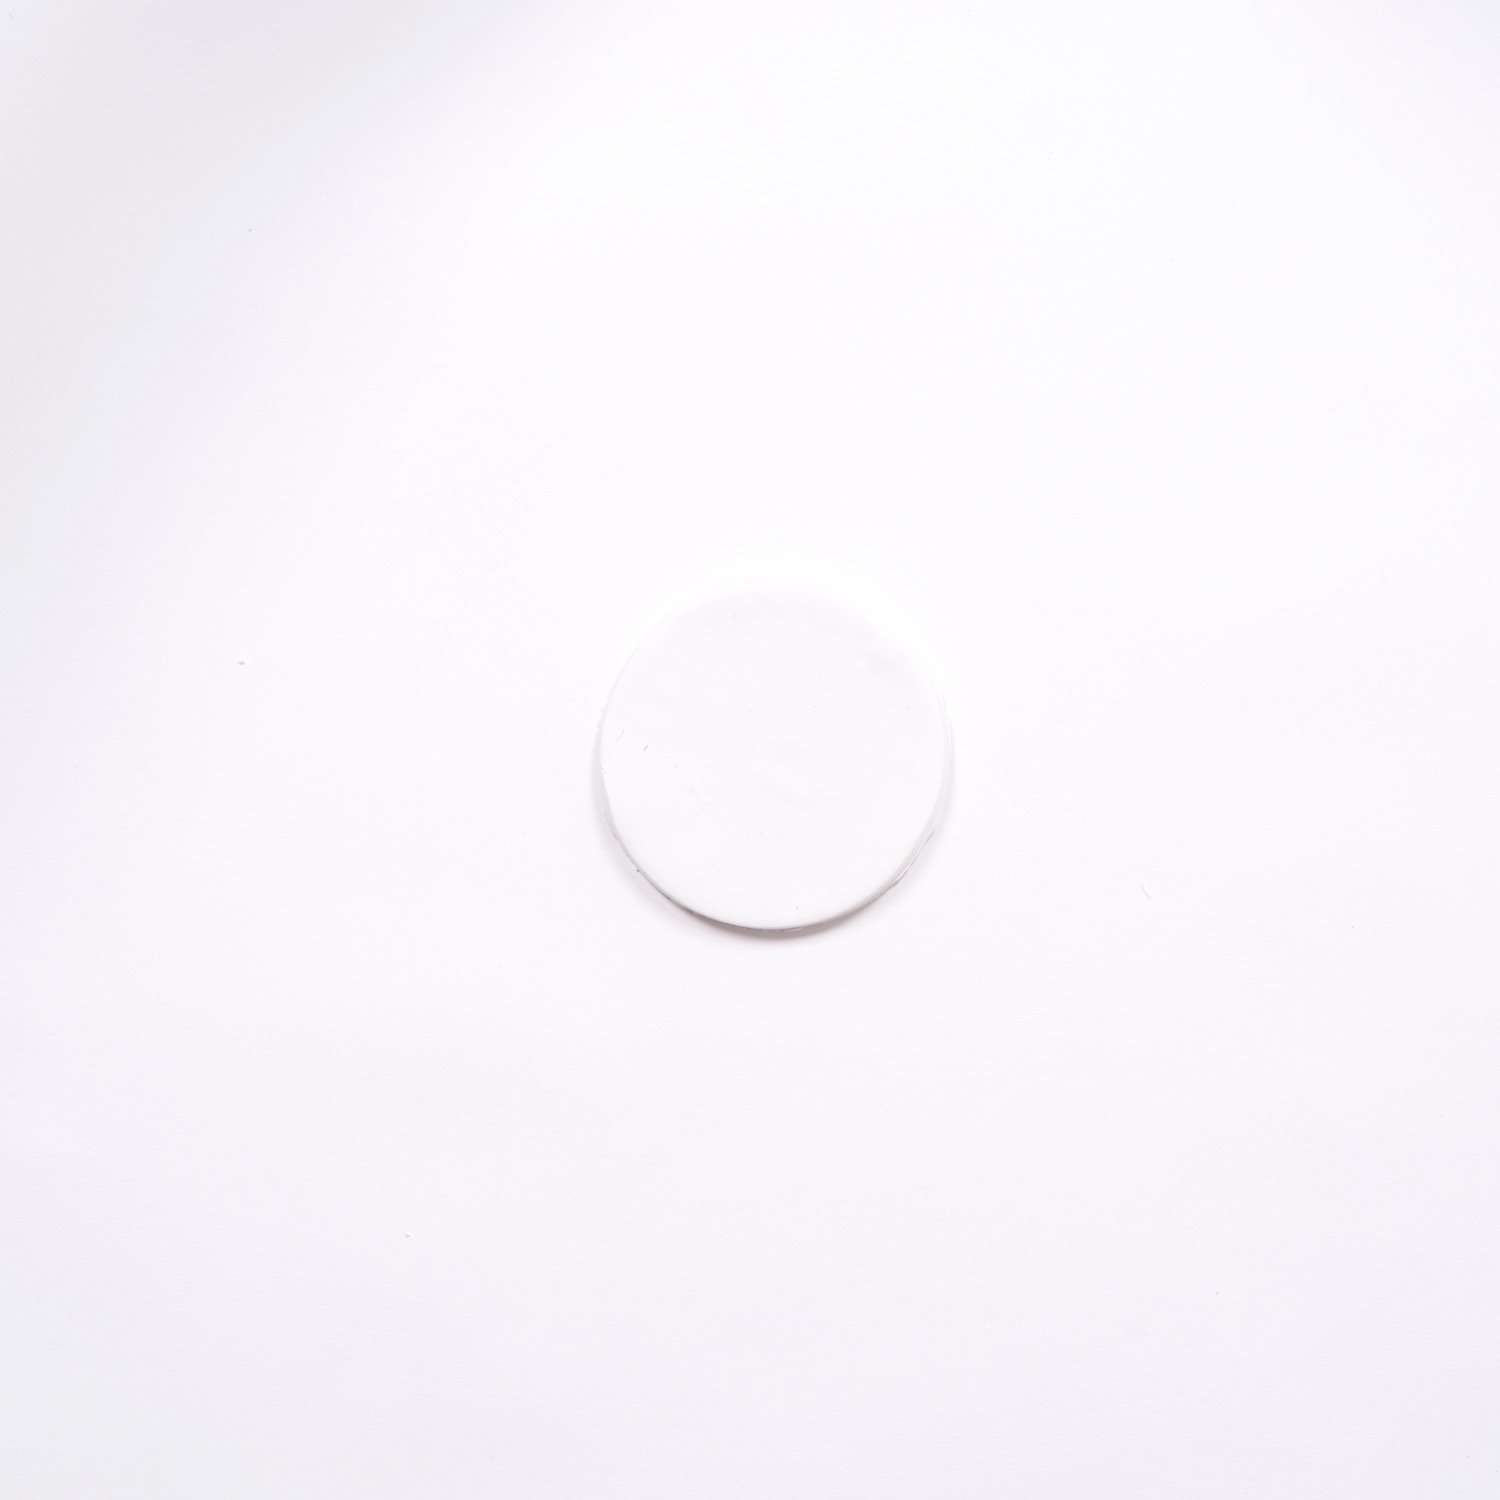
Start with around 1 to 2 ounces of white clay. Roll it into a ball in your hands. Sometimes oven bake clay is really hard when you start working with it. But as you work it into a ball, the warmth of your hands will soften the clay.
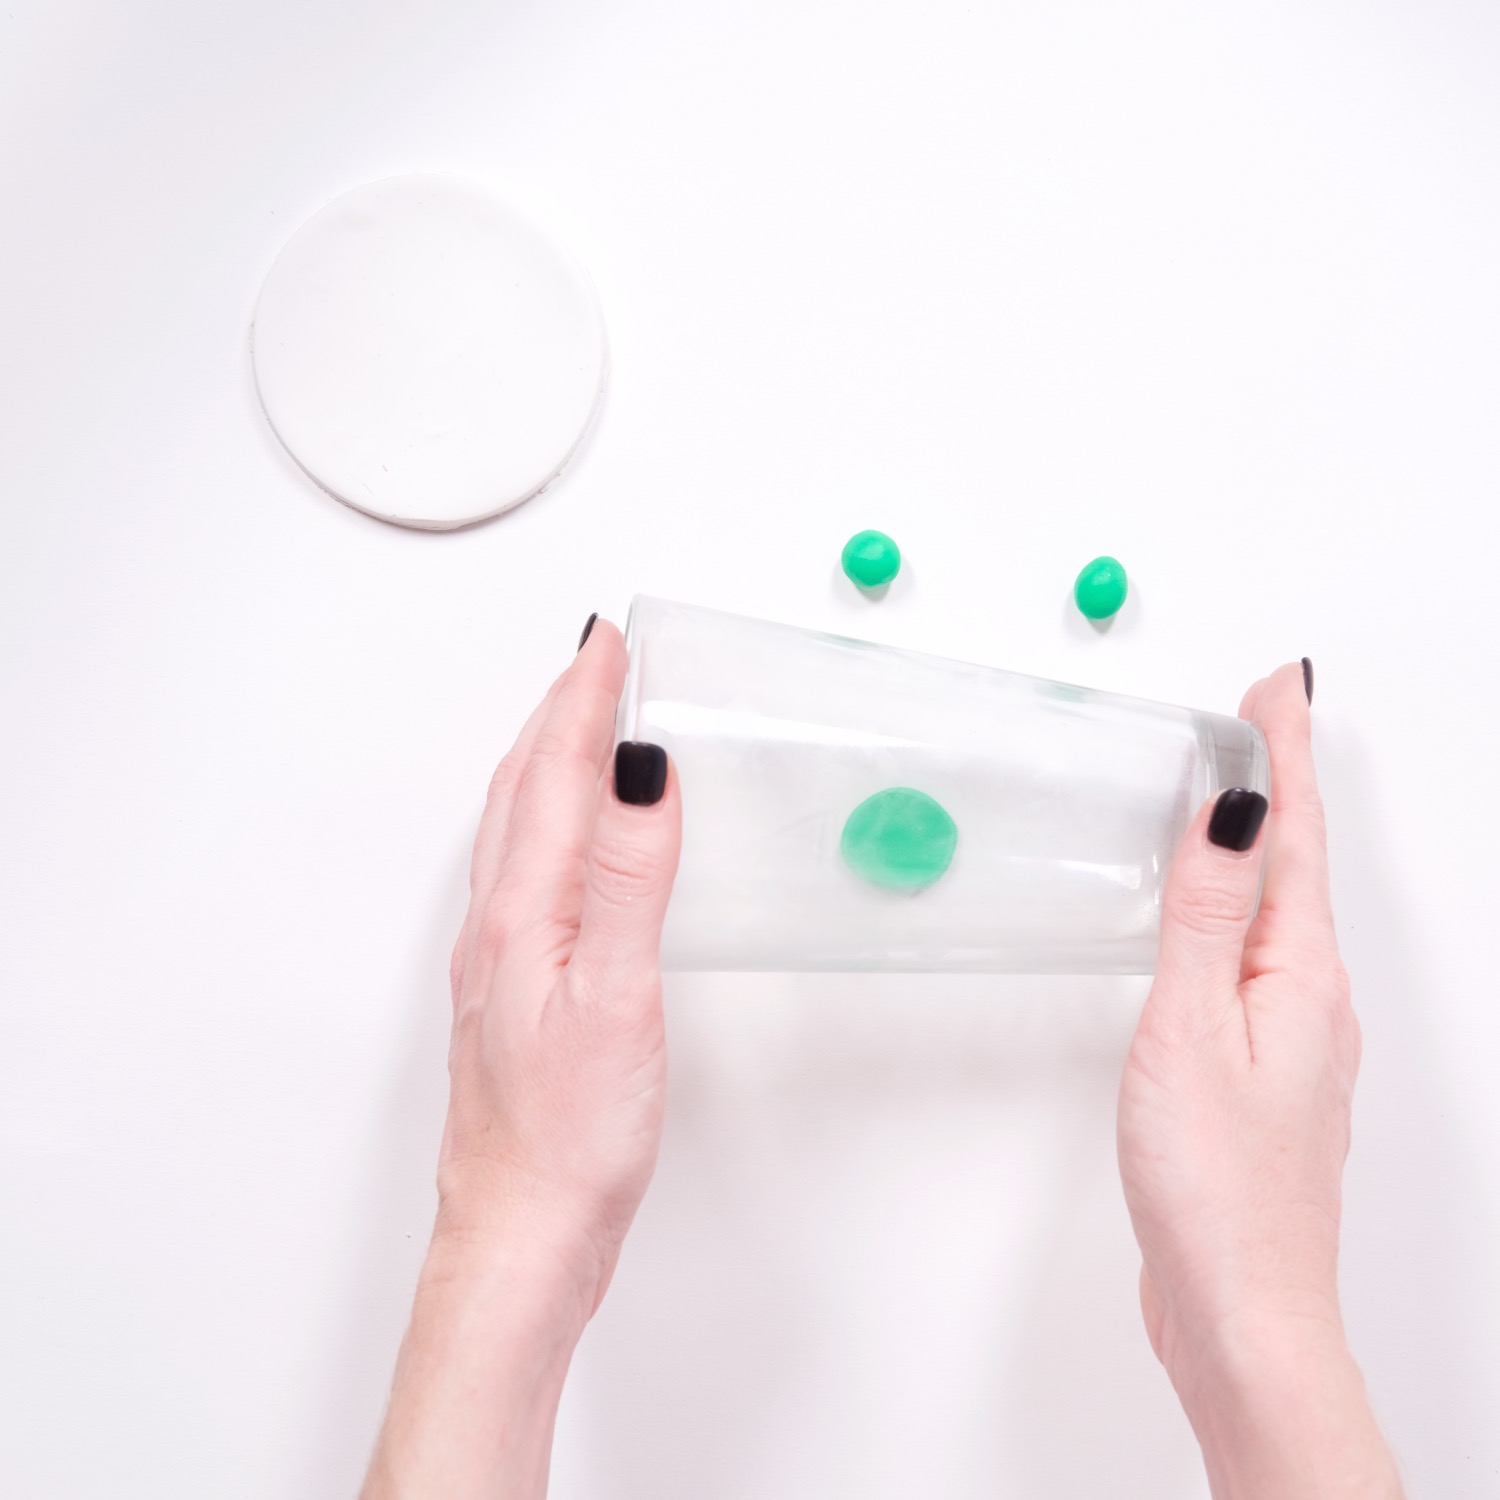
Once you have your clay in a ball with a fairly smooth surface, roll the clay flat.
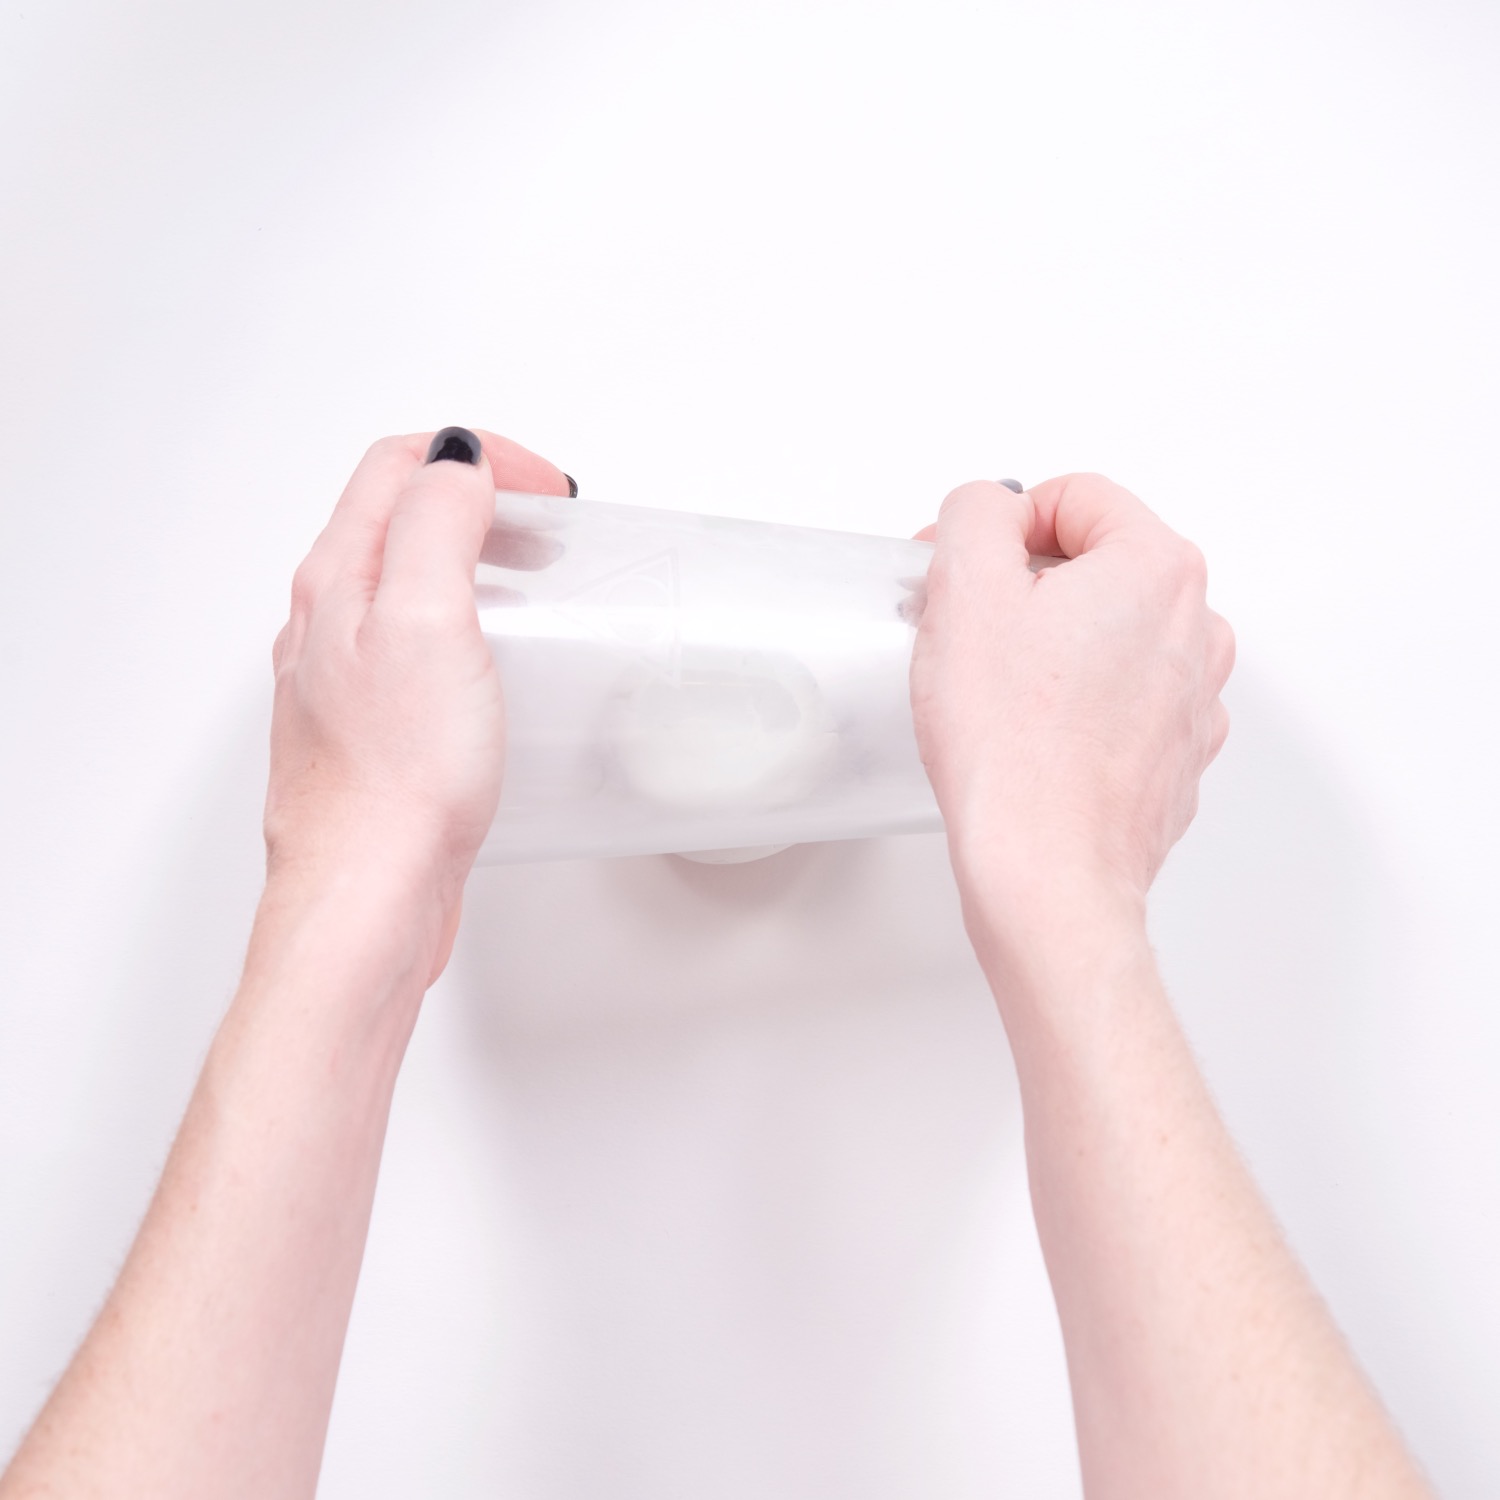
To roll the clay, I used my glass etched pint glasses from the October Craft in Style Subscription Box! It was fun to reuse supplies that I had created before.
You could also use a kitchen rolling pin or anything that has a circular shape around the outside. Clay Rollers are an easy tool – but they are so overpriced and aren’t versatile enough of a tool to be worthwhile to own.
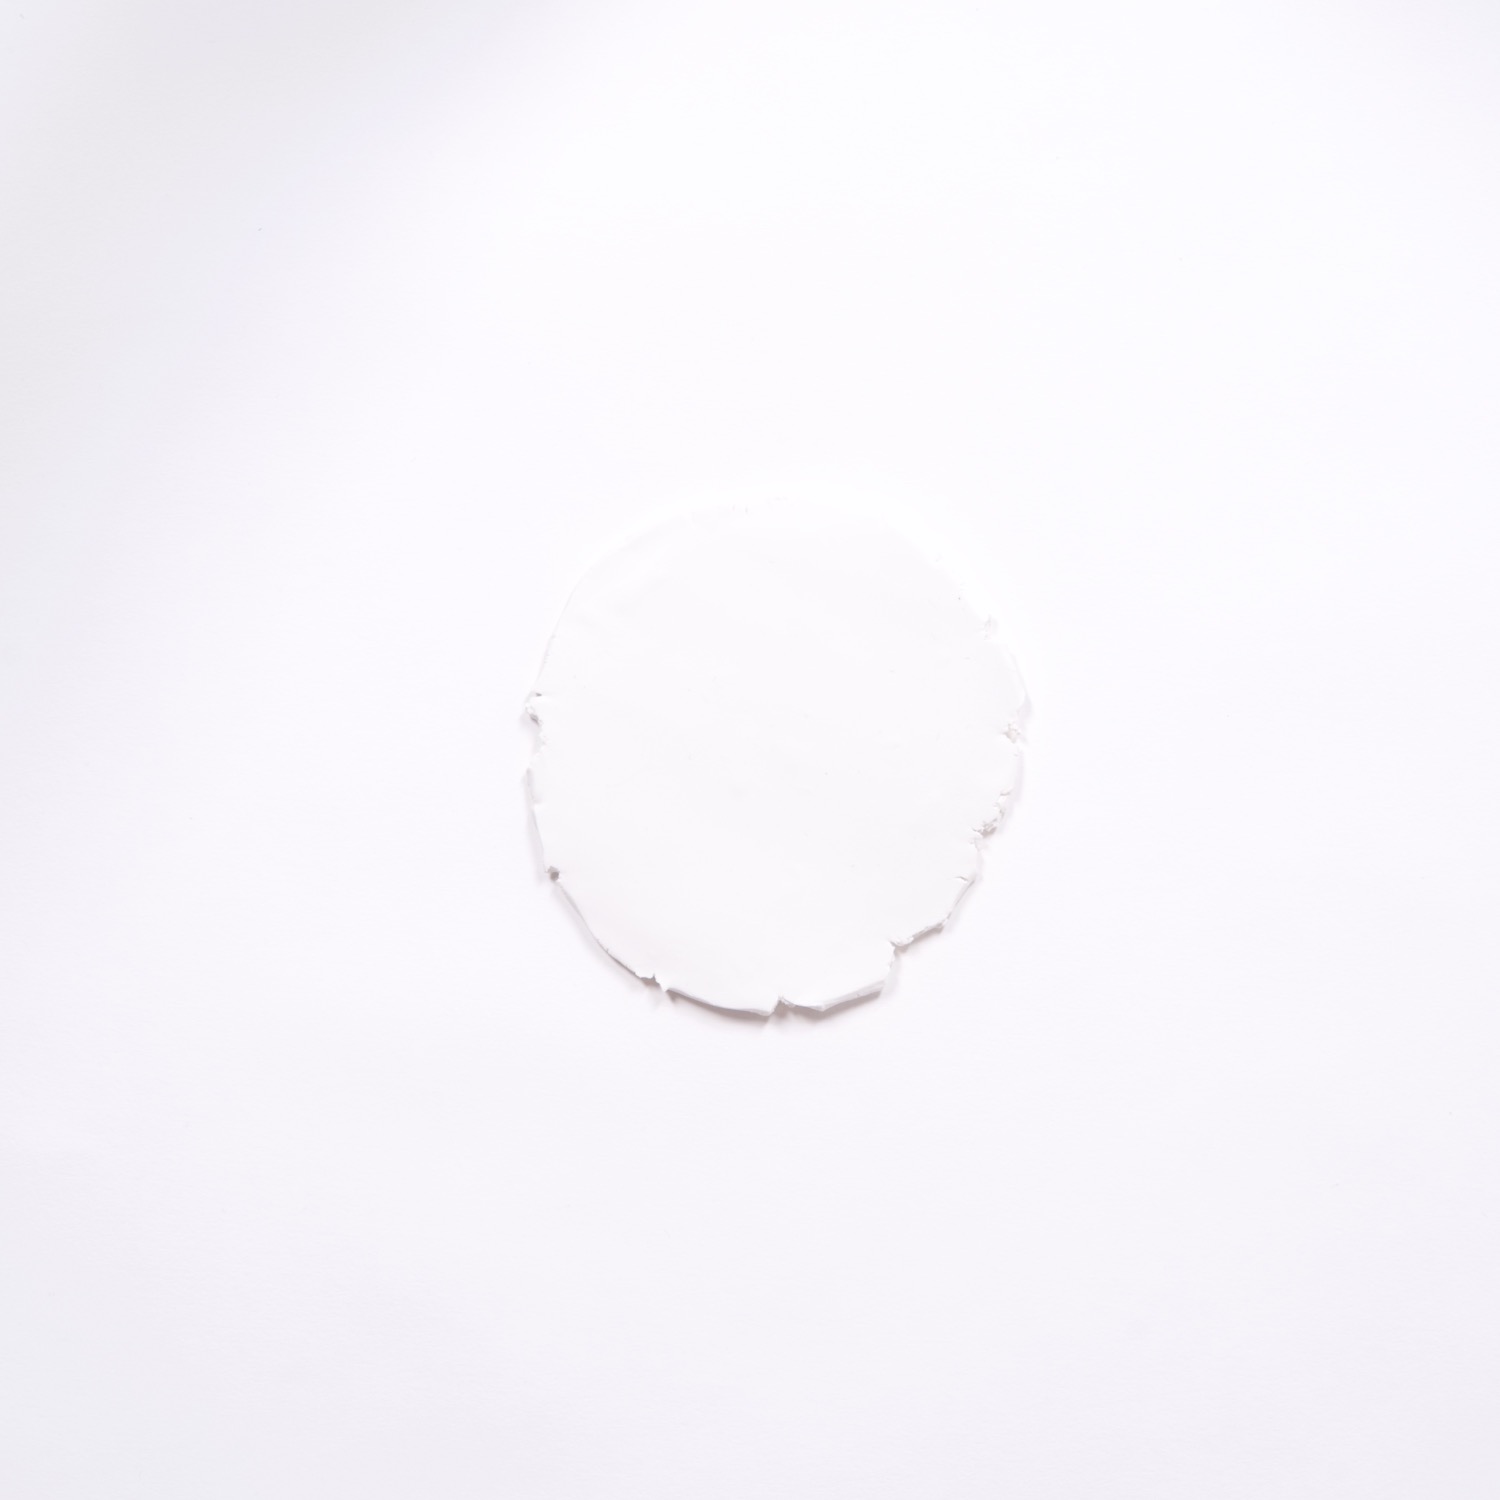
You will want your clay to be smooth and not show too many cracks or breaks in the clay. You will also want your clay to be evenly flat across the entire surface. It’s important that your clay isn’t thicker in the middle and thinner along the edges.
You want your clay to be around 1/4 inch thick but not thicker. Remember, this is oven bake clay, so we’ll need to fire it in the oven before it’s ready to use!
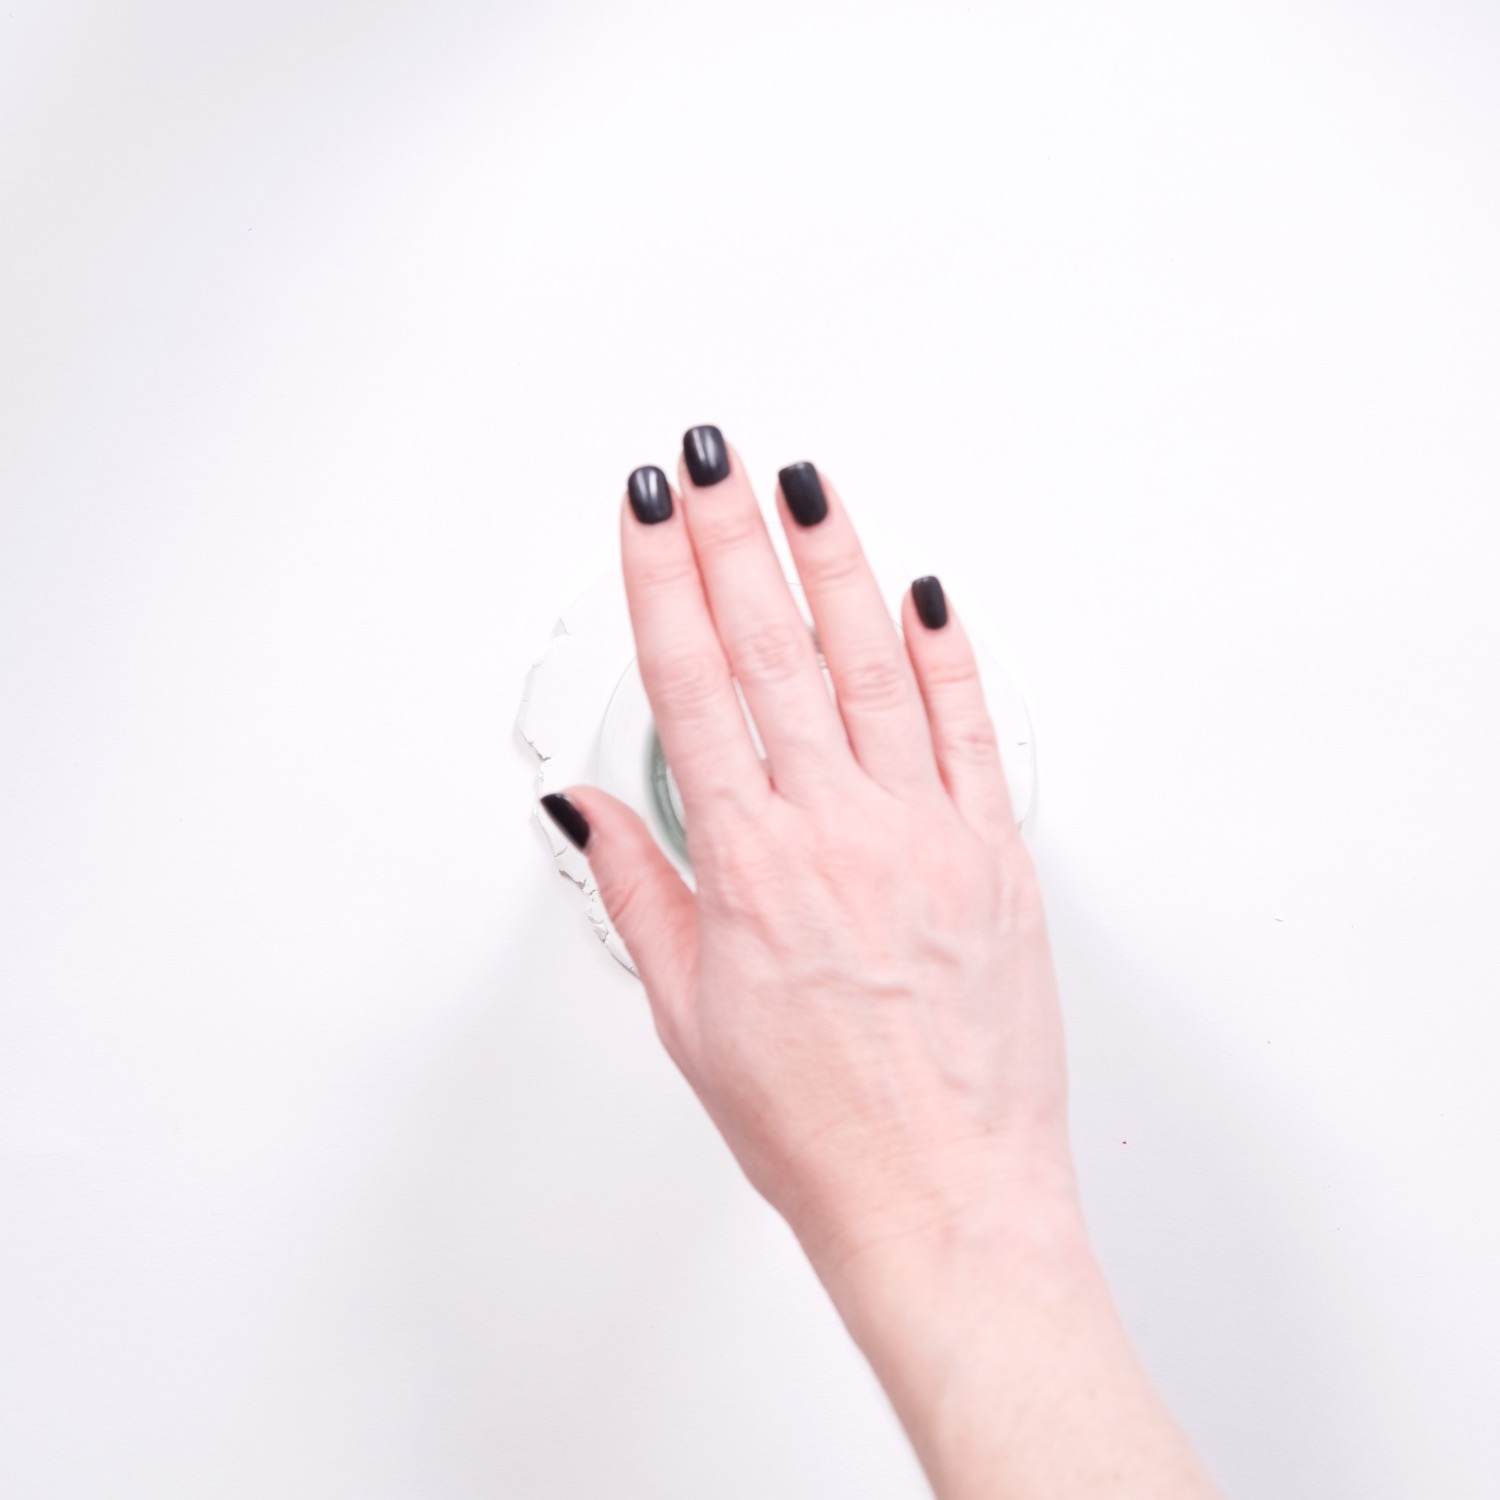
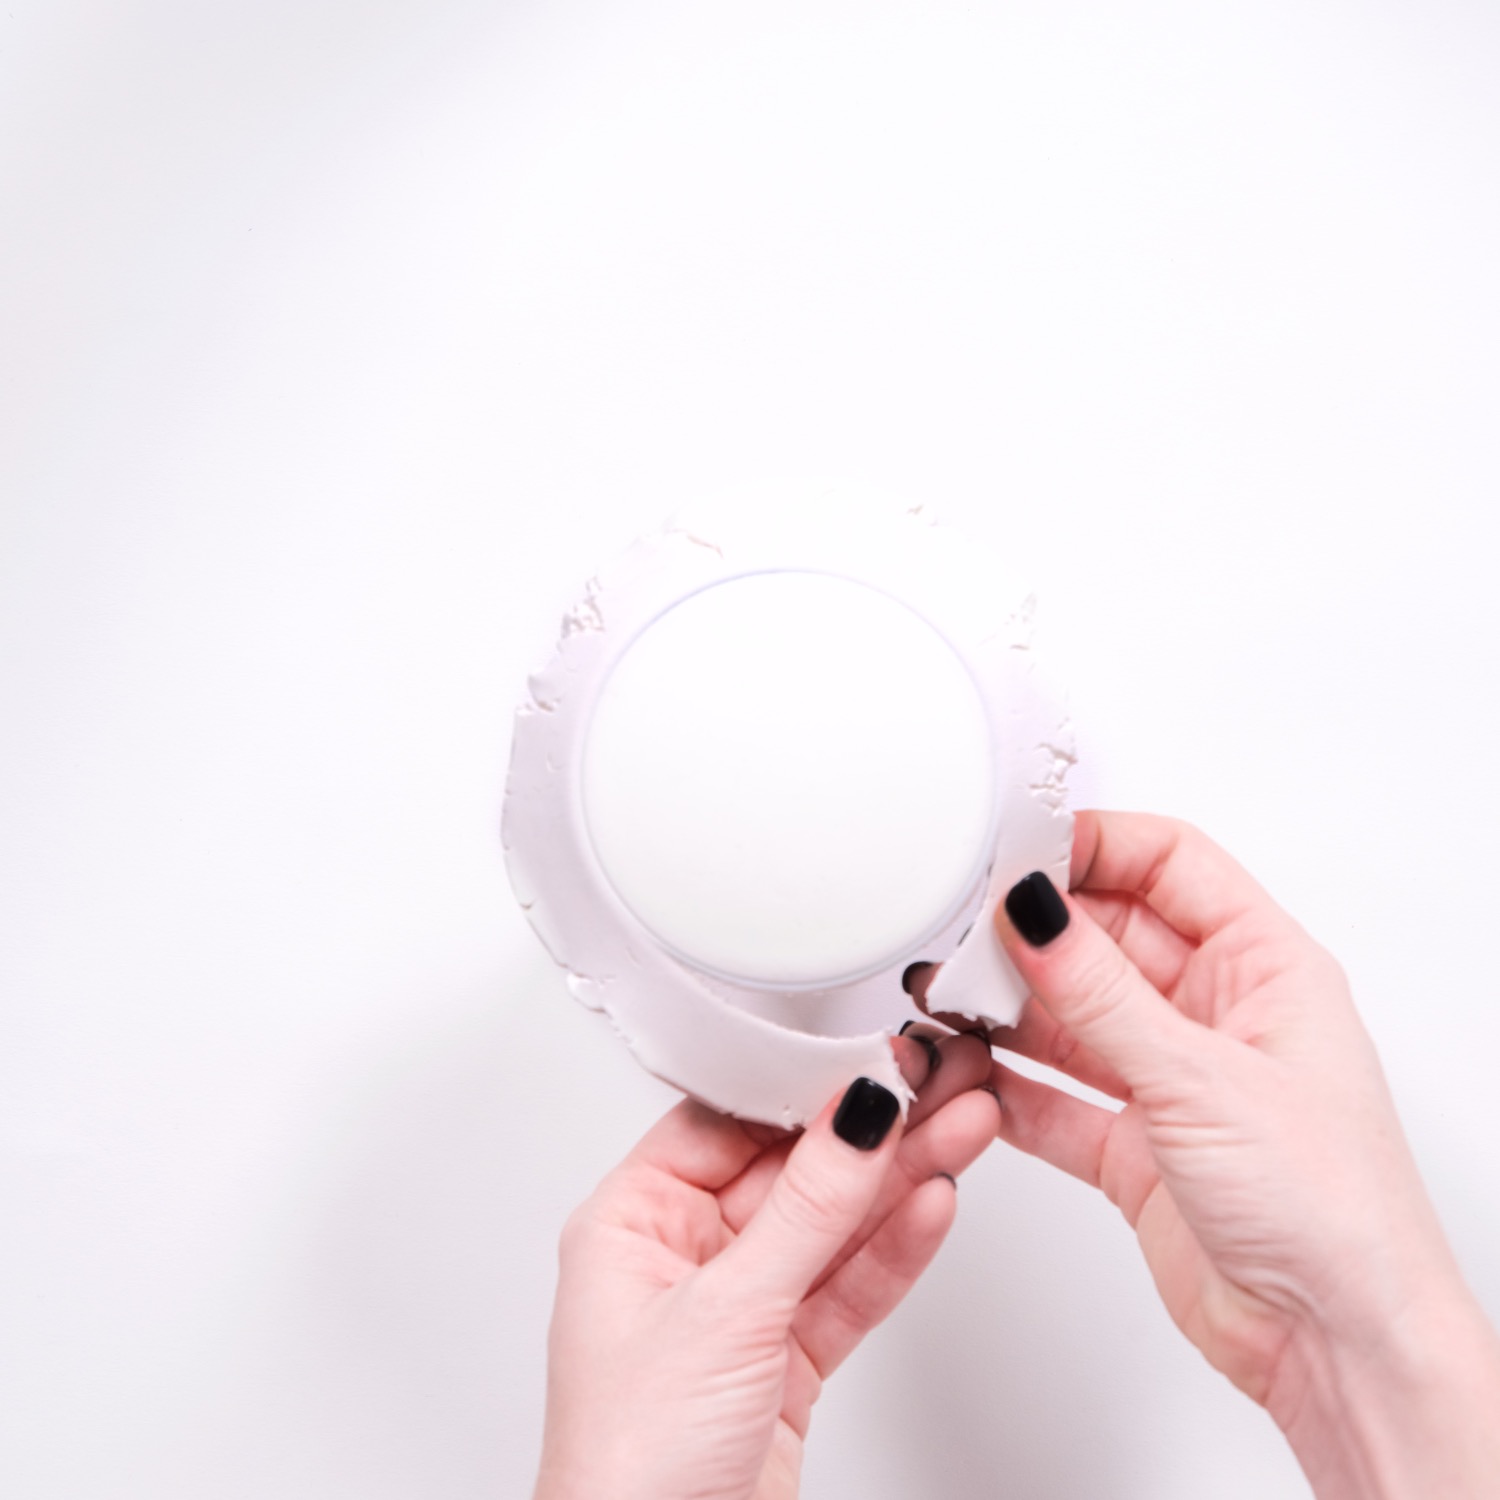
What’s great about using a pint glass is that you can also use it to cut a perfect circle! This makes the perfect ring holder base.
You can also use clay tools or a kitchen knife to cut a geometric shape. If you are hand cutting, straight lines are best. If you use a cookie cutter, it’s anything goes!
If your edges are uneven, gently smooth them with your fingertips. You could also use a touch of water to smooth the clay.

Make the Cactus
Now it’s time to make the cactus! In this blog, I’ll show you 2 different versions. But you can make your own favorite cactus or succulent. You can also add small white dots for cactus spikes. And you could add tiny flowers for the cactus too!
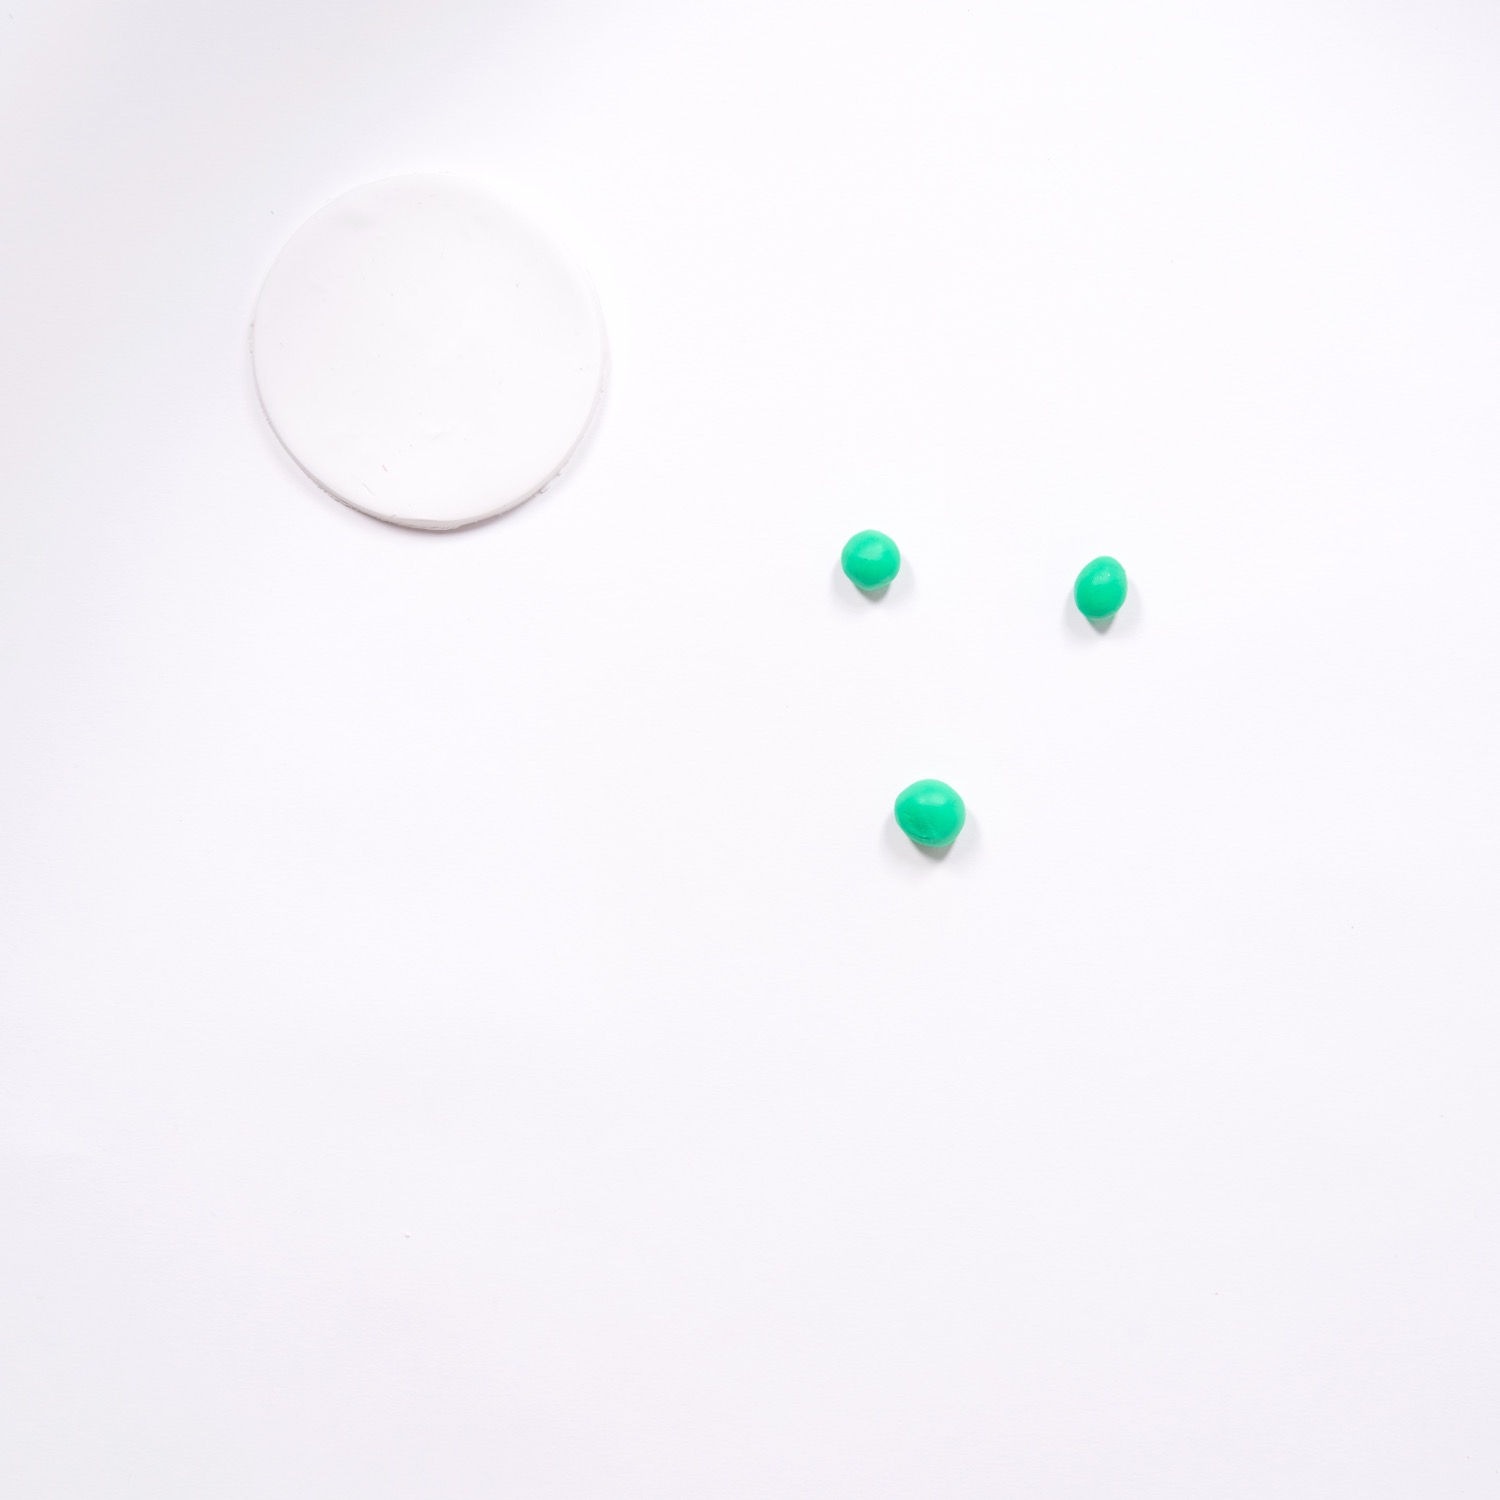
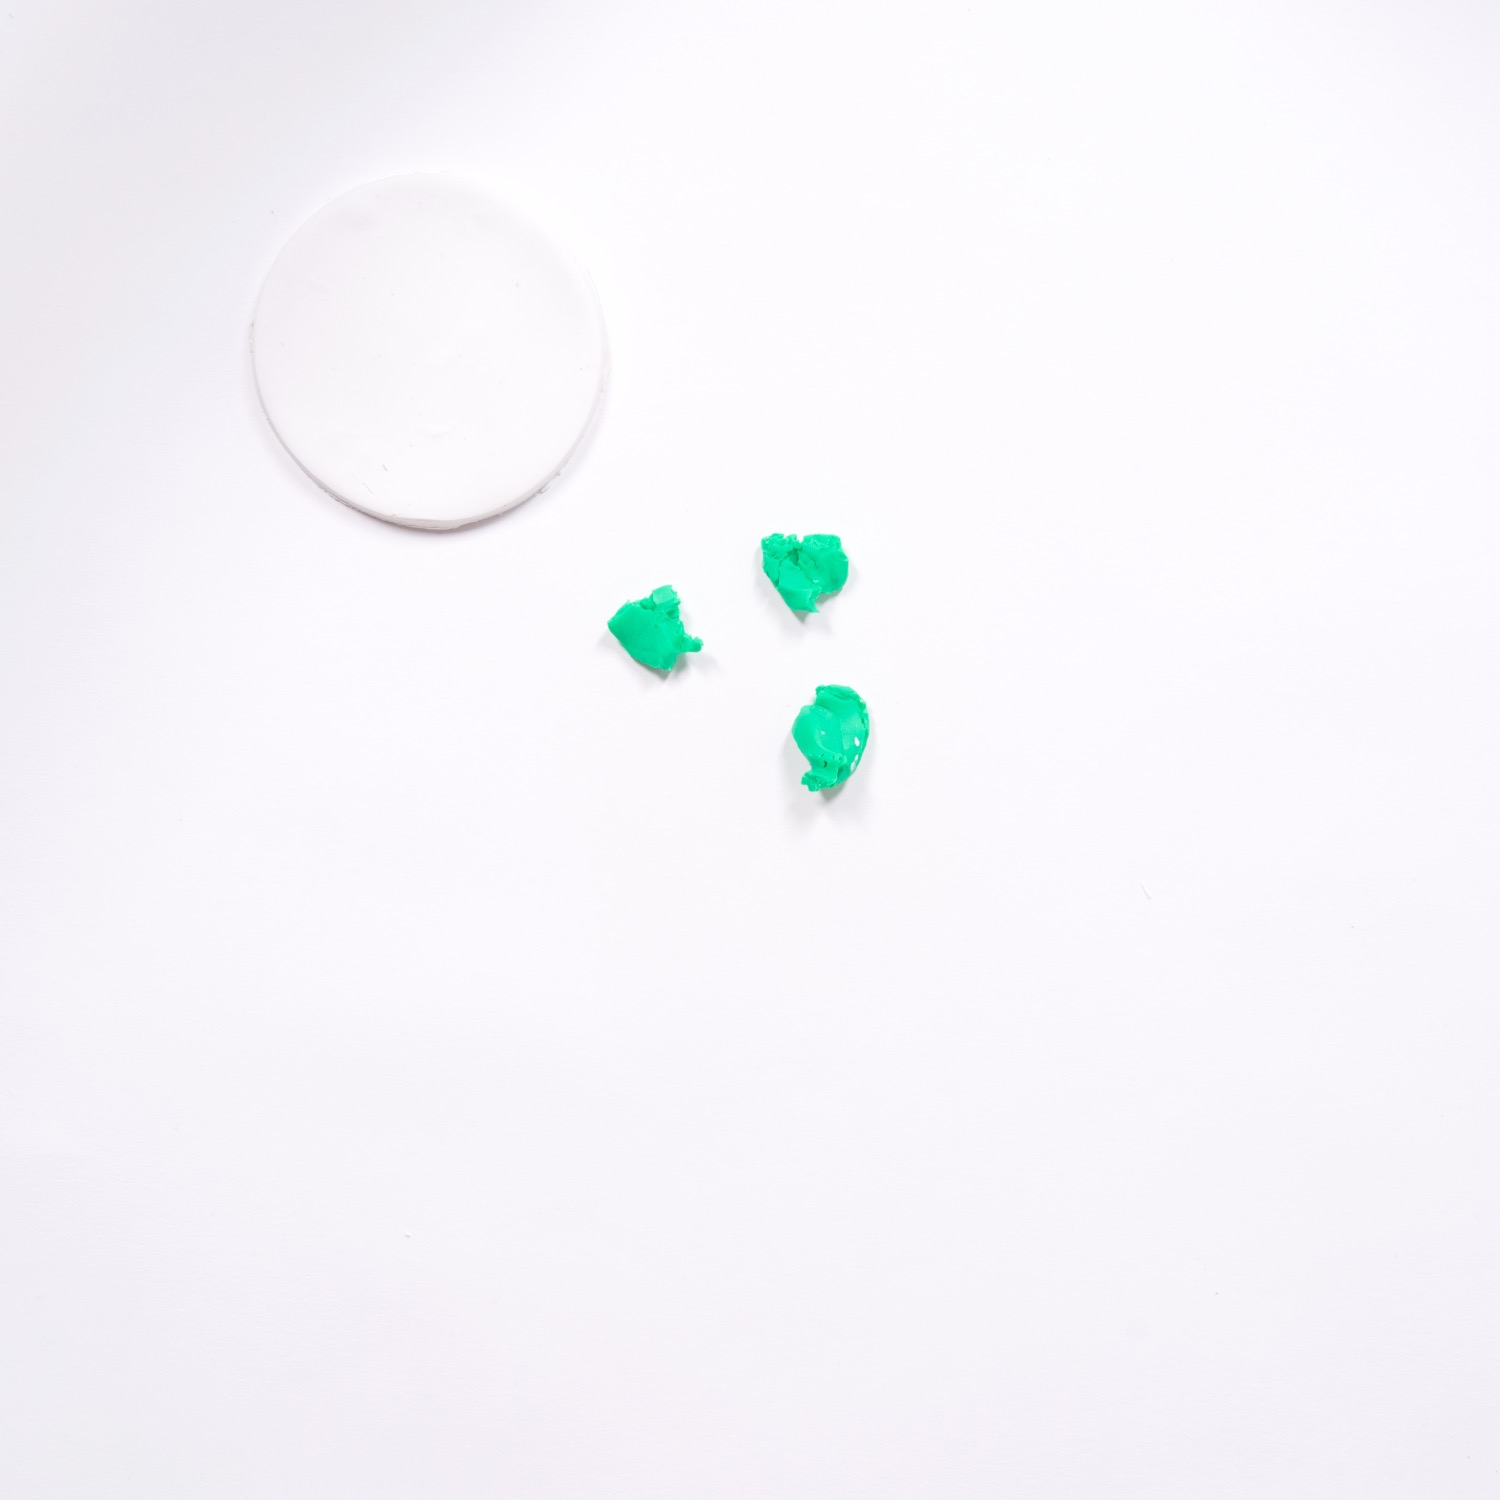
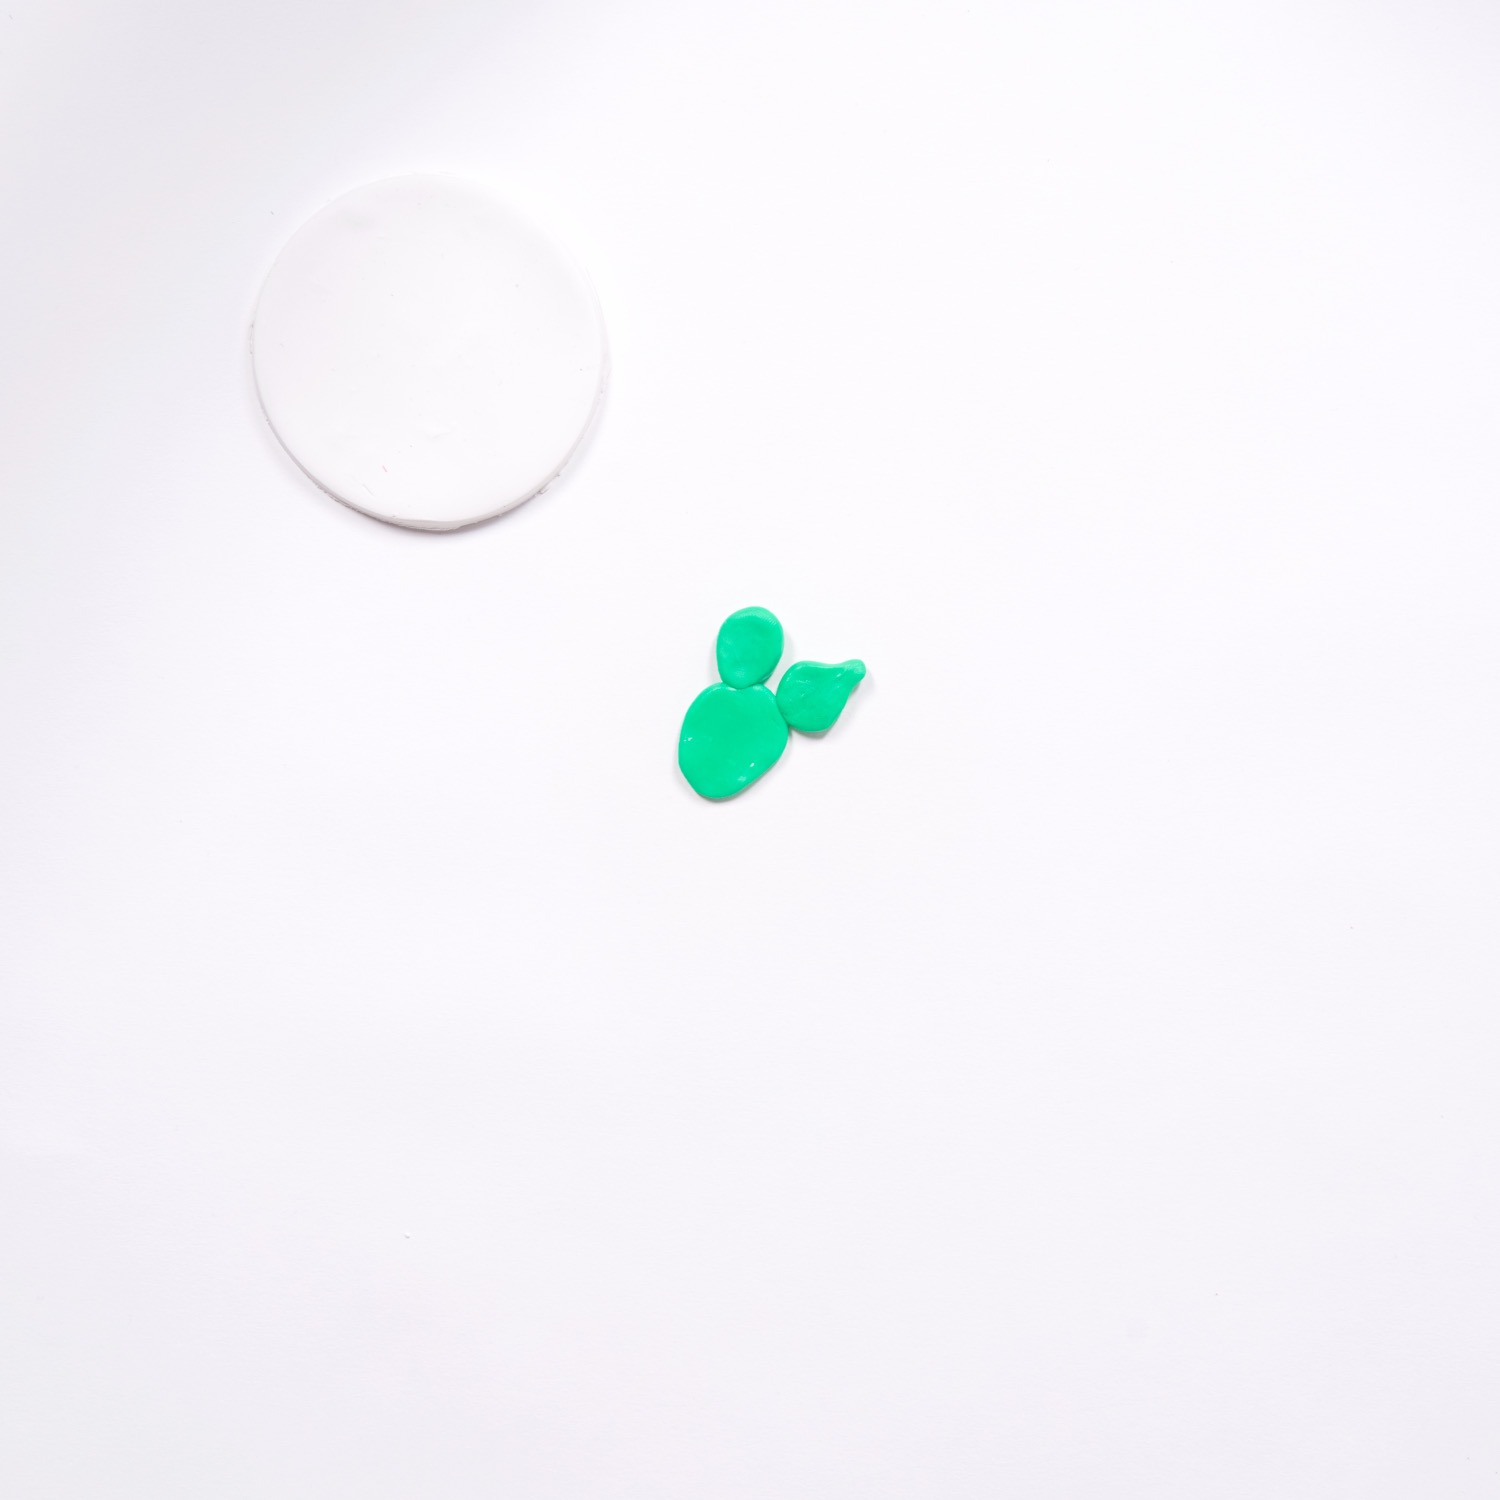
In this version, use 1/2 ounce of green clay or less to make 3 small balls. You will want your cactus base segment to be larger than the segments on top, so make sure 1 ball of green clay is larger than the other 2.
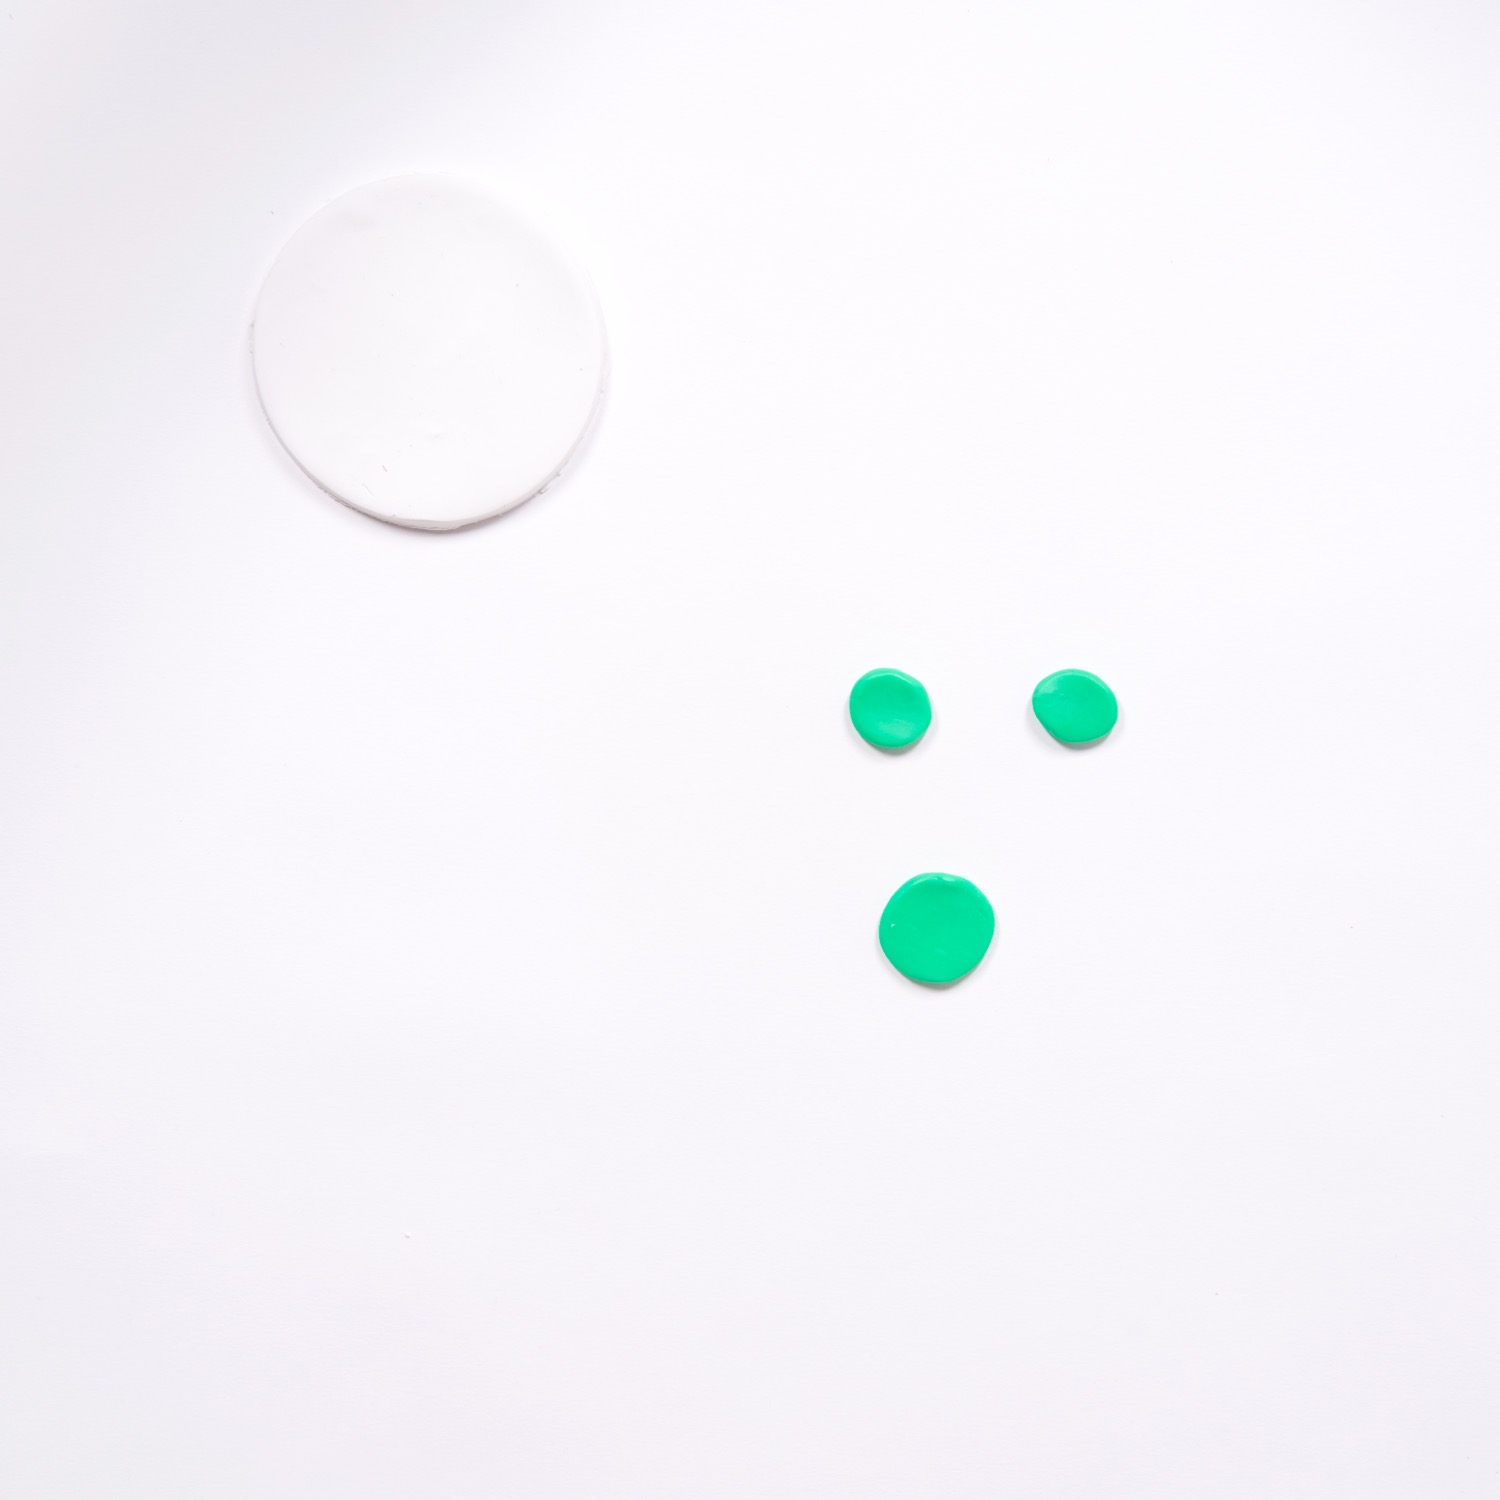
To make your clay balls, use the same technique as you did with your white clay. First, make sure it’s smooth and even, then roll it flat with a pint glass. Again, you will want these pieces to be around 1/4 inch thick. Since the cactus is pretty small, it’s okay if it’s a little thinner.
But in general, clay that is thinner than 1/8 inch becomes fragile. So be sure it is thicker than that.
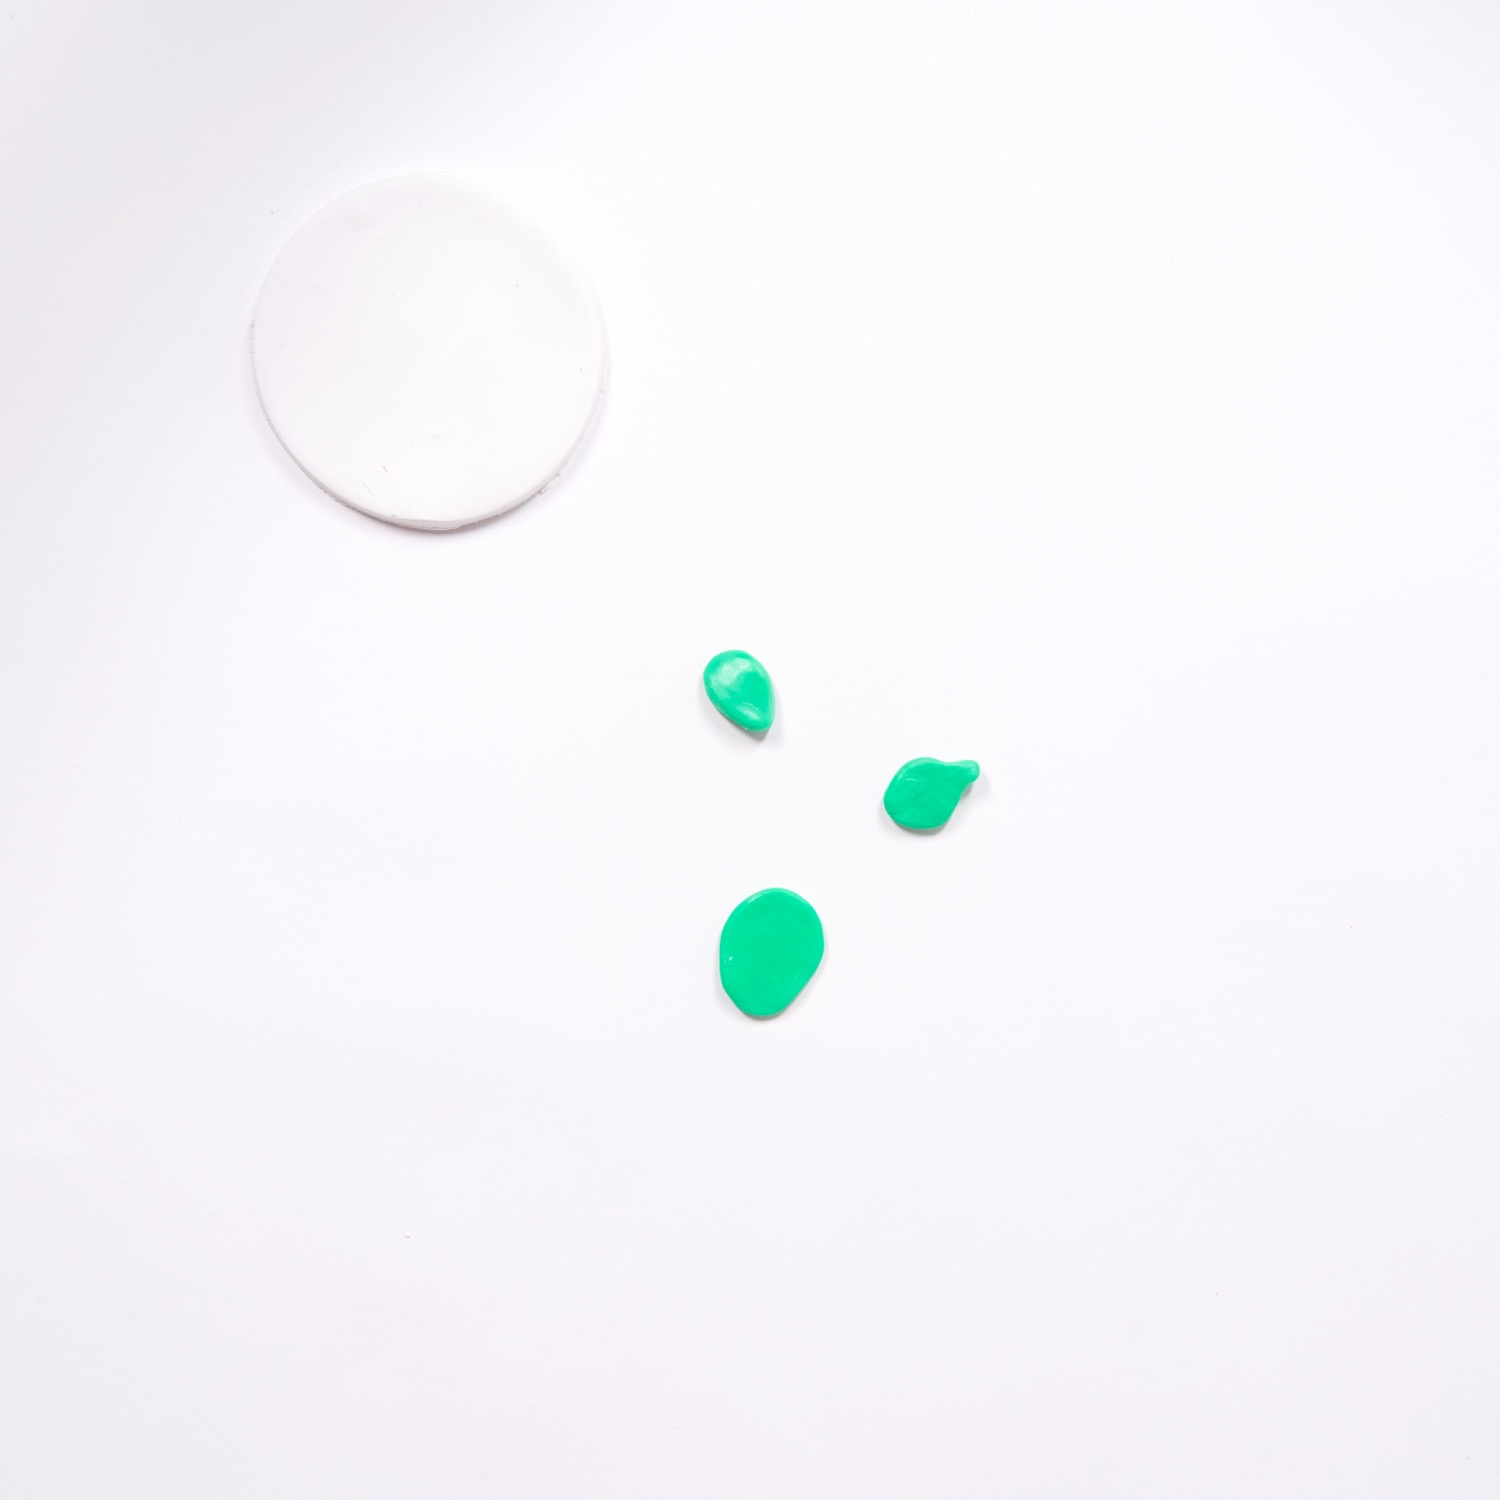
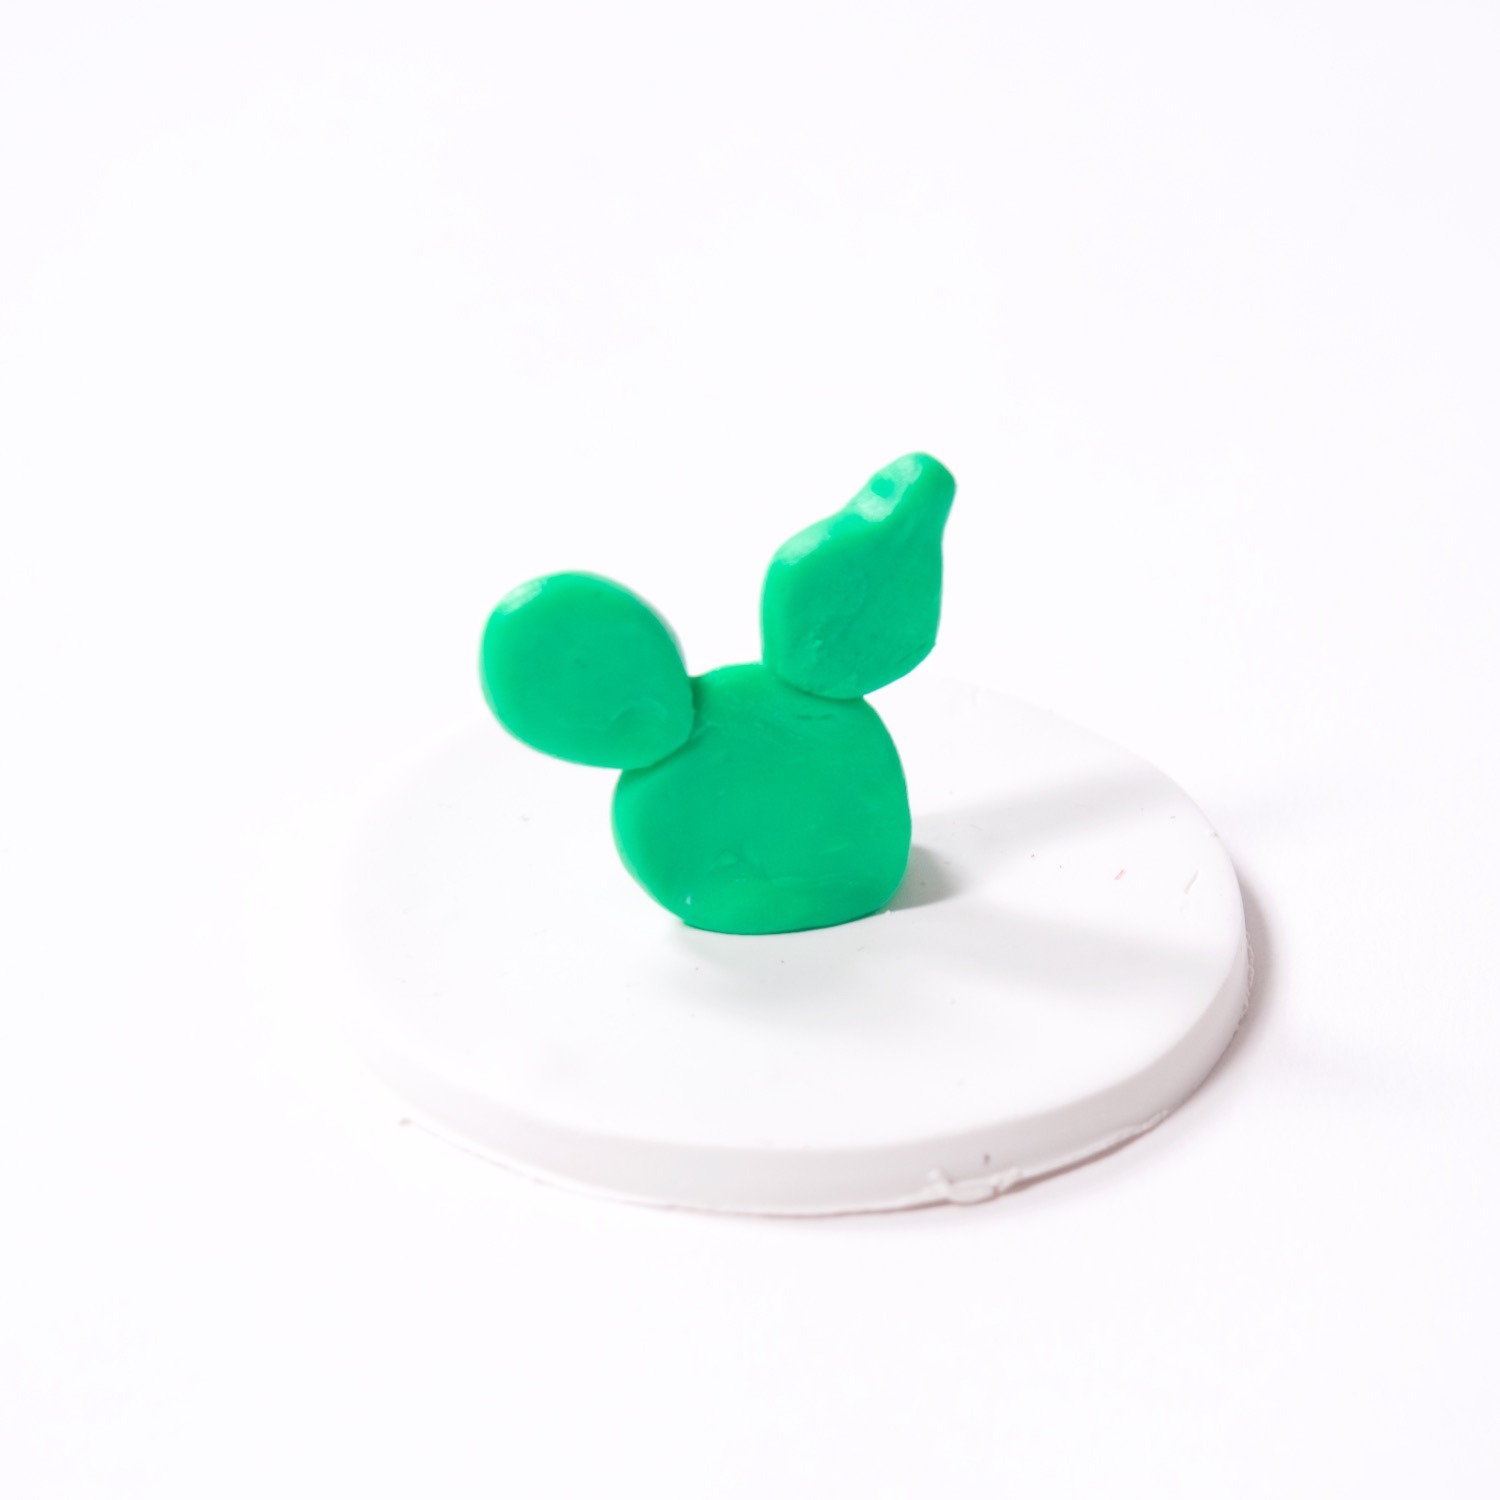
Last stretch the clay into teardrop shapes. Combine the segments into 1 piece with a thick base and smaller segments on top. They don’t have to be even and making all the segments different will make the cactus more realistic.
Attach it to the base and make sure the cactus stands perfectly. If you have any trouble you can always fire the pieces separately and glue them together afterward.

The important thing to remember is that your finished clay ring holder will look exactly as it does before you fire it. Any cracks, or uneven edges will show just as they do when the clay is wet.
So be sure to fix any imperfections you see.
How to Bake the Cactus Ring Holder:
Preheat your oven or toaster oven to 275°F. The directions will tell you to bake the clay at 300°F but I’ve seen clay burn at that temperature. It’s better to bake it at a lower temperature for a little longer.
Place the clay items on a cookie sheet with aluminum foil. Bake the clay for around 15 minutes. It’s not the amount of time that is most important. It’s actually best to look for the clay to change in 2 distinct ways.
Watch for the clay to turn from shiny to matte. The clay is finished when the water is removed. When this happens, clay will go from shiny to matte.
Watch for the clay to turn from tacky to the touch to dry. As the water evaporates, the clay becomes dry to the touch.
Once you remove the cactus ring holder from the oven, allow it to cool for a few minutes! Then it’s finished and ready to use.
If any imperfections remain, you can use a fine grain sandpaper to smooth it’s edges.
So what kind of cactus are you going to make for your trinket dish? Tell us in the comments! And if you want to make this Clay Cactus Ring Holder for yourself, you must shop the March 2020 Craft in Style Subscription Box! It has all the supplies you need to make this project.
Let’s Be Friends!
Insta | Pinterest | Enews | TikTok