DIY
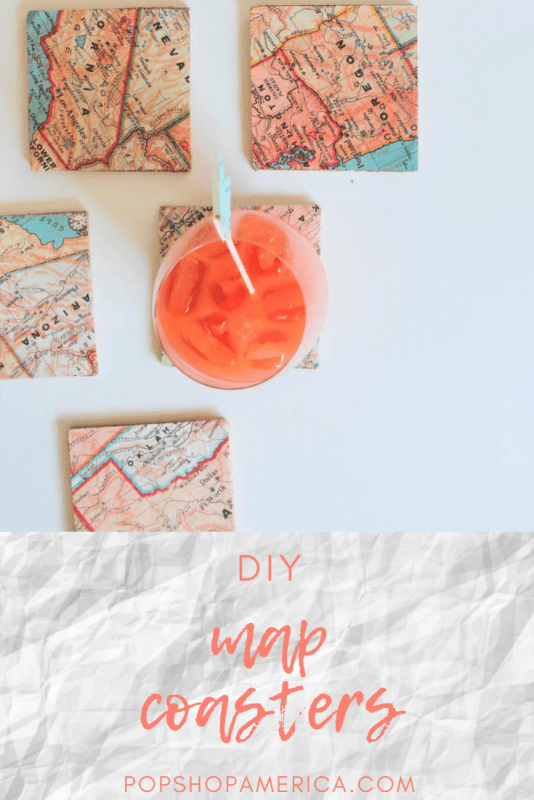
DIY Map Coasters
Jul
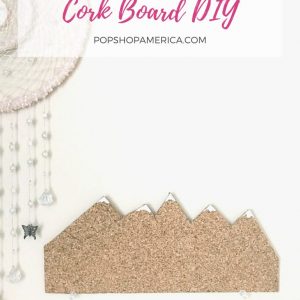
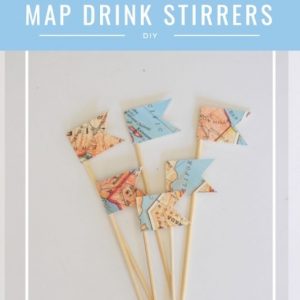
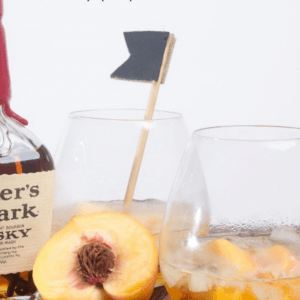
Maybe it’s the jetsetter vibes but I just love maps! They are such a great way to celebrating travel and there are so many different types of diy’s that you can create with maps. It’s such a versatile supply! For example, you can make this DIY Map Stationery or you could make these DIY Map Cocktail Stirrers. Cute, right?!
These DIY Map Coasters are easy to make and are perfect for cocktails with out of town guests. They also make a great housewarming gift. So let’s make them!
Supplies to make DIY Map Coasters
Flat Cork Sheets
A Large Map Poster
Box Cutter
Cutting Mat
Ruler
Pen or Pencil
Mod Podge
Foam Brush
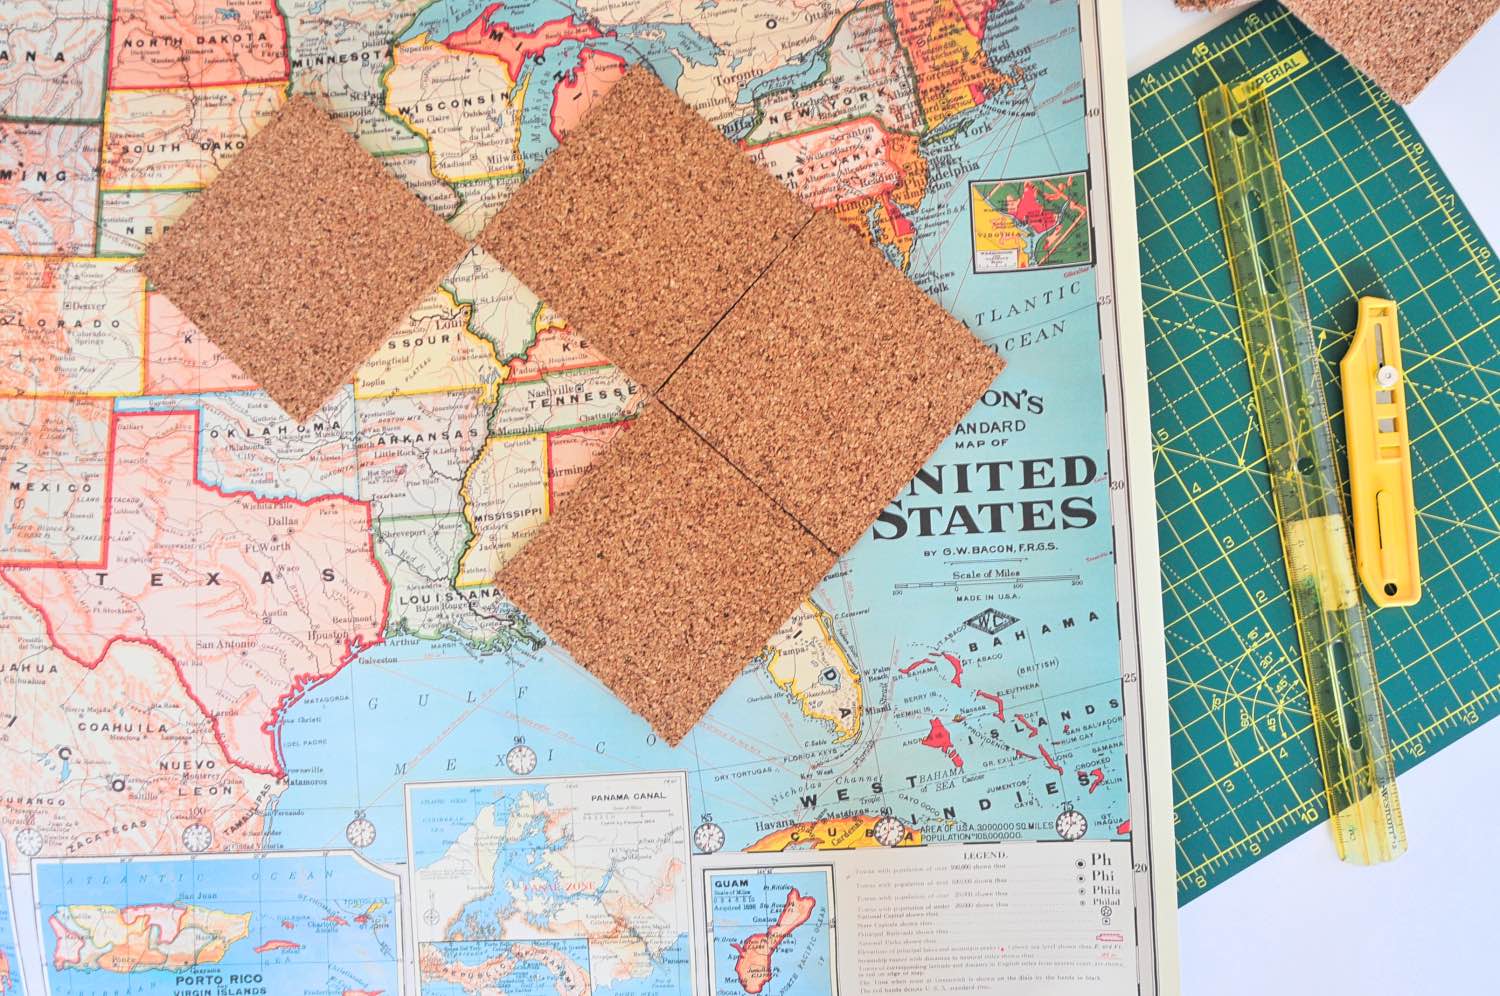
First, we will need to cut the map and cut the cork into 4 inch squares. If you want to make a set, you will need 4 pieces of cork and 4 squares of map. Or you could make a set of 8 in which case you would need 8 of each.
To make the squares, first start with the cork. Use your ruler and your pencil to mark a 4 inch square shape. Then repeat this process on the maps.
Remember that these coasters are all about the maps. You can use any map that you like – a vintage map of Europe, the train system in Japan, or a topographical map. I chose this map of the US. Then you could also cut specific states. You can cut the map at an angle to keep in interesting.
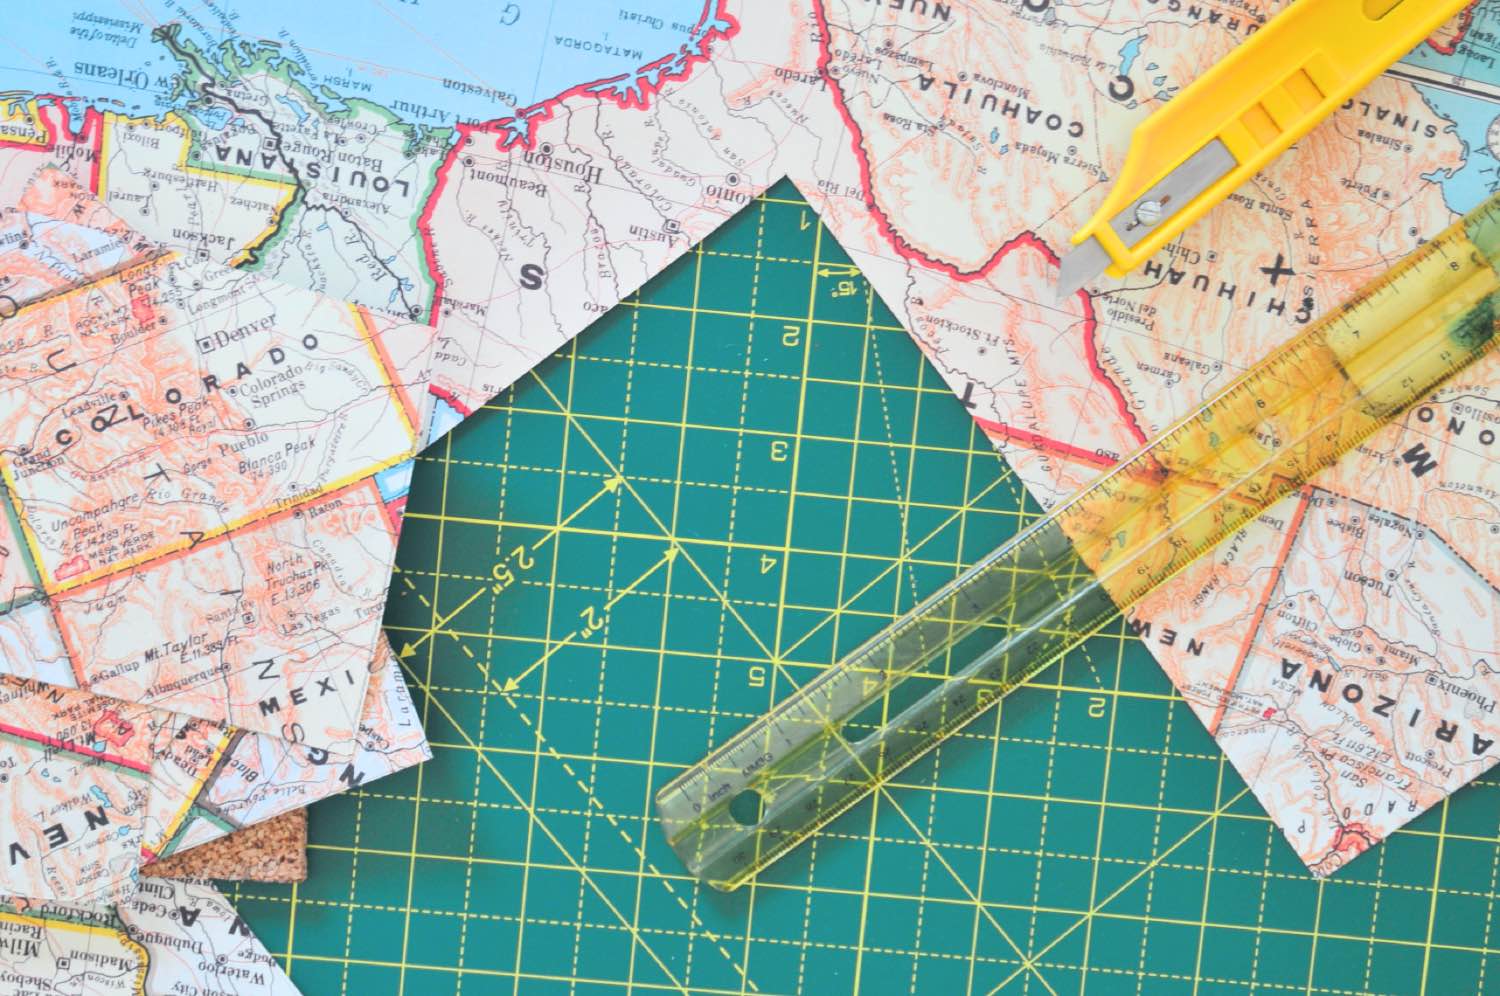
For that reason, Texas had to be included! Remember, you will want to chose your maps by marking them in pencil before you cut.
When you are ready to cut the cork and the paper, set it on a cutting mat. Line up your ruler and then slide the box cutter along the box cutter edge. You will need to make several passes to completely cut the cork. The maps will be easier. Just make sure you keep your ruler lined up, so that your edges stay even.
Box cutters can be dangerous so use this Box Cutter Guide if you have any concerns.
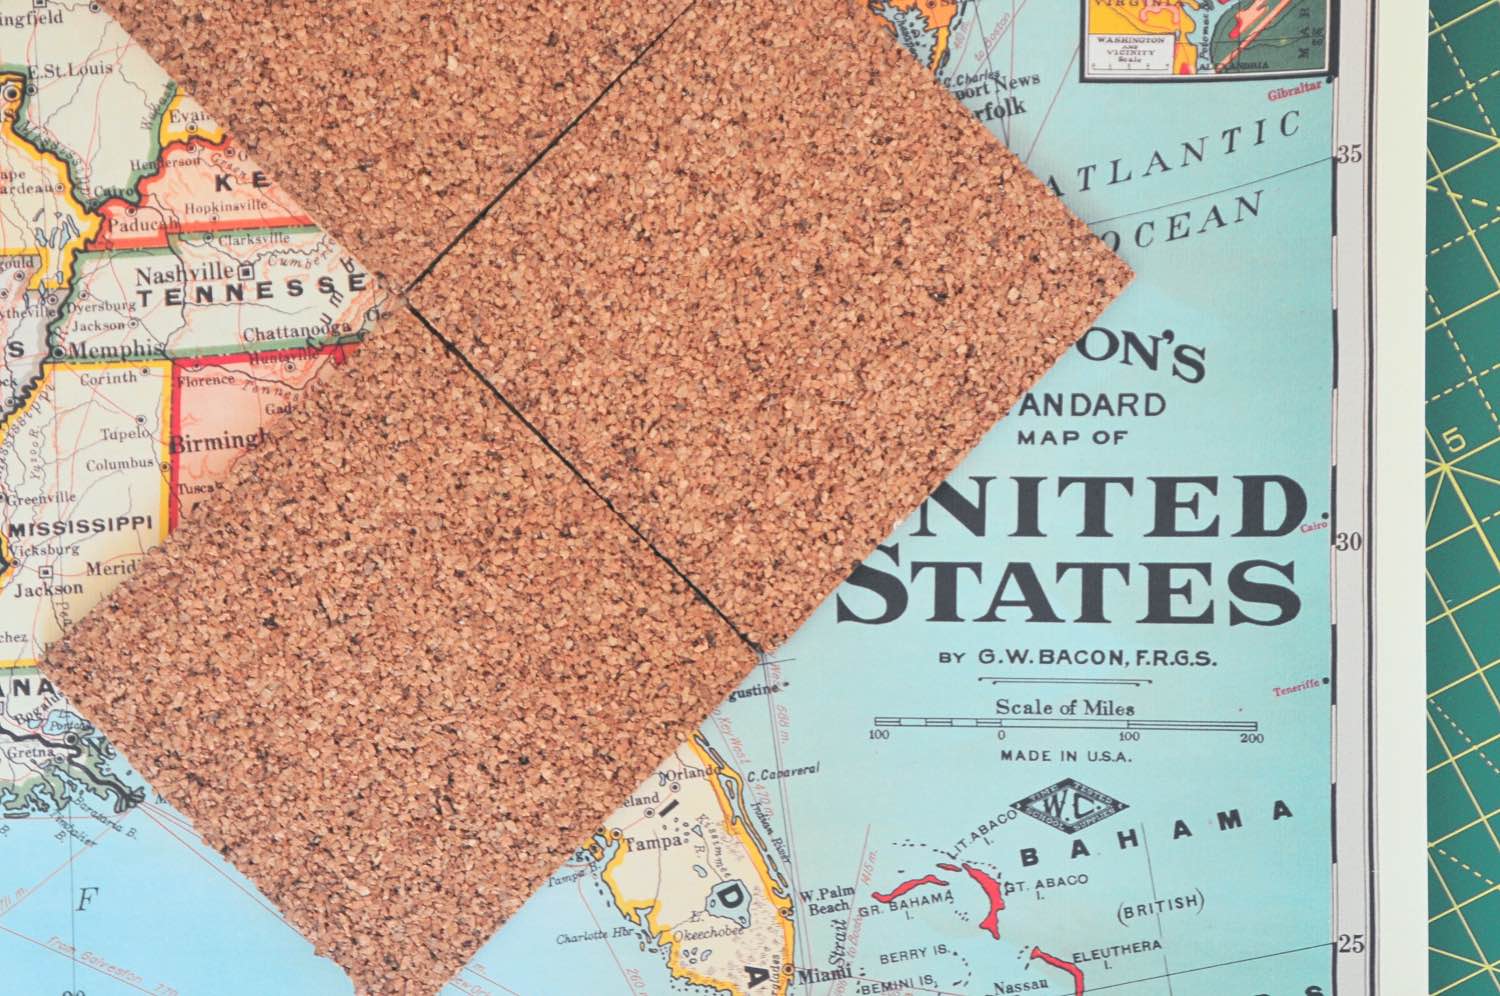
Once you have your cork and your maps cut, set them together how you intend to glue them. Check the edges to ensure they line up correctly. If necessary, trim the edges a but more so that the maps and cork fit together perfectly.

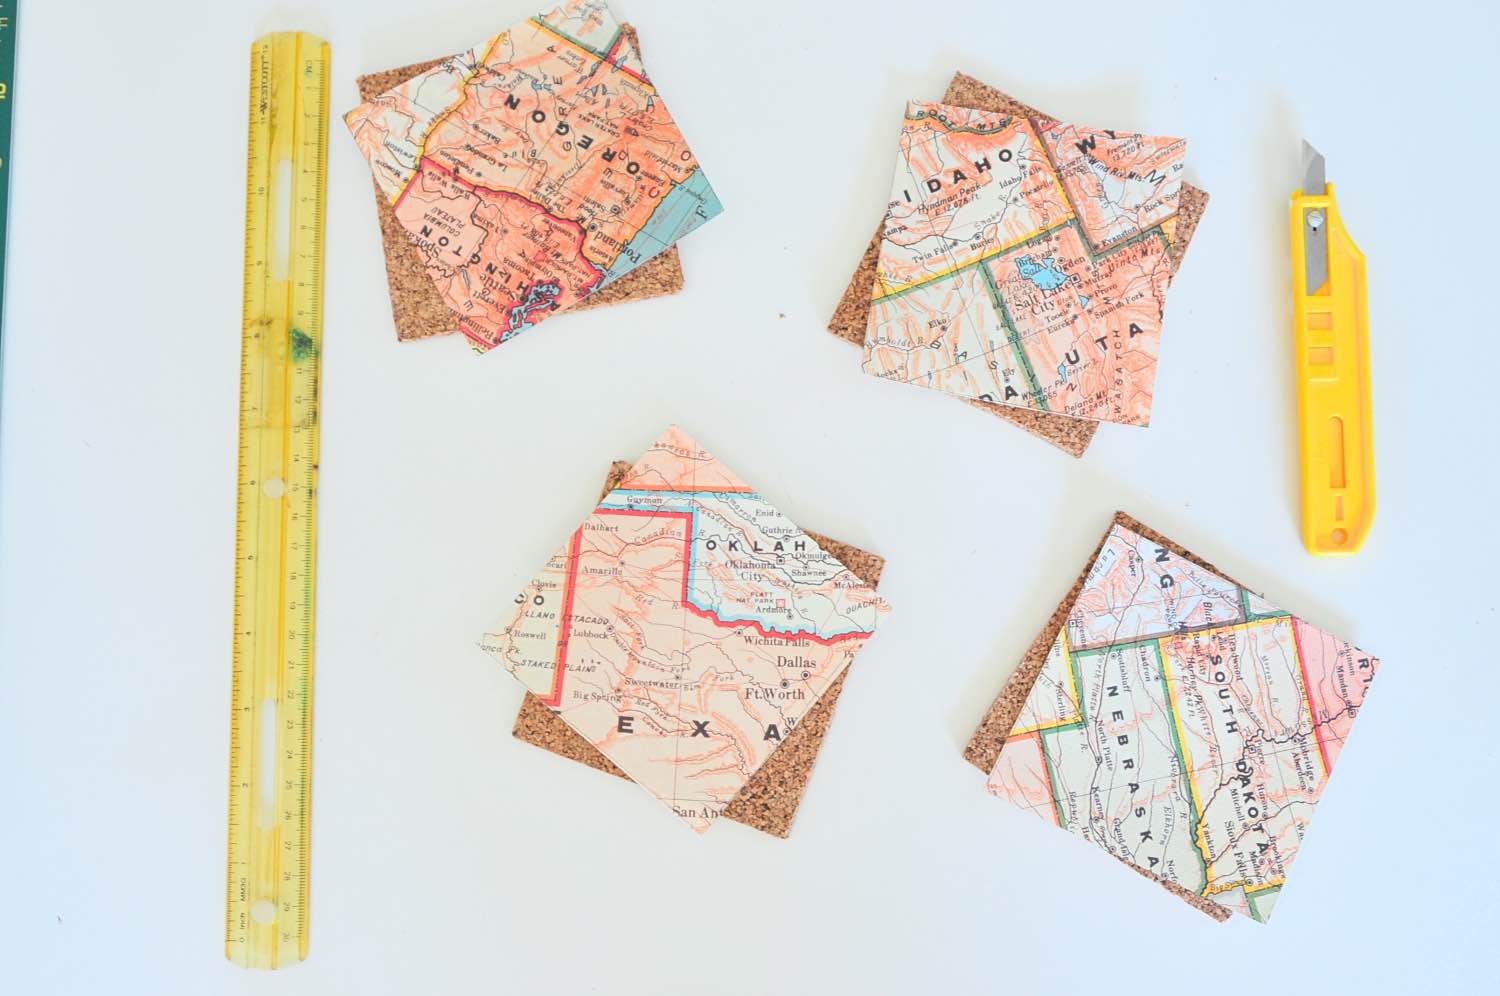
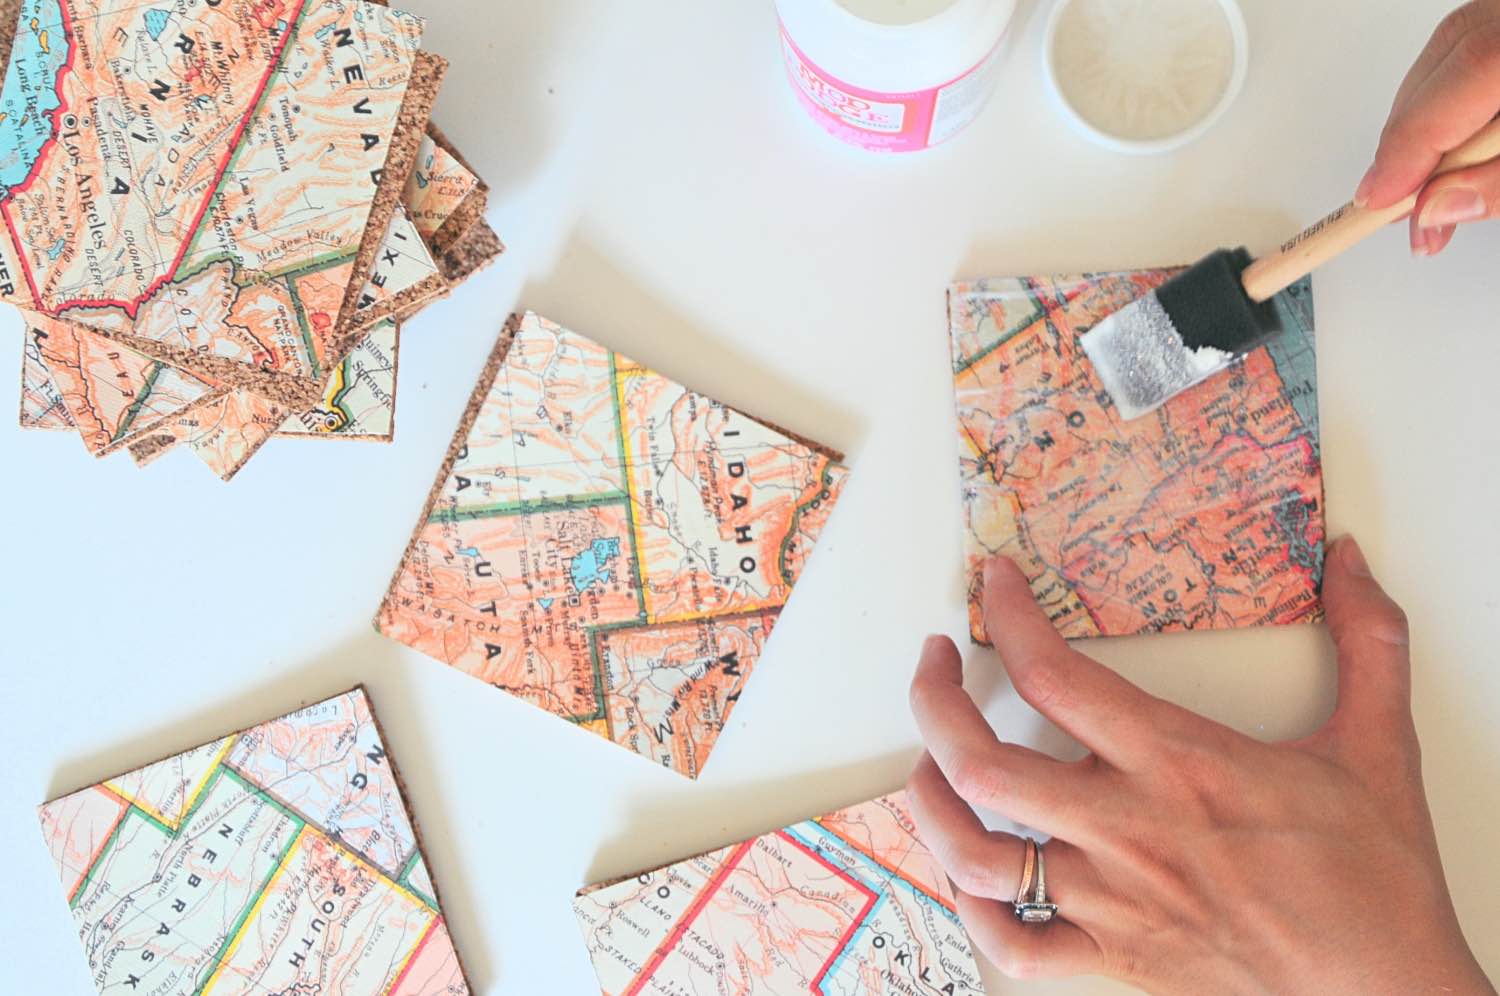
Now take your mod podge and foam brush and lightly coat both the front and back of the map. Use a very thin layer and place the map on the cork. If necessary, press the map into place and even smooth the map out the edges so that the whole paper becomes affixed to the cork. And allow the mod podge to dry which takes a few hours.
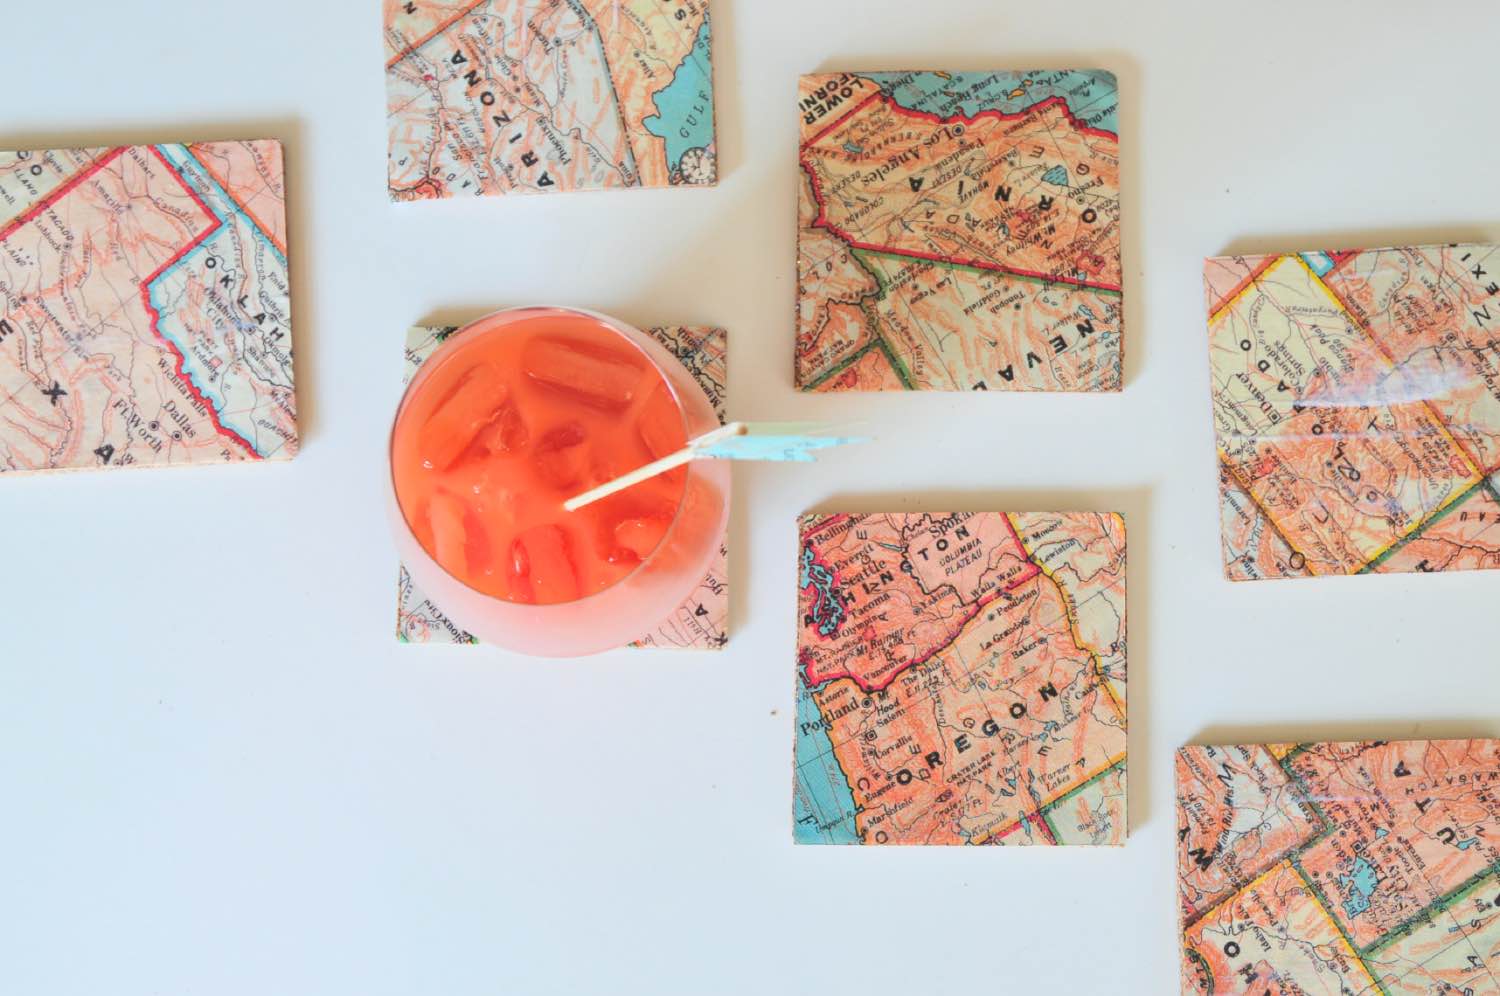
And viola – DIY Map Coasters! These are perfect for a party and make a sweet gift too. And they are so fun and easy to make.
So what will you do with your map coasters? Tell us in the comments! And keep scrolling for even more DIY inspiration.

Let’s Stay Friends!
Insta | Pinterest | Enews | TikTok