Craft in Style Subscription Instructions, DIY
DIY Miniature Holiday Wreath
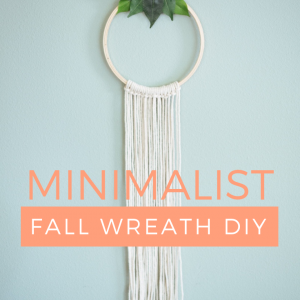
‘Tis the season for a little pop of holiday! This Miniature Wreath is perfect for small spaces, apartments, or your office. And it’s oh so modern and fresh! Best of all it’s easy to make. It reminds me of this Fall Wreath Tutorial because both are made with an embroidery hoop.
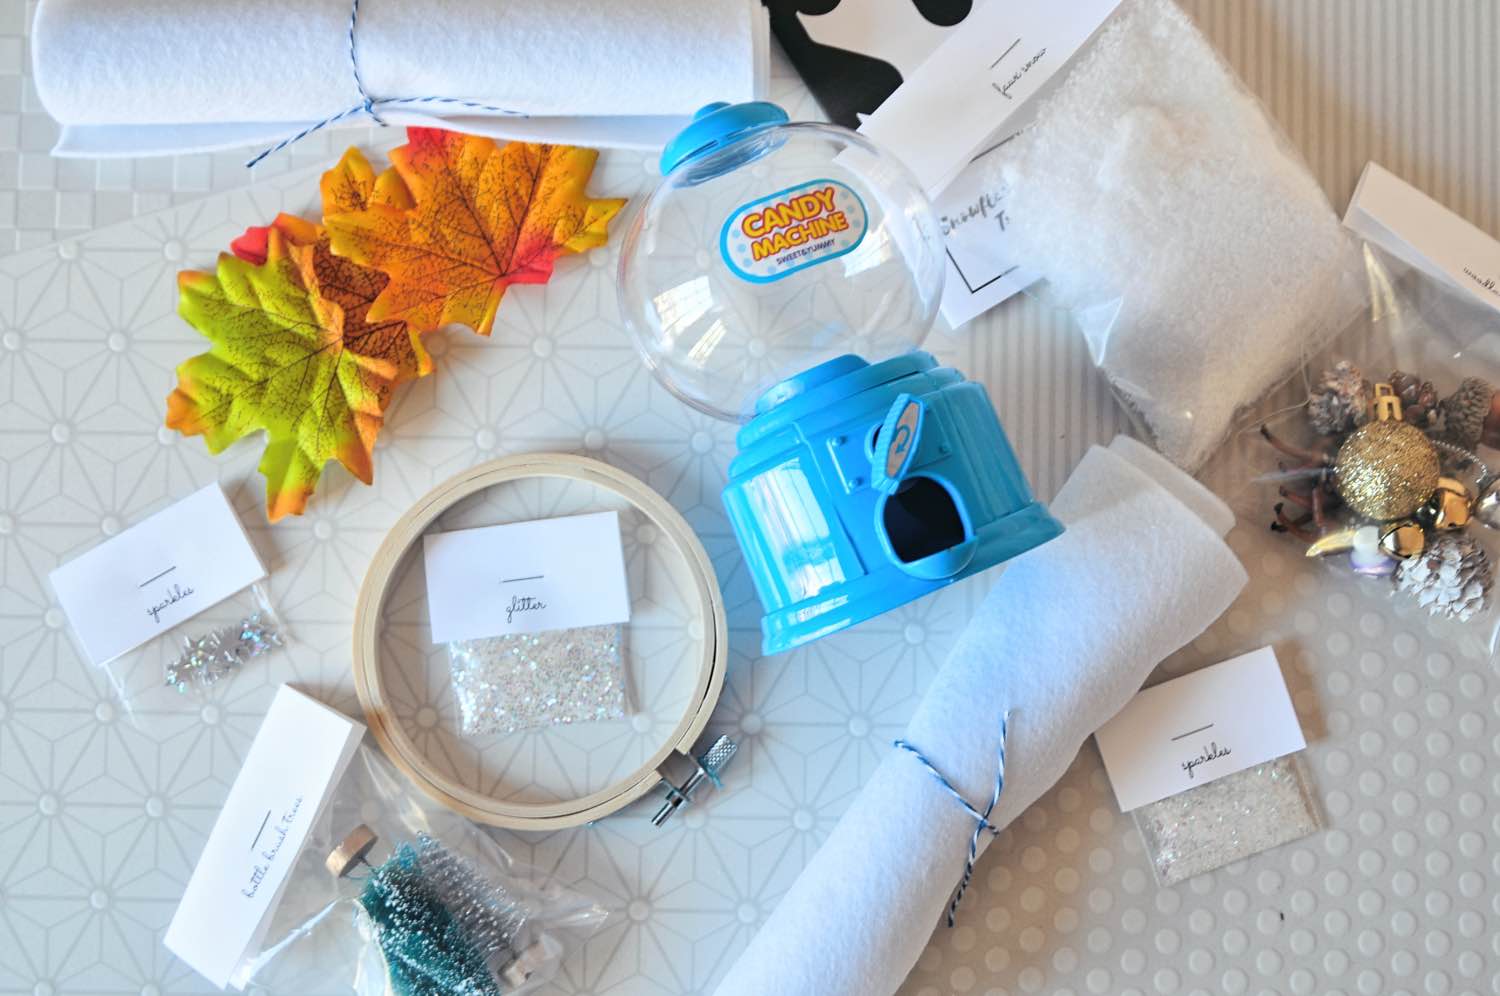
The supplies to make this Mini Holiday Wreath were included in the December (pre-holiday) Craft in Style Box! That’s our monthly box full of unique craft supplies that delivers surprises to you every month. But you can make it yourself without the box! Just some simple supplies and a little know how.
Supplies to Make a Miniature Holiday Wreath
December Craft in Style Subscription Box (pre-holiday only)
-or-
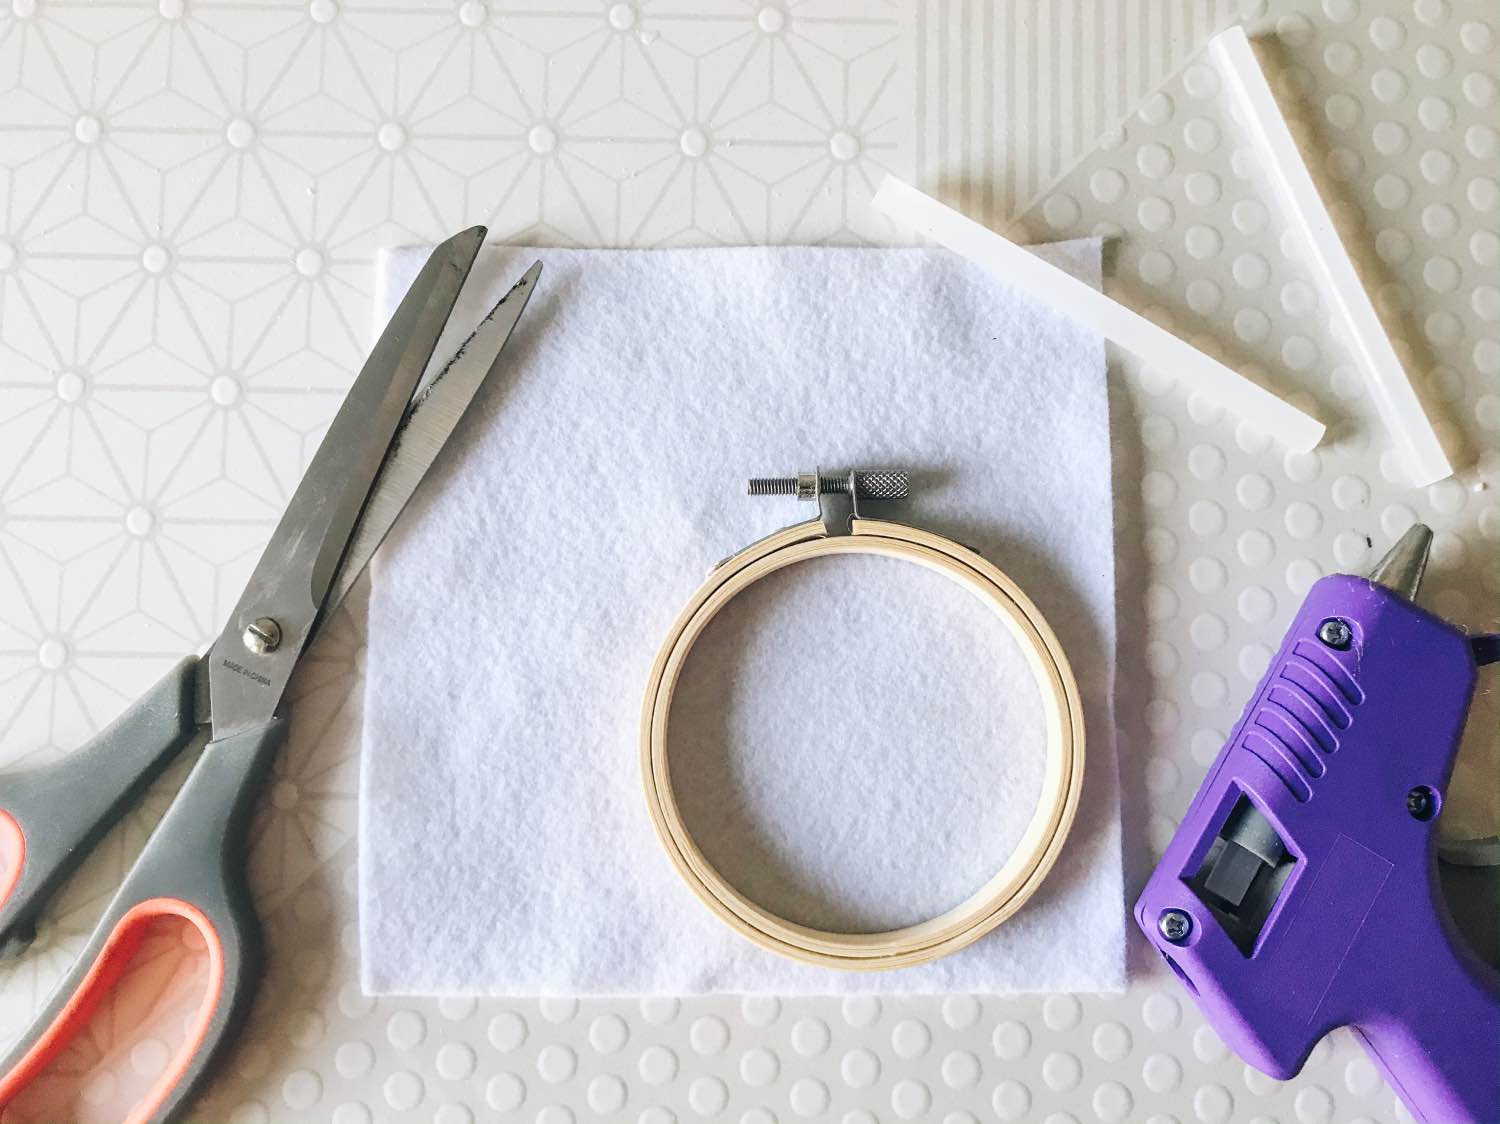
3 Inch Embroidery Hoop
Hot Glue Gun or E6000 (or even Elmer’s Glue will work)
Scissors
Optional:
Faux Forest Leaves
Faux Pine Sprigs
Faux Pine Cones
White Felt
Glitter
Bottle Brush Trees
Mini Ornaments
I actually made 3 different versions of this Mini Holiday Wreath. I’m going to show you all 3 and there are so many ways you could do this for yourself! So please use this as a jumping off point for inspiration.
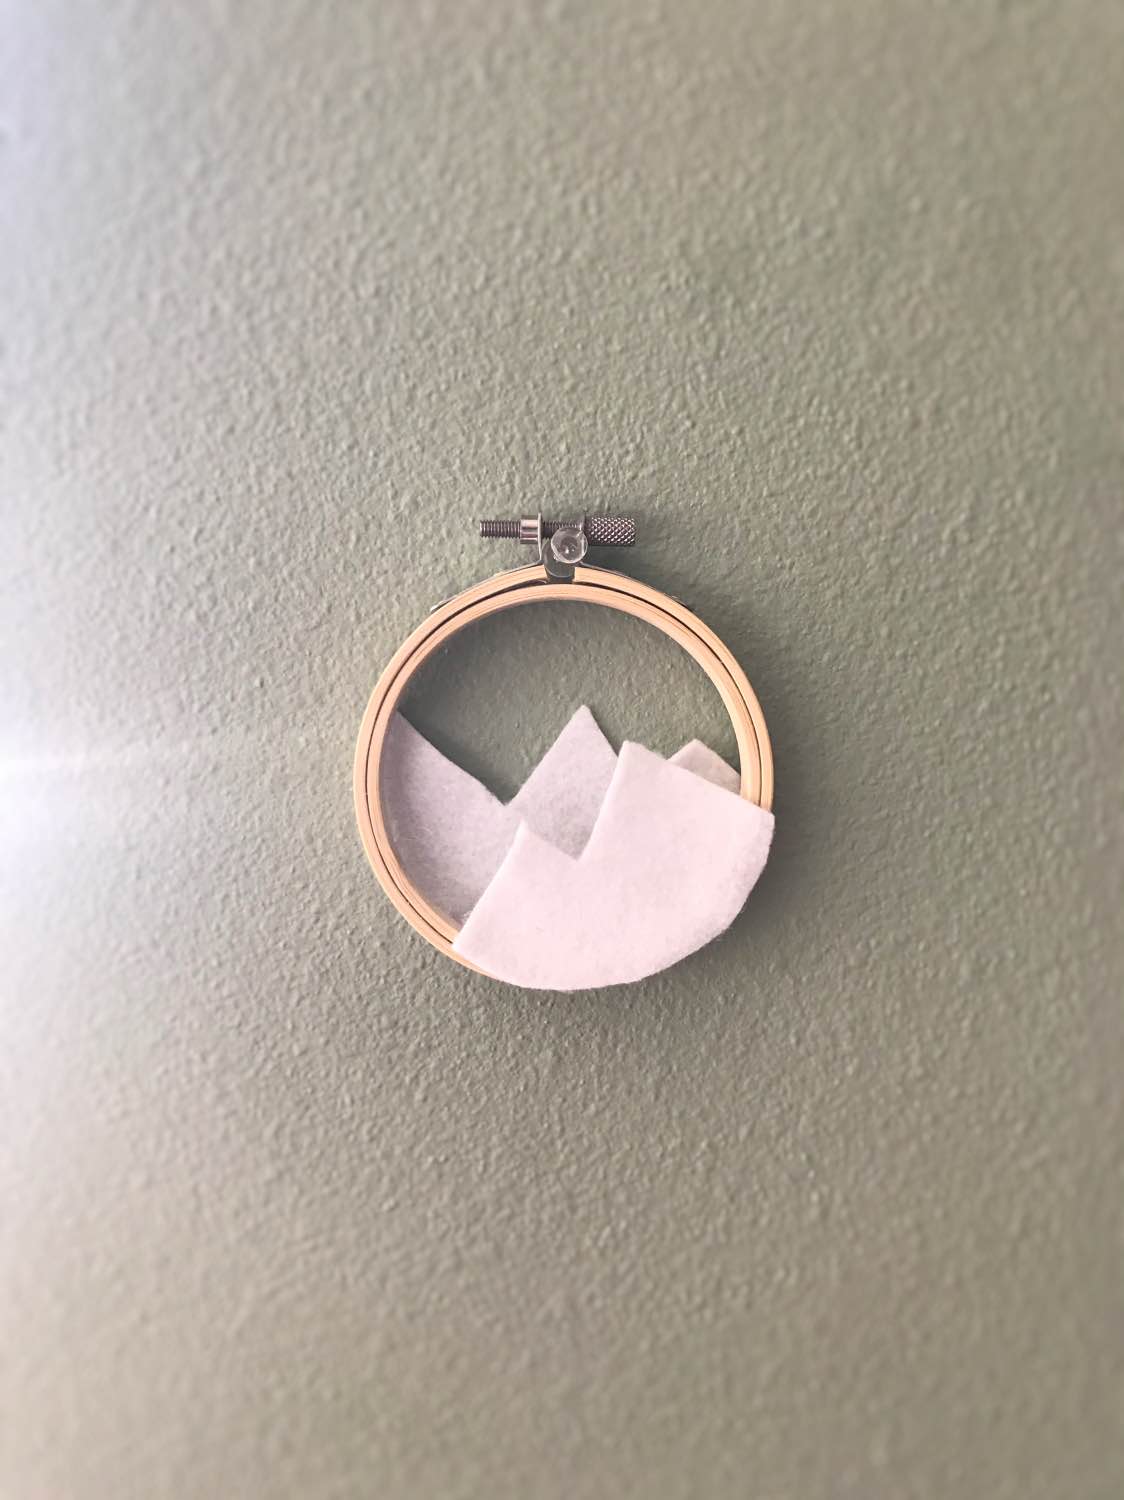
For the first wreath, I wanted a mountainous scene. The best way is to take a piece of white felt. You could also do this with some gorgeous white paper like watercolor paper. Trace the outside of the hoop on the felt and cut a circle of felt.
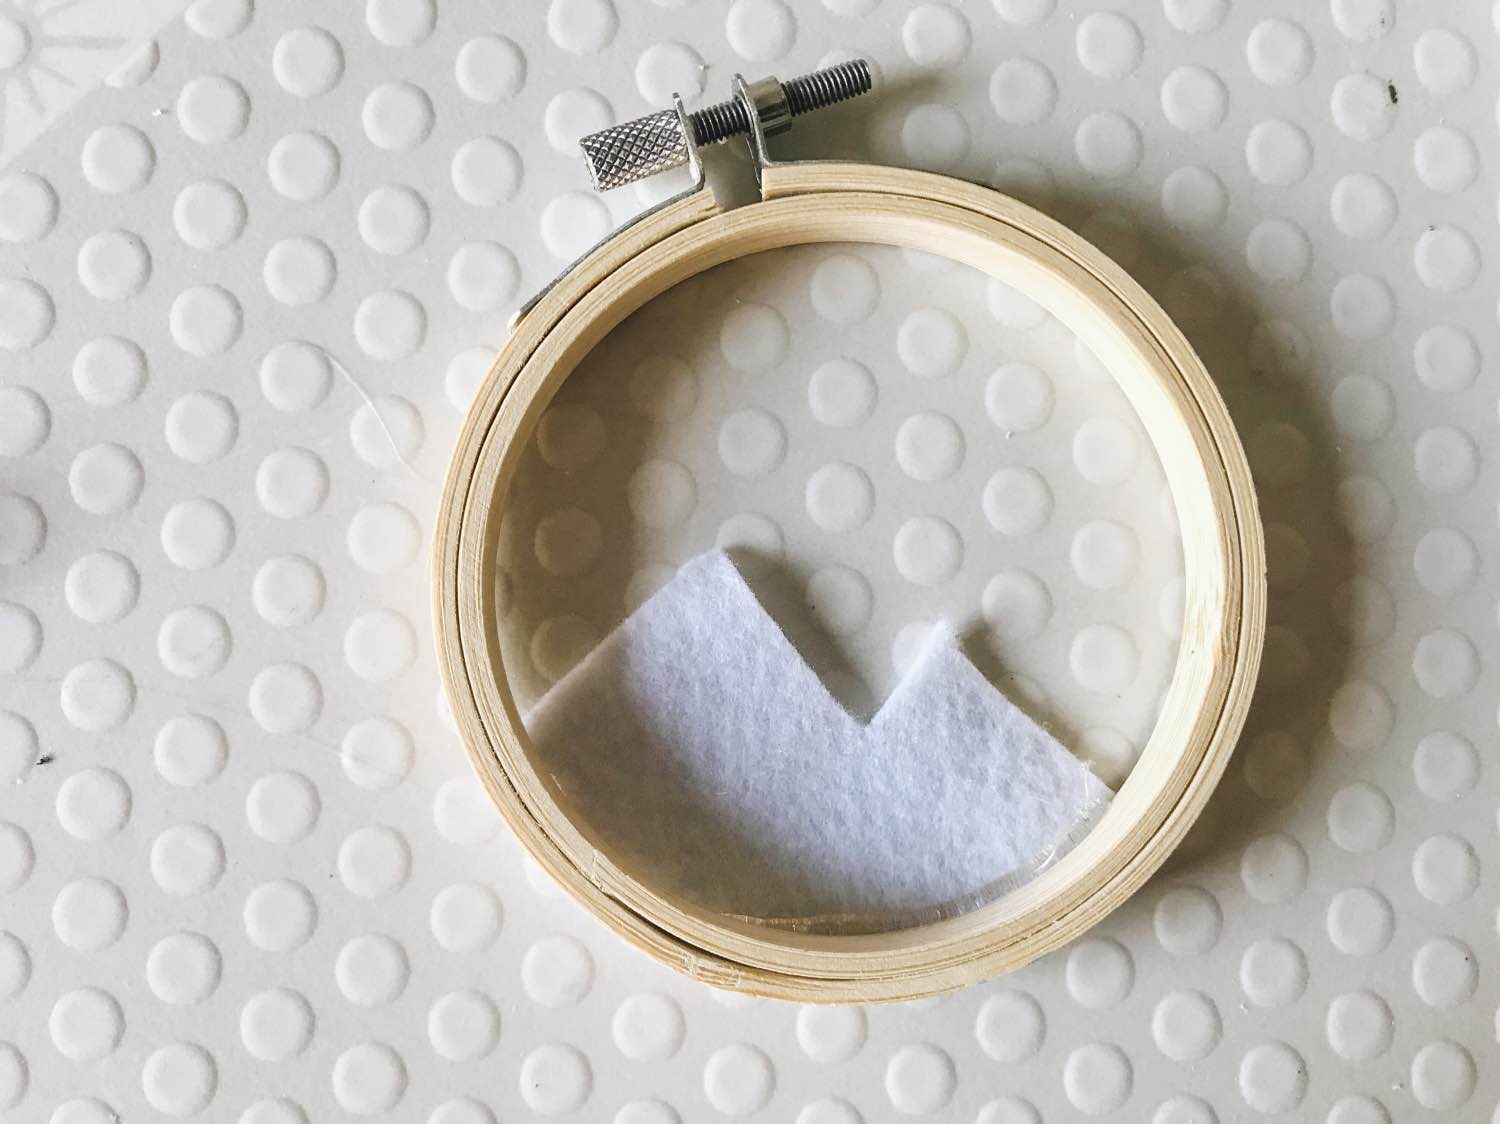
Next, leaving the edge of your circle intact, cut your in half in a zig zag. You can see more cut inspiration for your mountains in this post in which I cut a cork board into a cute mountain!
I then cut one of my pieces small and left the other one large. Glue the smaller one to the front of your embroidery hoop. Glue the other to the back of the embroidery hoop. This will give it a cool 3d effect!
Here it is finished! But immediately, I wanted more!
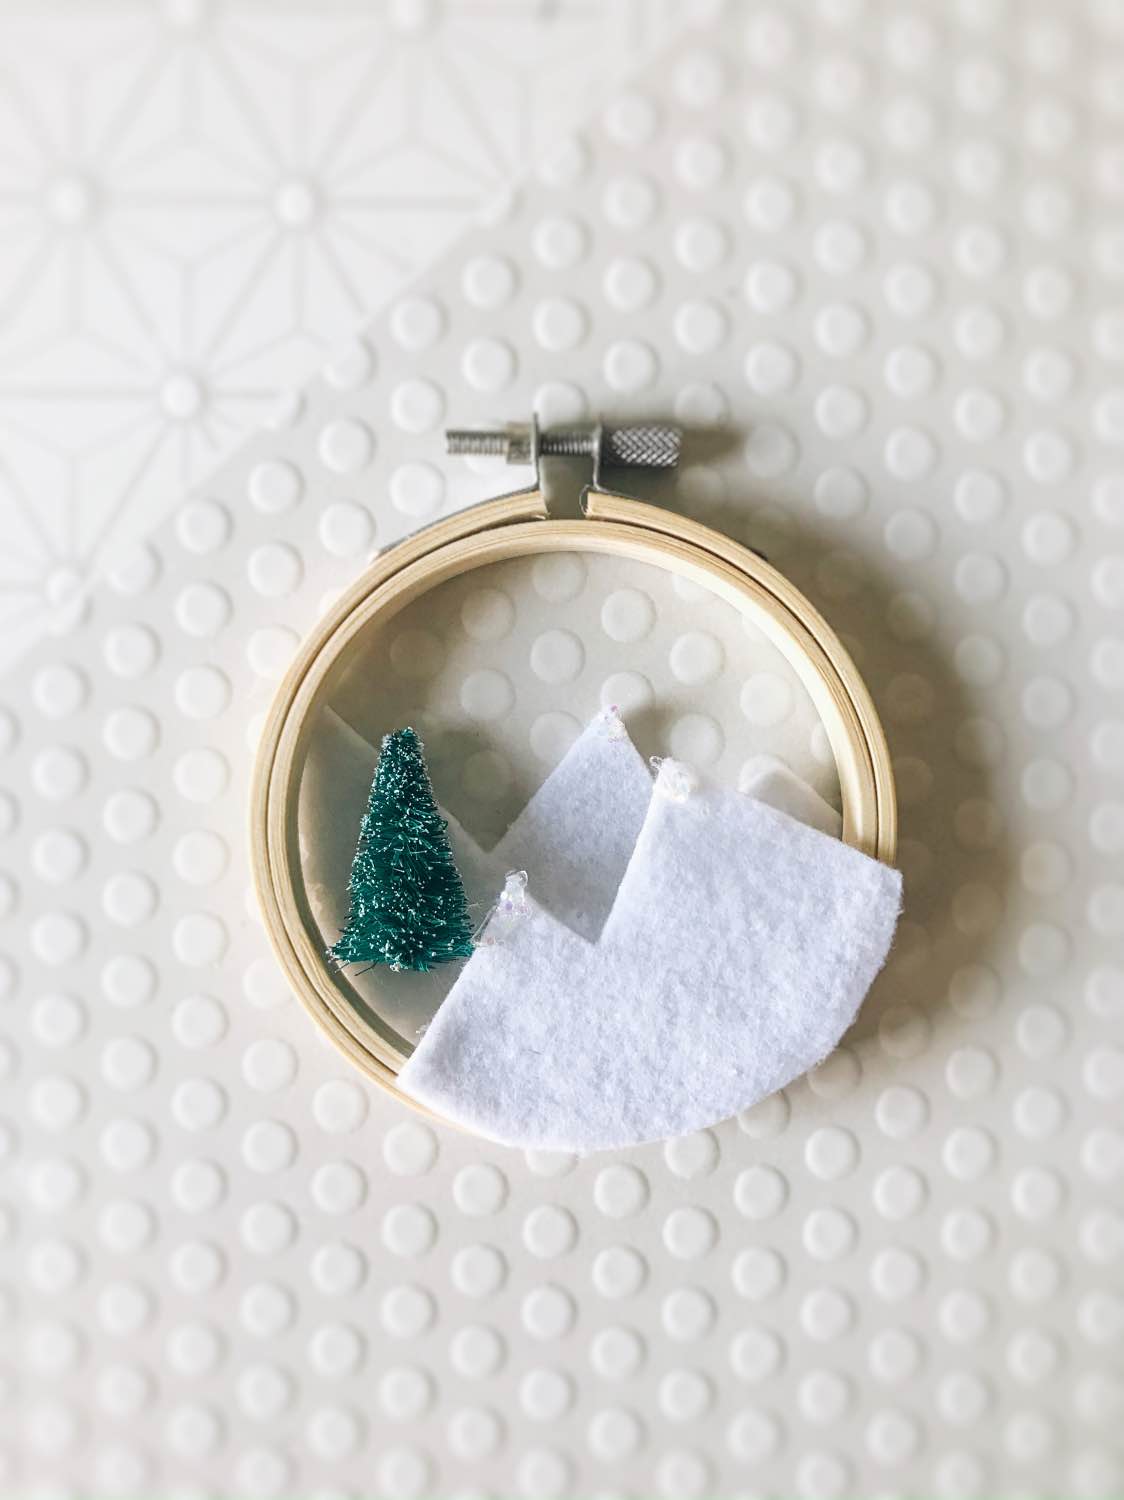
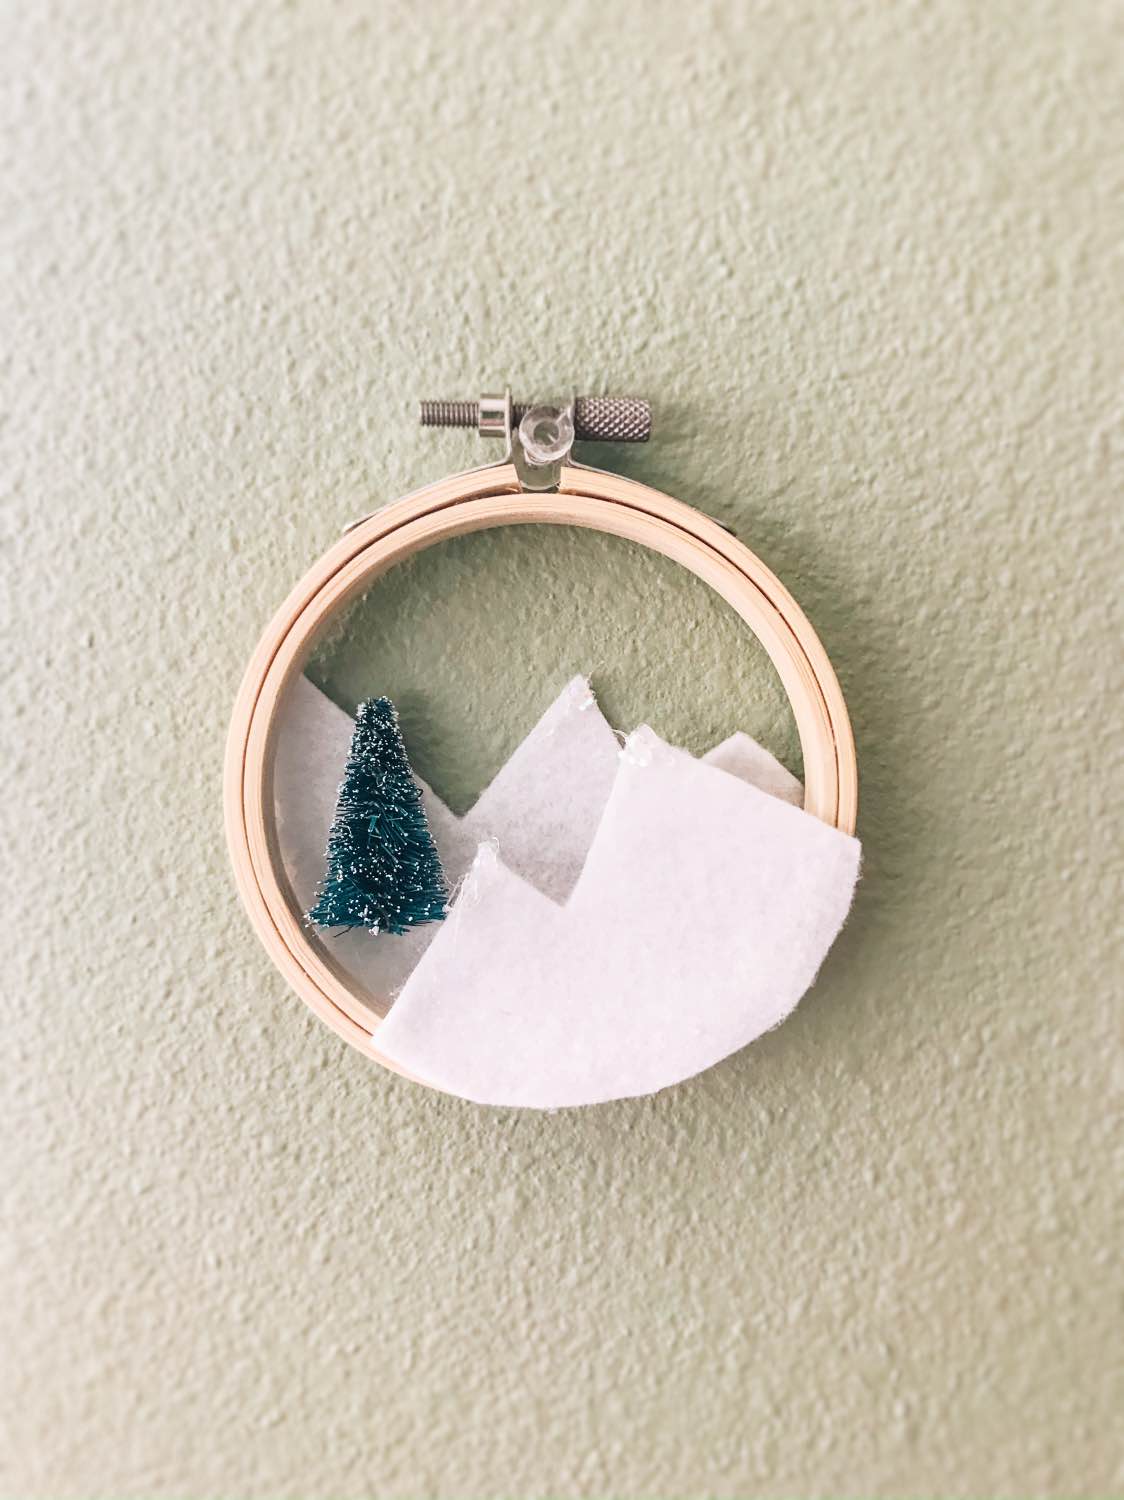
The holidays are about abundance so I had to turn these mountain tops into snowy mountain tops and add a holiday tree. So first I added some tiny dots of glue to the tips of your mountains and added glitter that. Instant sparkly snow! Then once the glue is dry, clean it up and pull away any strings of glue.
Last, add a bottle brush tree in between your layers. I had to cut my bottle brush tree small. Regular scissors worked just fine as the wire is really thin. Then add just a tiny dab of glue to the bottle brush tree and press it into the felt.
Viola! Now we have a Snowy Mountain Holiday Wreath.
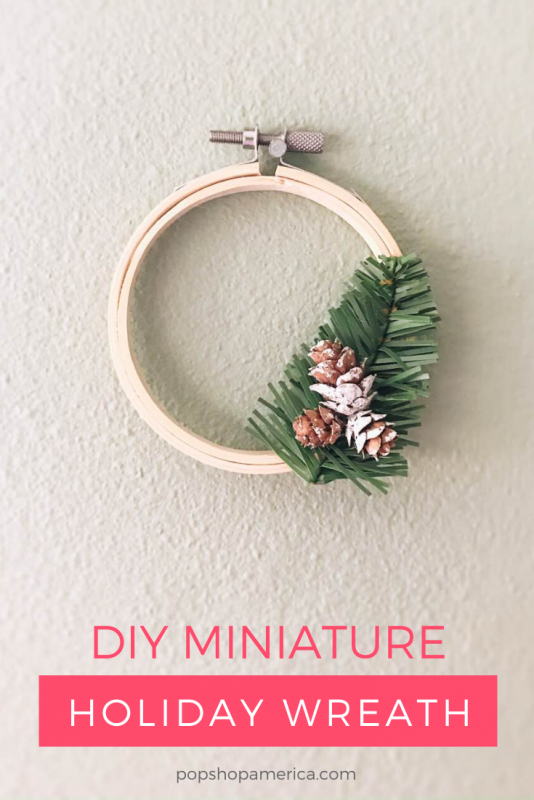
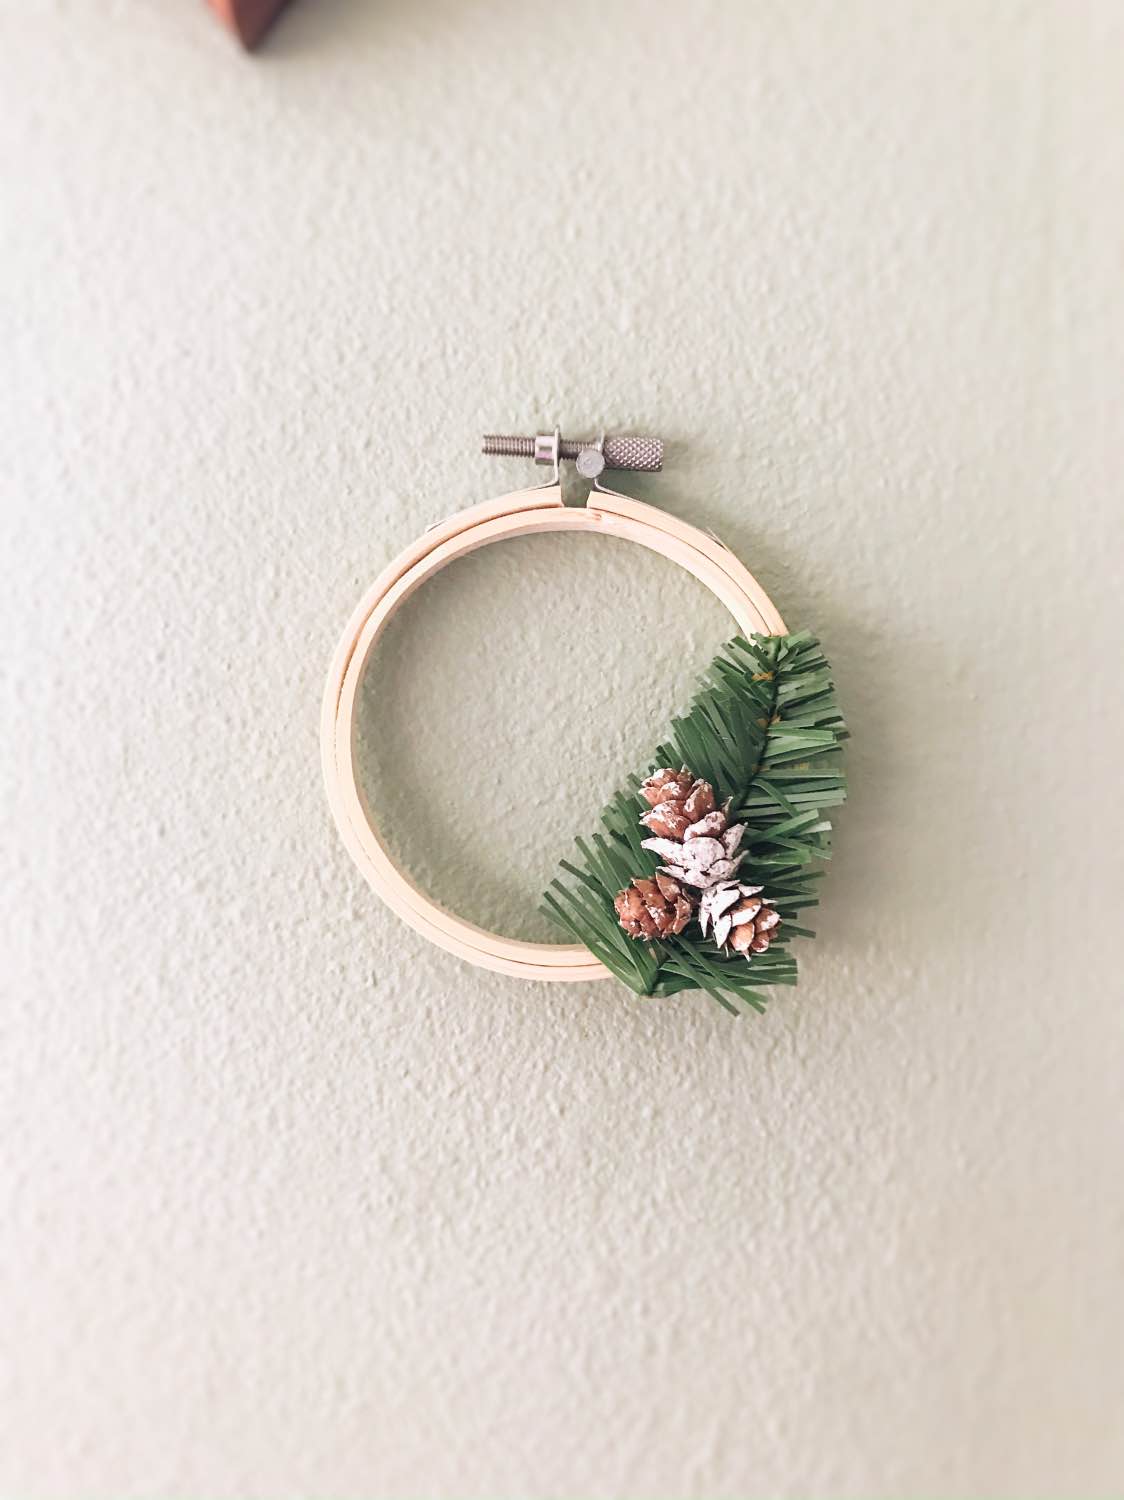
My favorite type of wreaths are when they have an asymmetrical arrangement of leaves and natural elements. So let’s make one more mini wreath that is my absolute favorite of the 3.
To make this wreath we’ll need a small sprig of faux pine and 3 mini pine cones. If you don’t have pine cones, you could use 3 of anything small and cute – tiny ornaments, bells, or acorns.
The first step is to cut your faux pine to the right size. Even after I cut it, it looked a little big. But once you get it in place with your pine cones, it looked perfect. My sprig was about 1/3 of the total size of the hoop. You could also cut yours smaller.
Again, I was able to use scissors, even though the pine was mounted to wire.
To affix the pine, just add a tiny bit of glue to the embroidery hoop and press the pine in place. Once that’s dry, add your pine cones.
Have you heard of the rule of thirds? It’s amazing. Things always look better in 3’s. That’s why I added 3 pine cones. Once your pine cones are set you are all done!
It is time to hang your gorgeous little Holiday Wreath. Again, it’s so small that it’s perfect for small spaces. It also makes the loveliest gift!
If you love this DIY, don’t forget to grab the December Gumball Machine Snow Globe Kit! It’s full of this and other cute DIY’s that will keep you busy all through your holidays.
Let’s Stay Friends!
Insta | Pinterest | Enews | TikTok


