DIY
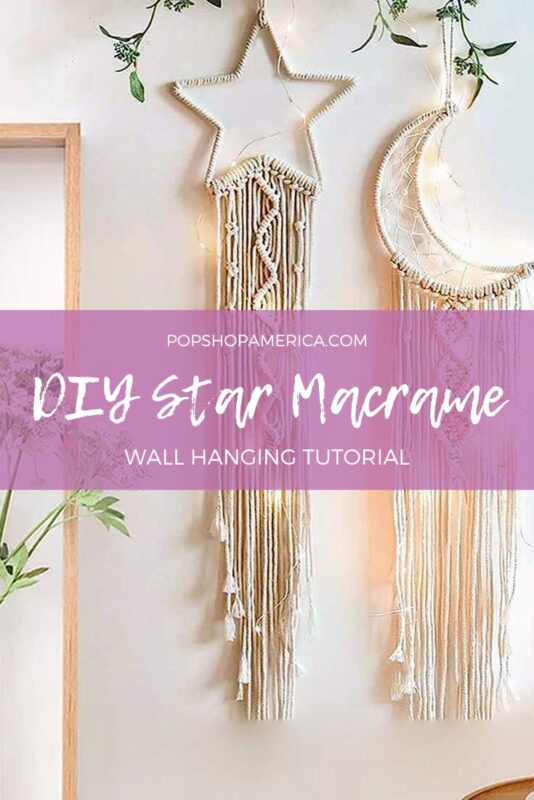
DIY Star Macrame Wall Hanging with Lights
Sep
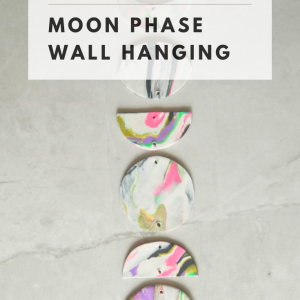
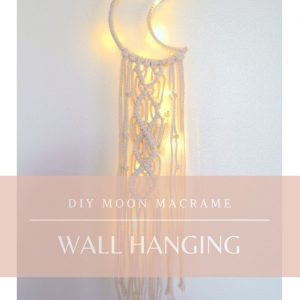
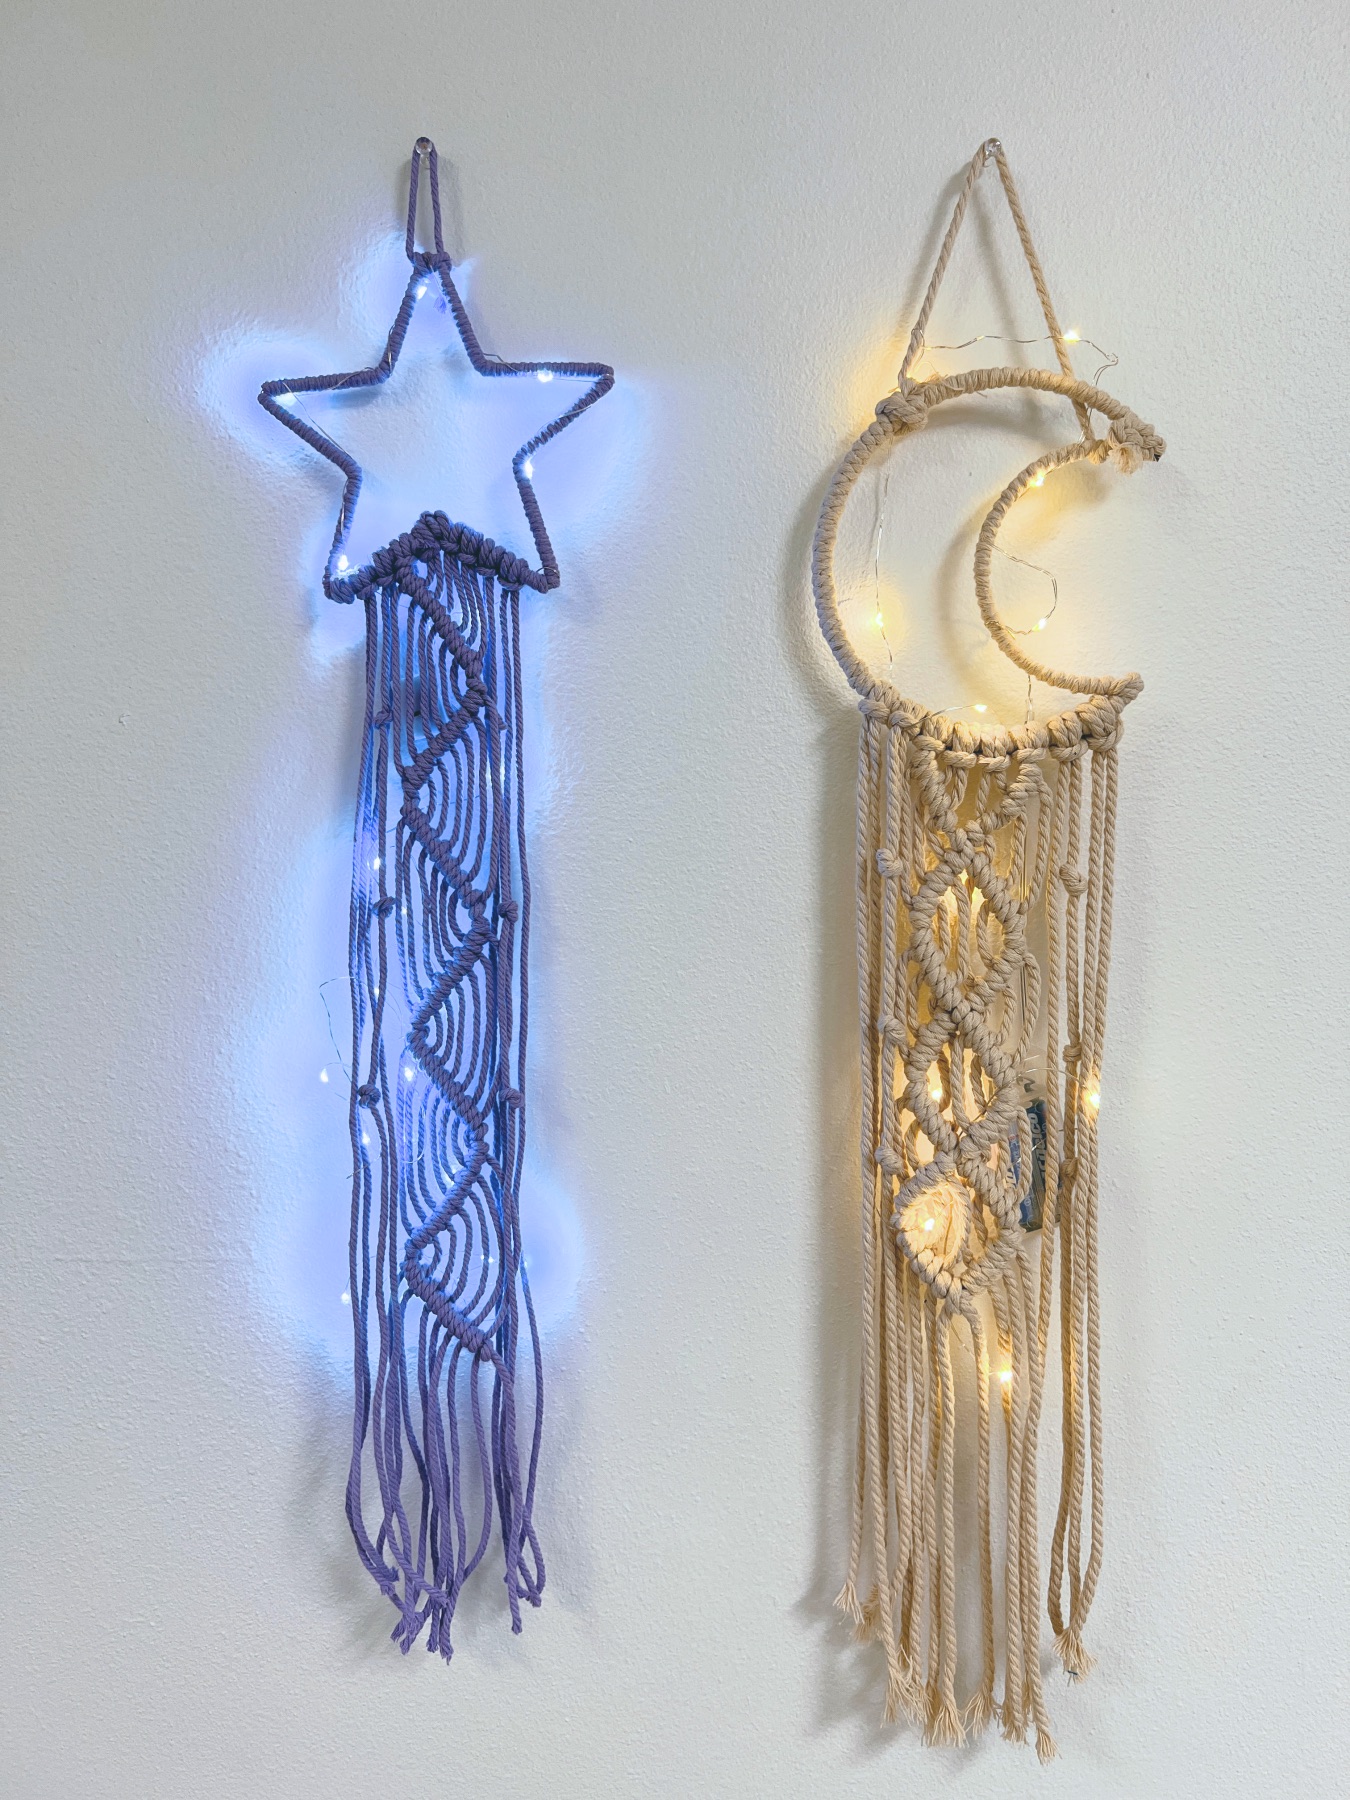
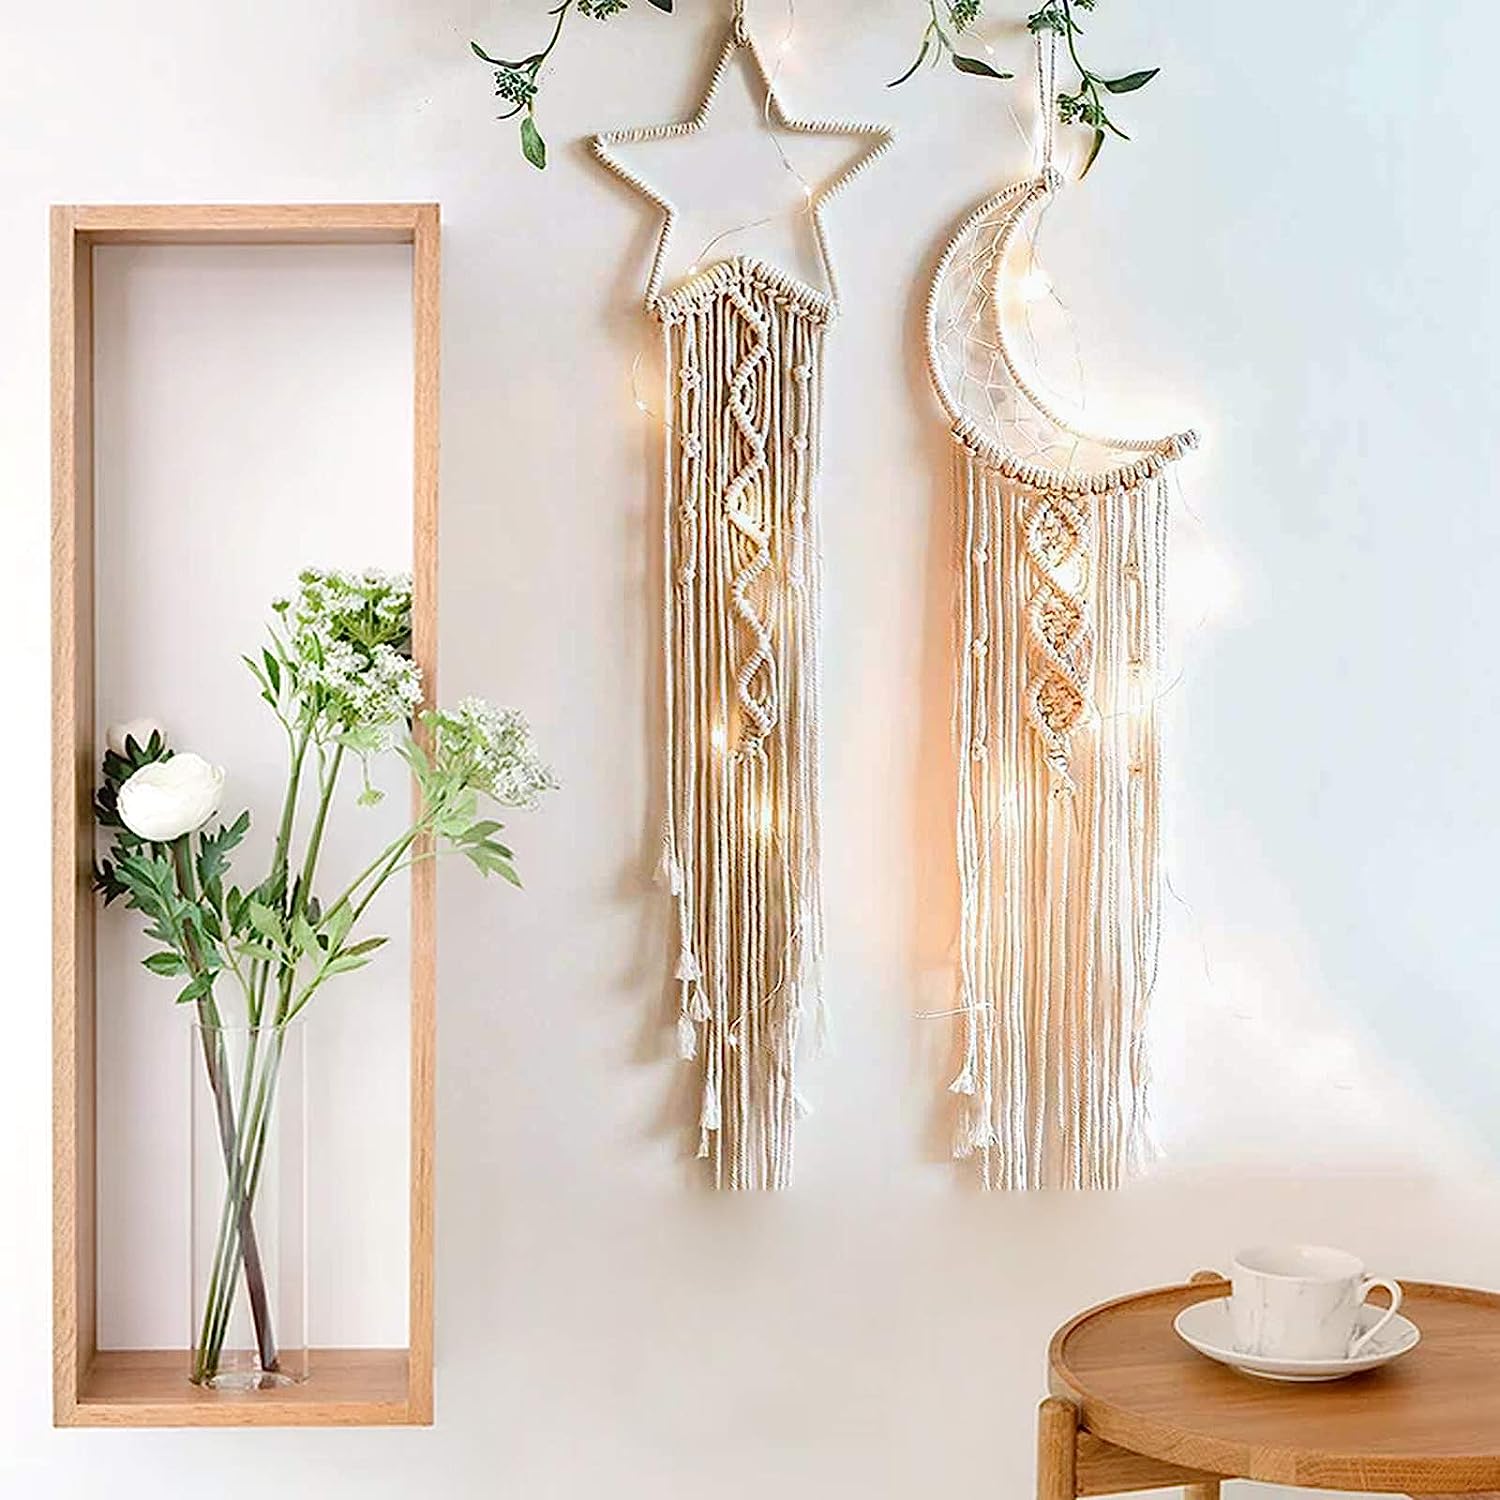
Ready to make the most enchanting craft around? This Star Macrame Wall Hanging is adorned with twinkling string lights which make it mesmerizing. You can even make a Moon Macrame Wall Hanging to accompany it! This project combines boho macramé with the cozy ambiance of fairy lights, making it a captivating addition to any room or outdoor space.
It’s perfect as a night light or for rooms that don’t have a light – like small closets. So let’s make it!
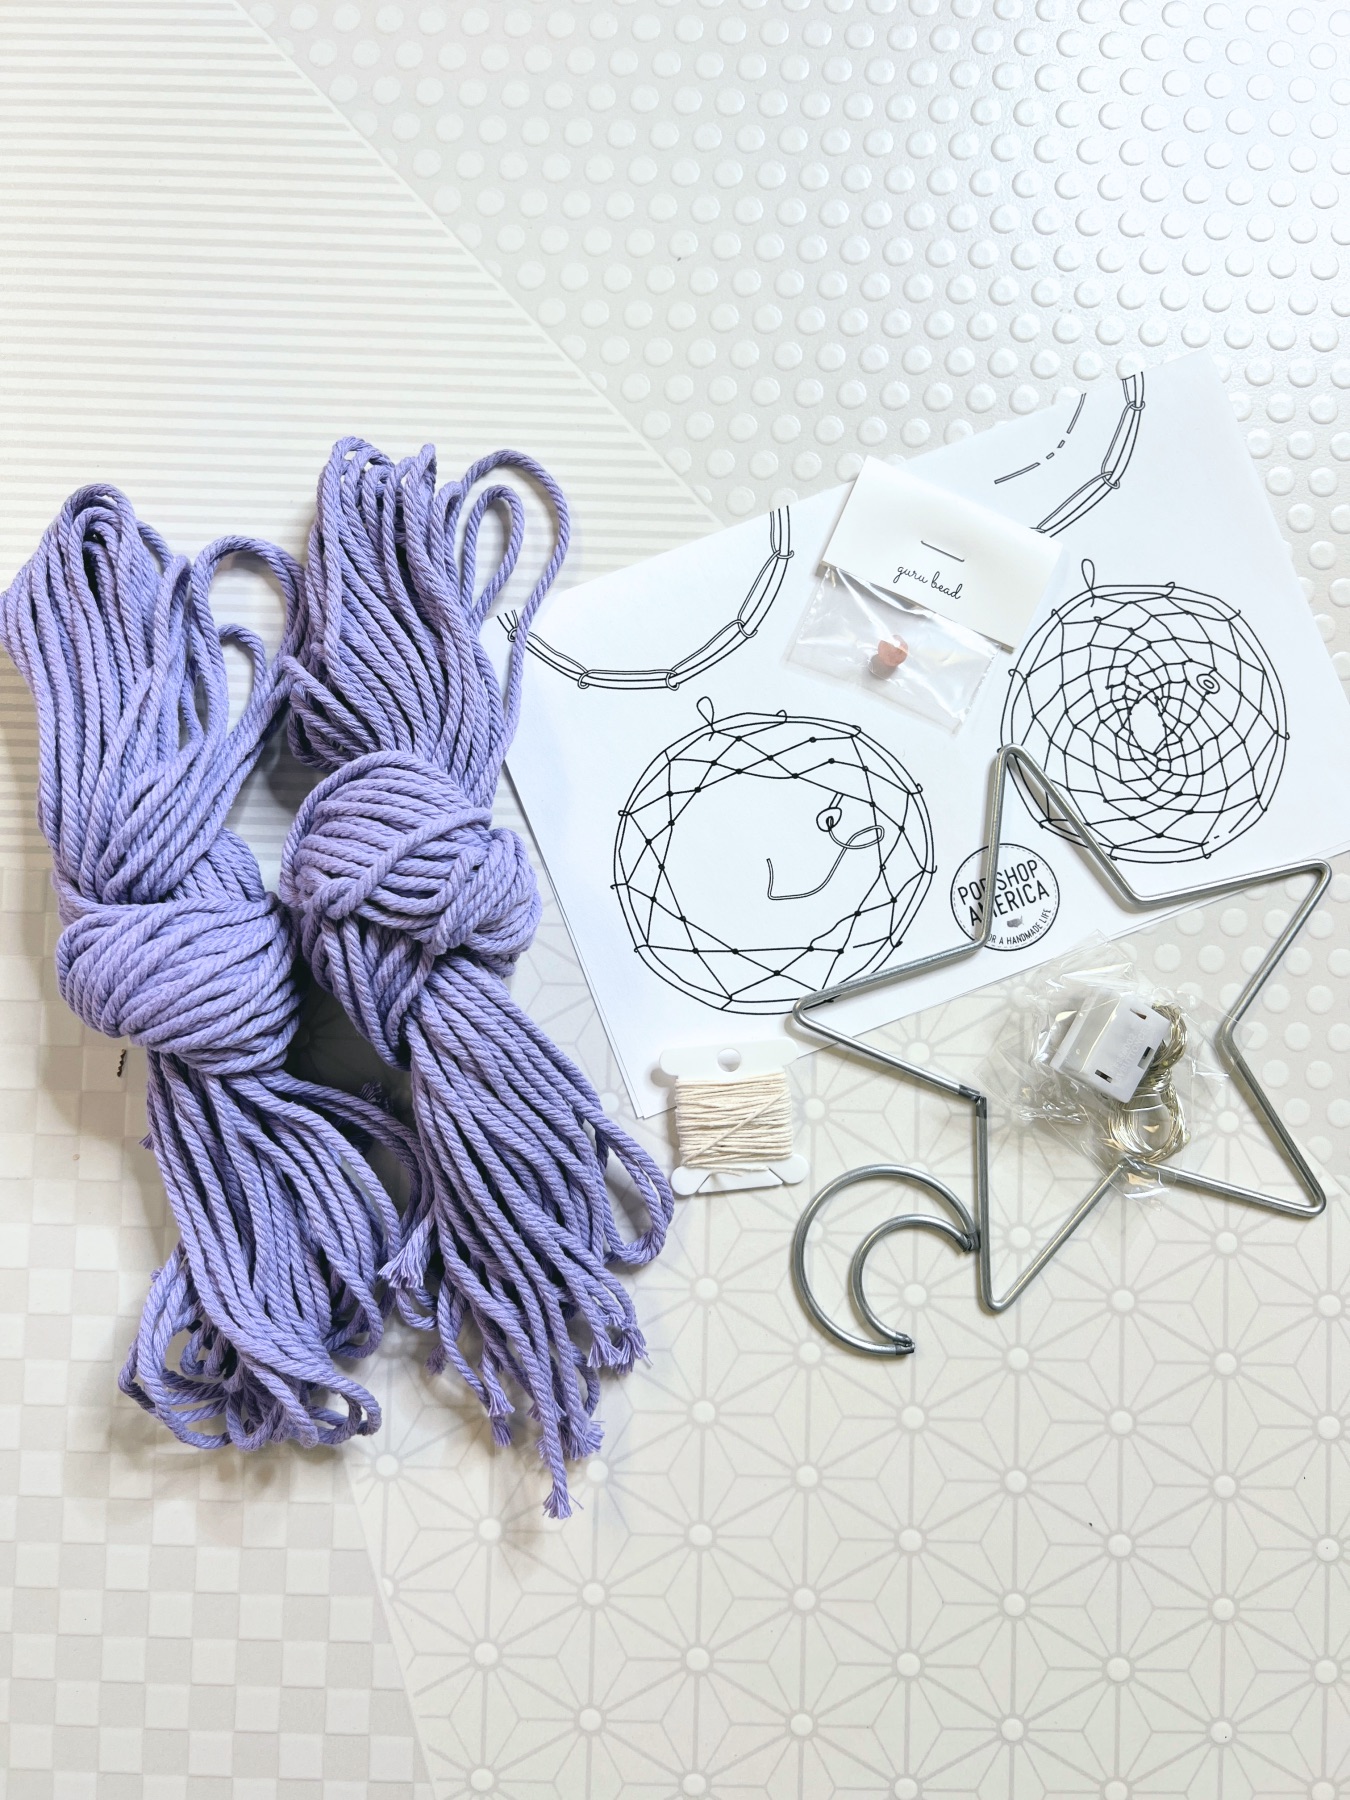
Supplies to Make a DIY Star Macrame Wall Hanging
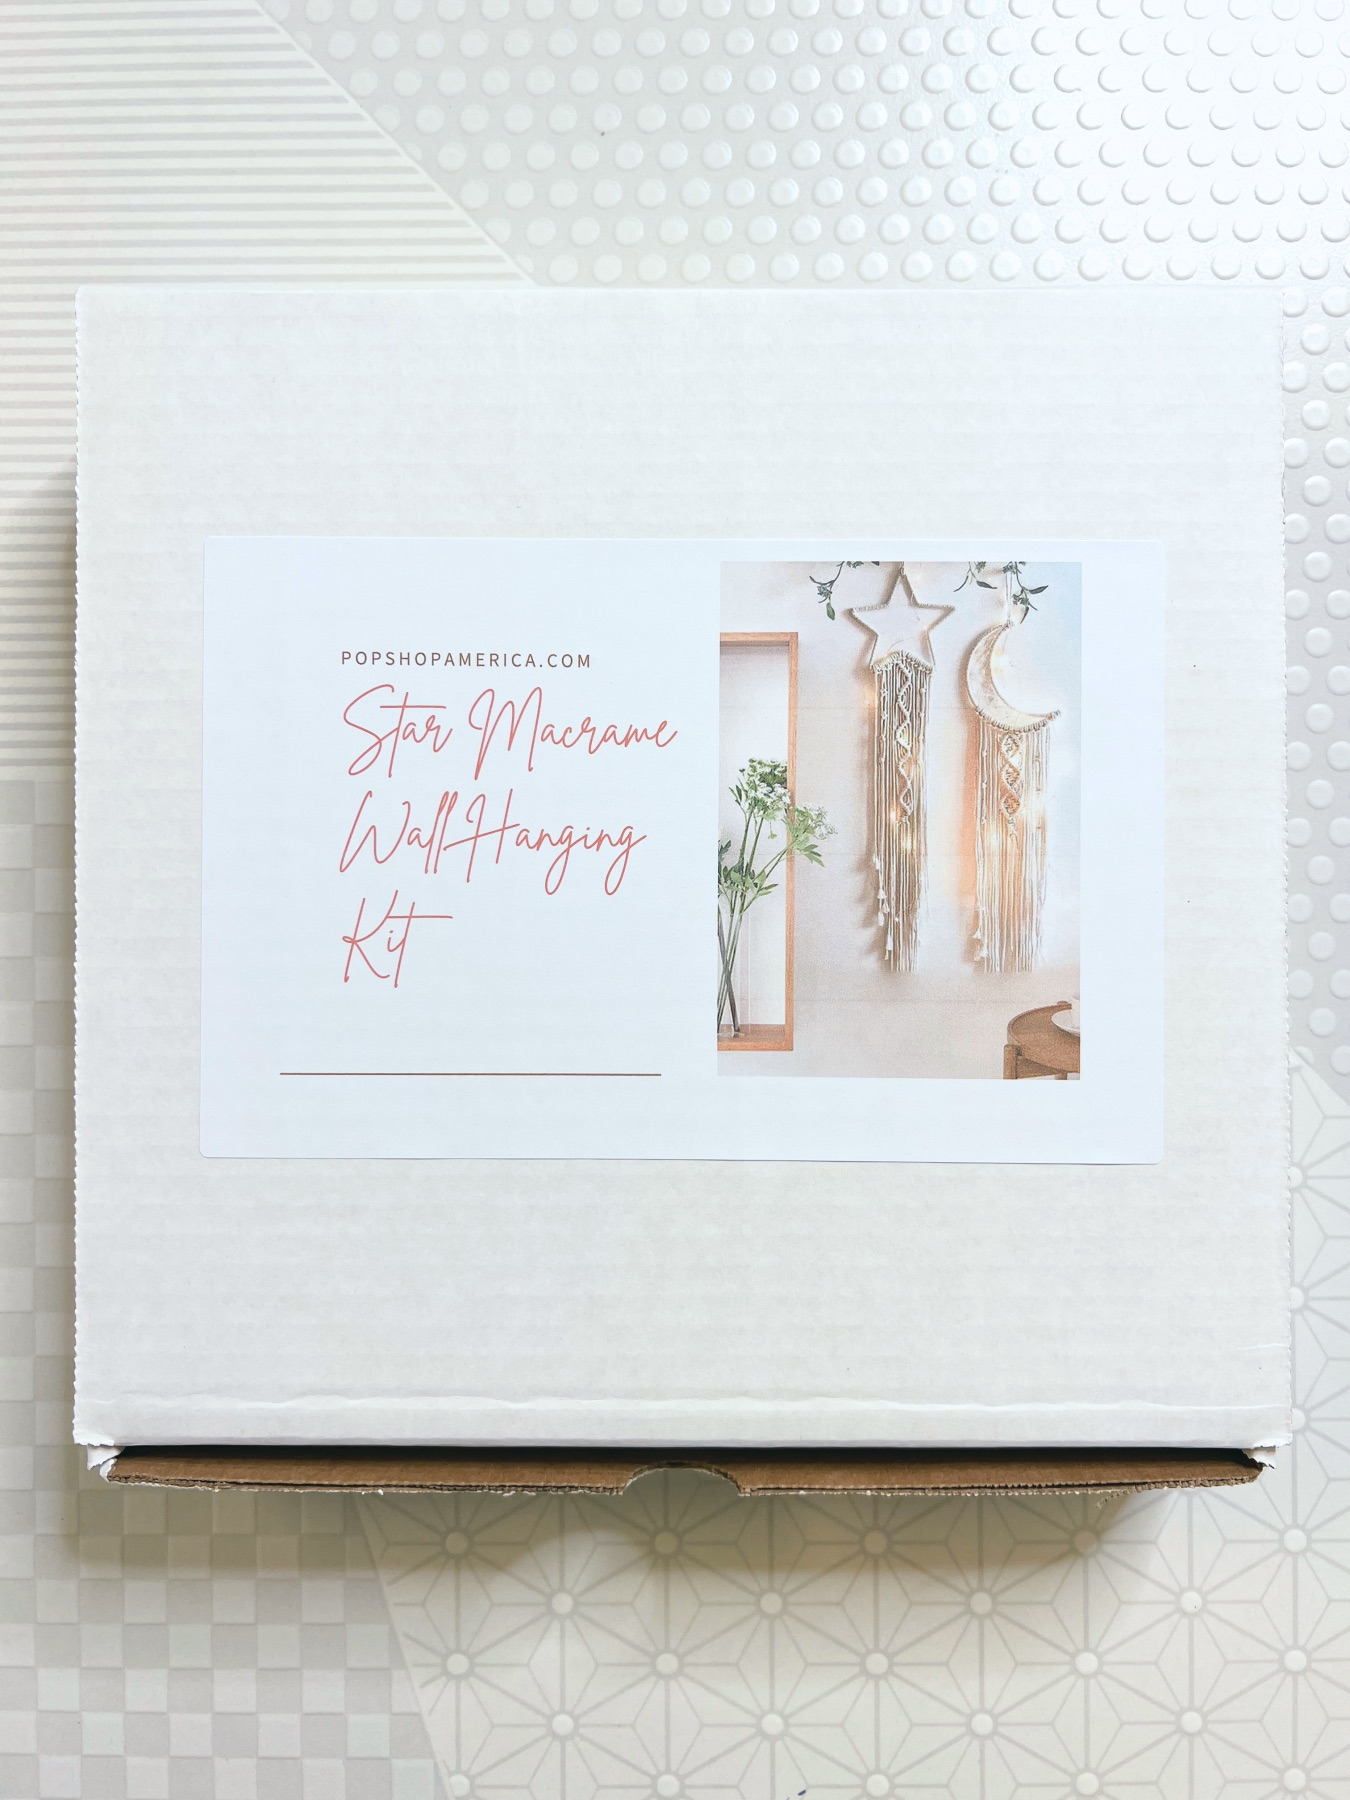
This Star Macrame Wall Hanging Kit
-or-
10 x 10-12 ft. Lengths of 3mm Macrame Cord
1 6-8 inch Star Macrame Shaped Base
1 Strand Fairy Lights with Batteries
Optional: Small Moon Shaped Macrame Base
Twine to Fill in the Star
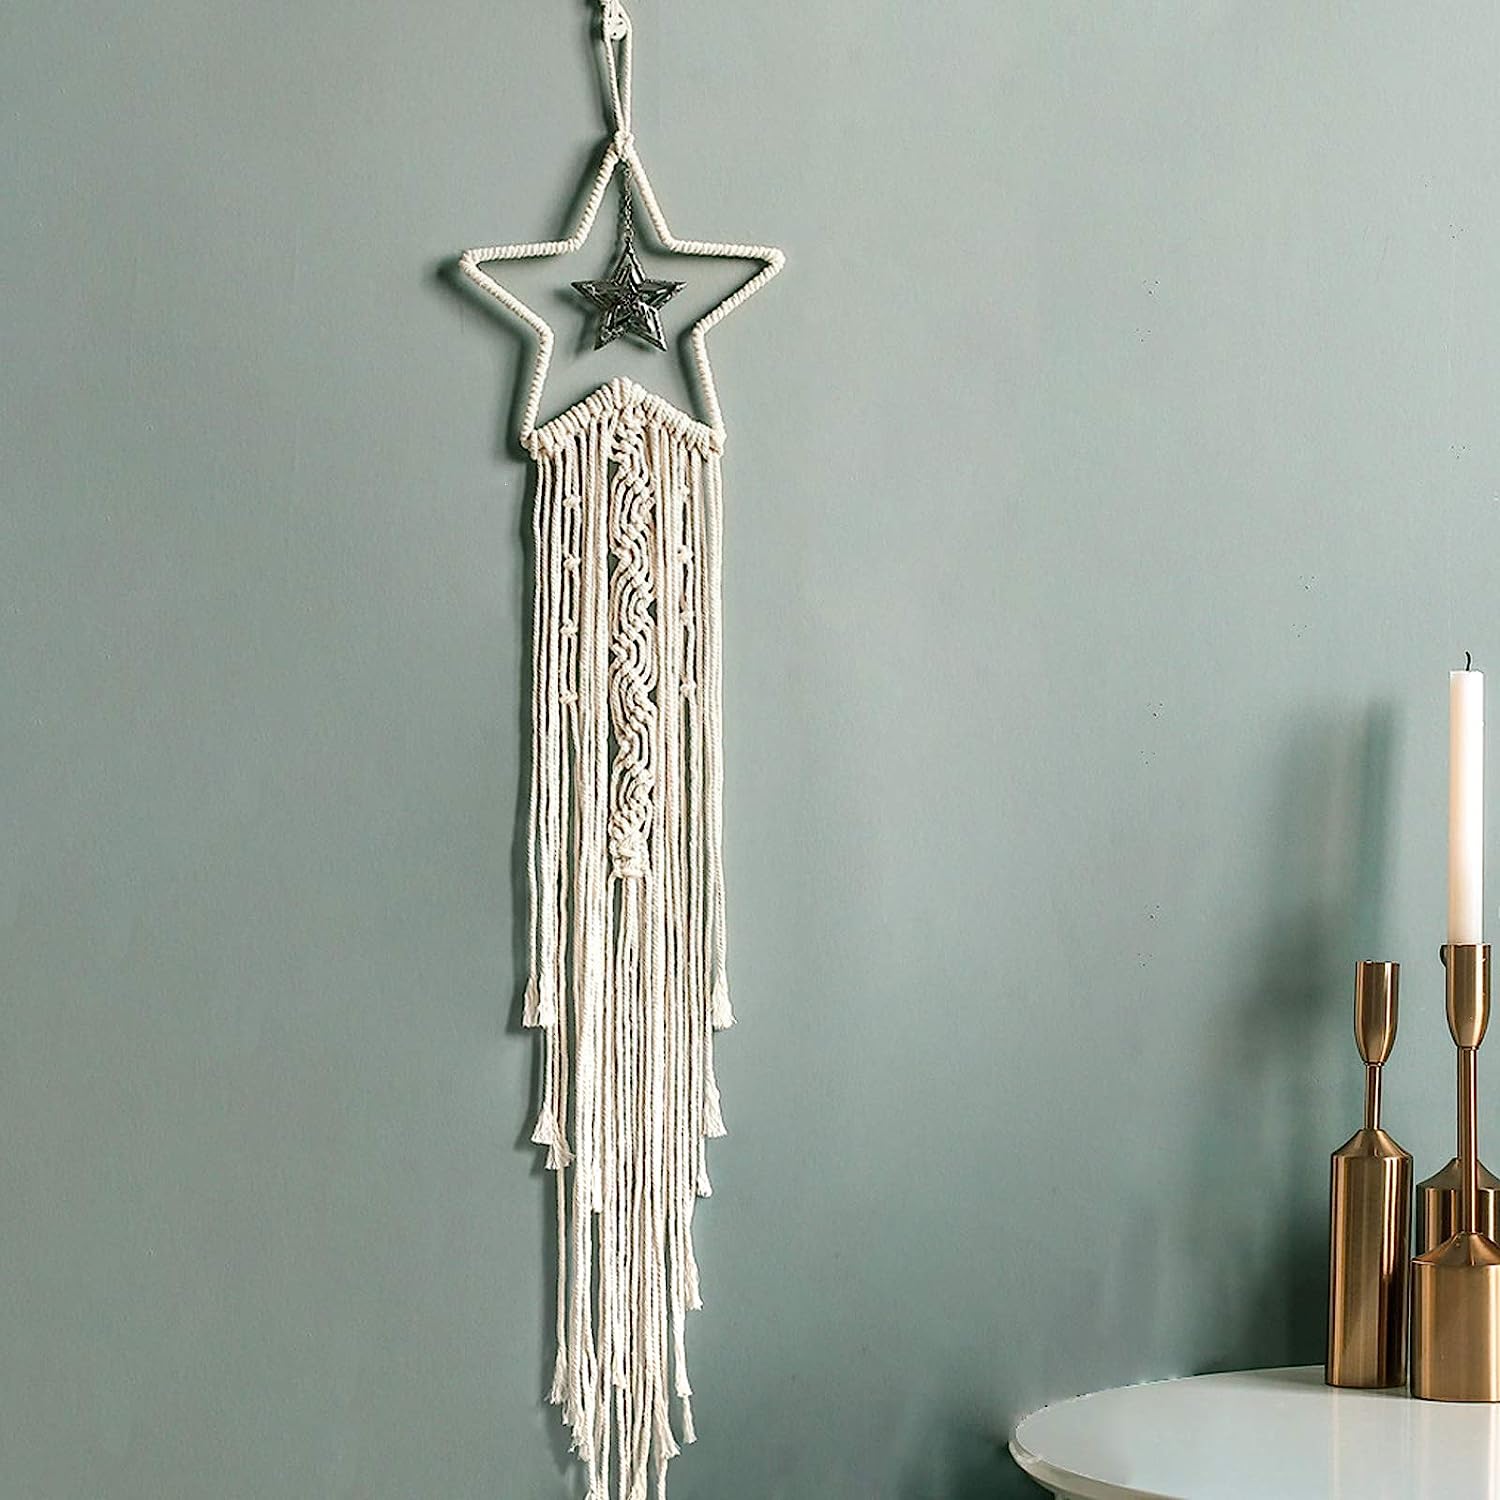
Gemstone to Make a Dreamcatcher “Spider”
A Clothespin to Hold the Macrame Cord
Additionally, you will need some heavy duty sewing scissors like Fiskars.

Setting Up a Macrame Project Space
Before you get started making your Star Macrame Wall Hanging, I highly recommend setting up your space. You only need a small amount of space for the first steps. You can work at your desk or in front of the tv. But to knot your macrame cord, you will need to work on the wall.
Use a small nail in the wall to work from. Or if you don’t have wall space available, you can place the macrame hanger through a clothes hanger and work from a door knob. Or if you are careful, you can place the hanger around something heavy and tall – like a 2 liter soda bottle on work from that.
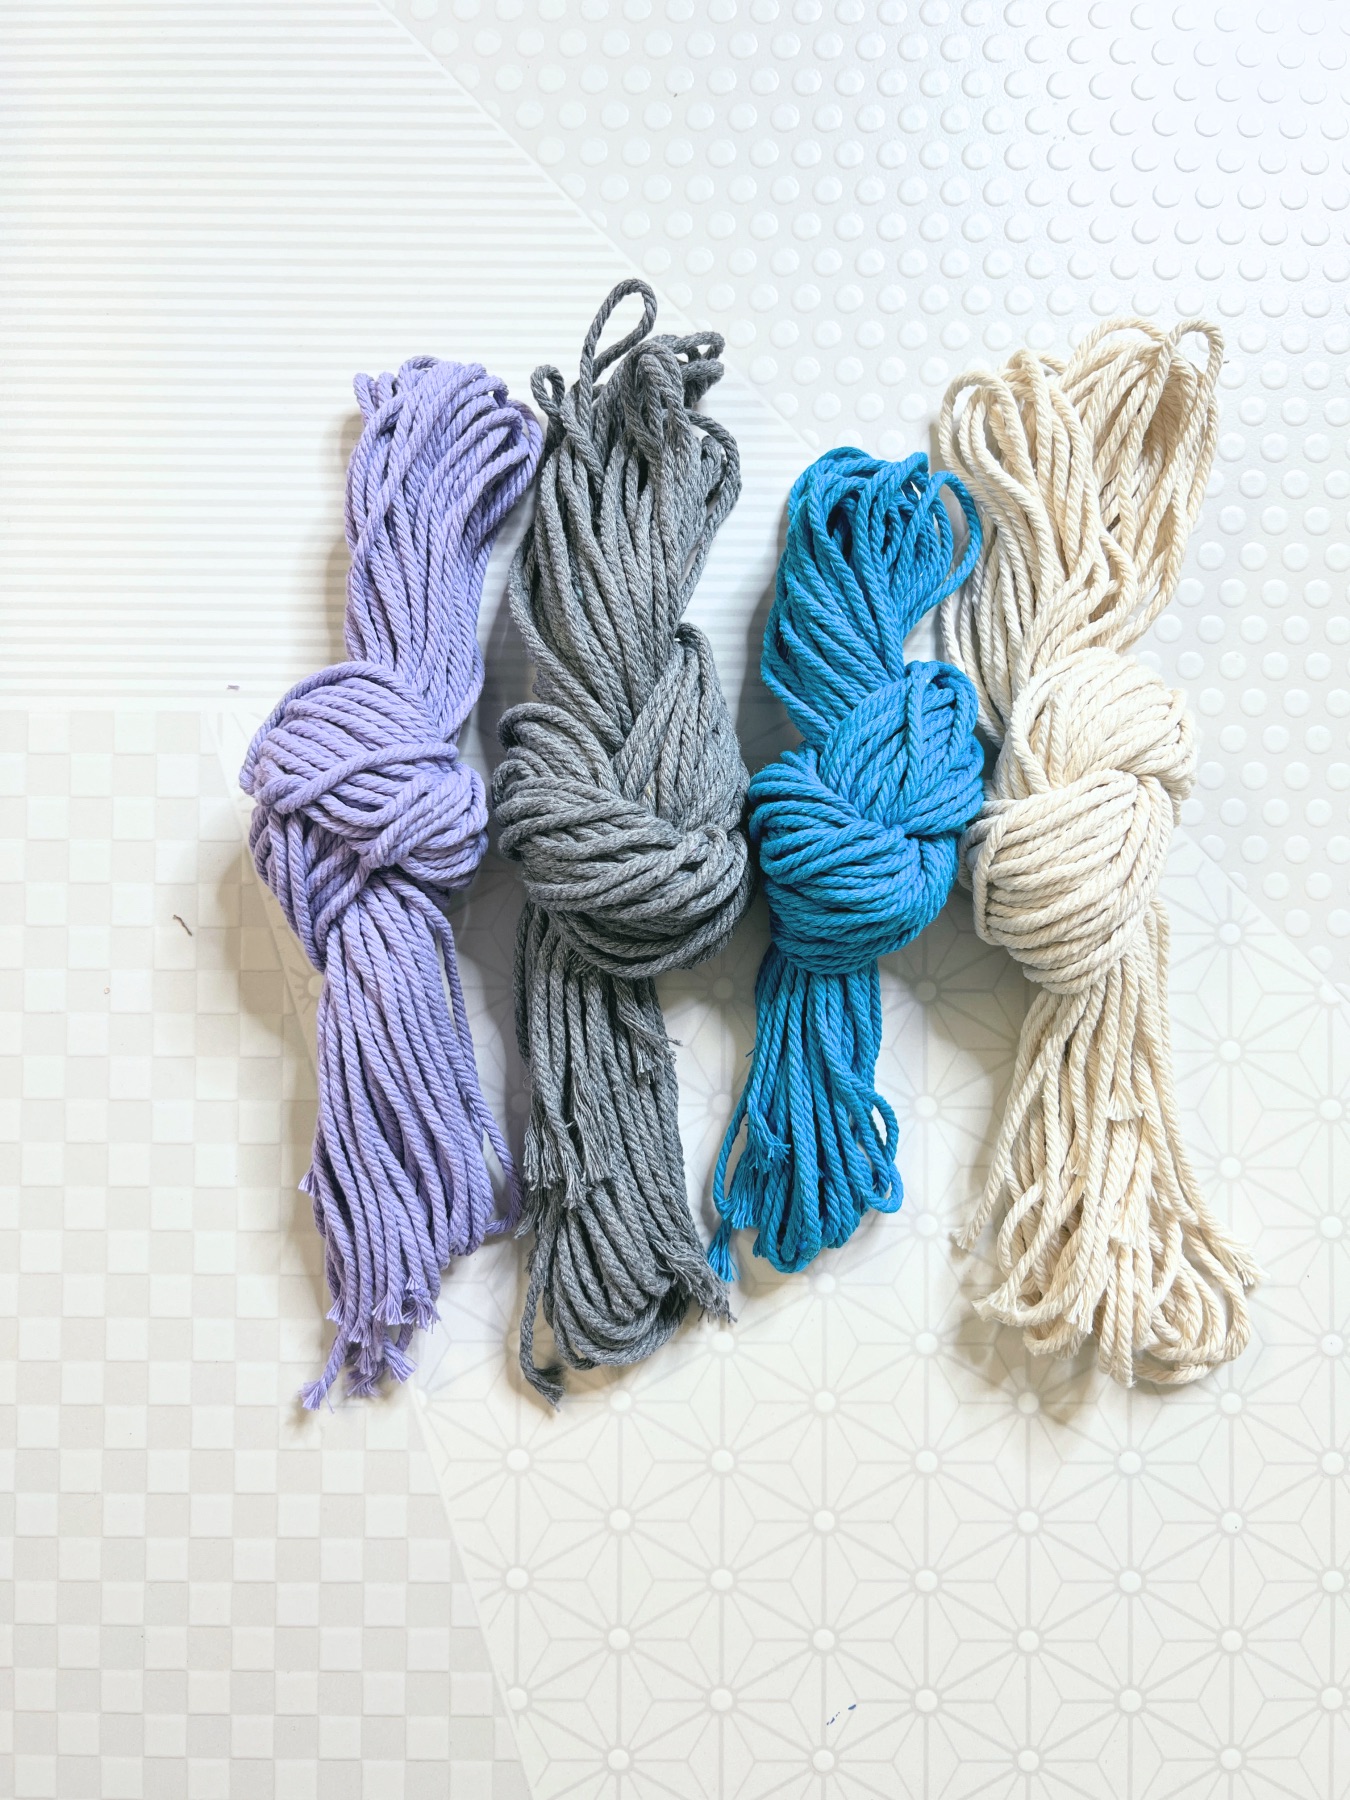
Your Color Selection
Macrame cord comes in every color of the rainbow. But for a Star Macrame Wall Hanging, I would recommend something with a galaxy-like look. So lavender, blue, and gray are great choices. Beige is a standard choice and used for so much macrame. It truly is dreamy.
But there are so many other colors too!
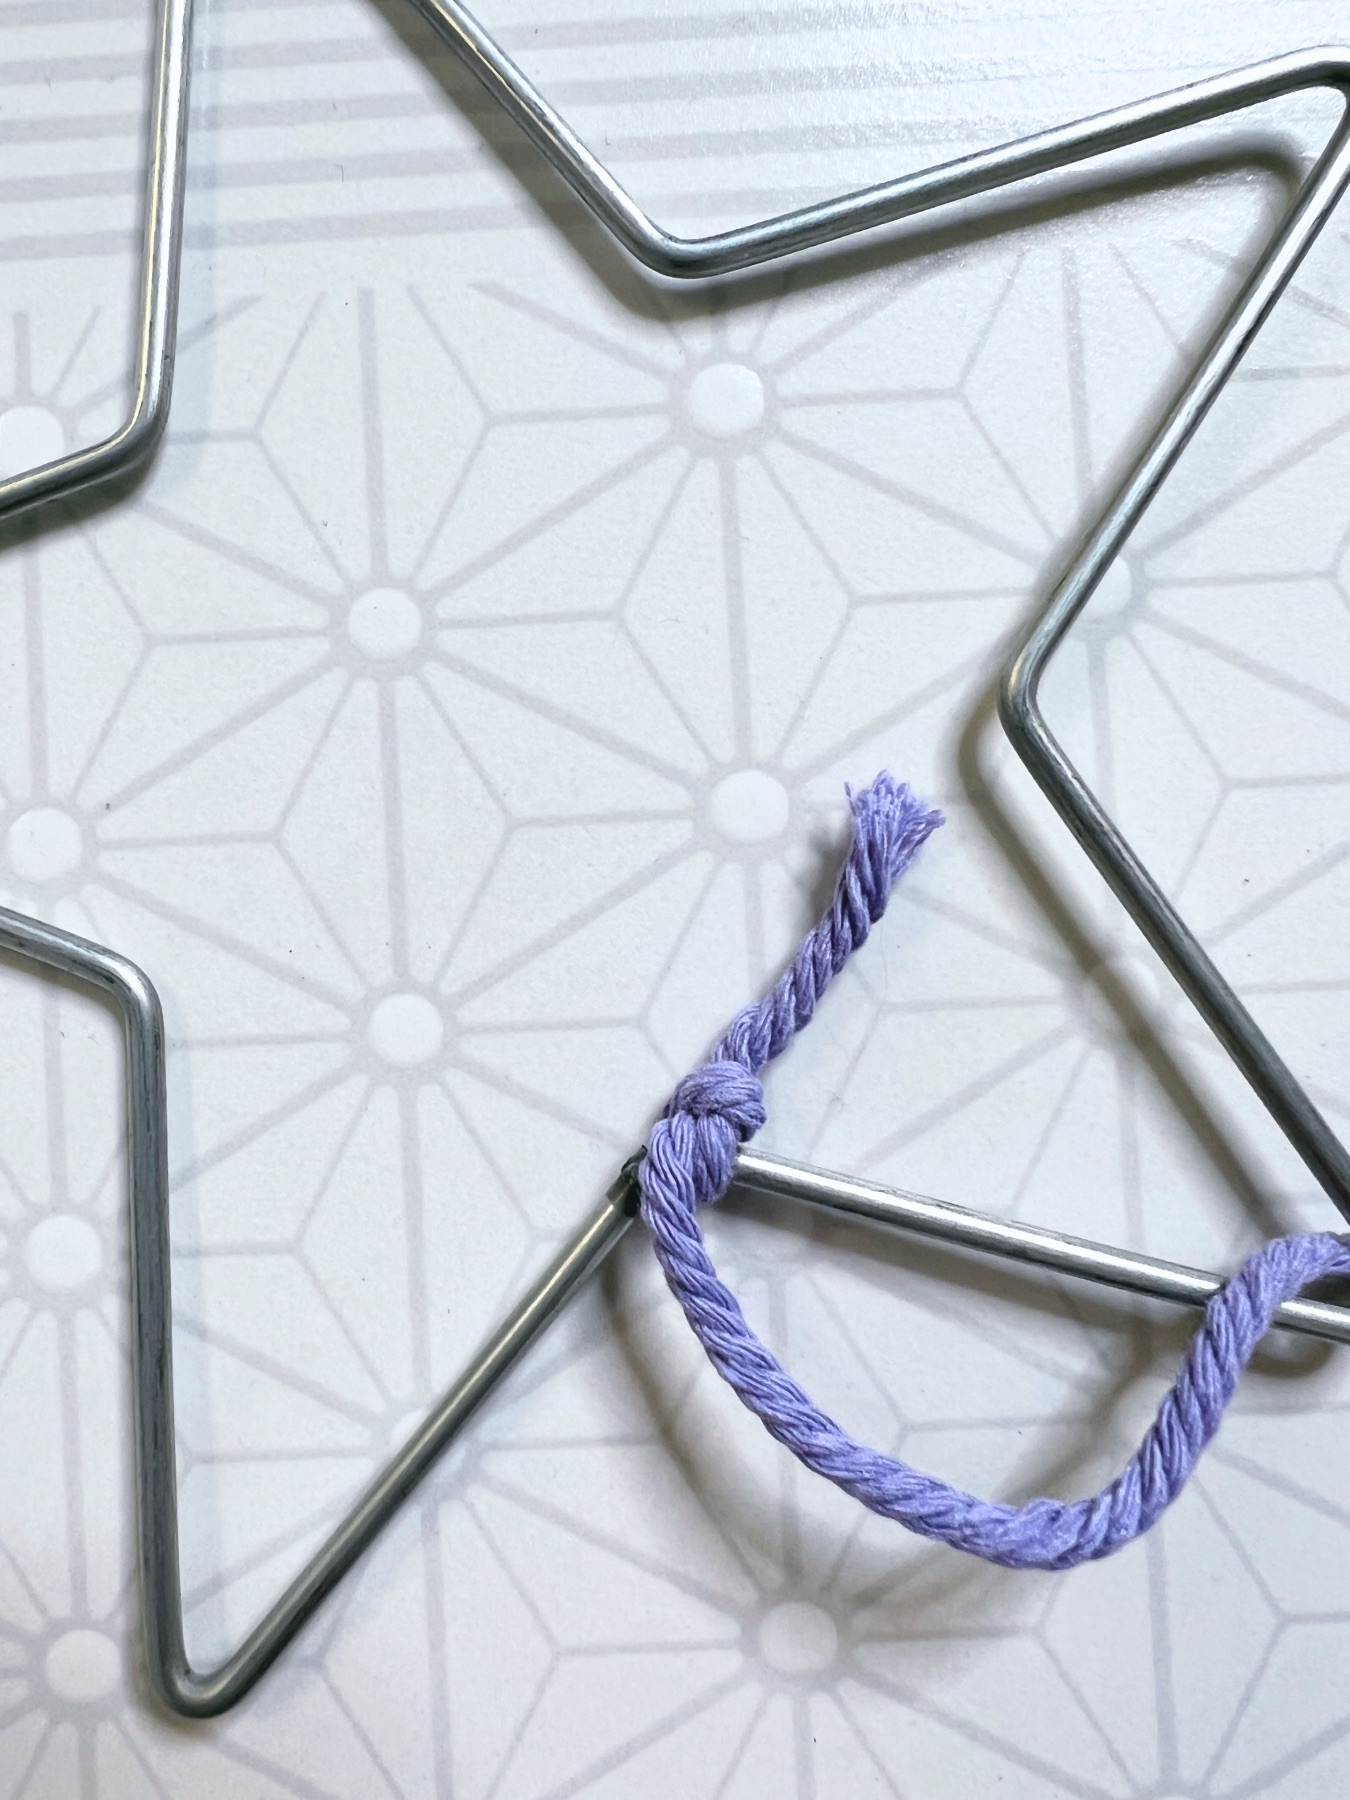
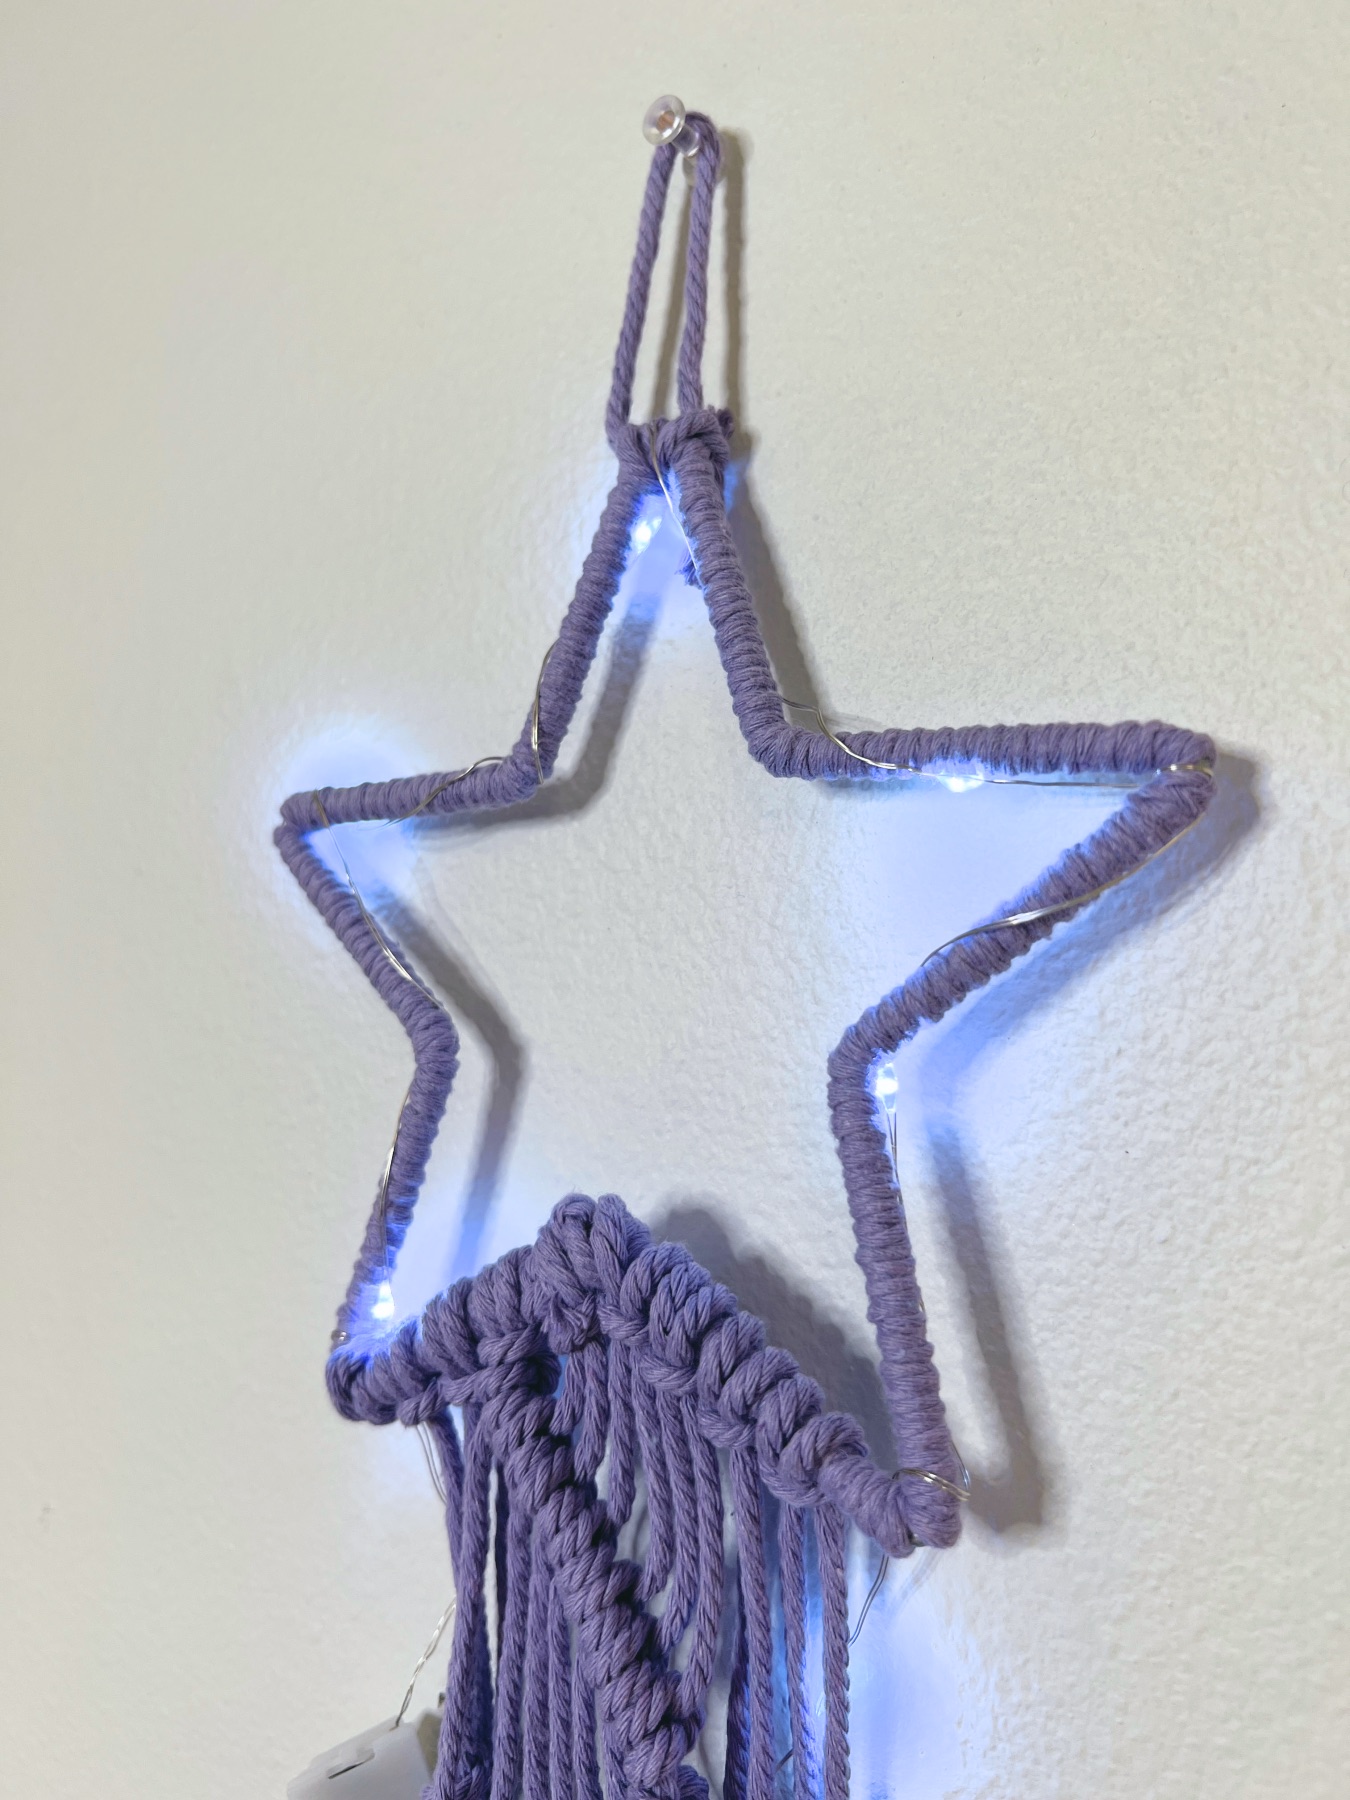
How to Start Your Star Macrame Wall Hanging
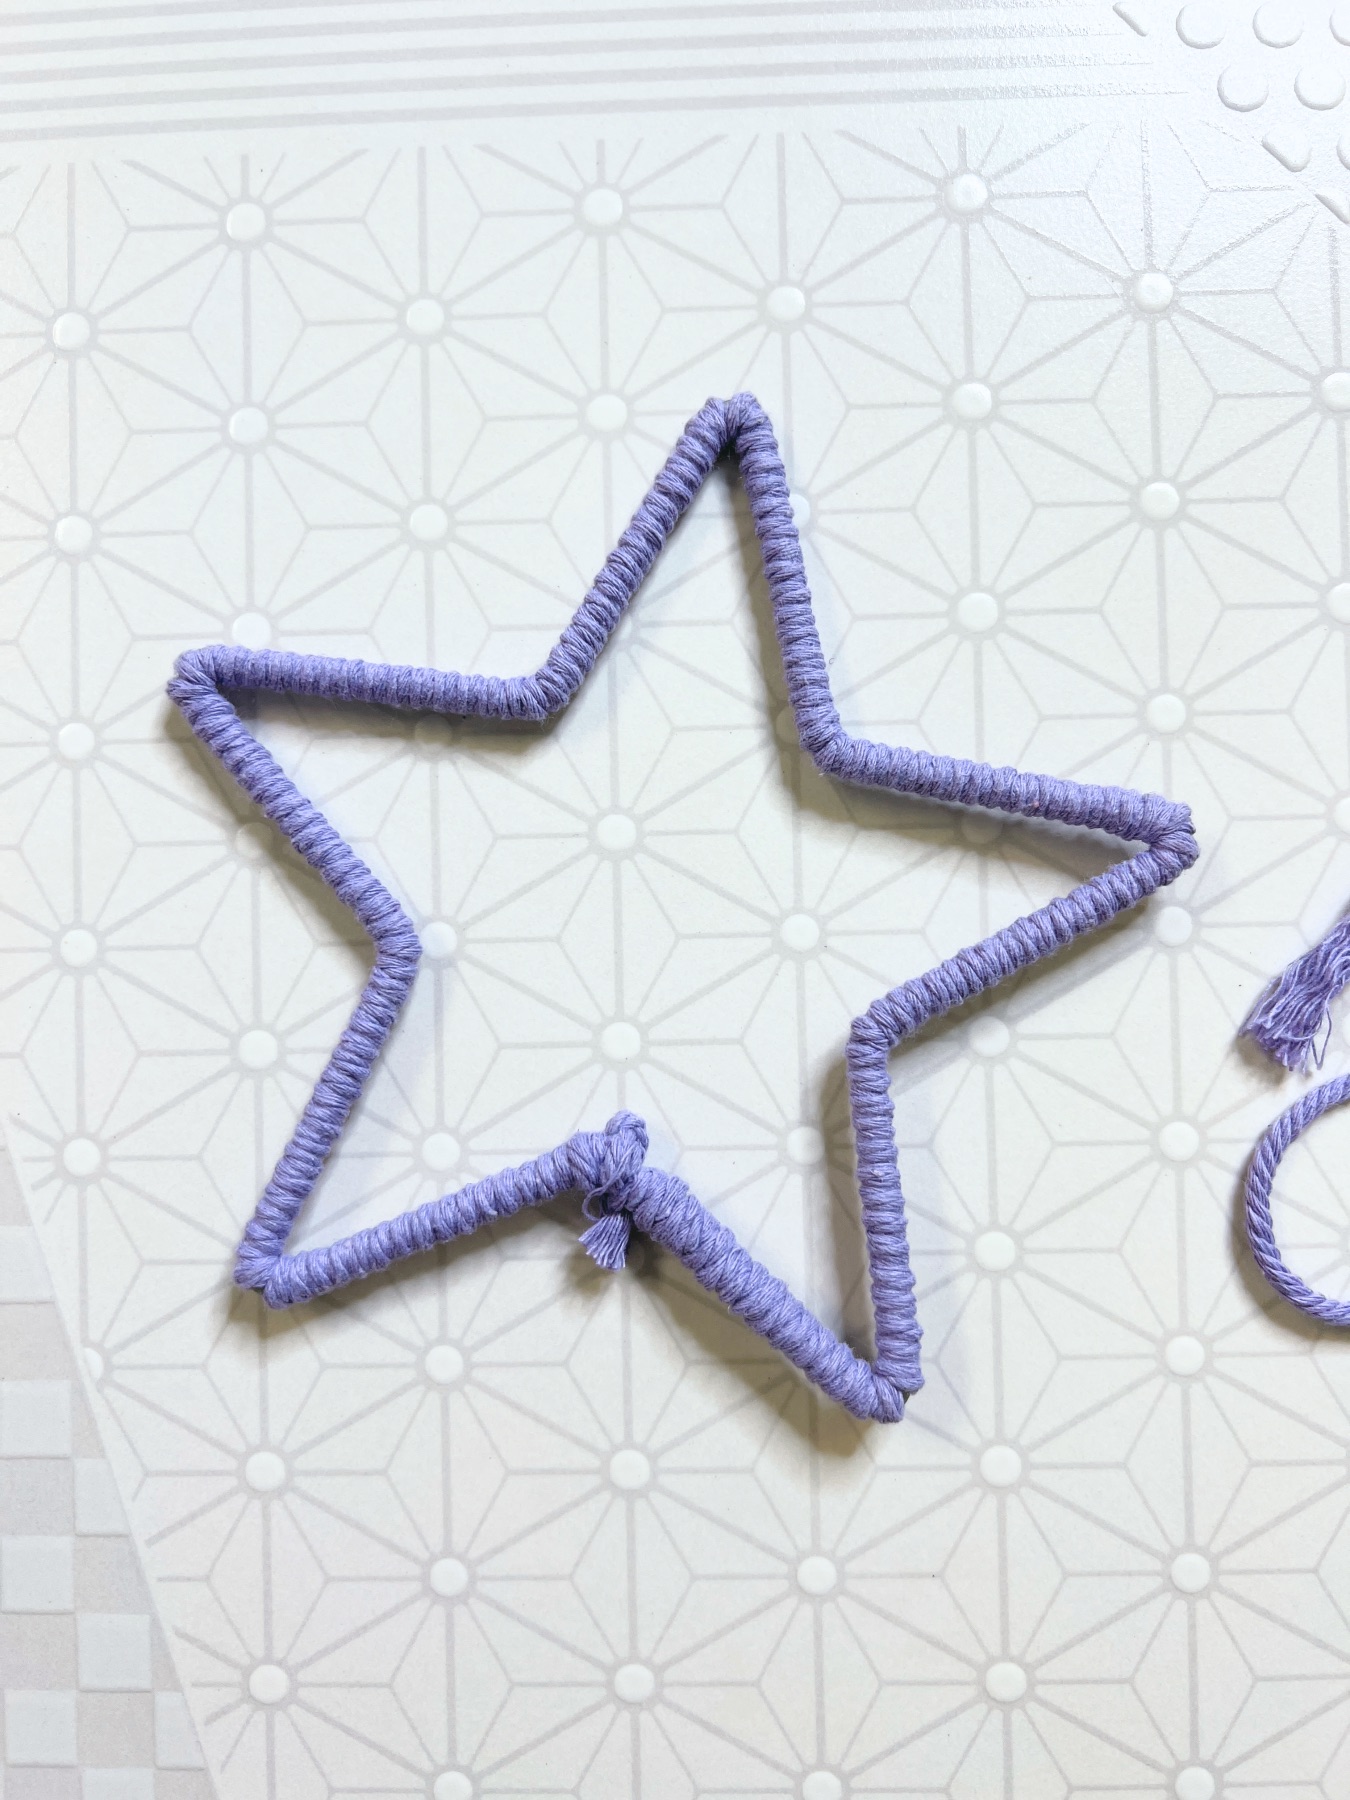
Make a simple knot on what will become the bottom of the star shaped macrame base. Then wind your macrame cord around and around the star shape.
Make sure your loops are tight and that you hold on to the end of the loops. So for each new loop you make, slide your opposite hand to cover that new loop. If you let go, the entire thing will unfurl, and then you will have to tighten all the loops again.

If You Need to Take a Break
If you can, finish winding the macrame cord around the star completely before taking a break. If you need to stop midway, use a clothespin to hold the macrame cord loops in place while you take a break.
Then carefully slide your hand underneath the clothespin as you remove it to continue with your loops.
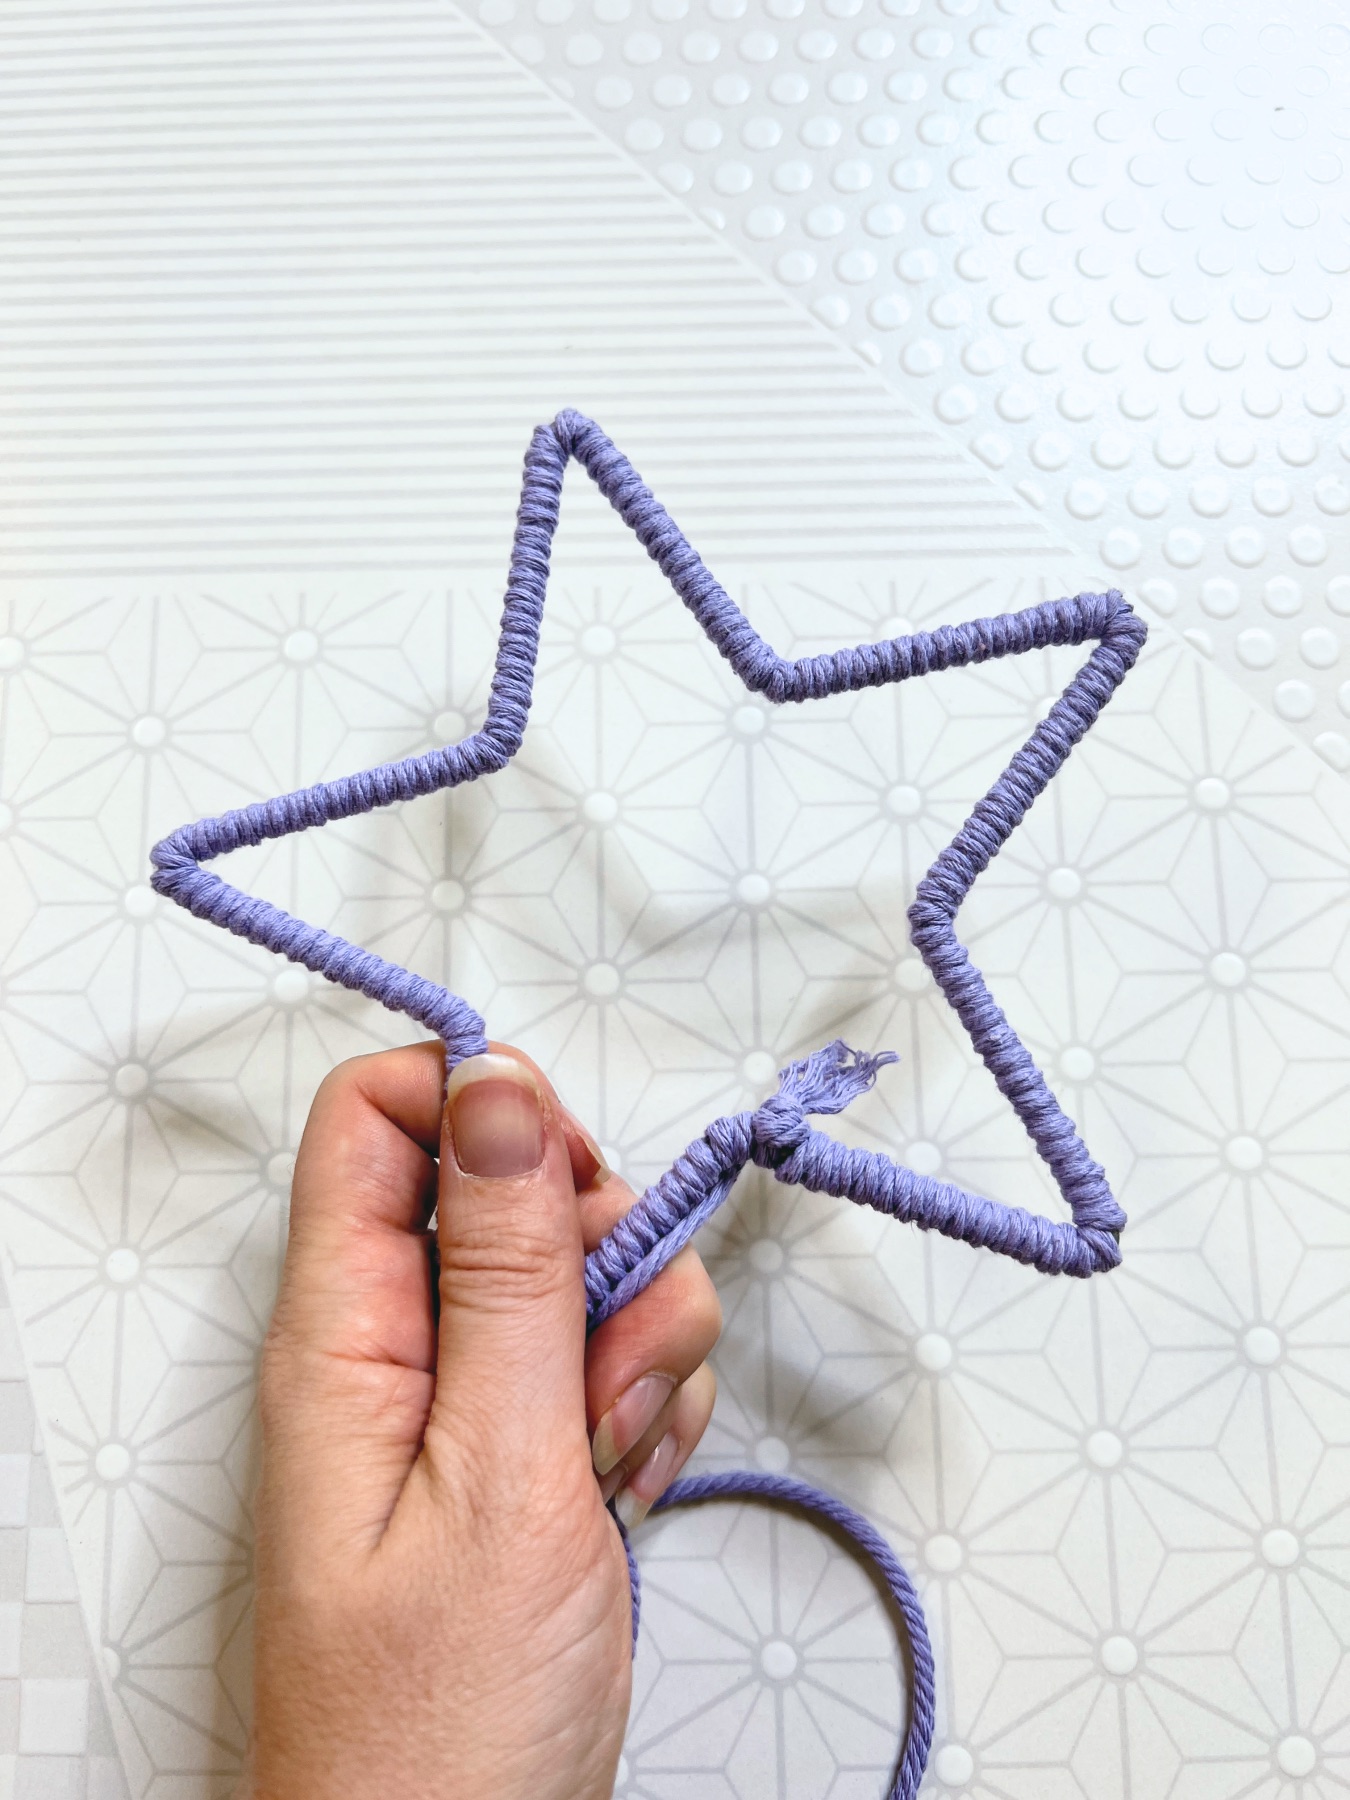
How to Finish the Star Shaped Macrame Base
Once you have your cord wrapped all the way around, tie another simple knot. Make sure this knot is very tight and make sure you hold all the cord firmly in place as you tie the knot so they loops around the macrame cord don’t unfurl.
Then you can cut off any excess macrame cord with you scissors. The reason you want your macrame cord to start and finish along the bottom of the star is that you can cover it with the macrame cord that will hang down from the star and it won’t be as noticeable.

If You Want to Add a Tiny Moon Shaped Macrame Base
Now I mentioned that you don’t have to use a tiny moon shaped macrame base but if you do, there are a few different places you could add it. You could add it above the star or you could add it inside the star. To do this, wrap the macrame cord around it – just like the star shaped base. Then use a small piece of cord to tie it to the star.
You can also fill in your star with twine, like a dreamcatcher! If you decide to try it, use this pattern and for a greater explanation, check out this tutorial here where you can see the twine and wrapping in action.
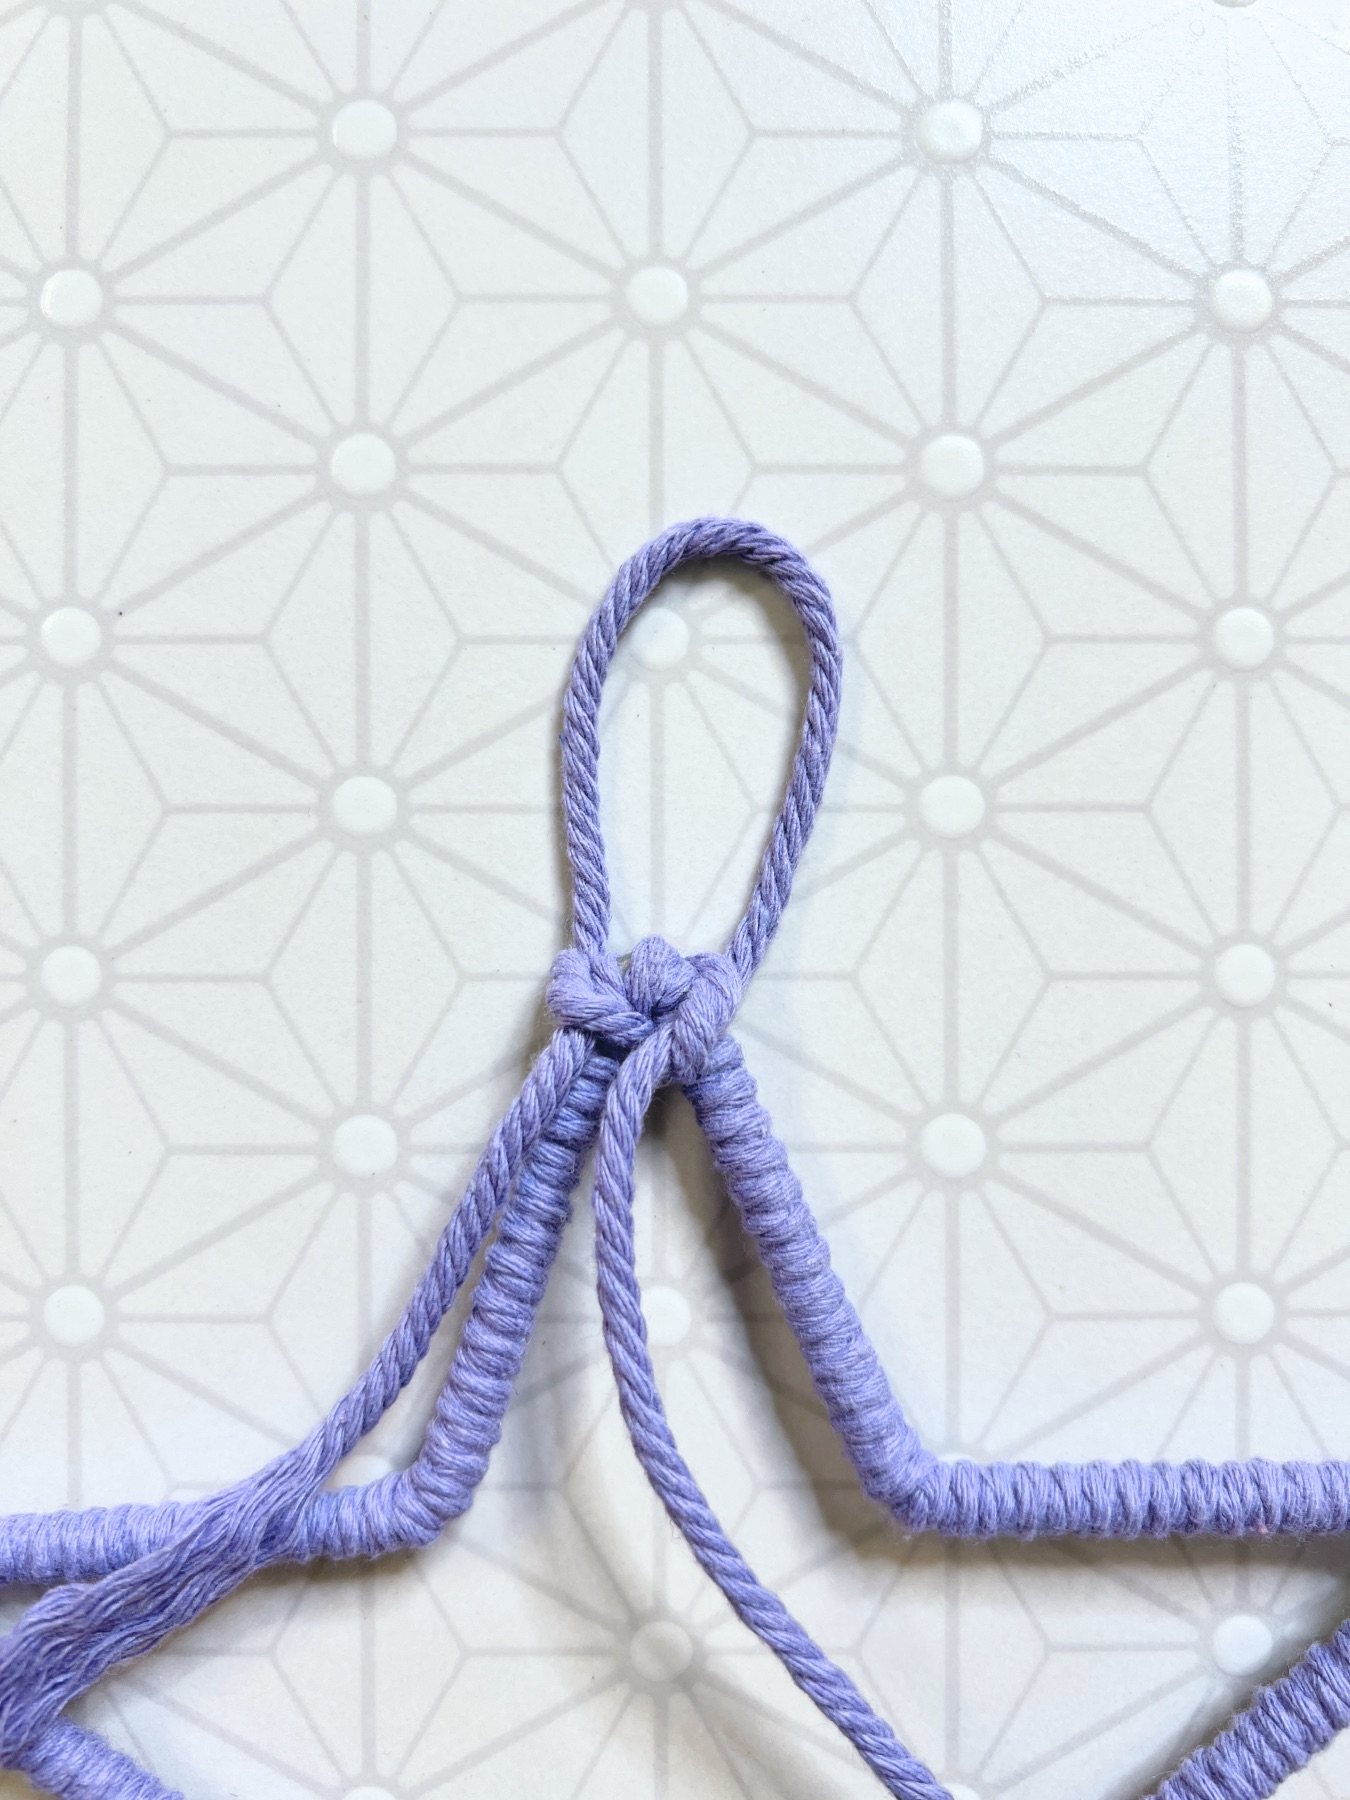
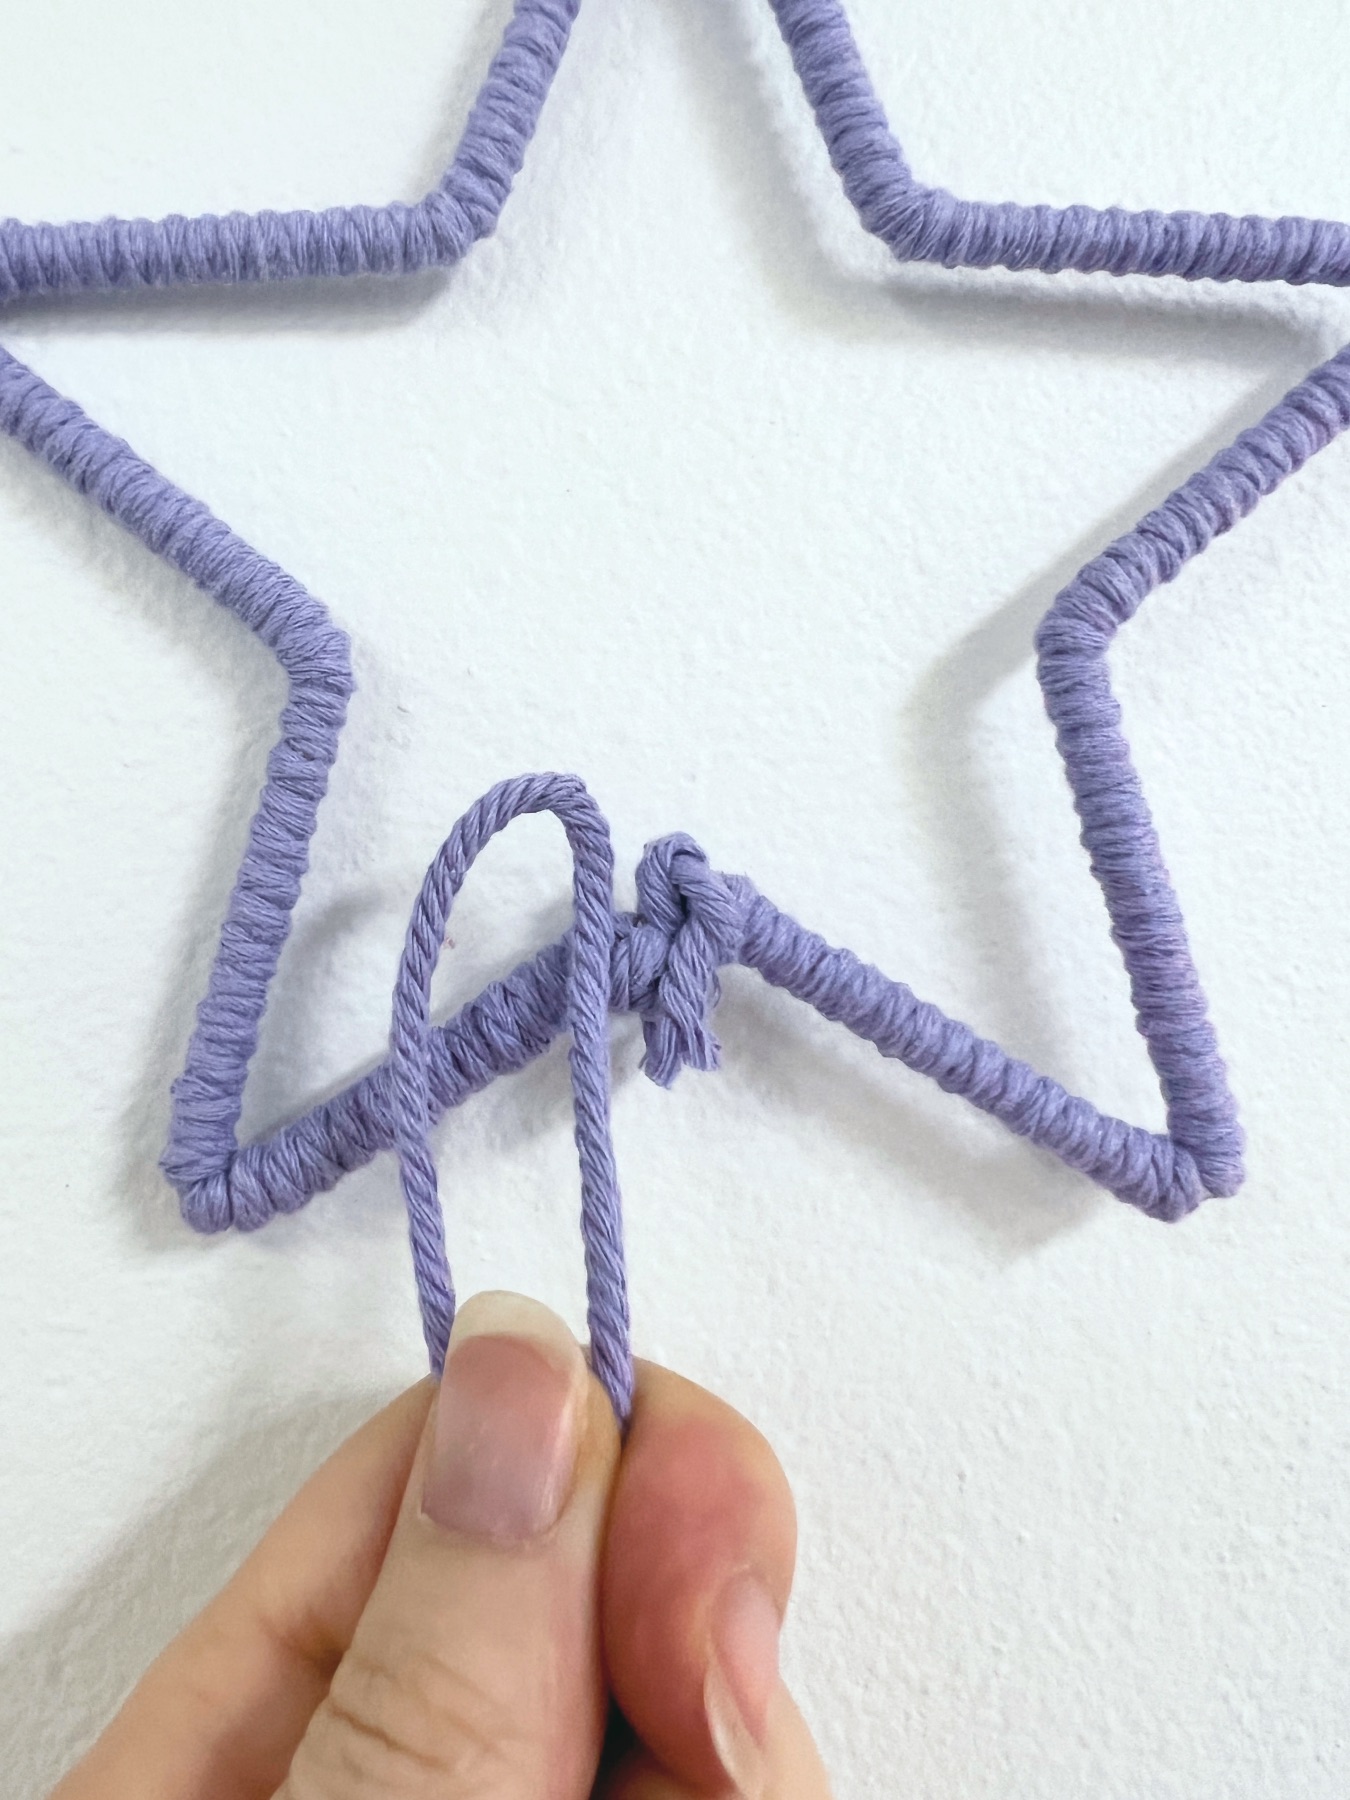
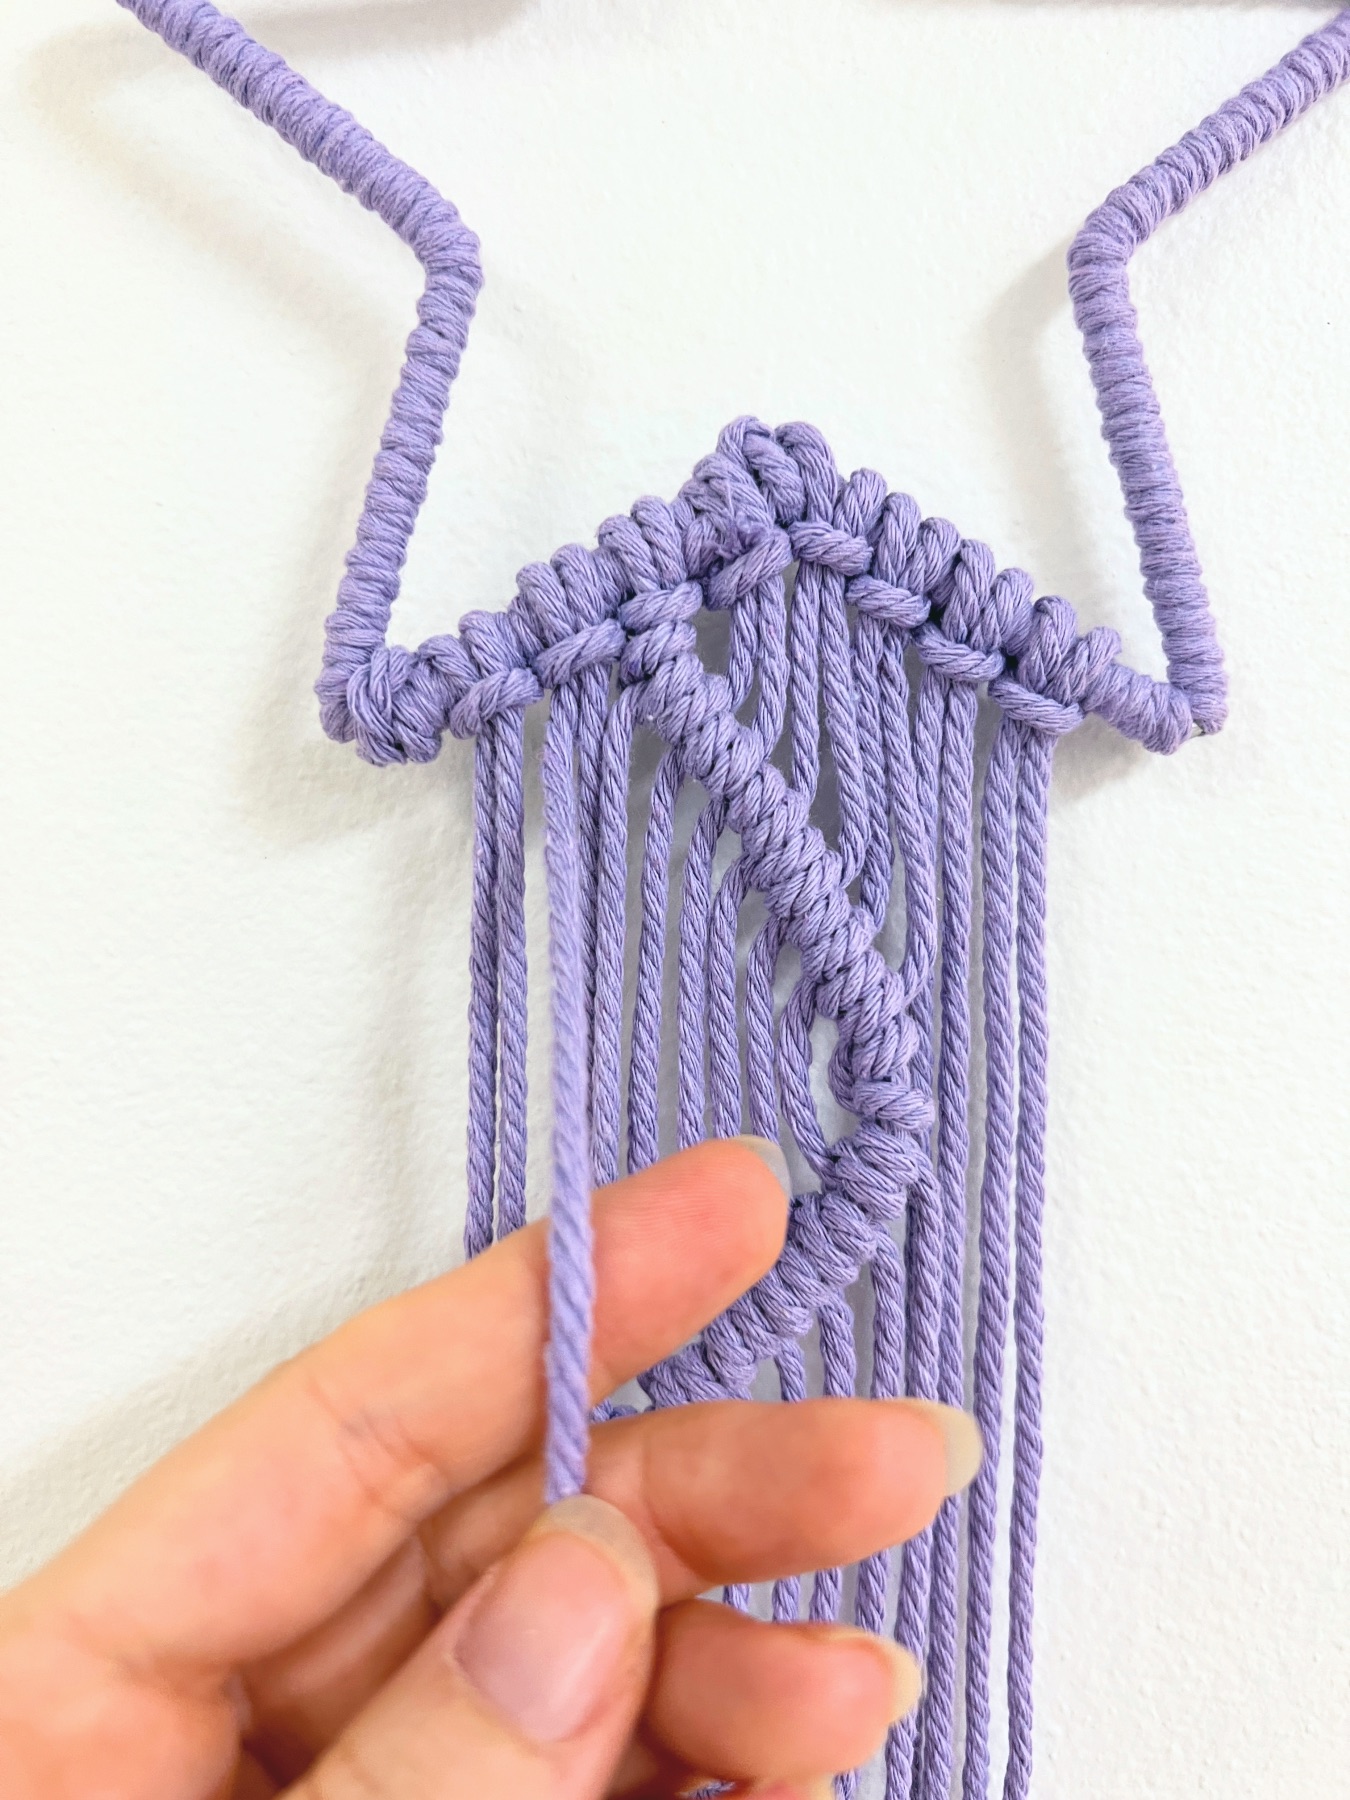
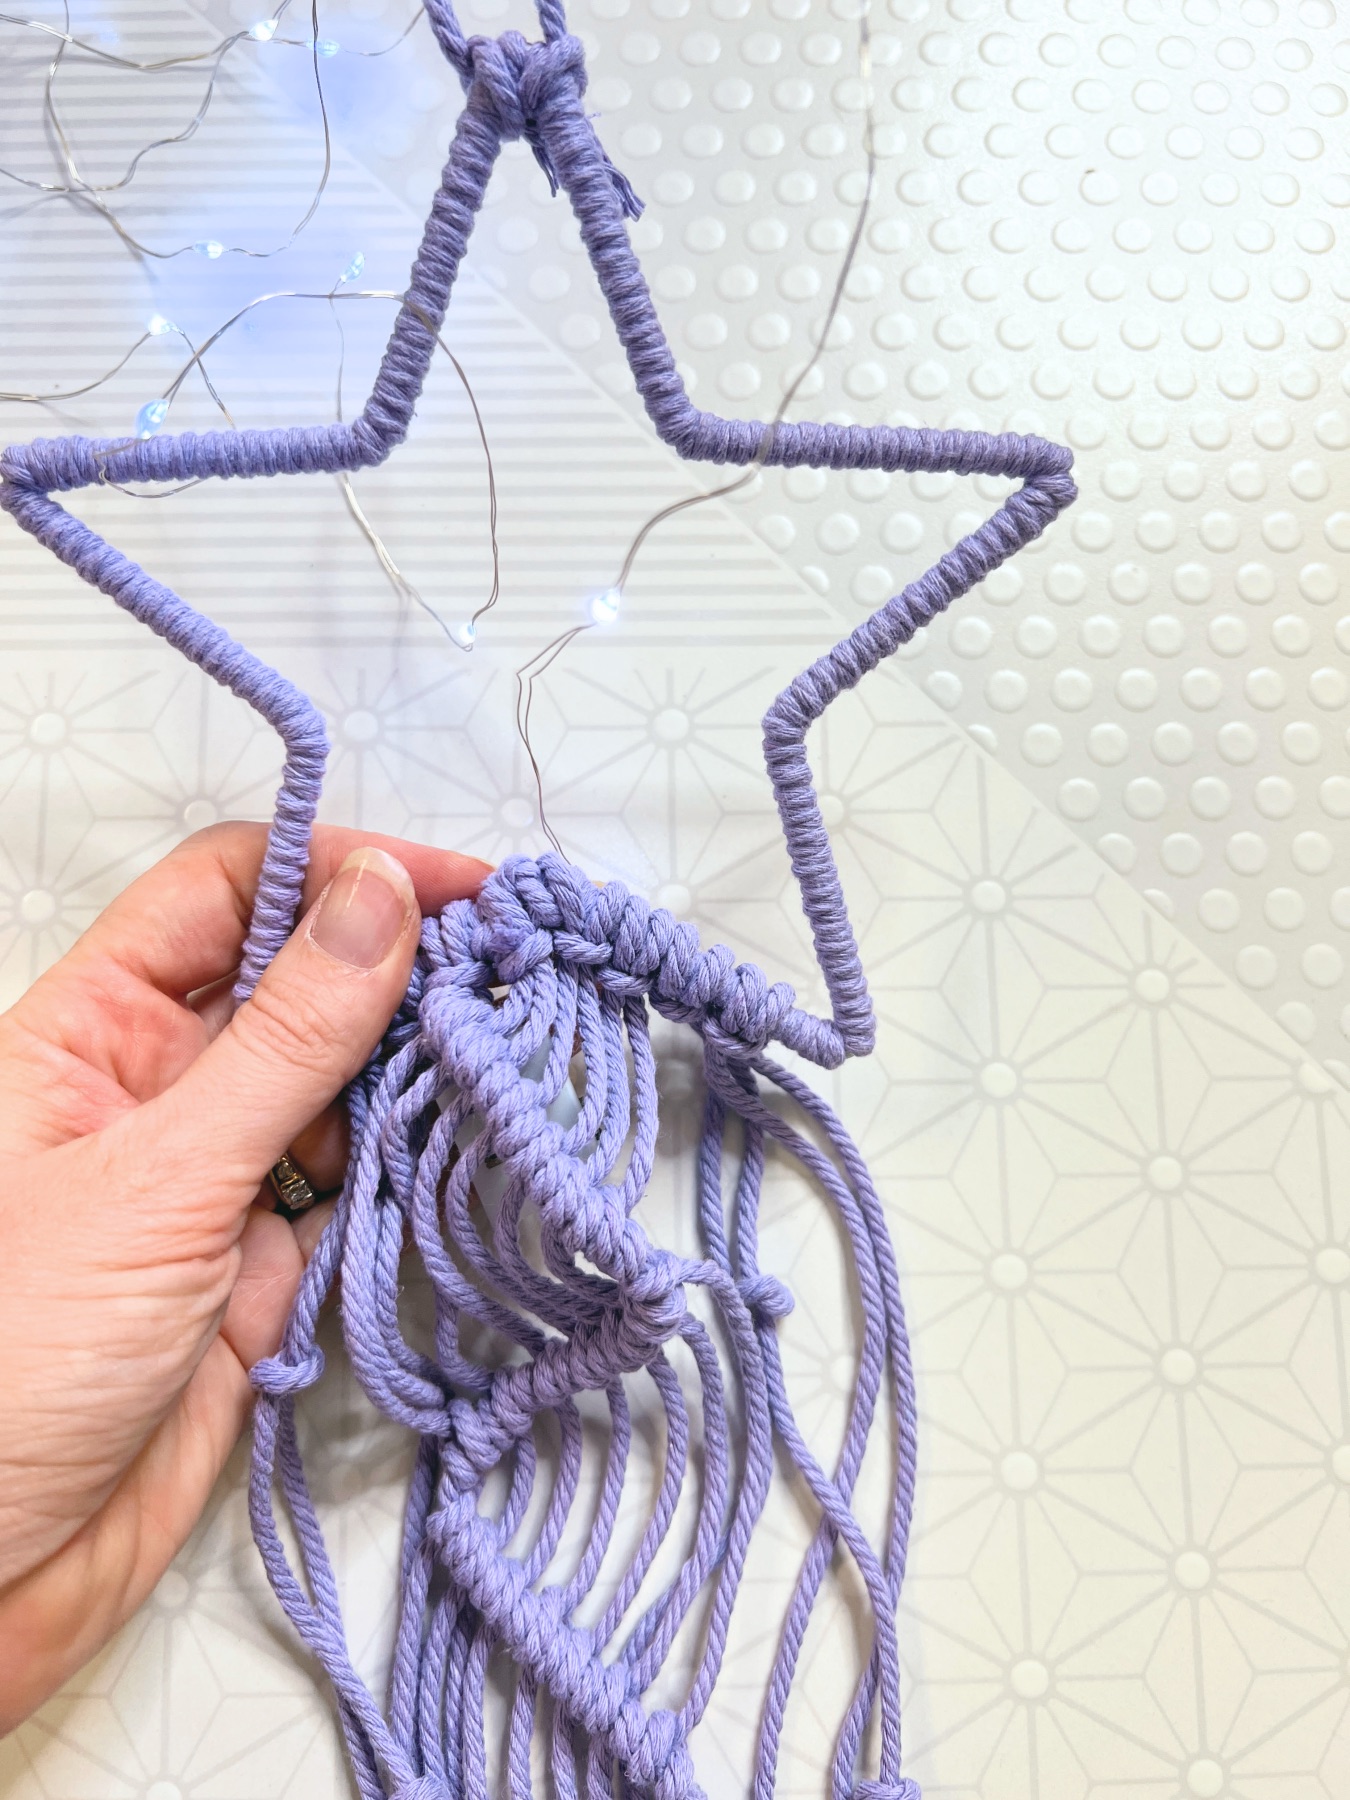
How to Make a Macrame Hanger
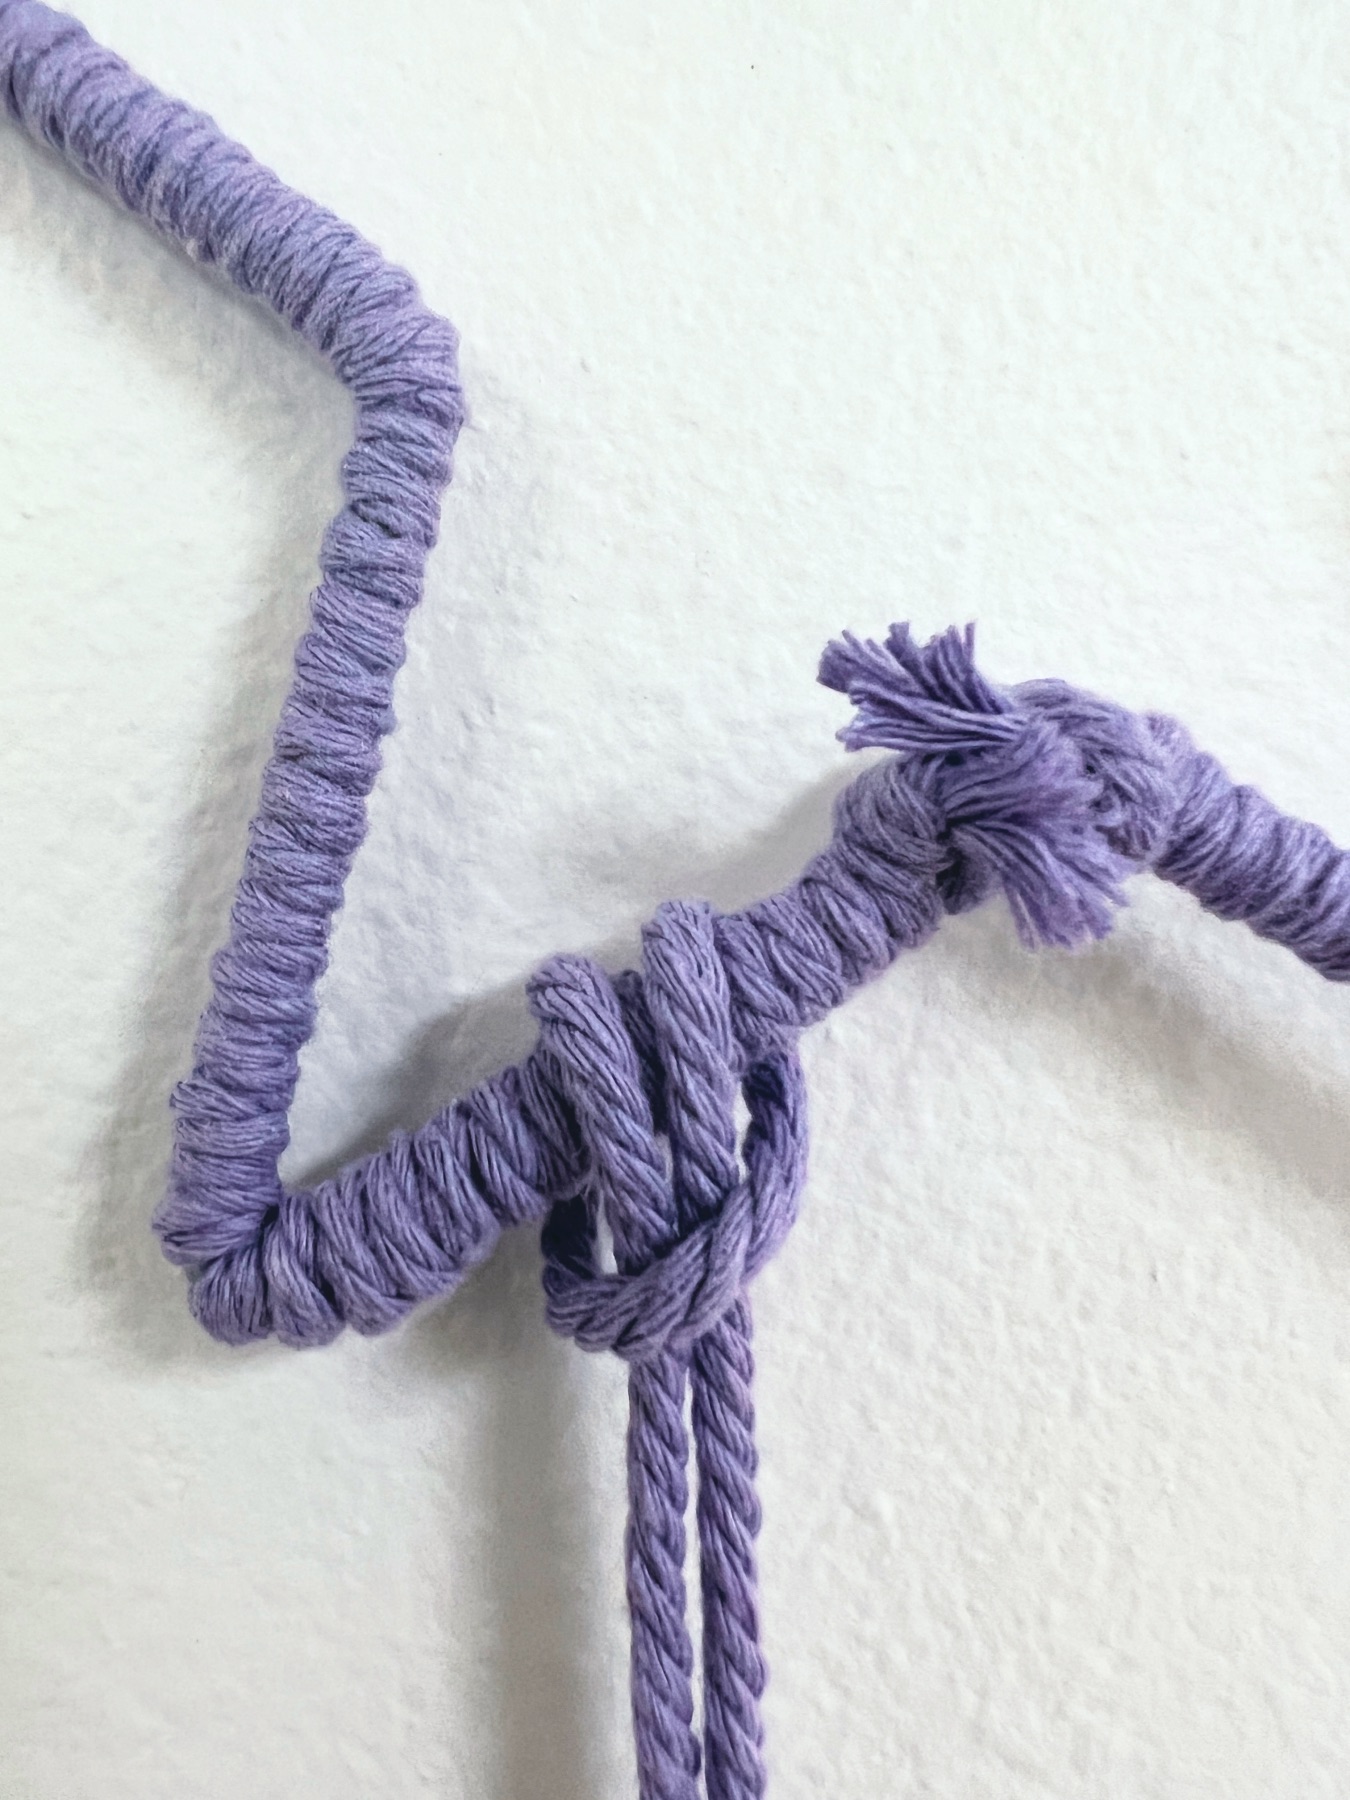
Now take a section of macrame cord about 7-9 inches long. Use another simple knot at the top of the star – make a knot on the left of center and another knot on the right of center so that your hanger is a few inches tall.
Again, trim any excess macrame cord to make the cord look good.
Hang the Macrame Cord Down from the Star
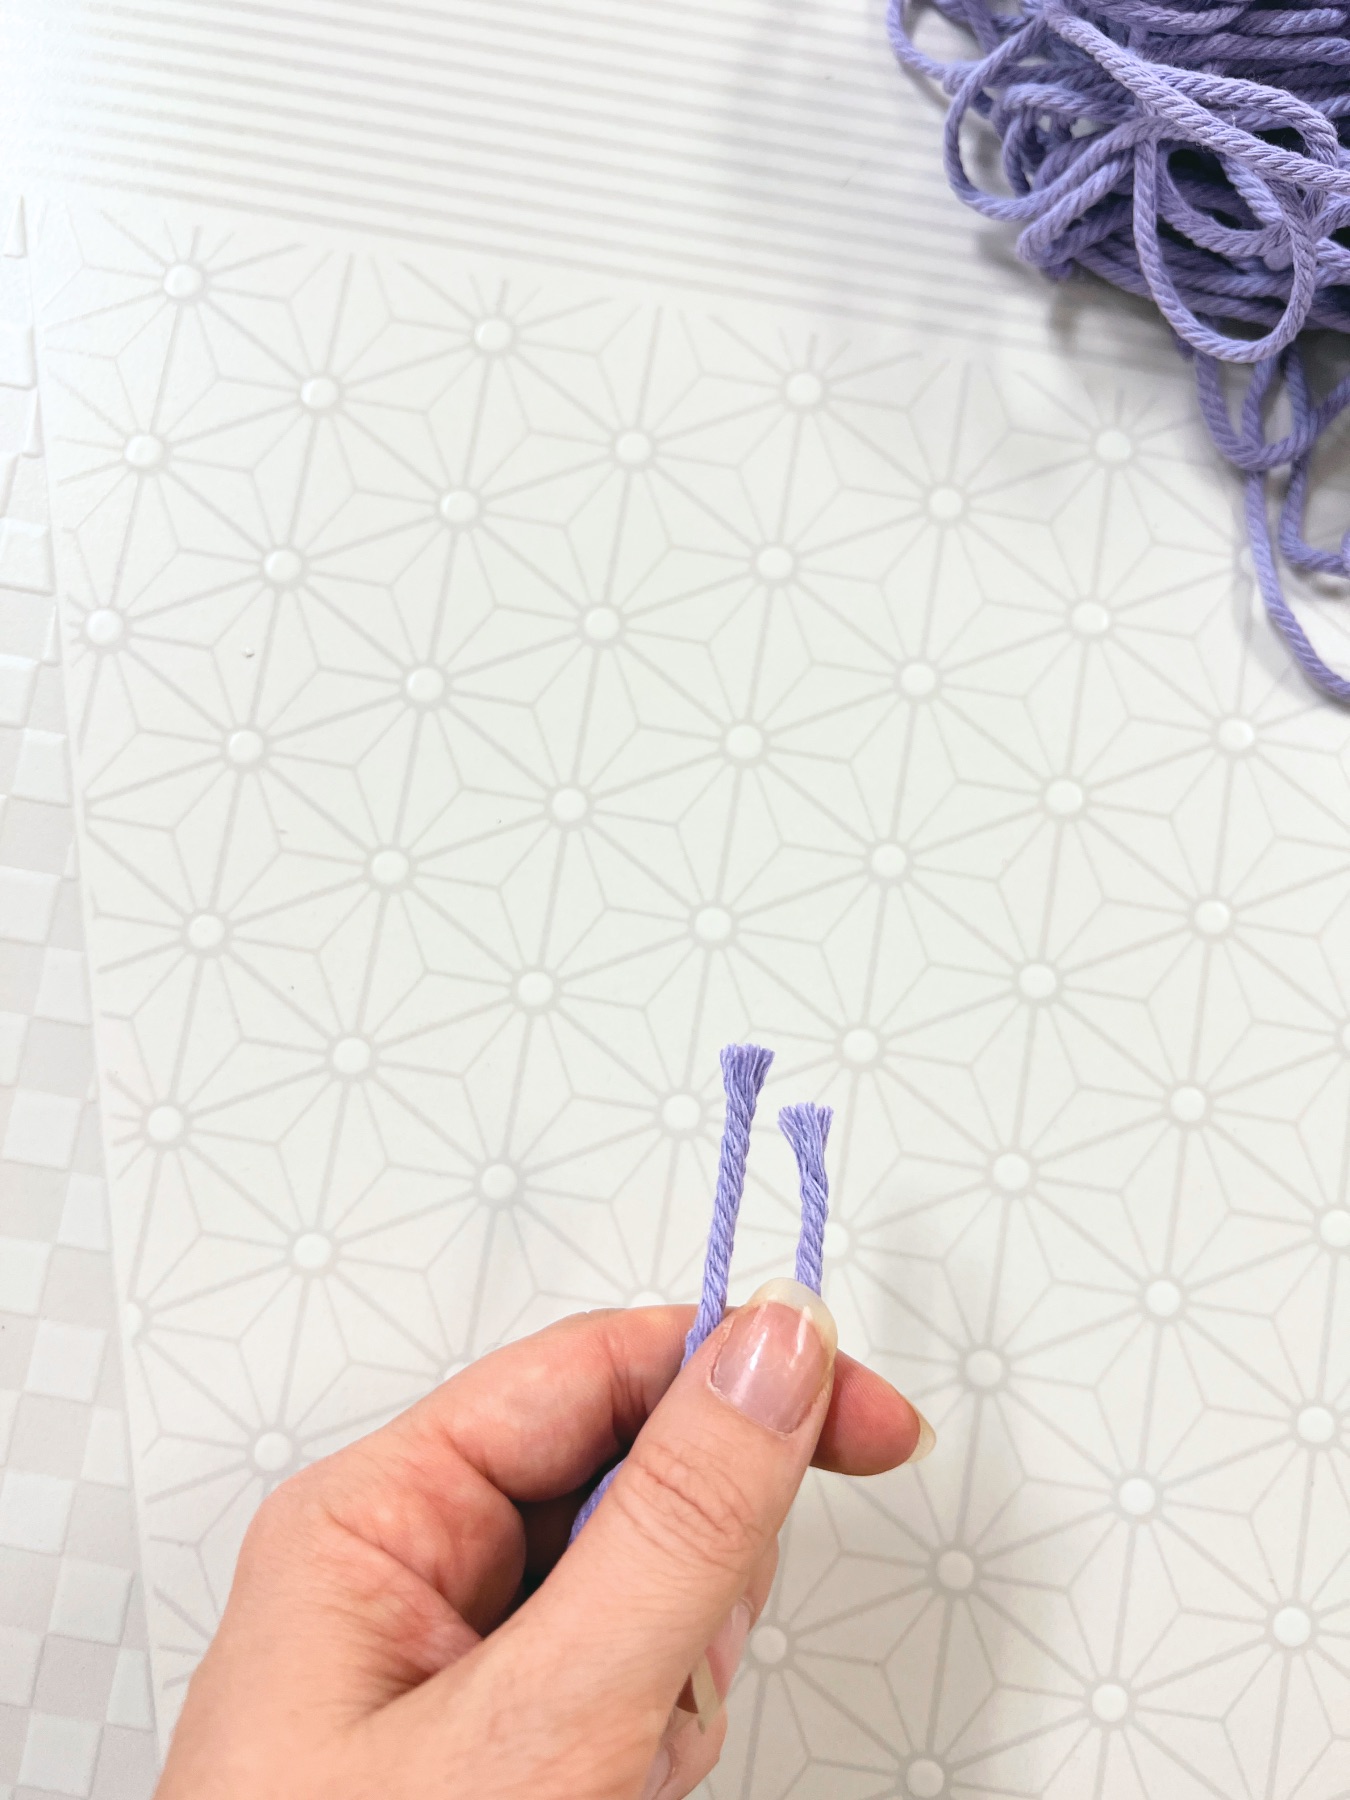
Most macrame projects will start with Lark’s Head Knots. It’s very common and the easiest knot to learn! To get started, line up the ends of an individual macrame cord. Again, we are working with cords that are 10 feet – 12 feet in length. Just be sure that each cord is the same length. We will use 8 cords total.
Lark’s Head Knot Tutorial
Once you match up your ends, you can find your center. Place the center in front of the bottom of the star. Loop both ends through the center to wrap the cord around the star shaped base.
Pull the ends taught so that the knot falls just below the star shape.
Continue to tie more Lark’s Head Knots – starting by matching up the ends of each cord, then finding your center point, holding the center point in front of the star, and then looping the ends through.
4 cords should fall on the left of center. 4 cords should fall on the right of center. Since you have looped your macrame cords in half, you will know have 16 cords total.
All the counting may be confusing when you first start working with macrame, but you will get used to it!
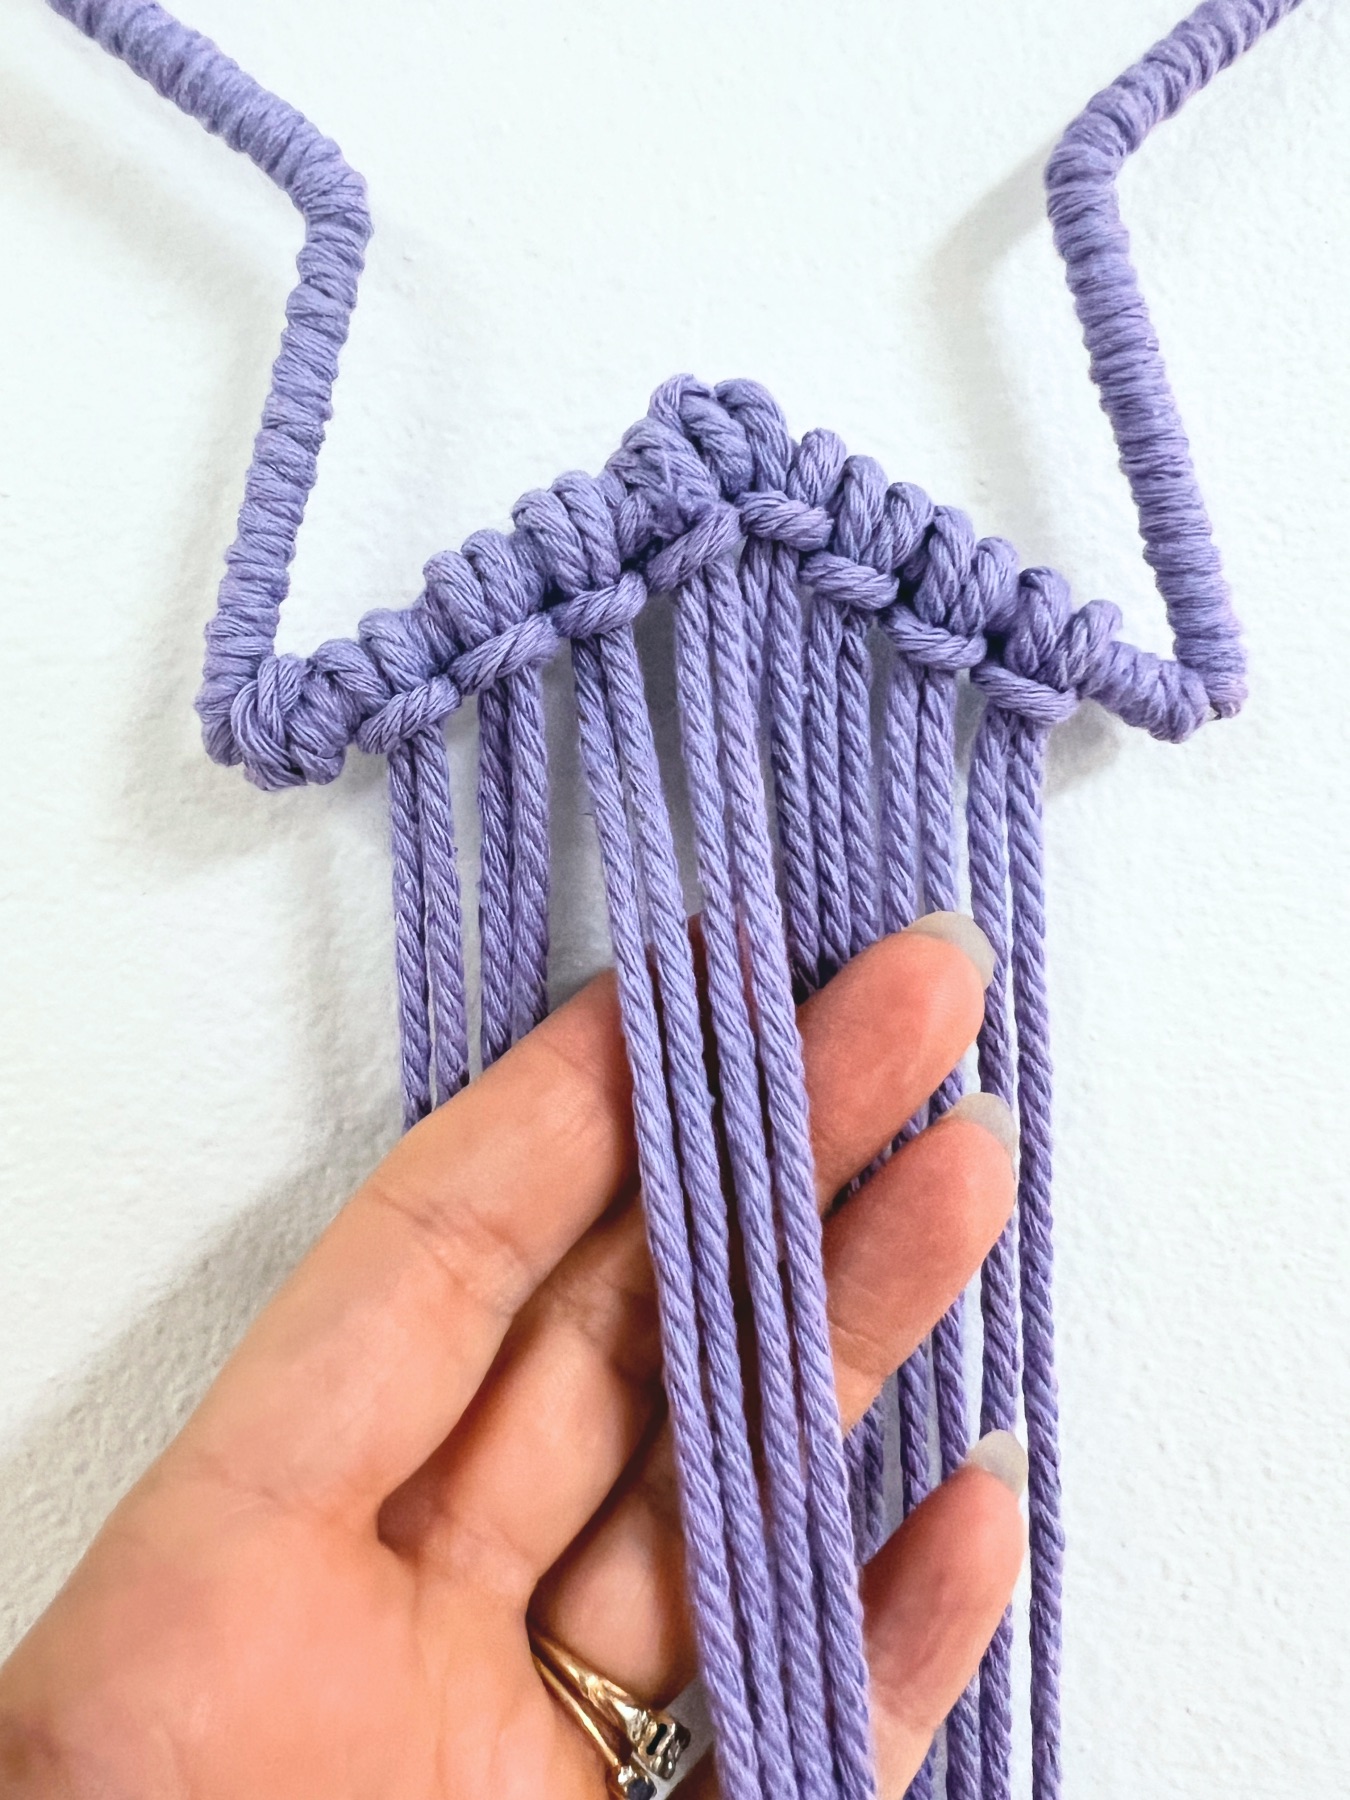
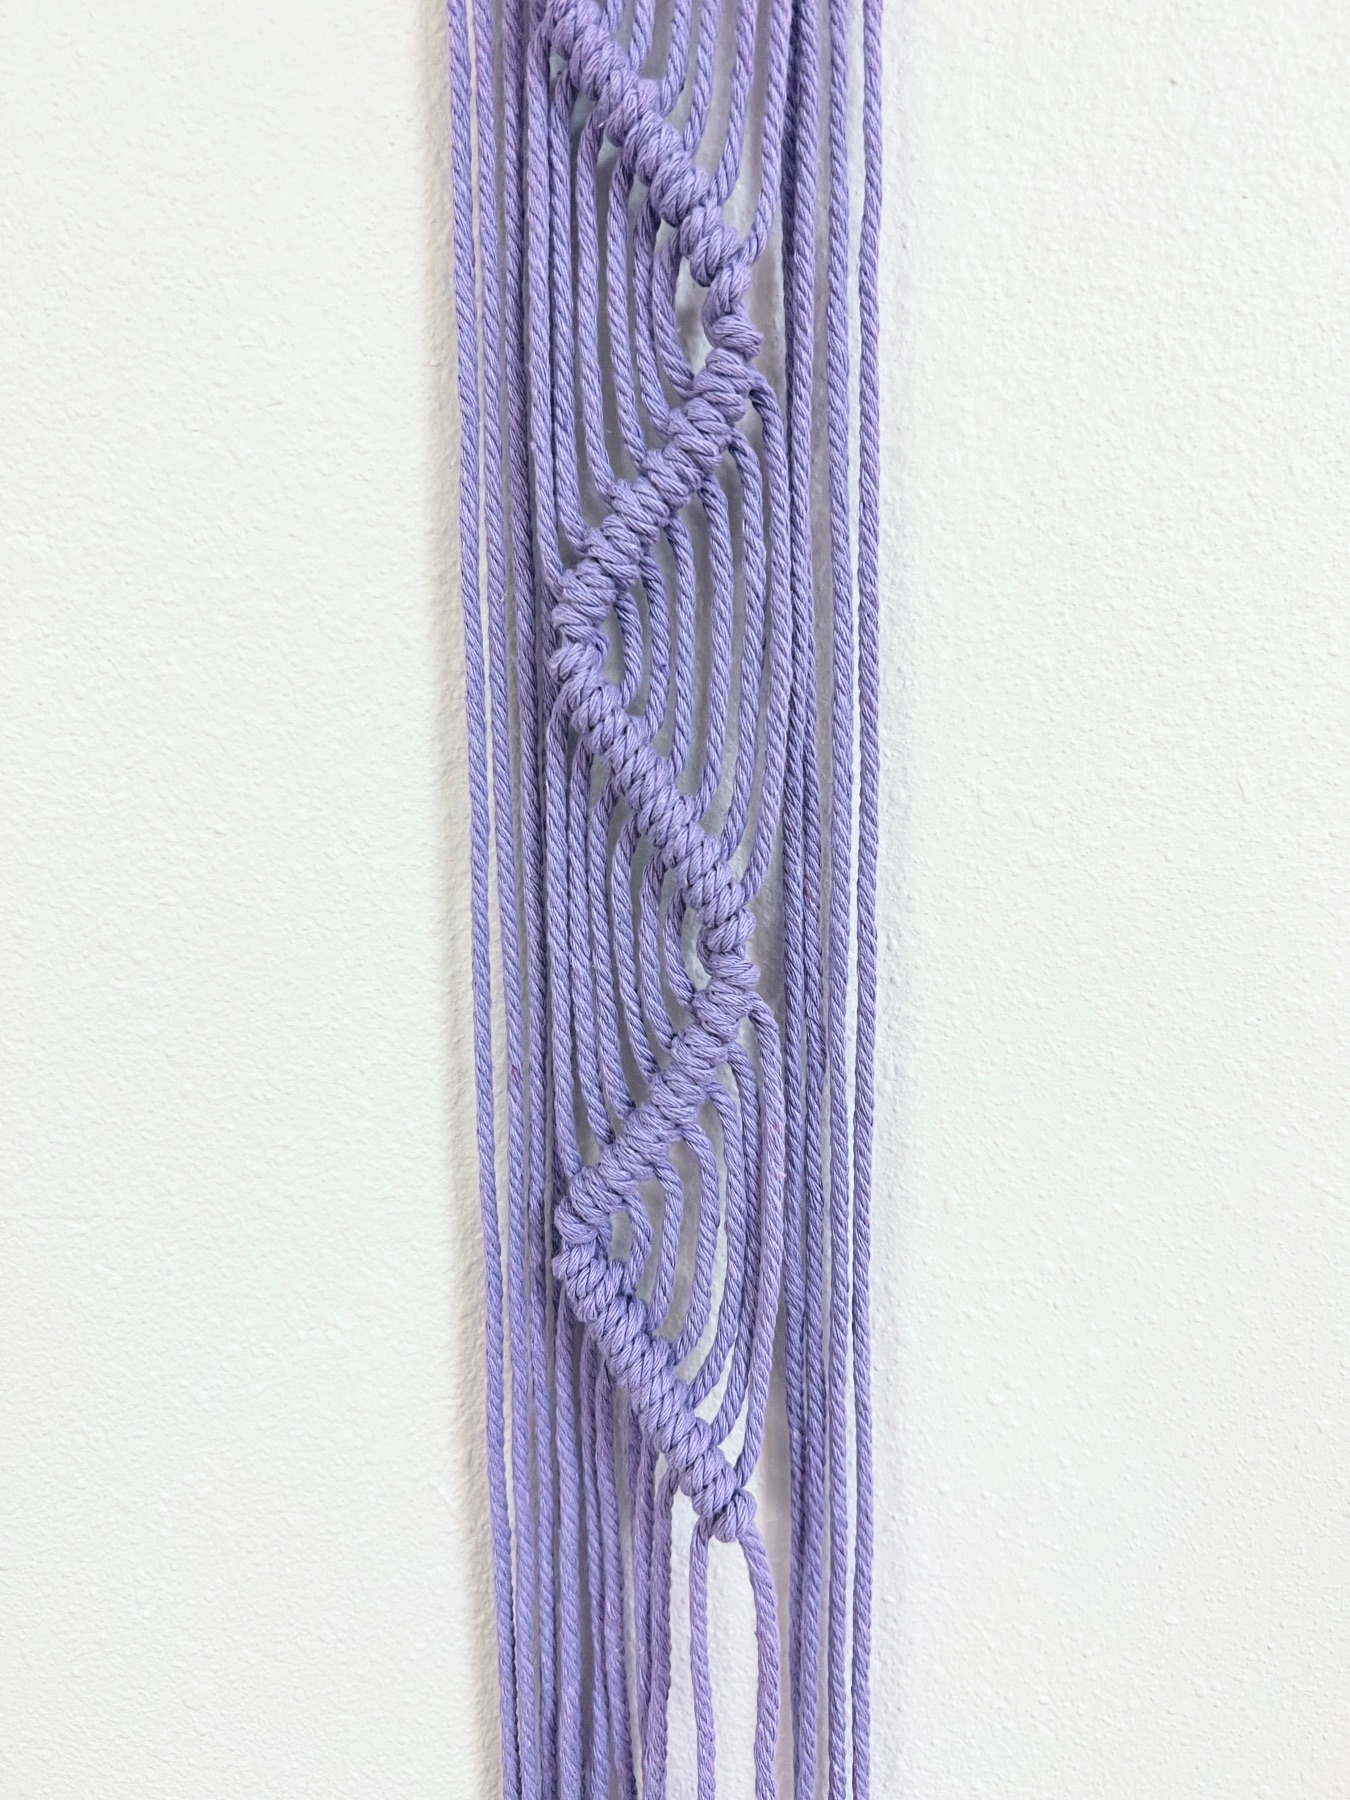
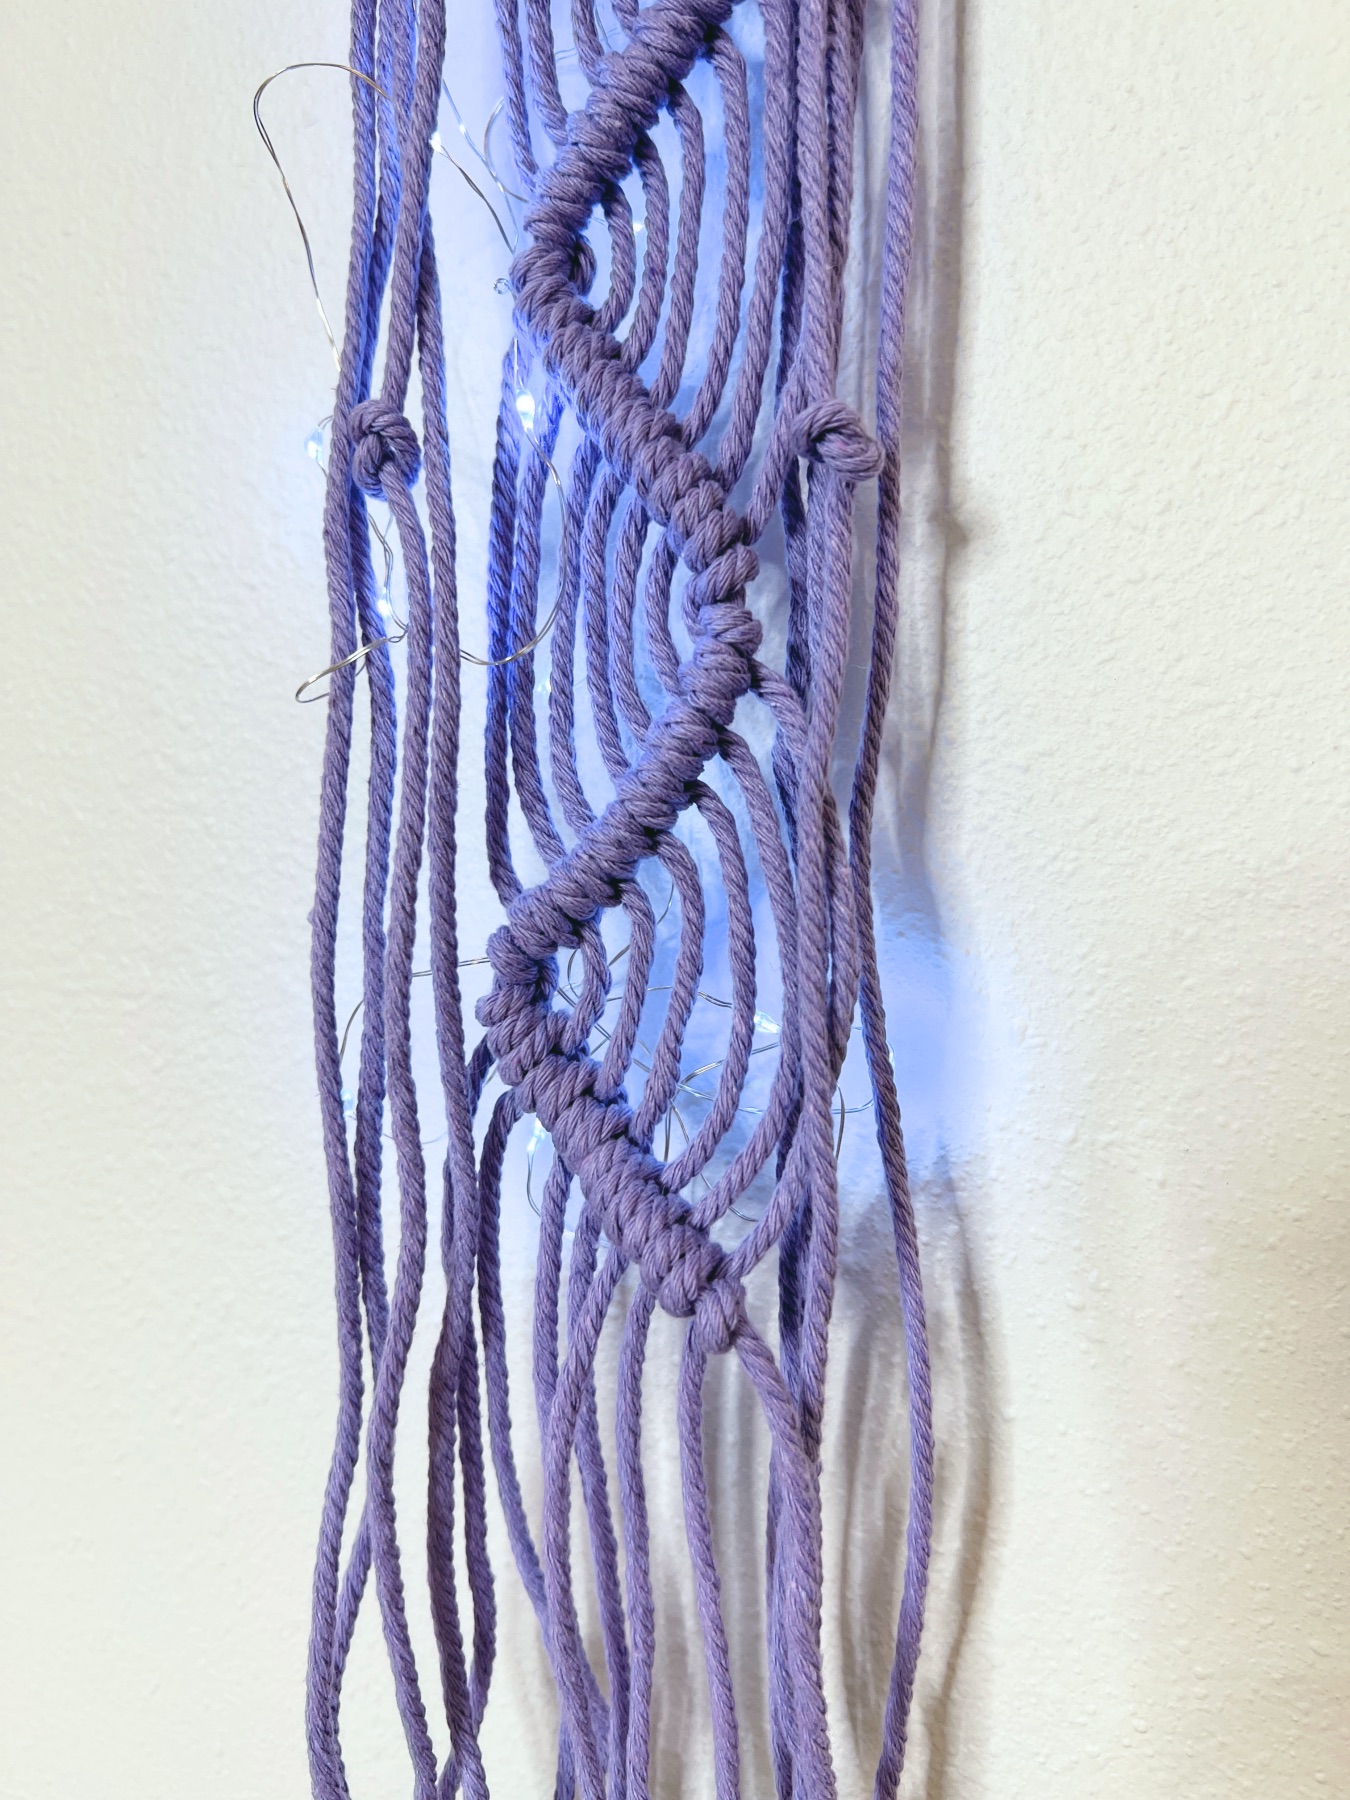
Double Half Hitch Knots Tutorial
Now the next macrame knot you will use is a Double Half Hitch Knot.

To make it, you will want to know 2 cord names – your leader cord and your working cord.
Your leader cord will be the 5th macrame cord from the left. Your leader cord will remain the same for this entire project although for other projects you could make different styles of double half hitch knots and also have different placements for your leader cord.
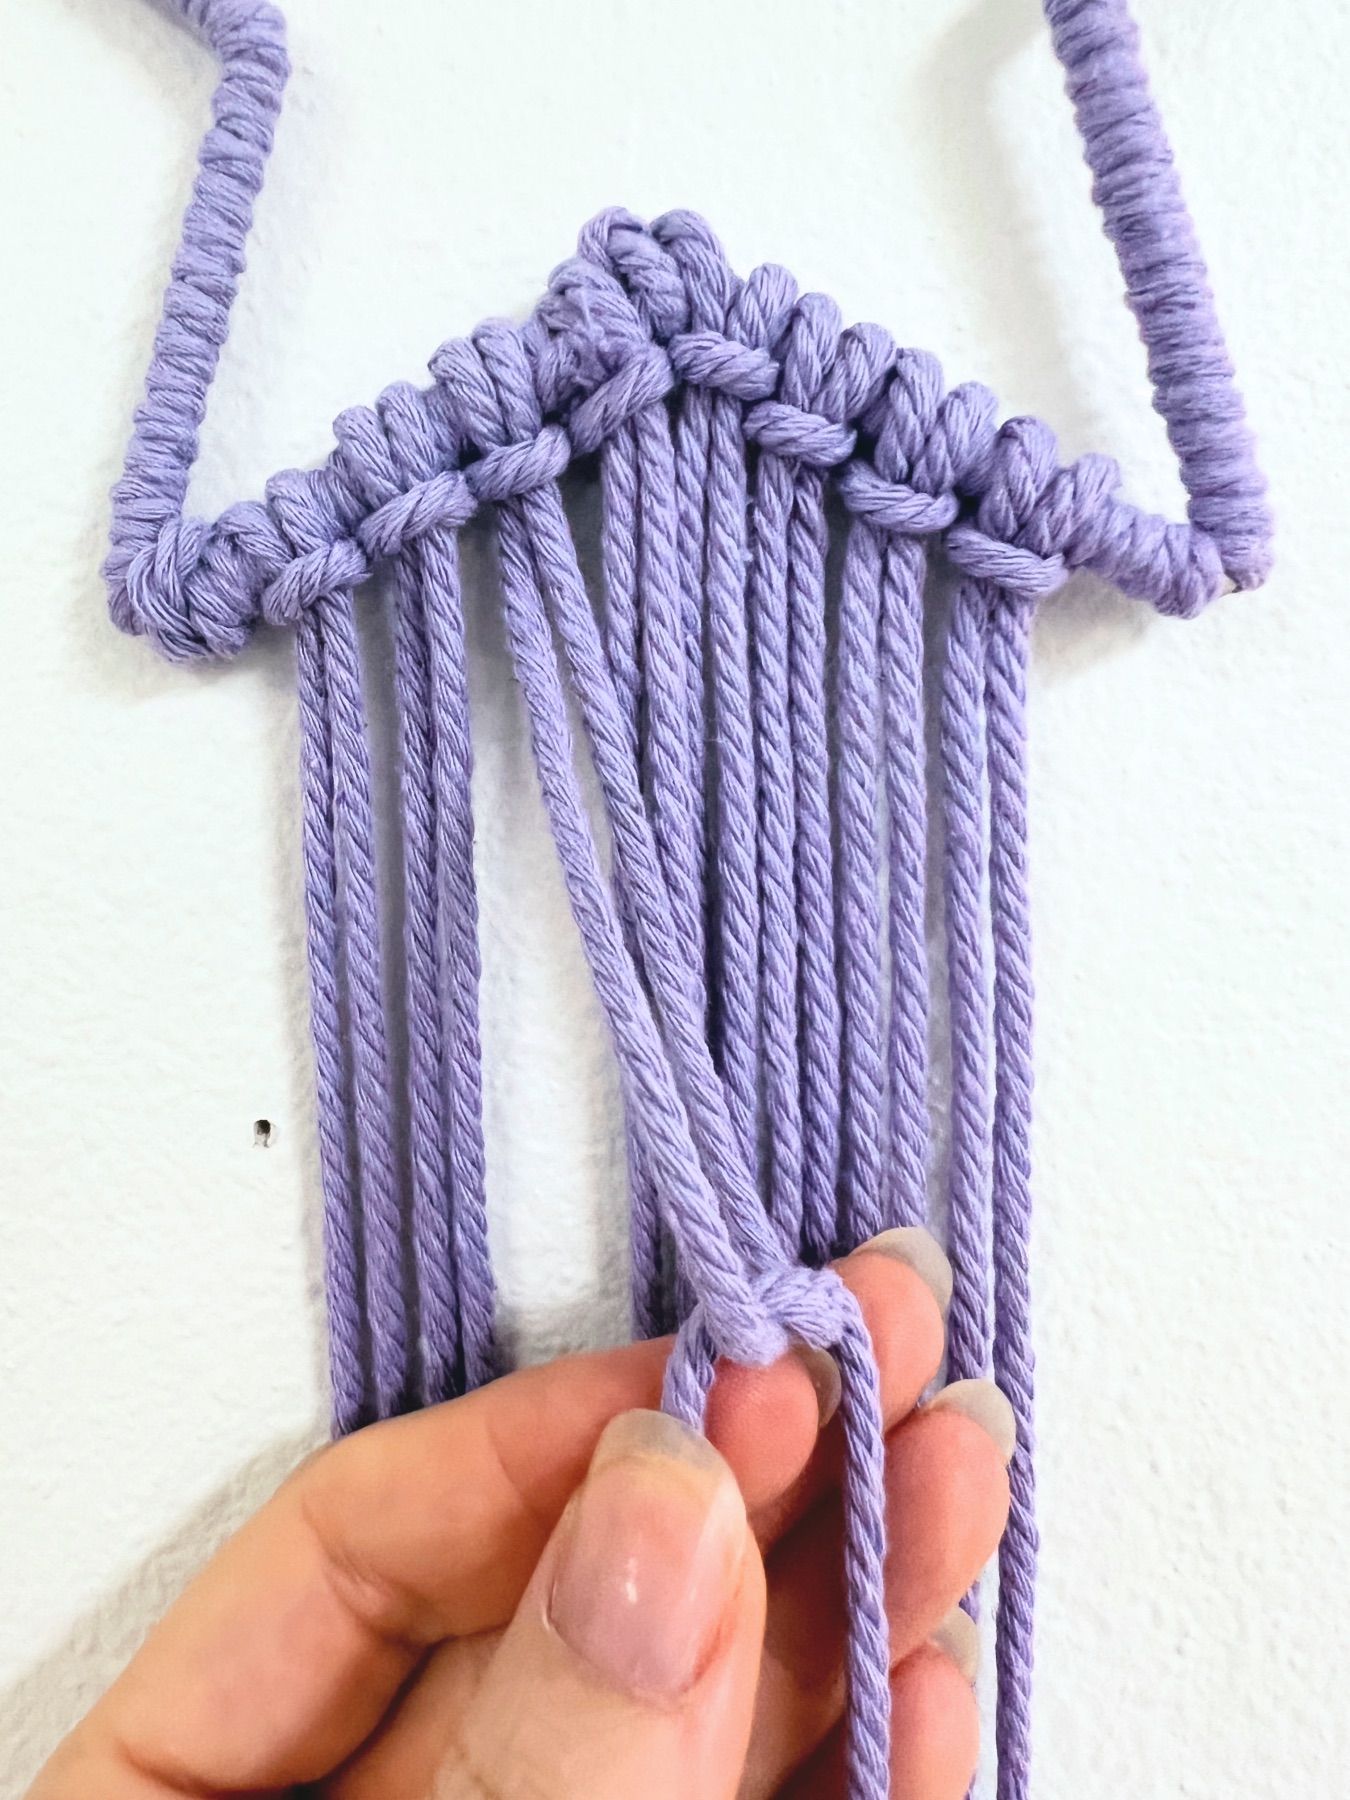
Your working cord will be cords 6 through 12 when working left to right. In a double half hitch knot, your leader cord will always be pointed at an angle and the working cord will be tied around the leader.
Follow the video tutorial to see how to make a double half hitch knot. And if you want to see a 2nd video of a double half hitch knot, you can find a different video linked here.
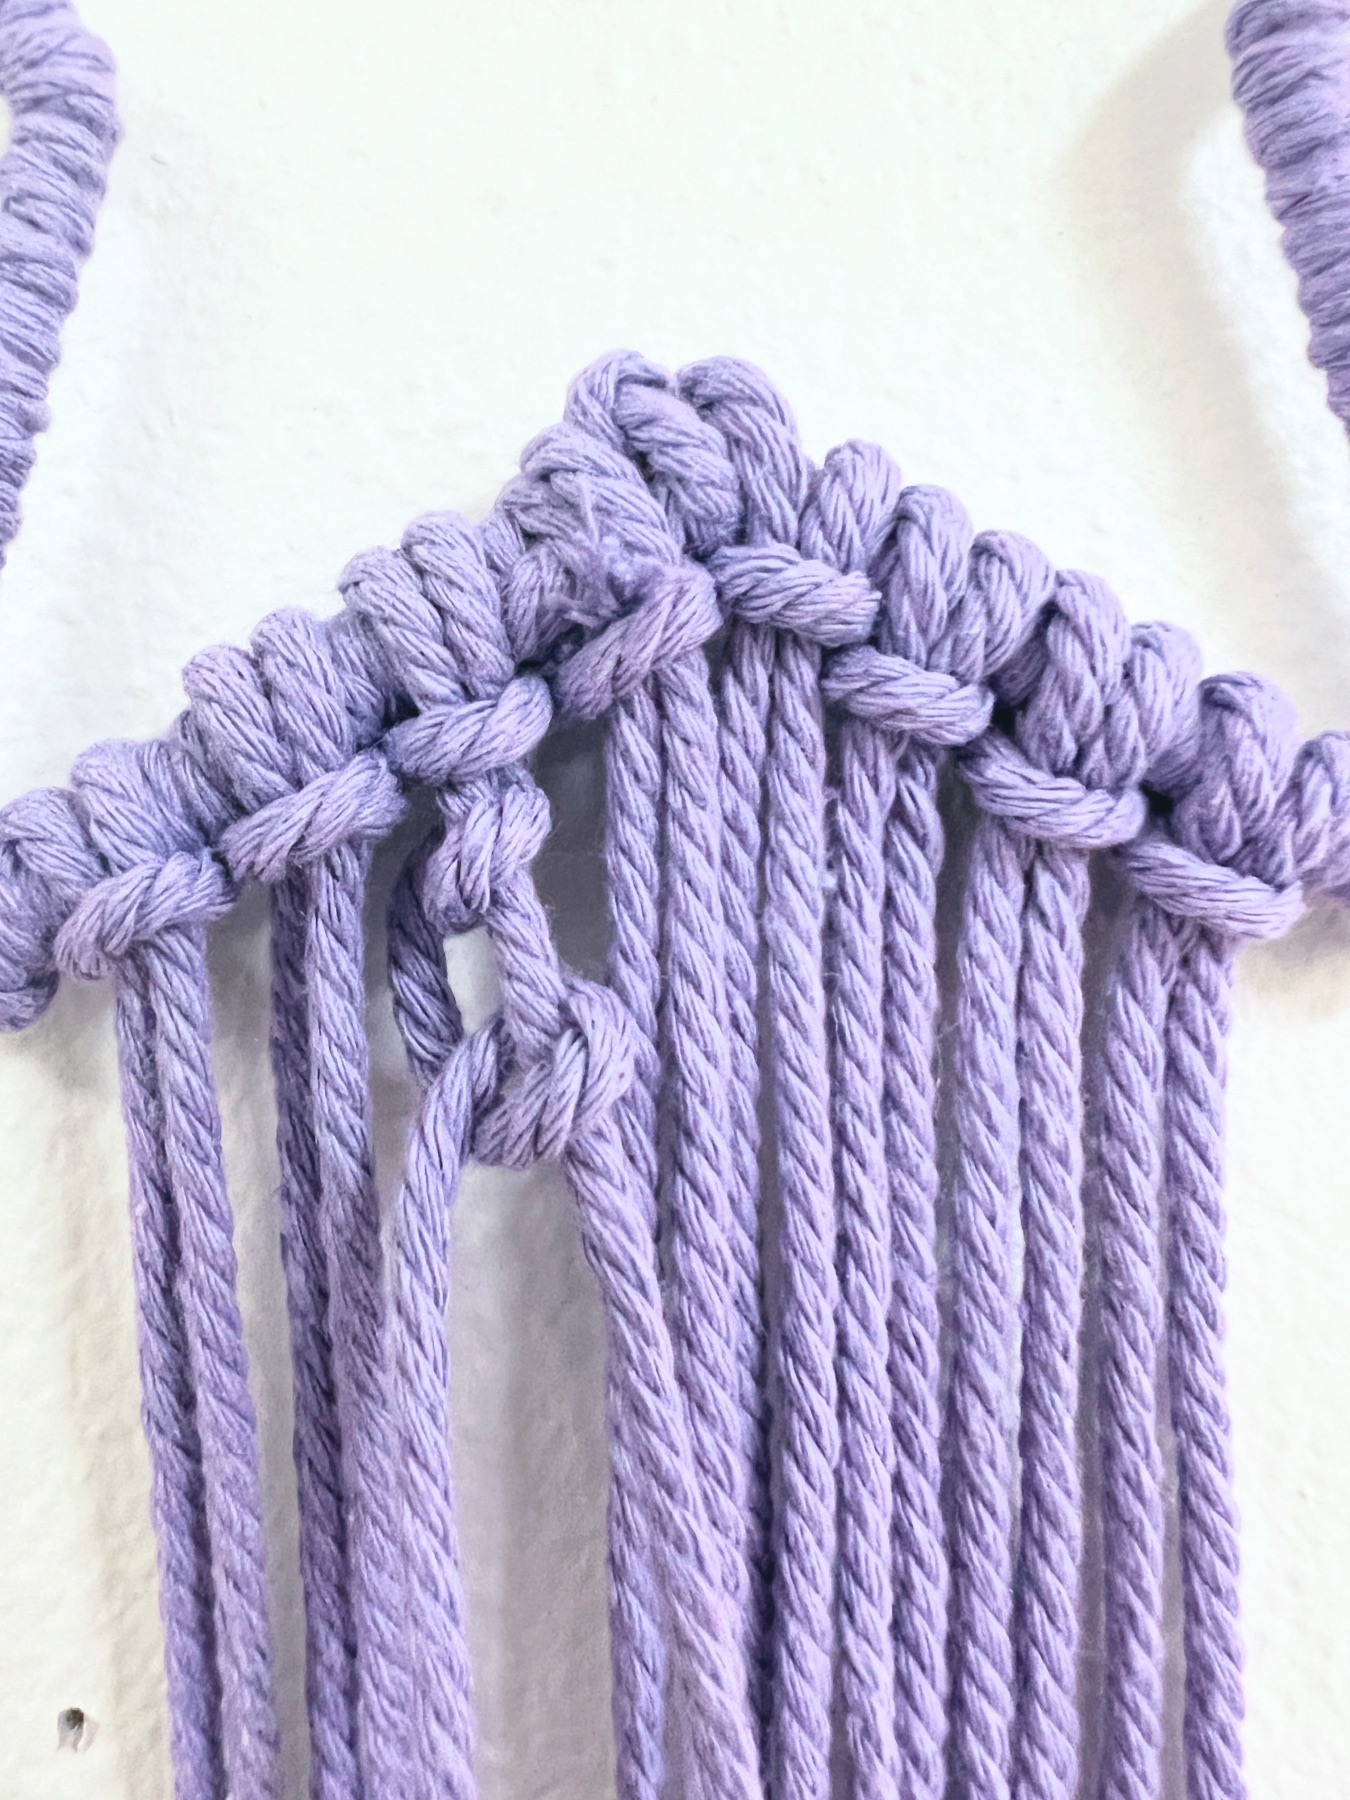
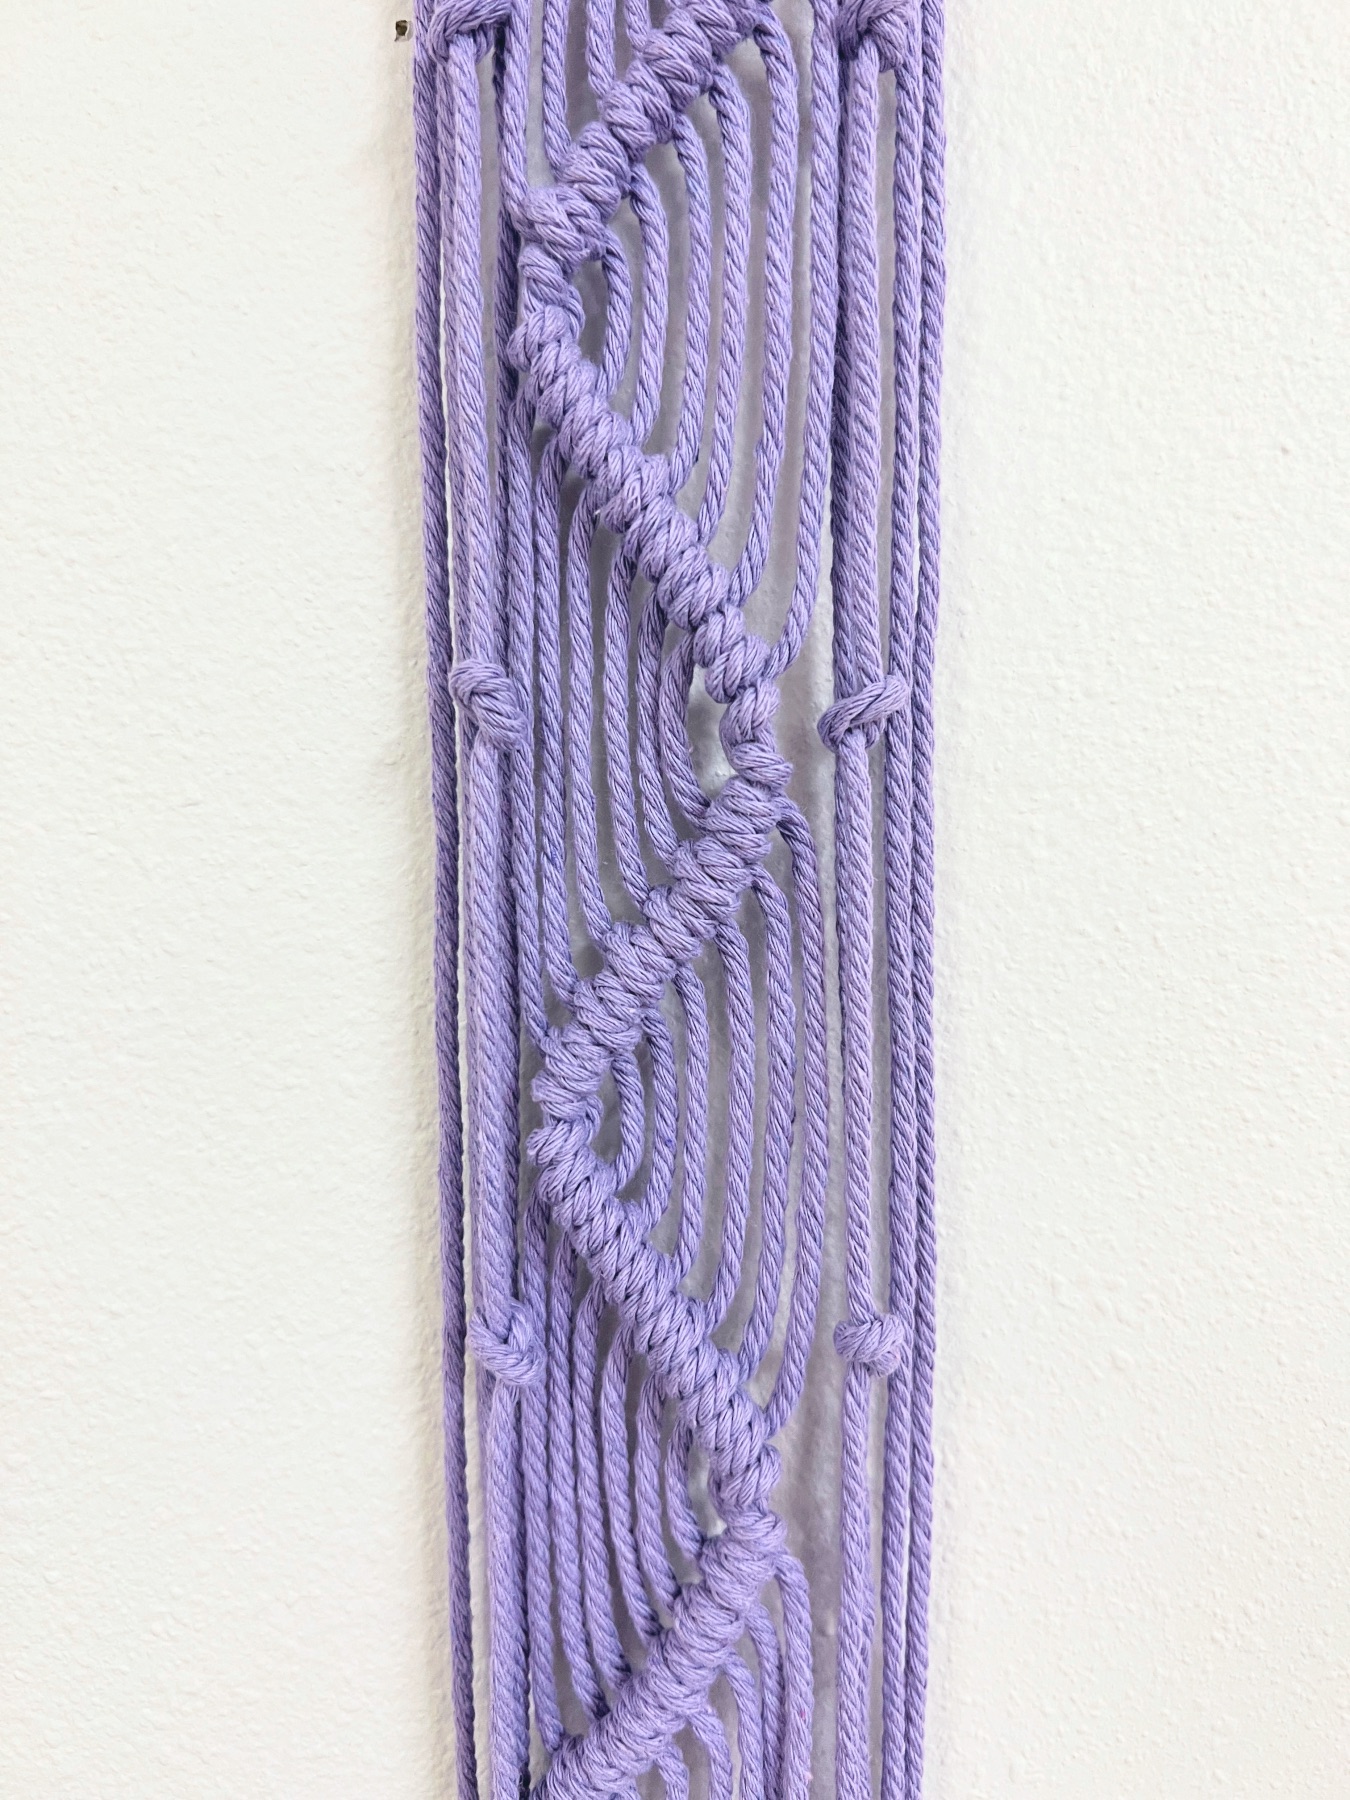
What to Do When You Reach the Right Side of the Macrame Project
Now remember, you are going to leave your left 4 and right 4 macrame cords untouched. You are only using cords 5-12. When you reach the 12th cord, your leader will remain the same but you will move from right to left.
So you will start with cord 11 then knot cord 10, then 9 and so on and so forth until you reach cord 5 again.
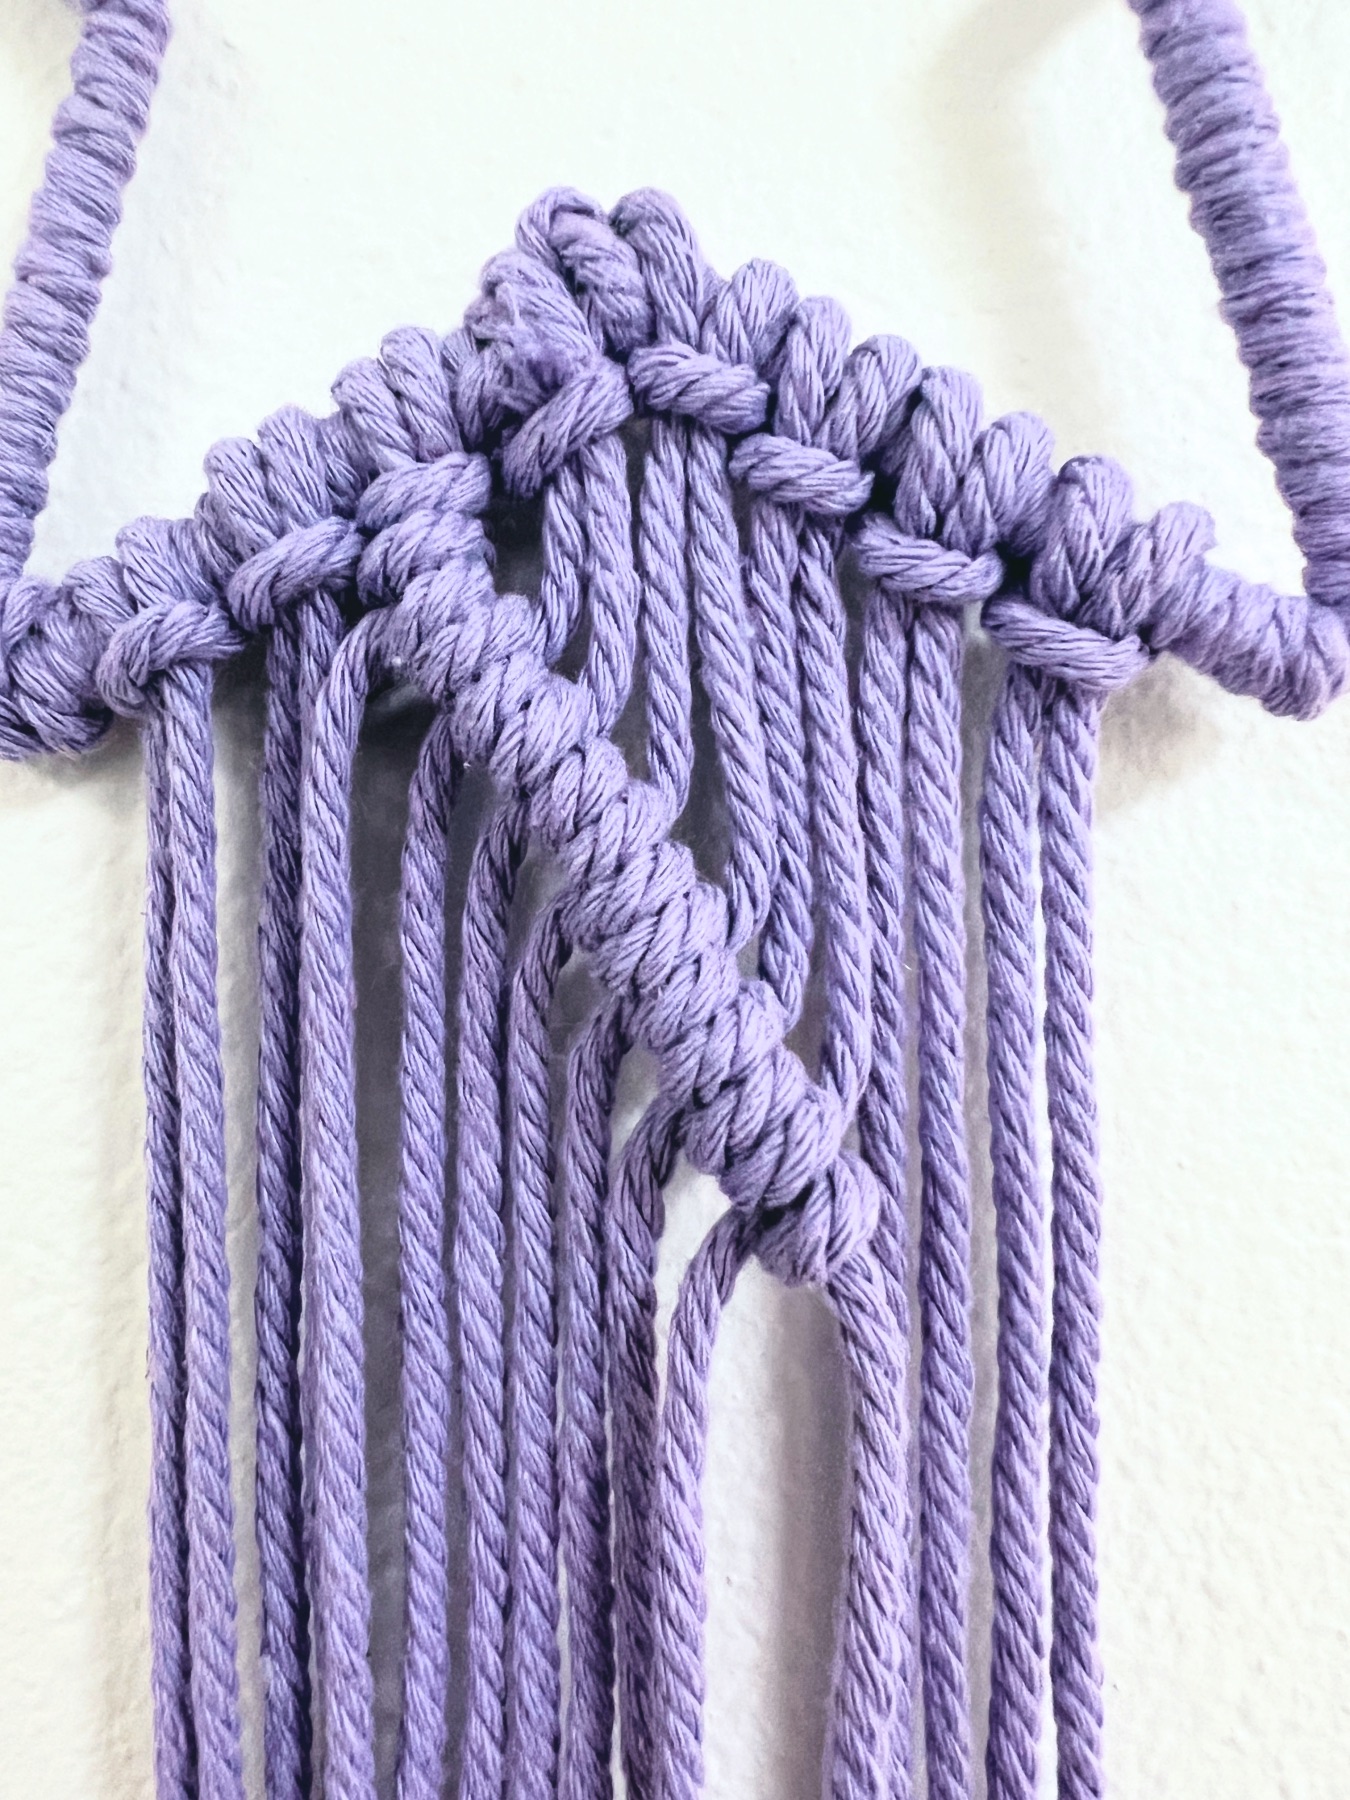
Now with each knot and each cord you can pull them extremely tight making the angle of the knots shallow. And you can make the knots looser which will make the angle steeper. Whatever you choose, try to keep your double half hitch knots even as you work from left to right, right to left and back again.
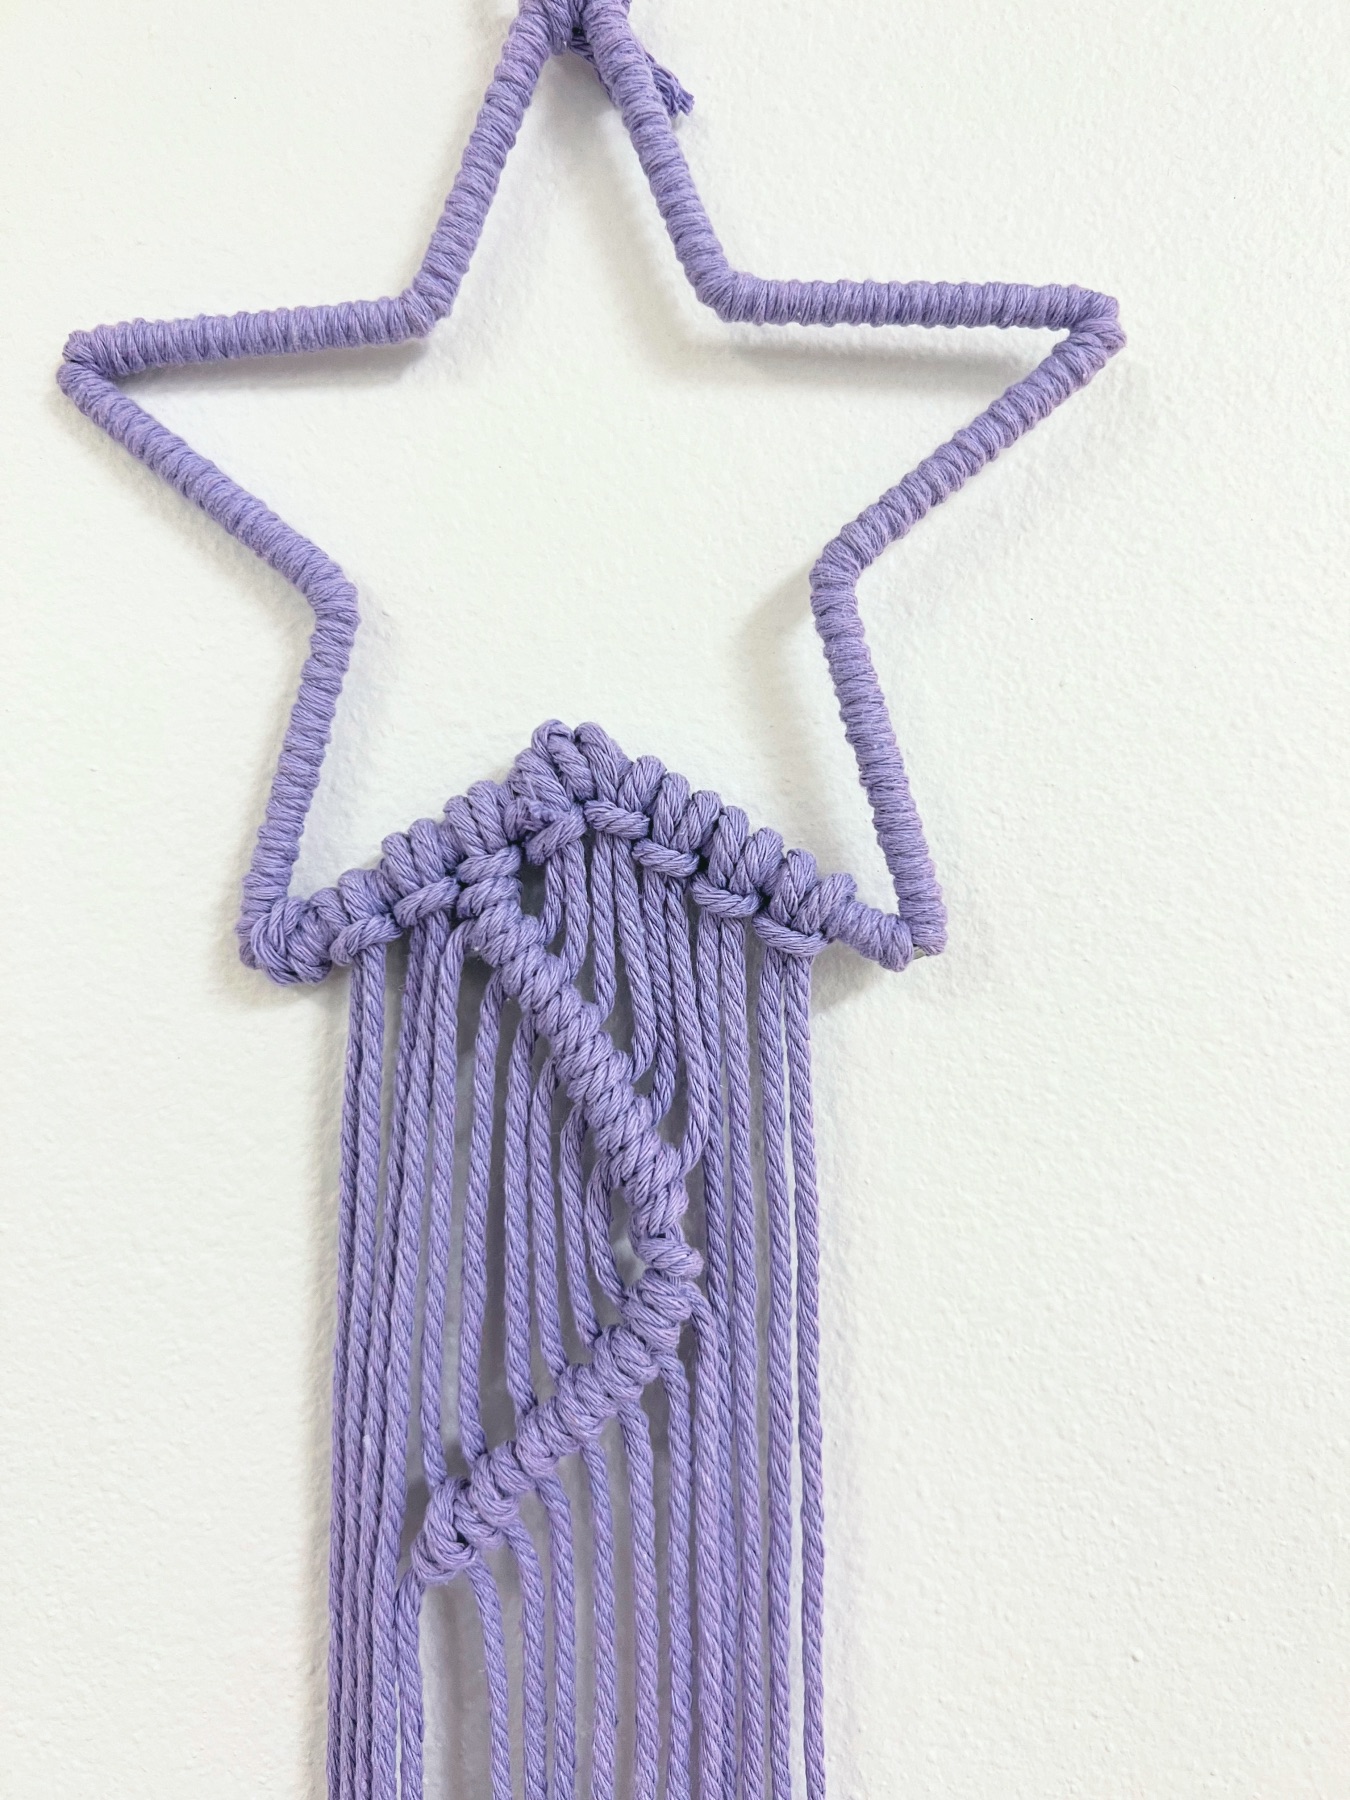
I made 7 sections of double half hitch knots total.
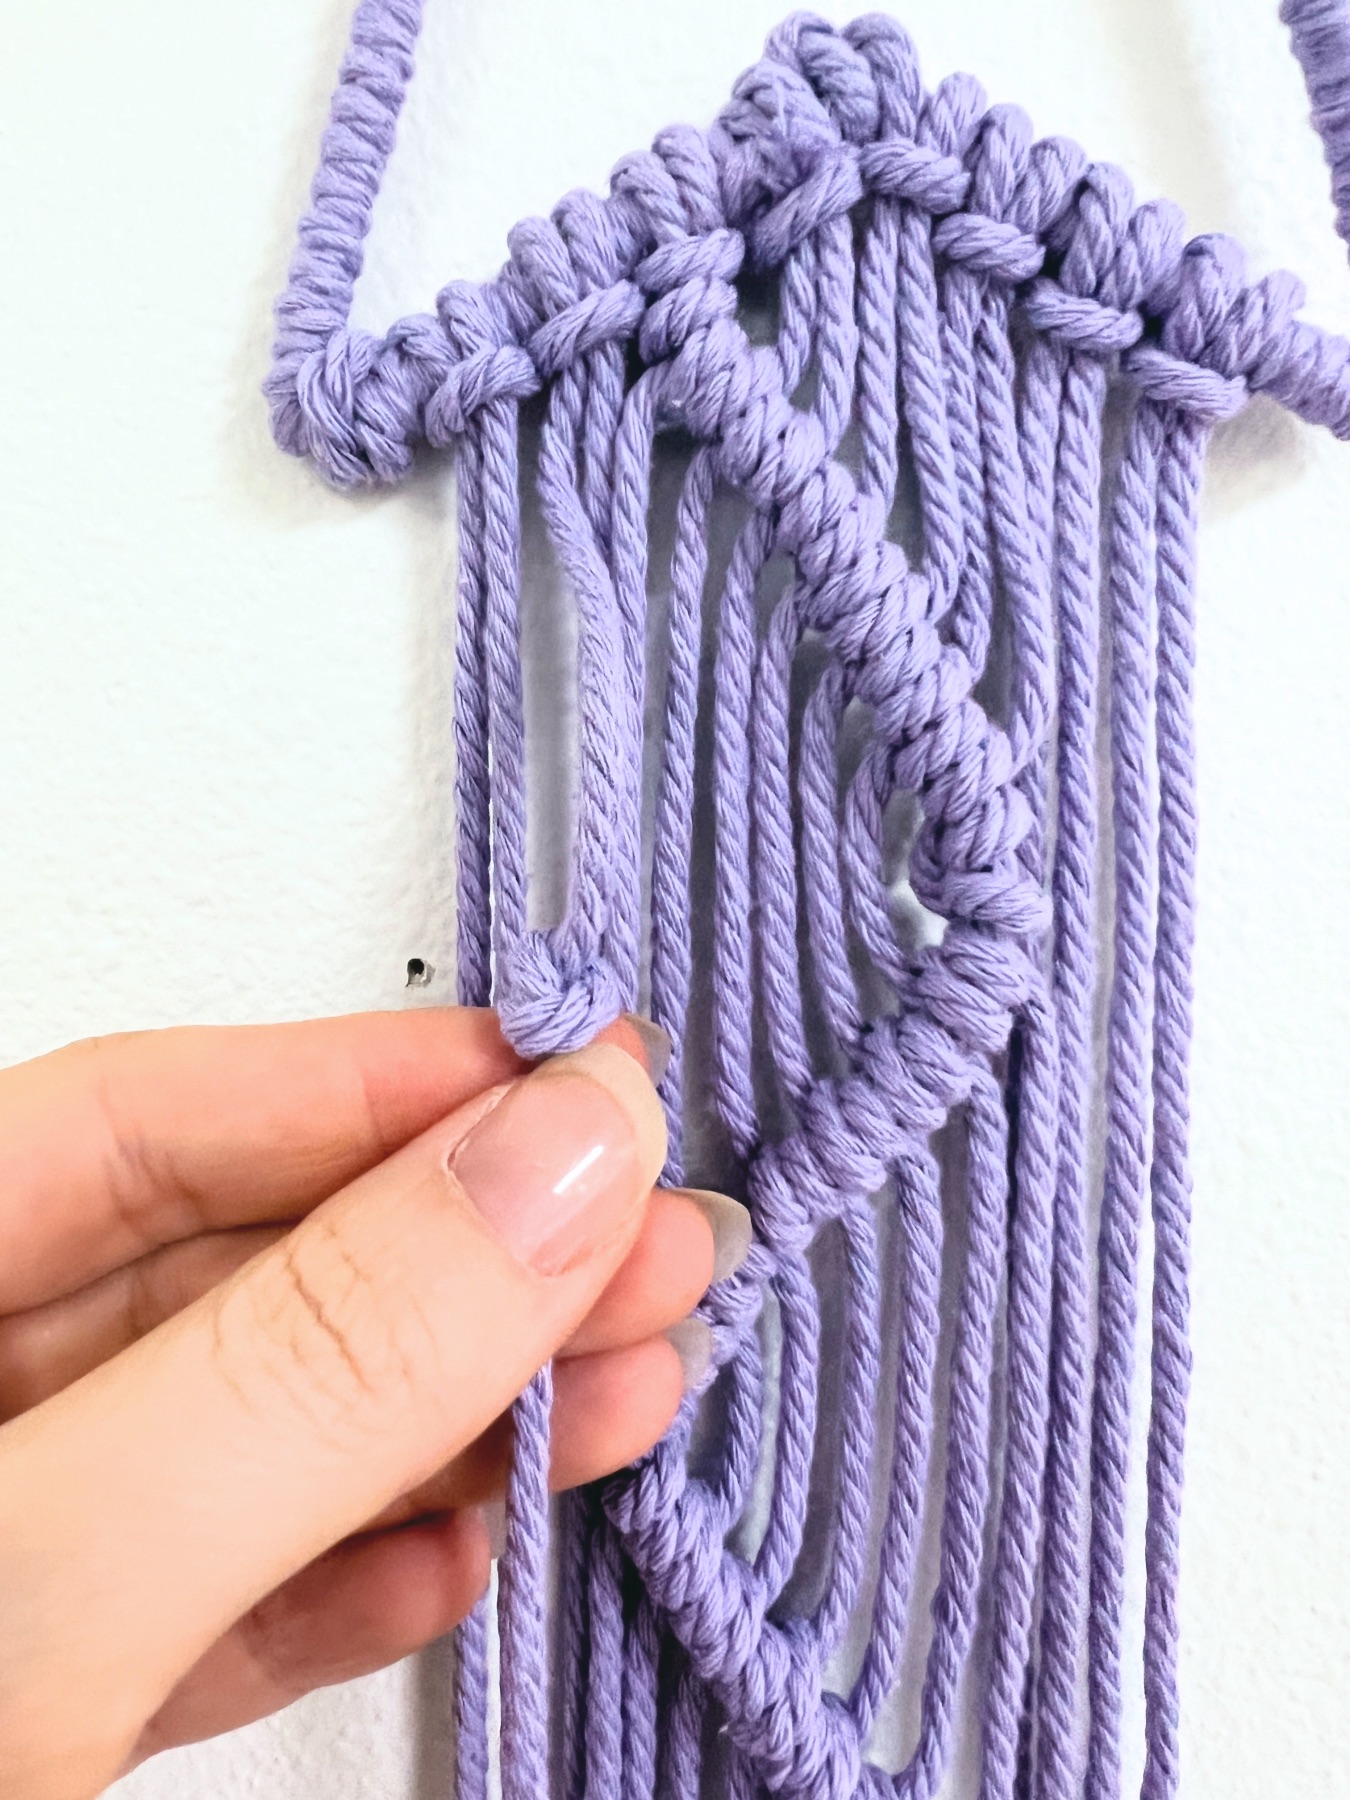
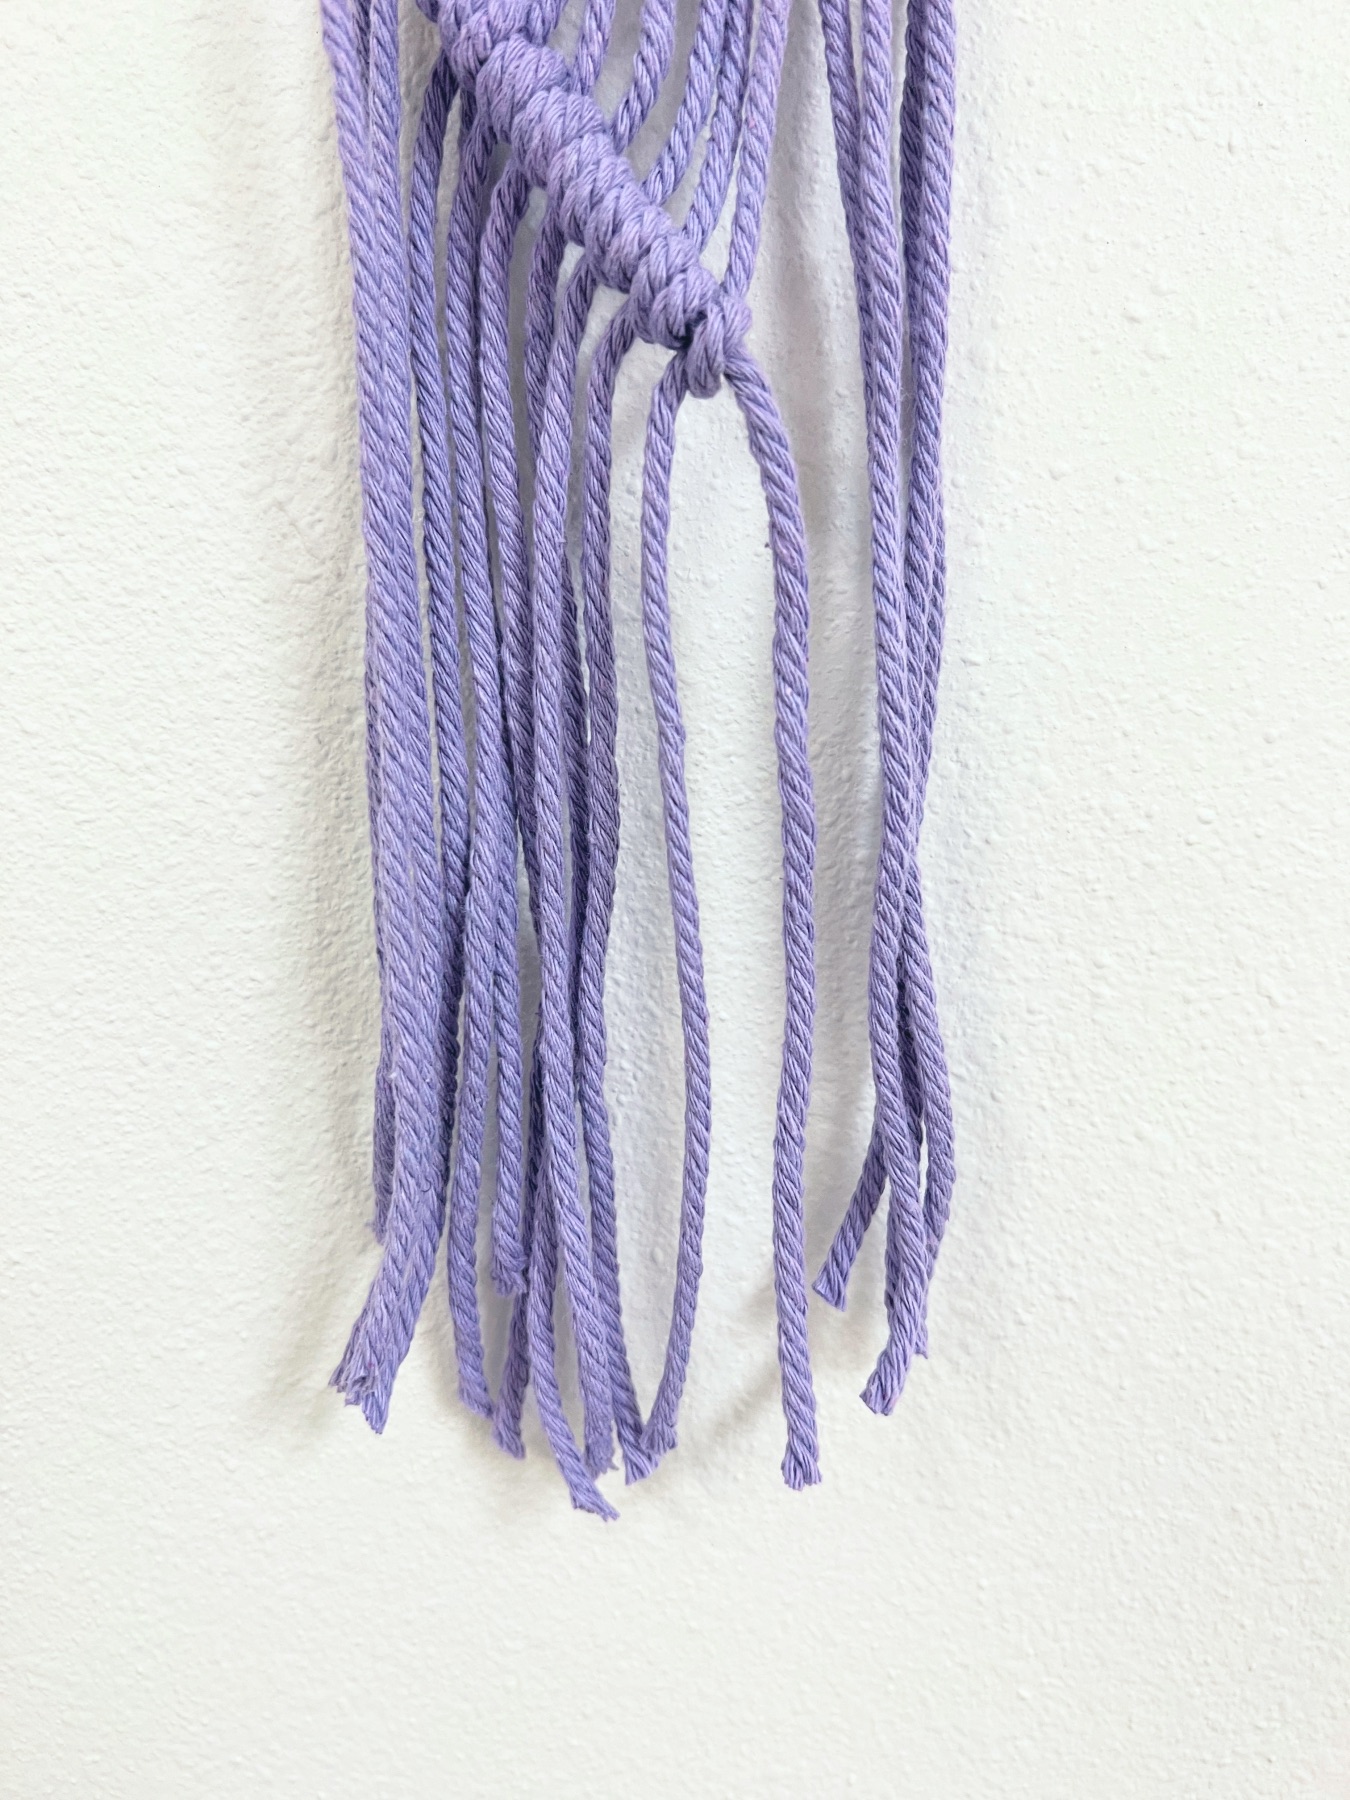
Make Simple Knots on Your 3rd and 14th Cord
Now take your 3rd macrame cord from the left individually and loop it around itself making a simple balloon knot. Push this knot into place around 3 inches below the star.
Now make 2 more balloon knots on this same cord.

Try to place the knots so they are evenly spaced a few inches below the star, then a few inches below the 1st knot, and a few inches below the 2nd knot.
Repeat this same series of knots on the 14th macrame cord from the left. That cord will also be the 3rd from the right – see how both sides match, using symmetry like a mirror?
As you tie the knots on the 14th macrame cord, try to place them evenly from top to bottom with your balloon knots on the left.
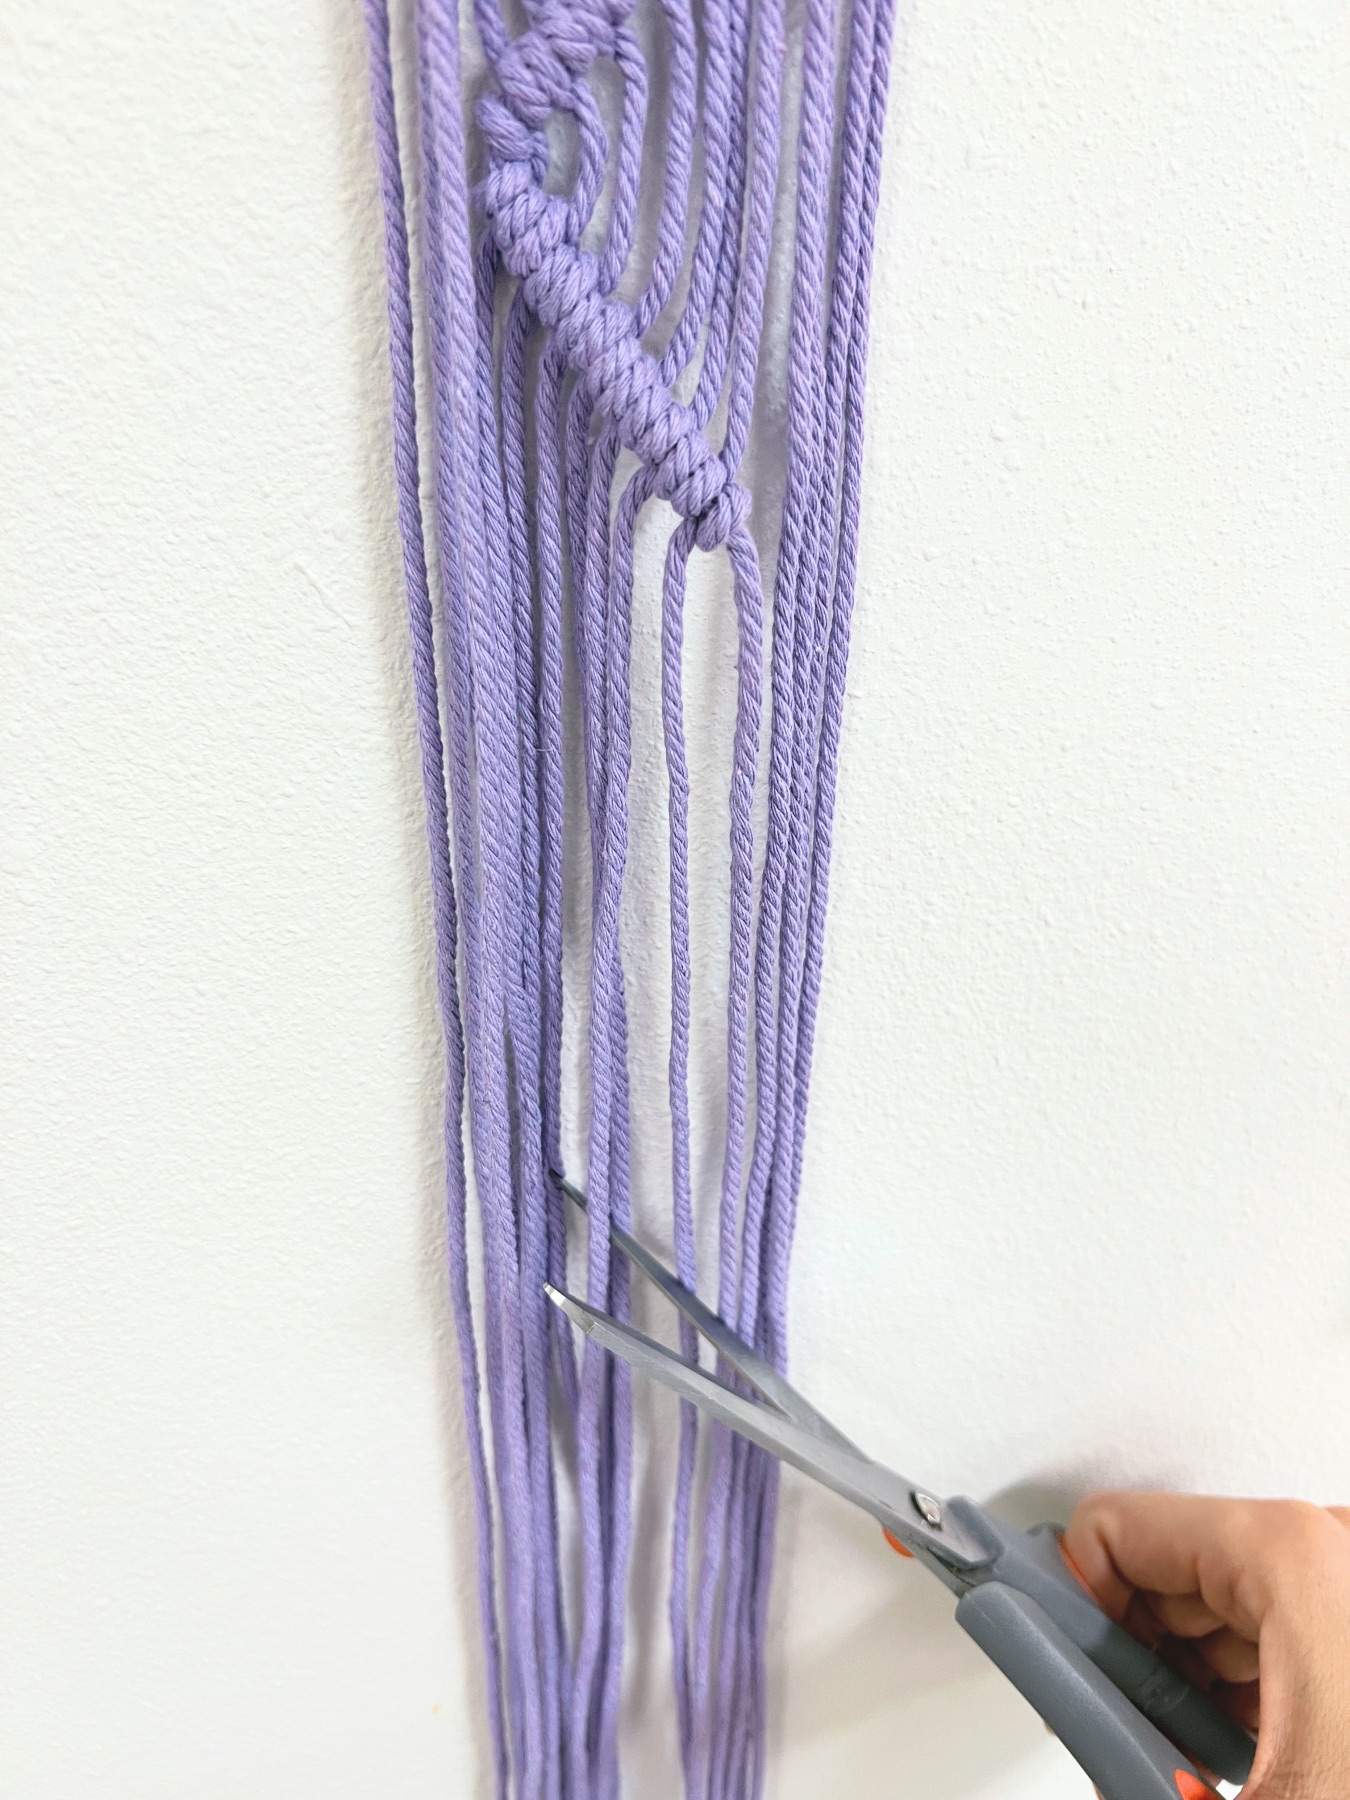
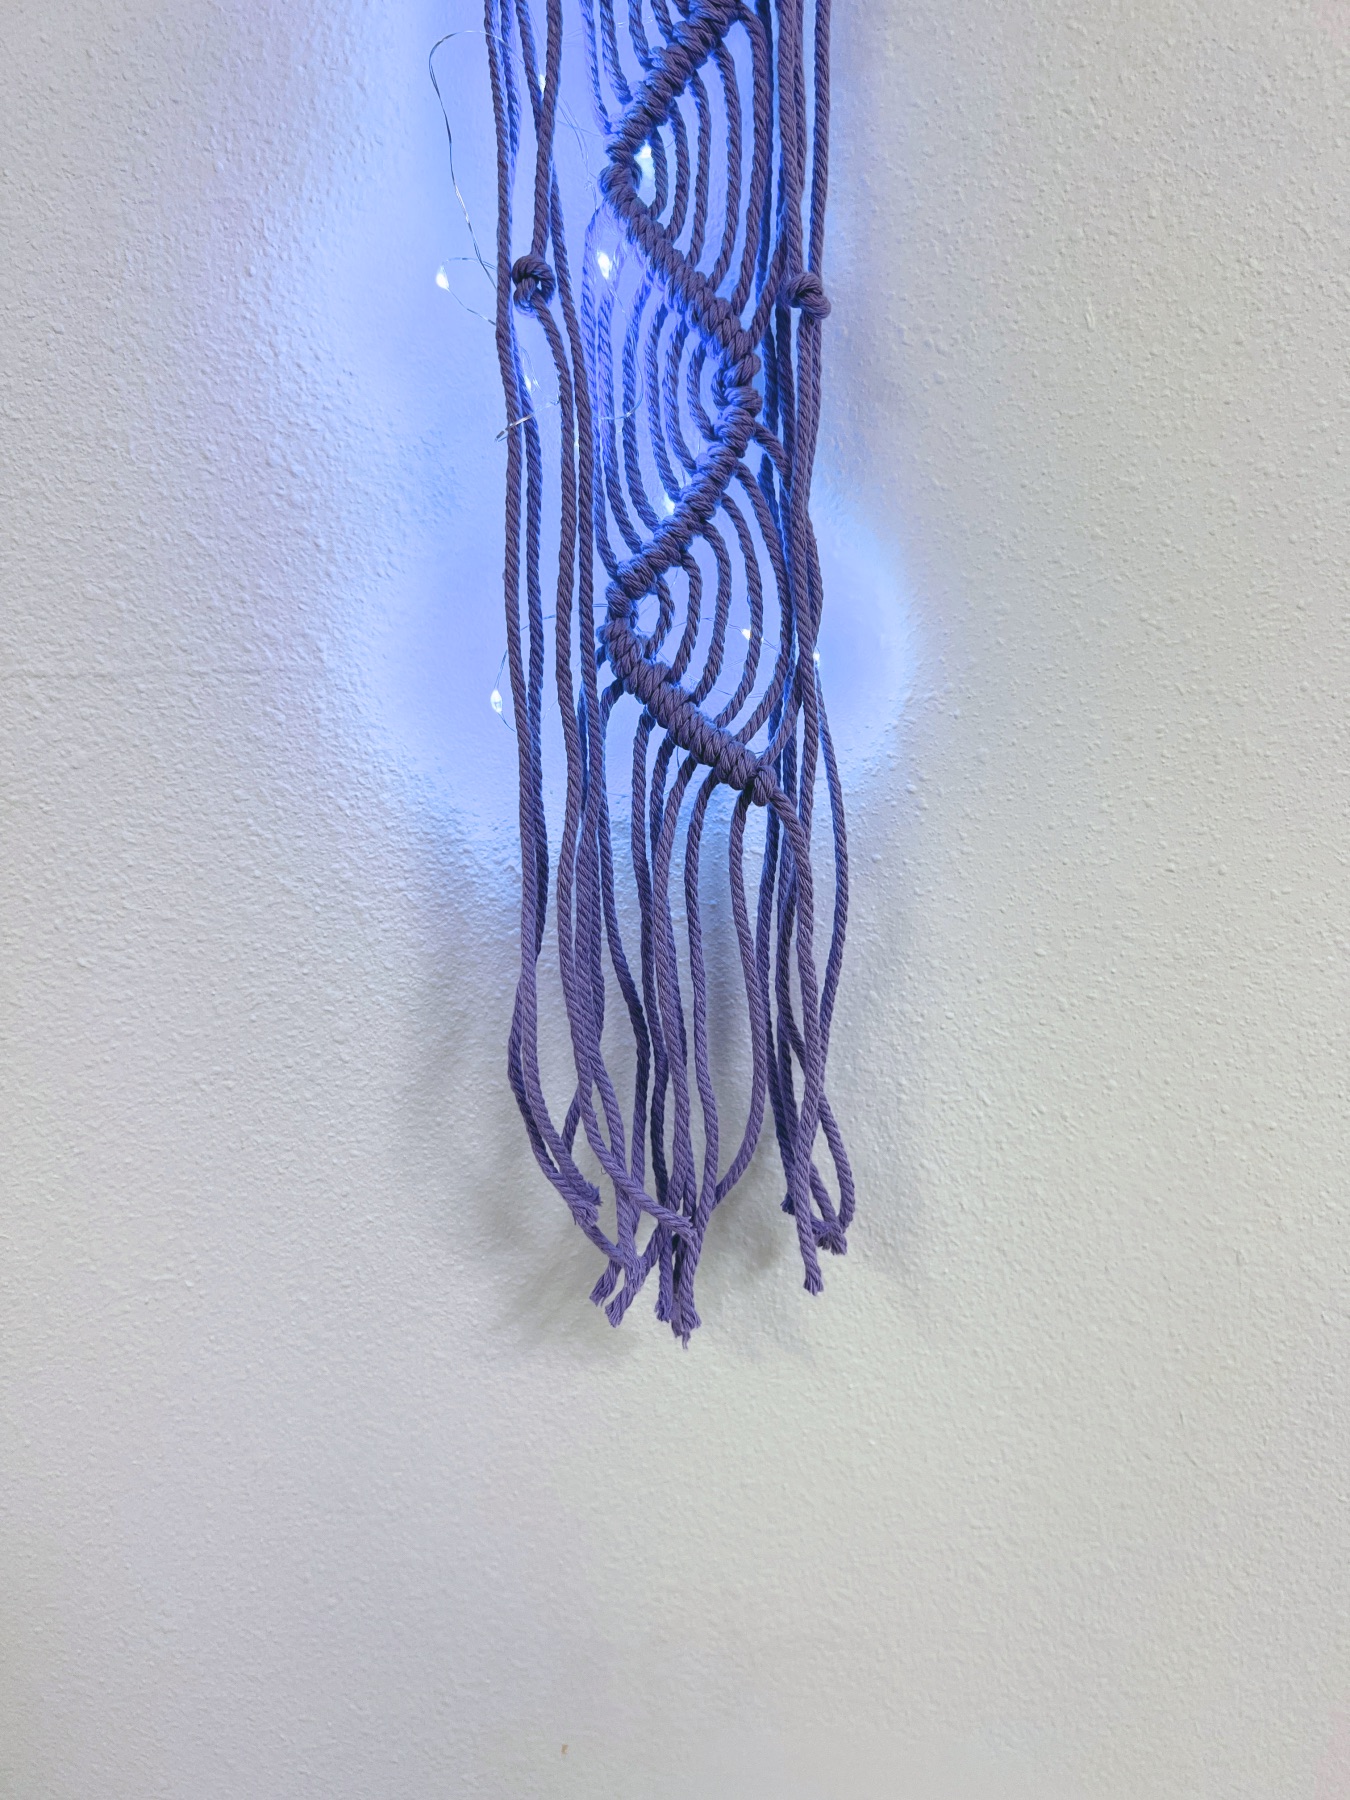
Trim the Ends of the Macrame Cord
You can trim the ends in so many different ways! I choose to cut mine into a slight angle. You could cut them at an angle in one direction or you could cut them straight across.
You can also uncurl the ends and fray the bottom of each cord which looks so cute.
If you want to see some different ways to trim the ends and what that looks like, check out this blog post here, where you can see us try out several different styles.
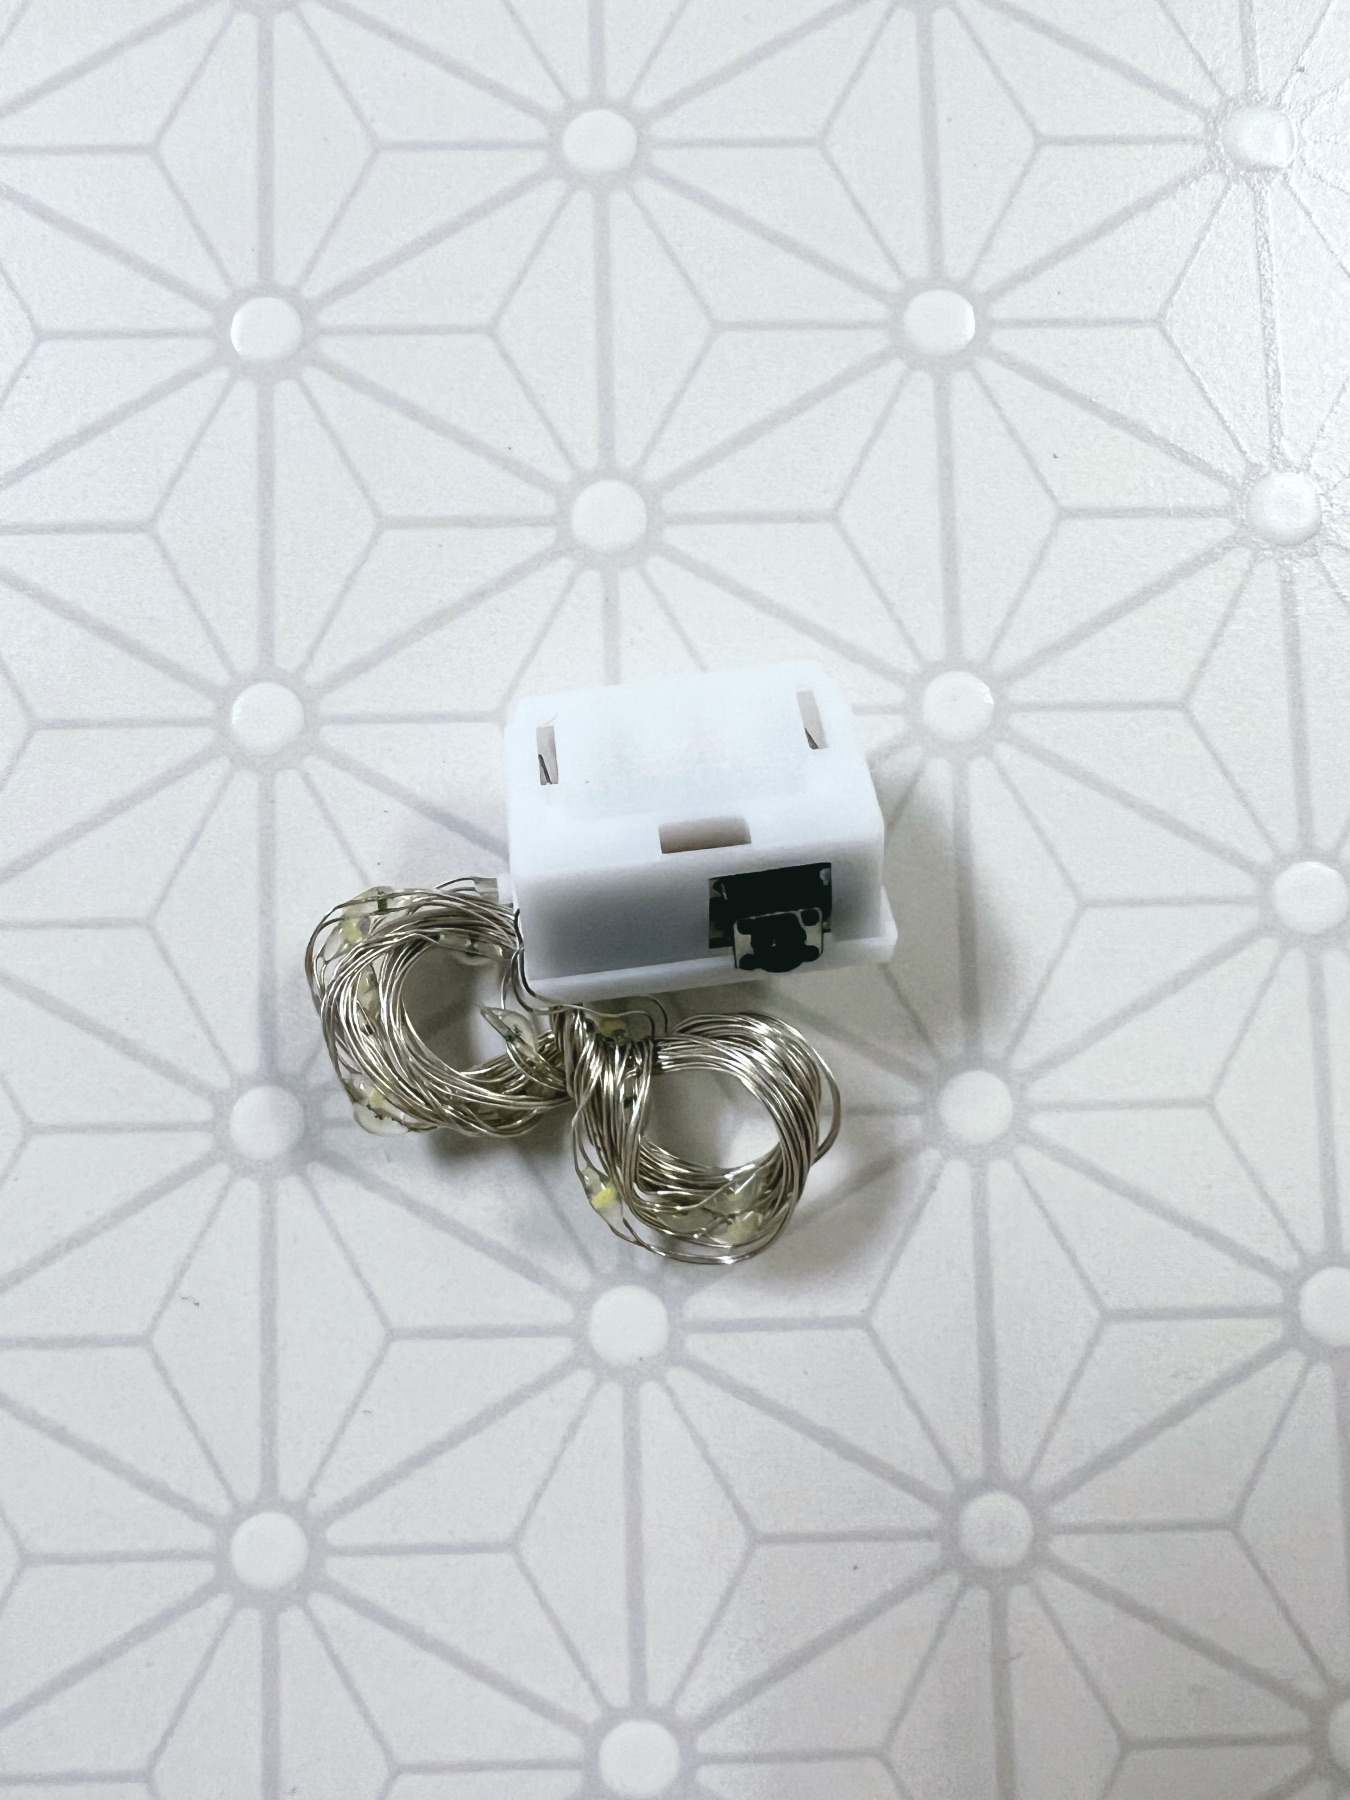
Prep Your Light Pack to Add to the Star Macrame Wall Hanging
Your light pack will either need batteries added in or will have a battery already included. A lot of battery packs have a small plastic piece that needs to be removed for the battery to make contact and light up the fairy string lights.
Test your battery pack before you add it to the Star Macrame Wall Hanging.
Weave Your String Lights through the Macrame
Then start by placing the battery pack in the center of the star hanging down behind the double half hitch knots.
Then loosely weave the string lights around the star macrame base first.
Once you have made your way all around the star, weave the rest of your string lights through the macrame cords that hang down from the star.
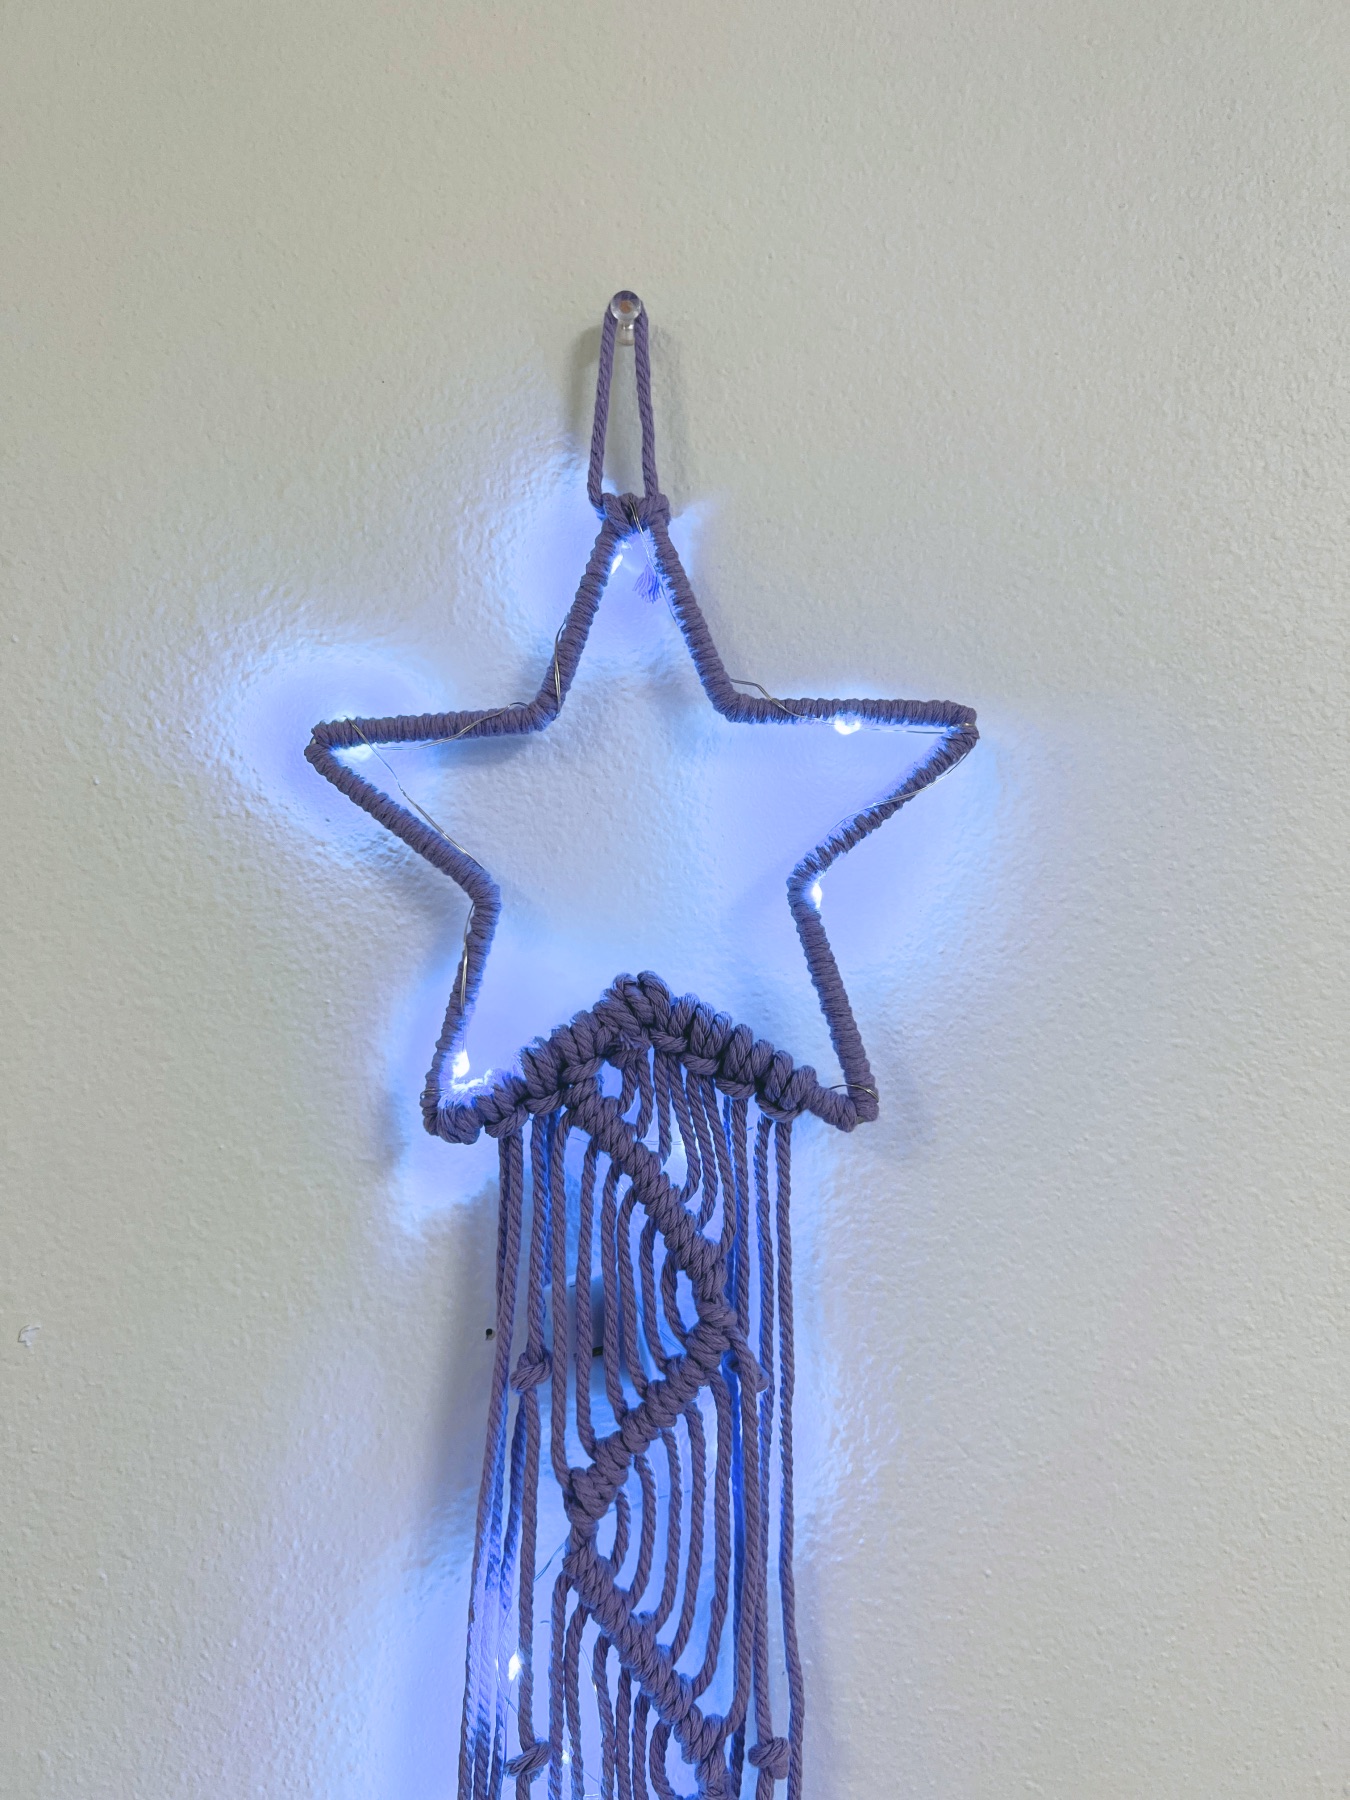
You will want most of your string lights to stay on the backside of the wall hanging. But it’s okay if some of the lights are on the front side of the wall hanging.
Keep weaving your string lights through the macrame piece until you reach the end of the string lights.
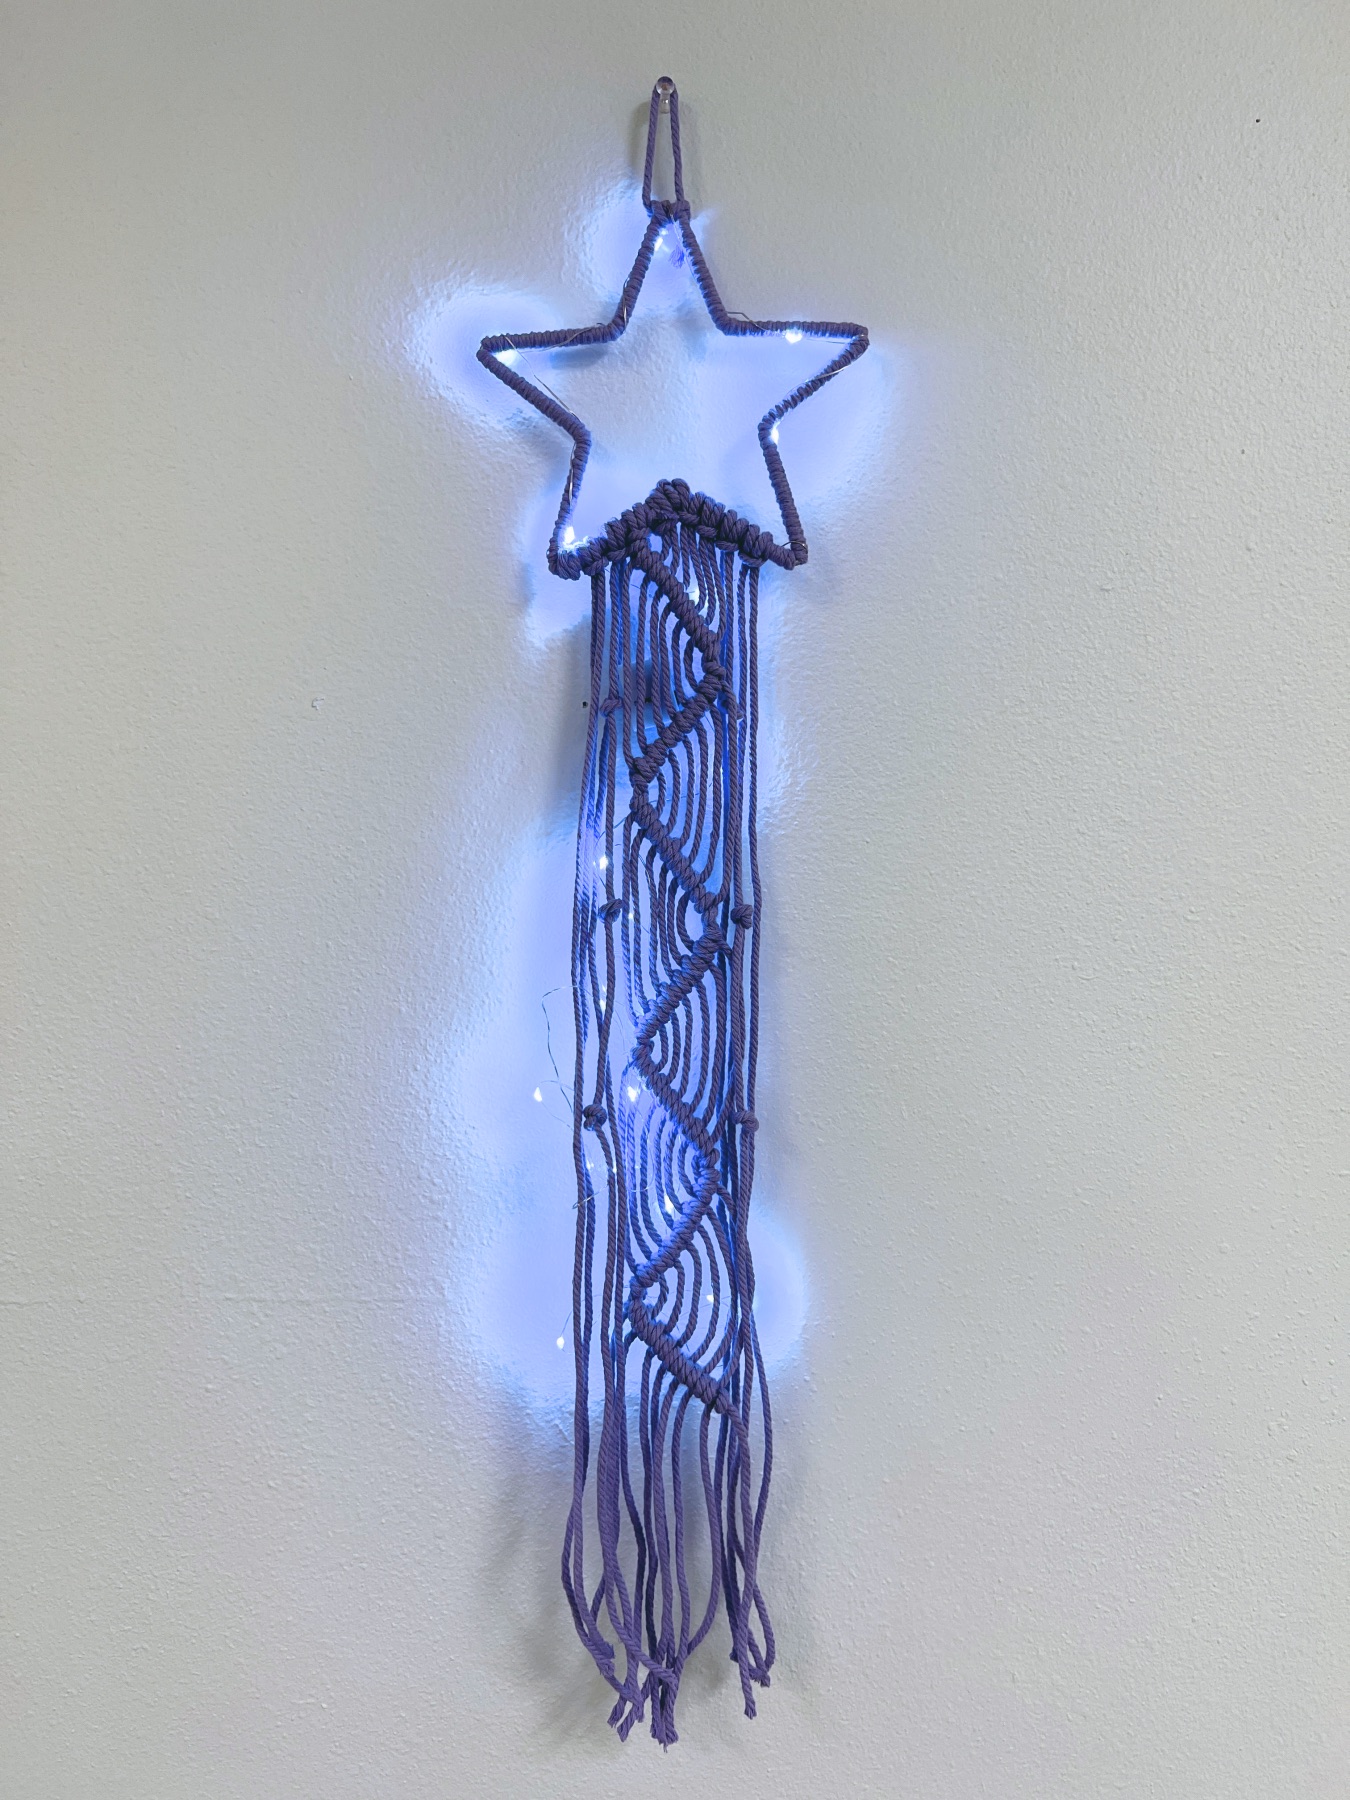
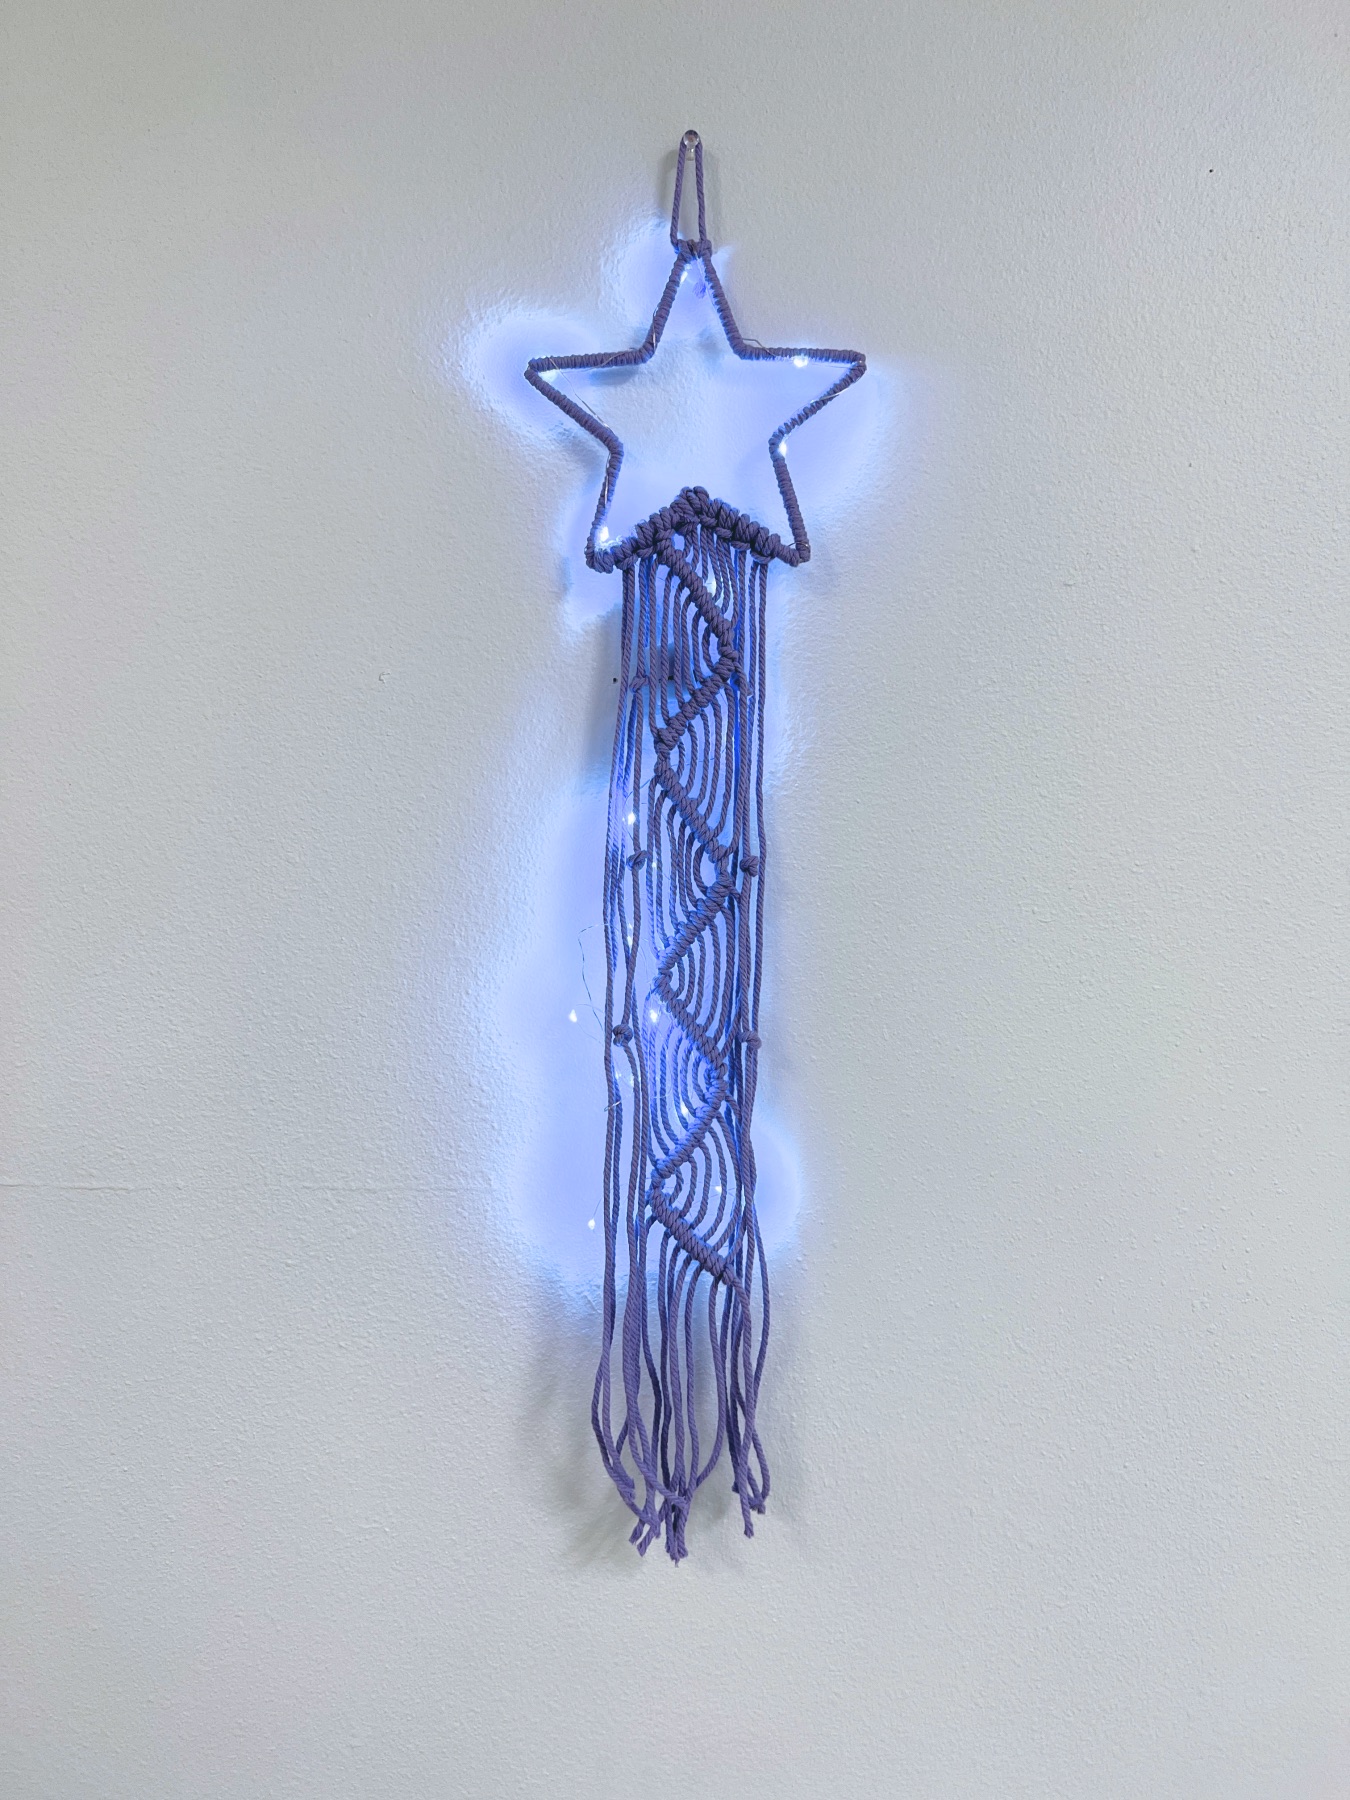
And viola you are completely finished with your DIY Star Macrame Wall Hanging with Lights!
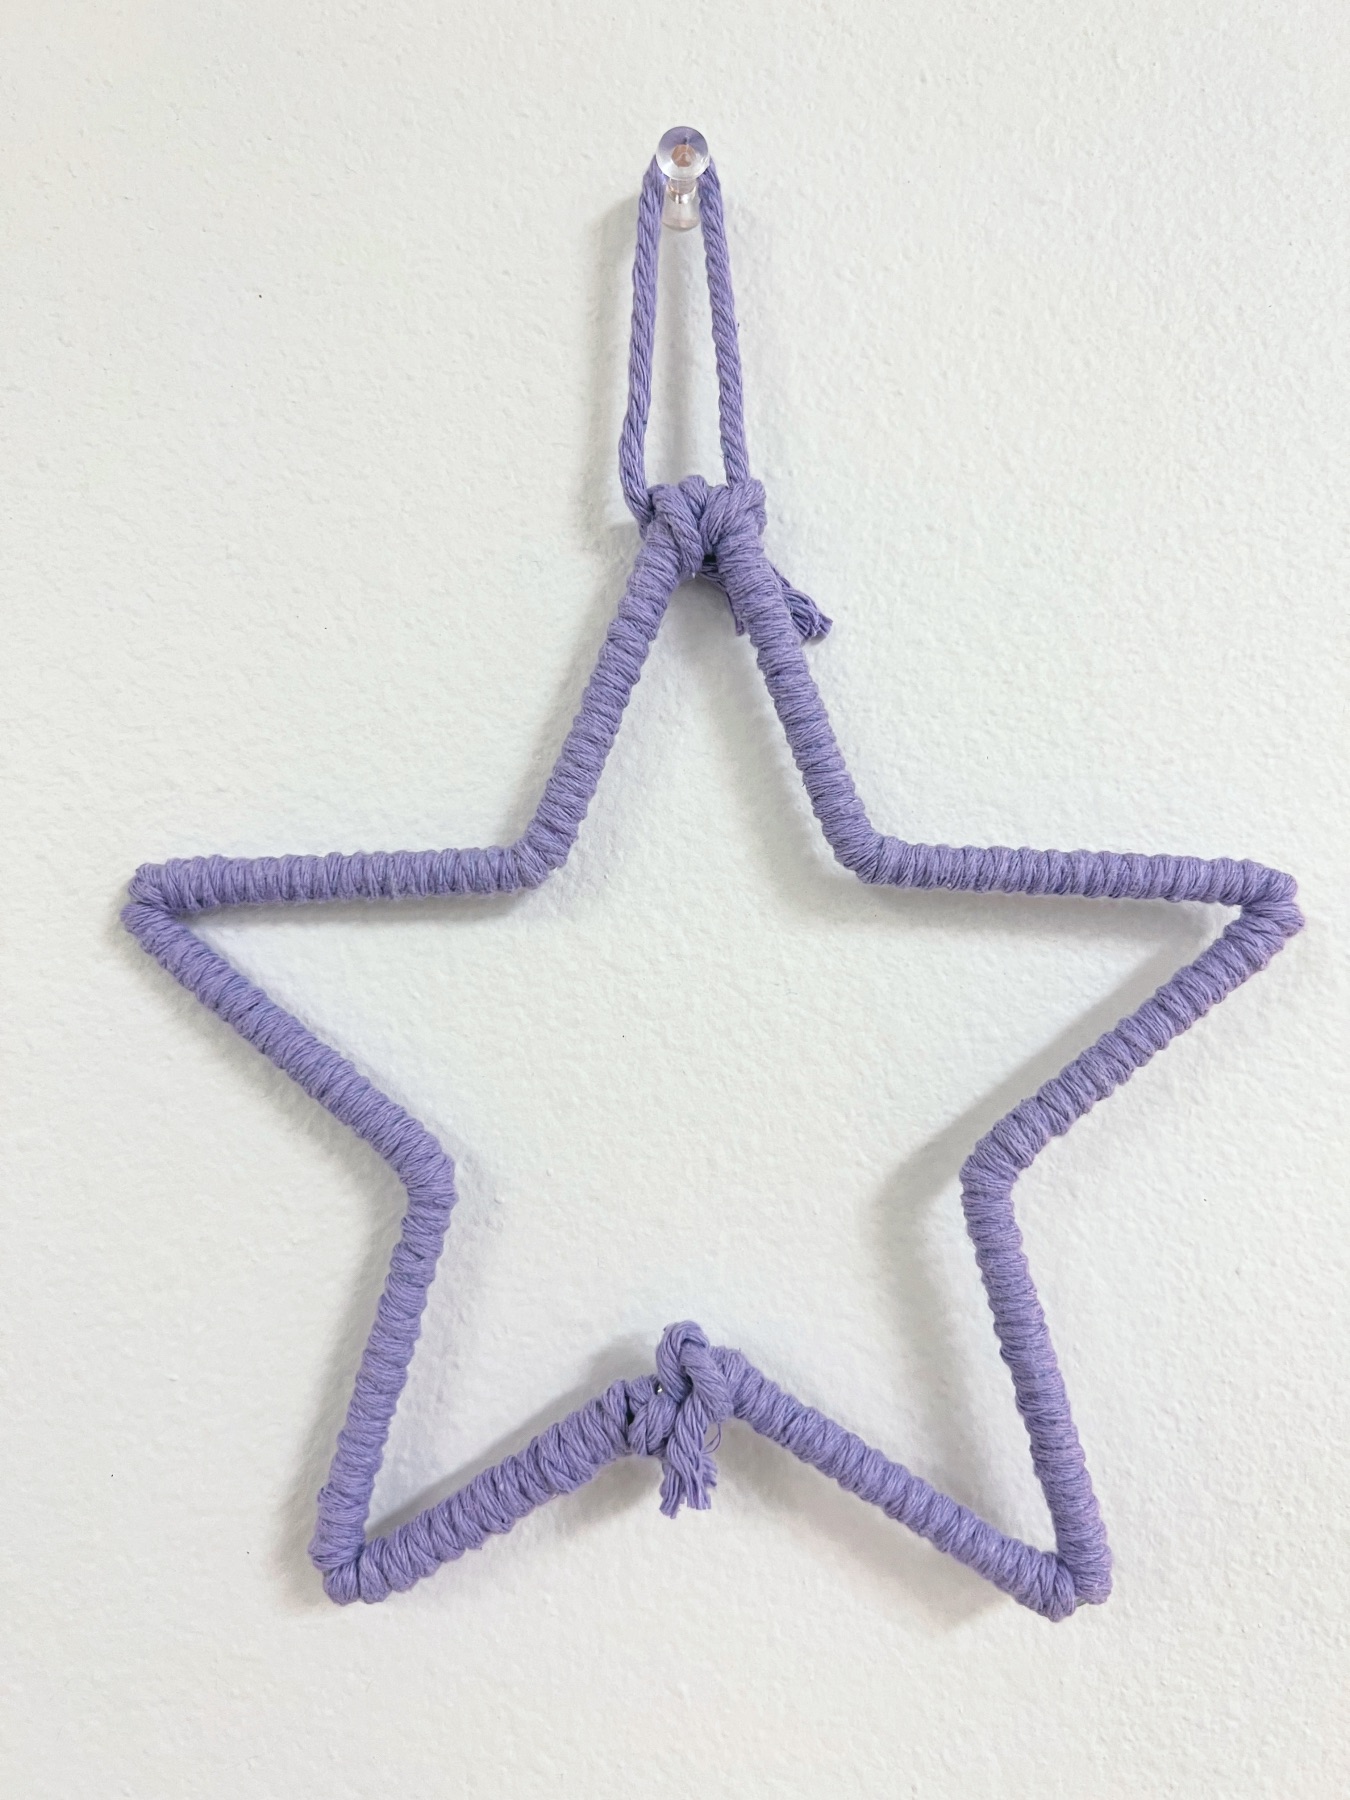
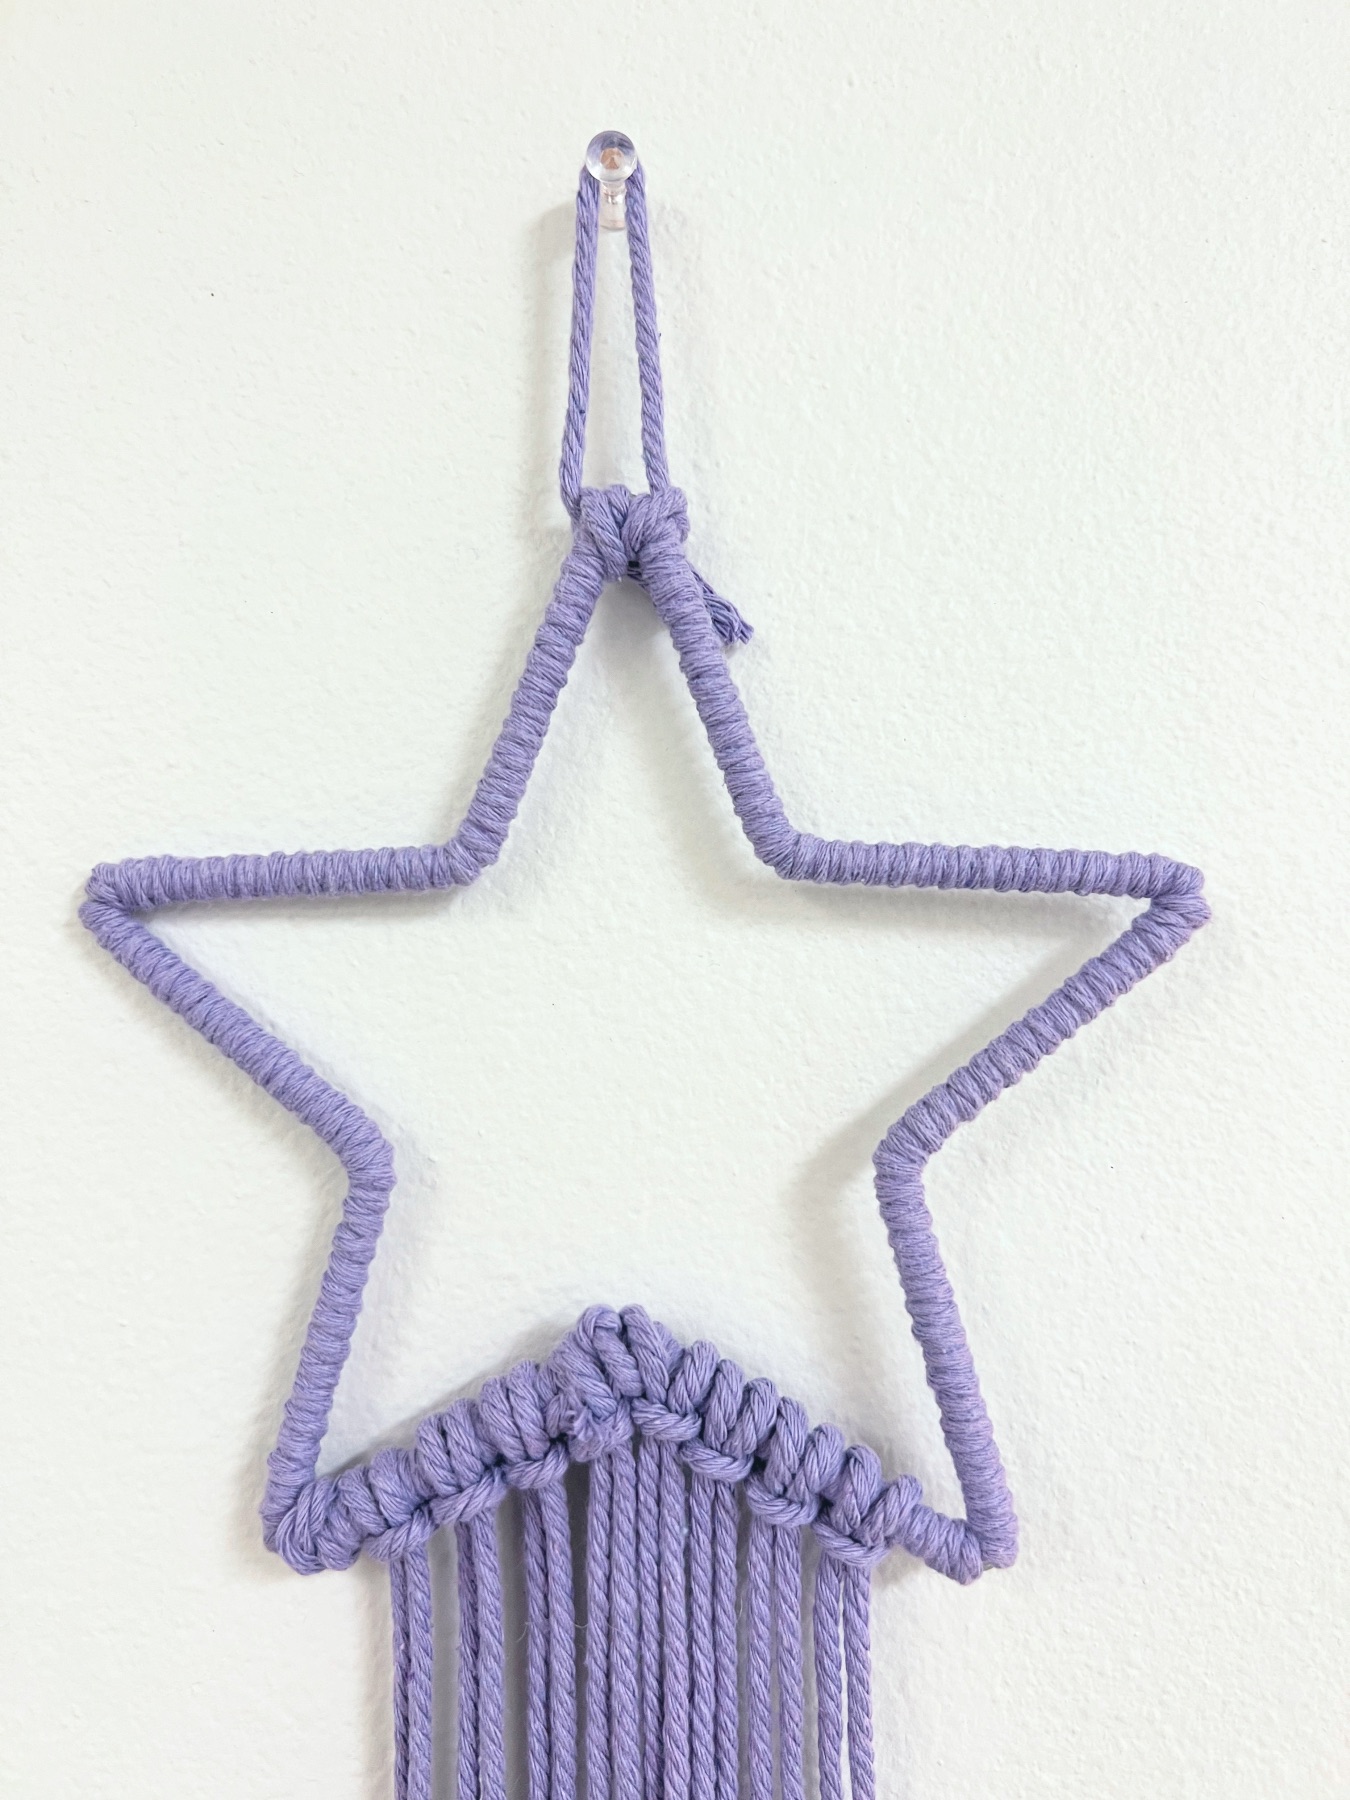
Where to Hang Your Star Macrame Wall Hanging
Once your macrame is finished, it’s ready to hang! It’s very lightweight, so all you need is a thumbtack or a small nail and your macrame piece can hang from anywhere.
It’s perfect for using in your bedroom like a night light or for making a dreamy atmosphere while you are doing yoga or watching tv in bed.
It’s also perfect to hang in a closet or small space that doesn’t have enough light – like a laundry room or basement.
It’s also great for outdoors in the garden or in your backyard.
Modifications
Now I just showed you the pattern that I created with my Star Macrame Wall Hanging, but you don’t have to make yours like mine! There are so many different ways you could style this and different knots you could choose.
The easiest way to figure out what you like or what knots you want to use is to check out Macrame Knot Tutorials on Youtube. There are so many!
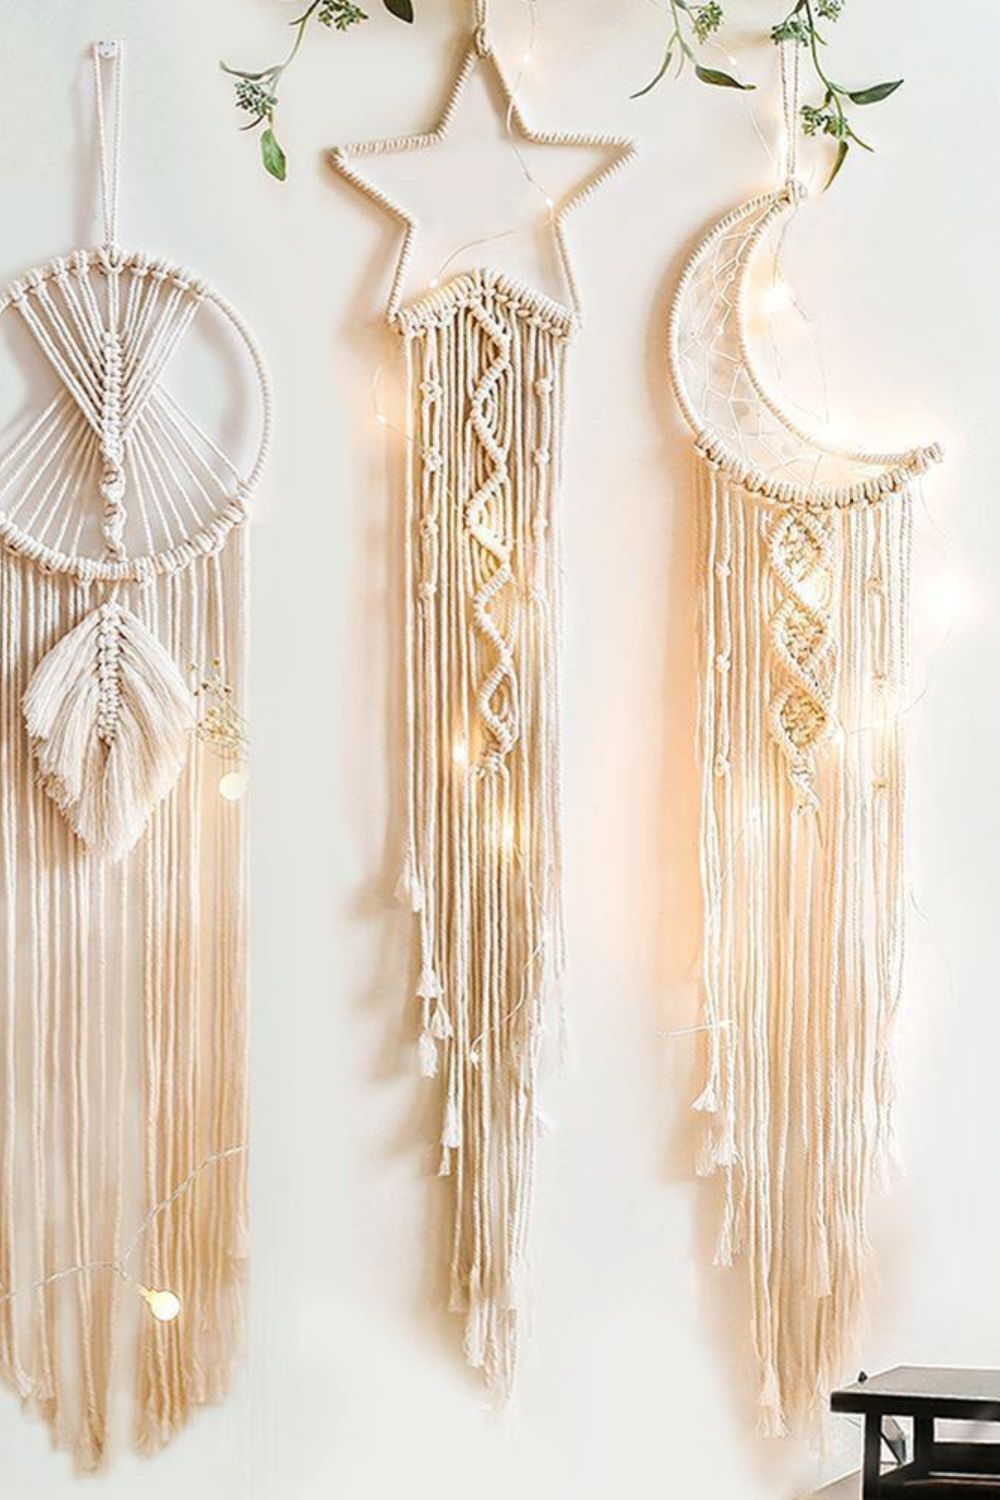
And don’t forget that you can also use a mini moon shaped macrame base that hangs inside or above the star. And you can fill in the star with twine like a dreamcatcher!
And if you love this Star Macrame Wall Hanging, check out the tutorials below for other cool macrame crafts. And don’t miss out on the Star Macrame Wall Hanging Craft Kit here where you can get all the supplies I used to make your own Macrame Wall Hanging!
Let’s Stay Friends!
Insta | Pinterest | Enews | TikTok