Want to make a stellar diy blog post? That all starts with great photos! A picture is worth a thousand words you if you want people to understand, learn, and try the DIY you’ve created, it all starts with amazing photography!
We’ve learned so many things in our years of creating DIY blog posts and craft tutorials. And we made so many mistakes along the way. Just look at this – awesome DIY but sad photos 🙁 Many of these steps are easy to learn and implement. But they are things that I didn’t know when I started blogging. These tips can help you whether you are shooting on your iphone or shooting on something fancy. And either one is totally fine! These photo tips are the best way to create the best DIY Blog photos.
Use a Solid Color Background
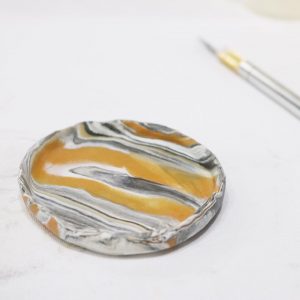
If you want your products to pop, don’t let the background take center stage! Use a solid color background, white is often preferable, to keep in neutral. Using a background with patterns or lots of different colors will often make your focal point dull.
For this photo we used a white tablecloth and full spectrum overhead lighting. If you are thinking through photo backgrounds check out these two blog posts about how to create your own photo backdrop here:
and also here:
Both of these blogs contain several different backdrops!
Add Pops of Color for Effect
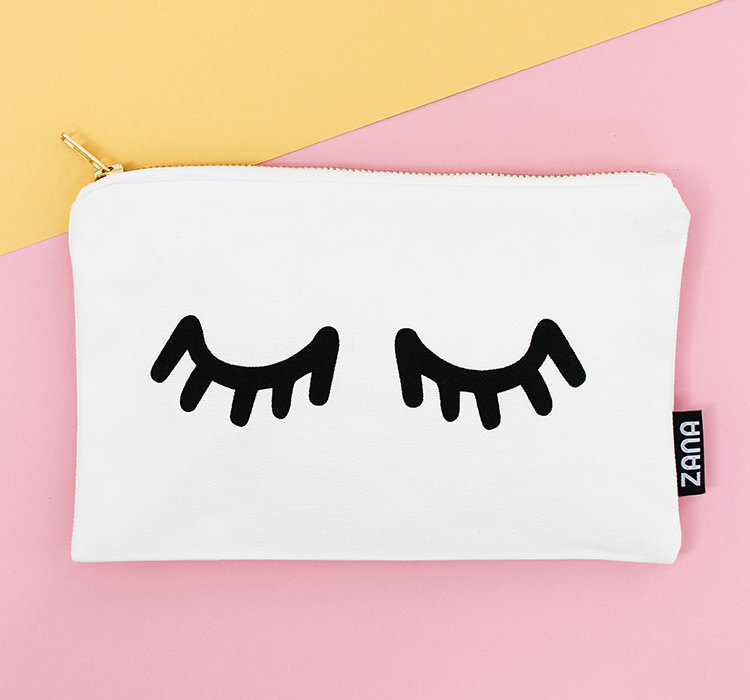
It may sound like the exact opposite of using a solid color background, like we suggested above, but it’s not! Just check out the photo above, it’s still a solid color, and a really cute and modern take on color blocking. This background is made with simple paper, a great tool for shooting products or shooting blog posts.
This pop of color really works because the clutch is white with a cool graphic design. Shooting this on a white backdrop would have washed it out or made it recede in to the background. Remember from our tip above, you want the focal point to stand out and not recede into the background.
Shoot with Bright Light and Little Shadows
Shadows are the enemy of products and DIY’s! Play around with indoor and outdoor settings. Open windows, open blinds and close them up until you are able to remove most shadows.
Ideally, shooting outdoors on a cloudy day is FABULOUS. Otherwise, indoors near several bright windows can work. Every setting is different and every day the light is different. So playing around with your set up is something you will just have to get used to. Even if you are shooting under pop up lights, the size of your objects will change, so you will still have to alter and set up new lighting.
Take your time and move your object around every time you shoot your DIY blog post photos.
Shoot Evenly to Create Scale between Objects
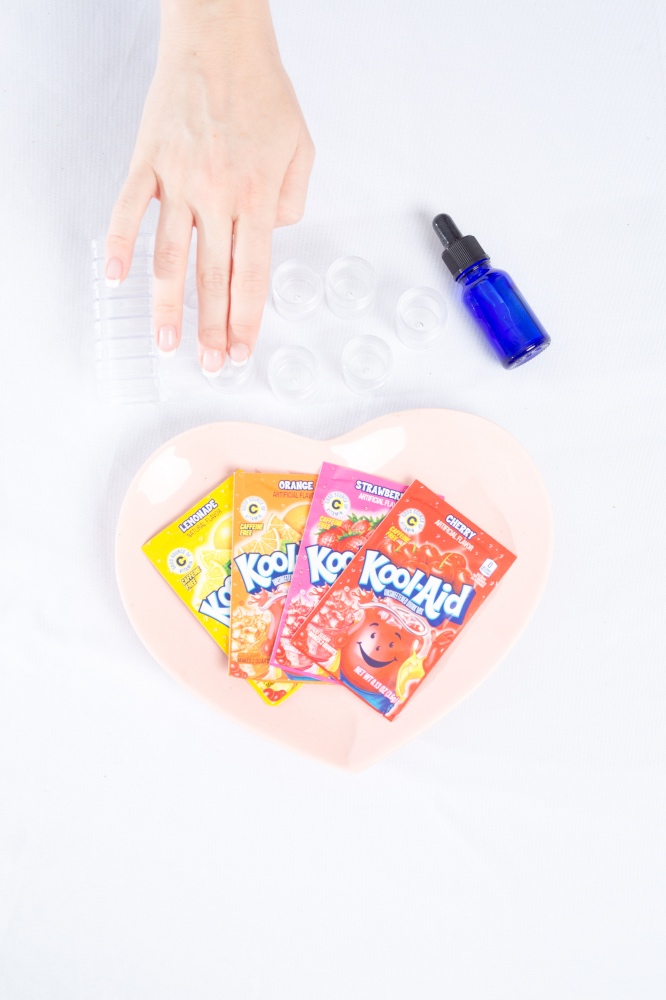
How big are the clear containers? How big is the blue bottle? All of these questions are answered for you because of how even and balanced this image is! It’s shot directly overhead so you can see the size and relationship between items. Seeing familiar things like kool-aid packets can you understand the size of the other items in the photo.
Shoot at Different Angles
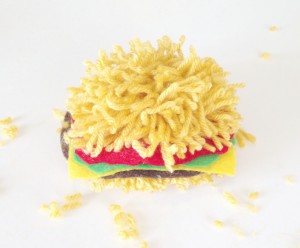
This Wedge Salad Skewer image is exciting the the senses because of all the different angles in this photo! Make your photos action packed and try taking photos at interesting and unique angles. You can try really tight shots that show small objects or wide shots that show the whole thing.
Think in terms of composition – of shapes, line, and form.
Show the Gesture of Your Hands
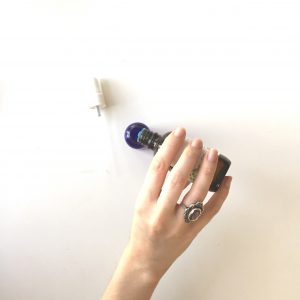
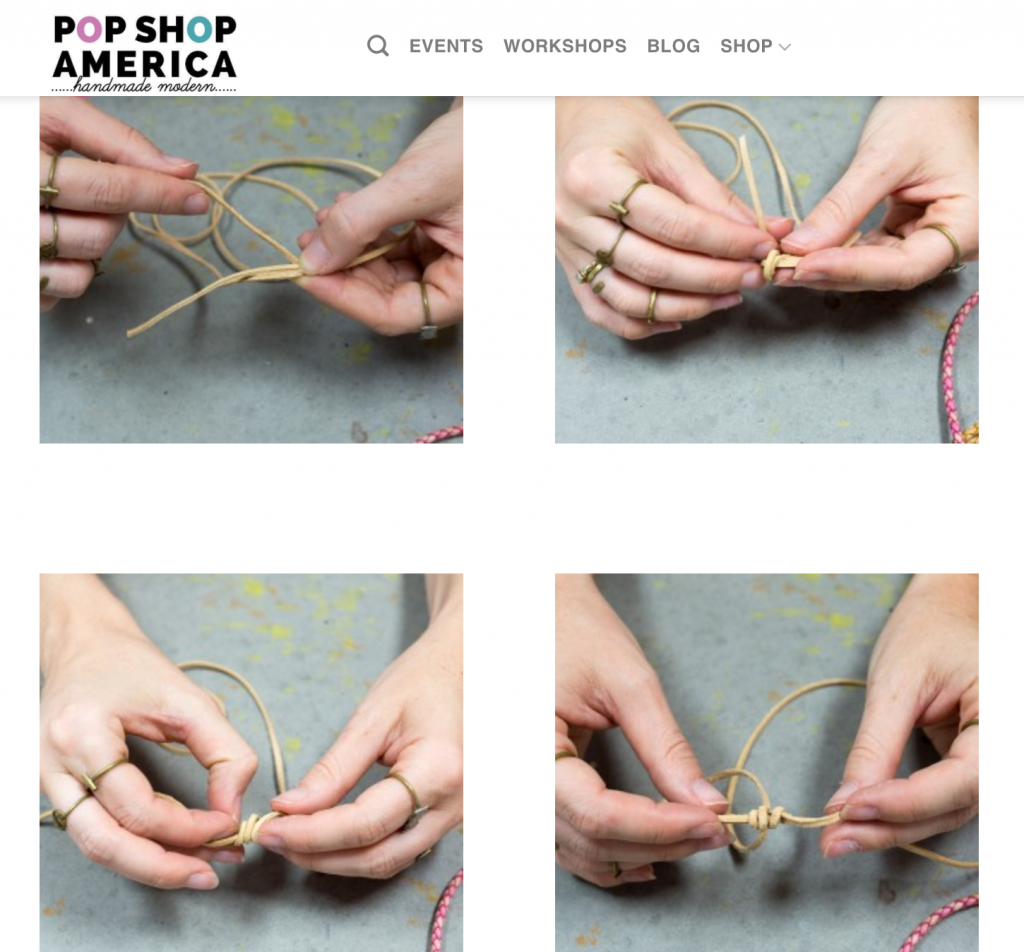
Nothing is more helpful in DIY Tutorials than understanding the movement of your hands. I’m a huge fan of showing how the cord threads or how to drop essential oils like above.
It’s also a fun way to humanize DIY Blog Posts. It’s easier to put yourself in the photo, when you see a person and their hands.
Show Lots of Different Steps
This How to Make Easy Boho Leather Bracelets Blog is one of our most popular blog posts. Check it out! It’s been repinned around 9 thousand times. A big part of it’s popularity is how clearly we demonstrate how to tie leather slip knot. We show Every. Single. Step. in a series of 7 photos. We try to make the steps easy bite size pieces so it’s straightforward and not confusing!
Use Props to Show a Sense of Scale
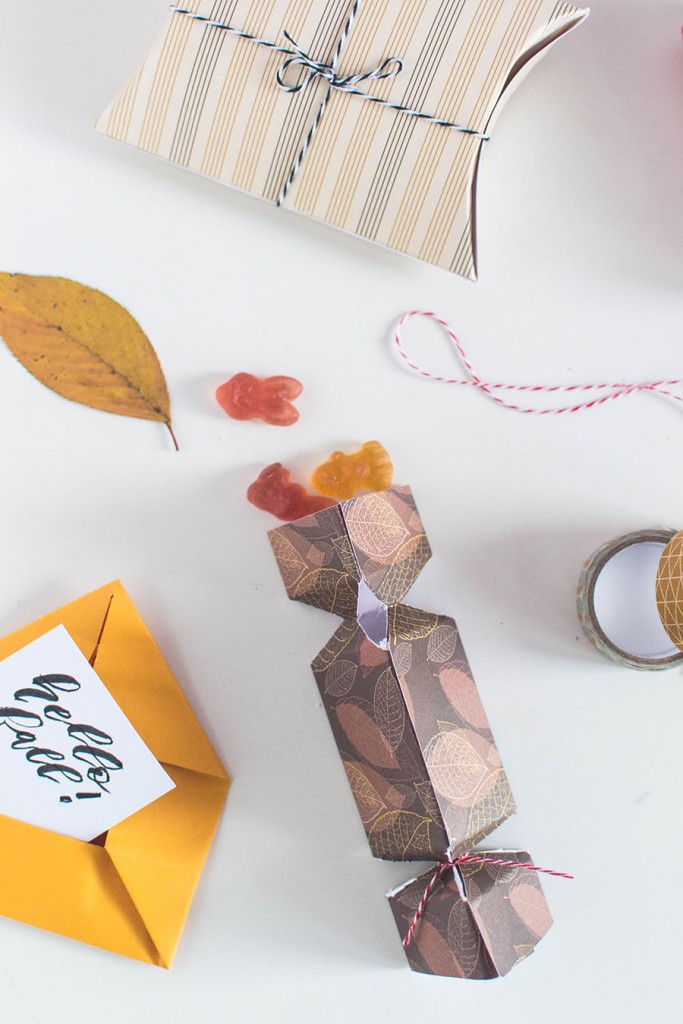
In this photo there are leaves, twine, gummy bears, and washi tape! There are lots of fun things that style and dress up the focus of this DIY (which is foldable autumn boxes). These props show a sense of scale and style too. You can see cute ways to dress up these foldable boxes as well as the types of things you can put inside.
This is a great way to fill in the inspiration and it makes photos fun to look at.
Style your Hero Shots
Every photo session should have a “hero shot.” That’s the photo that shows a stylized super cute version of the finished DIY. The hero shot should set the mood and help you put yourself in the scene. If it’s jewelry, showing someone wearing the product is great.
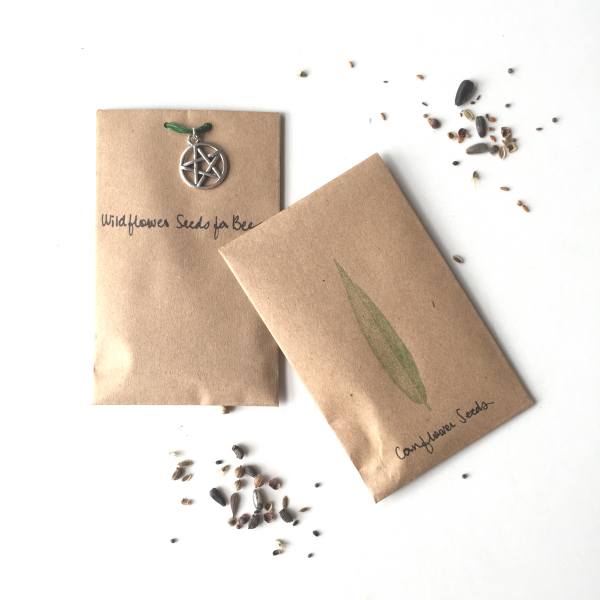
In the photo above, the DIY is making adorable Spring Seed Packets. The finished DIY would just look like paper envelopes without the tiny burst of seeds that surround it. This photo is a clear example of how you can understand the DIY better by adding a little flair.
I’m also a huge fan of adding stones, twigs, miniature pieces of art, sprinkles, confetti, and basically anything that’s cute to photos to dress them up.
Need more photography help for blogging and products. Check out this blog here. And you can find all of our Business Blogs here.
Let’s Stay Friends!
Insta | Pinterest | Enews | TikTok


