DIY
How to Make a Cedar & Flower Christmas Wreath
Historically speaking, I am not a wreath person.
I feel like growing up wreaths always looked tacky or fake, so I never really thought to include them in my Christmas decor.
Then, a couple years ago, some cool things started happening with wreaths. A lot of modern flower shops came along and they started doing different things that I had never seen before.
I started seeing a lot of asymmetrical wreaths which I really love. I feel like the asymmetric styling makes wreaths look a lot more modern and gives the wreath a lot more visual interest. A lot of the asymmetrical wreaths are done on a very plain, thin gold hoop which gives it a more scandinavian kind of vibe too.
I also started seeing florists playing with a mix of fresh and dried greenery in their wreaths as well, which I really loved.
Wreath Inspiration
Given the above revelations in wreath design, I started to appreciate wreaths in a new way. I went on for a couple years seeing these nice wreaths. However, it didn’t hit me until the other day that I absolutely had to make one for myself. A friend showed me a photo of a wreath that she saw the other day and I immediately got a gut feeling. I said to myself “I must make a wreath like that.”
I love that this style of wreath is more along the lines of what I like to call “Christmas Lite”. It’s clearly more wintery than other wreaths, but it doesn’t work with a classic red and green colour scheme. Instead of screaming CHRISTMAS at you, it gently whispers Christmas from a cozy spot in front of the fire with a mug of bourbon laced eggnog.
For my colour palette, I also wanted my wreath to be more in line with my decor, so I chose something more muted. I wanted this wreath to be more holiday than Christmas so I chose a cool colour scheme with some green tones, white and cooler greys. I chose to add a little bit of contrast with a warmer dried wheat and of course the gold hoop to hang it all on.
Then began the wild goose chase of searching for my supplies around Calgary.
Wreath Supplies – Greenery
I’ve lived in Calgary for about 6 months now. A lot of things are different than in Toronto, so I’ve had to adjust. One of the major differences that I’ve found is that there is NO WHERE to buy fresh flowers. Don’t get me wrong, you can buy pre made bouquets, but it’s very hard to find bunches of individual flowers so that you can make your own bouquet. Knowing this, I was worried about having to try to find greenery to make the wreaths, but it wasn’t too difficult. Apparently in Calgary, the grocery stores are your best bet for getting flowers. So, naturally, I went to 4 different ones to try to scope out some supplies for my wreath.
I wanted my wreath to be really fresh and green, so I started with a base of cedar branches. I love the smell that these branches have! The branches are also slightly droopy so they hang really well on the wreath. The shape of the needles is also in a perfect long triangle shape that I love! Cedar is also great because I was able to break off some of the smaller pieces and use them to fill in any gaps in the wreath without having to use and entire branch. To me, the cedar feels holiday inspired, but not as Christmas focused as pine.
In addition to the cedar, I used some dried silver dollar eucalyptus. I only had dried eucalyptus, but it would be great to use this fresh and allow it to dry on the wreath. It would be more pliable that way and you wouldn’t have to worry about breakage. Mine is very dry so there were a few pieces that broke off, but overall I just had to be a little bit more careful. 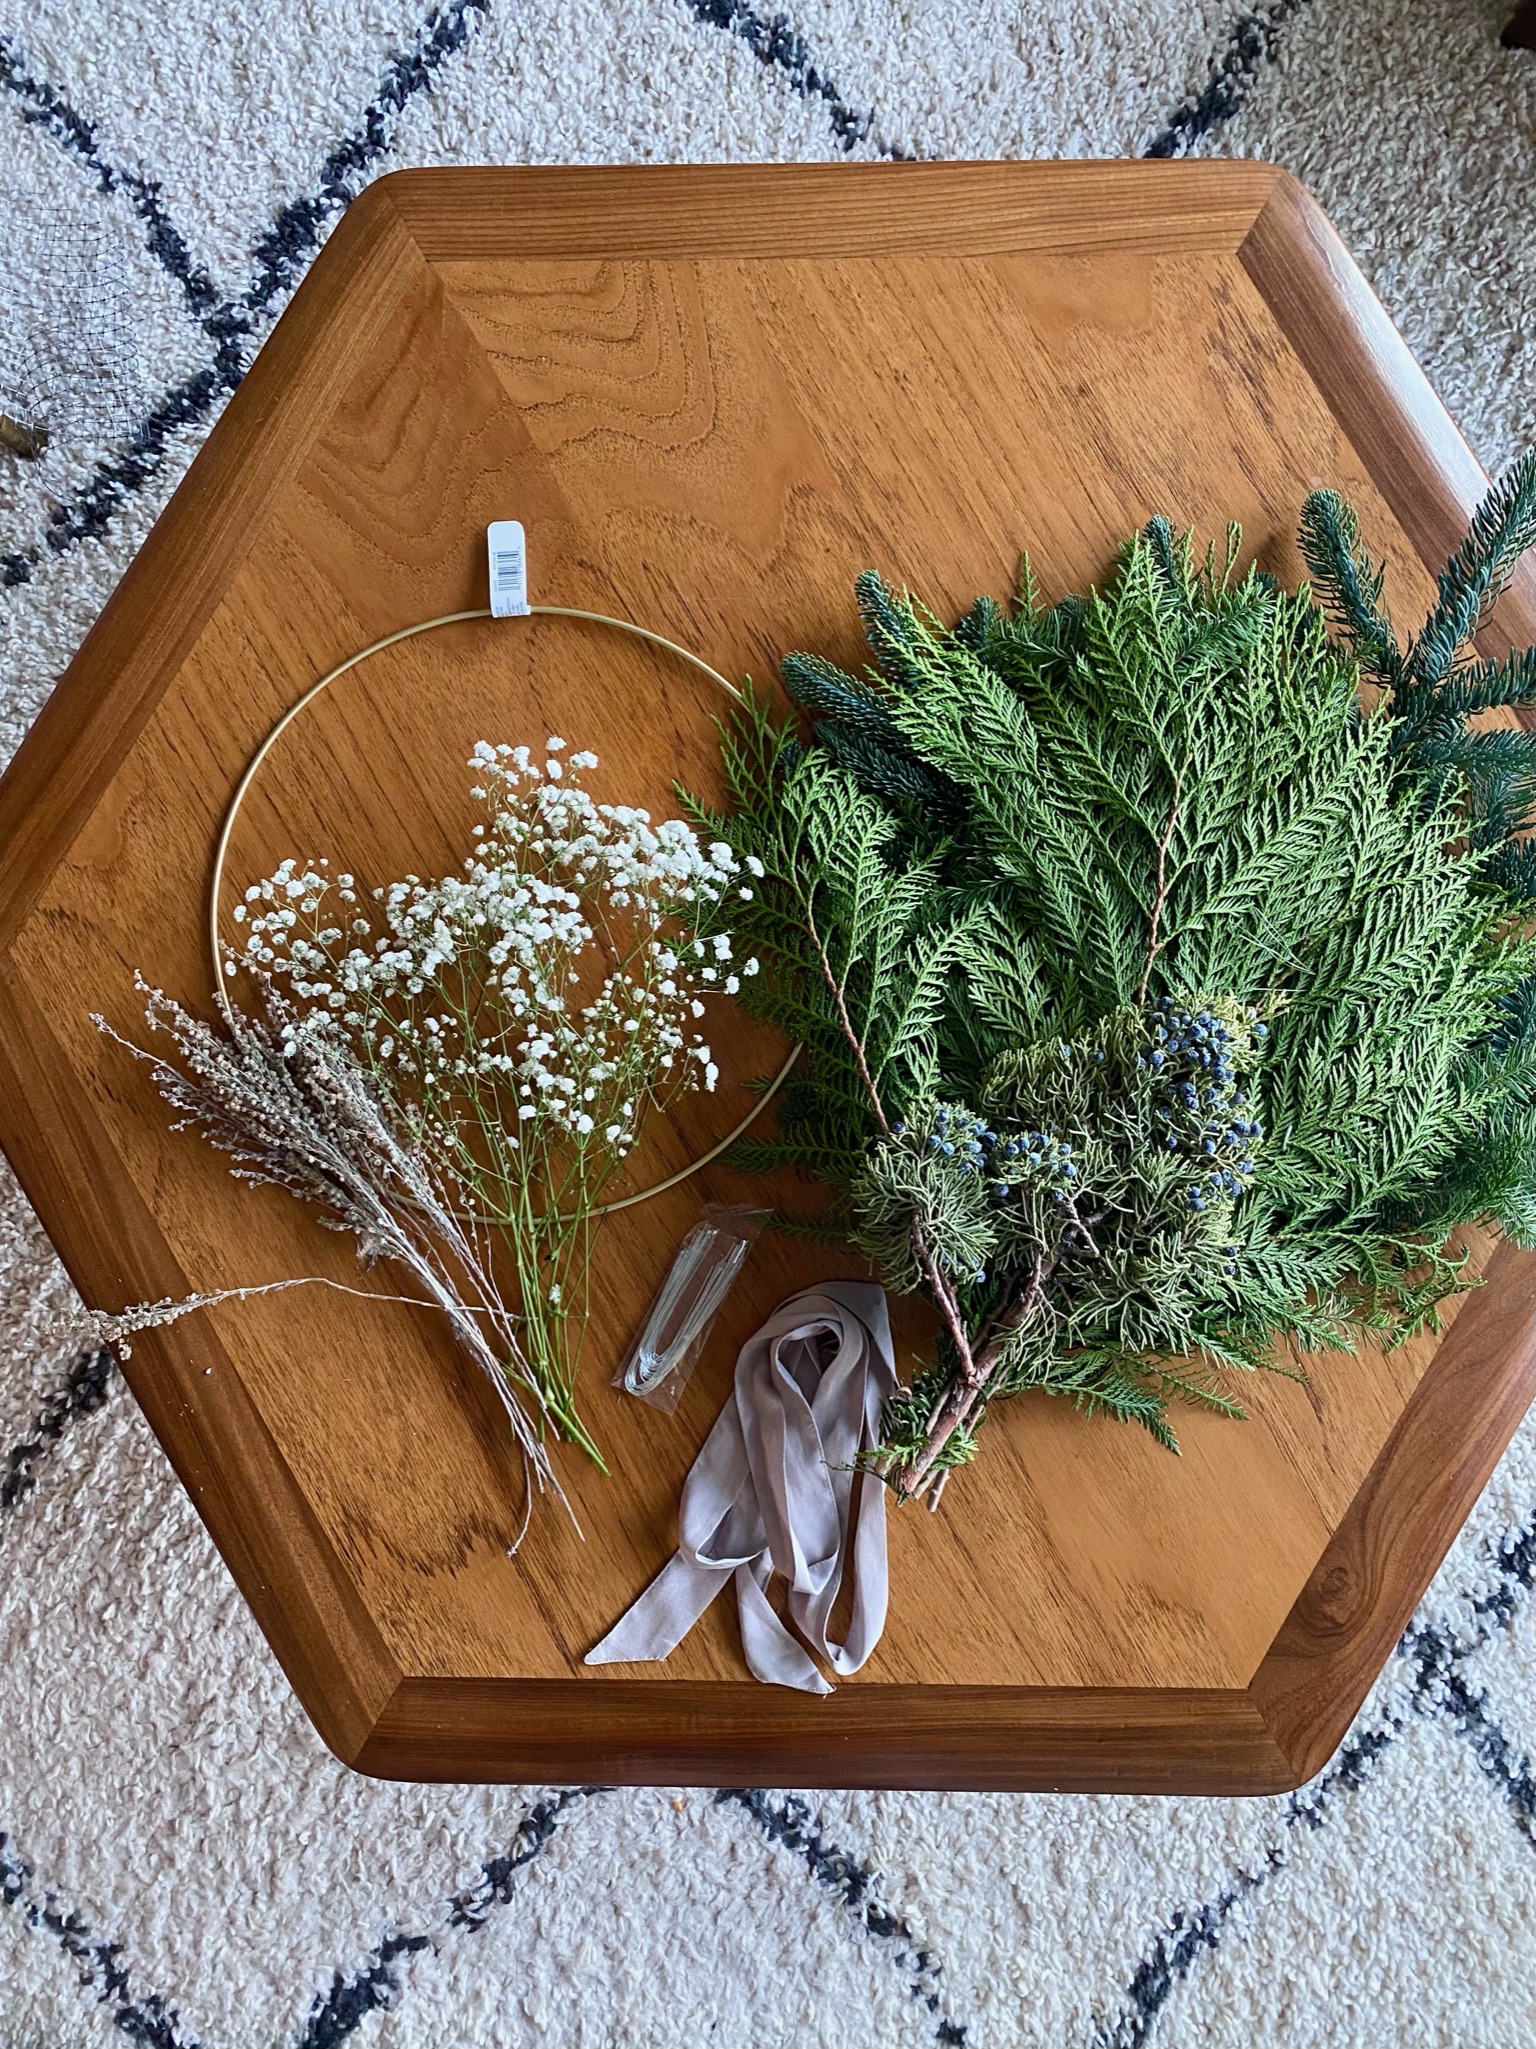
Wreath Supplies – Florals & Grasses
Once I had decided on my base for my wreath, I took a look at all the dried flowers I have around my apartment. There are quite a lot to choose from! I’ve been collecting flowers since I moved here so thankfully I had most of my supplies already. If you don’t have dried flowers you can always buy dried ones from wherever you buy flowers. A lot of shops carry them now alongside fresh ones. Fresh is also an option but make sure you research the flower you want to use first! See if it will dry well or if it will turn into a gooey mess.
So for my florals, I had to buy baby’s breath because I didn’t have that. Baby’s breath is a flower that dries really well and is really light in appearance like freshly fallen snow. The perfect choice for a winter wreath if you ask me! I used fresh baby’s breath and will allow it to dry on the wreath.
The other florals that I used were things I had foraged for! I chose to use a pale silvery blue flower that is longer and has a lot of small buds up and down the stem. The longer length of this flower is the perfect contrast to the baby’s breath!
The last type of grass that I used is a little sheath of wheat. I’m not sure what type of grass it actually is, but it looks like a little chevron and is less fluffy than typical wheat.
Wreath Supplies – Extras
For the base of your wreath, you can use anything you want, but to achieve this look you’re going to want a gold hoop. I was planning on finding a large embroidery hoop from the craft store to spray paint gold. However, when I was there I found that they had these amazing gold macrame hoops. Turns out they’re perfect for a wreath base! Plus, the hoop was only $4 so that is a huge win in my books!
For the bow on my wreath I just happened to have a long length of a pale silver ribbon that worked perfectly with my colour palette. Technically, the ribbon is a tie from an old dress that I got rid of, but it works well! If you don’t have an old tie lying around, ribbon would be a great alternative here! If I had to buy some, a velvet ribbon probably would have been my first choice for the texture!
In addition to that I used wire to secure the greenery to the wreath hoop. I was able to twist the wire in place for the most part, but also found a pair of needle nose pliers to be helpful. To finish the wreath and ensure that everything stayed in place, I also used some hot glue.
Modern Cedar and Dried Flower Holiday Wreath DIY
Supplies:
- a 12″ gold macrame hoop (I used this one)
- 2-3 cedar branches
- 5-6 stems of silver dollar eucalyptus
- 5-6 stems of baby’s breath
- 6-8 stems of a longer flower with a small bud similar to the pale silvery blue I’ve used here
- 6-8 stems of a grass or wheat type stem
- floral wire
- hot glue & glue gun
- needle nose pliers
- scissors
- a length of ribbon approx 4′ long
Assembly:
- Decide where you want your bow to sit on your wreath. I want mine off centre, so find the centre point and then made a mark about 4 inches over from that. This is where the bow will go.
- Then, take a large cedar branch and attach it to the frame of your hoop using wire. I attached mine in 3 different places. The end of the cedar branch should slightly overlap where you want the bow to go. For this look, I wanted one side of the wreath to have more greenery than the other.
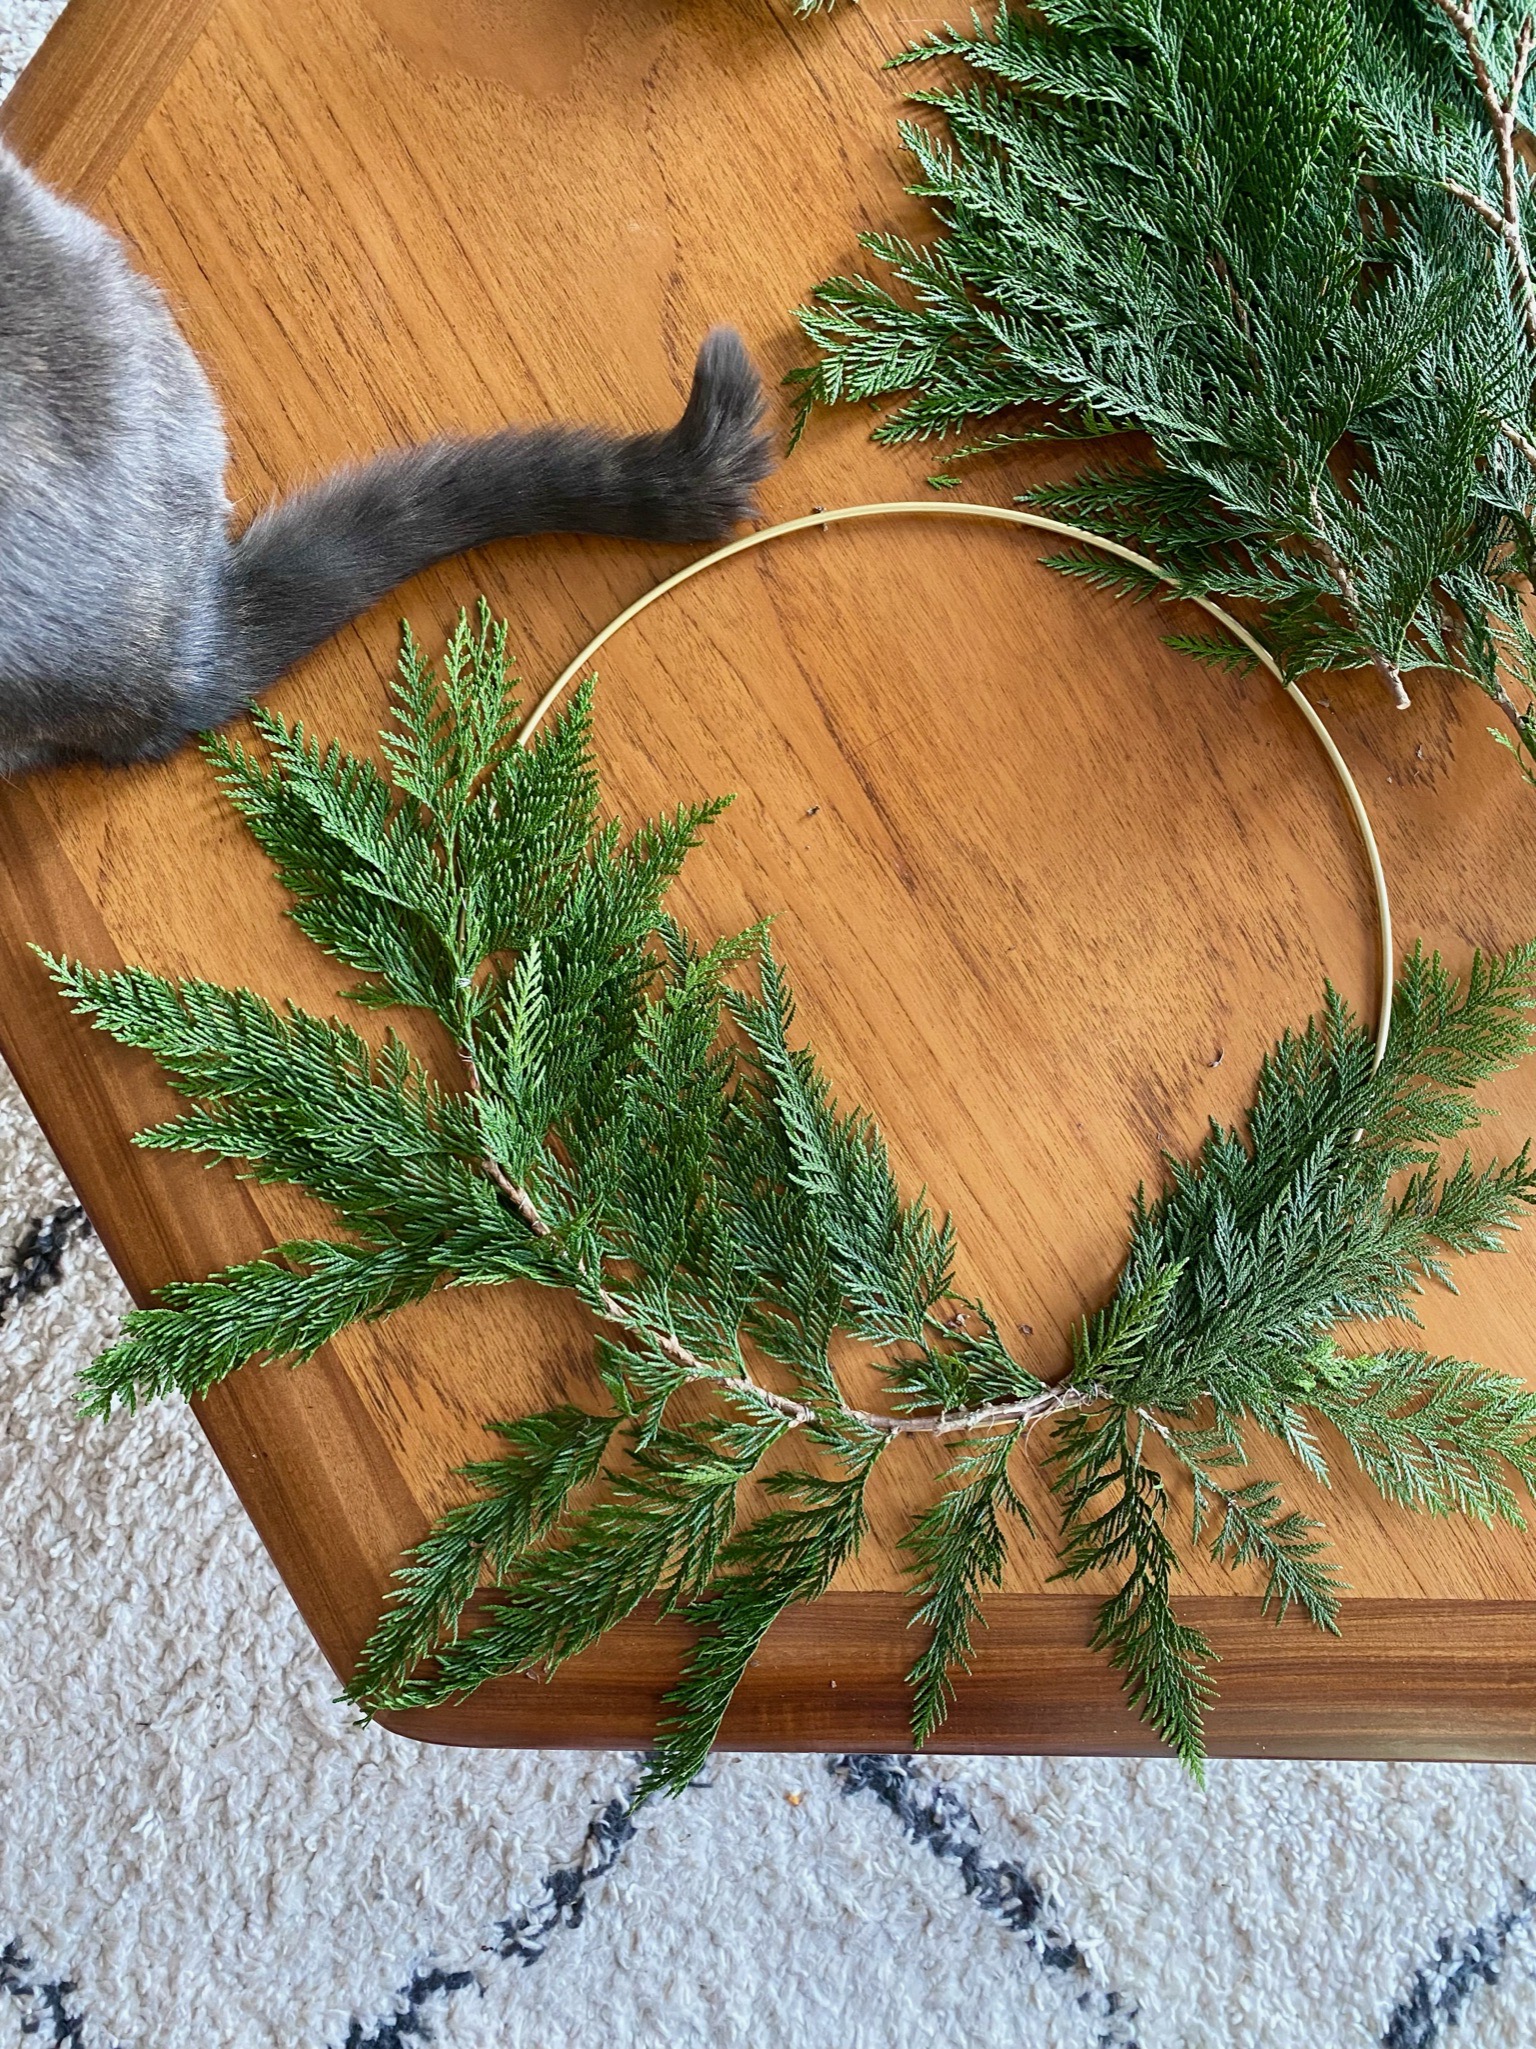
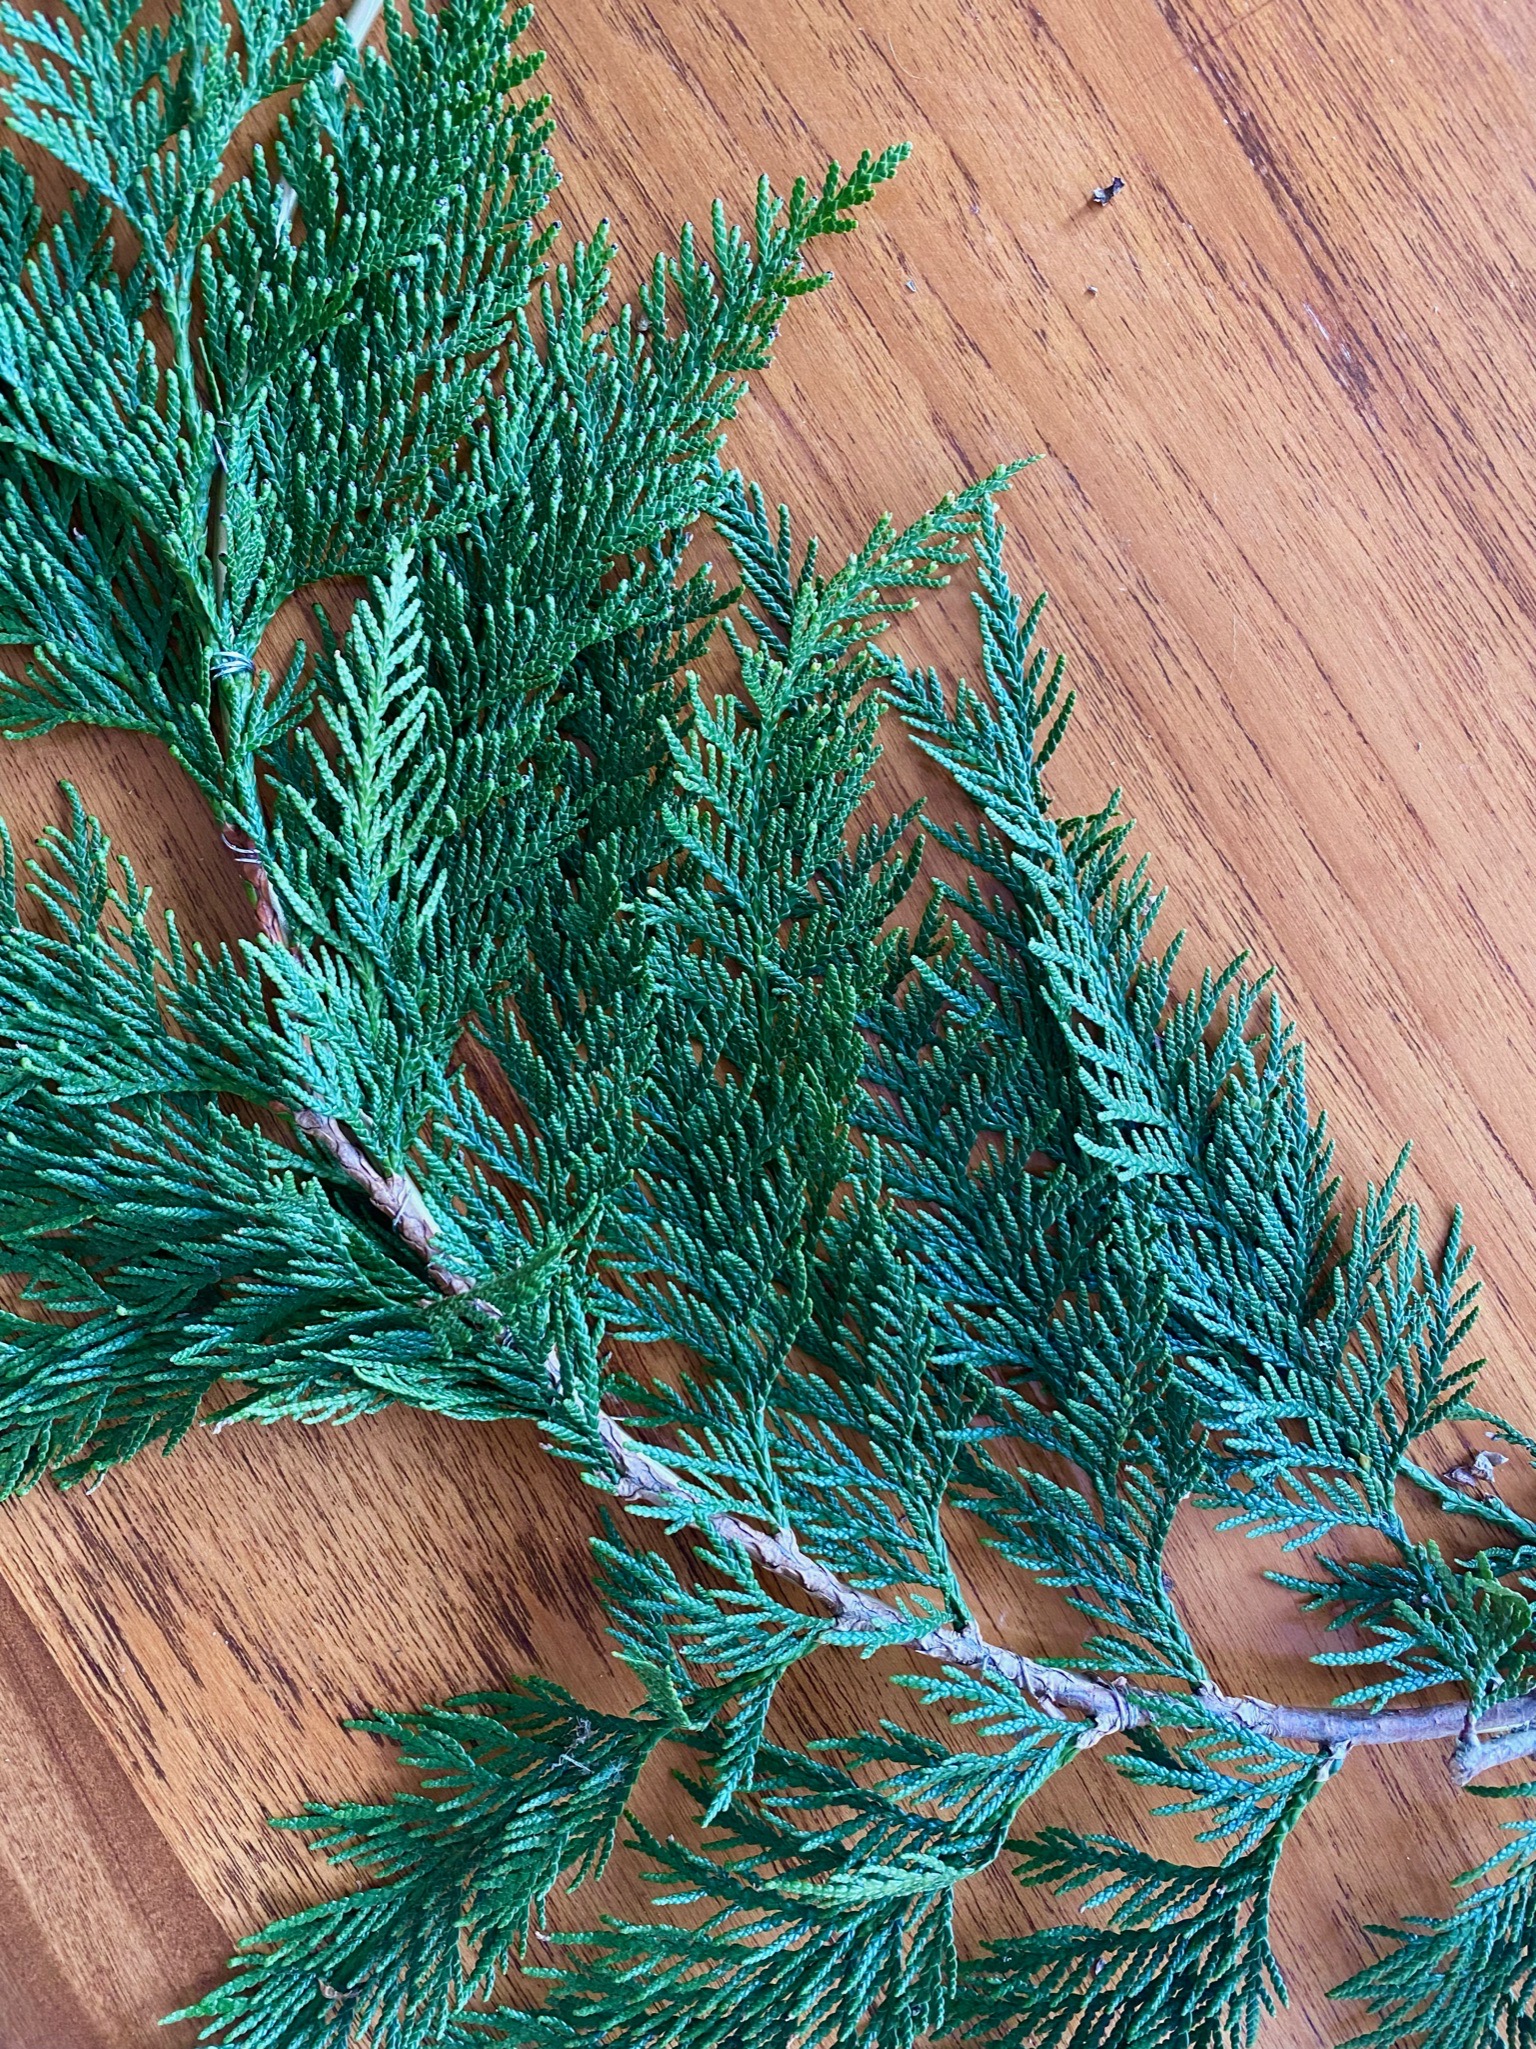
- Take a smaller piece of cedar and attach it to the opposite side of the wreath. Attach it in 2 places with wire. It should also slightly overlap where you want the bow to go.
- Now, we’re just going to start building the wreath from there. After the cedar I added my eucalyptus and would just insert it into any spot that had wire. If needed, I would use the pliers to tighten the wire.
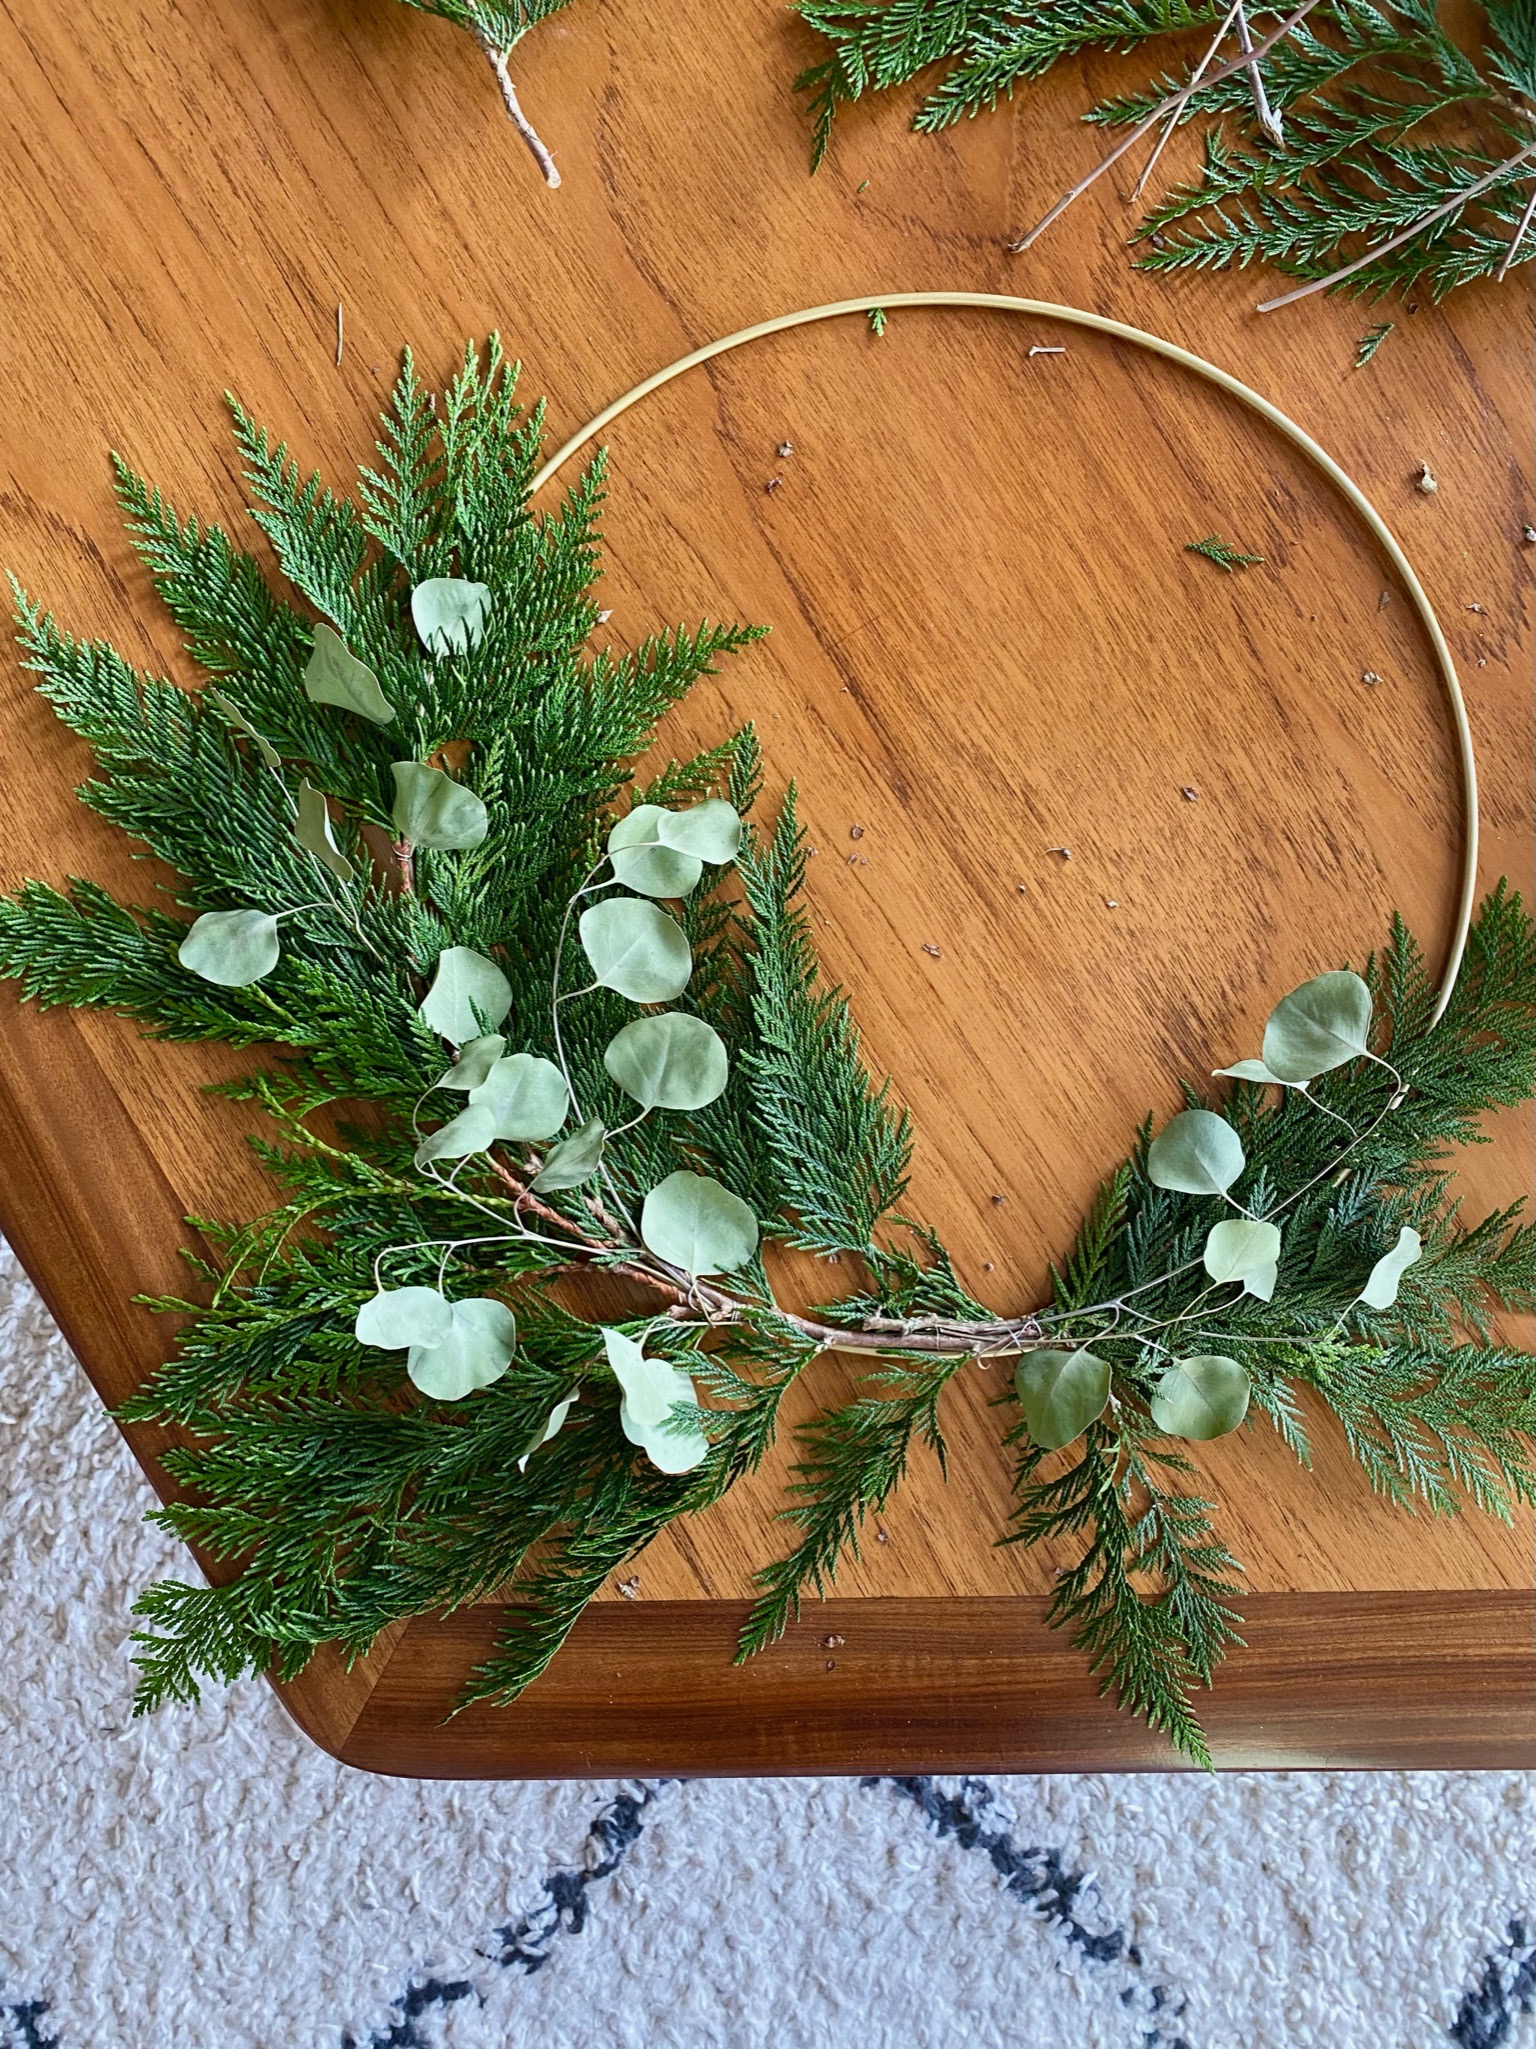
- Once you’re happy with the eucalyptus, move on to the baby’s breath. I tried to make the baby’s breath a little fuller as I was working with fresh and knew that it would shrink once it dried more.

- After you’ve added as much baby’s breath as you want, add in your longer flower with smaller buds. Try to place your flowers evenly spaced out throughout the wreath.
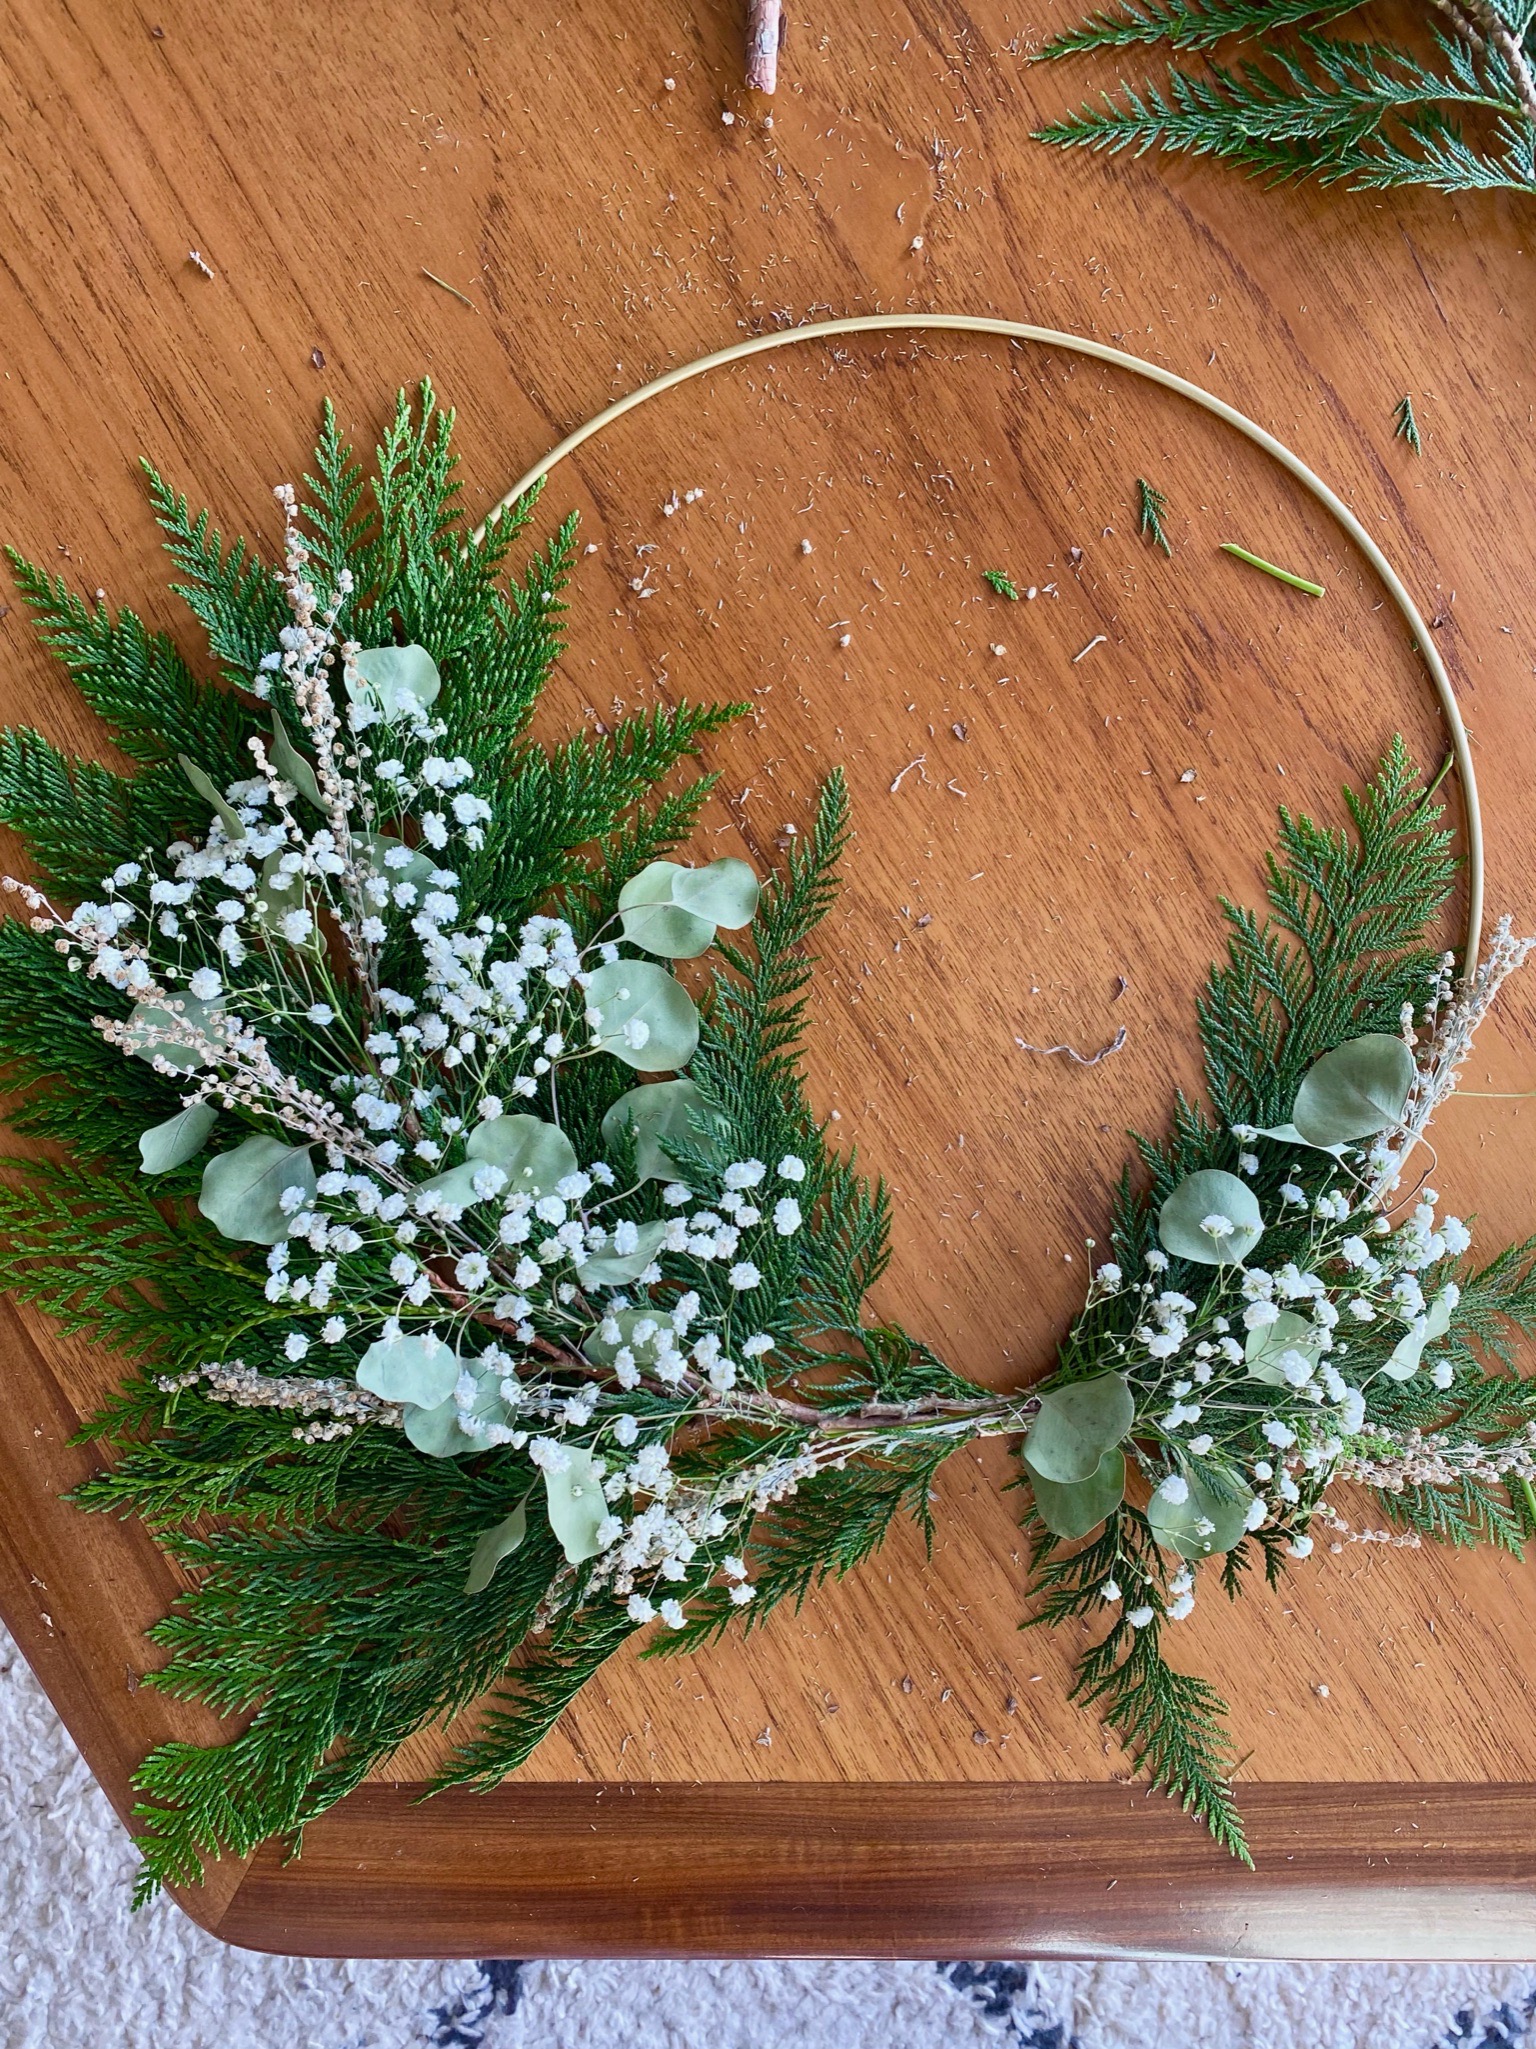
- The last bit of greenery we’re going to add is the grass/wheat. Similar to the above flowers, place them at regular intervals around the wreath.

Finishing:
- Take your ribbon and tie a bow at the spot that you marked. You should be tying over some branches here, but shouldn’t have placed any of your flowers on this spot as it’s just going to get covered up.
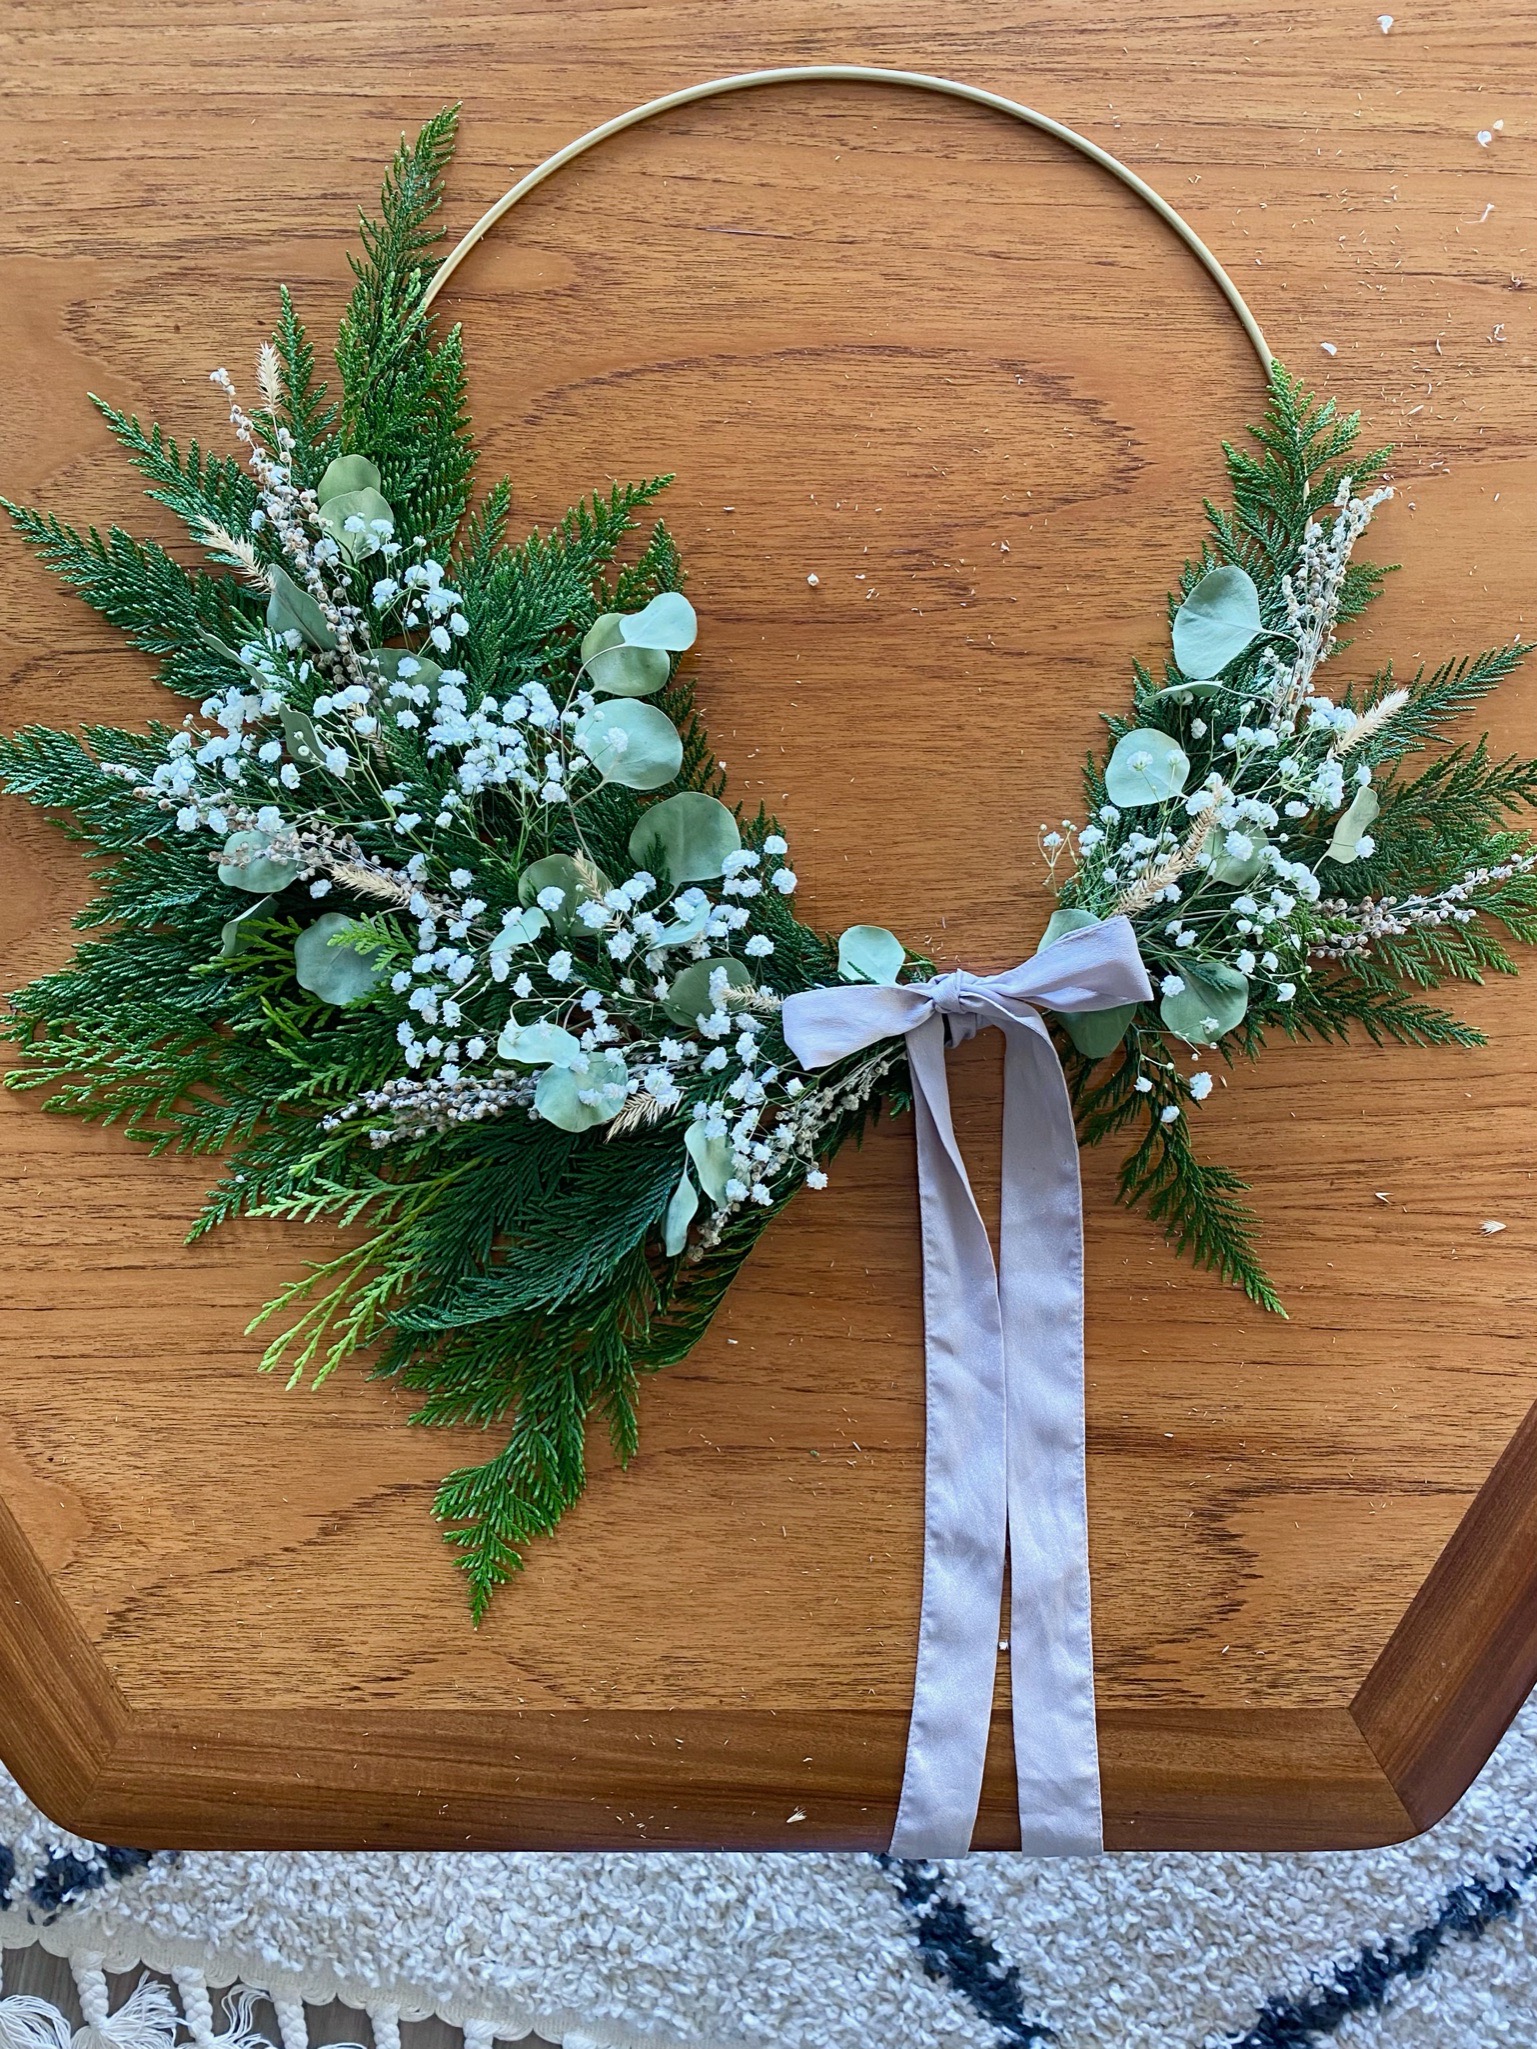
- Take a step back and look at your wreath. If there are any spots where the wire is showing through or if any spots look blank, add some more small bits of cedar in. This also helps the wreath to look more layered. I did this using hot glue. I also used the hot glue to glue the tip of the cedar branches to my hoop so that they stayed in place. This also really helped them to keep the circle shape.
- If you’re happy with your wreath it’s time to hang it! I did have to wrap some wire around my wreath where I wanted it to sit on the hook because it kept sitting lopsided.

There are a ton of different combinations that you could make for this style of wreath, so try to use whatever you can find! The cedar that I bought came with juniper berries as well, so that could be a great addition. Pampas grass could also be fun if you wanted to do a warmer colour palette. Or, if you can’t decide, you can check out one of our wreath kits. There are different styles to choose from, but I especially love this paper wreath kit! The colours and use of eucalyptus is very similar to my wreath!

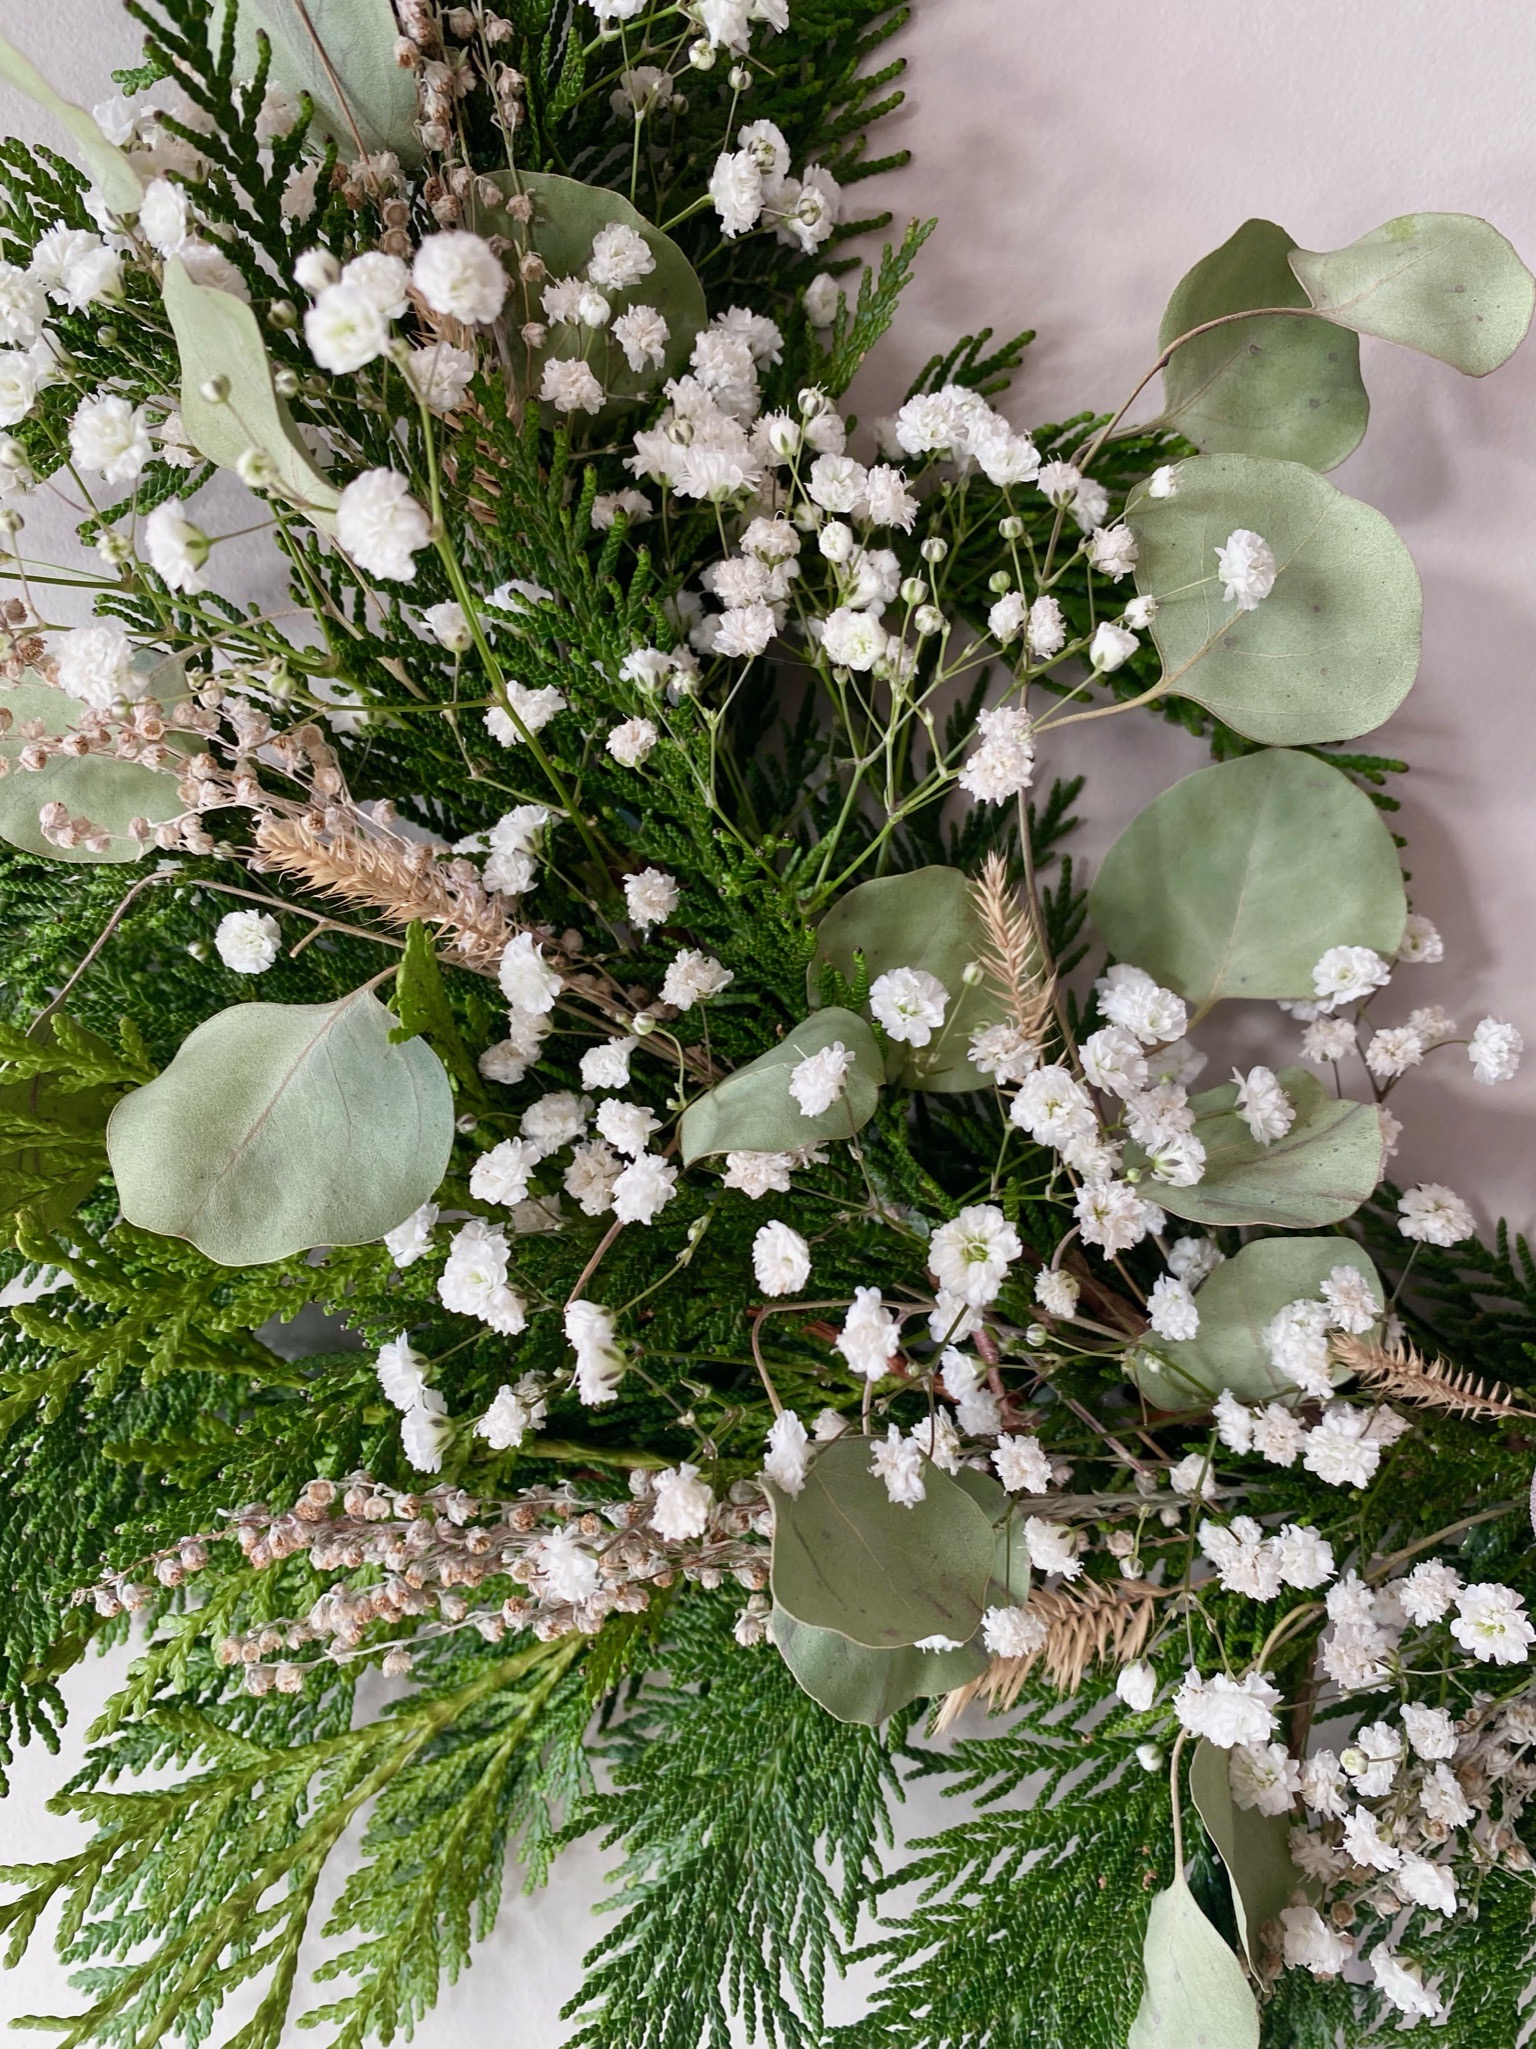
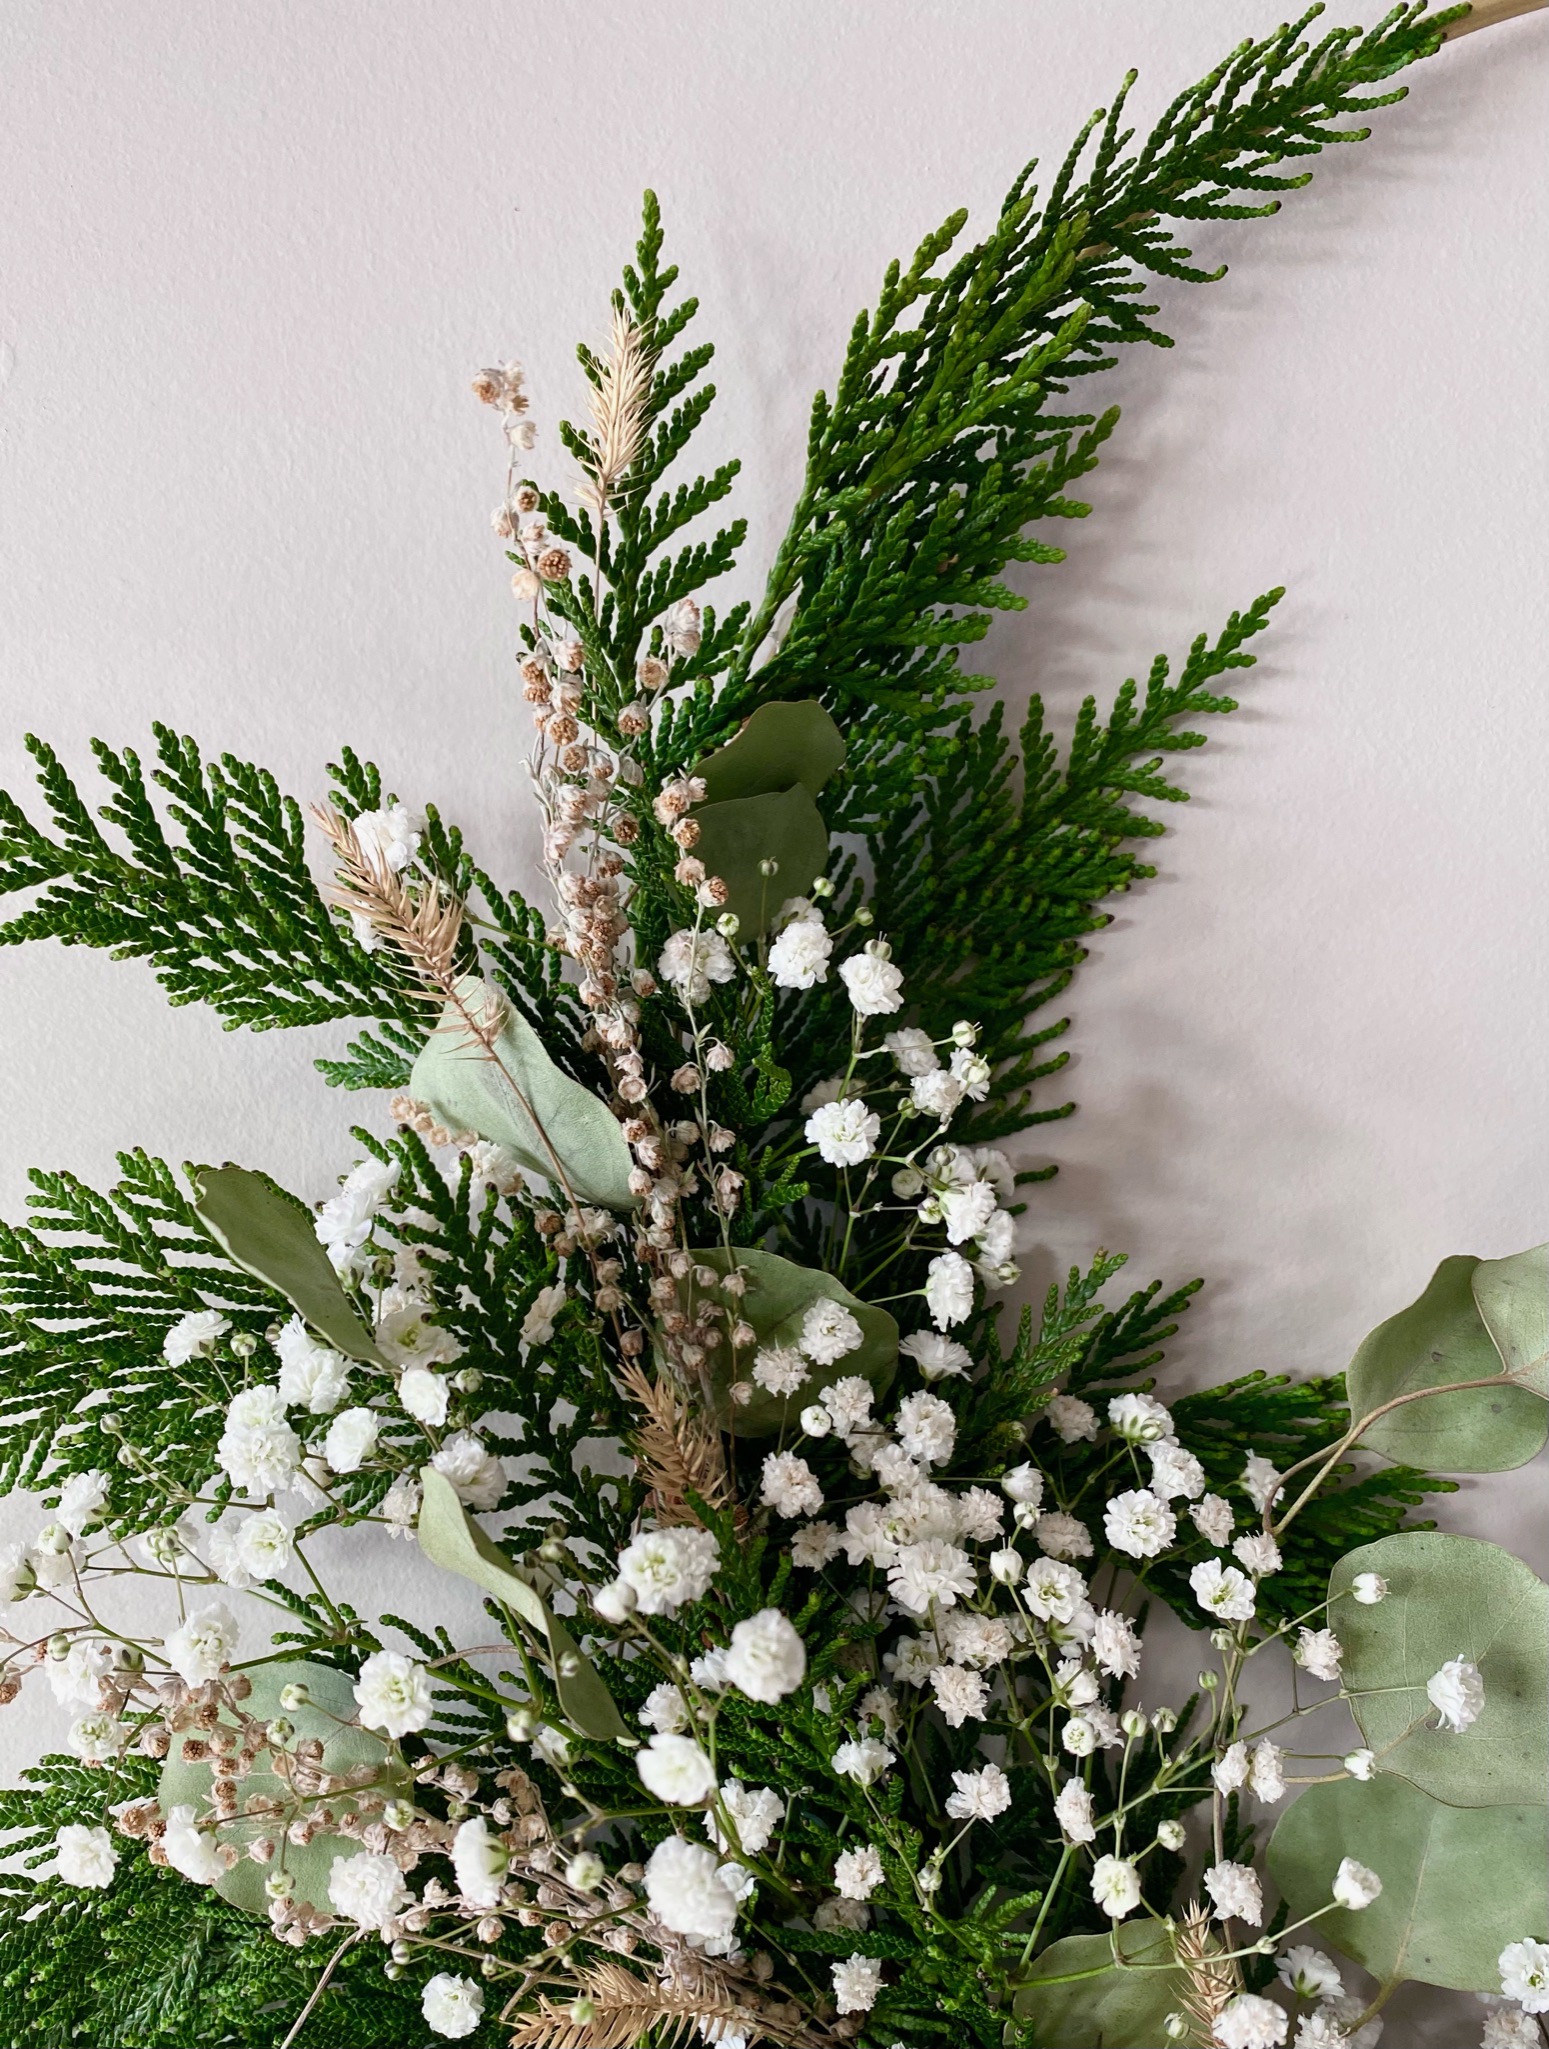
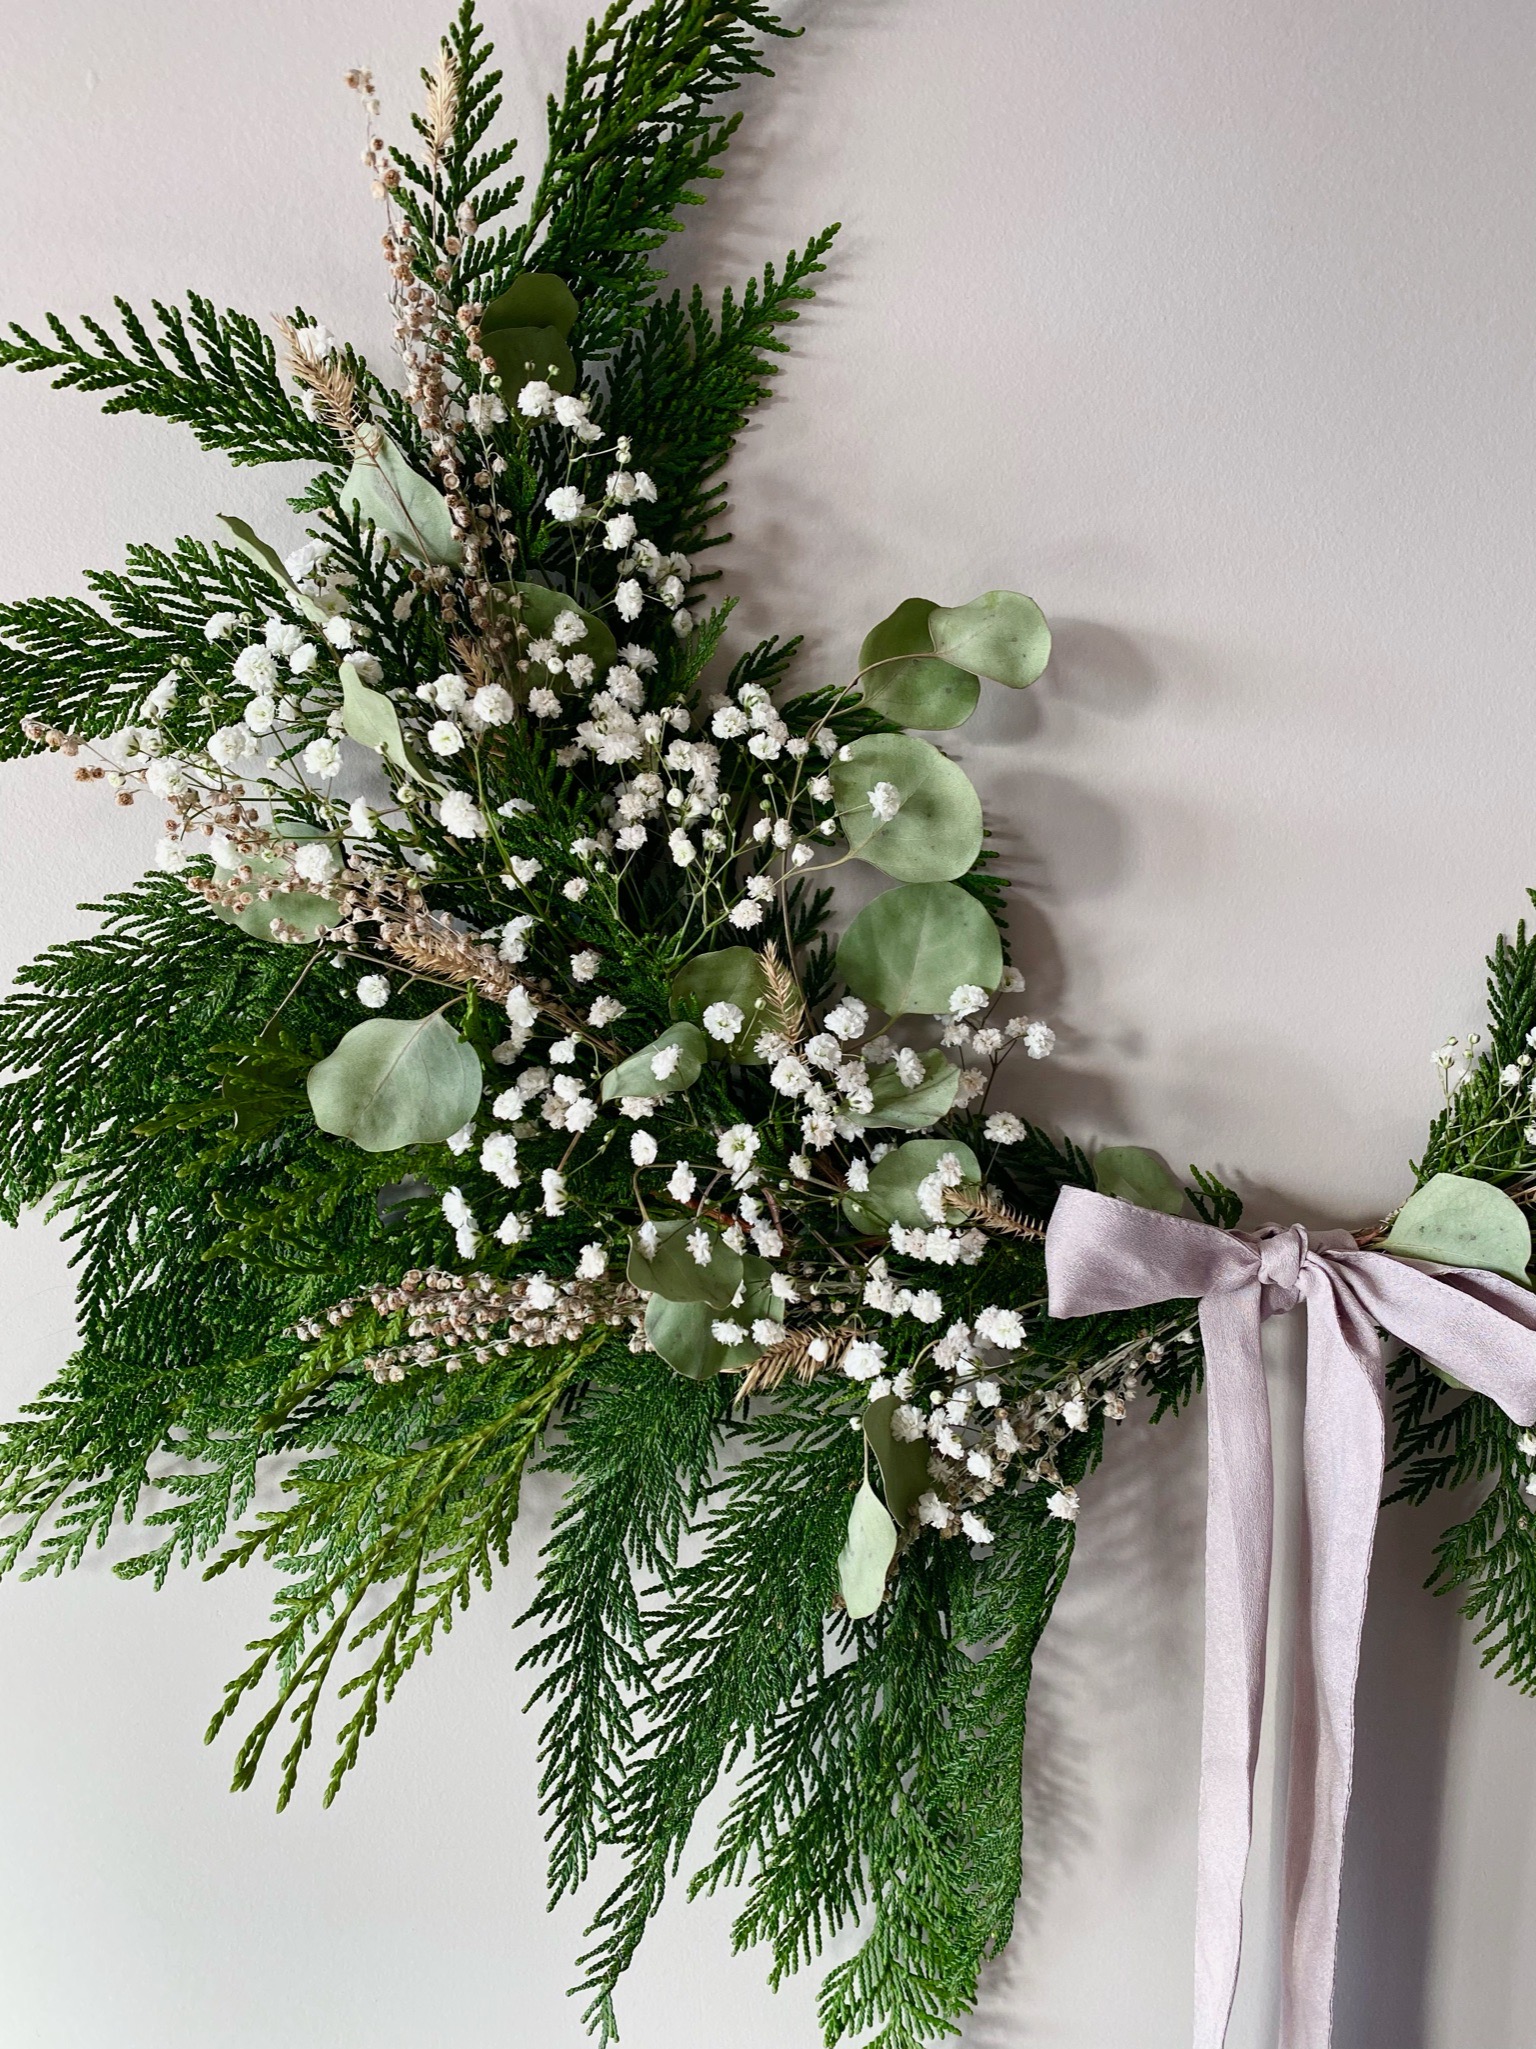 I’d love to know if you’d make a wreath like this!
You can also use dried fruit and flowers to decorate your Christmas tree, like I did last year!
- Tess
Let’s Stay Friends!
Insta | Pinterest | Enews | TikTok


