DIY
DIY Gold Leaf Christmas Ornaments
As someone who regularly frequents craft stores of all kinds, I constantly come across items or supplies that I’d love to do something with. I just don’t always have an idea for them yet.
On one such occasion a couple years ago, I found myself browsing De Serres and came across these perfect small glass ornaments that were just begging to be customized. It was after Christmas, so they were on sale. I knew I had to buy them just so that I could figure out a way to make them beautiful.
Fast forward almost a year and I became obsessed with gold leaf and I knew that the gold shimmer would be perfect to use for the ornament DIY I wanted to do. Given that I also love a teal blue colour, I decided that I would paint them a pale teal colour to go with the gold and my DIY Gold Leaf Ornaments were born.
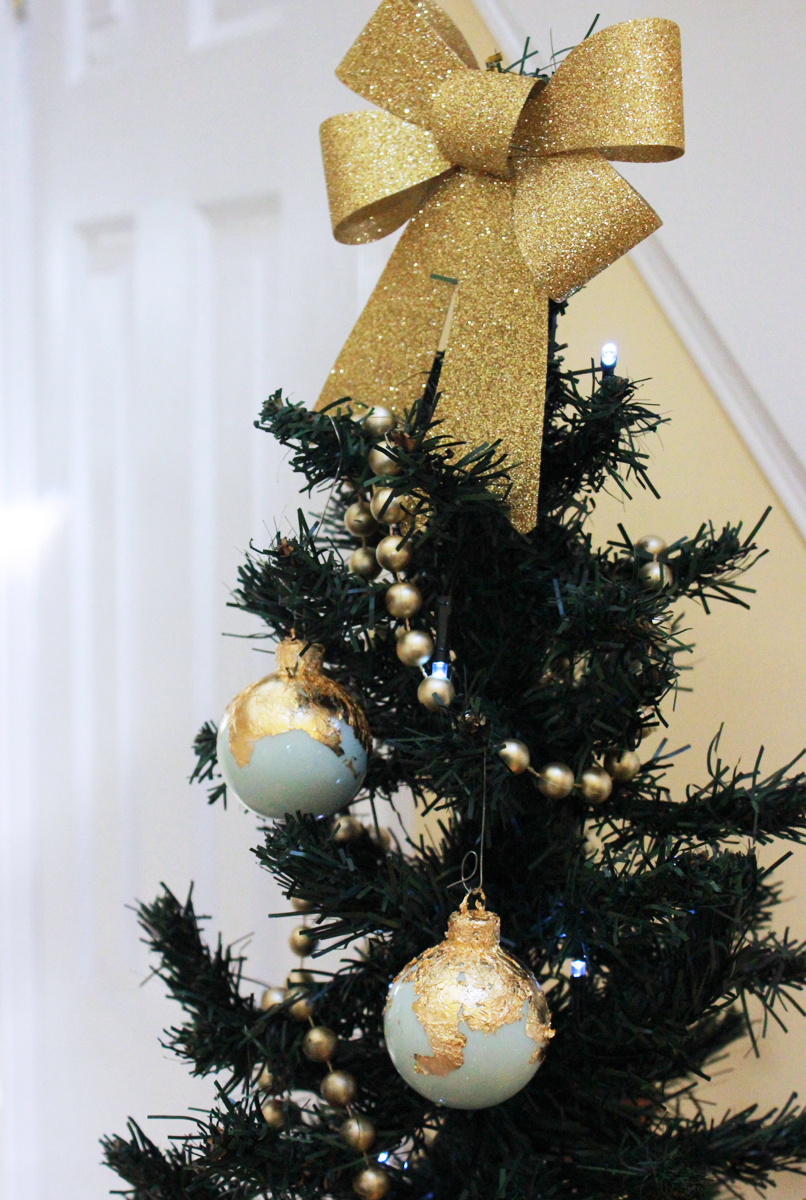
They were actually super simple to do and I love the way the gold leaf gives these very new ornaments a kind of antique look. It also just makes them shine like crazy when any light bounces off of them!
You could customize these ornaments to your own tree by changing up the colour of paint that you pour into the ornaments – or you could change up the colour of the leaf that you use. Silver and rose gold are also available! I actually had a hard time choosing between gold and rose gold because they’re both so gorgeous!
If you feel like your tree needs a DIY touch, here’s how you can make these DIY Gold Leaf Ornaments:
DIY Gold Leaf Ornaments
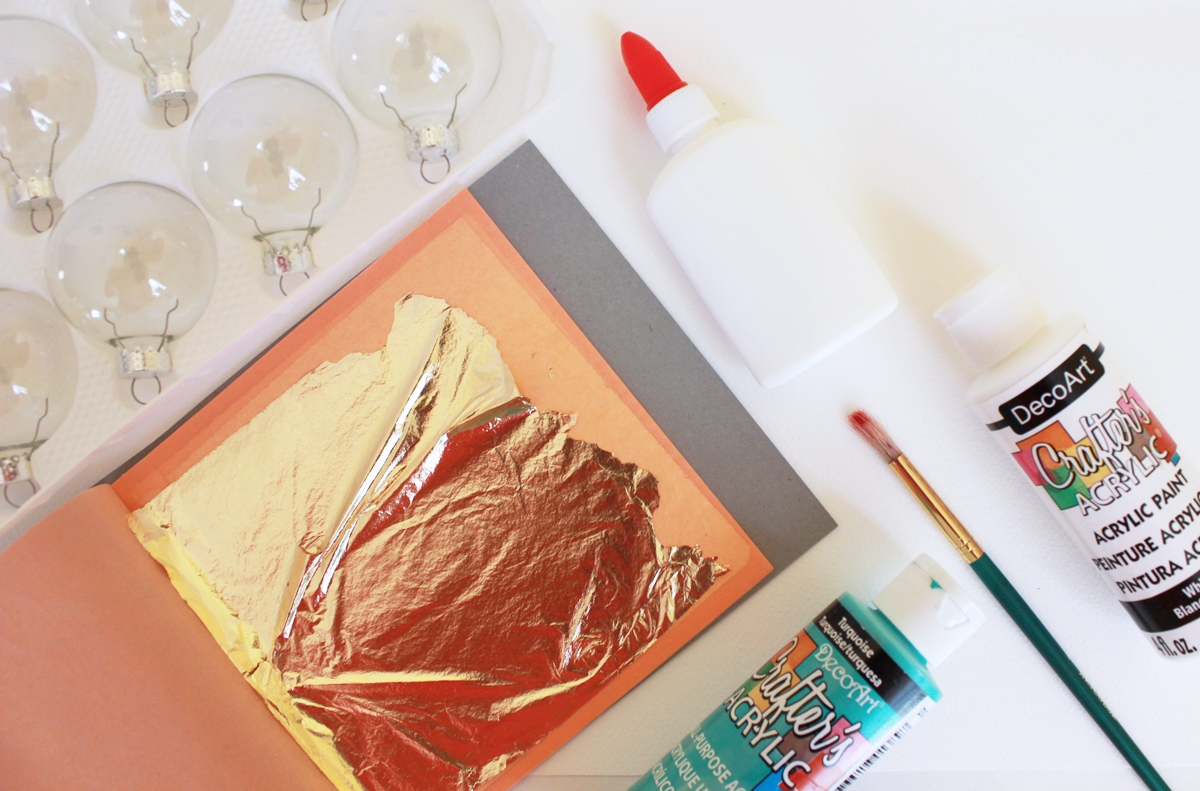
Supplies:
– 10-12 plain glass balls about 1.5″ in diameter with removable tops
– a bottle of acrylic paint (or any number of colours depending on what you want to do)
– about 6-8 sheets of gold leaf
– 2 paintbrushes (one for glue and one for pressing on the gold leaf)
– white glue
Instructions:
- Remove the metal tops from your ornaments (often a springy mental piece) and set them all aside
- Fill each ornament with about 1-2 tablespoons of paint. You could do all the ornaments in one colour like I did or play around and do an ombre look with one shade or even do multiple colours. It’s really up to you and the colours that you like to decorate with for Christmas!
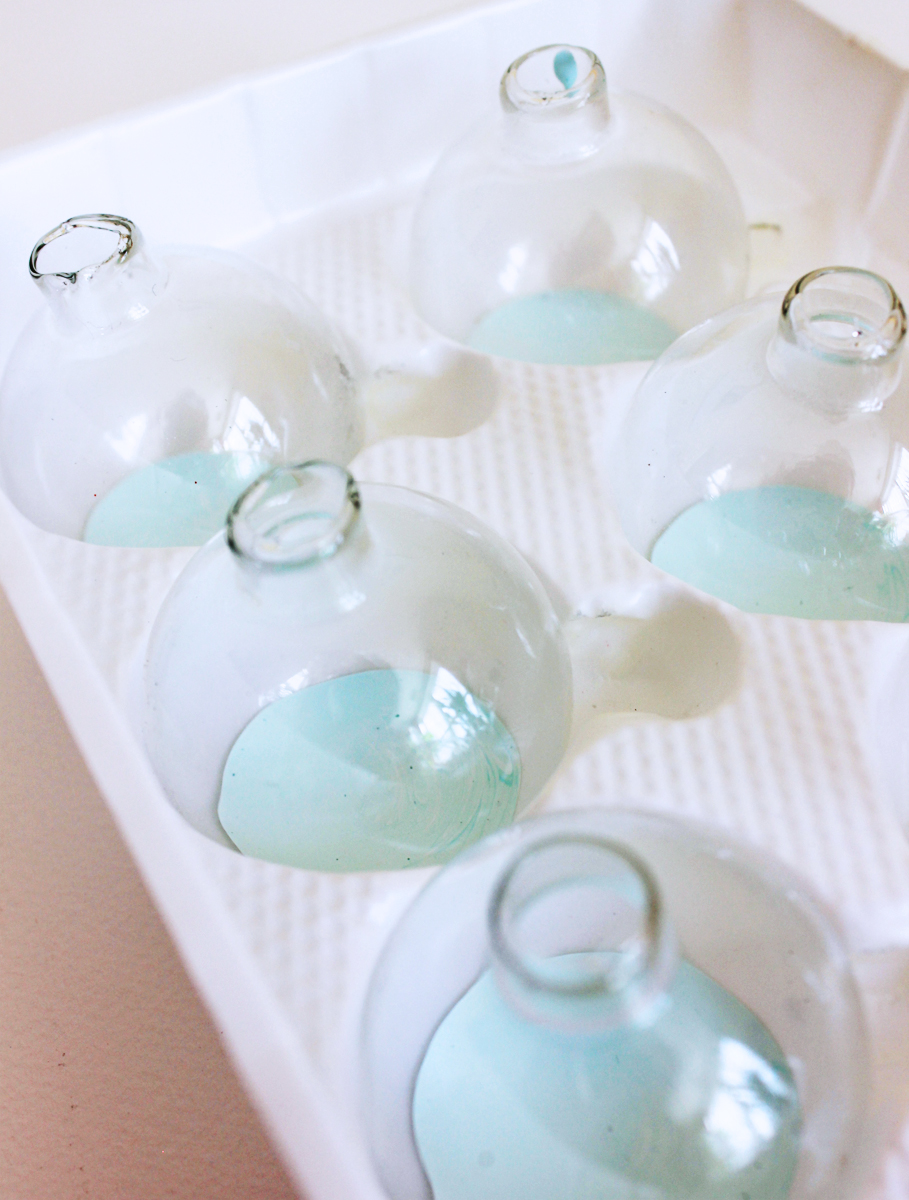
- Once all your balls are filled with paint, slowly swirl the paint around in each ball so that it covers the entire inside of the ball, right up to the top so that everything is coated with paint
- At this point, I let mine dry for about 2-3 hours so that there was no chance that any paint would spill out
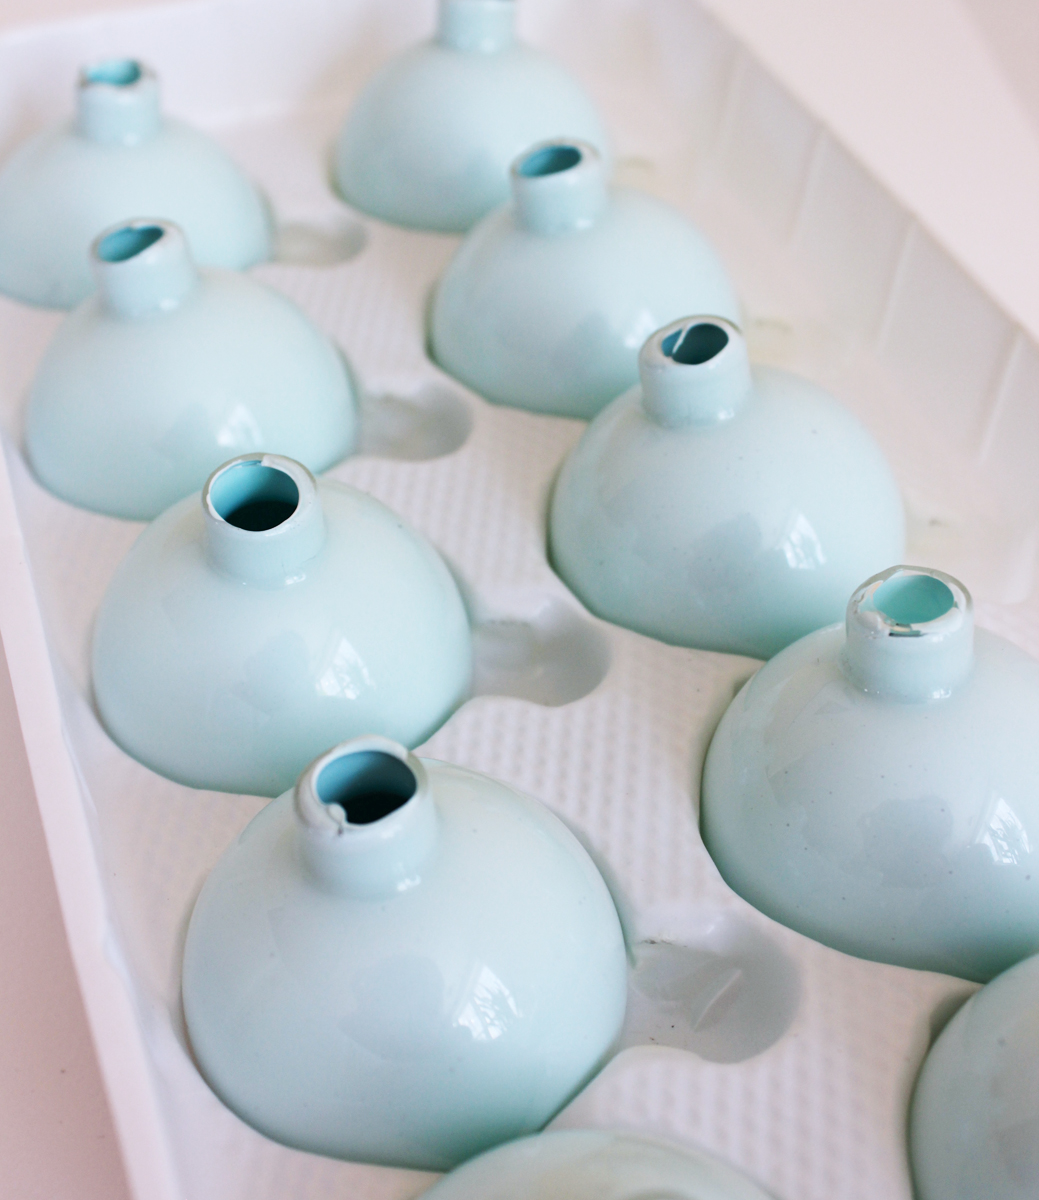
- Once dry, it’s time for the fun part of painting on the gold leaf!
- Put all the metal tops back on and working one at a time, place a small blob of glue on the top of the metal and start painting glue down the sides of the metal top and just start to paint glue onto the glass. You don’t want to paint too much glue on at once as it will start to dry, so just work in small sections at a time.

- When you’ve painted your glue on, gently take a small piece of gold leaf and drape it over the top of the ornament. With your DRY paintbrush, gently tap the gold leaf down into the glue to adhere it to the glass.
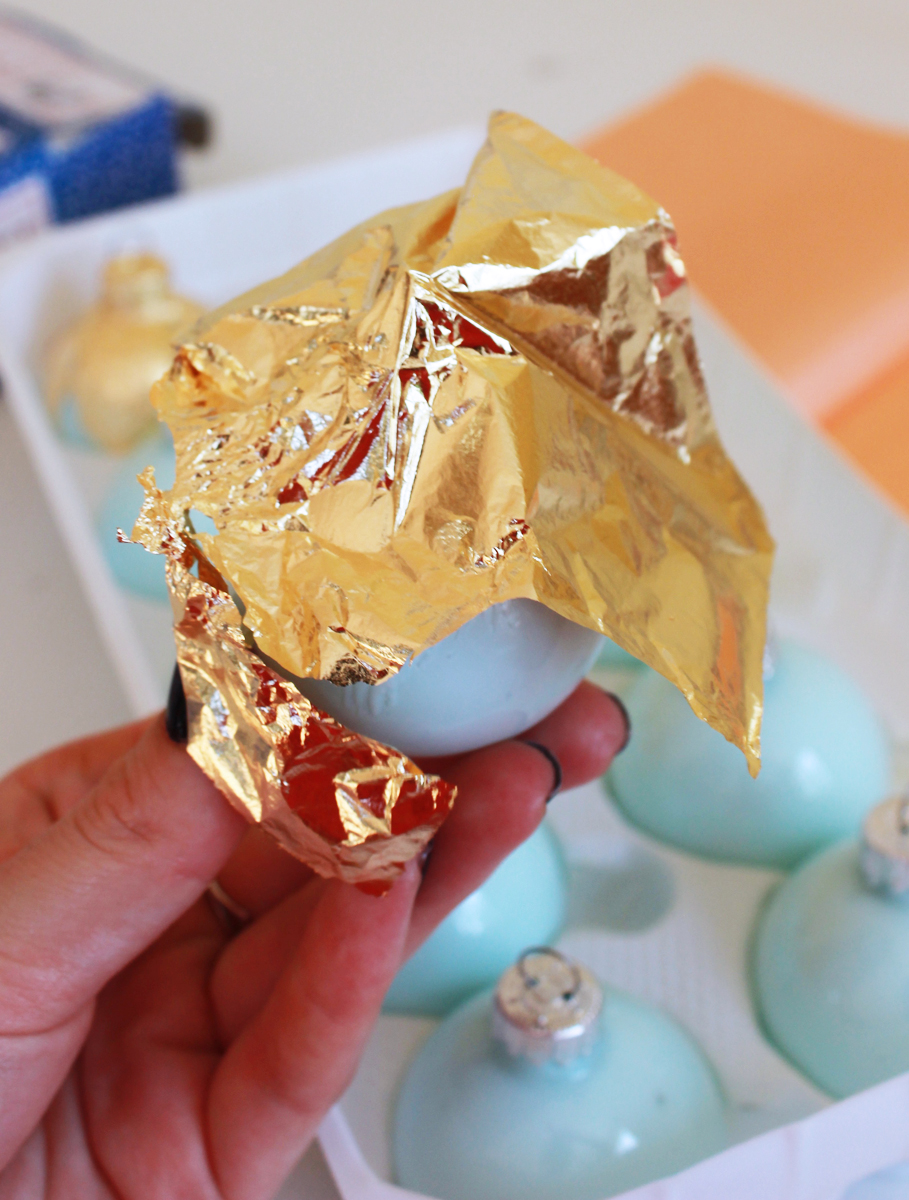
- Keep applying small bits of glue and pieces of gold leaf over top until you’ve got your ornament about half covered.
- Repeat for all your remaining ornaments, trying to vary the placement of the gold leaf so that they’re all slightly different. I also like to leave a couple cracks in the gold leaf so that you can see the paint through them. I love the antique look it gives these ornaments!
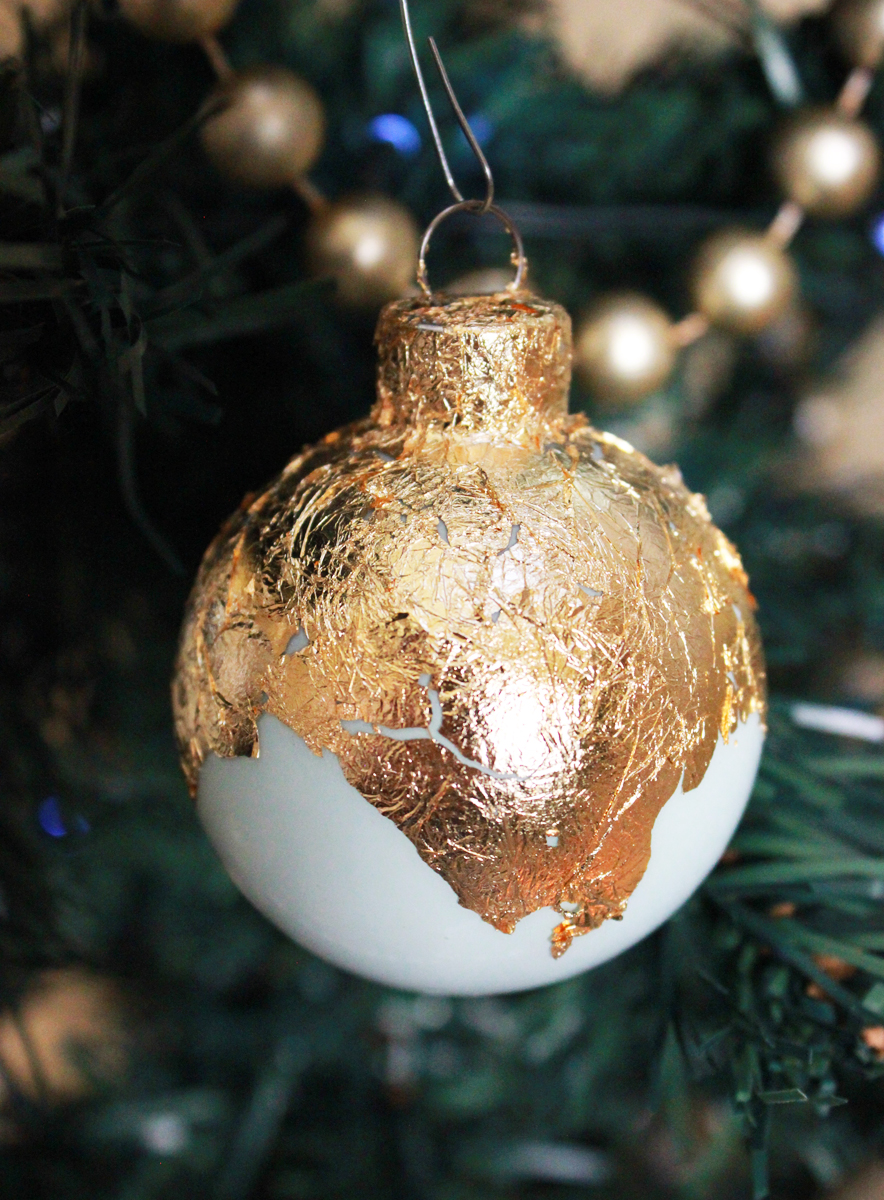
- I’d then wait about 2 hours for the glue to fully dry so that the gold leaf doesn’t move around at all.
- Once they’re dry, they’re ready to hang!
The way the light hits the gold leaf is so pretty and adds the perfect amount of extra sparkle to your tree.

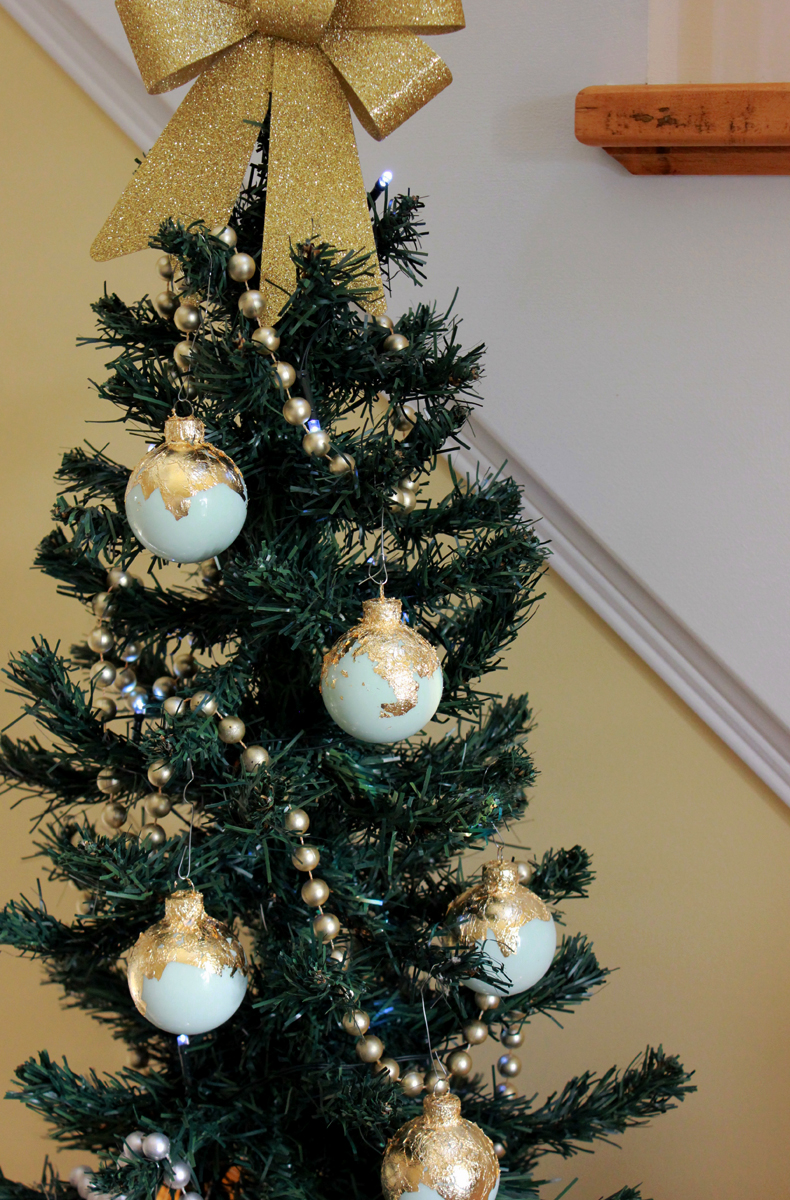

These would also be gorgeous with silver or rose gold leaf – pick whichever suits your decor best!
I’ve always had a soft spot for super small ornaments, so if you could find teeny tiny ones for this DIY it would be so cute.
Hope you love this DIY and make some to add sparkle to your tree!
XOXO, Tess
Let’s Stay Friends!
Insta | Pinterest | Enews | TikTok


