Craft in Style Subscription Instructions, DIY, Gardening
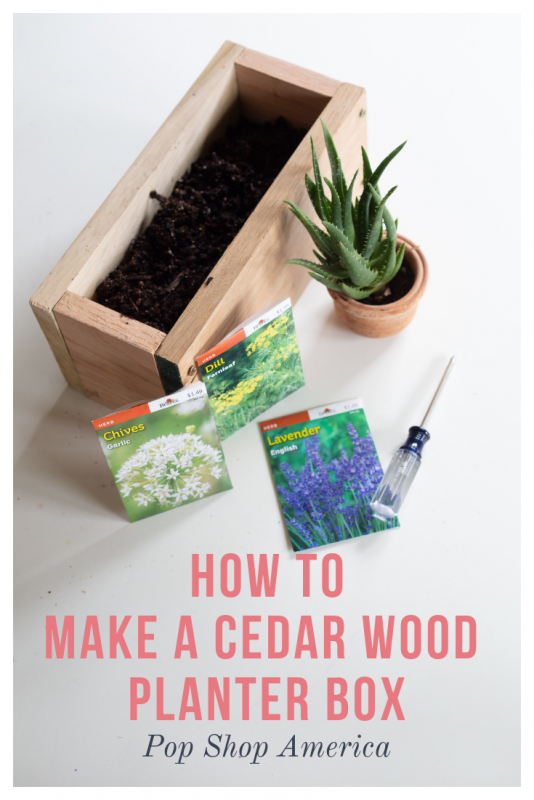
How to Make a Cedar Wood Planter Box
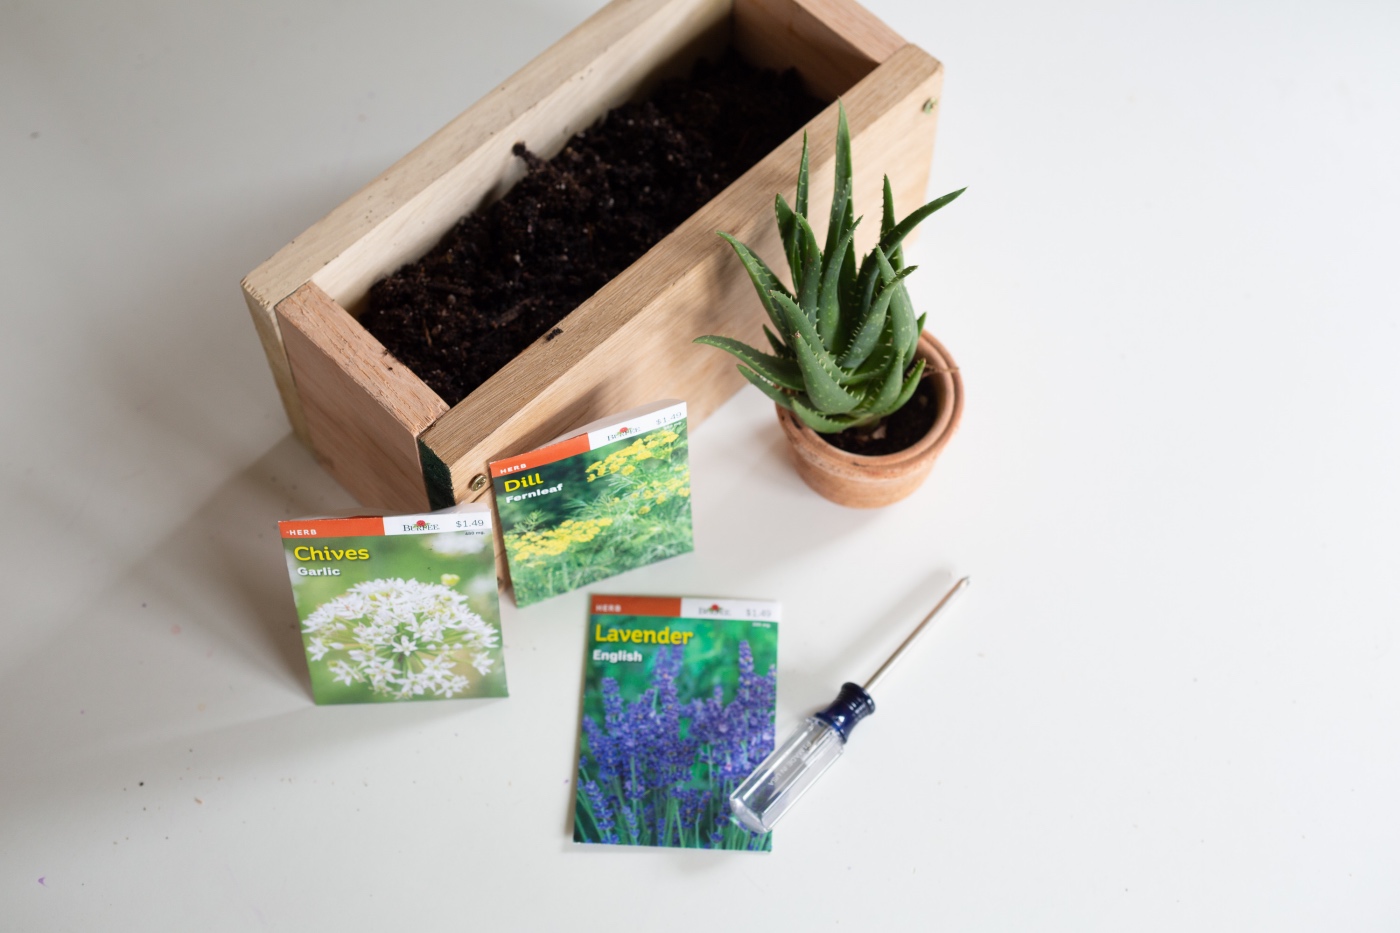
Bloom where you are planted! If you love having plants around the house then this DIY is a must. This was part of our April 2019 Craft in Style Subscription Box. That’s our monthly kit full of craft supplies in which you can make multiple projects that all fit together. Am I allowed to have a favorite kit? Because this could be it! You can buy this Cedar Planter Box and Herb Garden Starter Kit as a standalone craft kit now!
To make this Cedar Wood Planter Box follow this tutorial! It’s perfect for indoors and outdoors. And it’s perfect for a window sill. We’re using it with lovely kitchen herbs but you could use it for flowers, succulents or lots of different plants.
So let’s get to making it!
Supplies to Make a Cedar Wood Planter Box
The Herb Garden Starter Kit
-or-
5 Pieces of Cedar Wood
-2 Pieces that are 9.5 x 5 inches
-2 Pieces that are 5 x 3.5 inches
-1 Piece that is 8.5 x 3.5 inches
12 Wood Screws (Mine are 6 x 1.25 inches)
A Phillips Head Screwdriver
Optional: Sand Paper (200 grit)
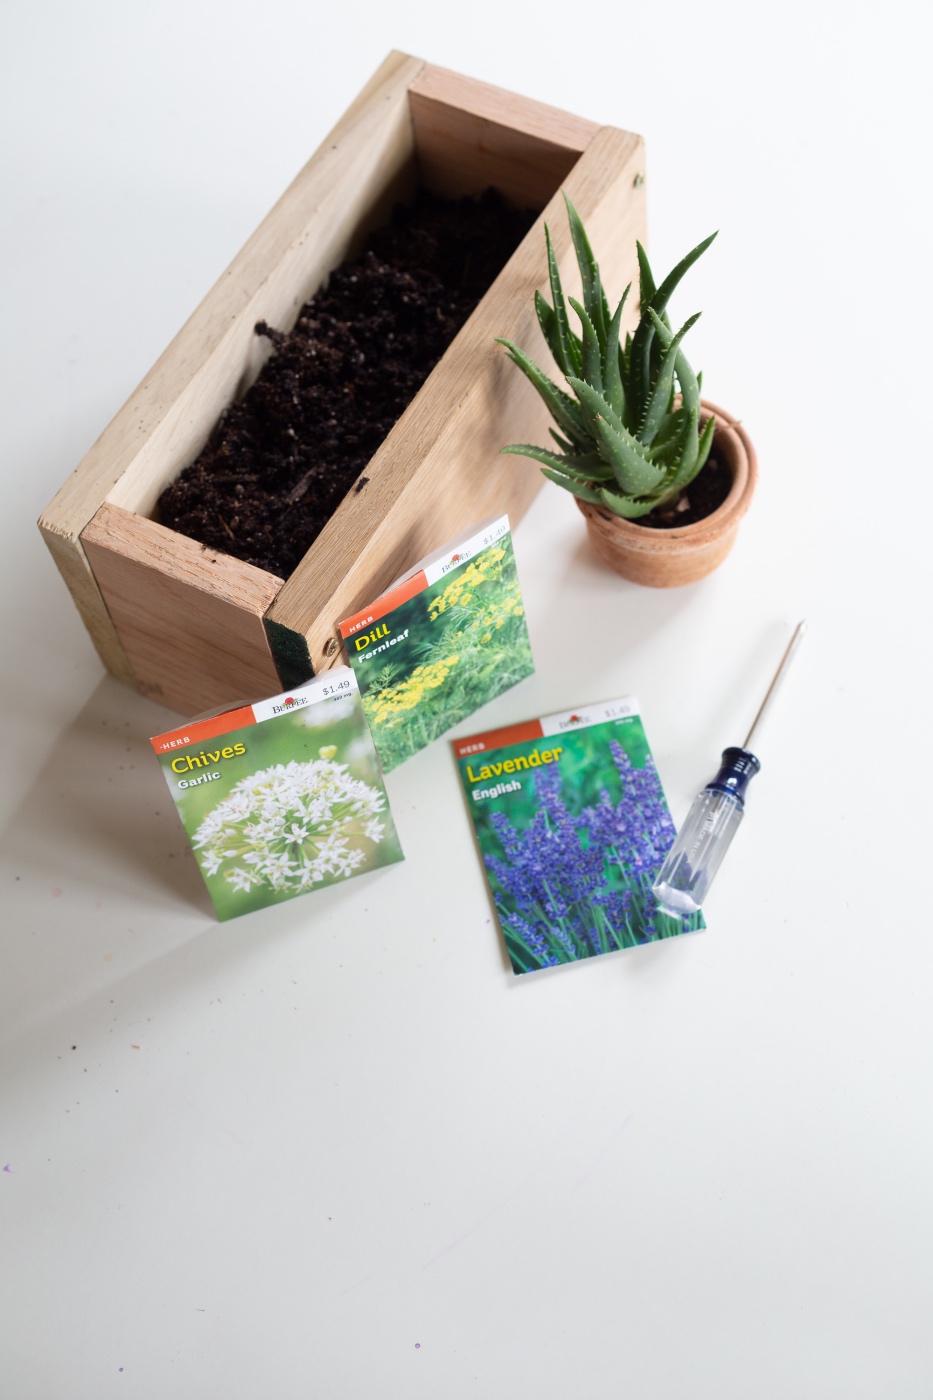
Optional: Seeds such as Herb Seeds or Flower Seeds
& Corresponding Soil
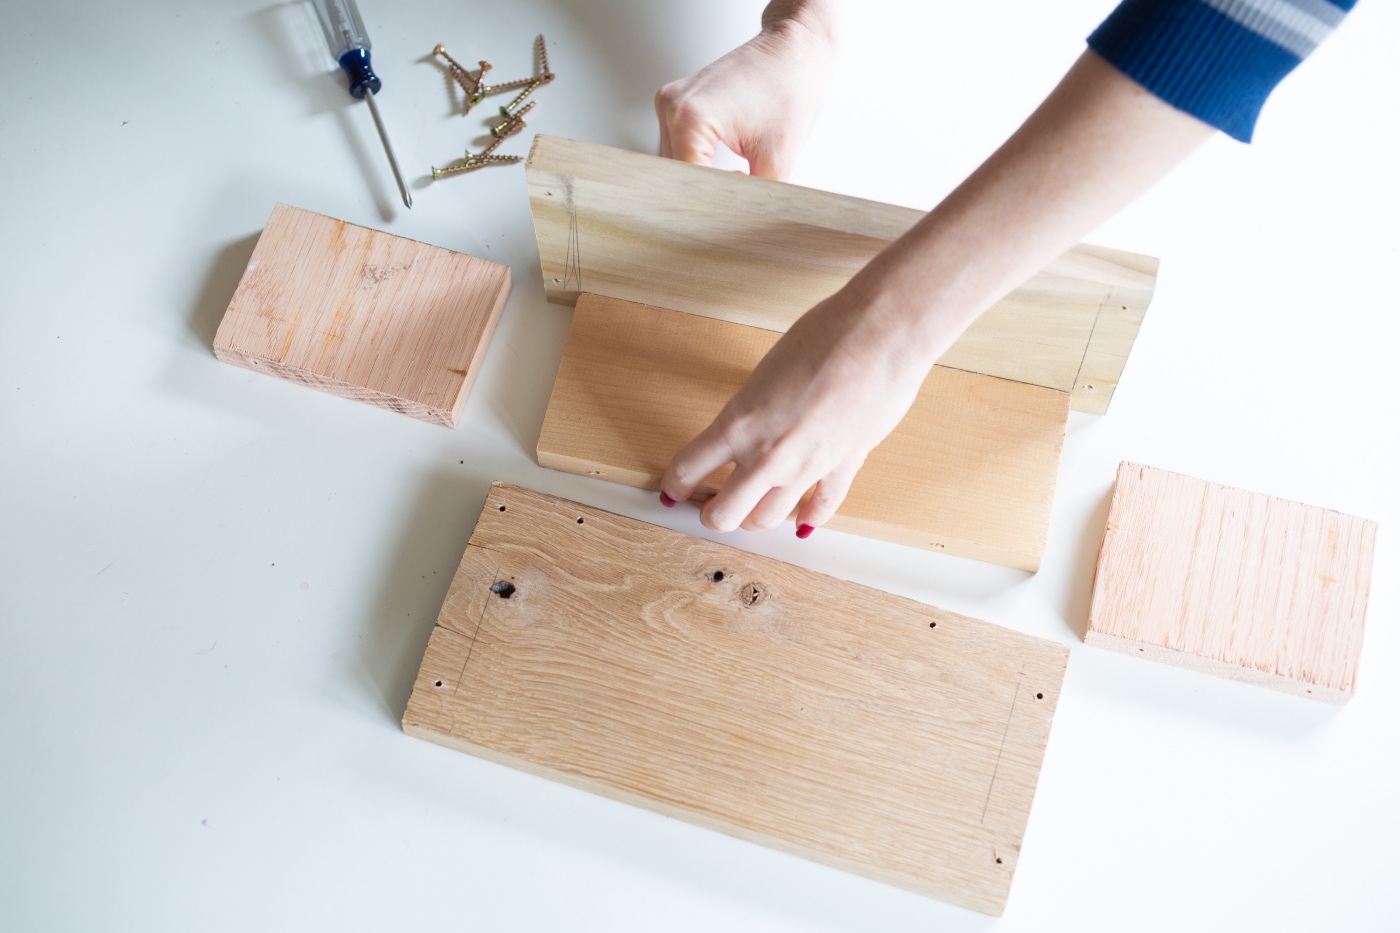
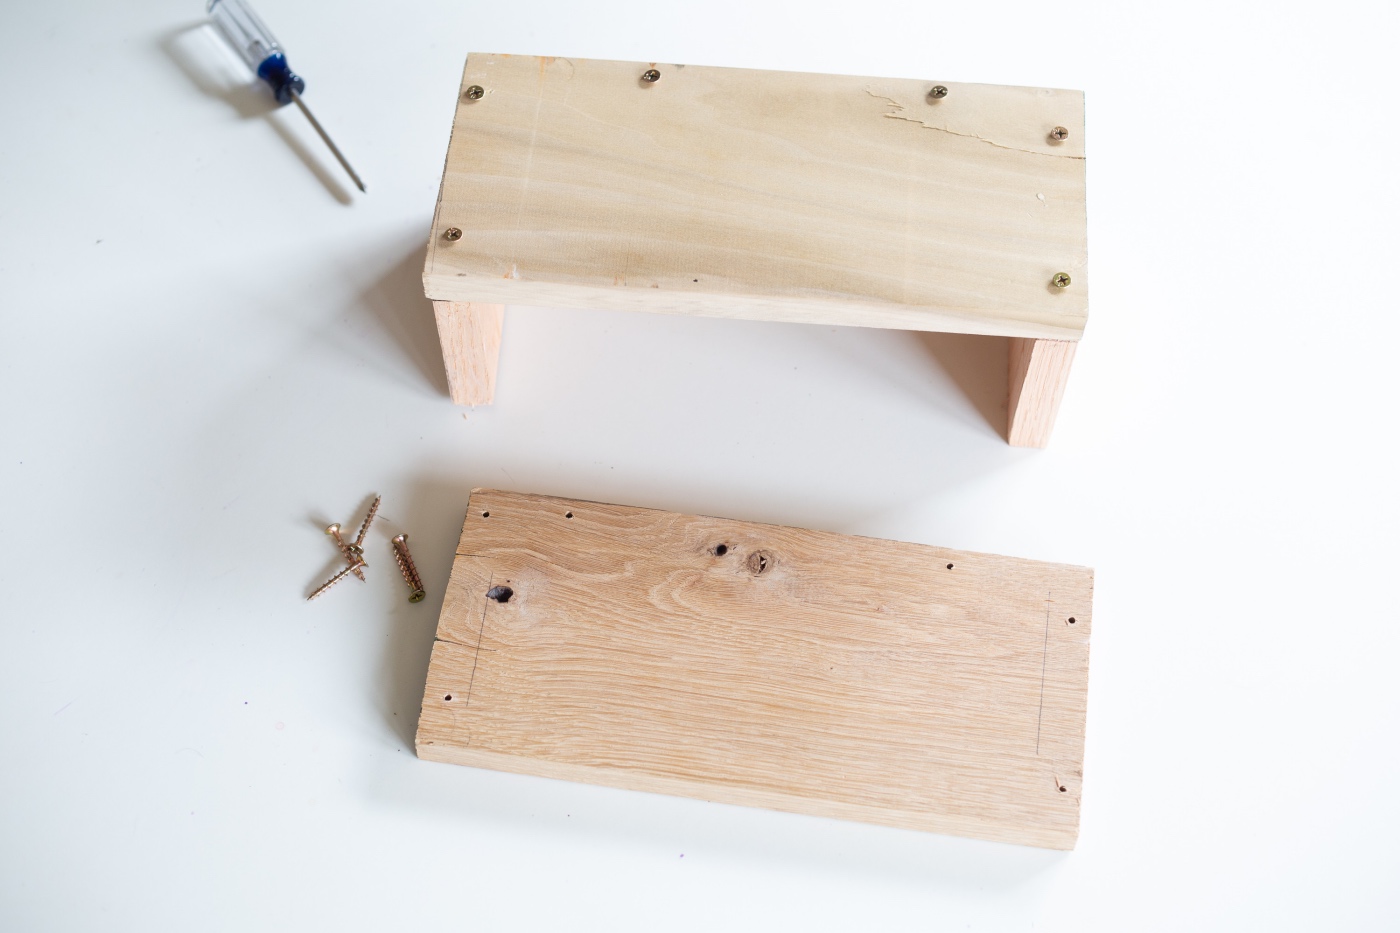
First, let’s arrange your pieces of wood. We will use 5 pieces of wood total. The measurements are listed above. The piece that does not have a duplicate will become the bottom of the planter box. The other 4 will become sides of the planter box. The top will remain open.
Once you know how the pieces will fit together, you may choose to sand them. Cedar has a texture (which I happen to love). But you can also smooth it out. If you are sanding it, you do not need to sand the bottom – unless you really want to.
We always want to consider the type of wood to use a garden box. We chose cedar because it’s not treated with chemicals. Thus, anything you grow will be safe to eat. We do not recommend making this box with a different type of wood. In addition to having issues with other woods not being safe for consumption, the chemicals could kill your plants too!
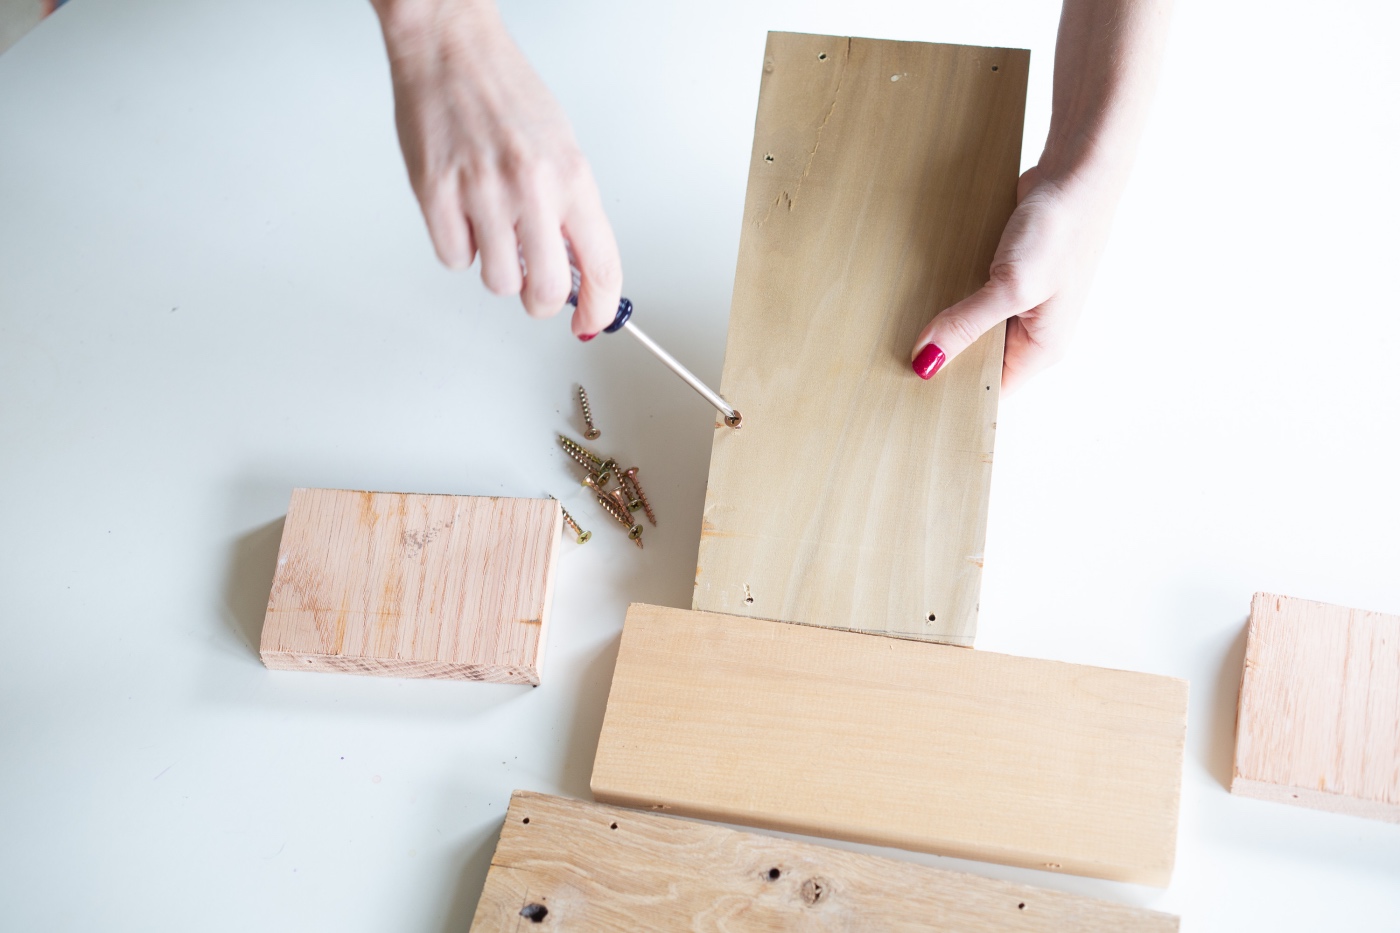
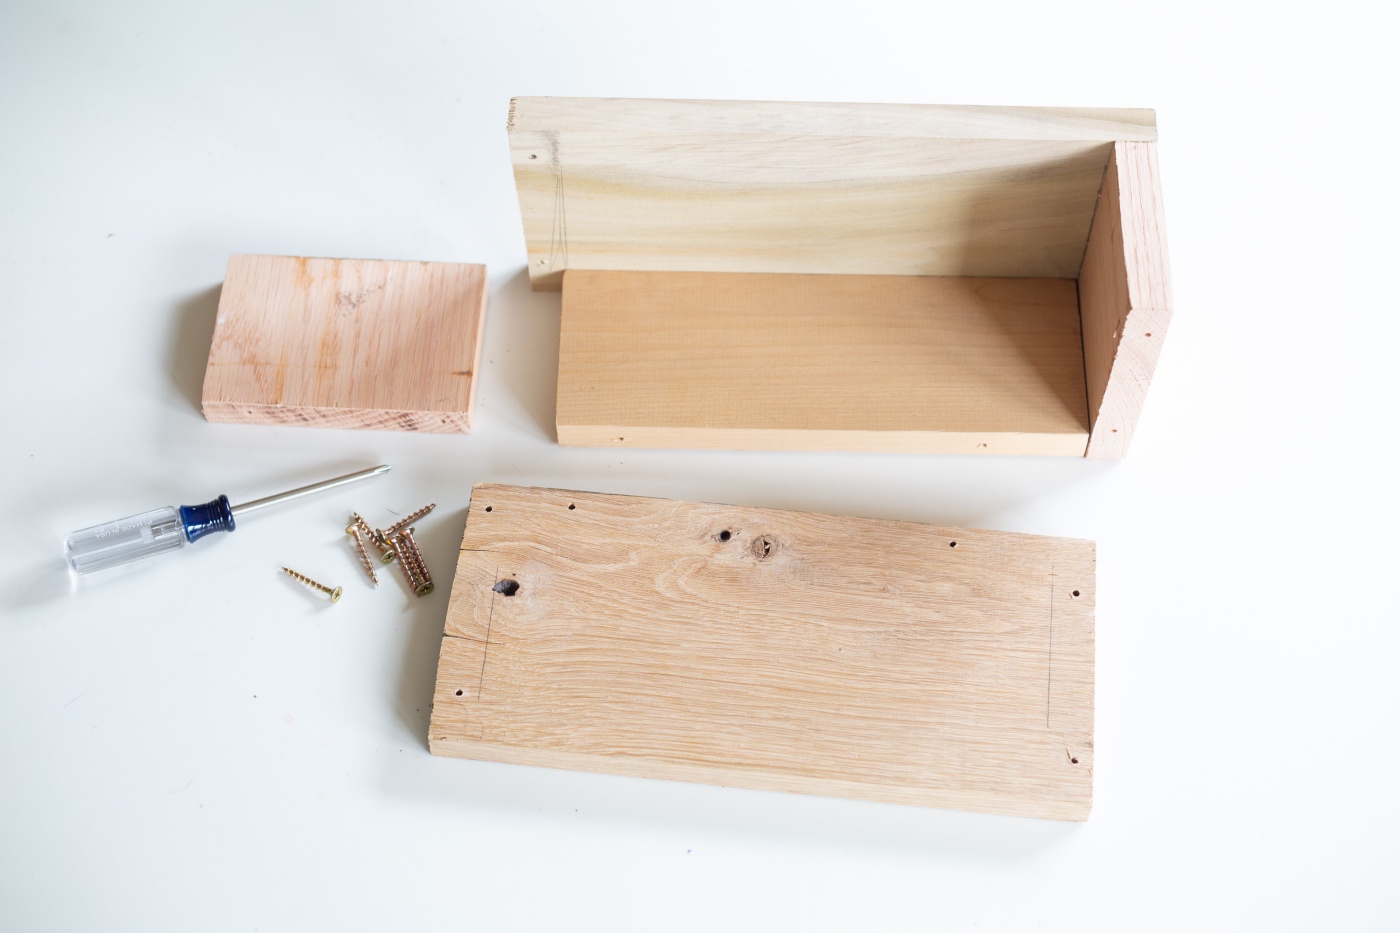
With the Herb Garden Starter Kit, we pre-drilled where the screws will go. If you are not working from the kit, the screw locations do not need to be perfect. You will want to use: 12 screws total, 6 on each of the long sides of the box.
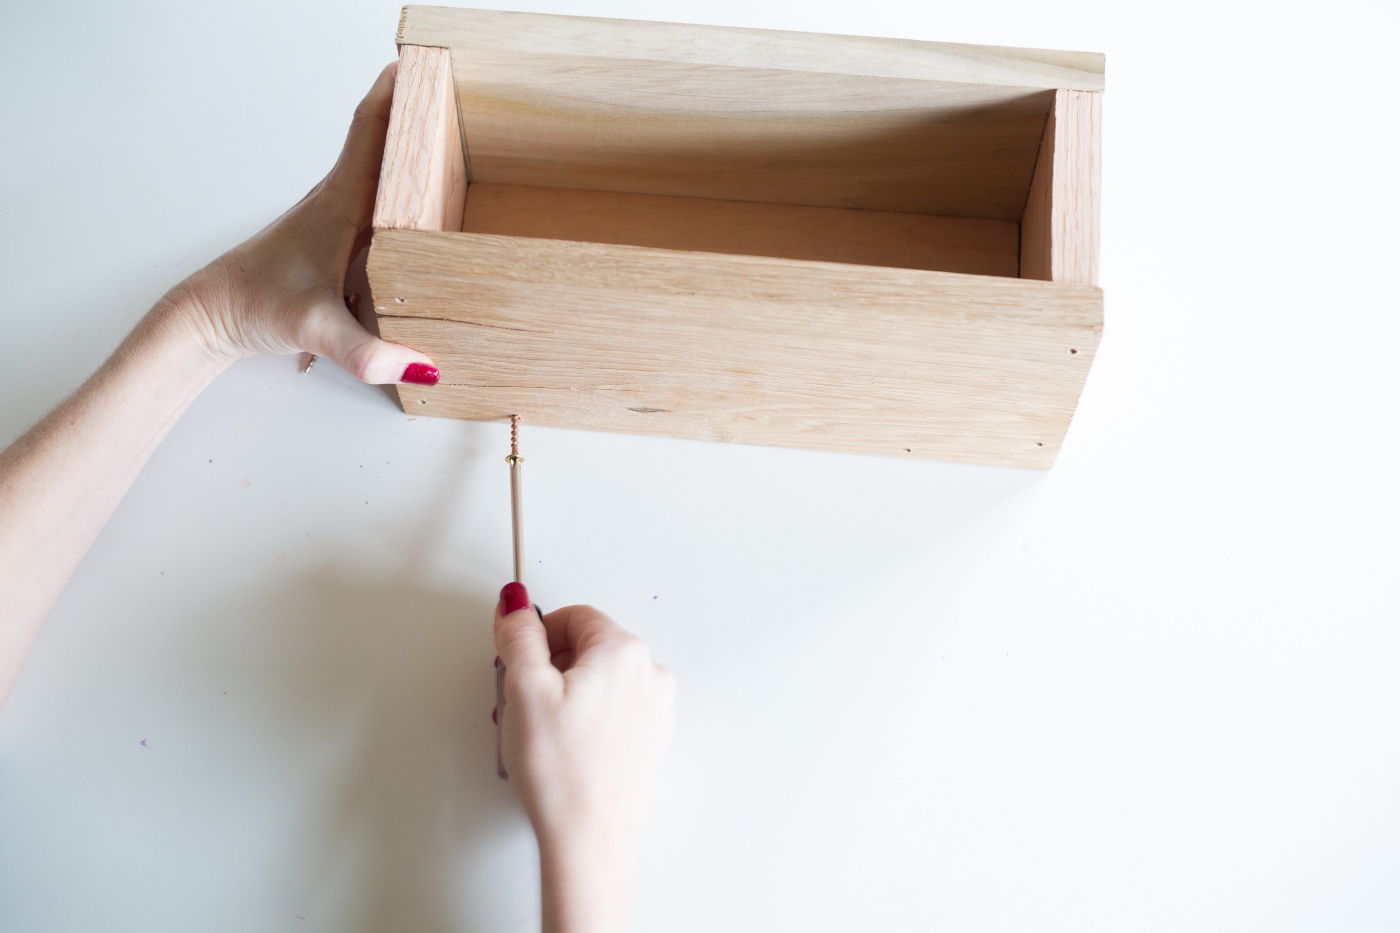
Of the 6 screws on each long sides of the box: 2 will connect the bottom piece to the long sides. Those 2 will go anywhere along the bottom of the box.
Of the 4 screws that are now left, 2 will go on each side of box to connect the short sides with the long sides.
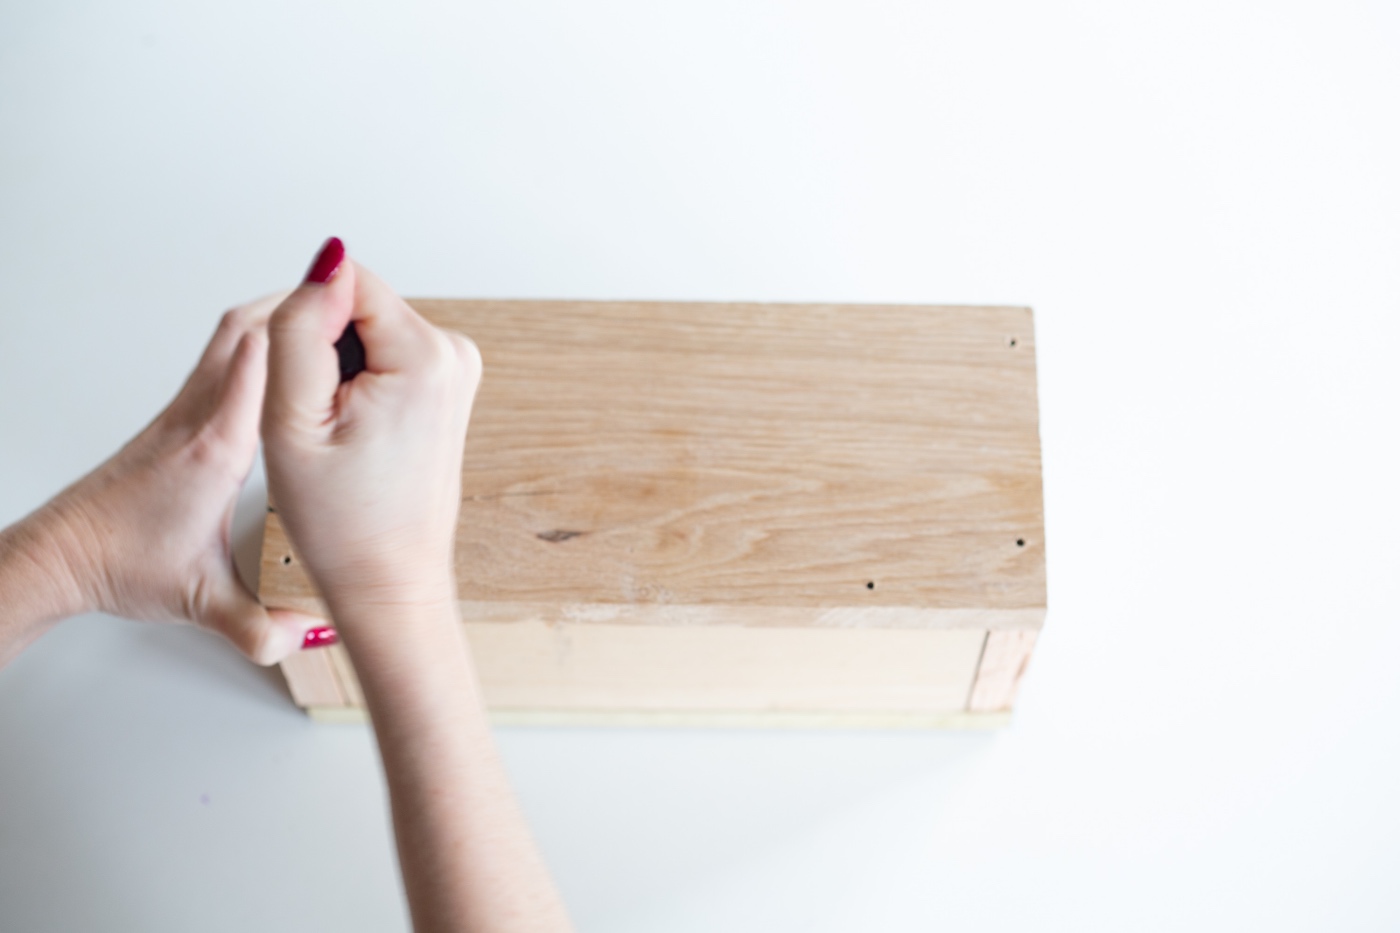
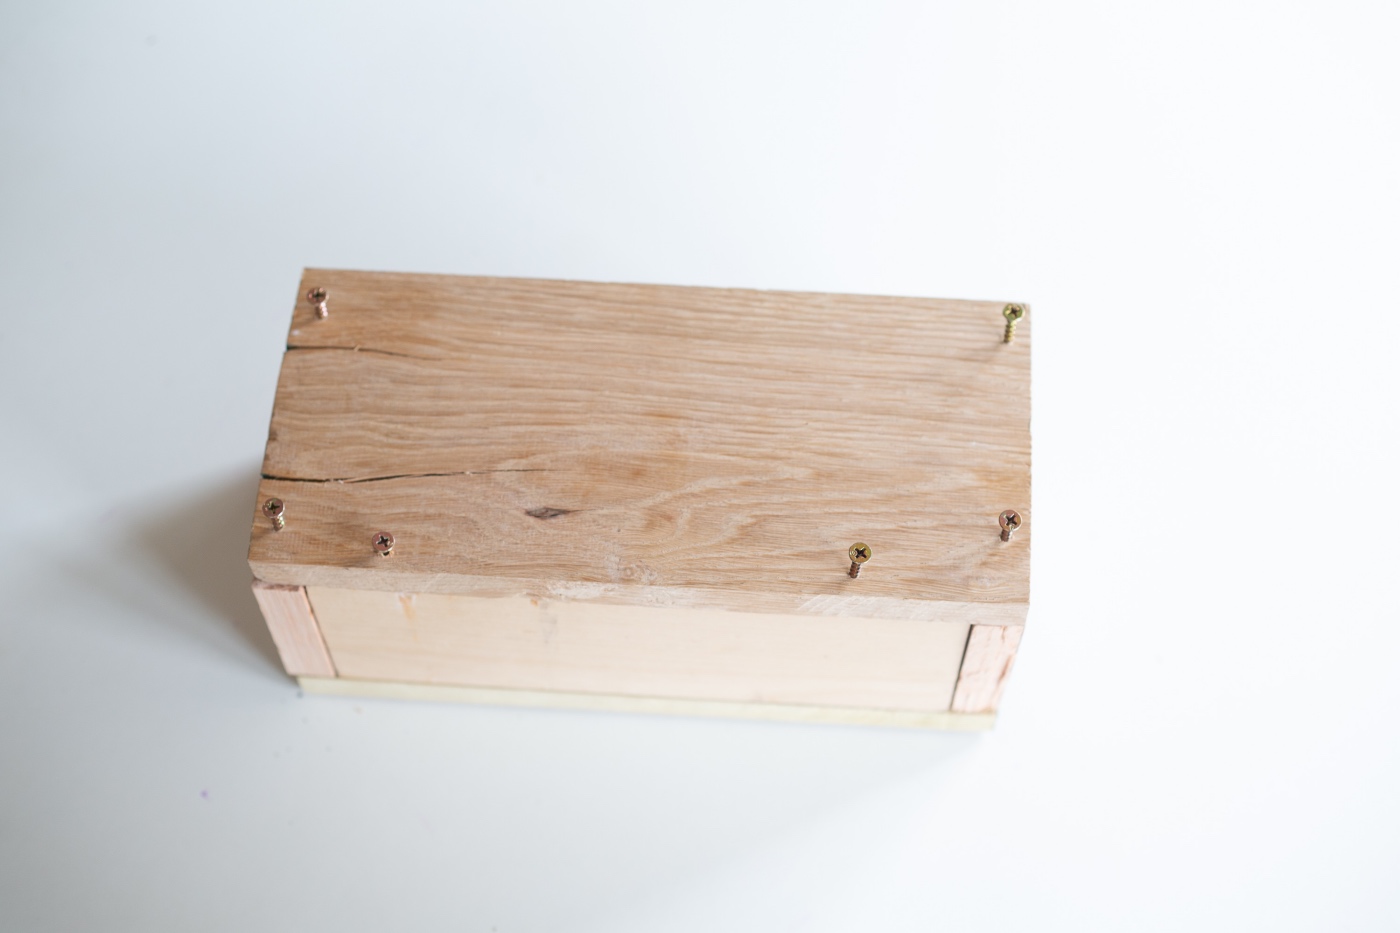
Use the images to follow the pattern!
Sometimes screws don’t line up perfectly. My best tip is to add all the screws for one side at once. Start by just turning them enough to where the edge of the screw sticks out. Use that to line up the pieces.
Then just work all the wood screws in together, rotating each screw a bit. And then repeating the cycle until all the wood screws are in place.
Now your Cedar Wood Planter Box is together! Side note: you do not need to use any wood glue! Because you will want to water the plants, you will want your edges to stay a bit loose, so that the water will drain out. Because this is a planter box, the wood glue would eventually give out. So screws and screws alone is the best approach.
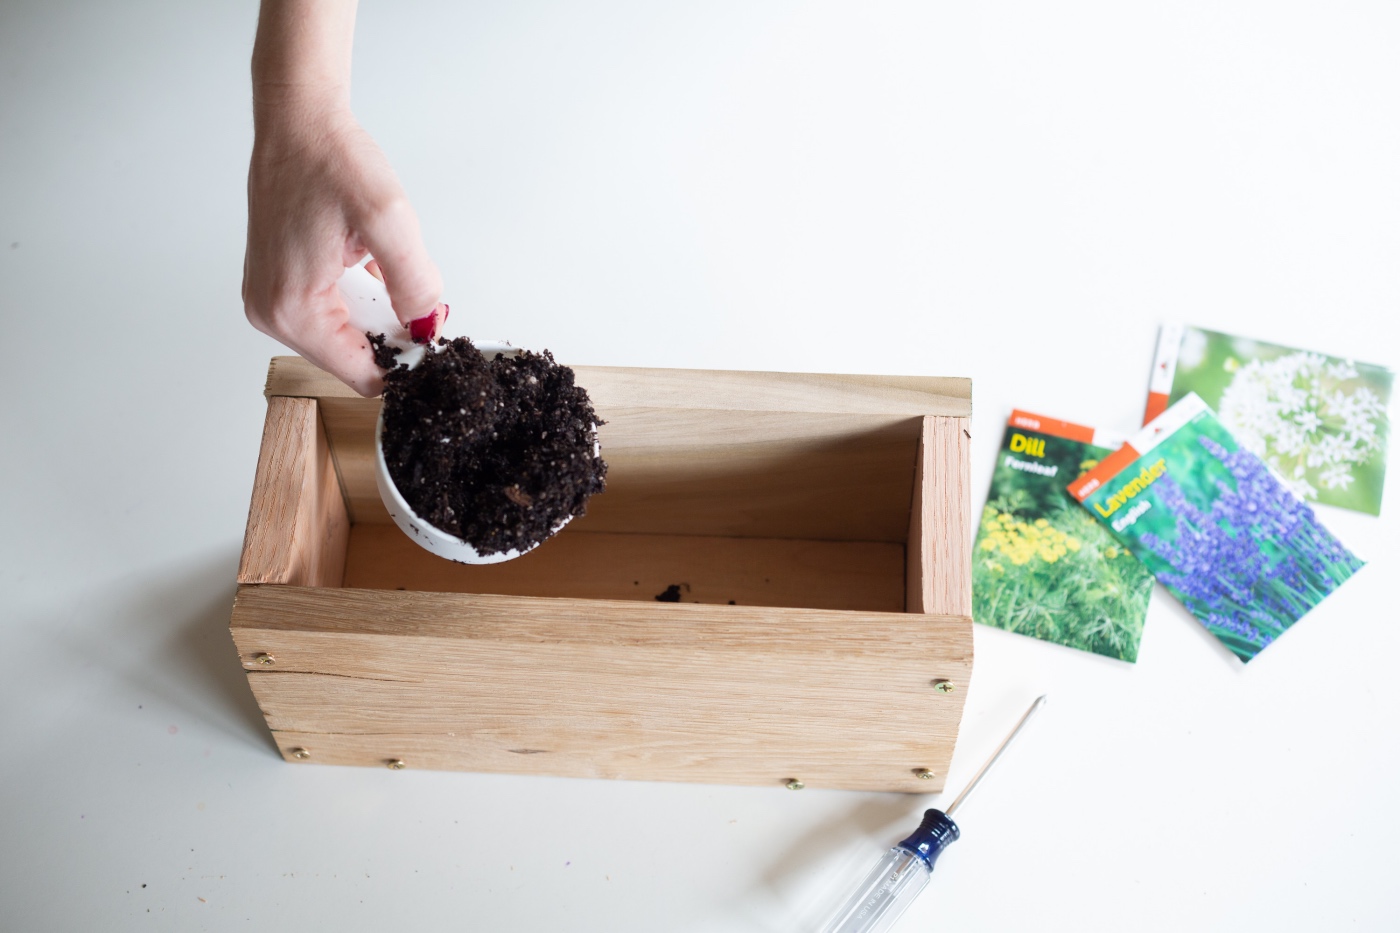
So let’s add some soil and seeds! First, add a layer of moist soil to the box. Because we are planting herbs, I just used regular potting soil. There are lots of different soils depending on what you are planting.
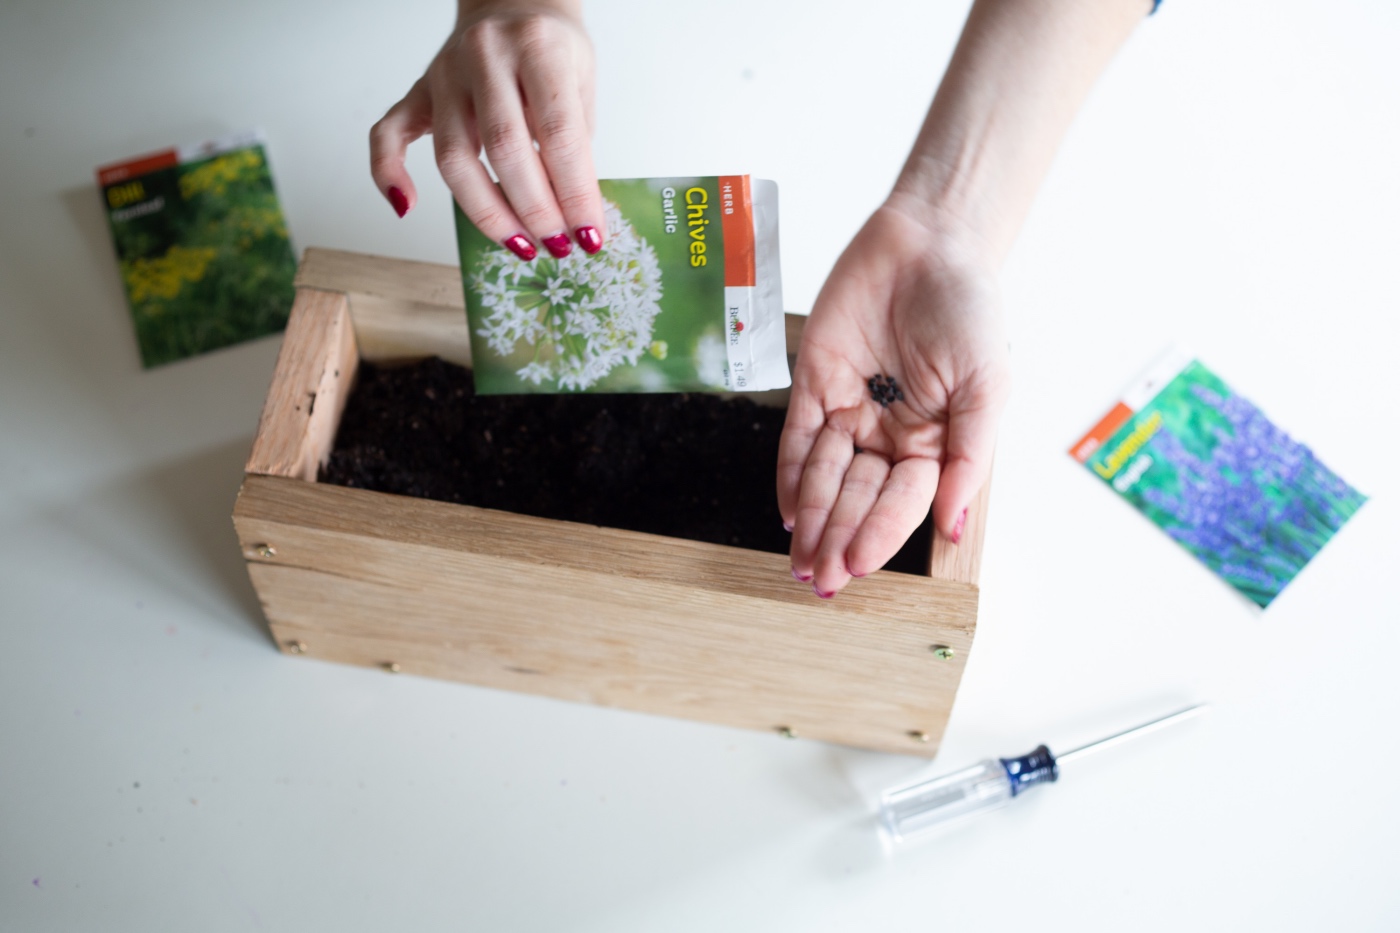
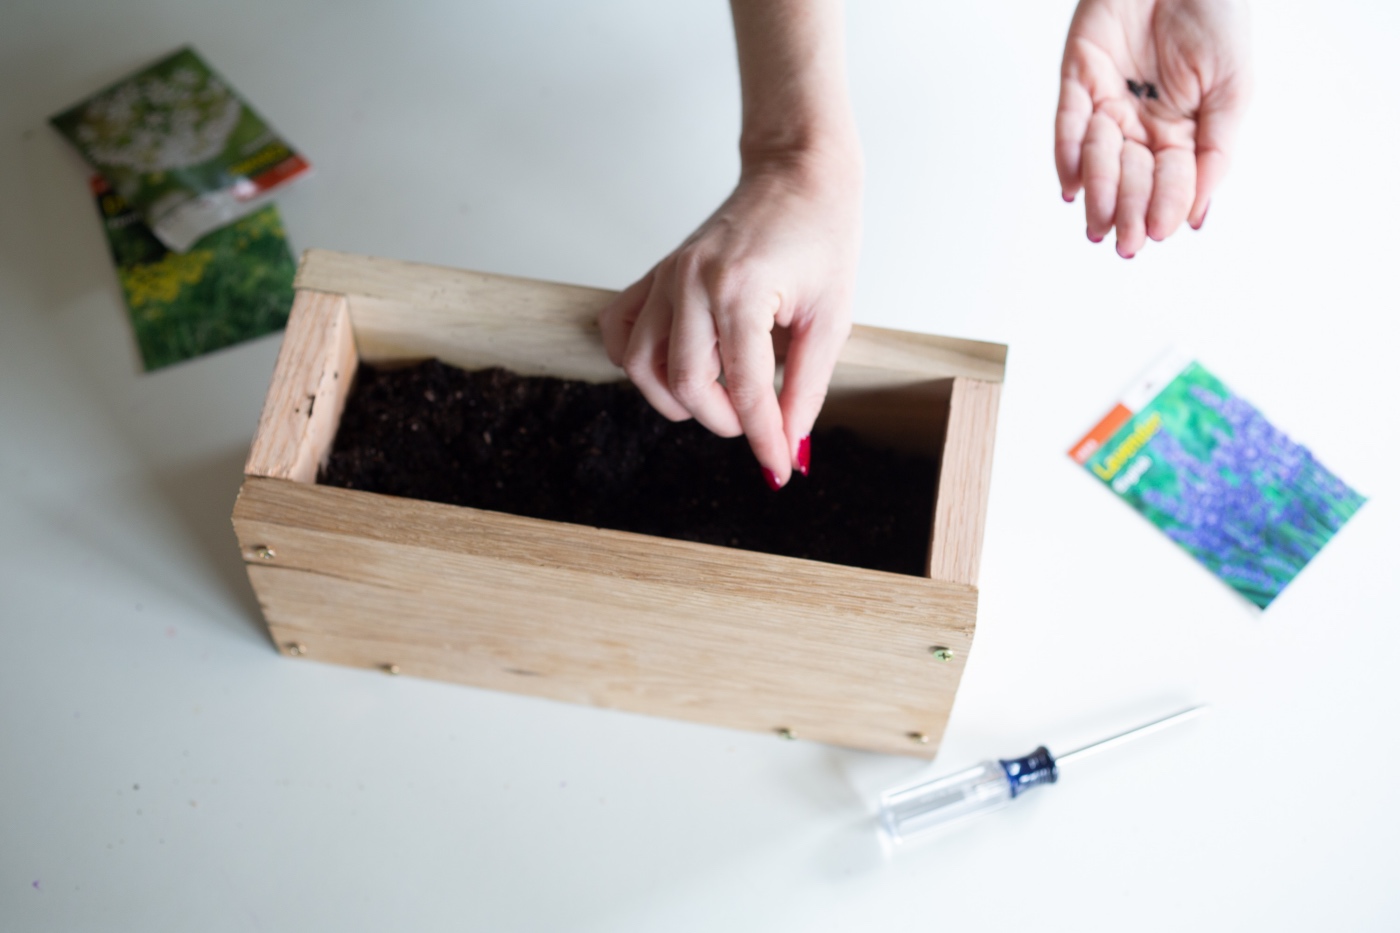
Near the top of the soil, add a few seeds. We want the seeds to be near the surface in moist soil and just slightly buried. And be sure to keep the soil moist! Viola, your very own Cedar Wood Planter Box!
Just place this bad boy in a sunny window or outdoors in nearly full sun. And if you love this DIY don’t forget to subscribe to the Craft in Style Subscription Box!
Let’s Stay Friends!
Insta | Pinterest | Enews | TikTok


