Craft in Style Subscription Instructions, DIY
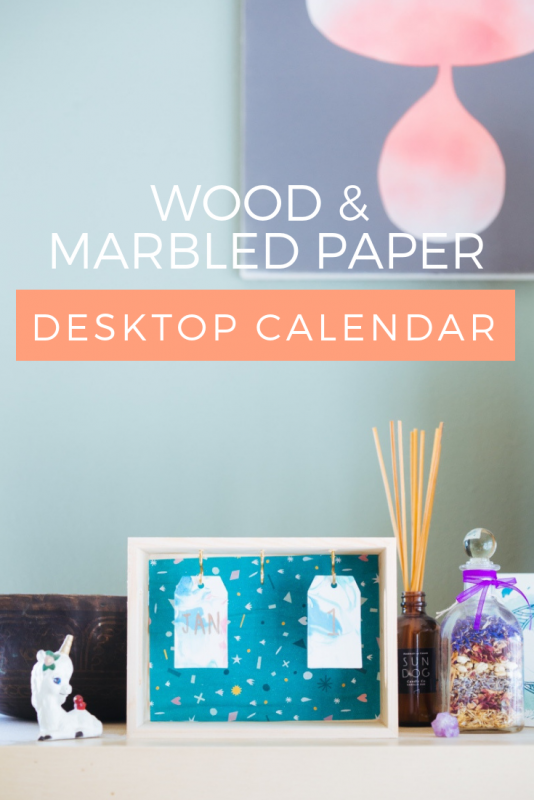
DIY Wood Desk Calendar with Marbled Paper
This is the tutorial and unboxing for the Pop Shop America December 2018 Craft in Style Subscription Box! You can grab the current month in the previous link or grab all the supplies for this DIY Wood Desk Calendar as a stand alone kit here.
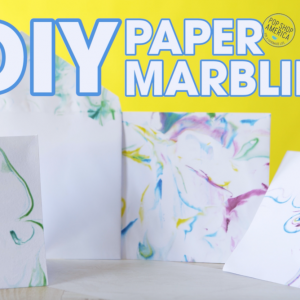
And with this cool paper marbling technique, we’re going to give it a little twist and make it into a Wood Desk Calendar with Marbled Paper! It’s so stylish and very beginner friendly too. And we are so excited about how cute this is. This month, we are making Marbled Stationery (you can find the full tutorial for Marbled Stationery here and on Youtube here).
You will need a few supplies to make this Wood Desk Calendar with Marbled Paper:
-or-
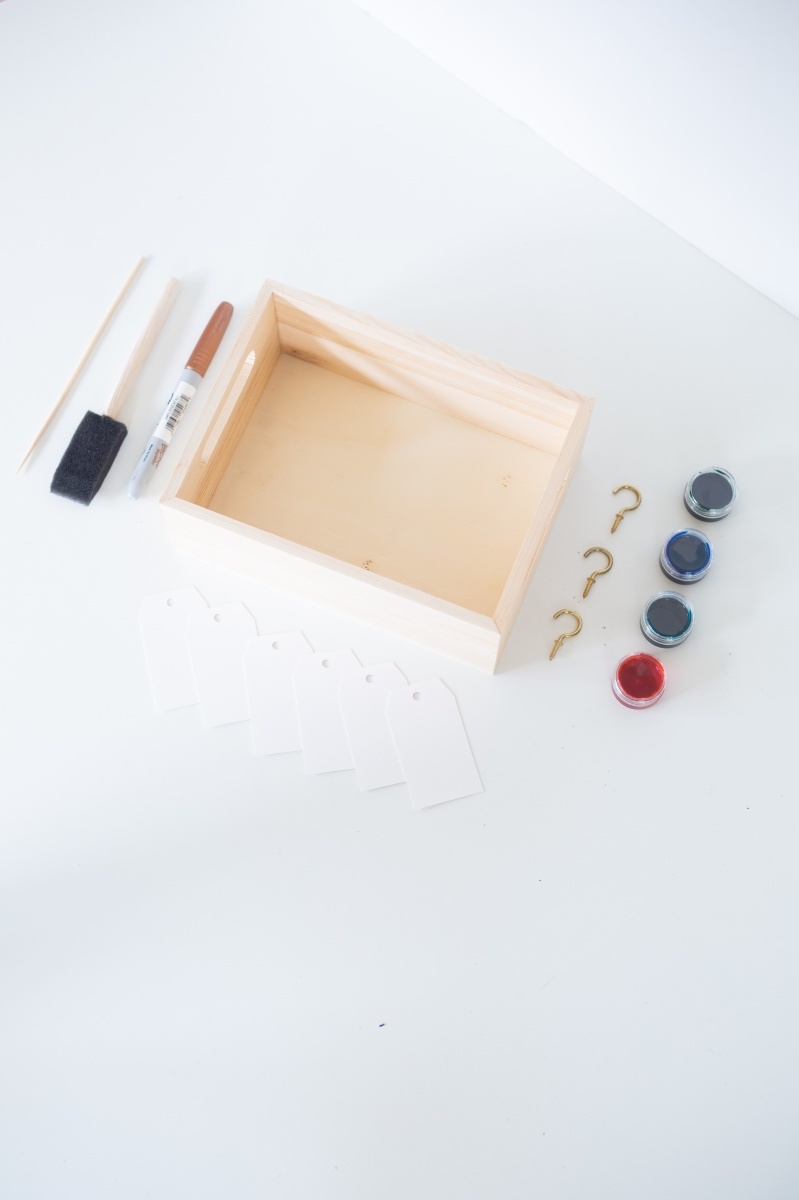
A Small Wood Box (We used one that was 7.5 x 5.5 inches)
Paper for the Back of the Box
Mod Podge
A Foam Brush
3 C Hooks
12 Gift Tags for the Months
13 for the Dates (We’ll explain but I promise you only need 13)
A Gold, Silver, or Copper Sharpie

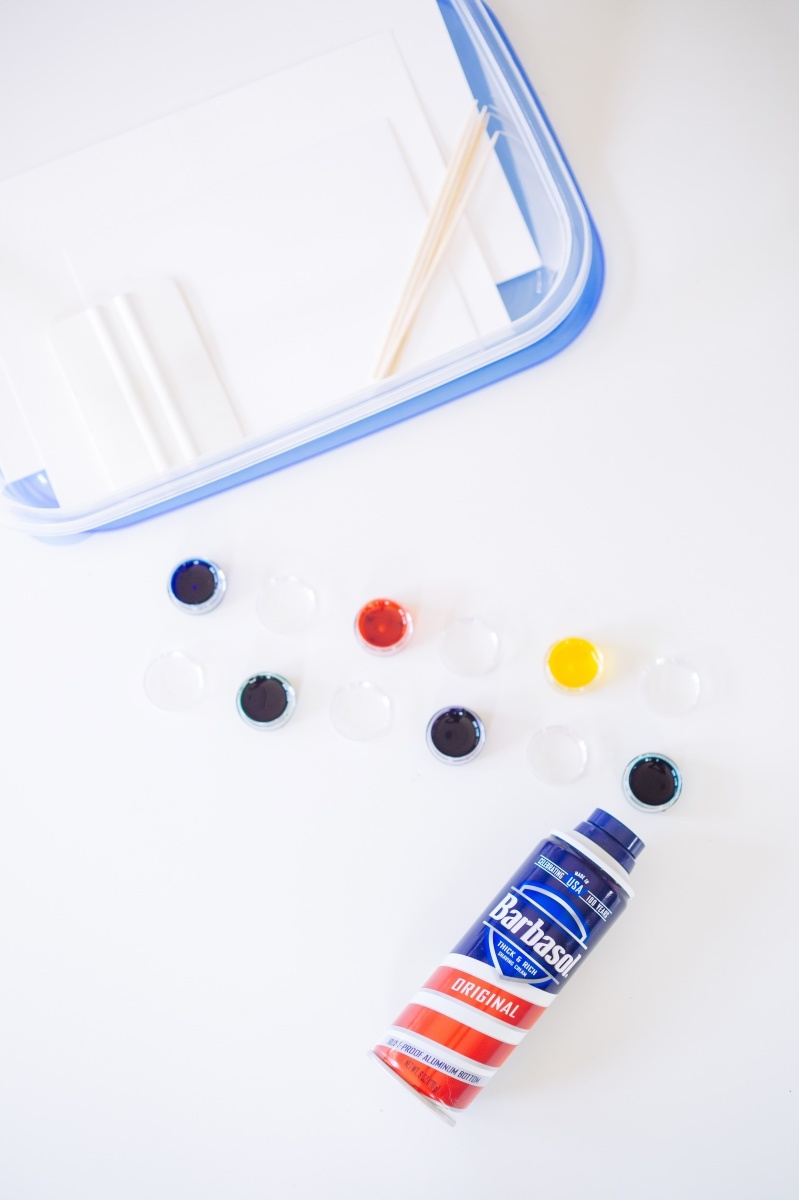
A Container like a 13 x 9 inch pan or large Gladware
Shaving Cream
Food Dye
A Few Paper Towels
A Wooden Skewer for Stirring
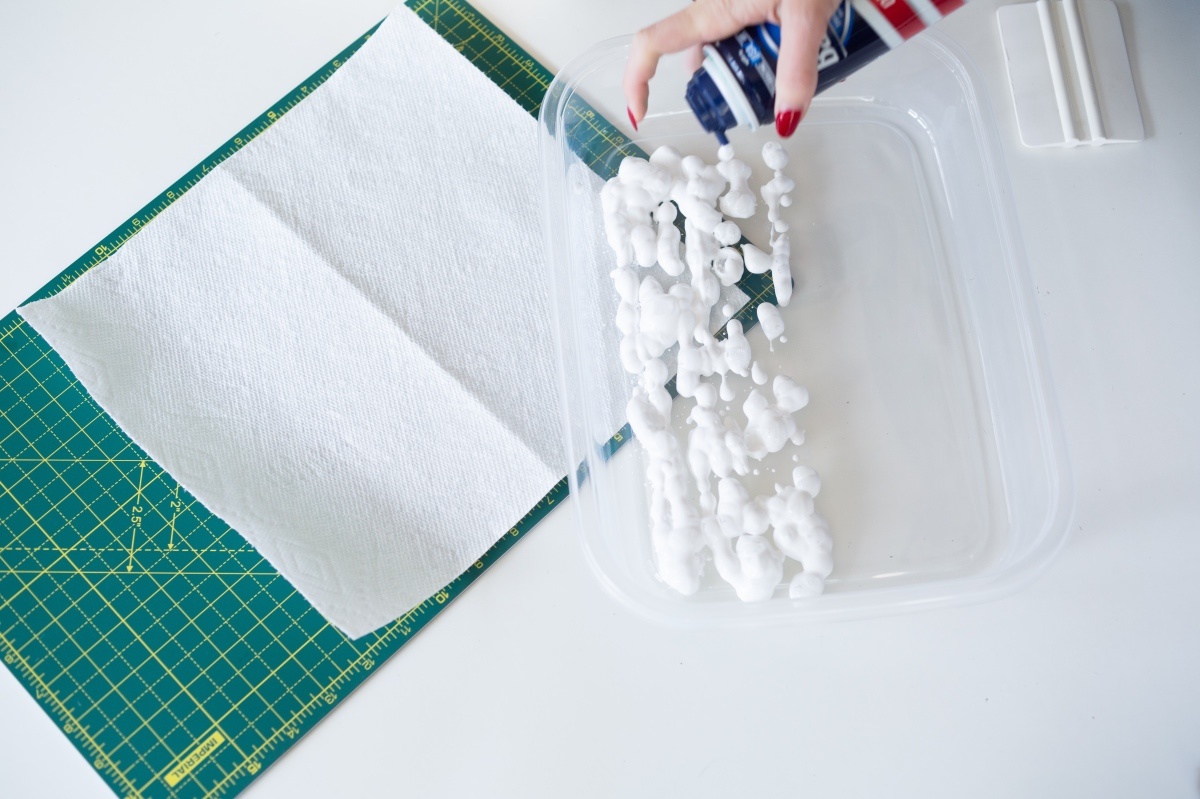
I started with the Paper Marbling to give the gift tags a moment to dry before hanging them in the calendar. To make them, add a thin layer of shaving cream to your container. Then polka dot the surface of the shaving cream with several different colors of food dye.
You can use any color, just be sure to make a color palette and consider how the colors will look together. I chose baby pink, teal, royal blue, and kelly green.
Once you polka dot your shaving cream with dye, swirl it around with your wooden skewer. Just give it a few swirls as overdoing it will diminish the marbling effect.
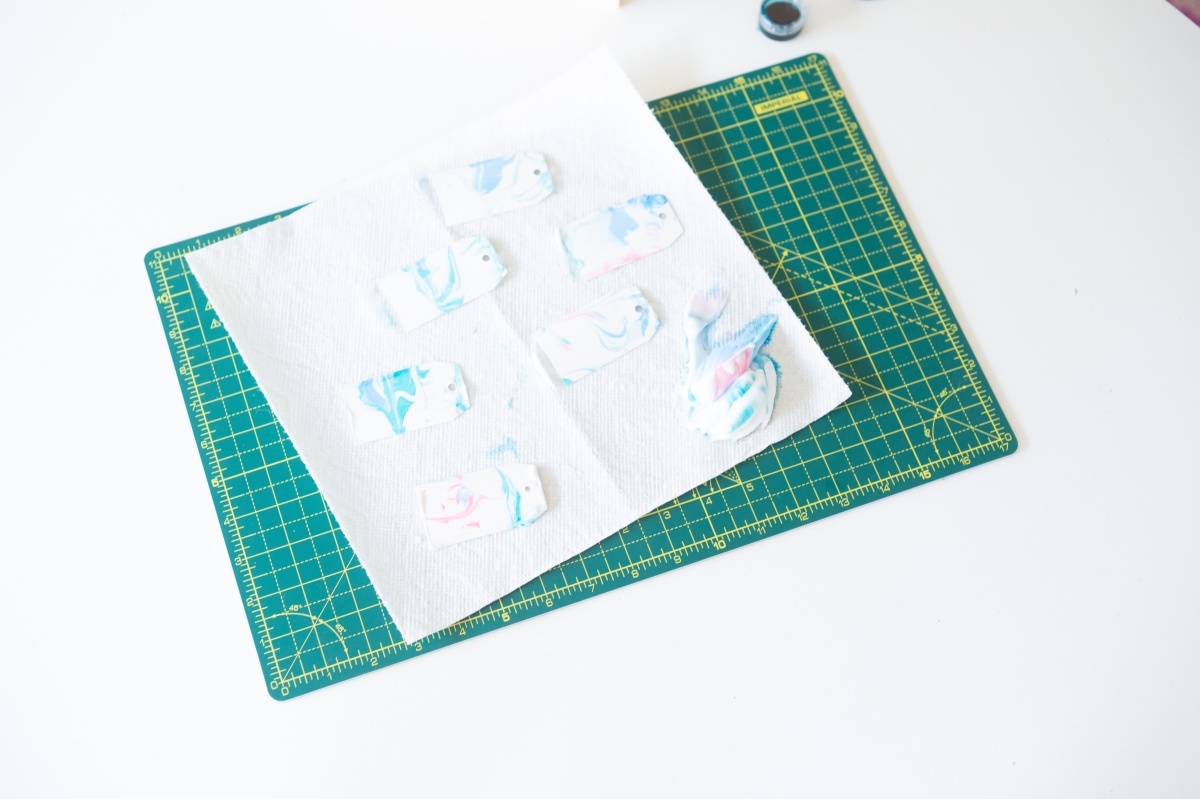
Dip the front surface of your gift tags in the colored marbling. And place them shaving cream side up on a paper towel or napkin.
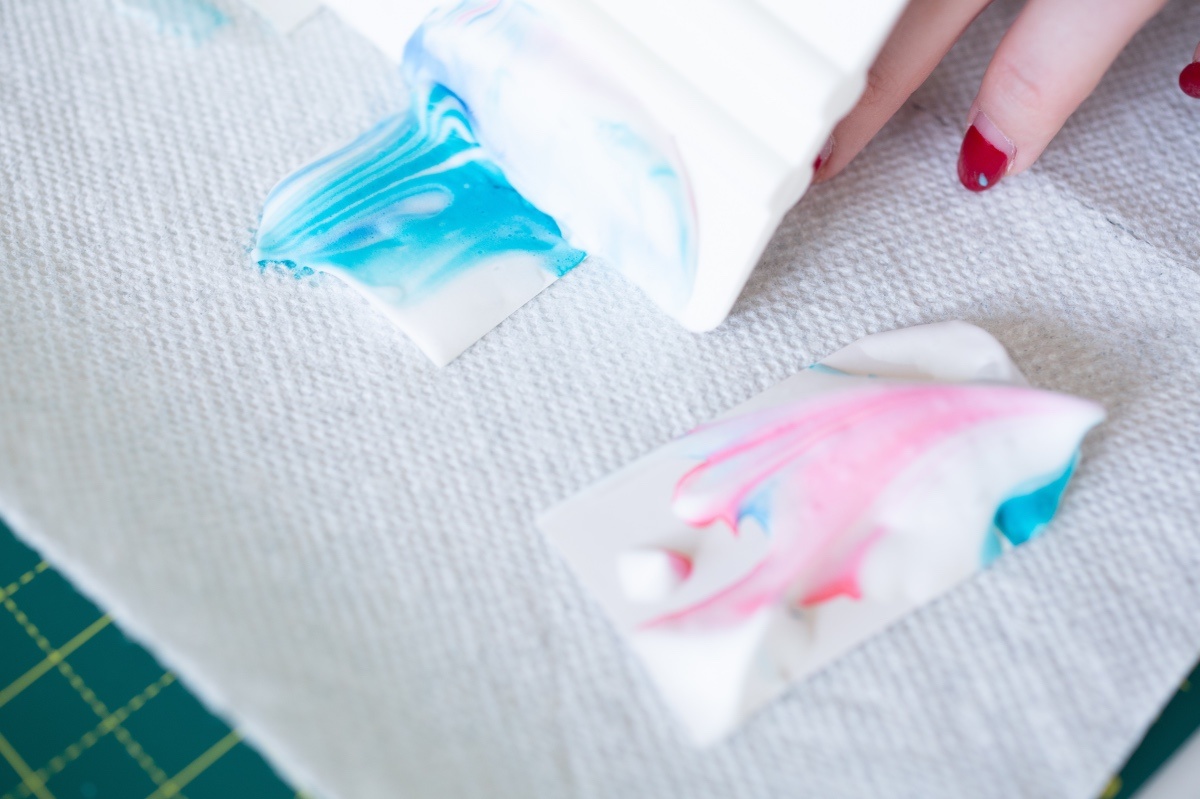
Use a squeegee to gently remove all of the shaving cream from the gift tag. And viola this will reveal gorgeous swirls of color across your tags! It is so pretty.
You will end up with lots of extra shaving cream, so just be sure to have those paper towels or napkins handy. Or you could work by a sink and then rinse your squeegee as you work. Food dye will wash off of hands easily and can stain clothing if you don’t immediately rinse it off.
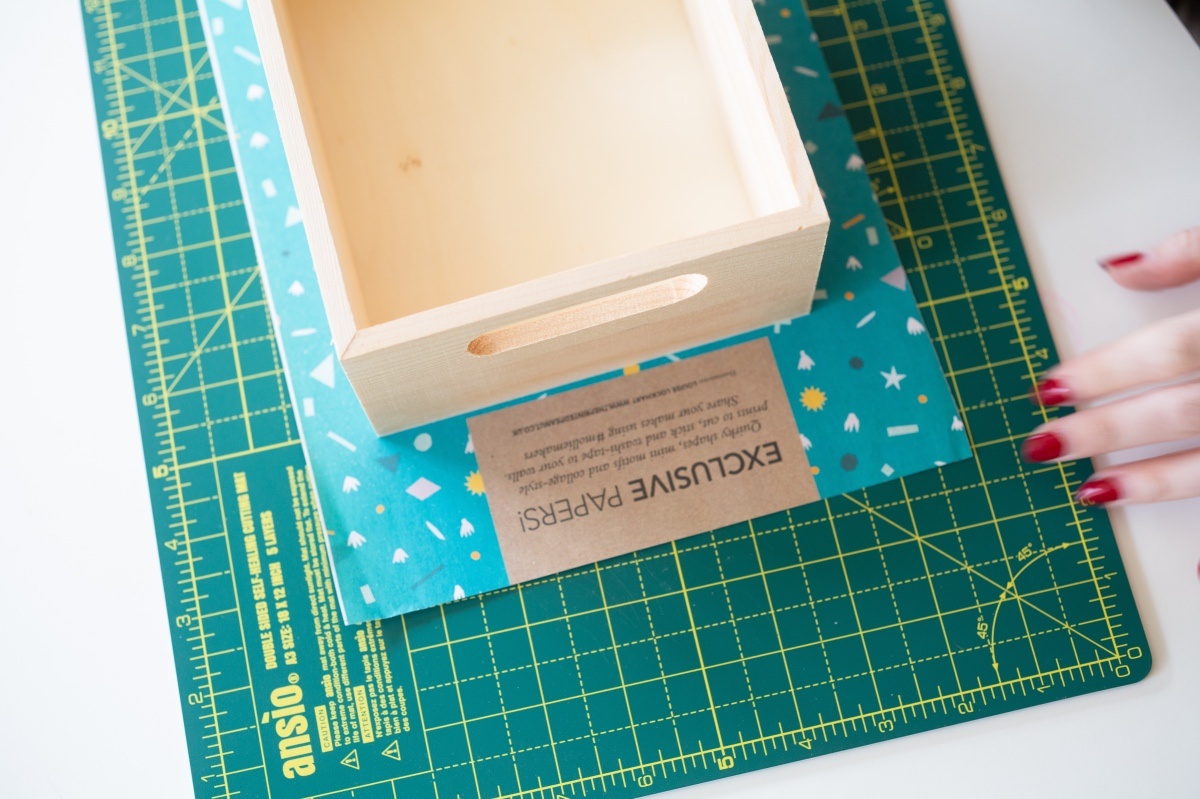
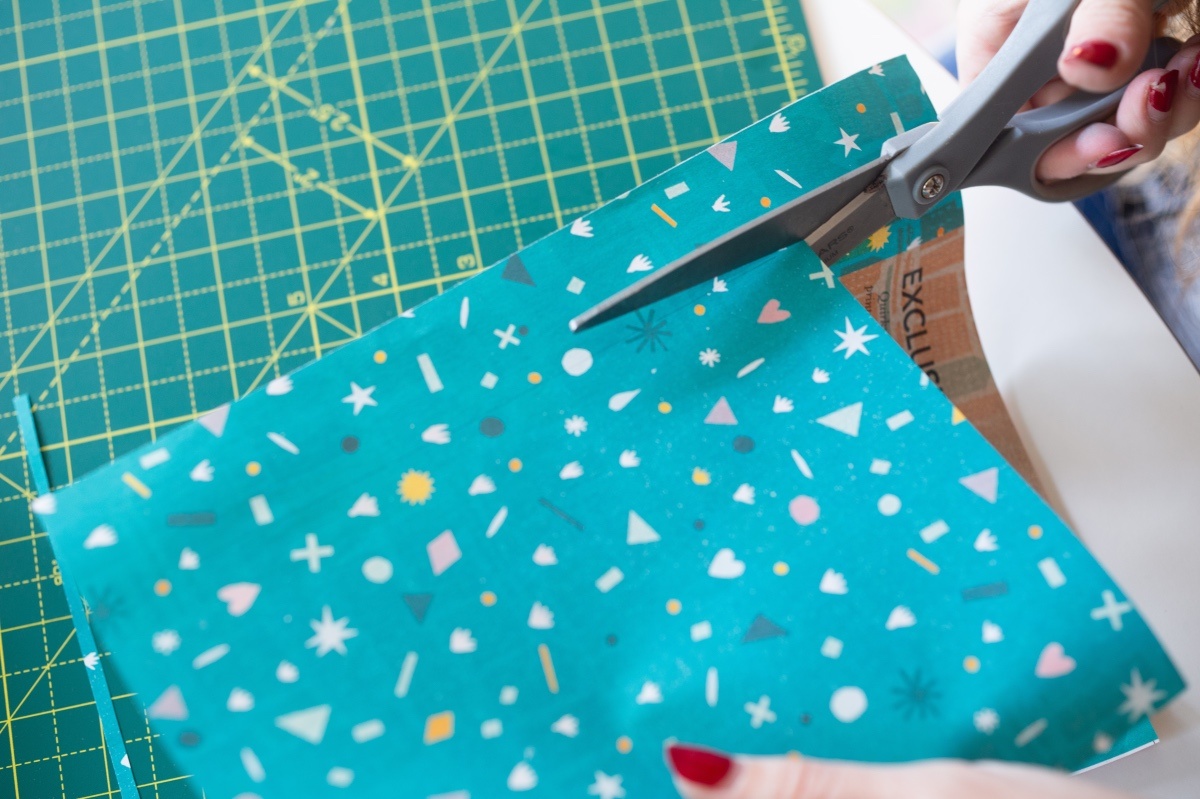
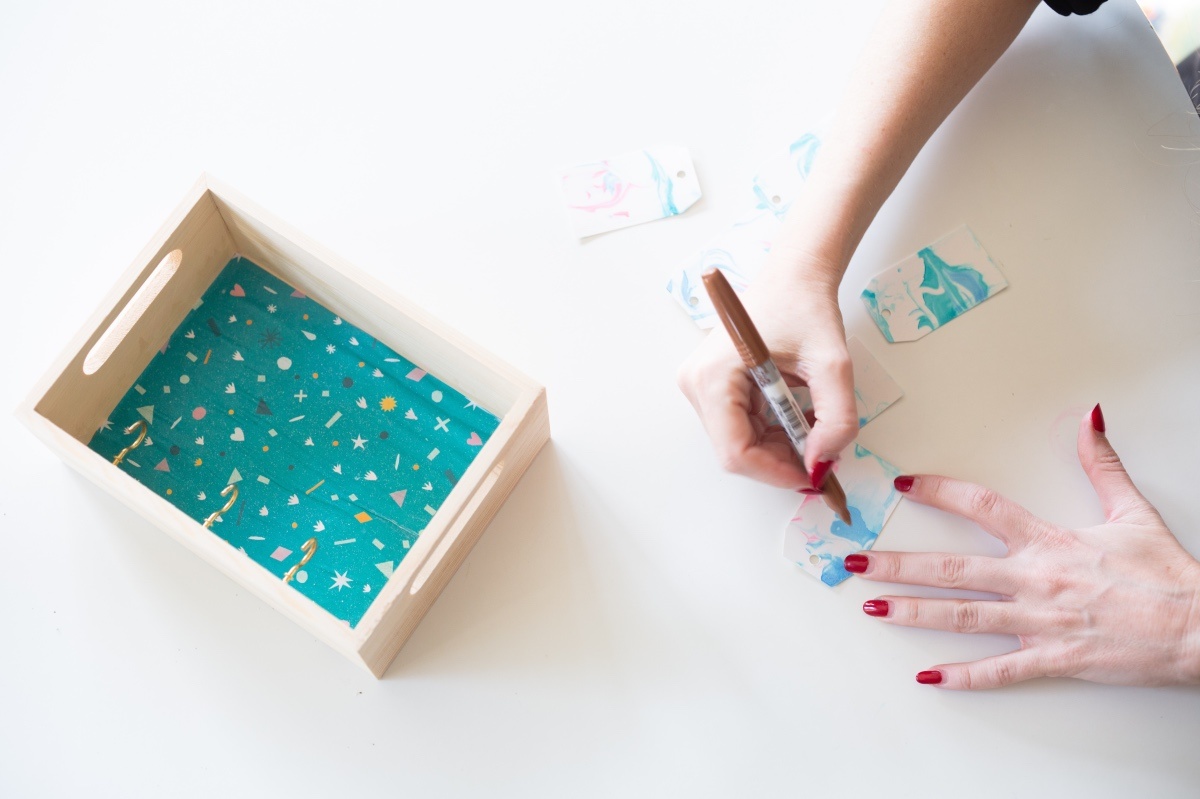
Next, I started putting together the wooden box portion of the DIY Wood Desk Calendar with Marbled Paper. You don’t have to create a background for your calendar if you like the raw wood look. But I wanted to add something cheery and colorful so I found this paper from an old issue of Mollie Makes – my favorite craft magazine.
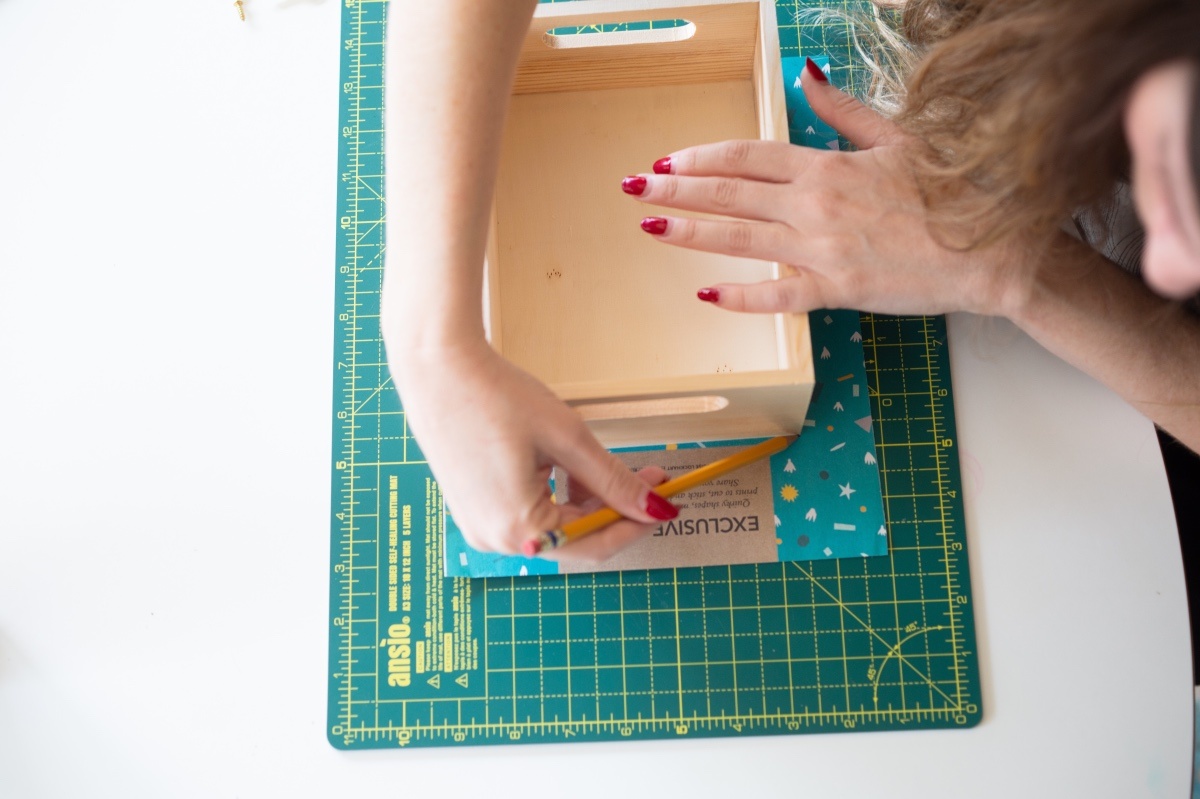
To add the paper background in the box, first trace around the box to get a sense of how big your paper should be. You will need to trim it a bit more as the inside of your box will be a bit smaller than the outside. But this technique is a good way to get started.
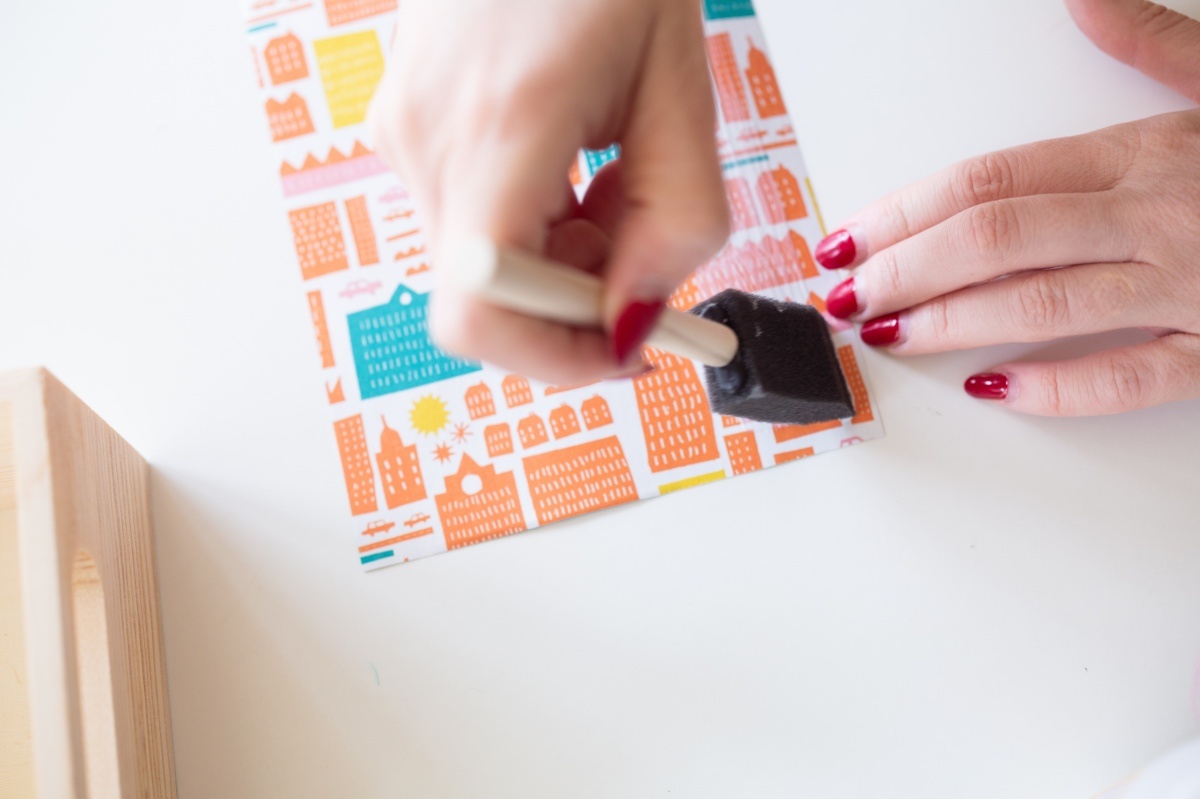
I used mod podge to adhere the paper to the box. I added just a bit of mod podge to the back of the paper and pressed it to then wood. Then once the paper was in place, I added just a bit more mod podge to the front.
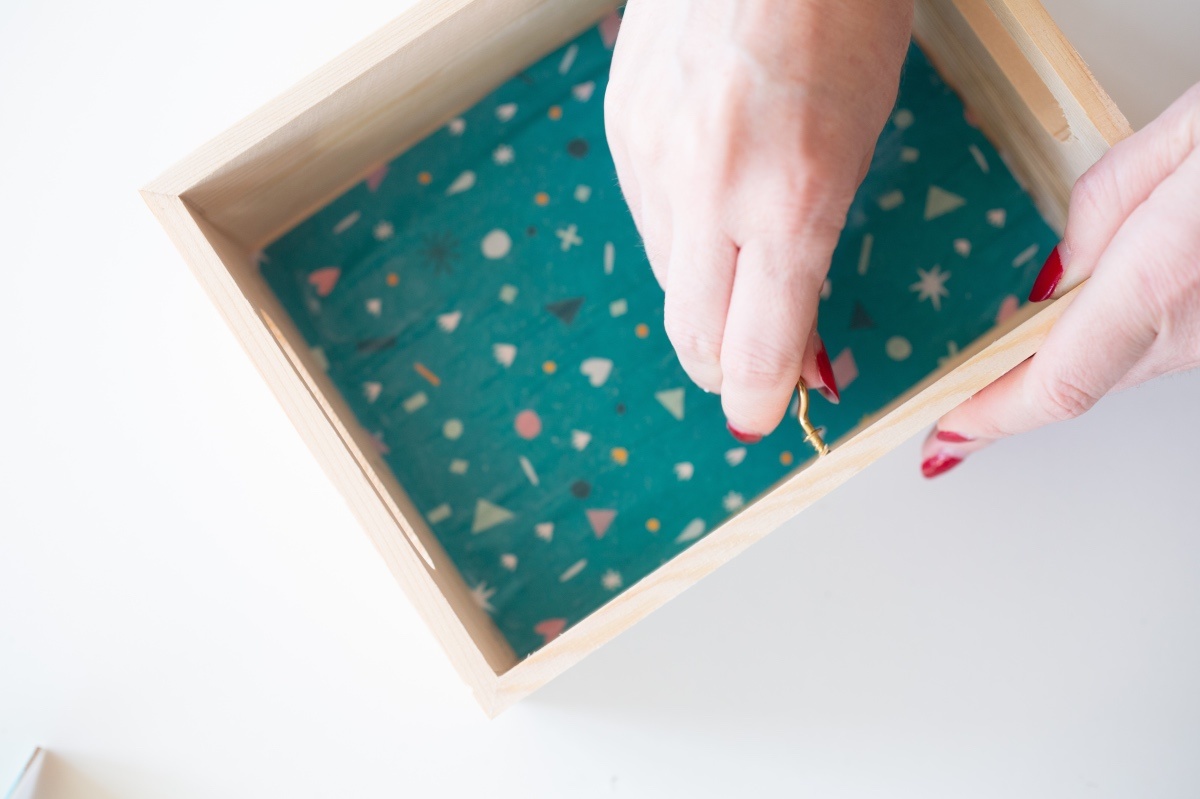
Now it’s time to add your C Hooks! They box is so lightweight that twisting the c hooks in was easy. Start with the middle one and use the center point of the box.
Be sure to consider how far forward or back your c hook is – inside of the box too. I added mine near the front. But far enough back to where the gift tags will feel like they are inside the box.
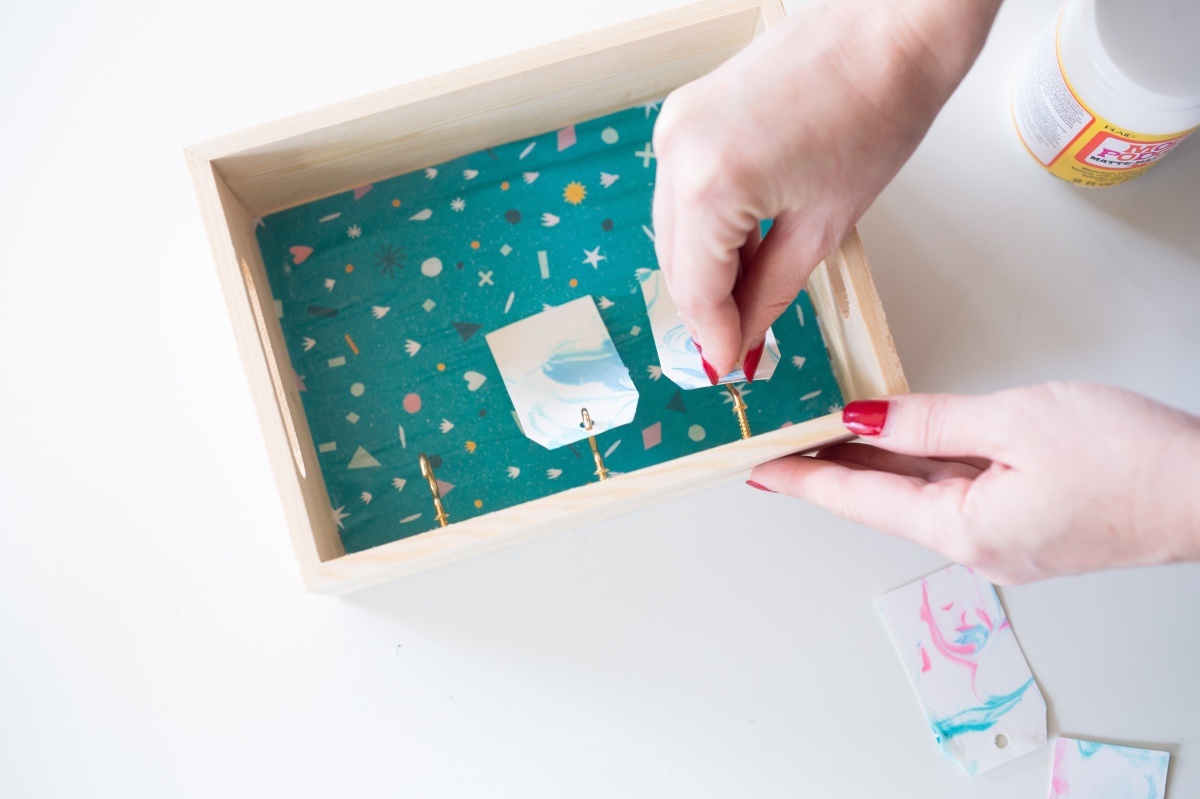
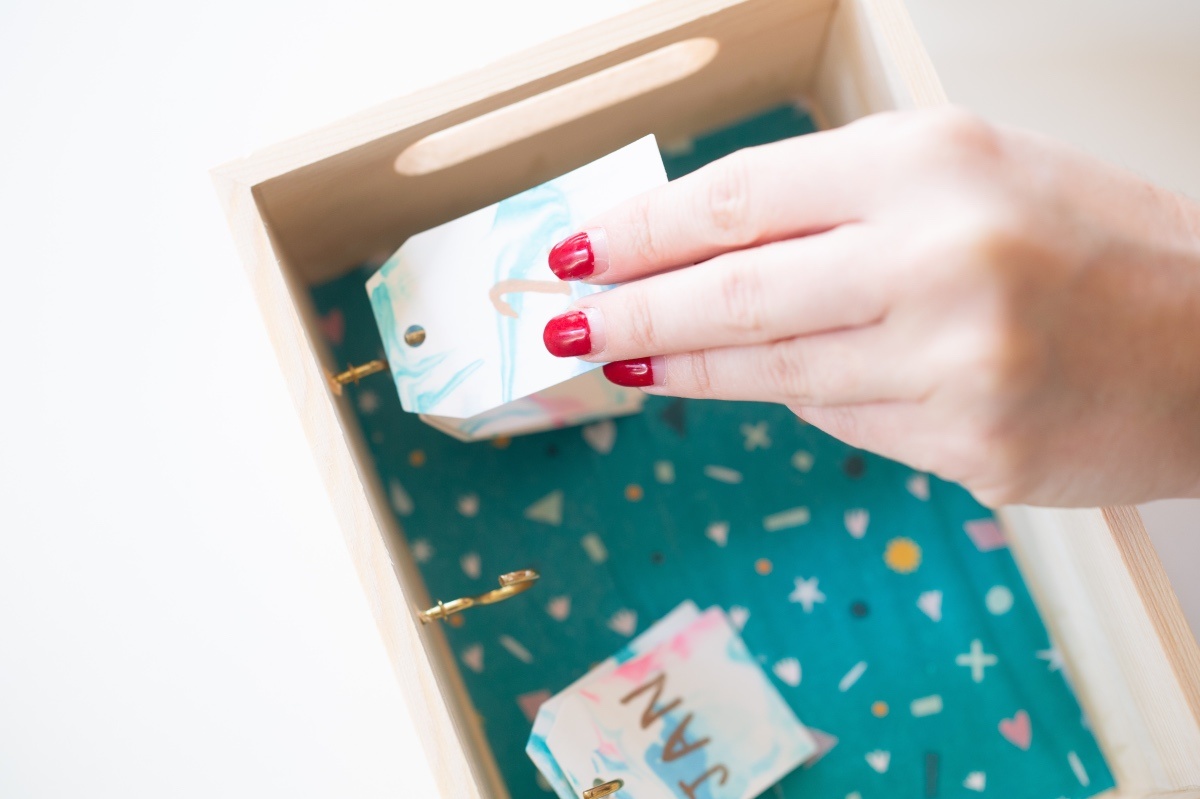
I found it easier to gauge how far apart the hooks should be by adding the tags to the hooks. Since that’s where they will be placed when this project is finished it was an easy way to see what they would really look like.
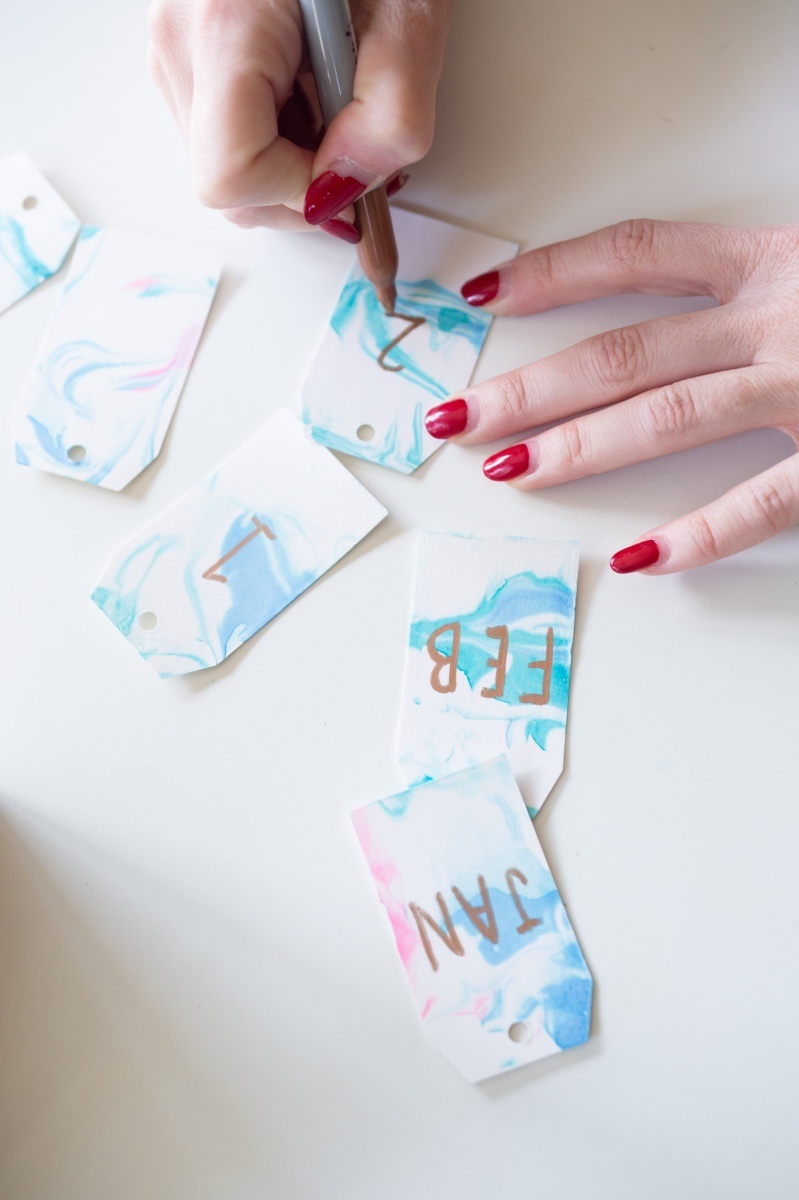
Once you have all 3 of your C hooks mounted in the box, it’s time to turn your marbled tags into months and days of the week.
First, I made tags that read Jan, Feb, March, and so on. For those, you will need 12. For days of the week you will need a 0-9 for a total of 10 tags. Plus, you will need a 1,2, and 3 – for a total of 13. Get it?
I’m a gold gal, but copper, silver or really any color would look fabulous! It’s totally up to you.
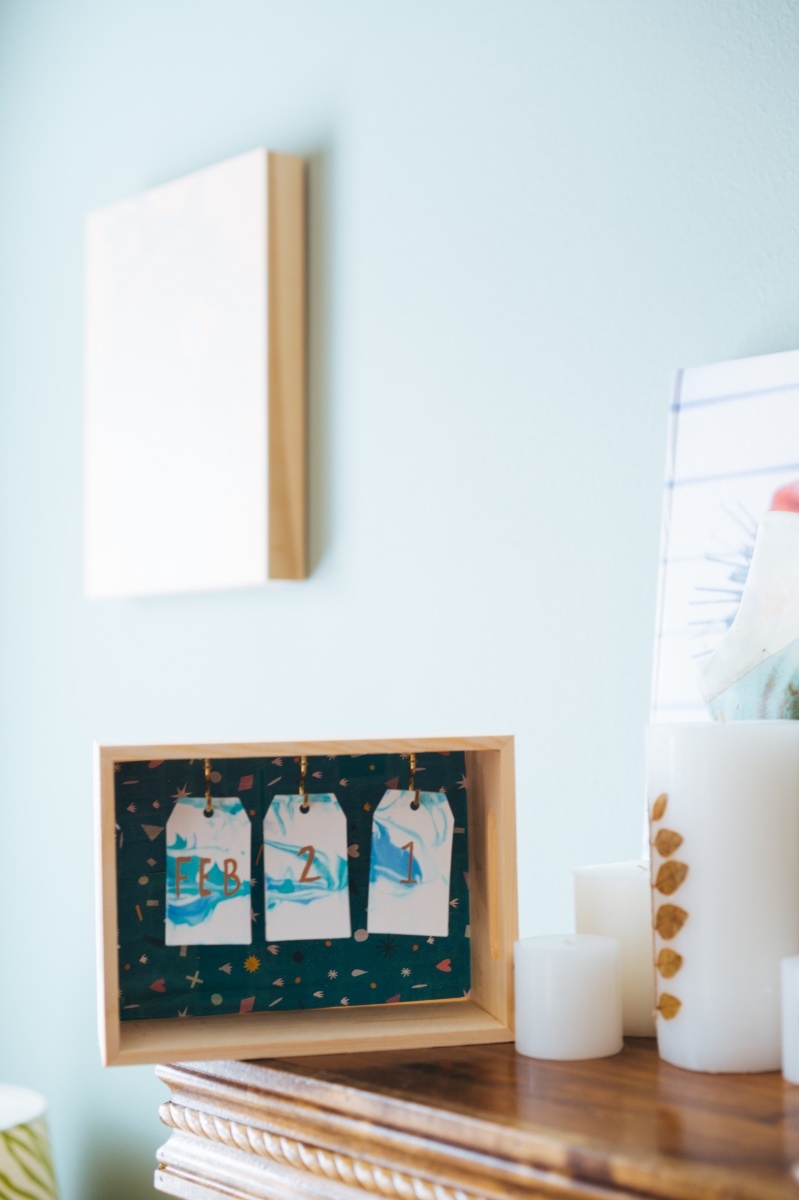
To finish the DIY Wood Desk Calendar with Marbled Paper, add your tags with the earliest dates in the front and the later dates in the back. So for example, your December tag will be the last tag in the back of the months section. And your 9 will be last on the c hook that is on the far right.
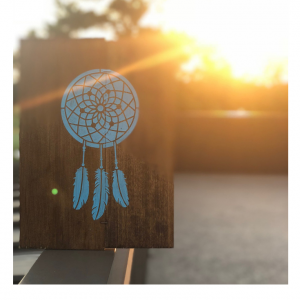
Then your DIY Wood Desk Calendar with Marbled Paper can be displayed anywhere! It’s perfect for the home and perfect for your office too. What’s great about this calendar is that you can use it year after year. It’s not just good for one year!
If you love this DIY Wood Desk Calendar with Marbled Paper make sure you shop the Craft in Style Subscription Box that has a new project every month or the DIY Wood Desk Calendar DIY Kit here!
Let’s Stay Friends!
Insta | Pinterest | Enews | TikTok


