Craft in Style Subscription Instructions, DIY
How to Make a Moon & Star Felt Mobile

Nov
This is the tutorial for the Moon & Stars Felt Mobile Kit. Find this kit at Pop Shop America here or gather your own supplies to make it your way!
Some handmade objects make sense to buy finished. Other crafts have to be made yourself. This is one of those crafts that I highly recommending making yourself because just look at the prices for similar felt mobiles on Etsy! They are over $100!
To make this project you will need a bit of time – so you are trading that hefty price tag with a bit of time. Plus you can customize this in your own colors, styles and make it your own! So let’s do it.
Moon & Star Felt Mobile Craft Supplies
Moon, Stars, and Clouds Cut Templates (download them for free here)
Mobile Base (for this you could use a bamboo or metal wreath ring – I used a star shaped metal base)
Felt Sheets in at Least a Few Colors (I Chose White, Lavender, & Gray)
Matching Embroidery Floss
Fiber Fill (Fluff)
Fabric Pen
Embroidery Needles
Fairy Lights
Glue Gun & Glue Sticks
Optional: Ribbon
Optional: C Hook (or a way to hang your mobile)
Plus you will need scissors that are in good condition to cut the felt. You may want to test your scissors before you start this project because cutting the felt evenly and nicely is essential.

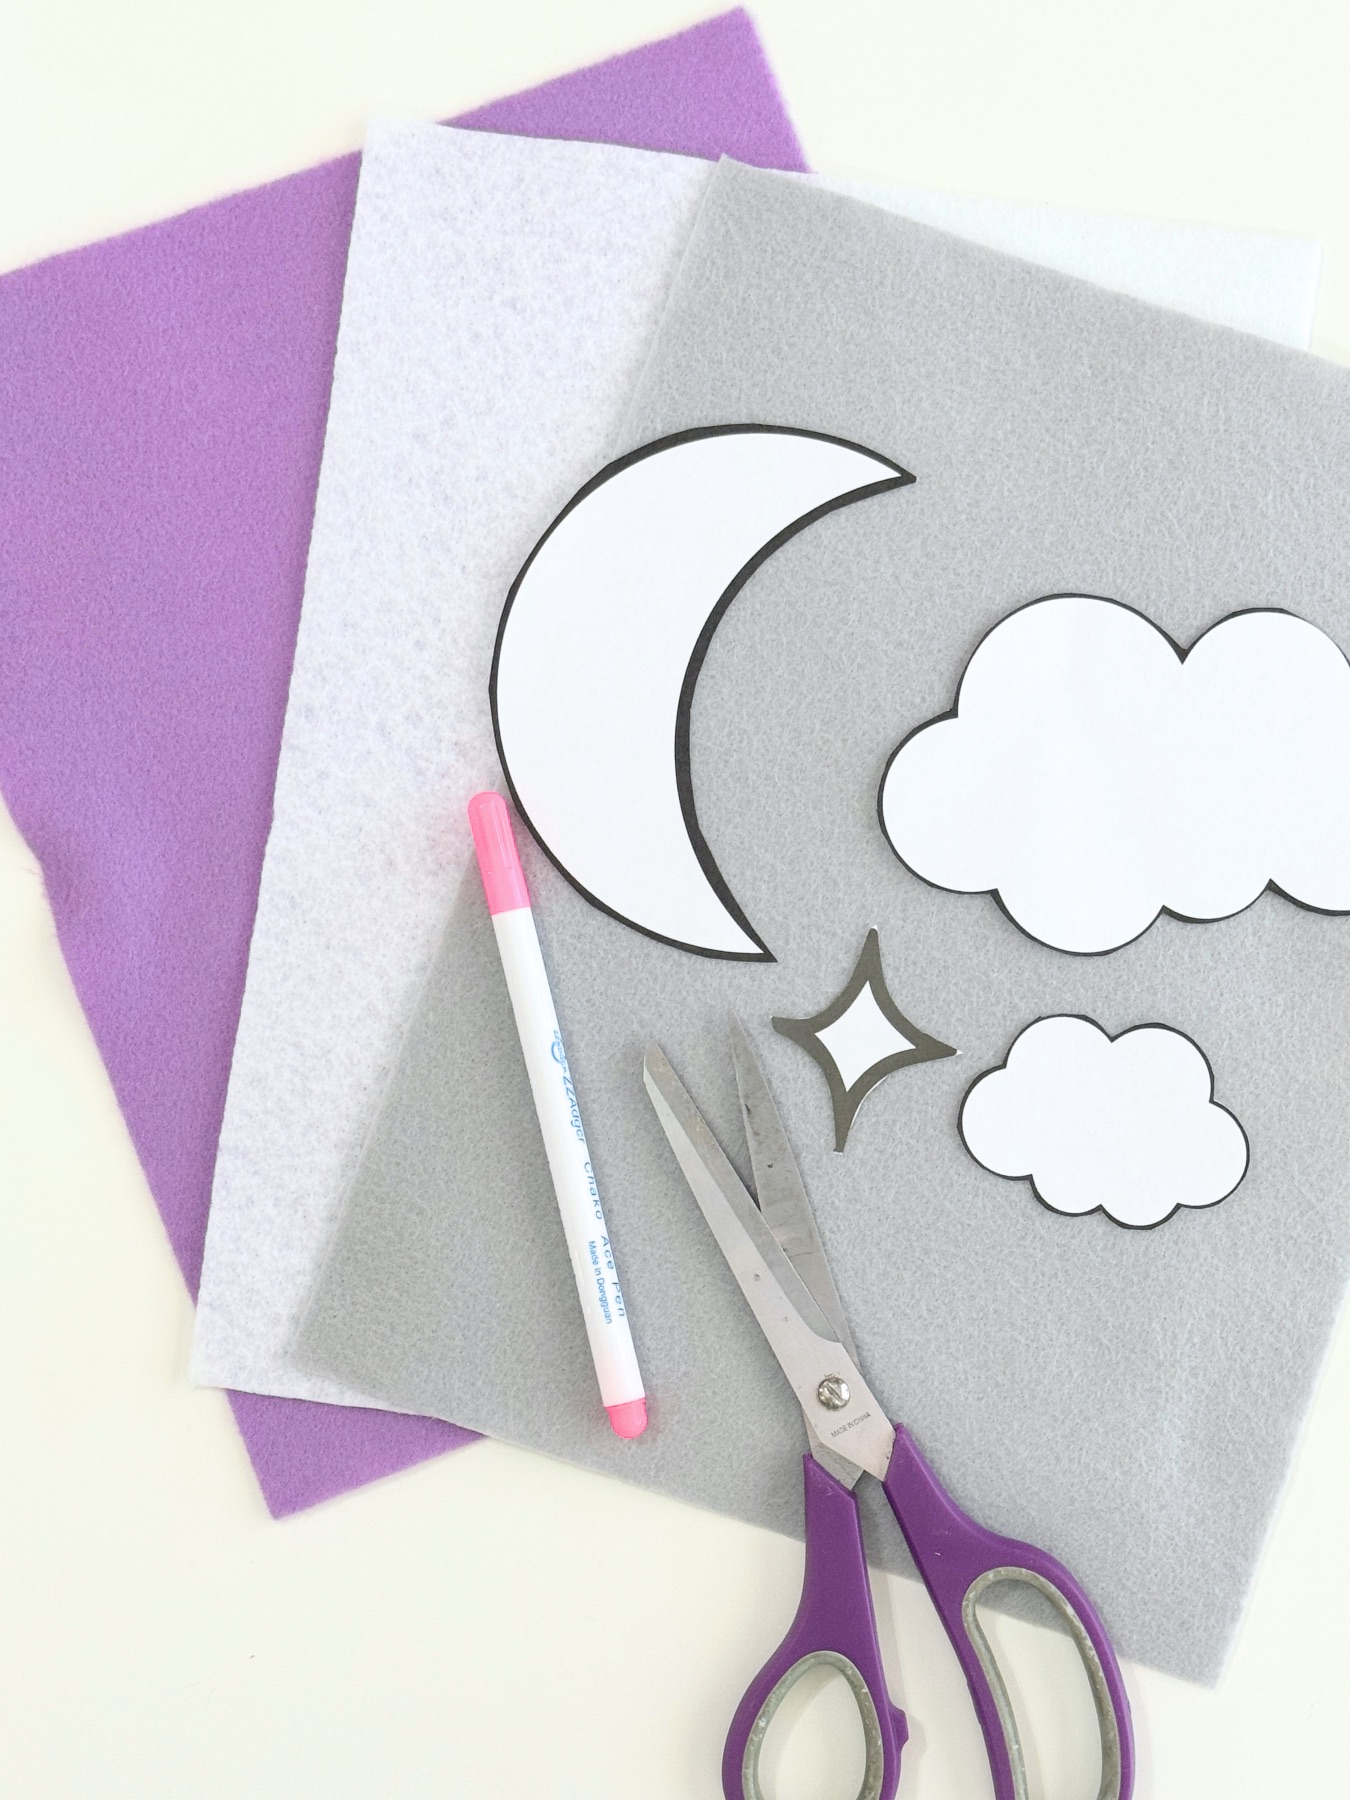
Step 1: Trace & Cut Your Felt
Start by printing and cutting your shaped templates. I highly recommend using at least 3 shapes. More is even better. The goal is for your mobile to feel full and dynamic when complete.
When you cut the templates, be sure that the edges are smooth.
I recommend using a fabric pen to trace your shapes so you can fully rinse the ink from the felt. But you can any chalk, or any pen that you prefer to use with sewing projects.
For each felt plushie, you will need 2 pieces of felt. One side of the plushie will be a mirror to the other. To create the mirror or opposite side of the plushie, you can flip the template over and trace and cut the template in reverse or you can use the back of the felt or reverse the felt itself.
Cut the felt smoothly. Line up the 2 pieces of felt to be sure they match perfectly. Then trim away any excess.

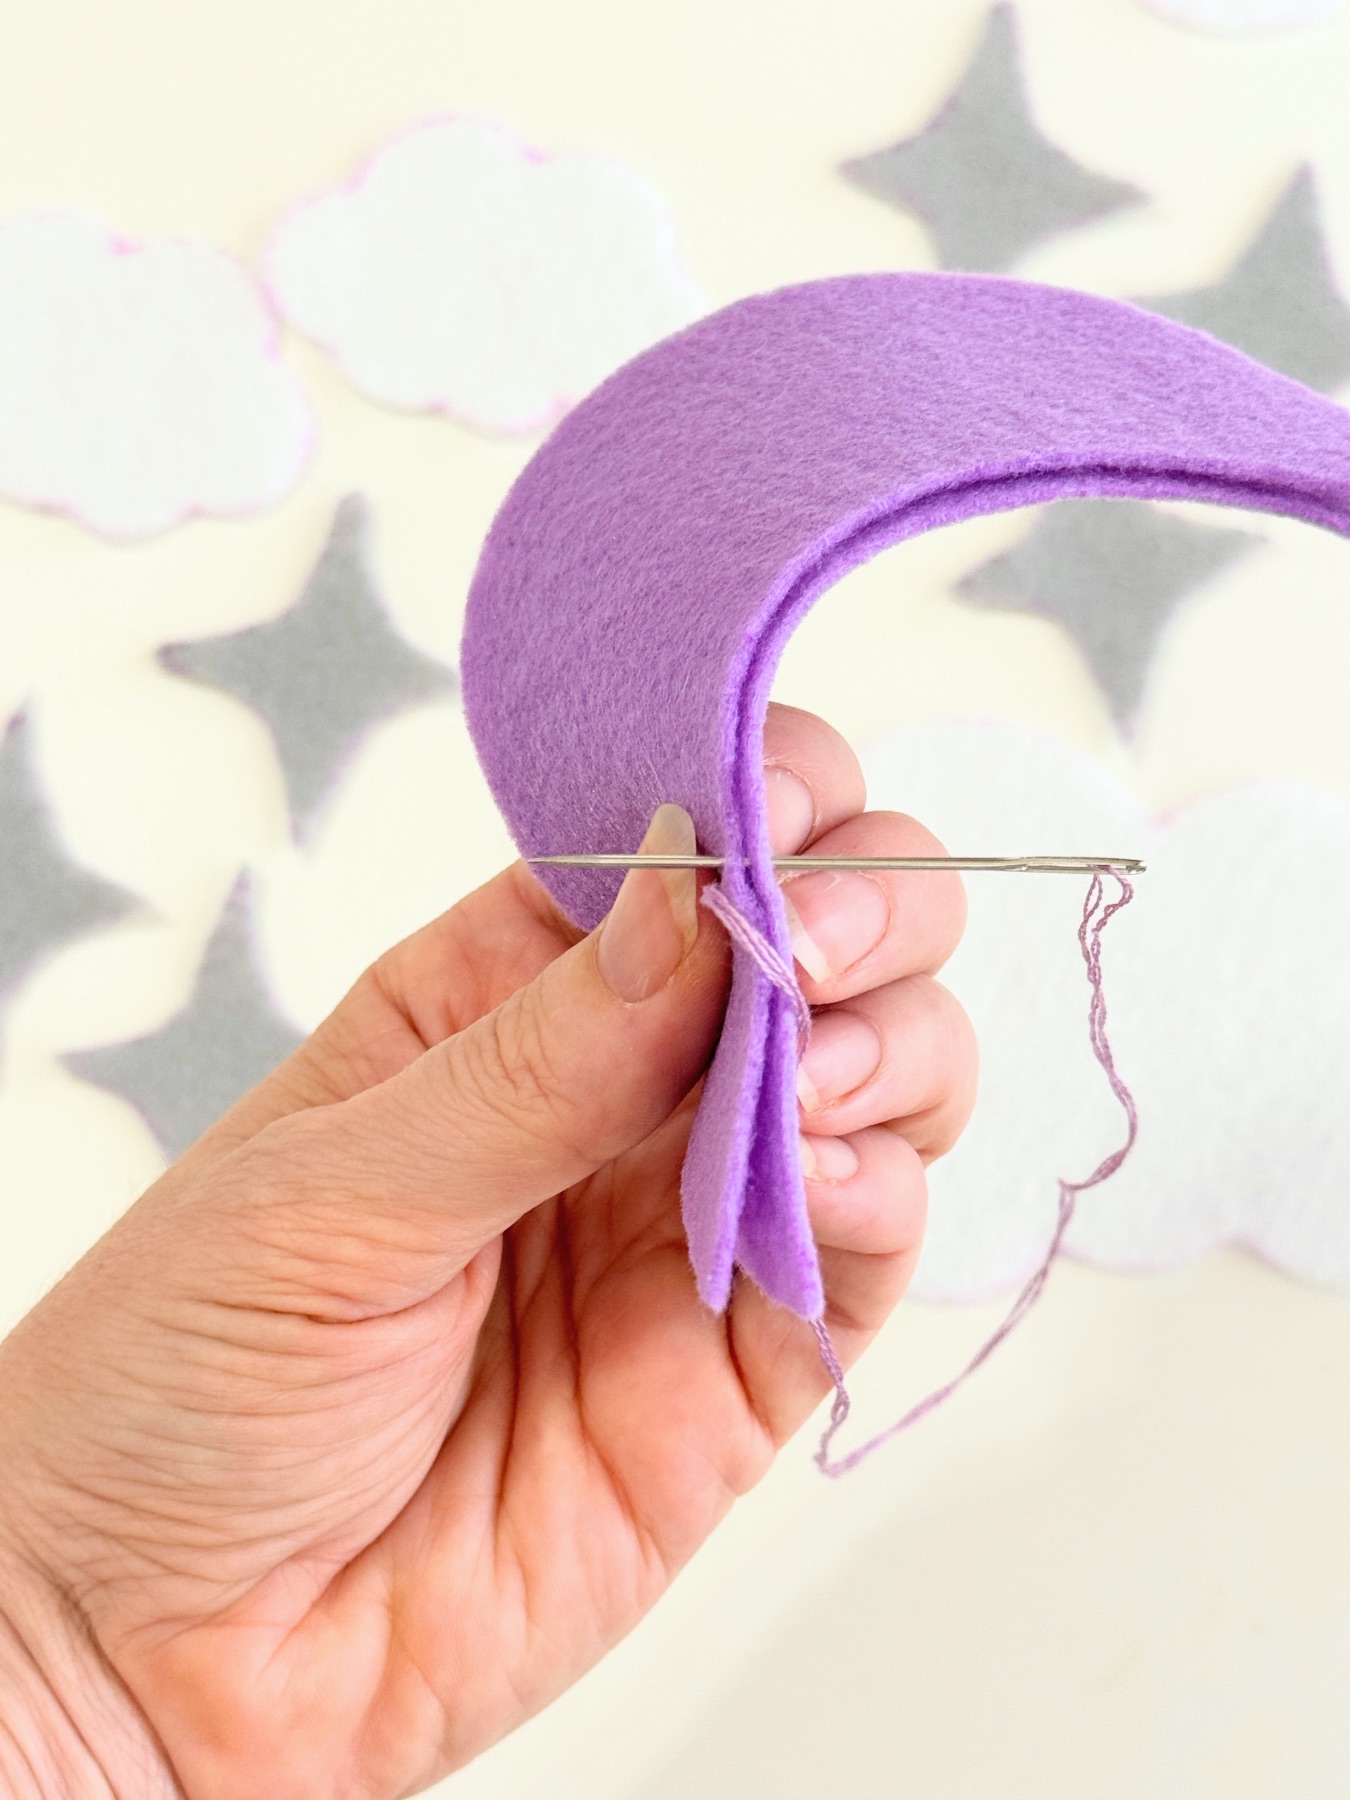
Step 2: Stitch Your Felt Plushies
For your plushies, you only need 1 strand of embroidery floss. Floss is always bundled into 6 threads. Cut a very long length of embroidery floss, then pull 1 thread away. If you are just getting started with embroidery floss, here’s a helpful guide.
Test your embroidery needle to ensure it can puncture through felt. Felt is thick, so you need a needle that’s small and sharp. Thread the end of the floss through the needle and use a balloon knot (permanent knot) to tie the ends together.
To begin your stitches on the felt, start on the inside – in between the 2 pieces of felt so you can hide your knotted end.
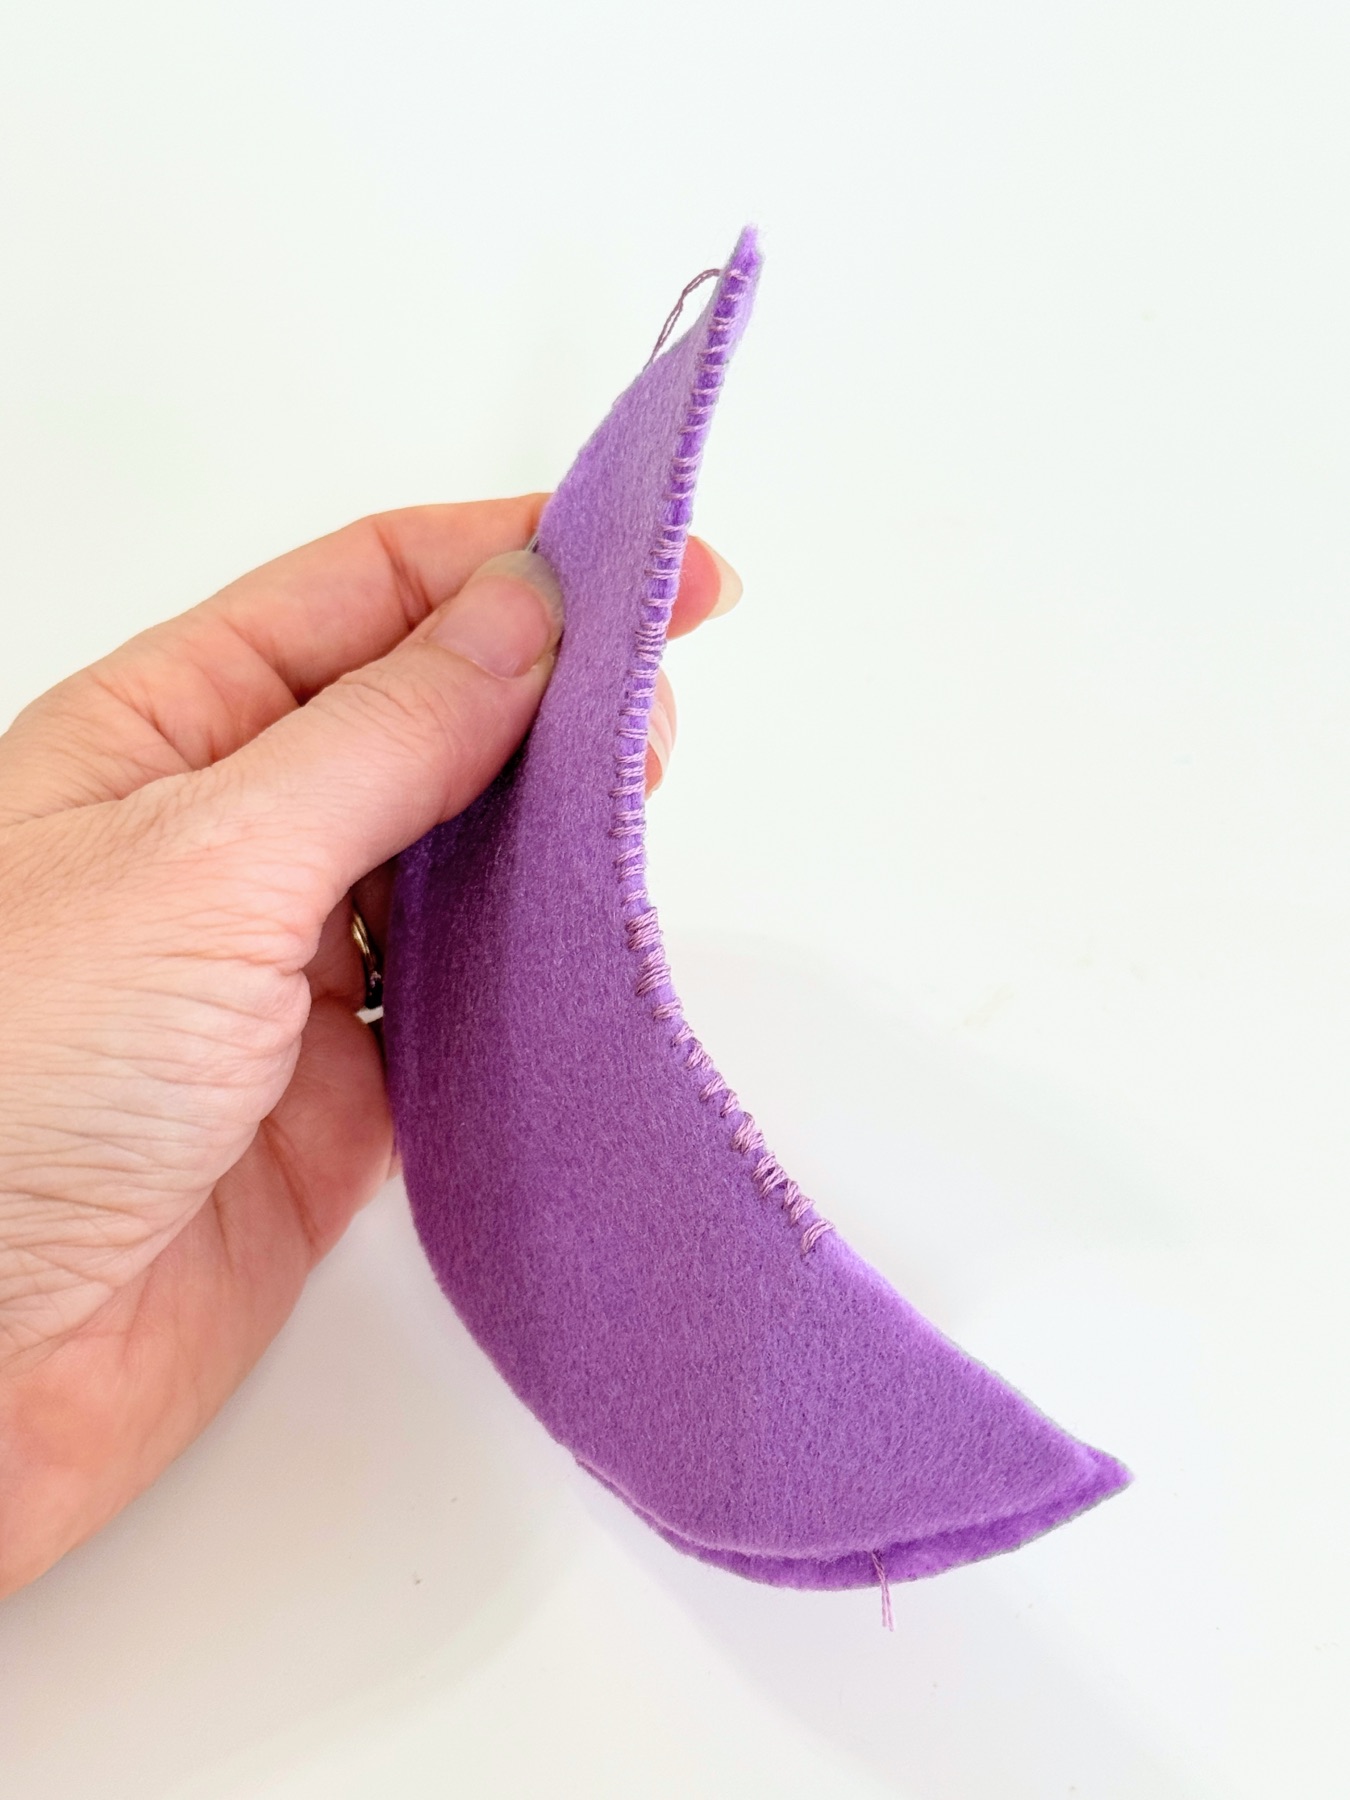
Then use a simple whip stitch shown here to sew your pieces of felt together.

How to Make Your Stitches Look Professional
Spacing your stitches evenly is the most important way you can make the finished felt plushies look professional. Most crafters prefer to space the stitches 1/16 of an inch apart. After each stitch gently pull the thread taught. This will make a big difference!
As you are crafting, remember that they do not need to be perfect! This project is a great way to improve your hand sewing skills and a great way to fidget or use your hands while you are watching TV. Now is a really great time to remember the finished but not perfect idea.
No one is going to be looking so closely at the project that they notice any misplaced stitch! And you will likely only notice while you are working on the project, but not once it’s hanging on display!
Step 3: Stuff Your Felt Plushies
Continue your whip stitch around your felt plushie. If you are low on length, punch through 1 layer of felt so you are in between your 2 pieces. Cut the floss from your needle. Tie 3 overhand knots against one side of the felt. Trim any excess and stuff the thread ends in between the pieces of felt. Start a new piece of floss in the same space – in between the felt pieces to hide the end.
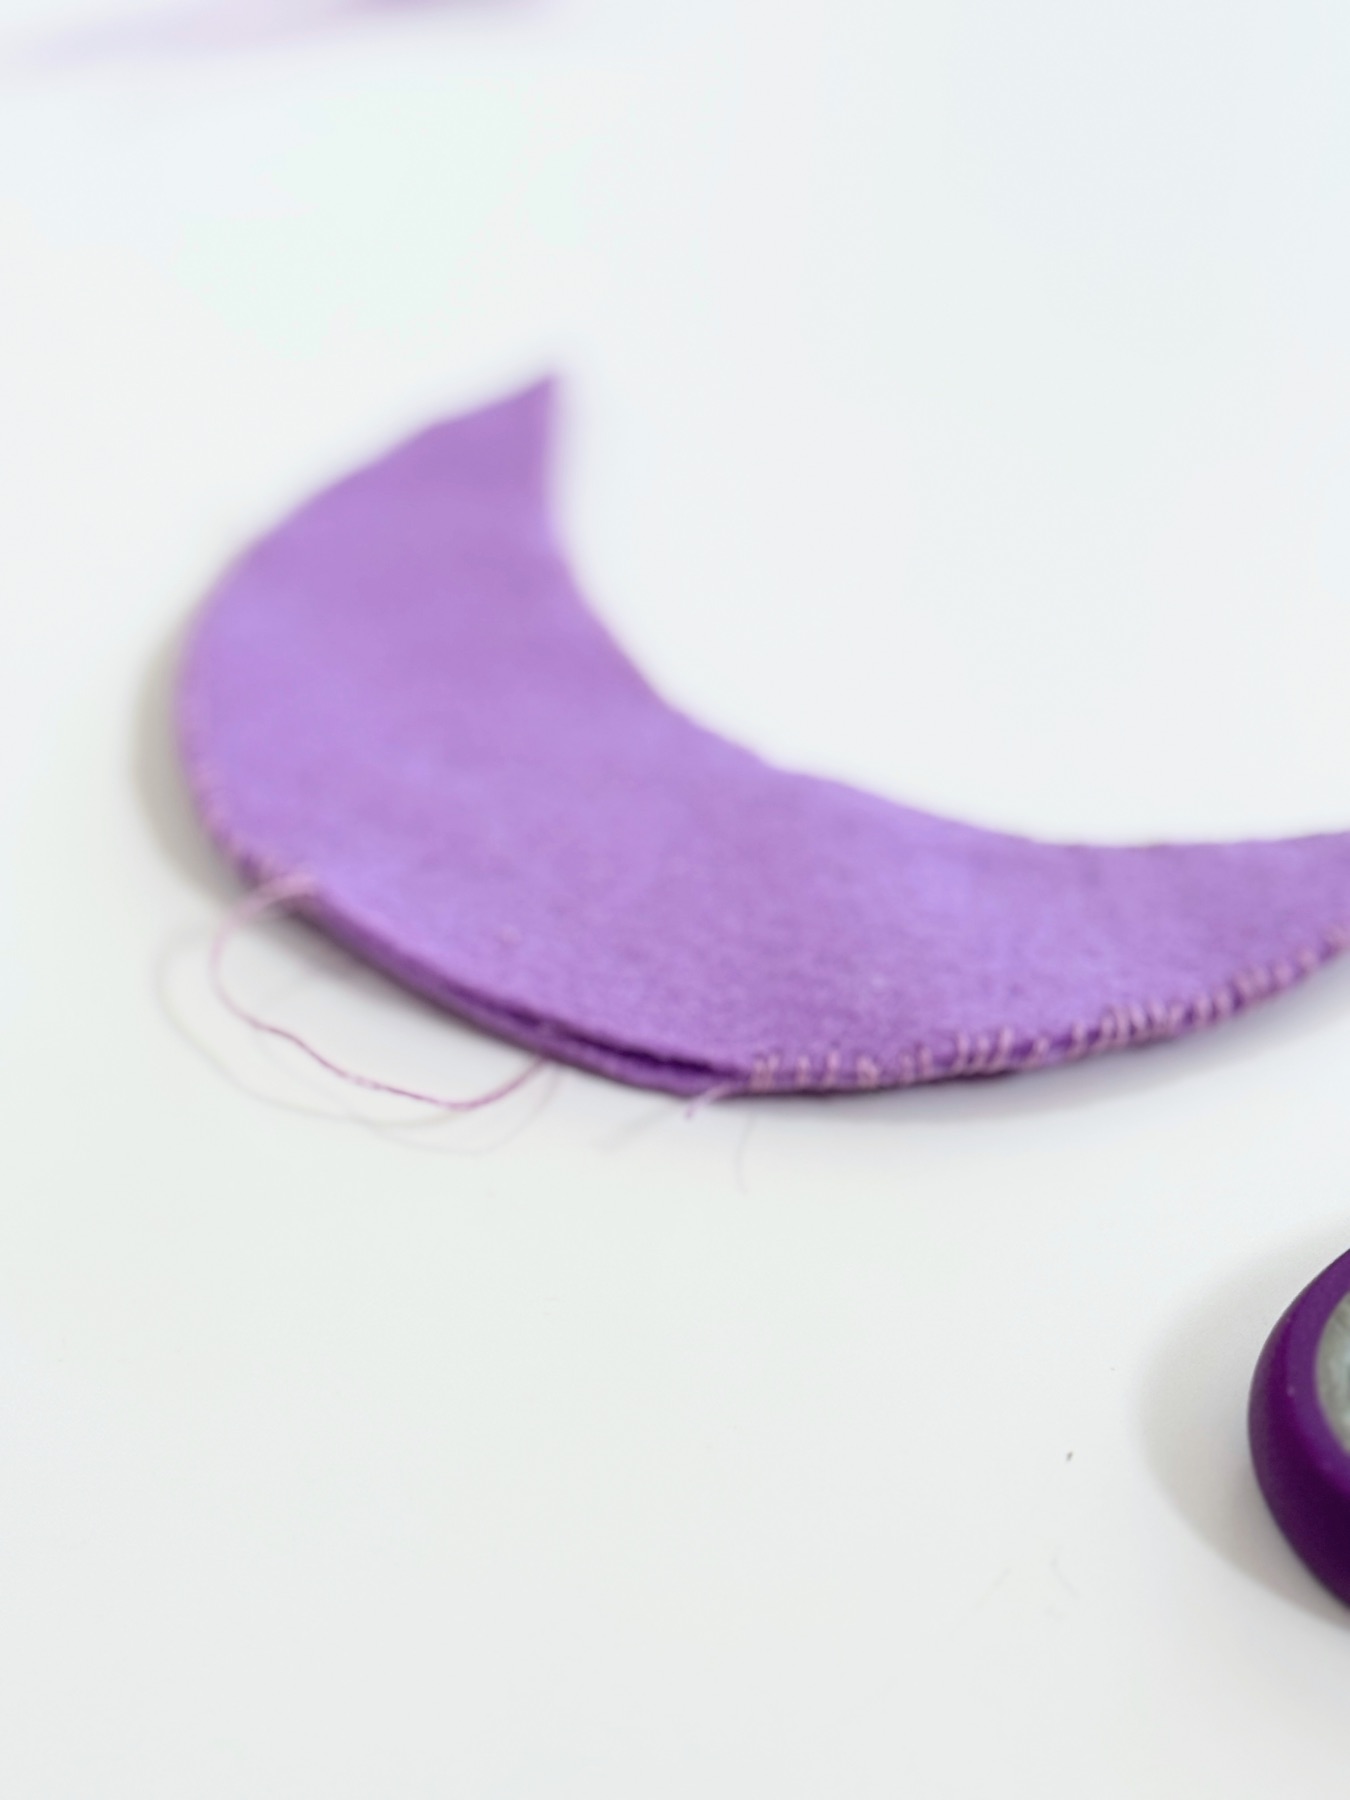
Once you get about 80% of the way through any plushie, leave the section open. Now it’s time to stuff the felt with fluff! Grab a small handful of fluff and push it inside your felt.
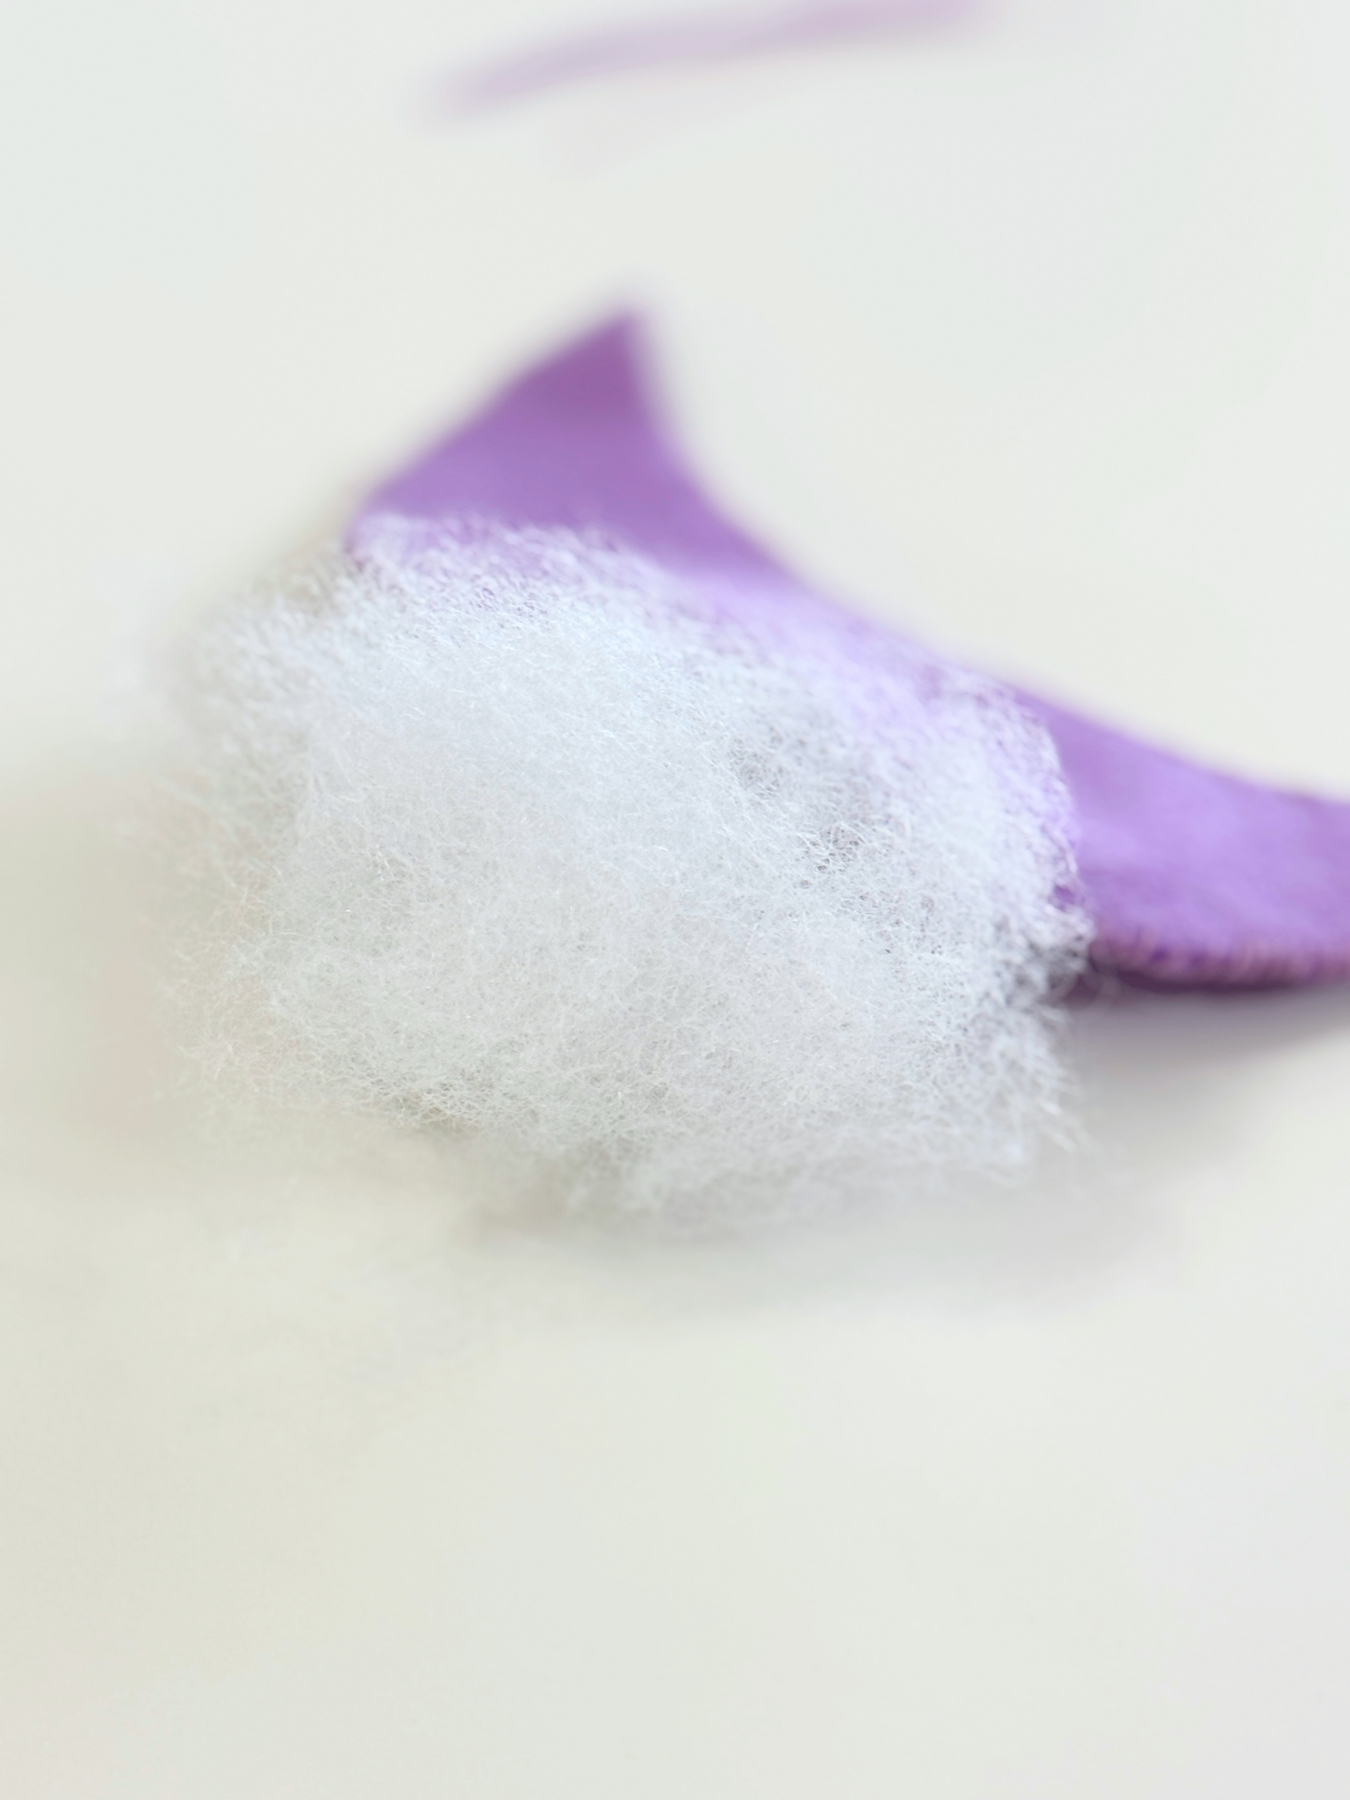

Add more fluff than what you think you need because it will flatten over time. Use a wooden skewer, the end of a paint brush, a spoon, or anything long and skinny to push and poke the fluff into any corners and edges.
Then sew the plushie closed. Finish your stitching in between the 2 pieces of felt and tie some overhand knots in the thread.

Step 4: Repeat! Make an Array of Plushies
With this project, more is more. You need an array of felt plushies to make this project feel full and complete. Here’s how many I made, but you can make even more than this. This is the most time consuming part of the project so here are some ways to keep busy while crafting:
1. Chirp Audiobooks Freebie Fridays: Every Friday you can find a small selection of free audiobooks. There are new ones every week!
2. Trash Theory on Youtube: This channel makes cool mini documentaries on all your favorite music artists.
3. Pop Shop America on Youtube: You like crafts? You are on our website? Watch some of our long and short videos!
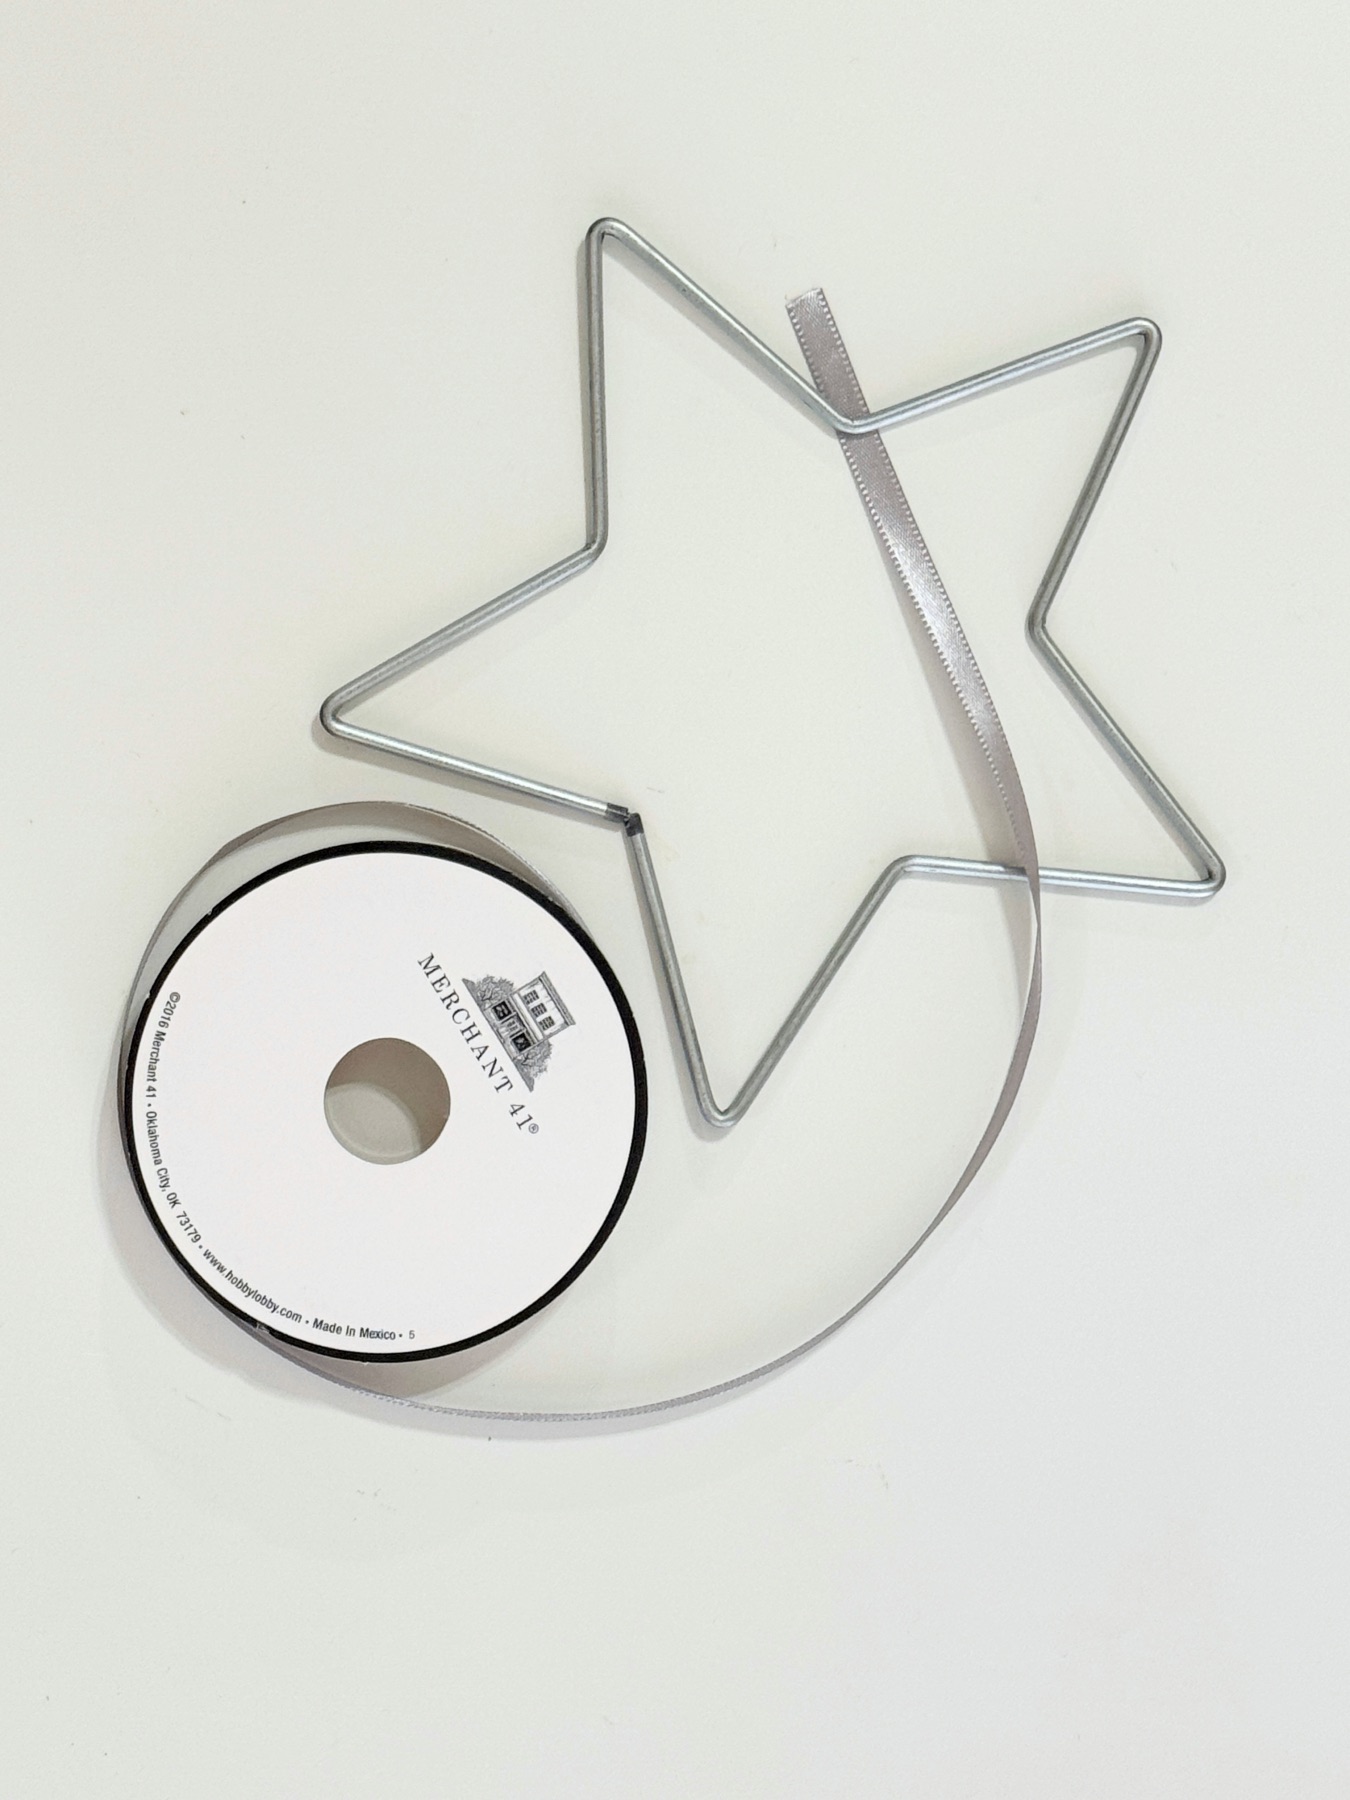
Step 5: Prep Your Mobile Base
Depending on what you use for your base, and what style you like, you may need to prep it before hanging the felt plushies. For example, I used a metal base, and I don’t love the look of metal, so I covered mine with ribbon. Ribbon is slippery making it a really difficult cover, but it’s also pretty.
For an easier cover, you can try cutting stripes of felt and hot gluing them around the mobile base. If you use a wooden wreath base, you may not need to cover it at all.
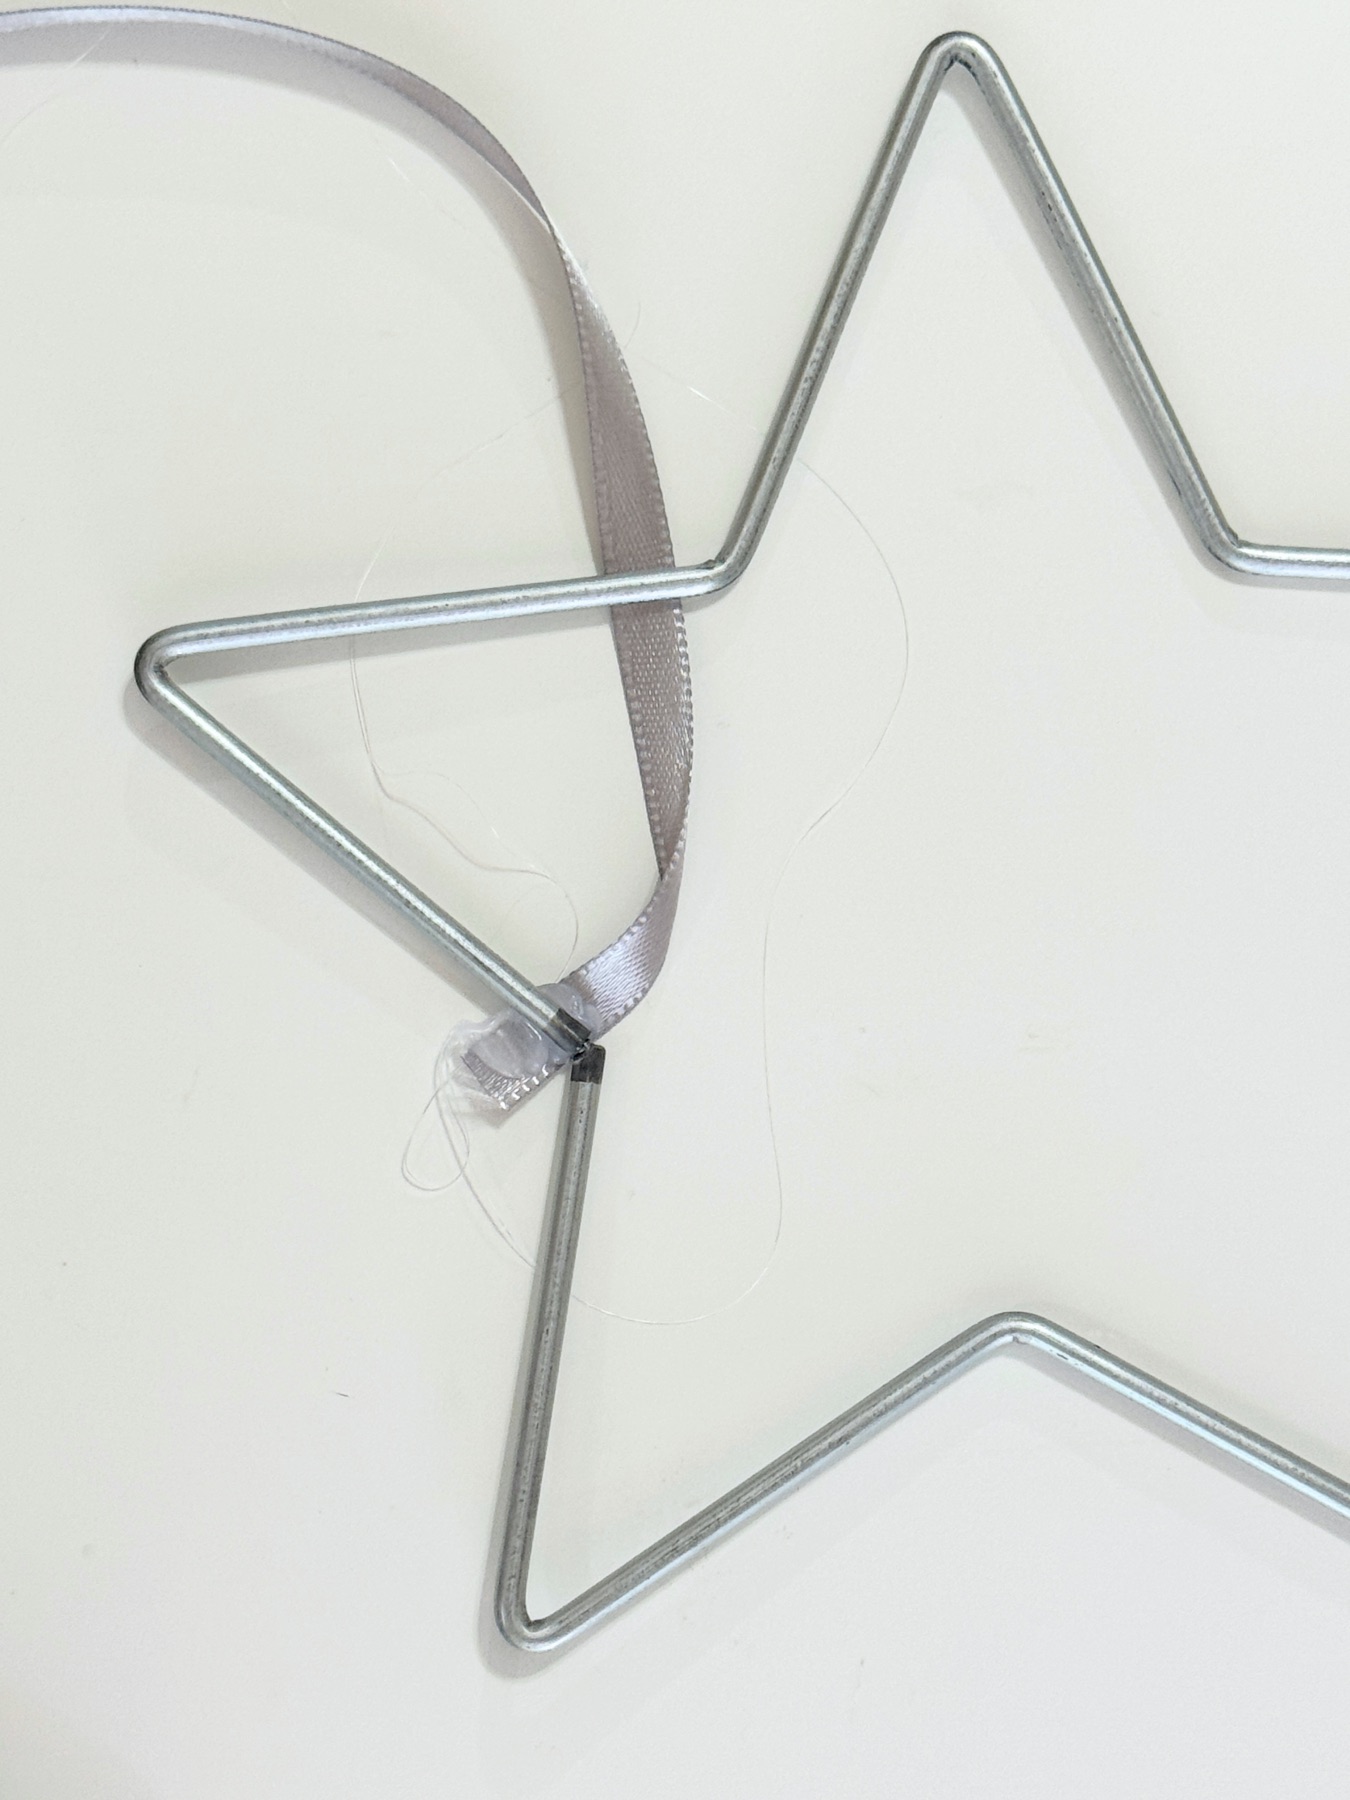
If you want to use ribbon like I did, start by hot gluing the end (or tie a really tight knot) and wind it around and around the metal base. Try to make sure each loop is even with the previous loop. Do not loosen your grip or the ribbon will unwind.
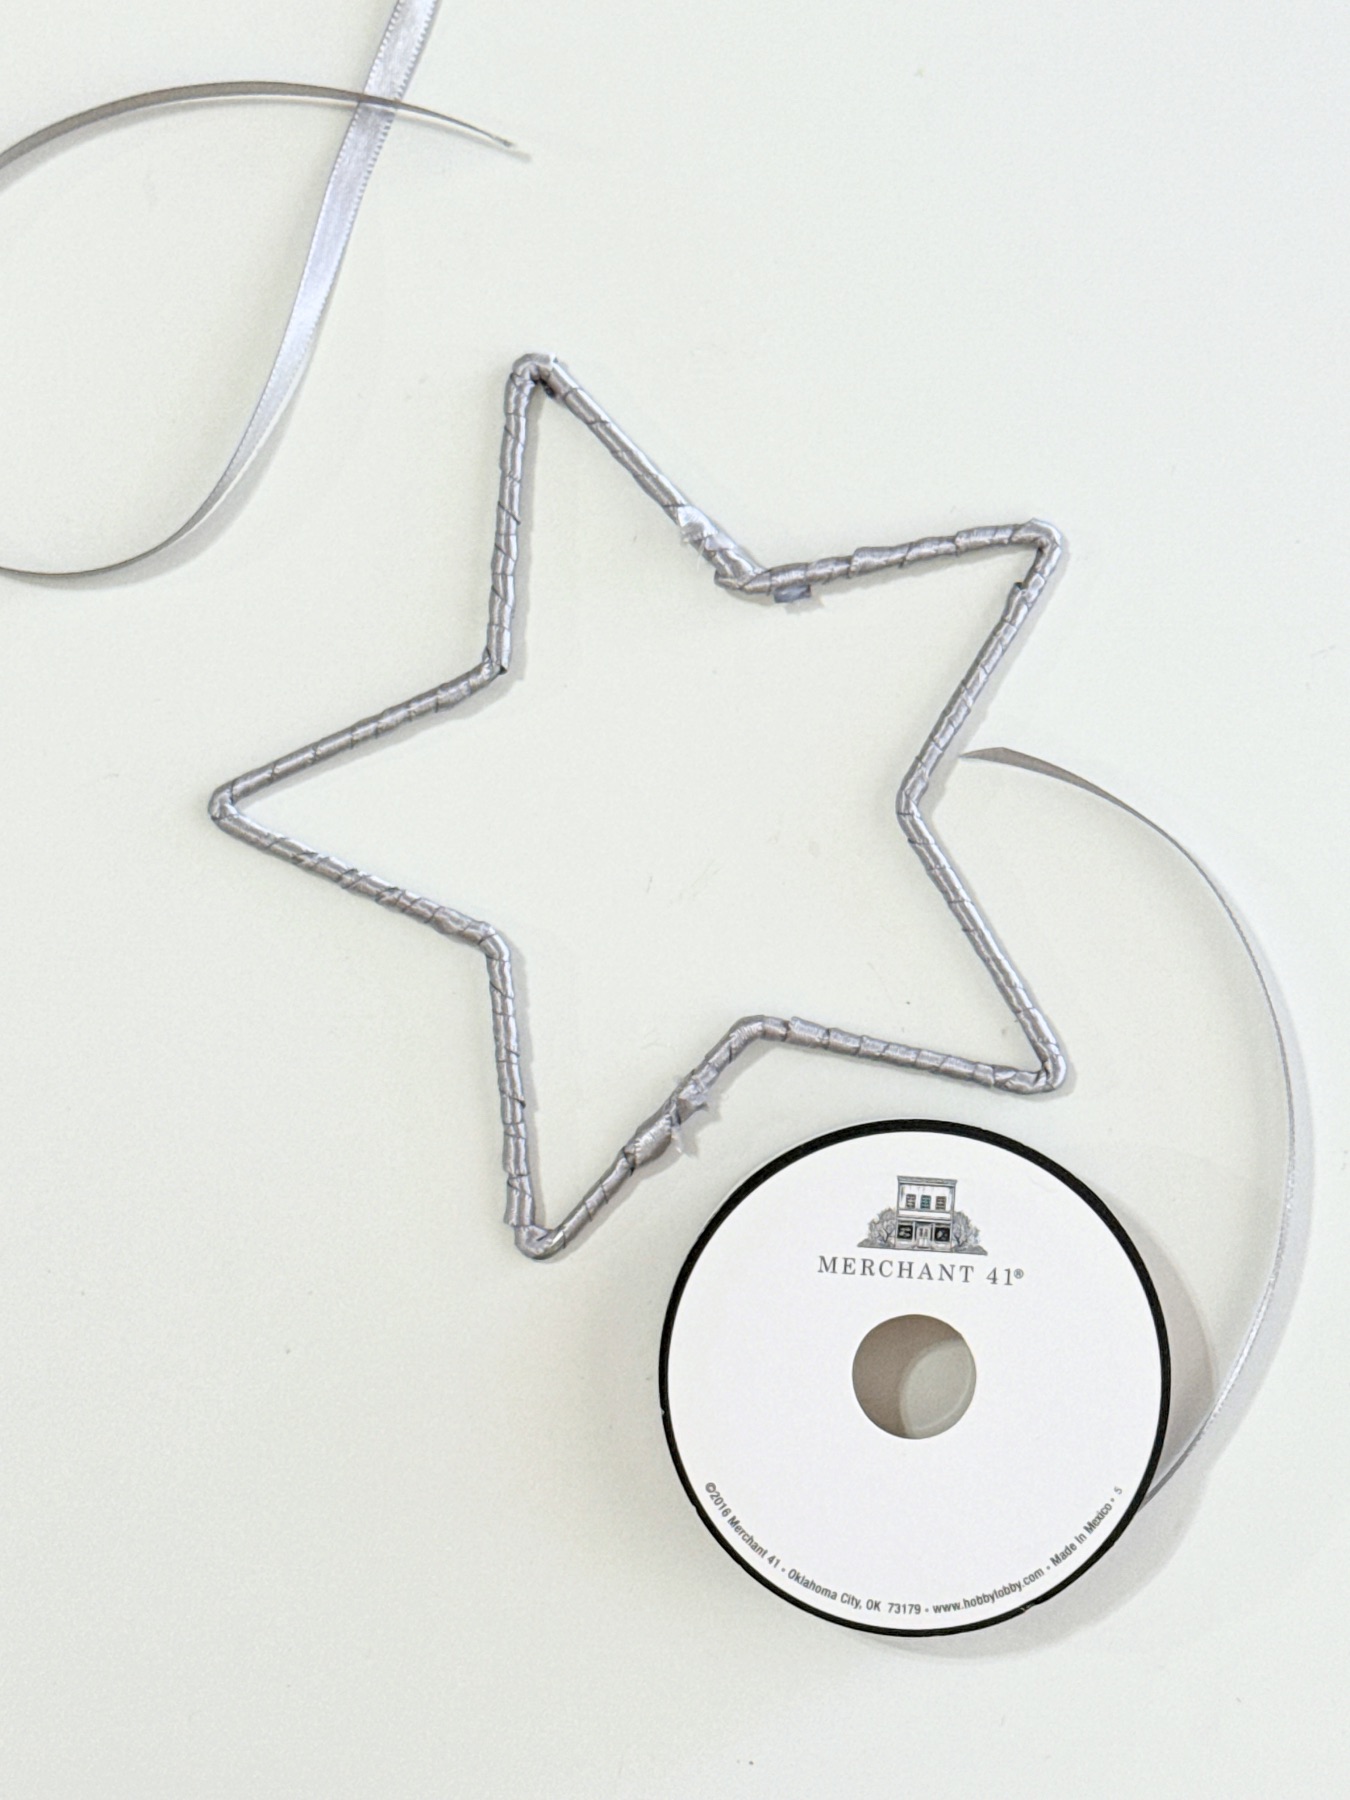

Once you reach the end, tie a tight knot and then dab the knot with a touch of hot glue.

Step 6: Determine Your Composition
Before you start to hang your moon and star plushies, decide where you want them to hang. You will want to space them out and create some longer and shorter lengths. You can even hang multiple plushies together.
Take a photo if you want to remember the composition you created.

Step 7: Two Ways to Hang Your Moon & Star Felt Plushies
Now it’s time to hang your plushies! You can either hang them with ribbon or embroidery floss. I chose embroidery floss because even though it looks messy up close as we are making the project, it’s super pretty and almost invisible when the Moon & Star Felt Mobile is hanging.
You can also hang your plushies with ribbon which is a gorgeous option!

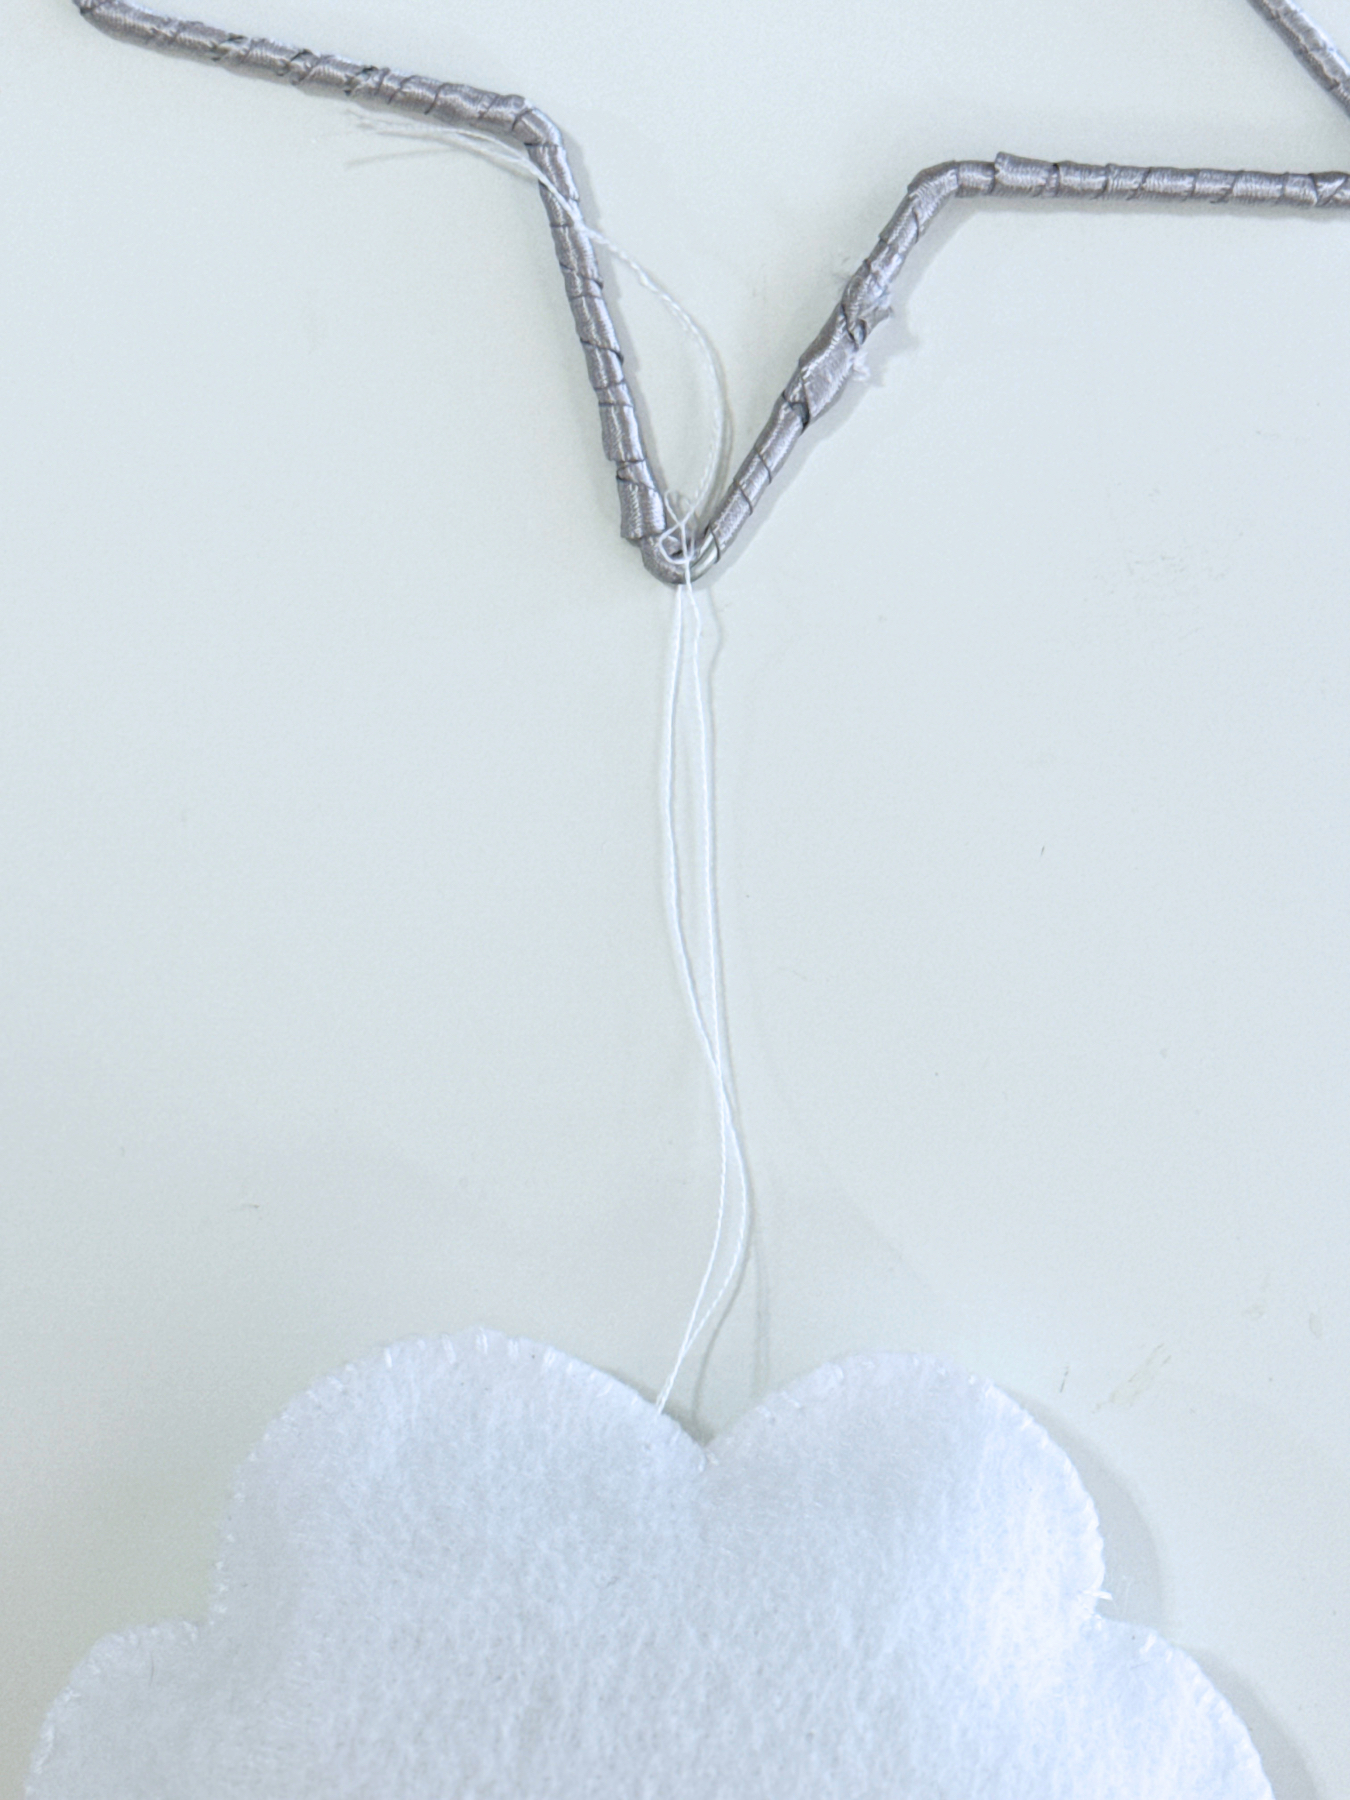
If you want to use embroidery floss like me, use 1 thread of floss. Do not tie the end! Instead leave the ends open and punch the needle through the felt plushie near the top and in the center.
Next remove the needle. Pull 1 strand of the thread through. Now you should have 2 open ends of thread with a plushie hanging in the center.

Find the level that you want to hang the plushie and tie it around the mobile base. I used a balloon knot (also called a permanent knot) for this step. Remember if the plushie is hanging too far down, you can also tie another knot to raise the plushie.
Trim any excess thread and move the knotted end against the felt plushie so you can’t see it.
To attach 2 plushies together, use the same technique looping through the top center of the lower plushie and the bottom center of the upper plushie. Be careful with how far apart they hang – closer is often better.
Continue this process and evenly space the plushies. But don’t worry if one side is a little heavier than another.

Step 8: Hang Your Mobile
Once you have your Moon & Star Felt Plushies in place, use at least 3 pieces of embroidery floss or ribbon to make a tripod that hangs down and can tie to the mobile base. I used a balloon knot (permanent knot) at the top and a overhand knot to attach the hanger to the mobile base.
You may need to tie and retie these pieces to ensure that your mobile is close to hanging evenly. It doesn’t need to be perfect – just close.
Step 9: Use the String Lights to Balance the Weight
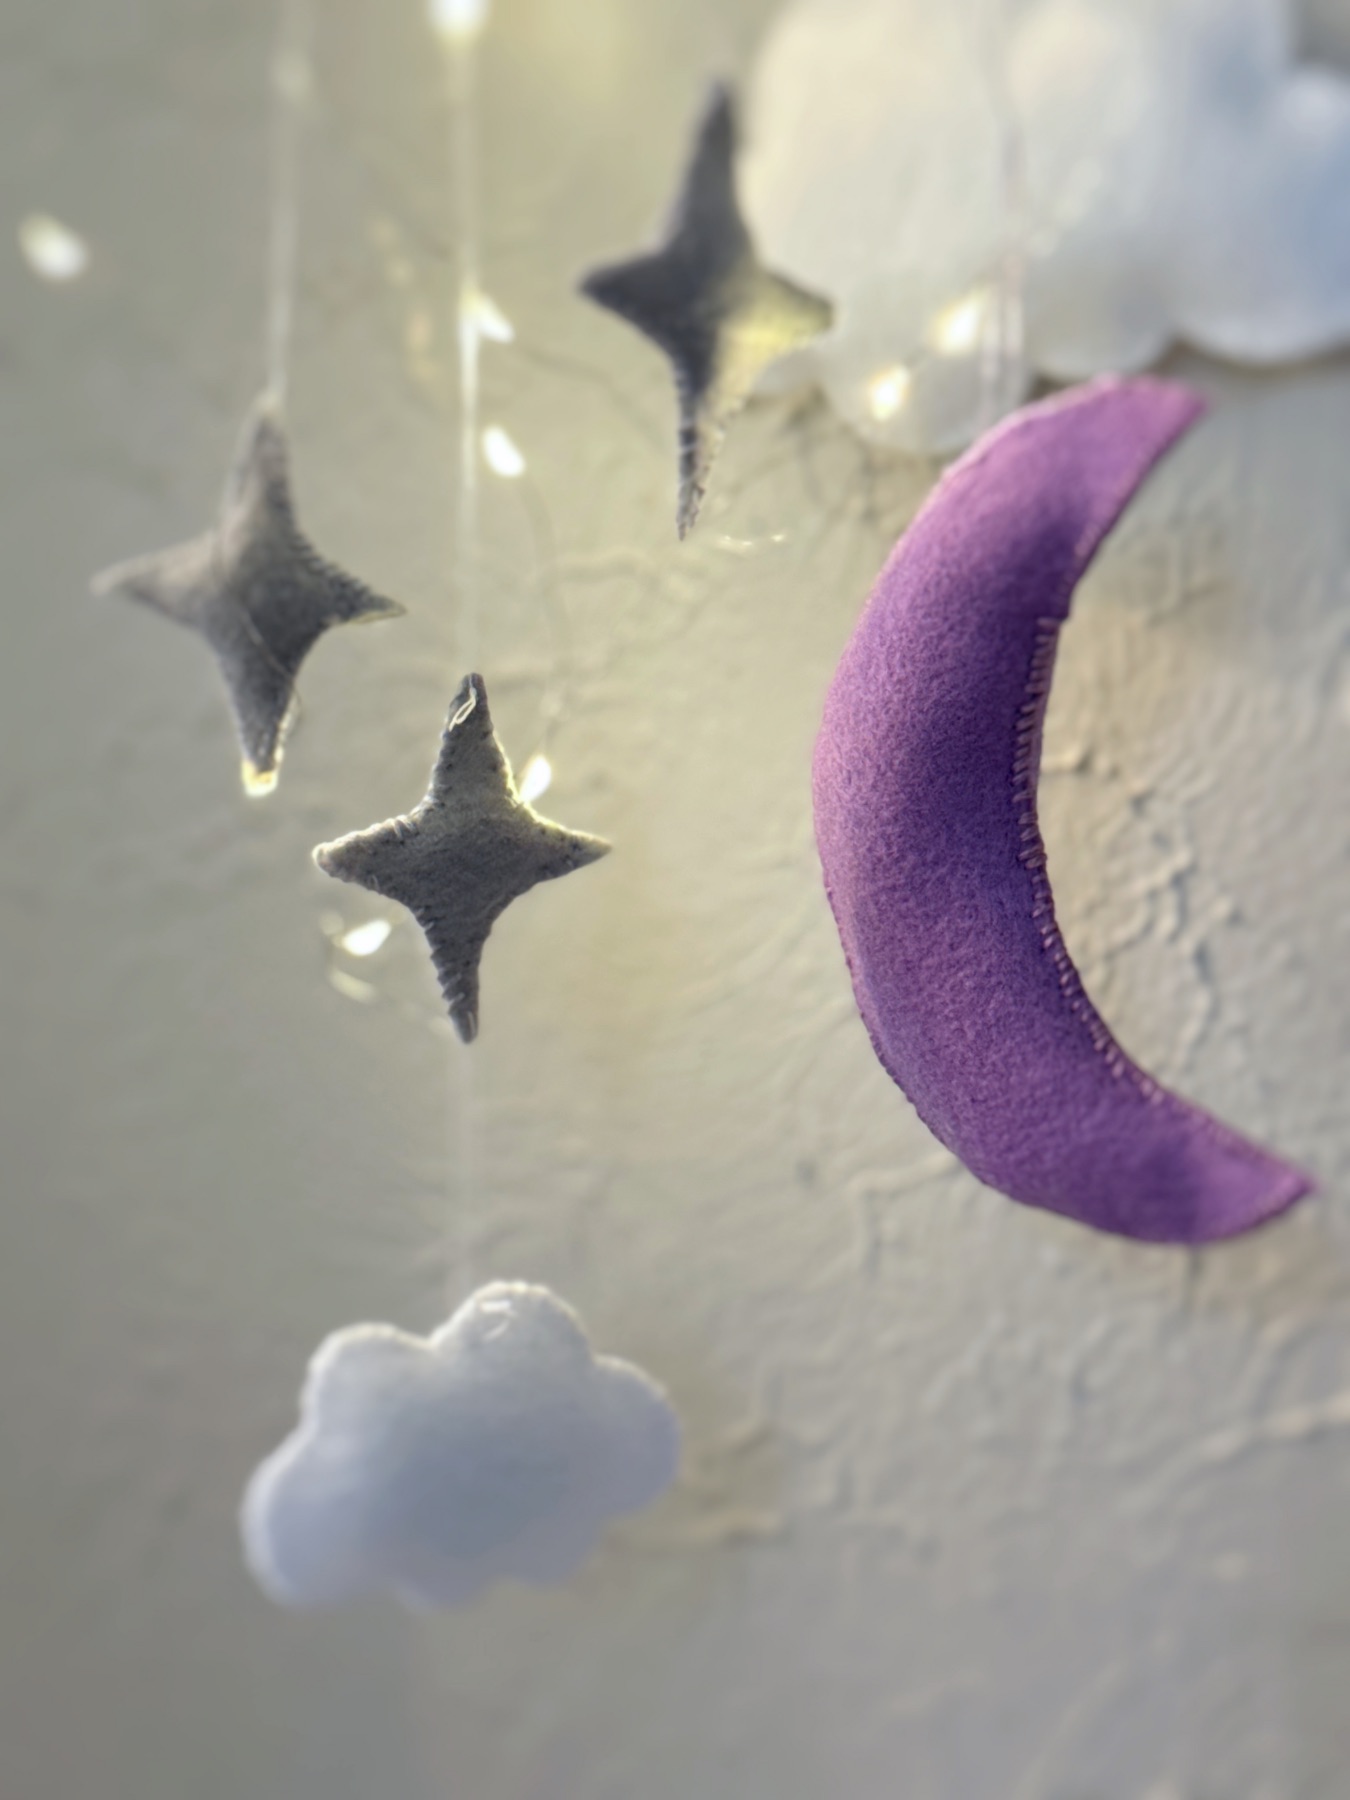
Once you have your mobile hanging, use the string lights to drape through the mobile and help it hang evenly.

And voila! Your gorgeous Moon & Star Felt Mobile is finished! Ready for even more projects? Scroll down!
Let’s Stay Friends!
Insta | Pinterest | Enews | TikTok