Craft in Style Subscription Instructions, DIY
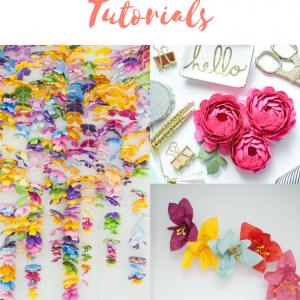
DIY Felt Flowers with Printable Template

Feb
This blog is the Part 2 of 2 tutorials for the February Craft in Style Subscription Box. You can find the additional tutorial for February, previous box tutorials, more about this box, and other Craft in Style Boxes here.
Love flowers but don’t want the drama of having to keep up, rewater, throw out old flowers, and then replace every few days? I relate!

It’s a lot of work to keep up with fresh, especially when making flowers with paper or with felt can be so gorgeous and fun! The trick is you need the right templates – and I’ve got some for you for free below. So let’s make these DIY Felt Flowers.
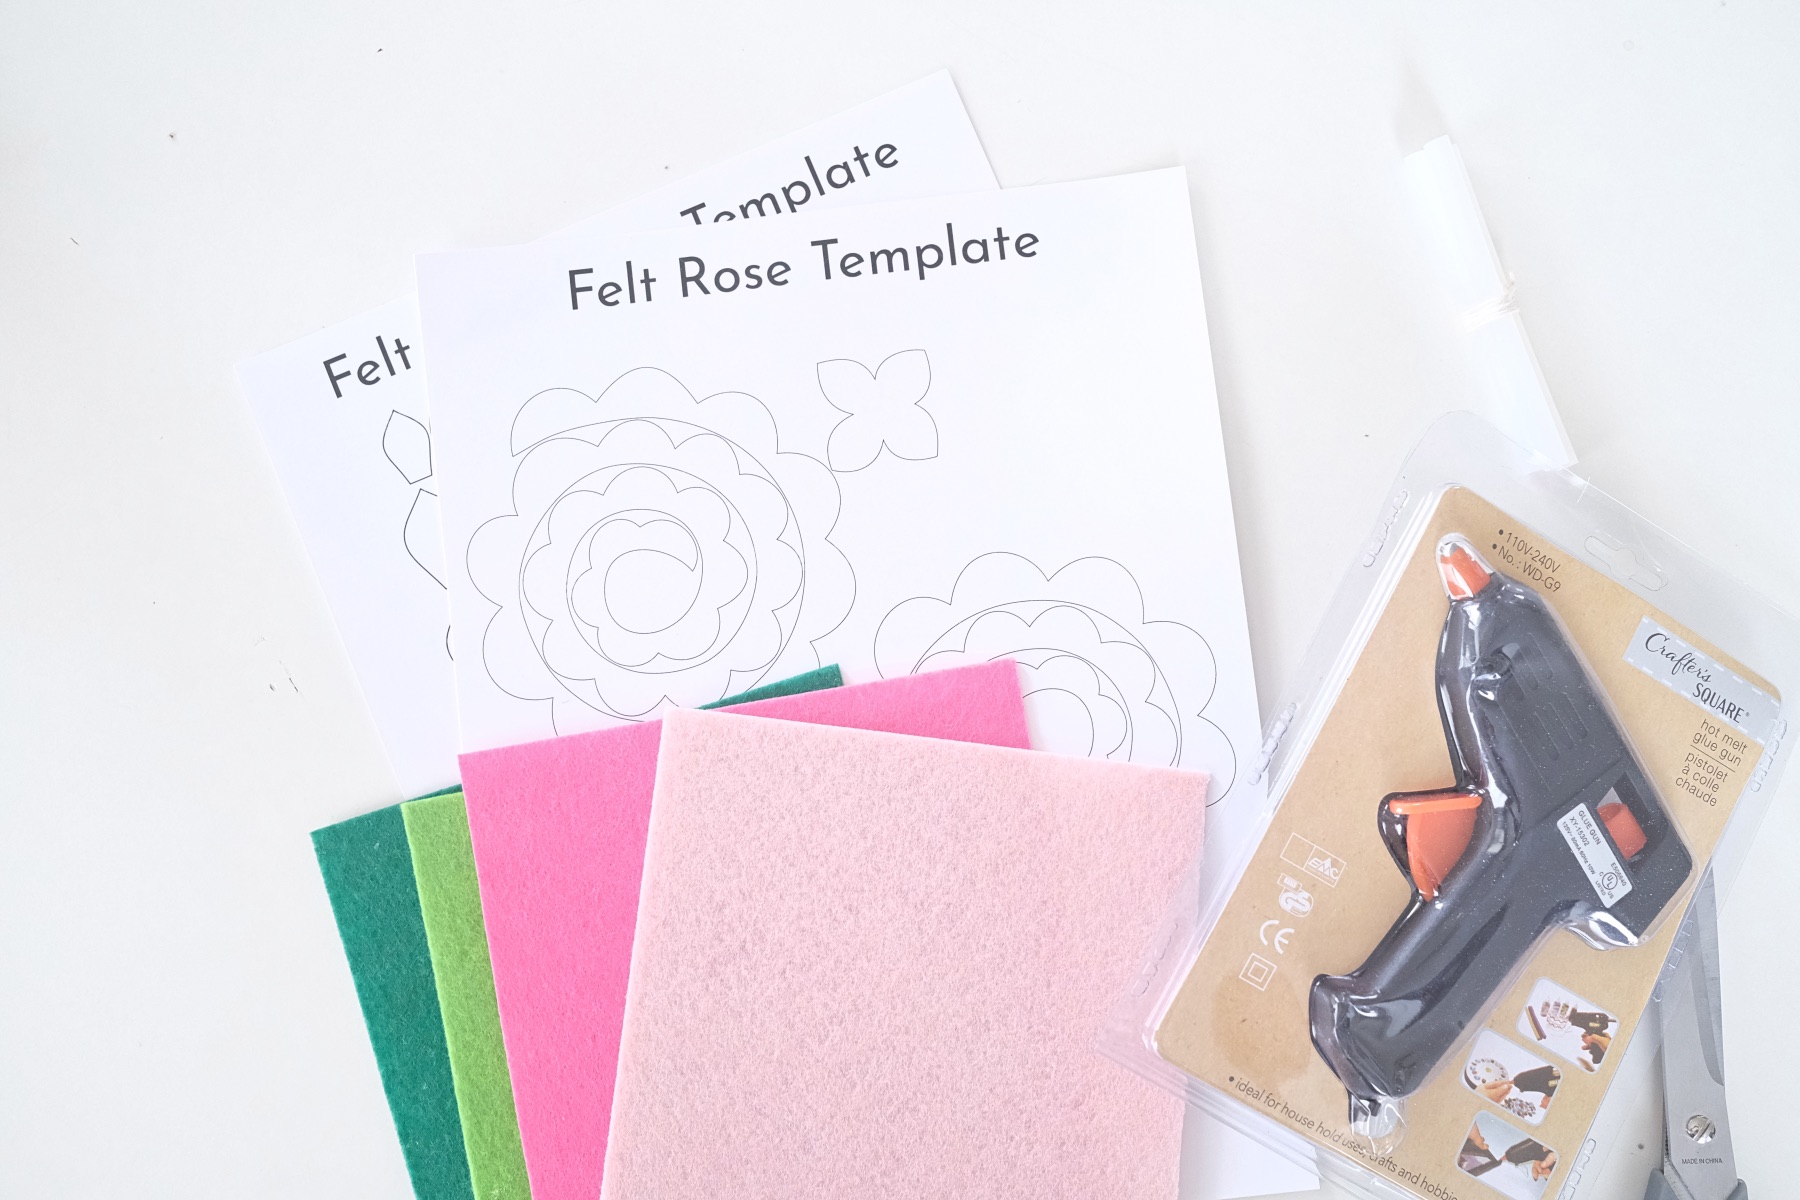
Supplies to Make DIY Felt Flowers
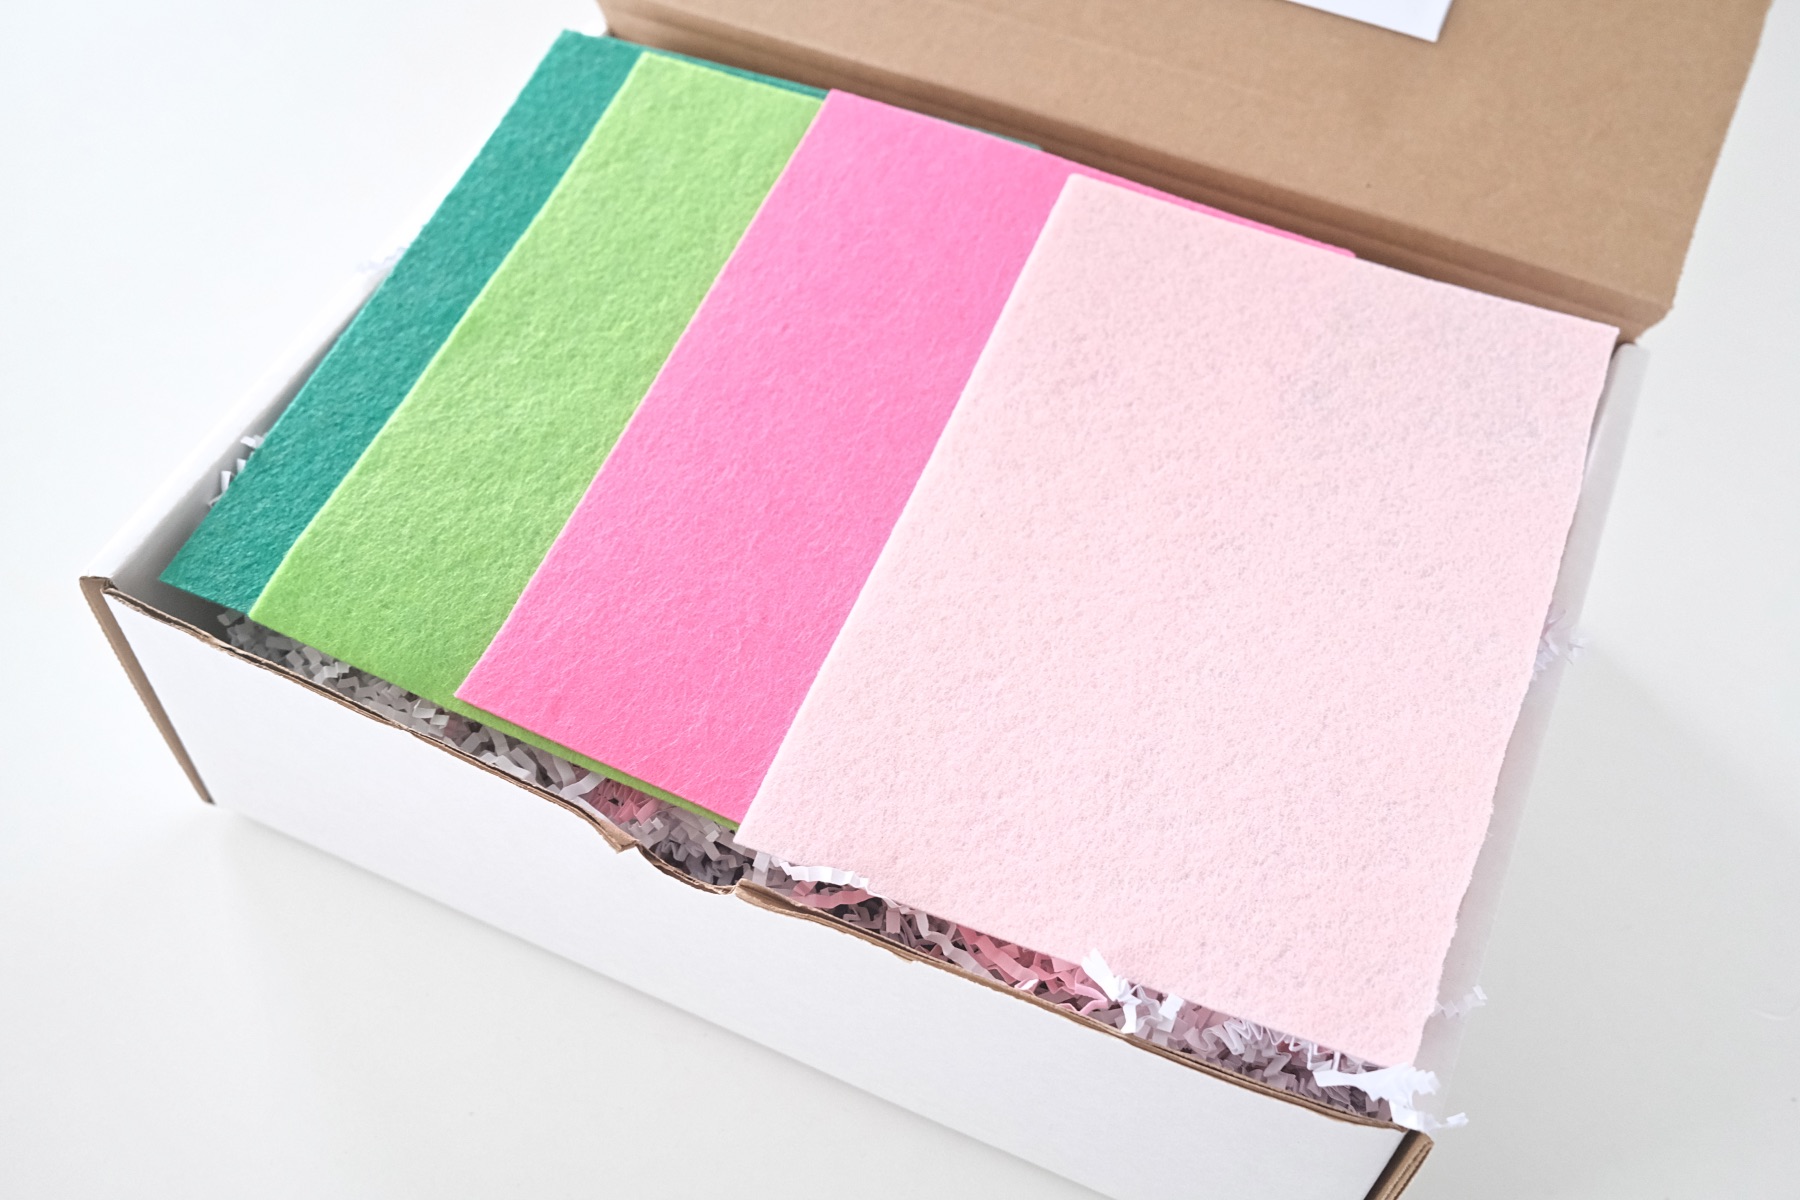
February Craft in Style Subscription Box
-or-
Felt Sheets (4×6 for Small Flowers, 8×10 for Large)
+in flower colors like white, pink, red, or yellow
+green felt for the leaves
This Felt Flower Template Printed on Cardstock
Scissors
Fabric Pen, Washable Pen or a Matching Colored Pen
Hot Glue Gun
Glue Sticks
Optional: Floral Wire
Pro Tip:Try using felt that’s firmer and felt that’s softer to see what you prefer. I like both. The felt is soft and feels nice to work with. Firmer felt holds it’s shape easier. But you may have a preference.
Step 1: Cut Your Flower Template
If you haven’t done so already, print your Flower Template on card stock. You can find the small flower template, the large flower template, and a succulent template here! The large template is perfect for a life like sized bouquet. The small template will make flowers that are around 2 inches across. You can use any template again and again!
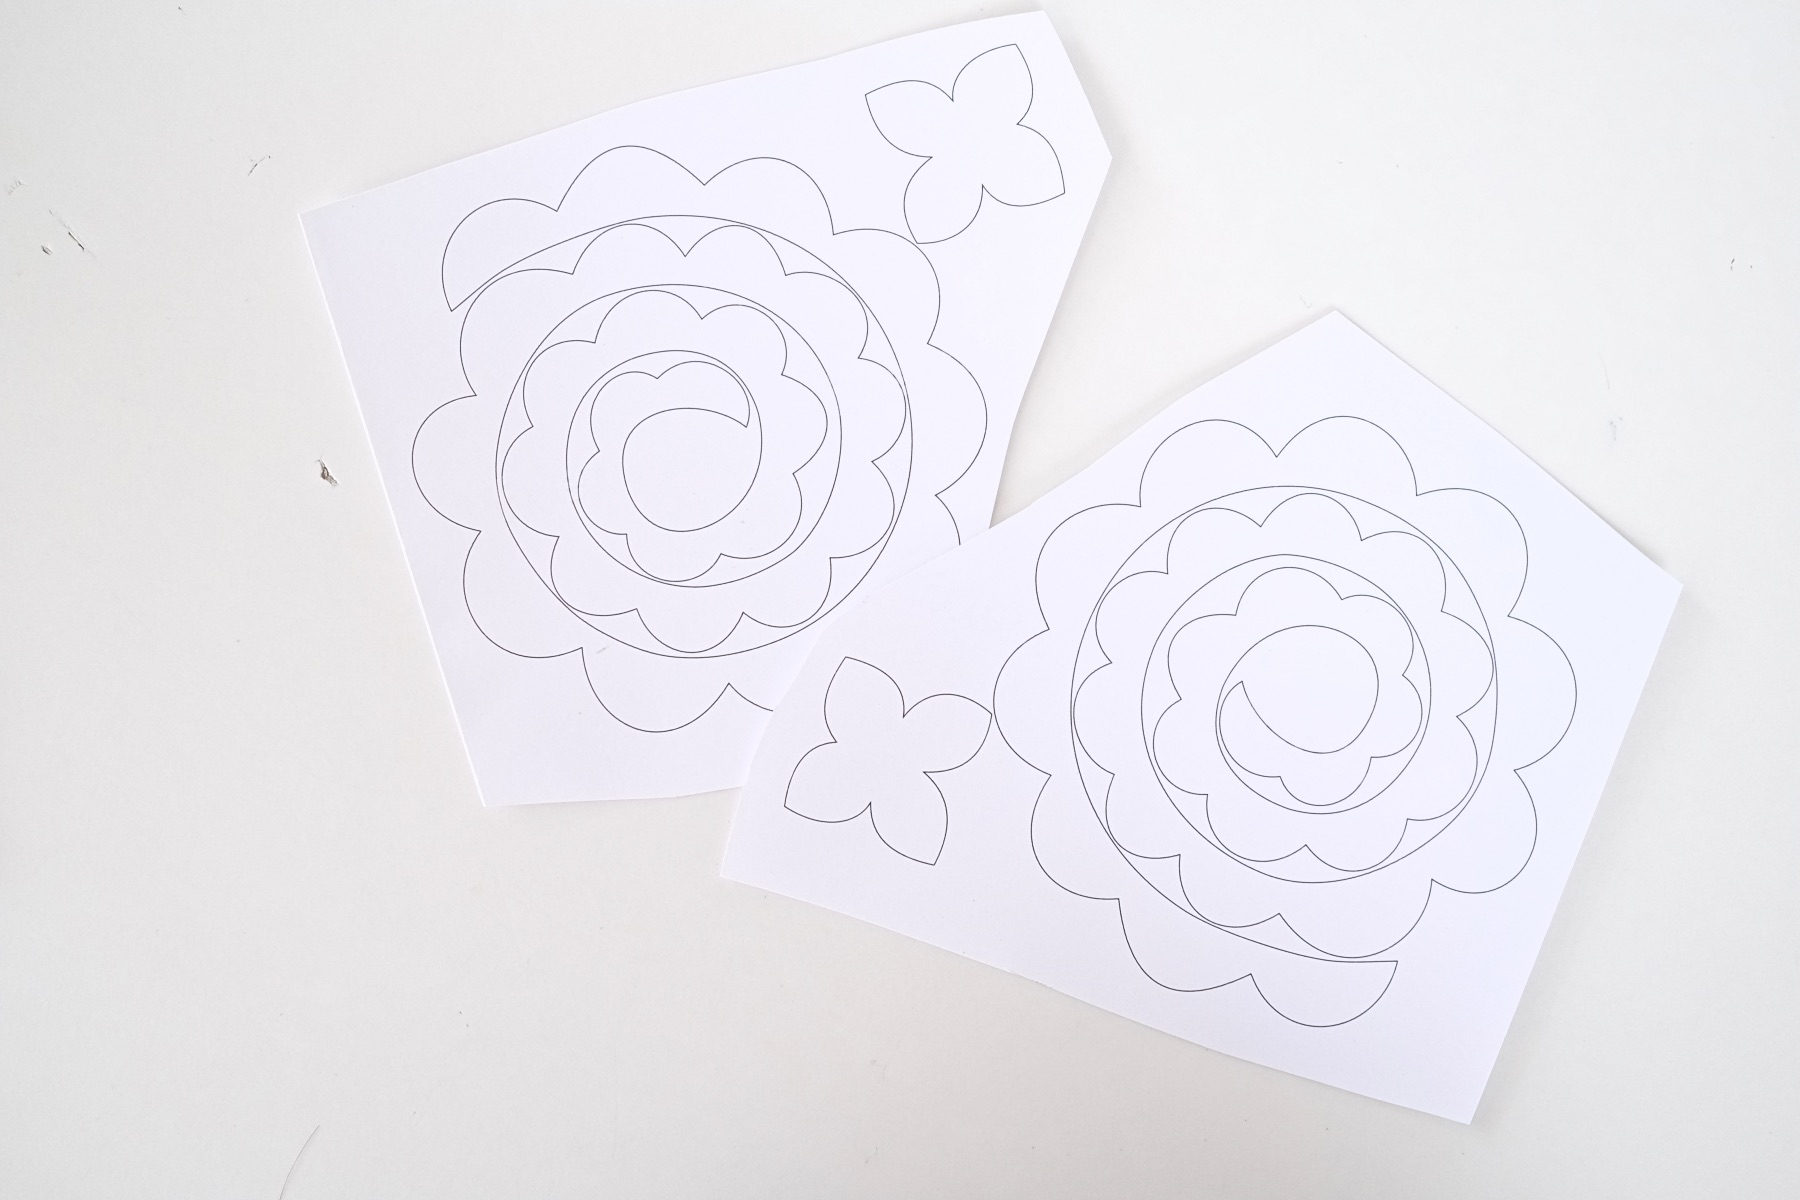
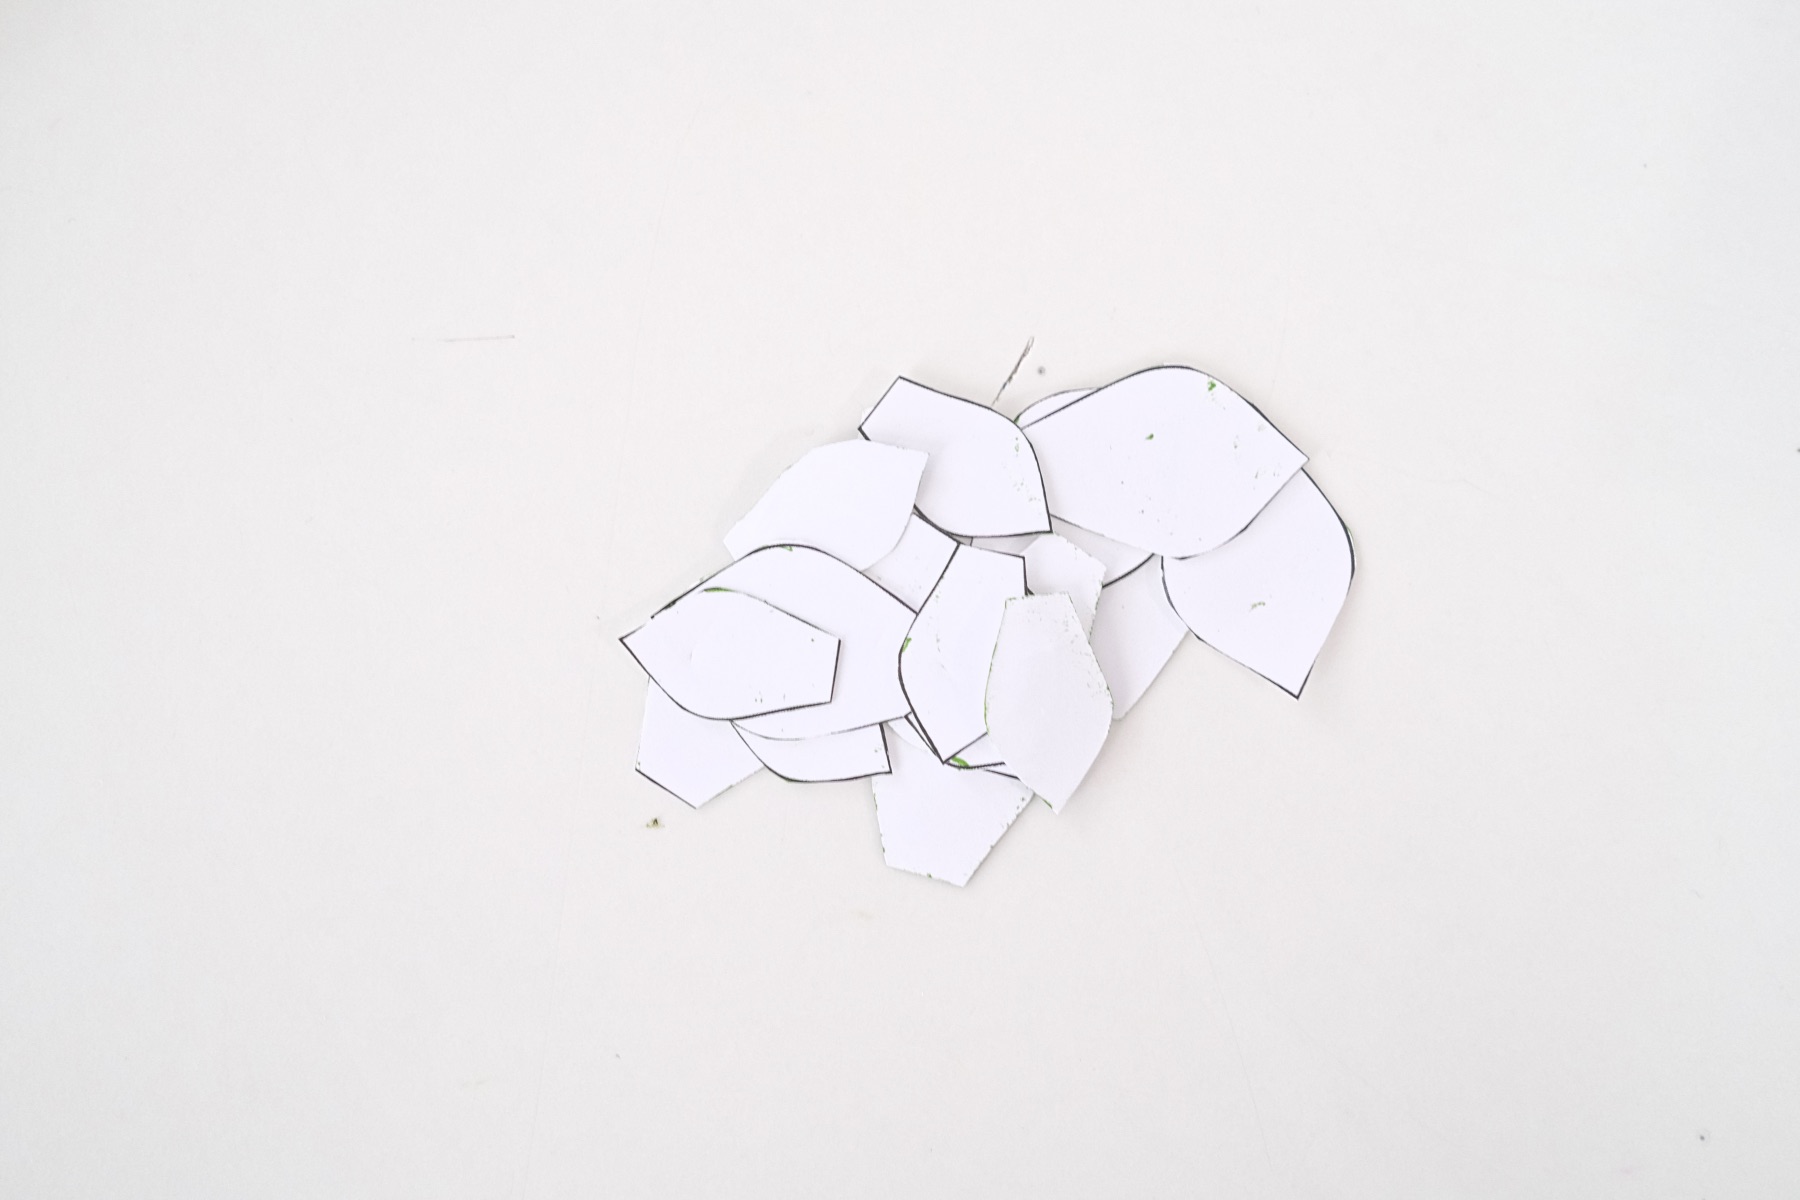
Use scissors to cut out the template. The flower template is one seamless piece but the succulent pieces have many individual leaves that you cut individually.
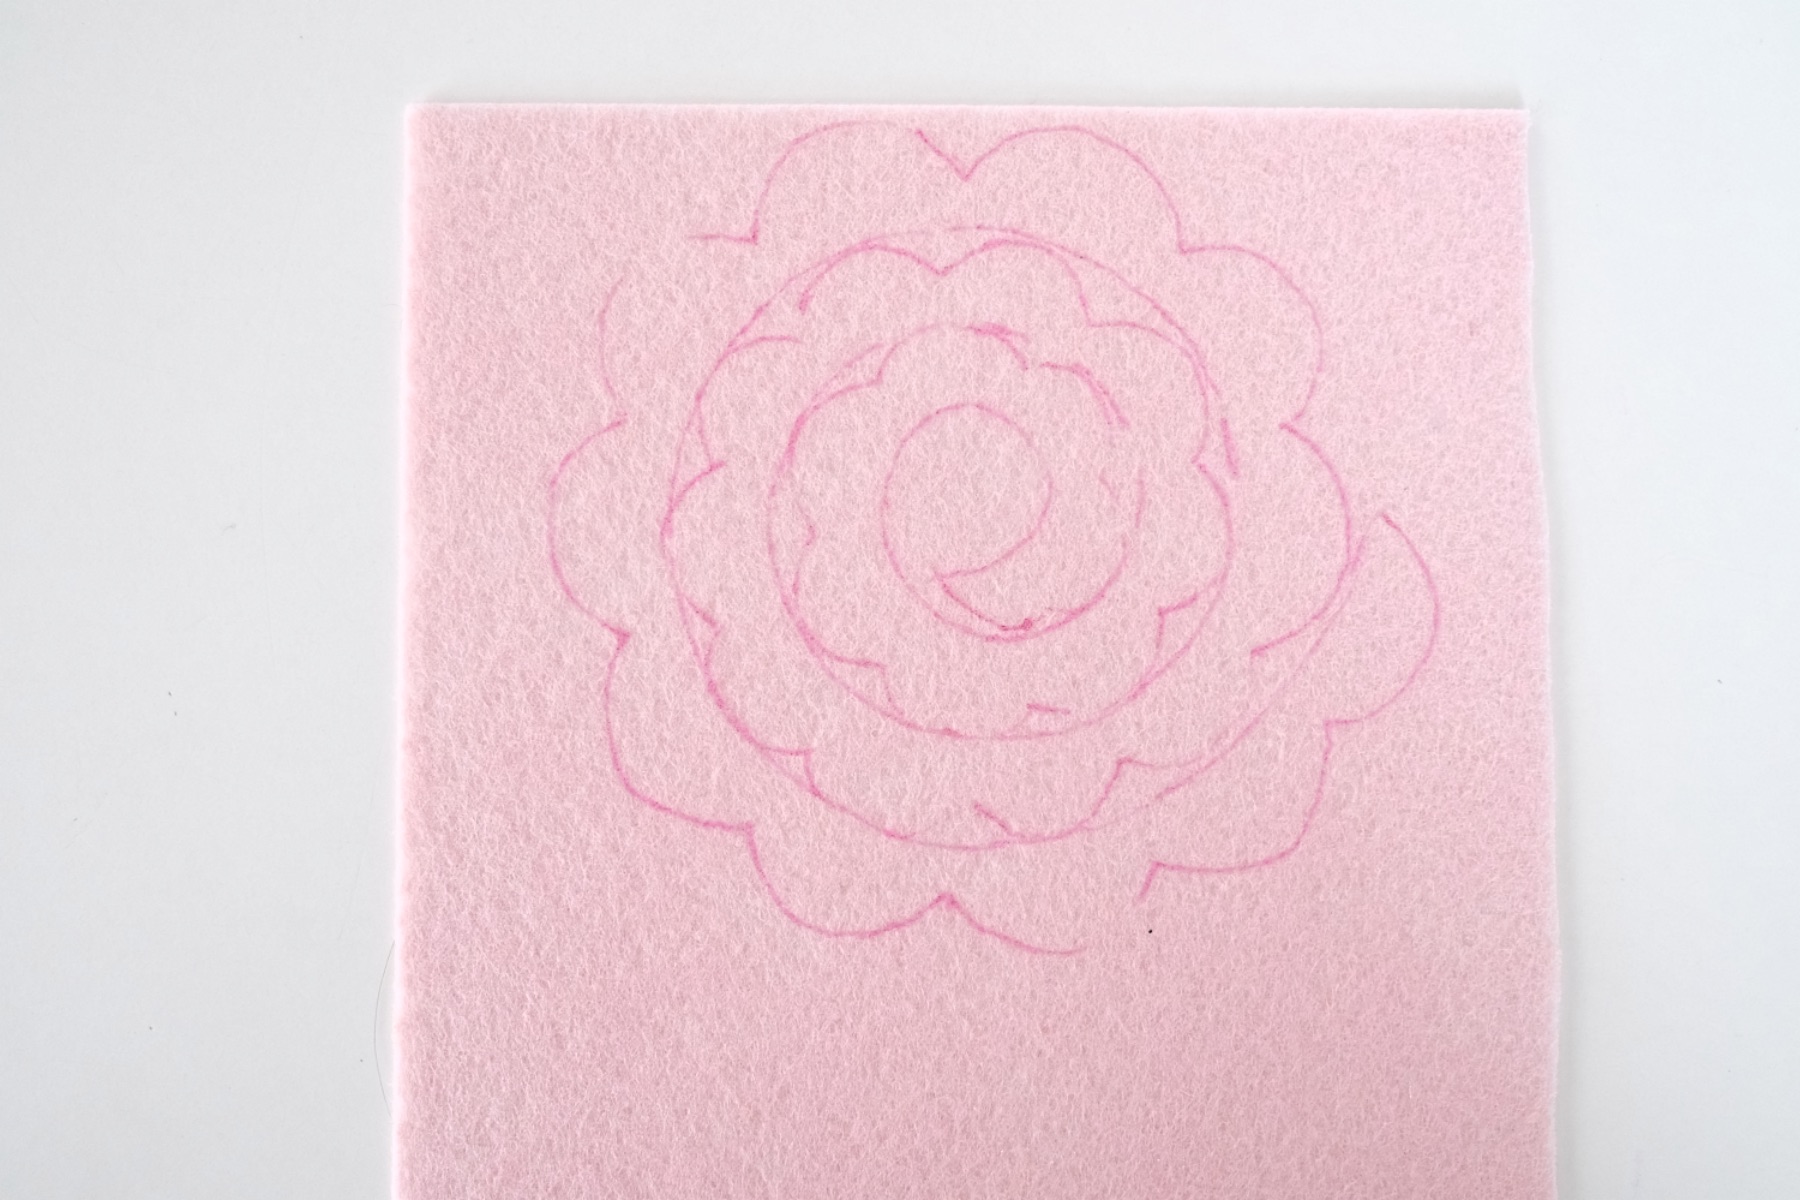
Step 2: Trace the Template on Felt
Once your template is cut, grab a light colored pen, a matching pen, a washable pen or a fabric pen. Any of these options will do. You can also use a pen in a complementary color. For example, if you are making a pink felt flower you could use a red pen to give it a pop of color!
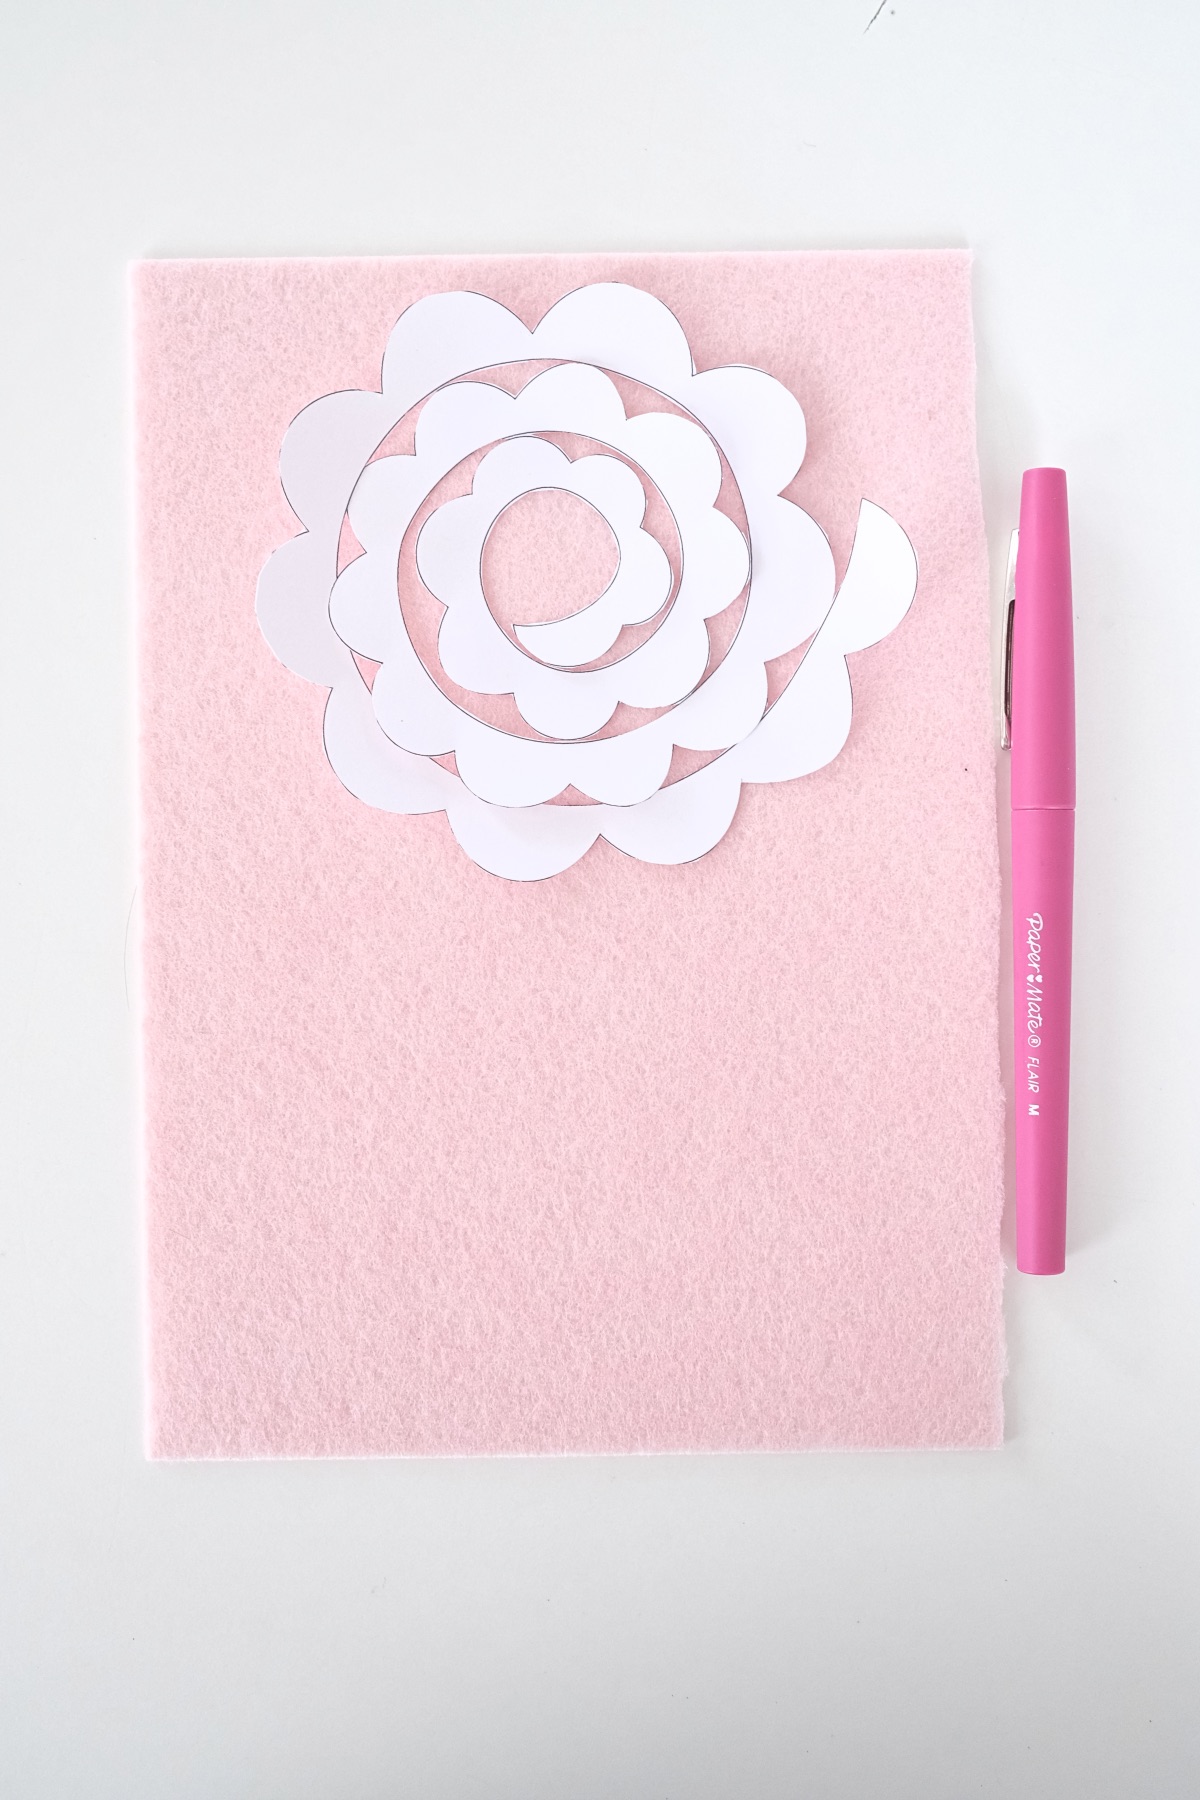
Try to line up your template along the edges of your felt. That way you can use as much of the felt as possible and you can also cut less!
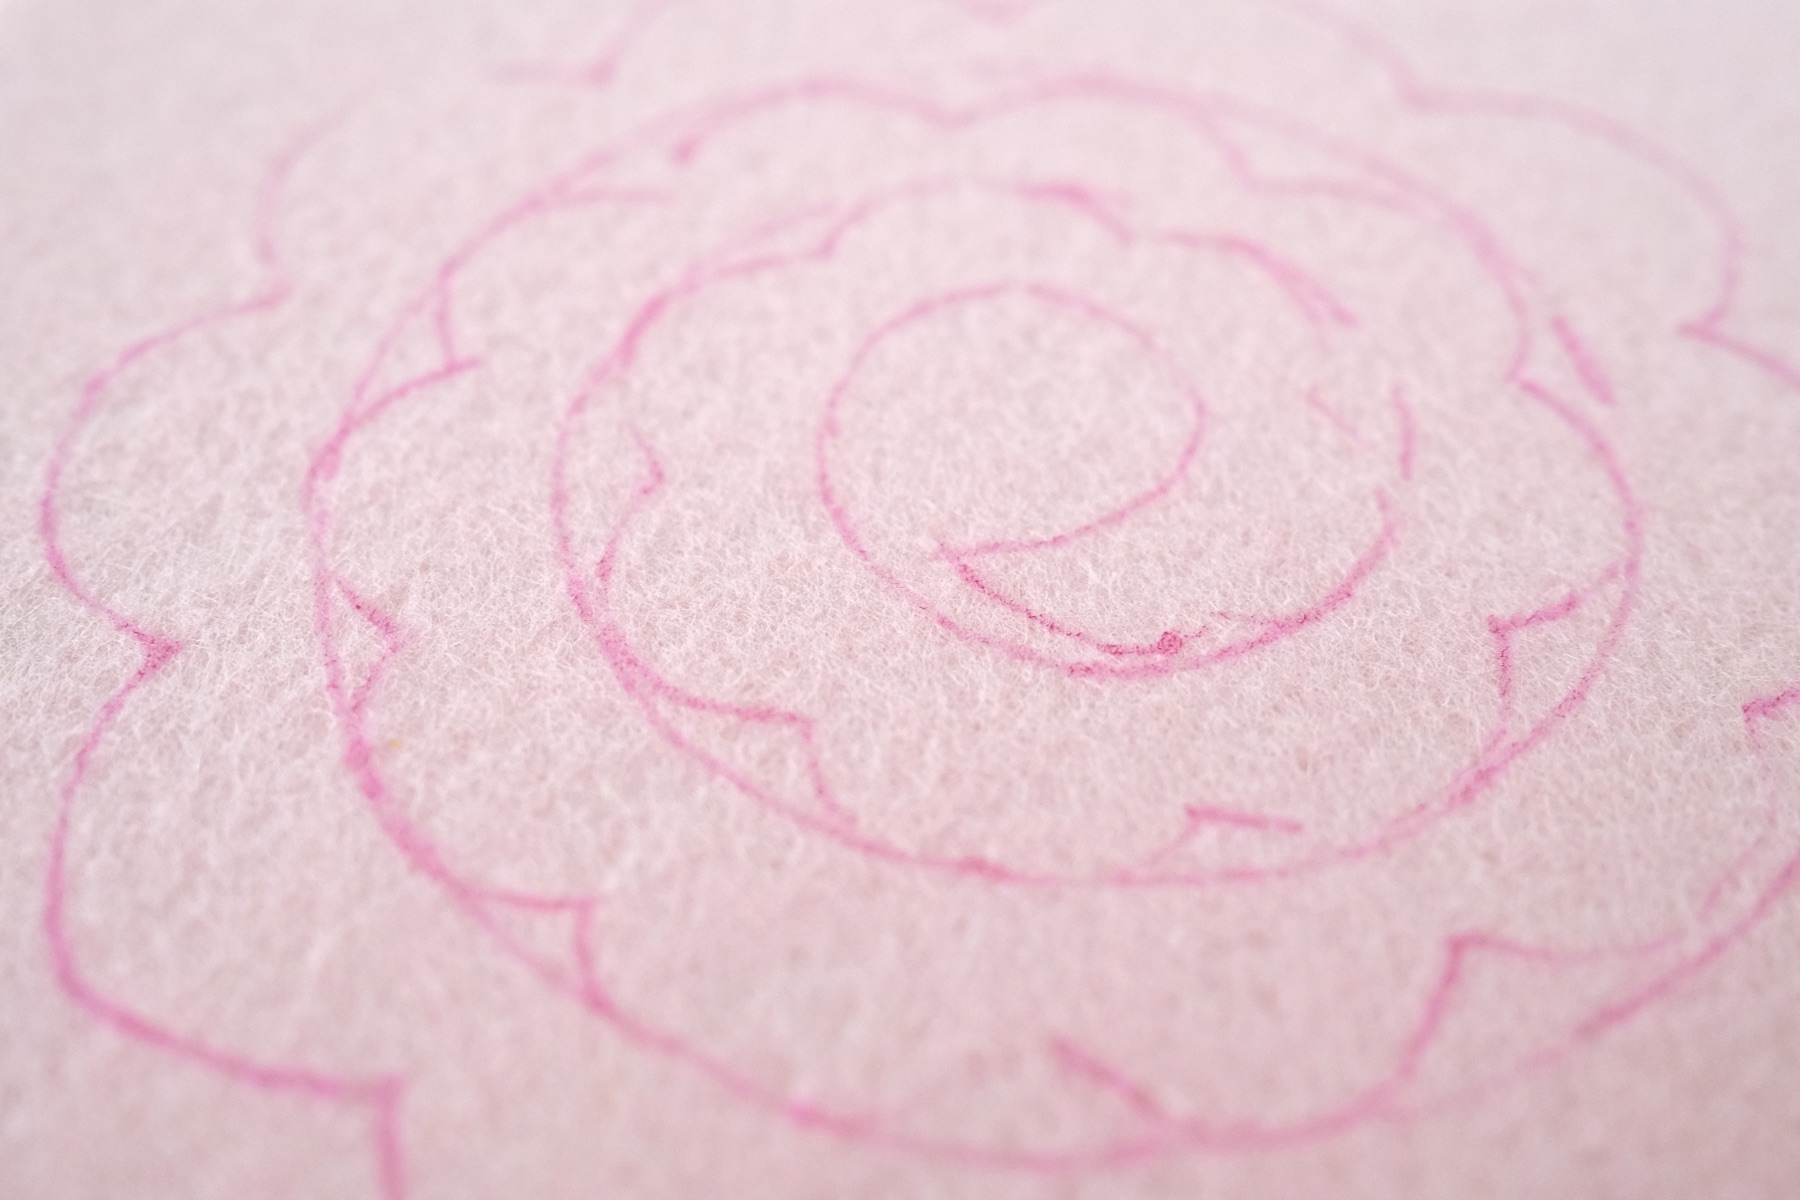
You will need to be careful when you are holding your template in place to trace it because the pieces can easily move on the felt. Once you have the outline of your template, lift your template away from felt.
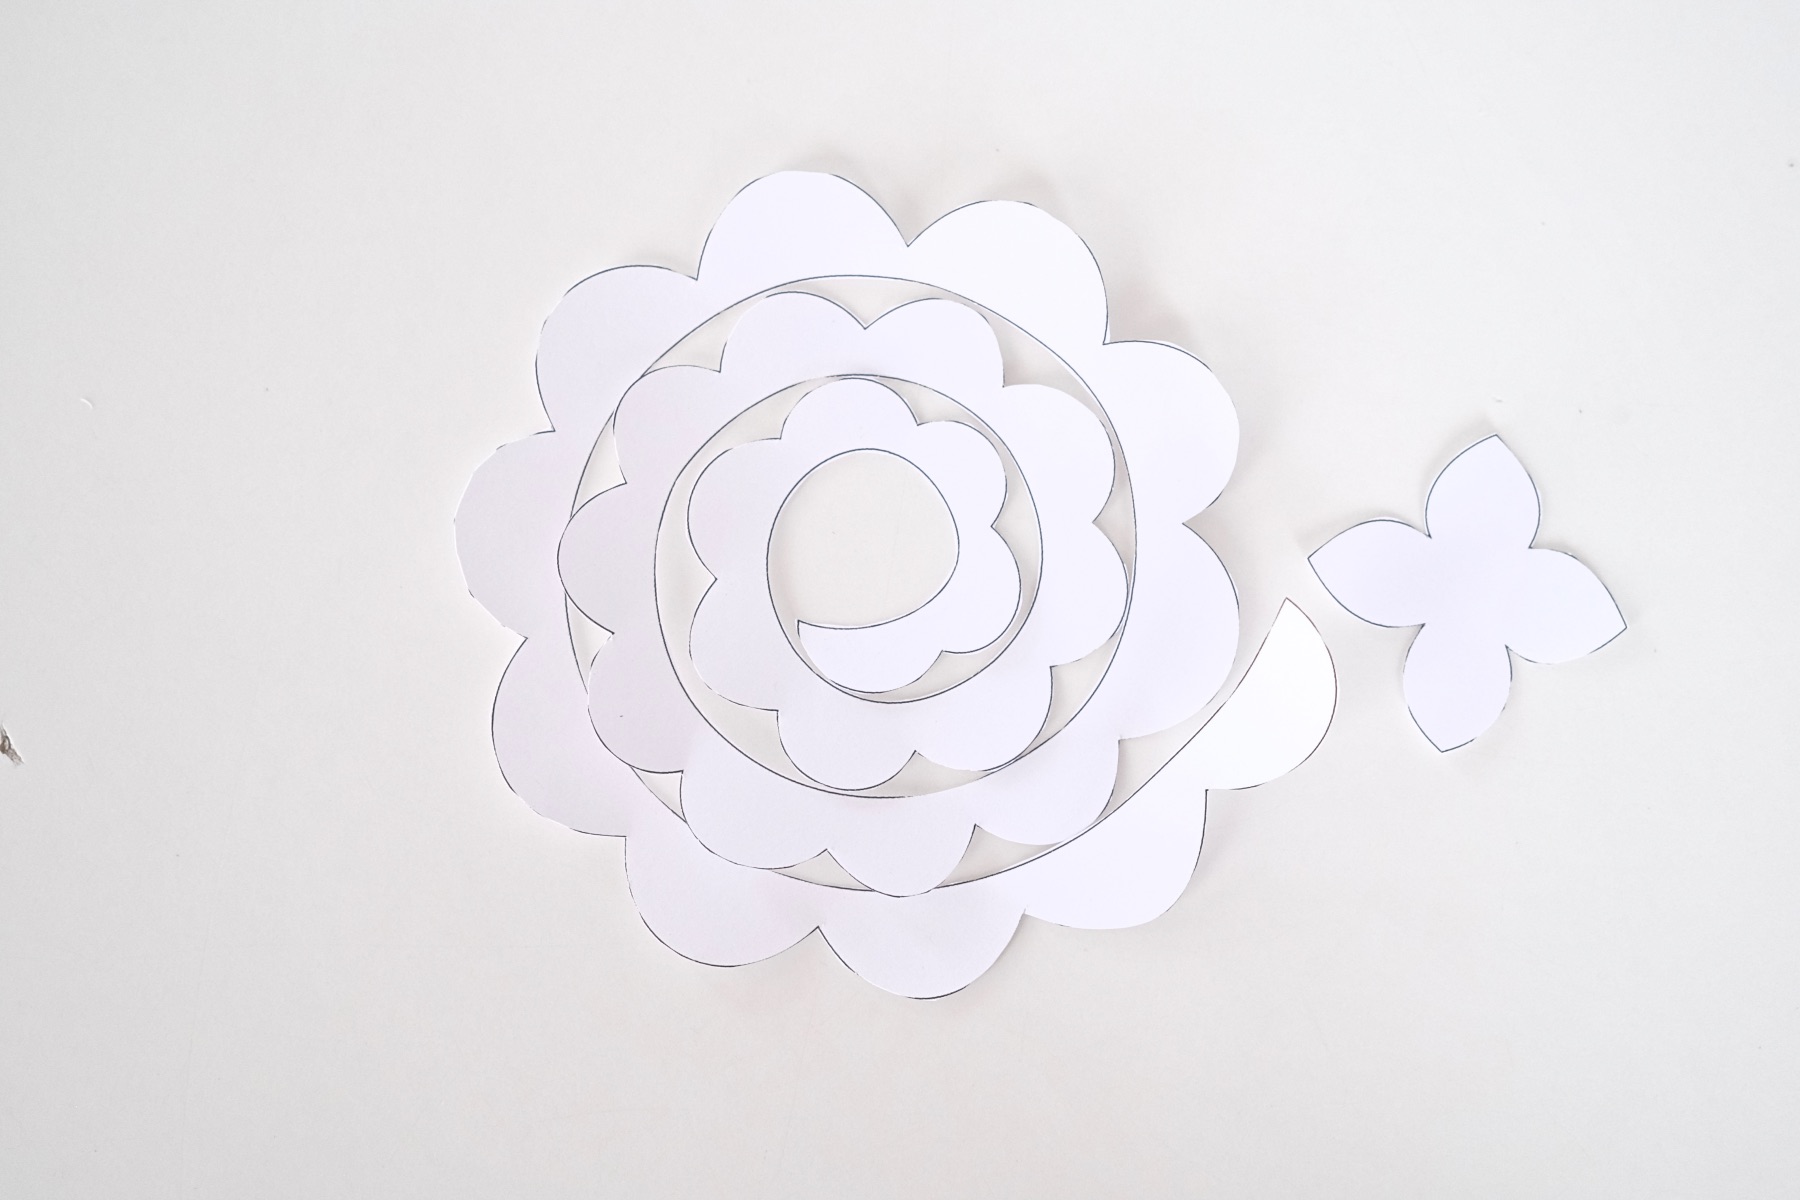
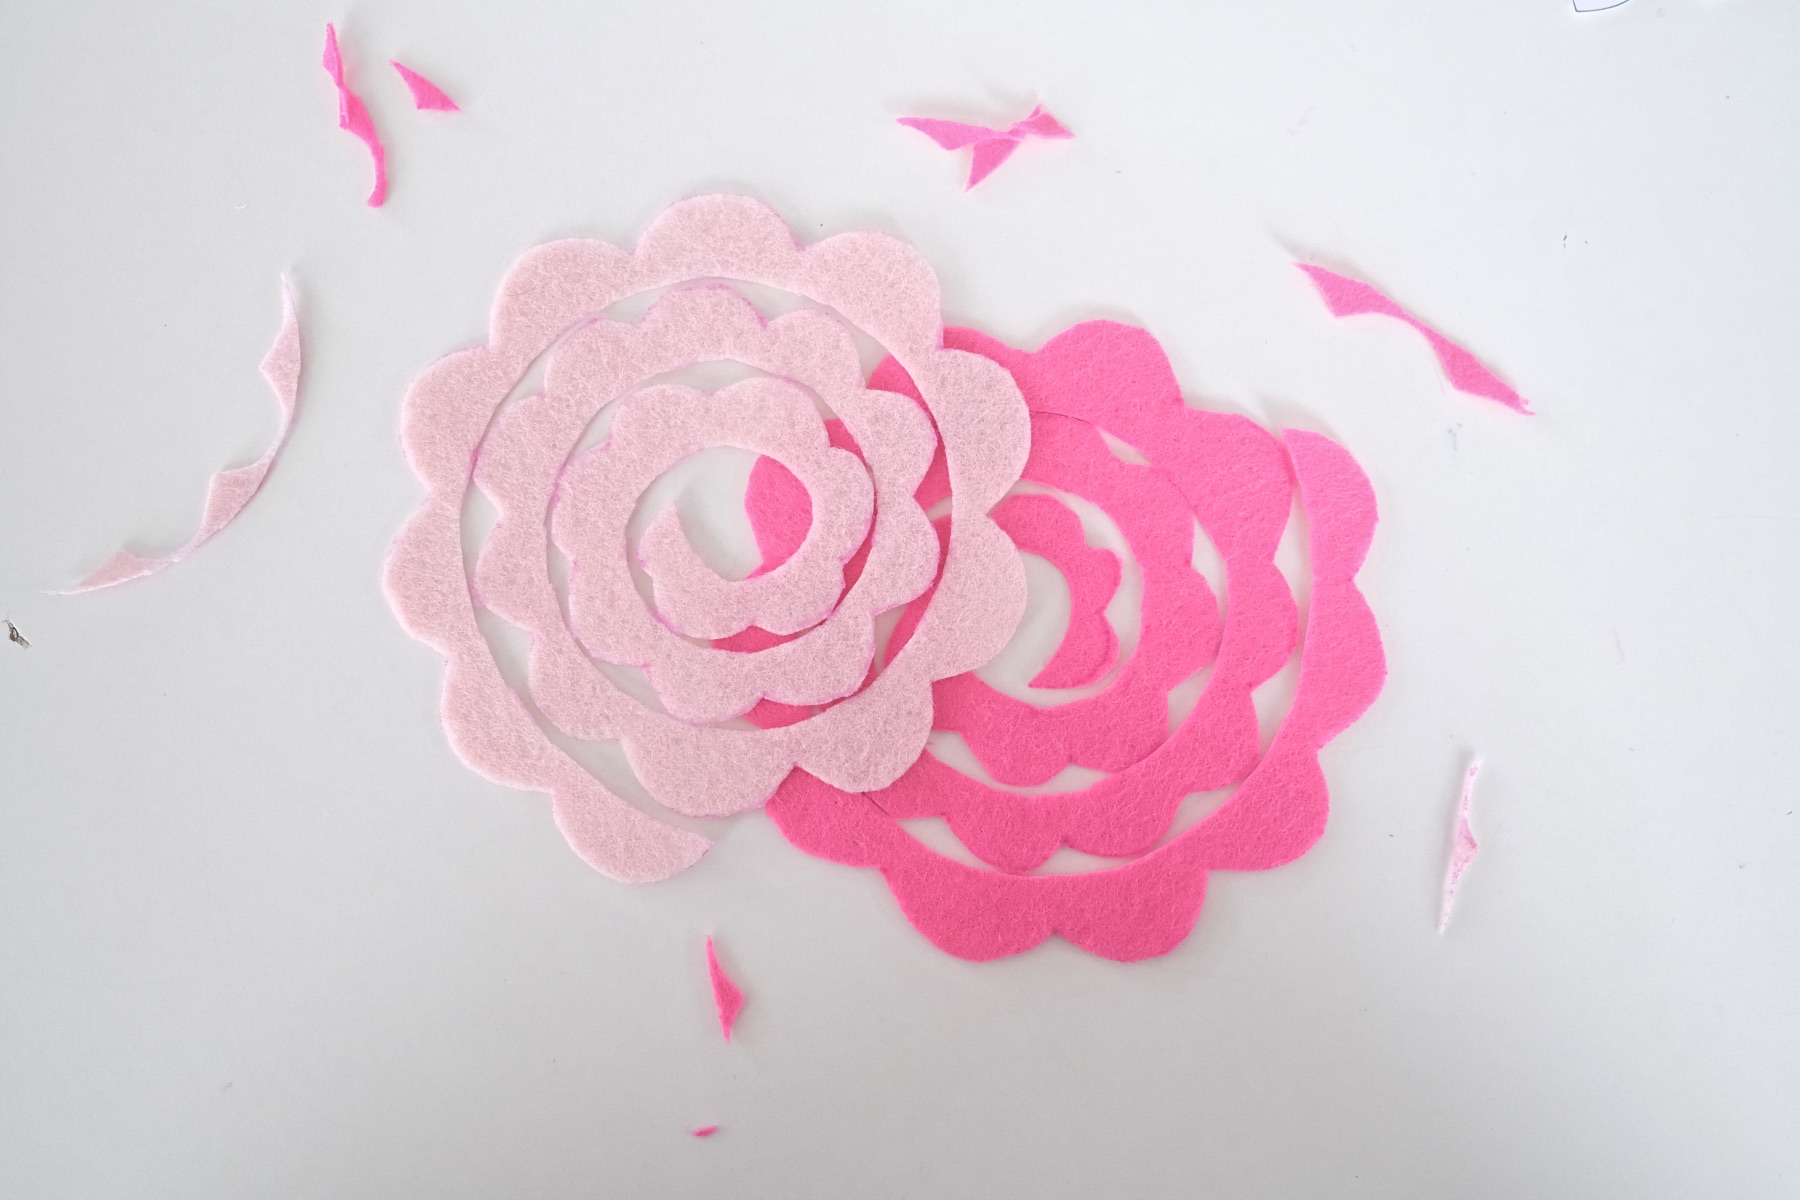
Step 3: Cut the Felt
Once your outlines are drawn on the felt, use your scissors to cut the felt. Did I forget to tell you that cutting the felt will take a bit of time? So sit back, relax, and just have fun with this!
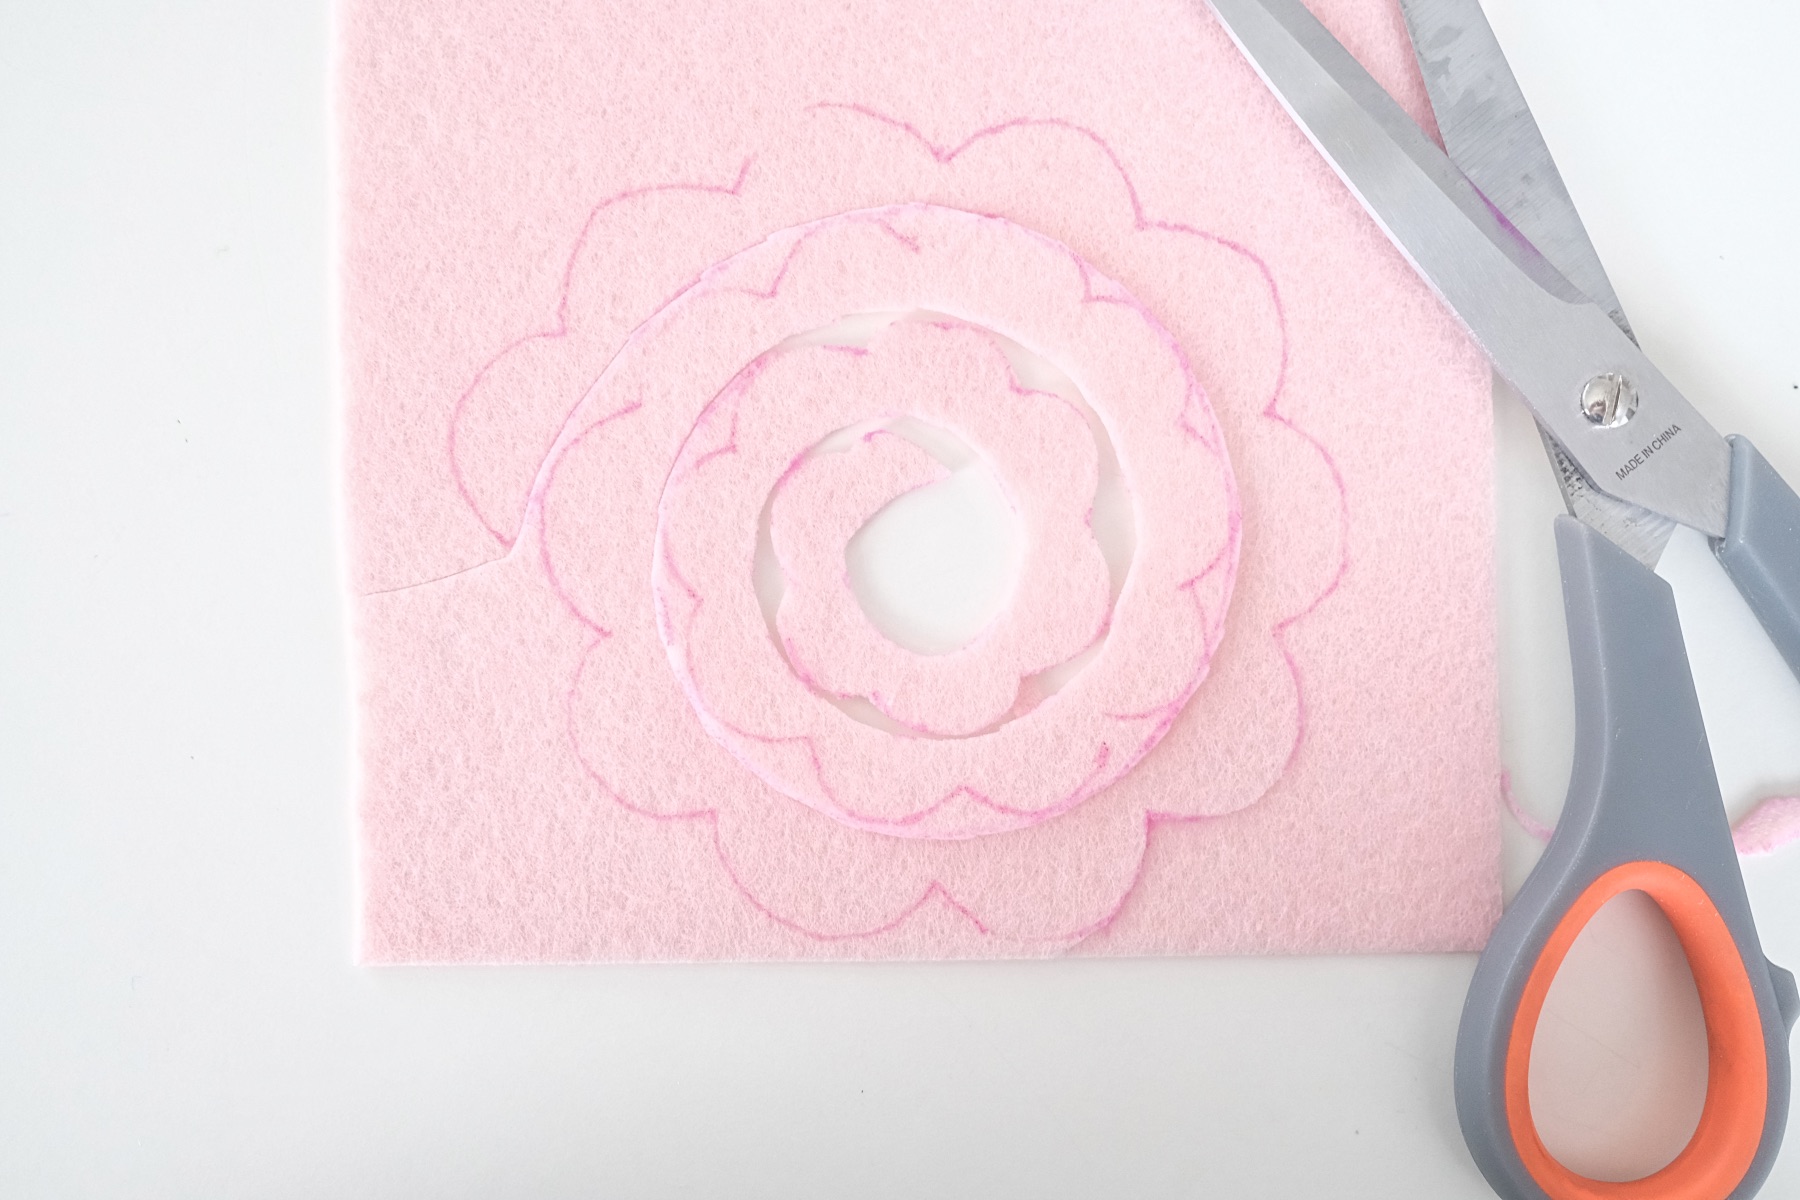
As you are cutting decide if you want to cut away all of your pen lines or if you want to leave some of them. Because if you used a black pen, for example, you will want to cut them away now.

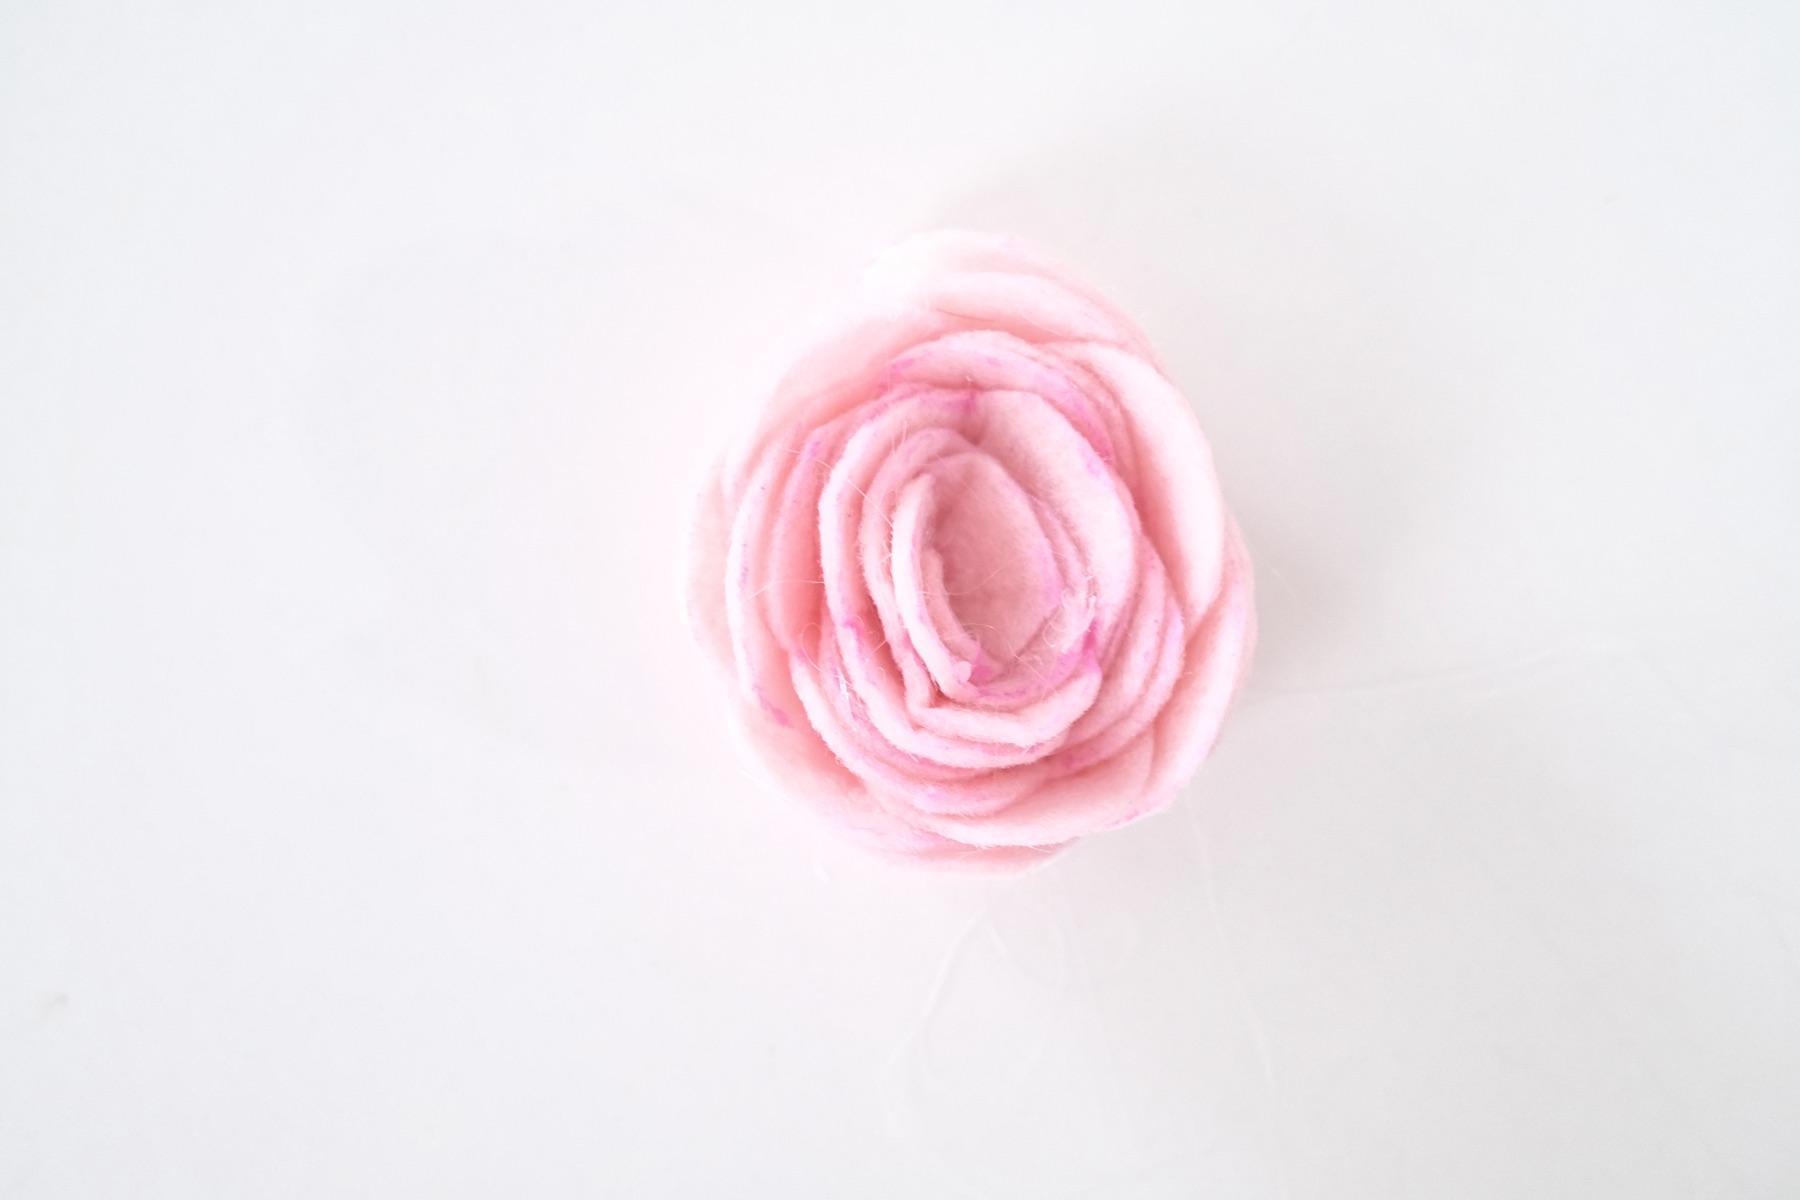
If you choose to cut a flower, it will look like a beautiful spiral! One edge is scalloped. That will become the flower petals.
The smooth edge will become the interior of the flower.
Step 4: Clean Any Edges
I mentioned above, but I just want to reiterate, that you may want to cut away your pen lines. It’s also a great time to clean up any edges. If you have jagged edges, cut those away. If any of your edges need to be reshaped – do it!
It’s easier to do it now than after the flower is assembled.
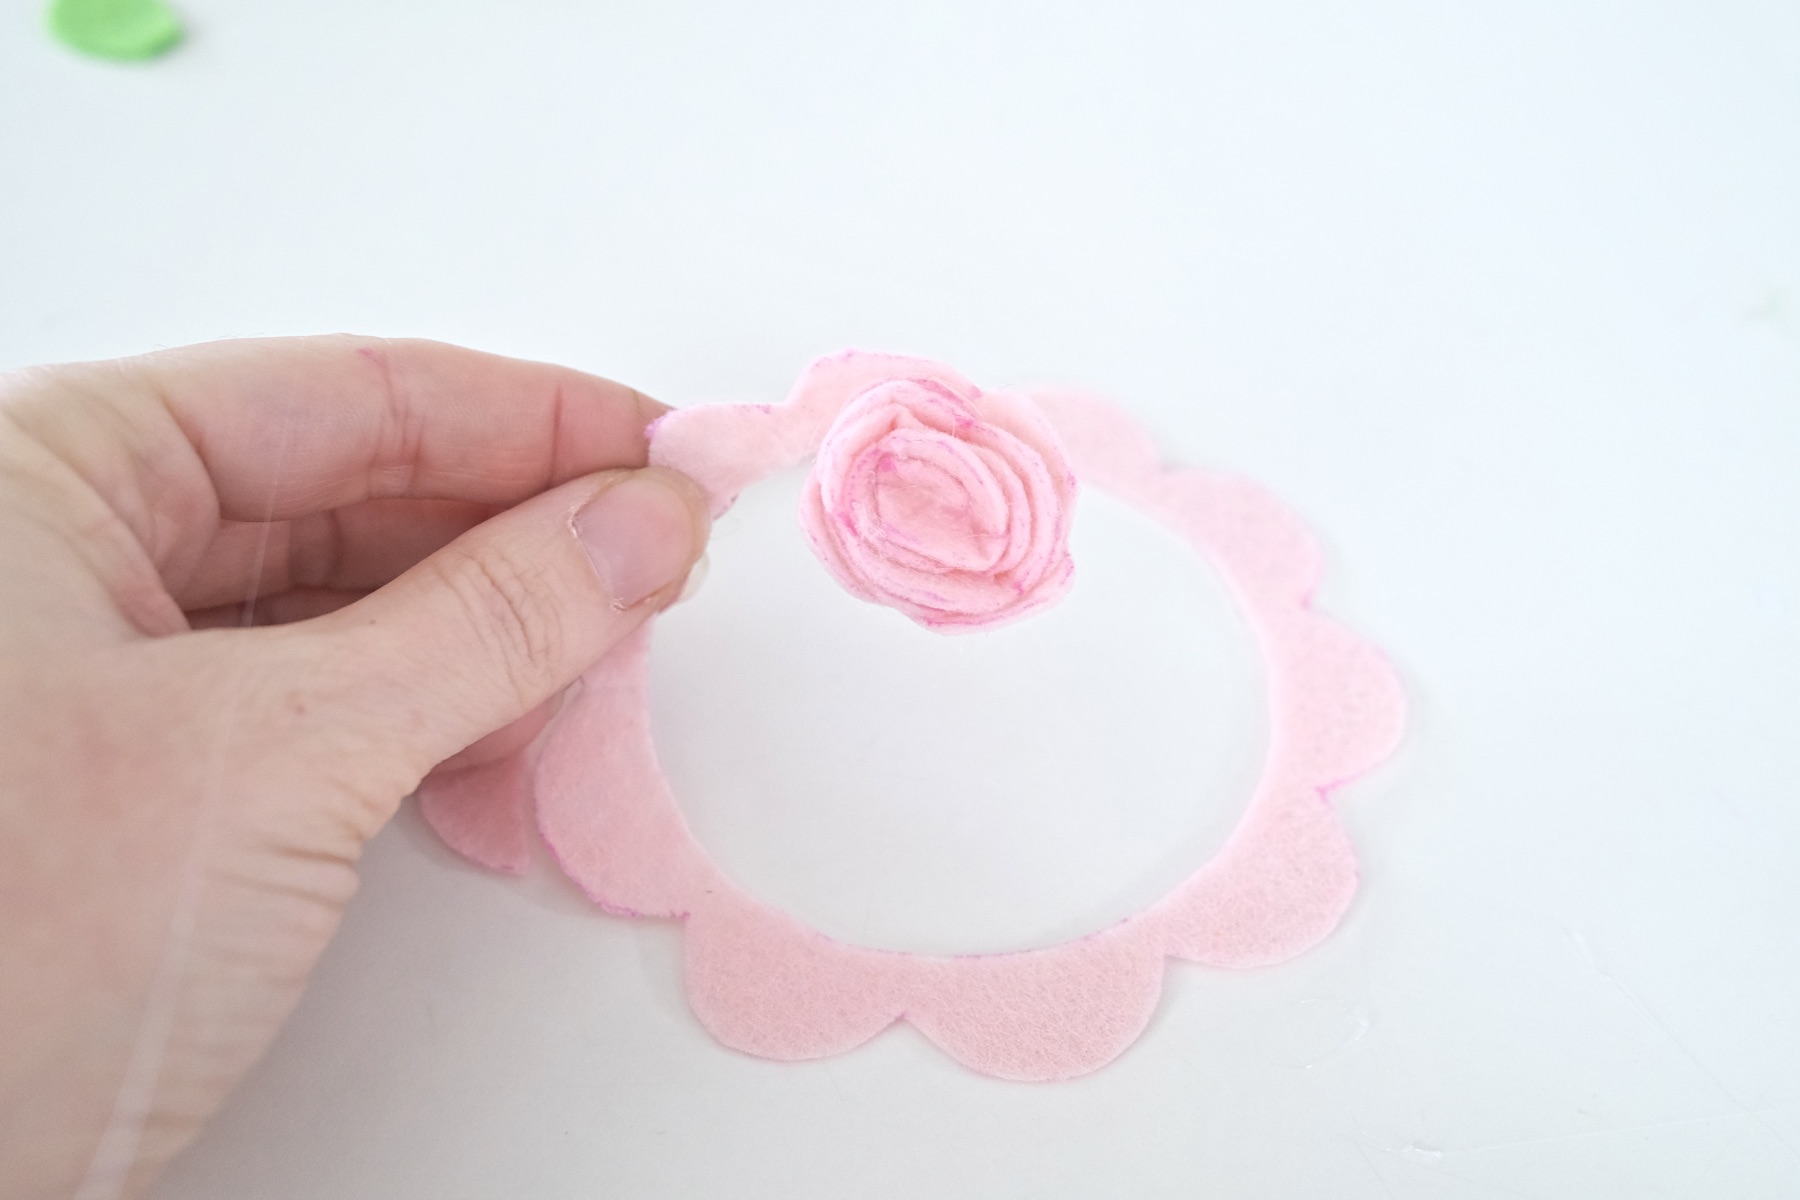
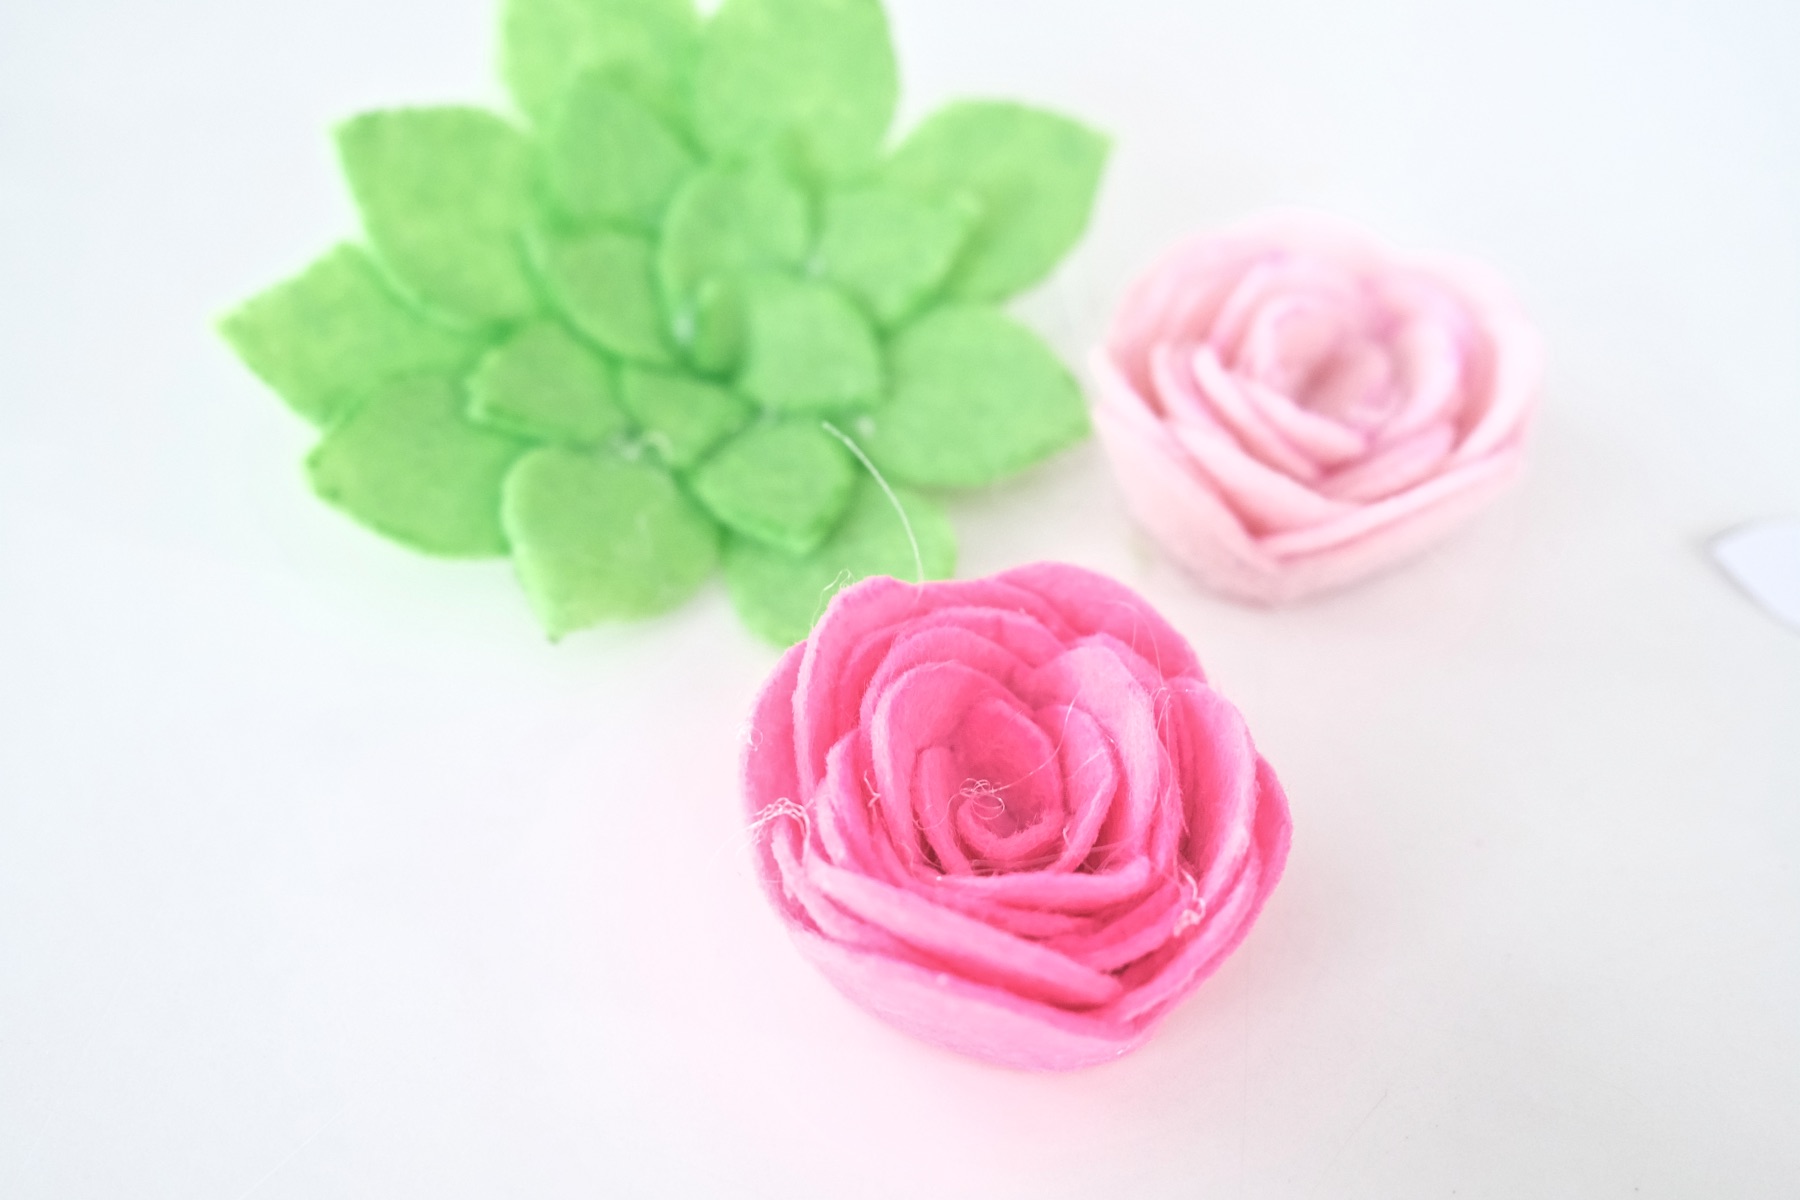
Step 5: Glue the Felt
Hot glue is the best glue for making felt flowers. But it’s a juggling act with your hands. It really takes 2 hands to fold and glue the flower. So be prepared to pick up the glue gun and set it back down a few times.
For the flower, start with the center and add a stripe of glue along the smooth edge.
Make stripes that are around 1 inch in length. Then fold the felt into itself to make a loop gluing the felt to itself. Hold the section in place for around 15 seconds.
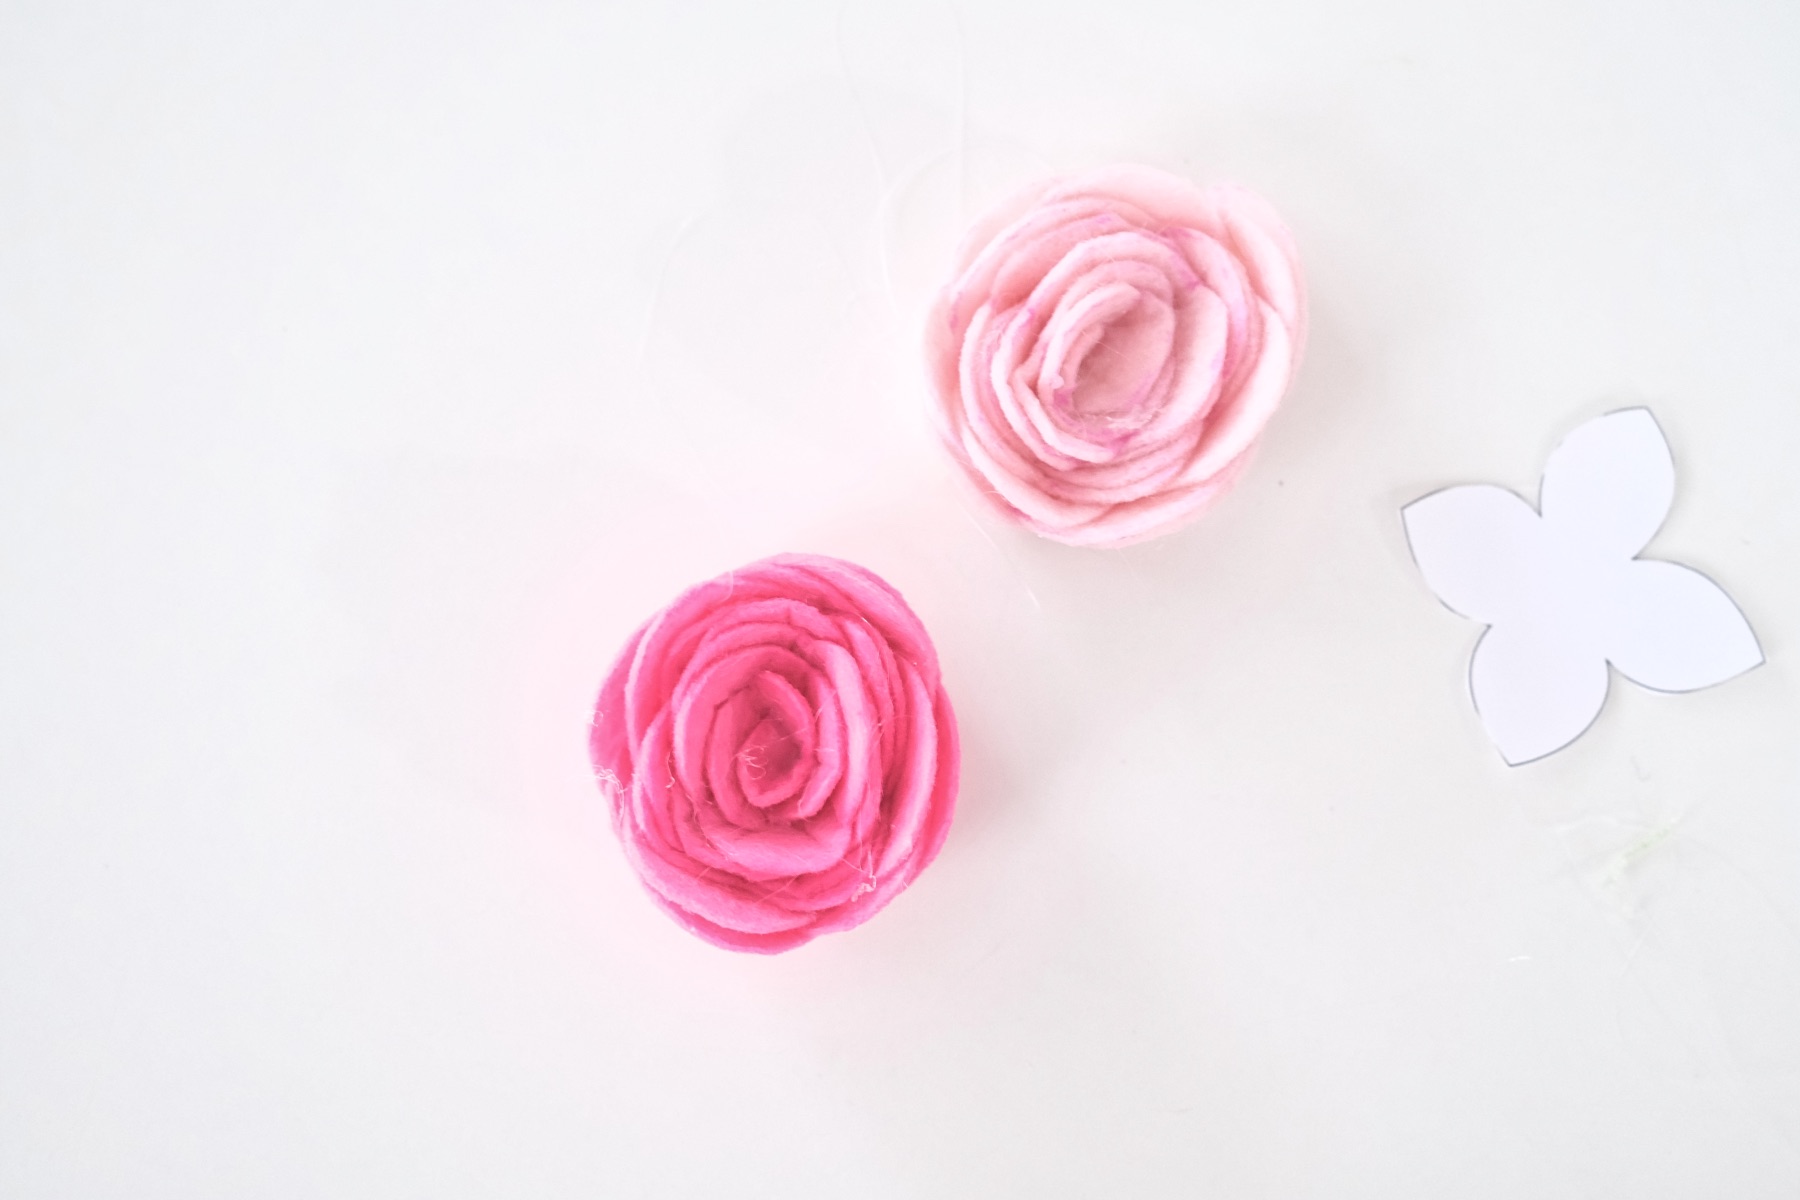
Continue this process gluing one inch at a time and holding each section in place for a few seconds until the felt holds on its own.
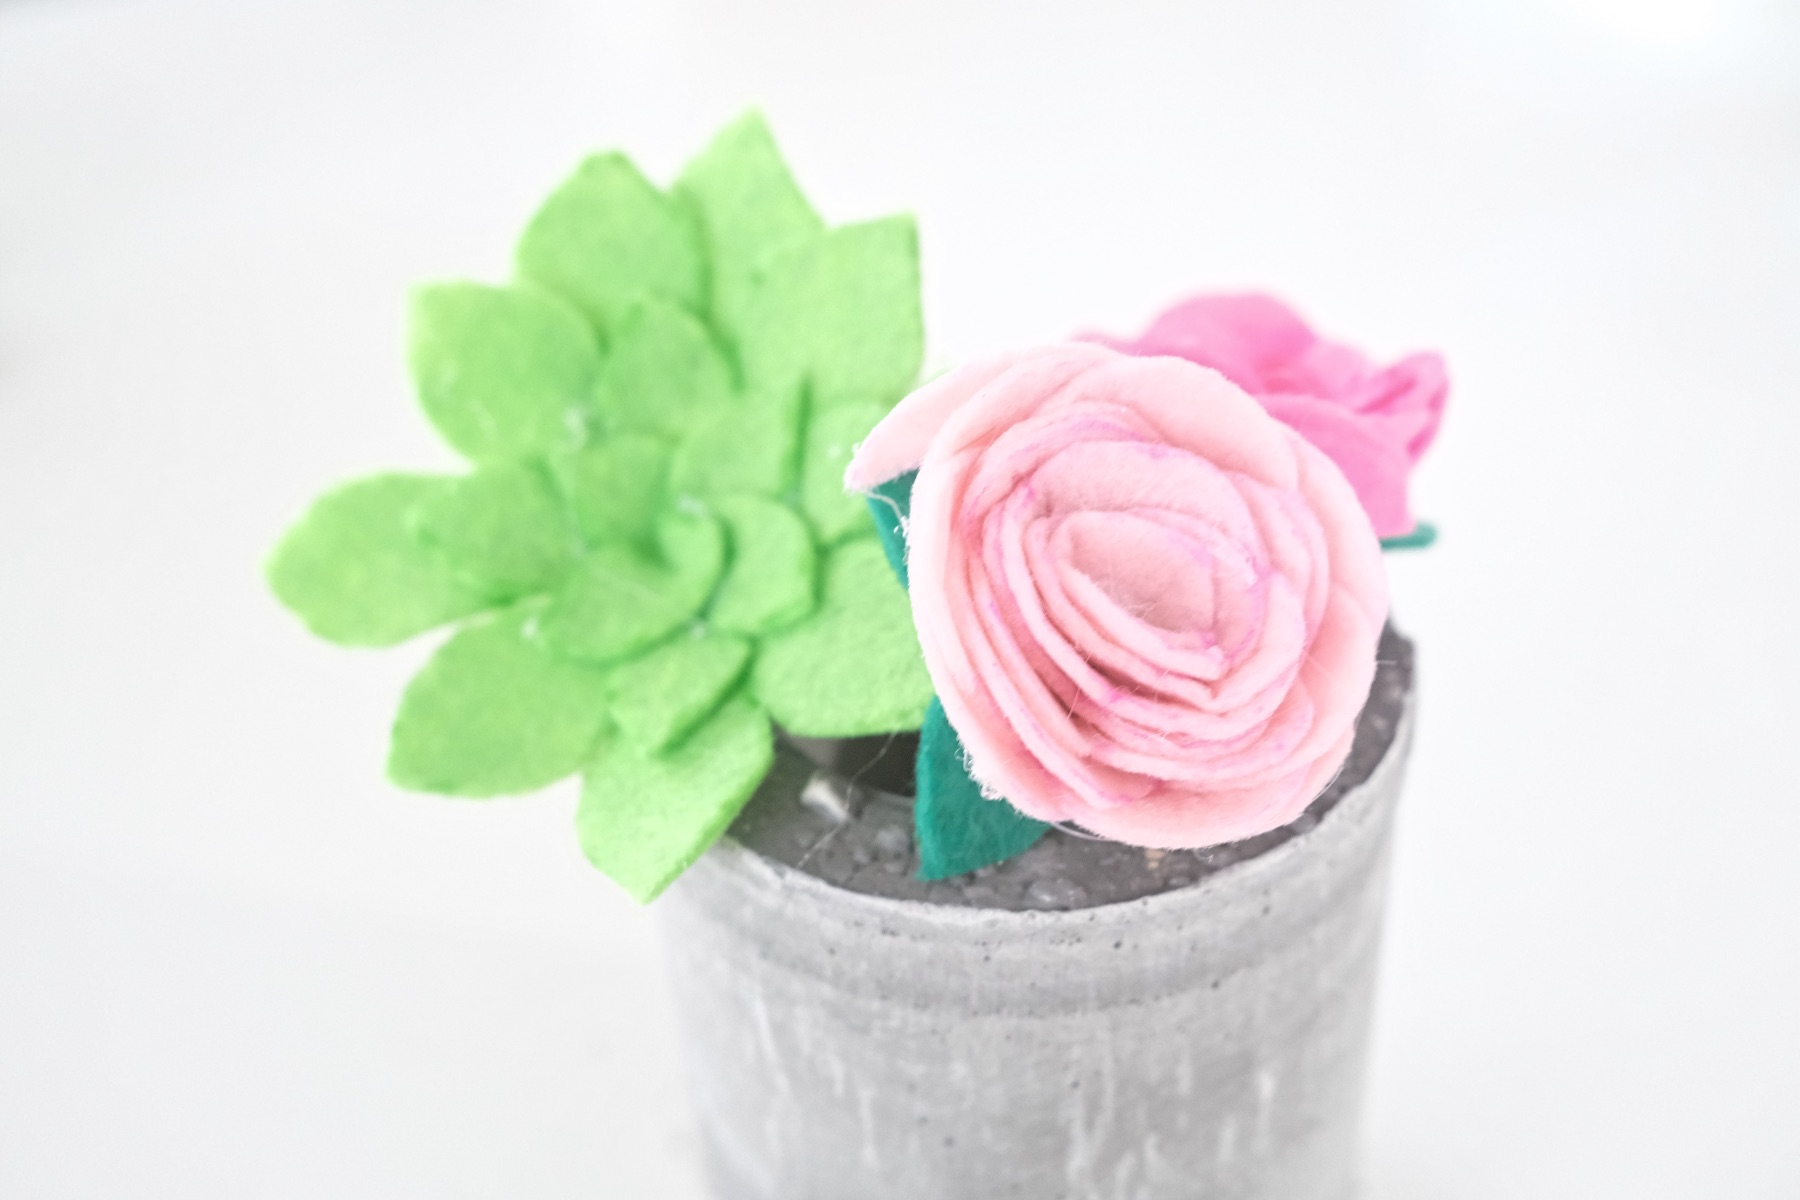
Once you have finished your spiral, your flower is finished!
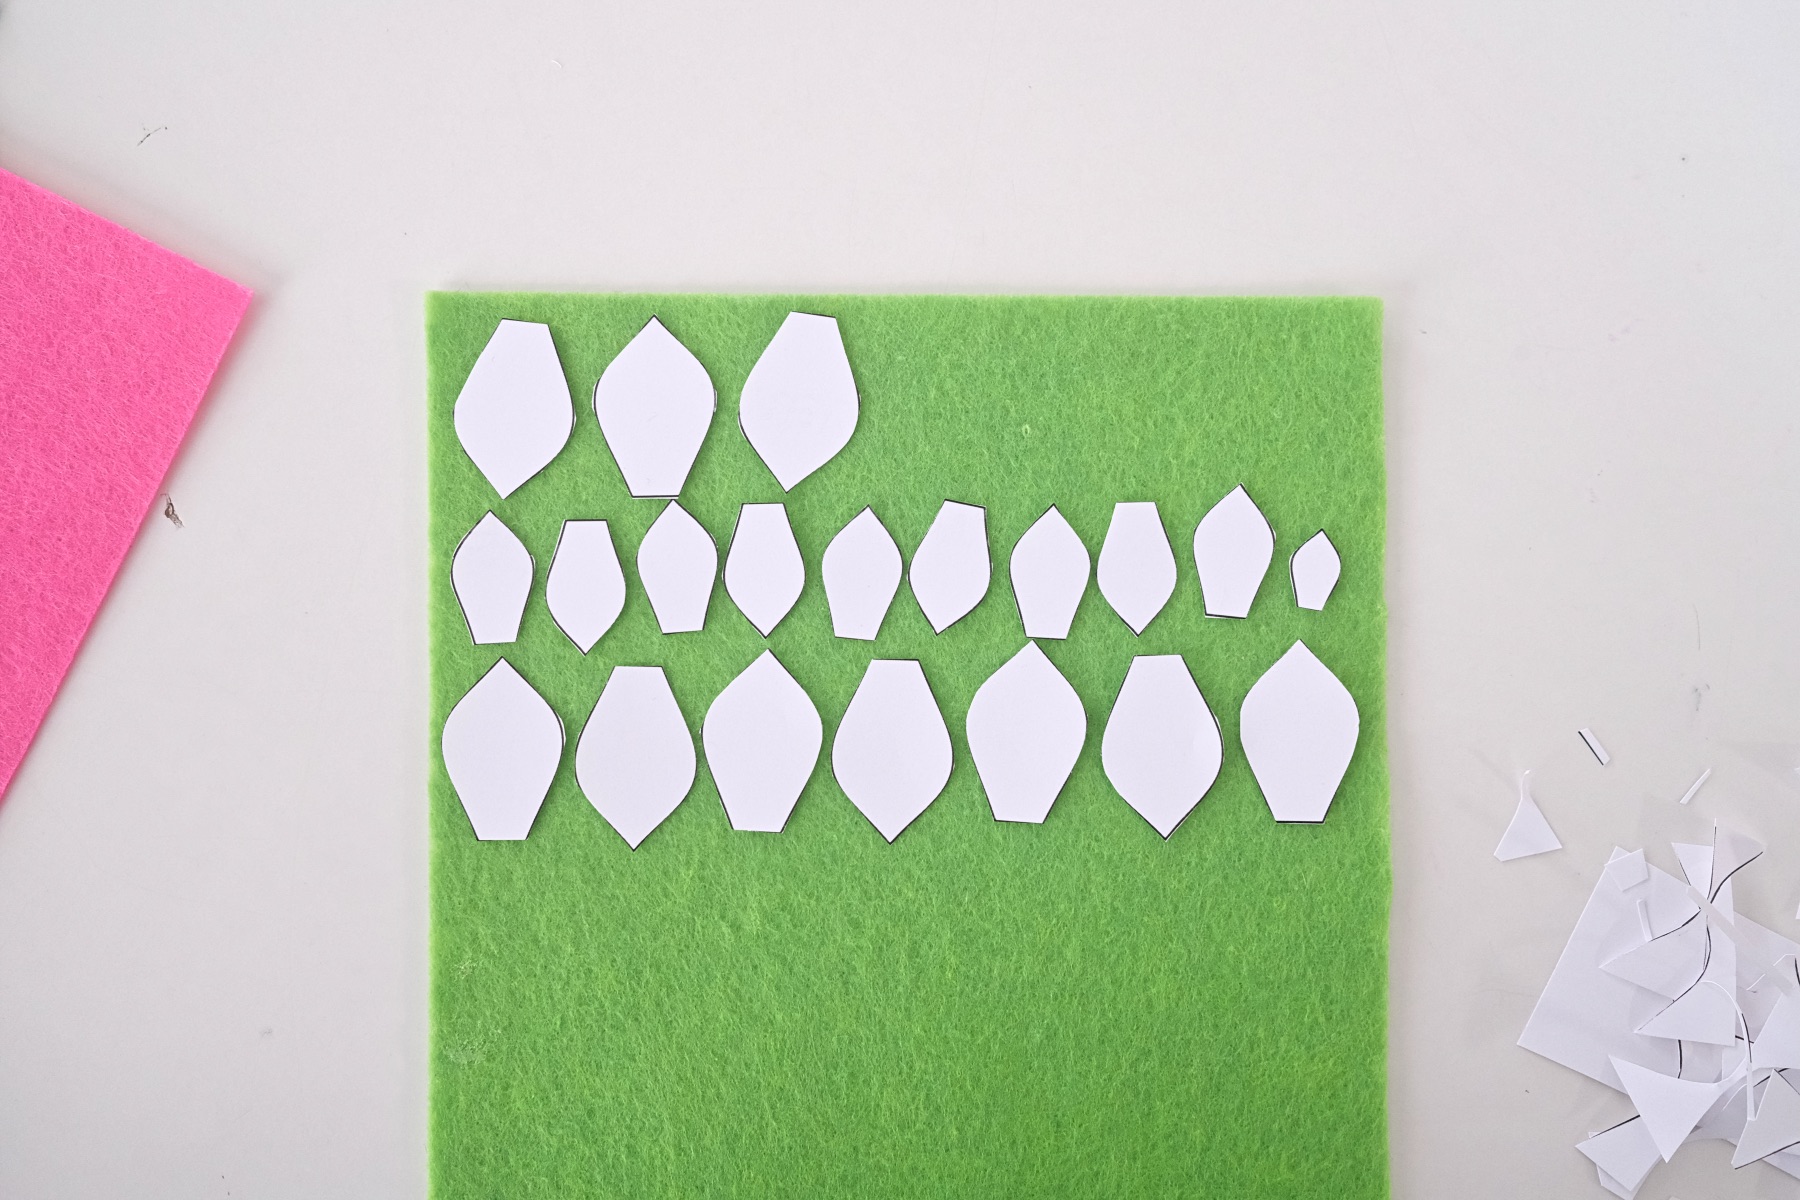
Alternative: Making a Succulent
Most succulent templates have individual leaves, so it’s a lot of cutting when you are prepping the template and a lot of cutting when you are working on your felt!
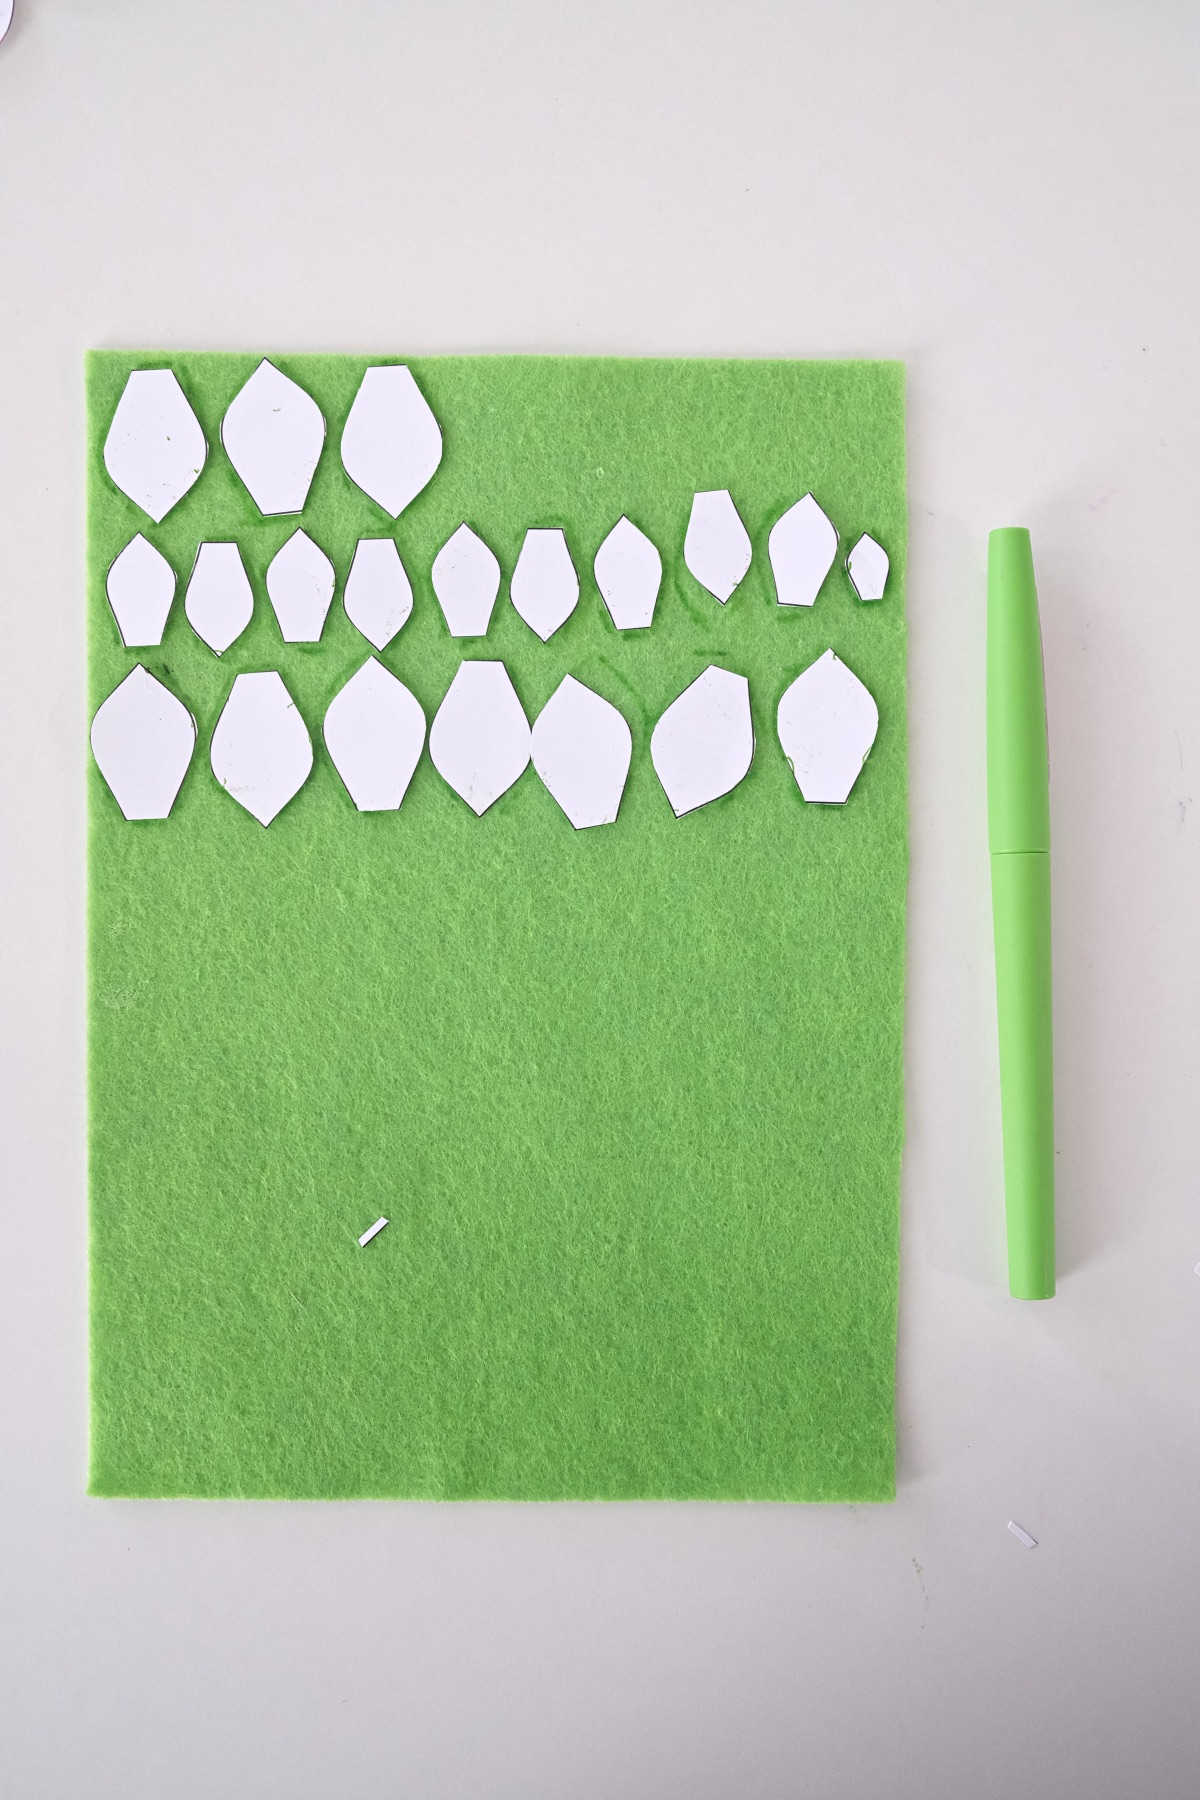
For succulents, or anything with small leaves a very thin pen works well. The fatter the line, the harder it is to cut.
Just like the flower, try to place your succulent leaves near an edge so you can cut less. It will save time and felt!
Once you have all your succulent leaves traced and then cut, use the same process as before to clean up the edges.
And before you start to cut any new succulent templates, gather the leaves of each individual succulent and place them in a bag. So different succulent templates won’t get mixed together.
Succulents often have edges to their leaves that are colored in yellows, reds, and purples. So you may want to leave a touch of color along the edges.
But you can also cut them away.
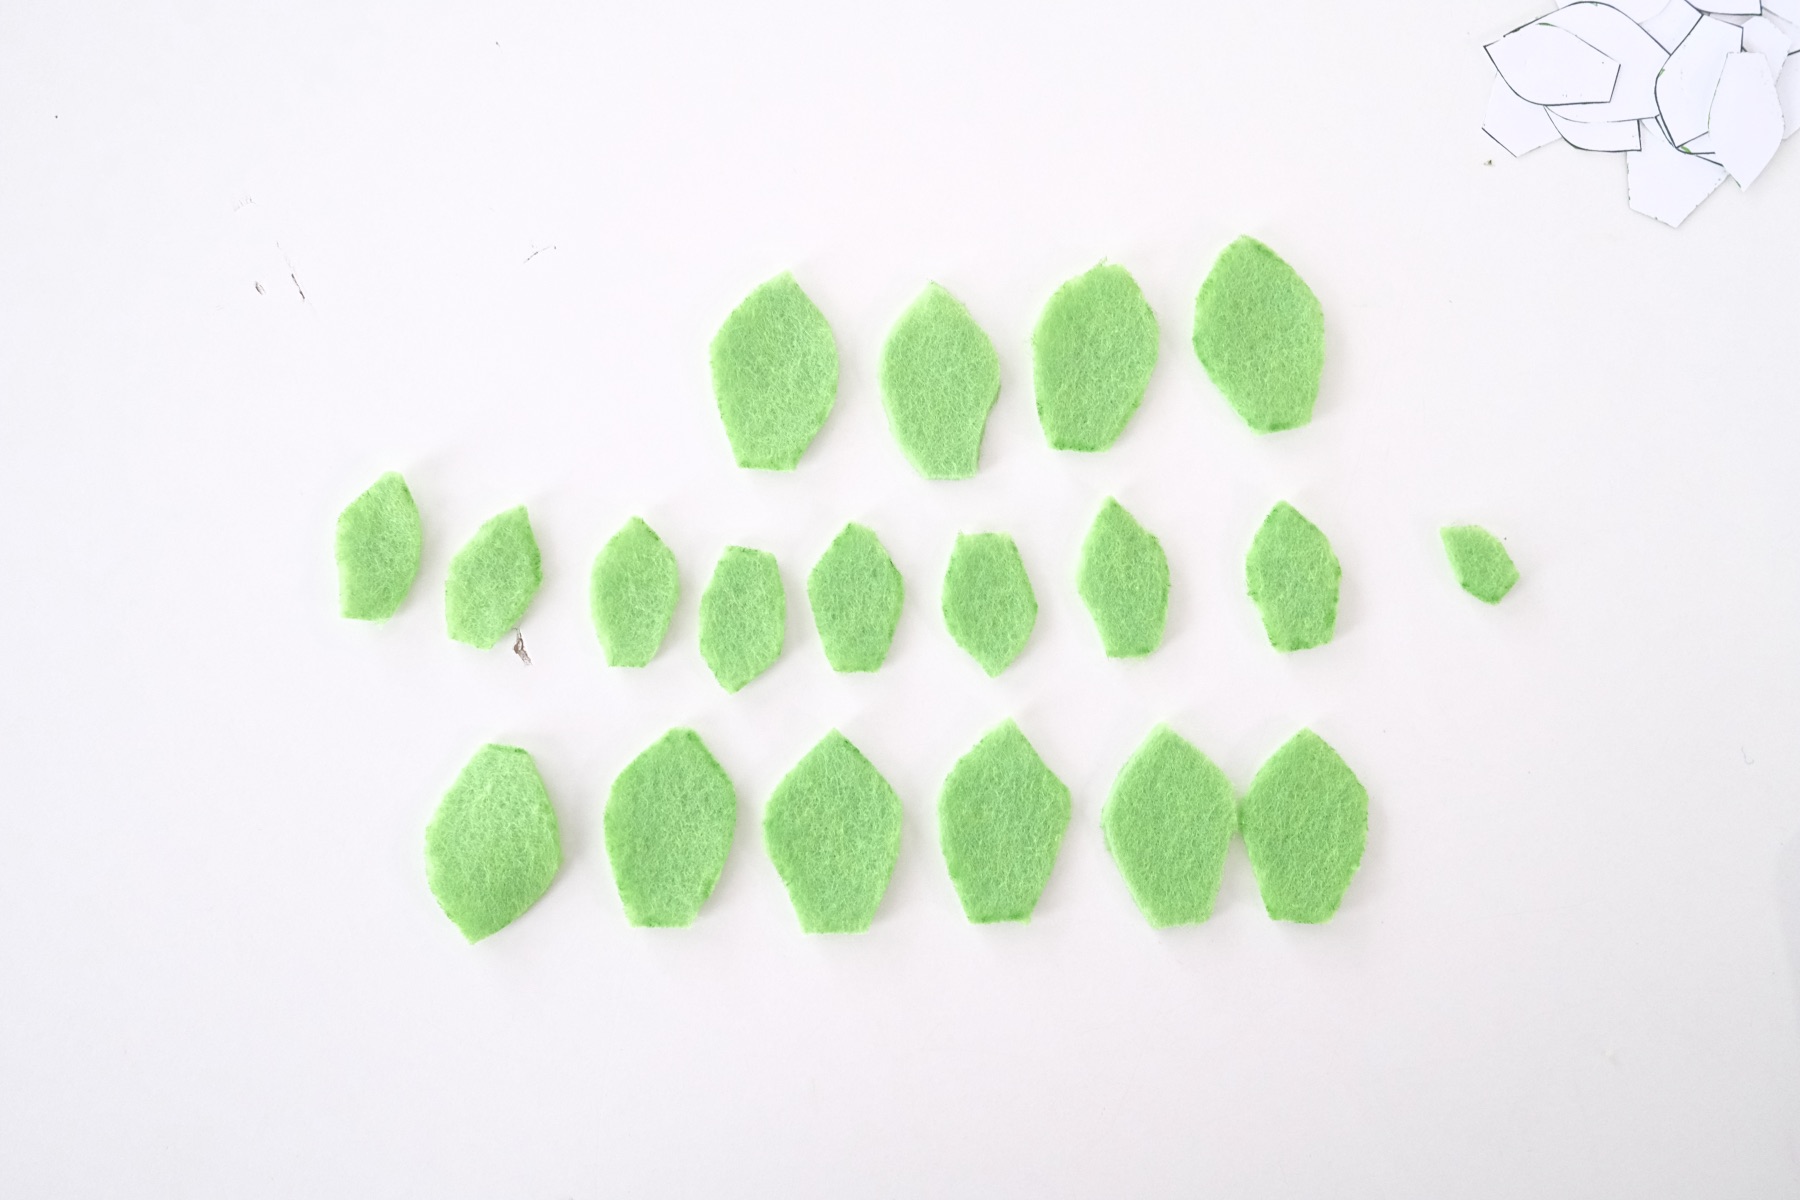
Once you have your succulent leaves cut, the pattern for any succulent is basically the same. Find your smaller leaves or any piece of felt that looks a bit different.
That will be your center.
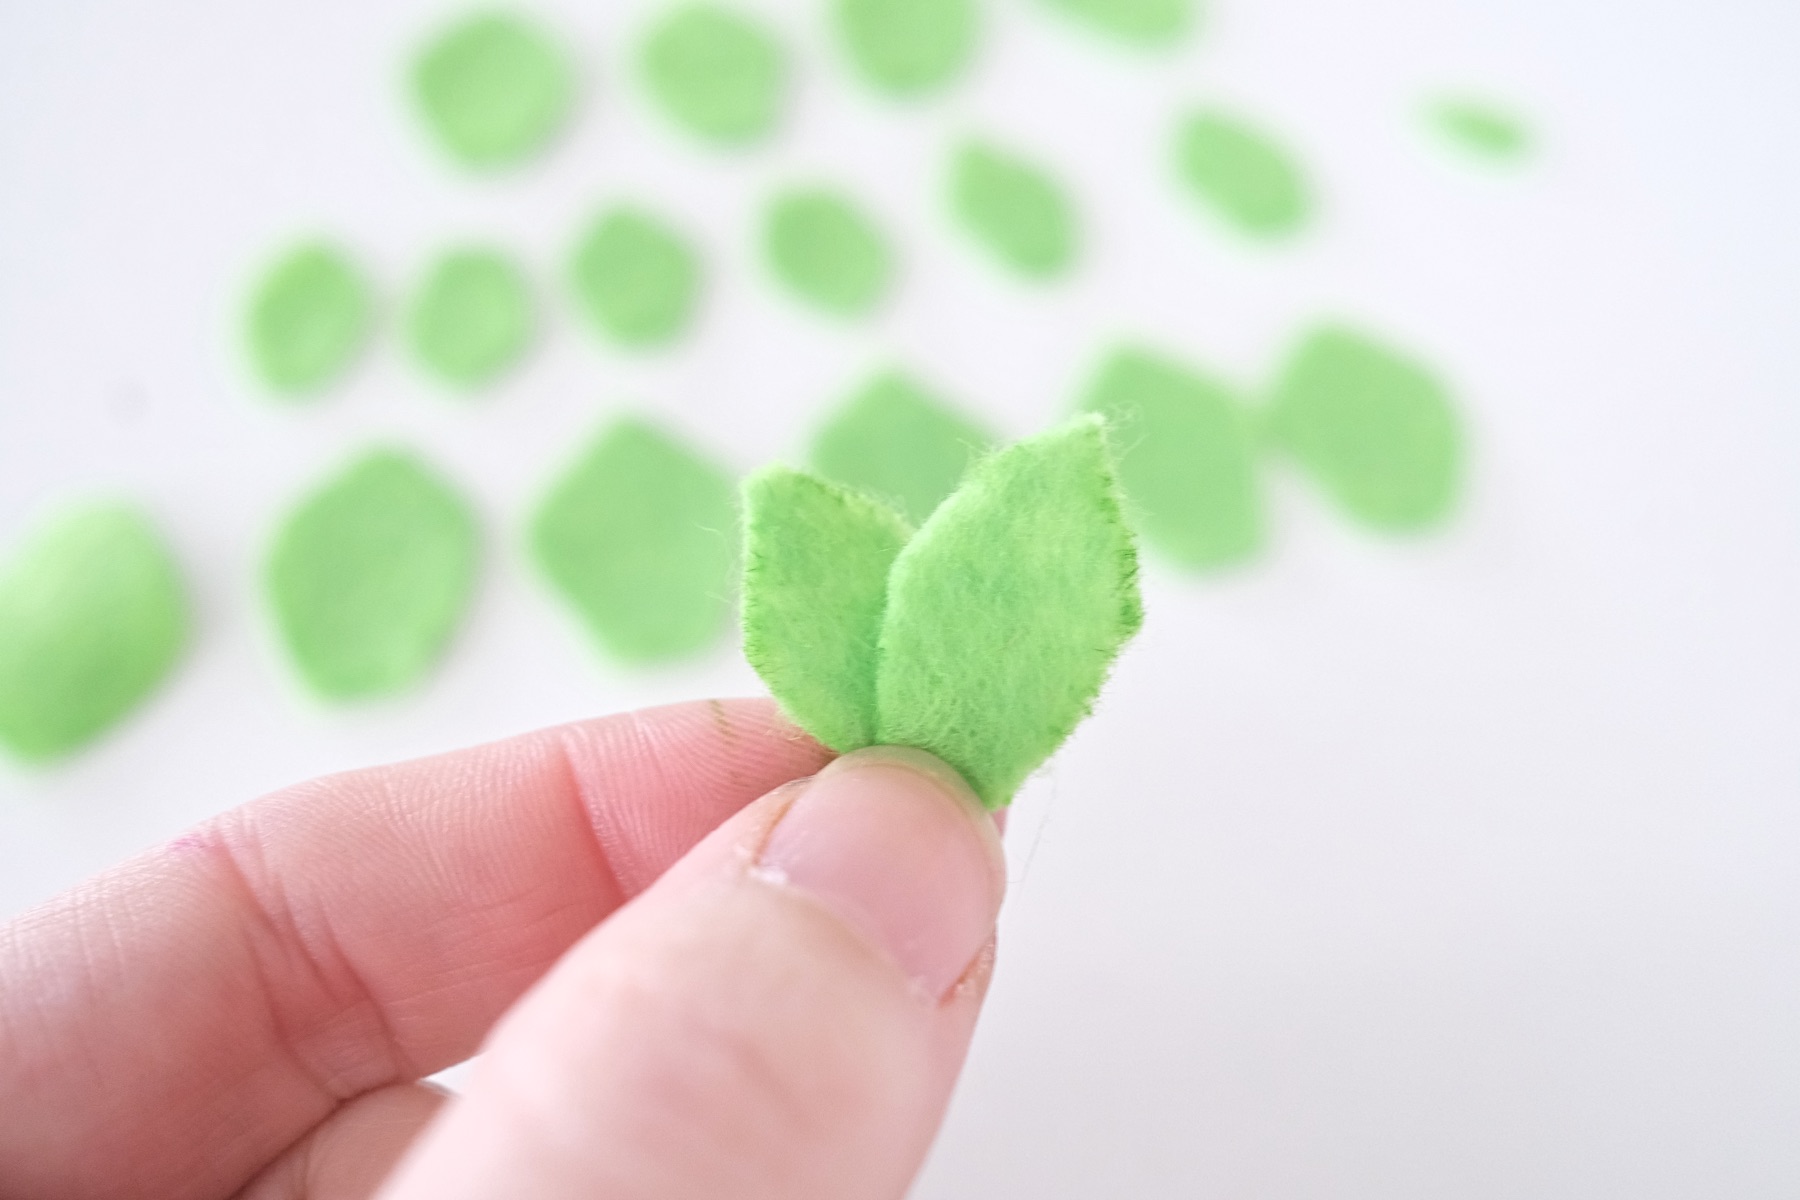
Start in the same way the flowers were started – you will need to fold the center in on itself to make a loop. Then you can build additional leaves to the succulent outside that loop.
But with the succulents, you may need to build the center loop with a series of individual leaves. To do so make a rainbow shape of smaller leaves.

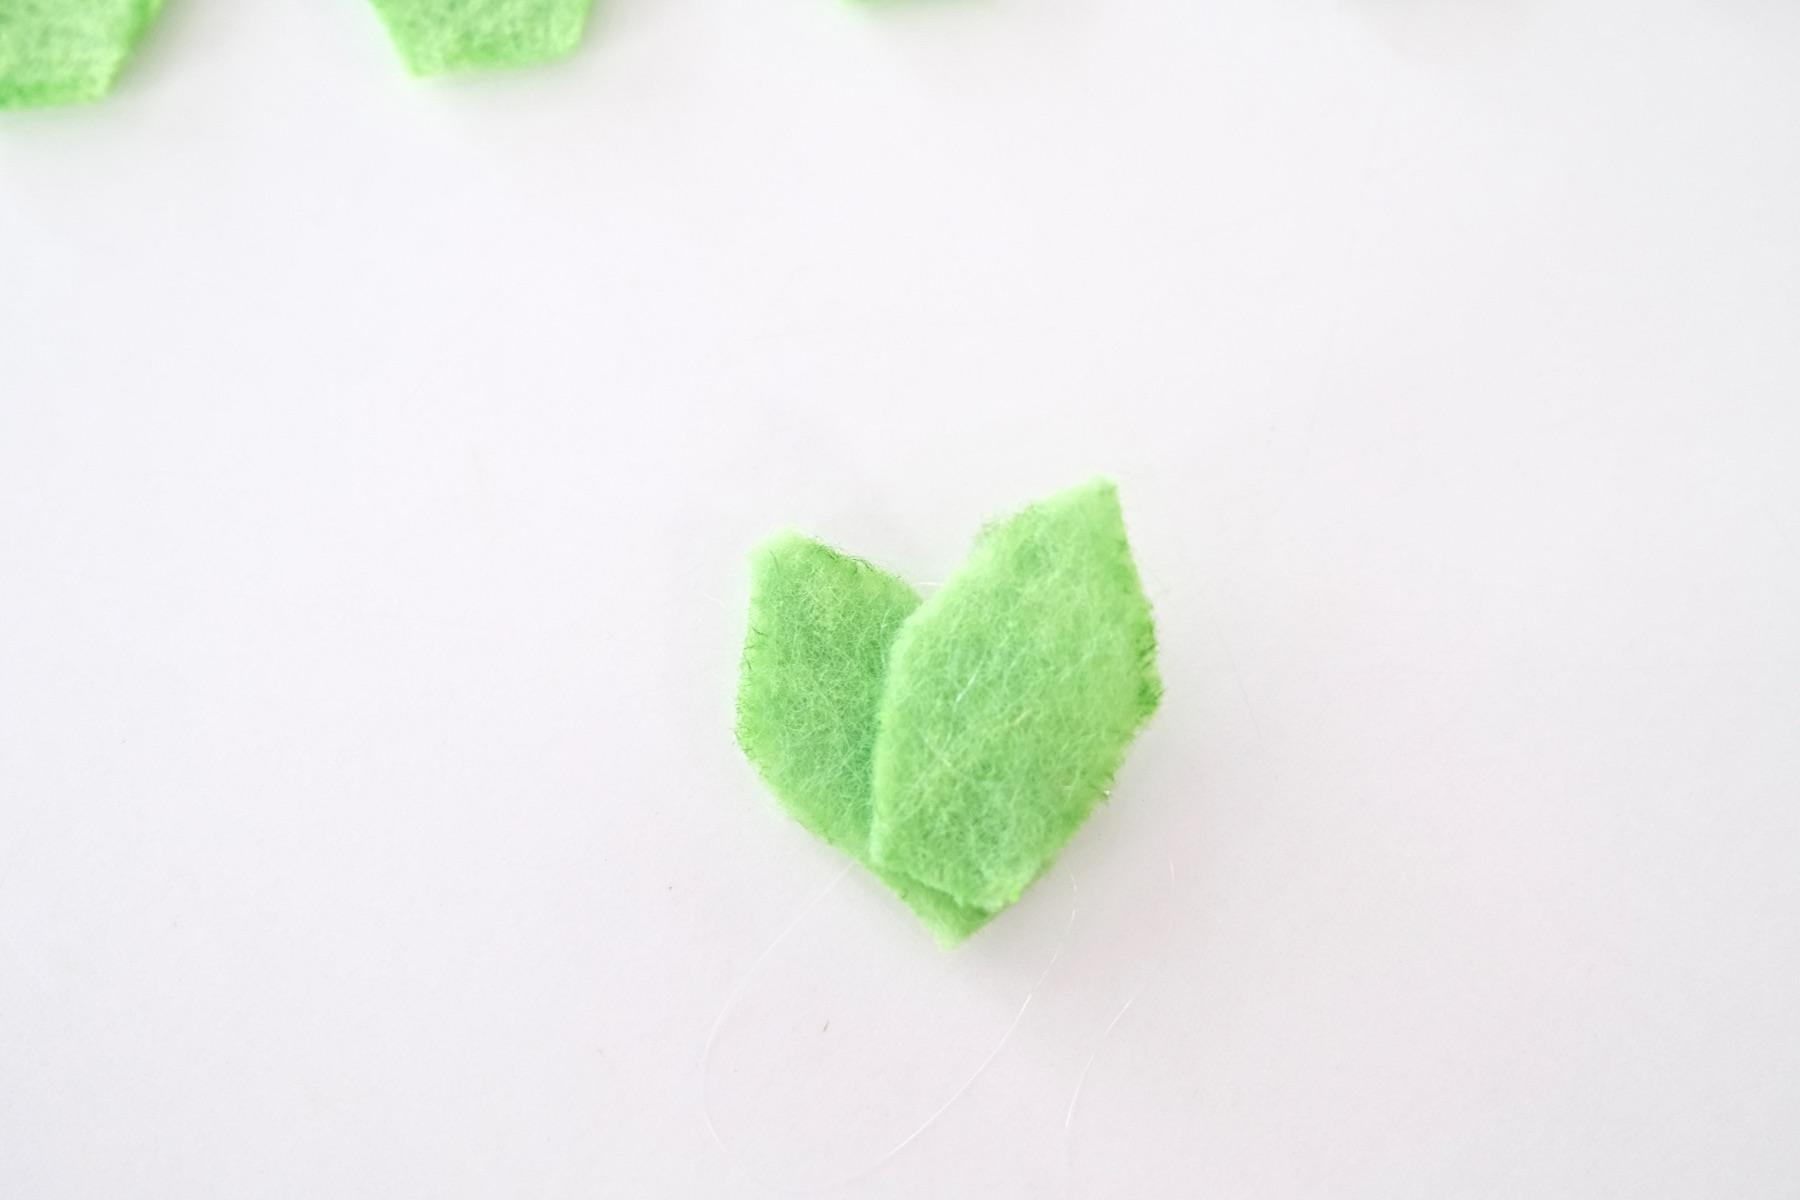
Use a dot of glue to hold them all together. Once the glue is dry, give your section of leaves a twist to glue the section together making a loop.
Hold the loop in place for around 15 seconds or until it can hold on its own.
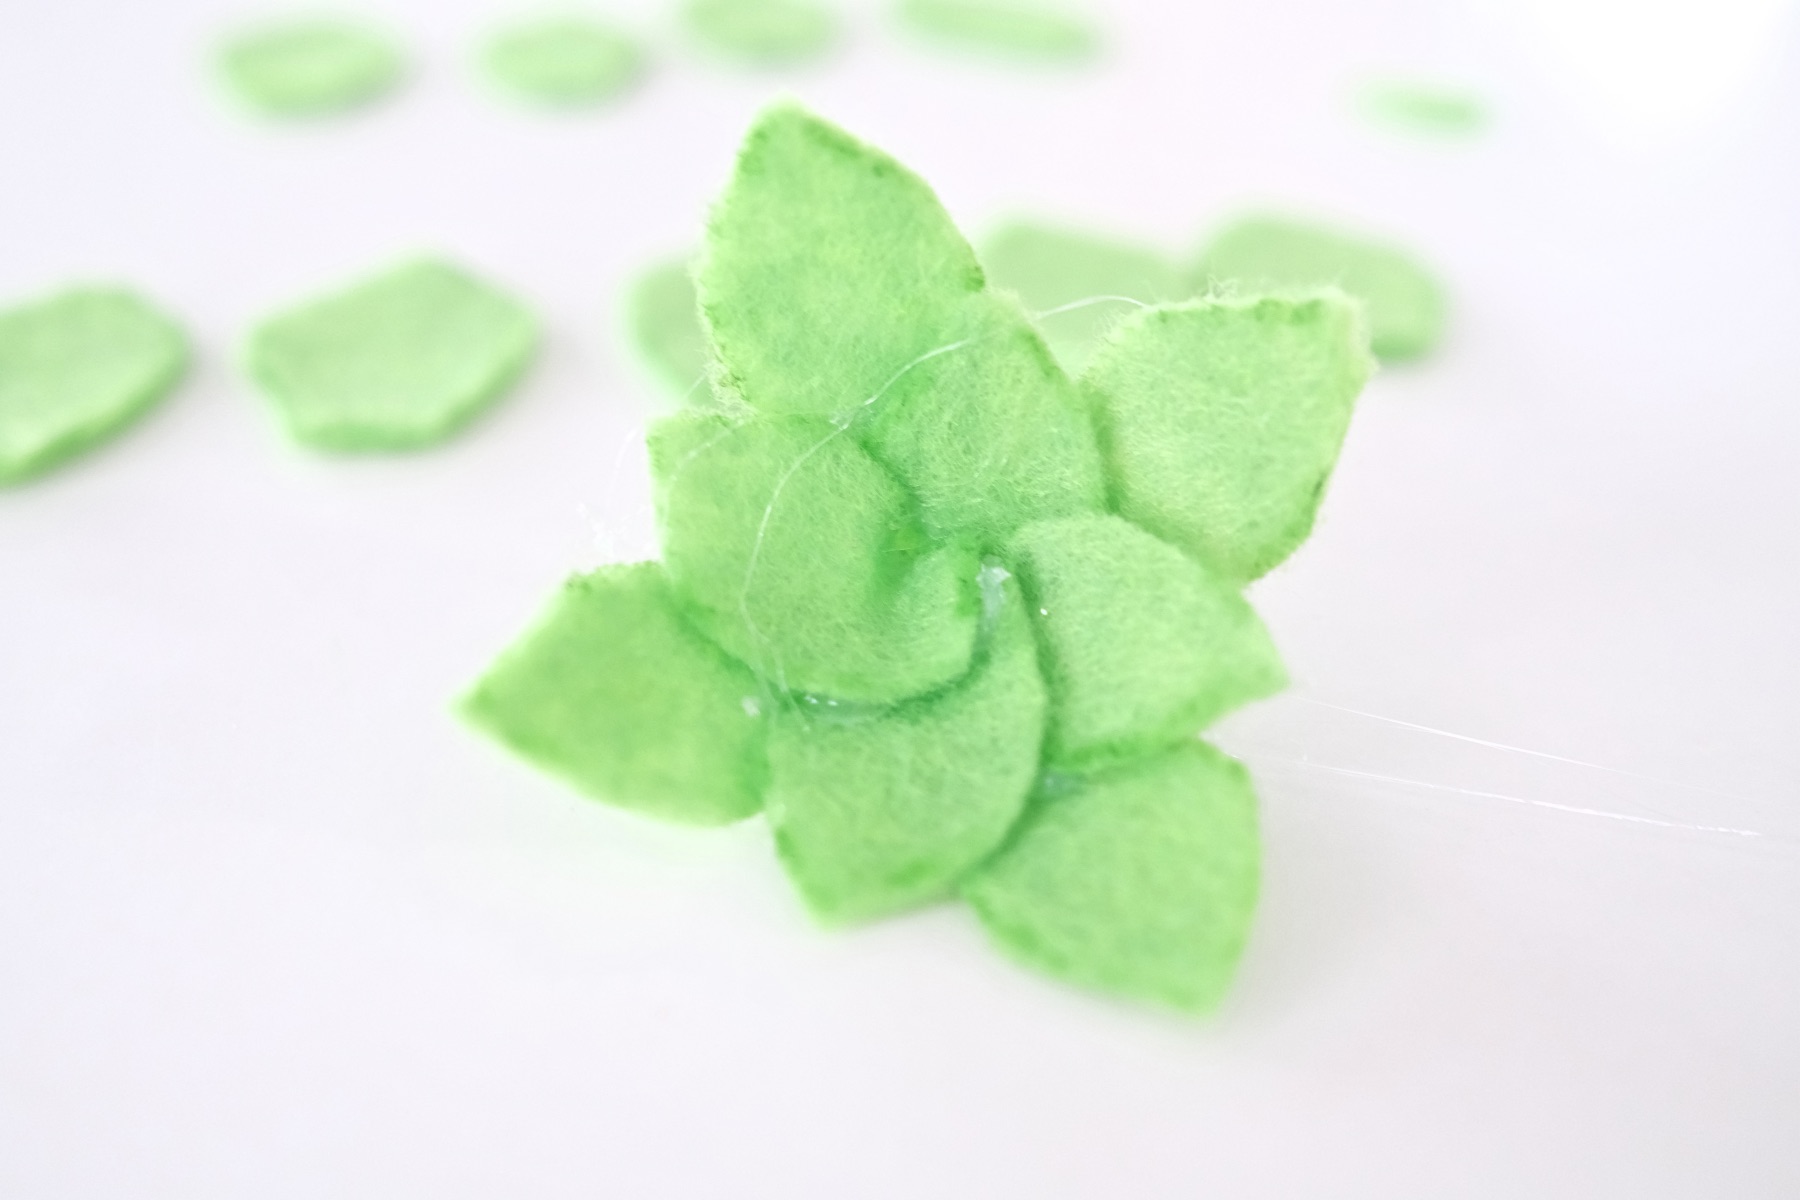
In the spaces between the leaves, begin to add more leaves.
Glue these new leaves to the back of the succulent so that the outer leaf is positioned about half way up.
As you continue to add more leaves, you may notice that it’s not perfectly symmetrical. Sometimes there are more leaves in one area.
Or sometimes your leaves might be at a slight angle. That’s okay because succulents in the real world have imperfections as well.
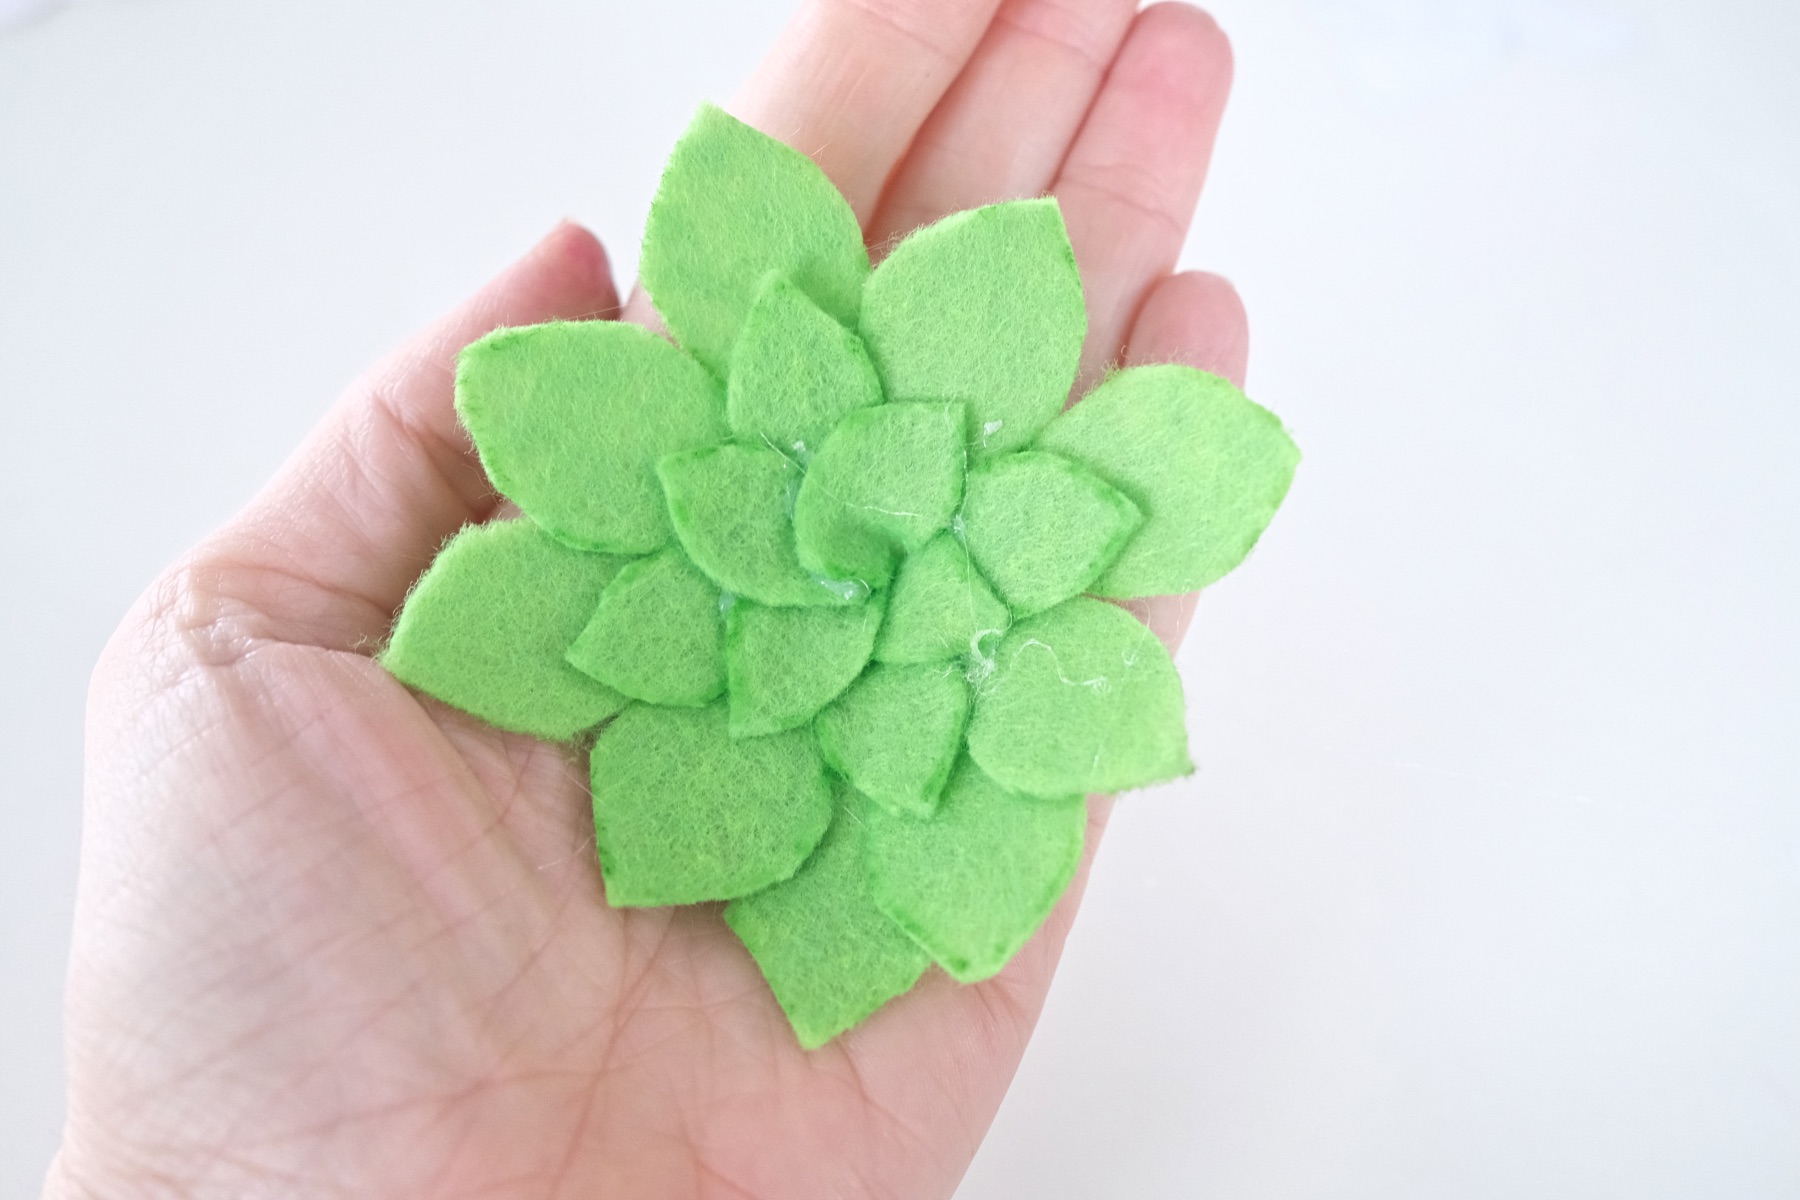
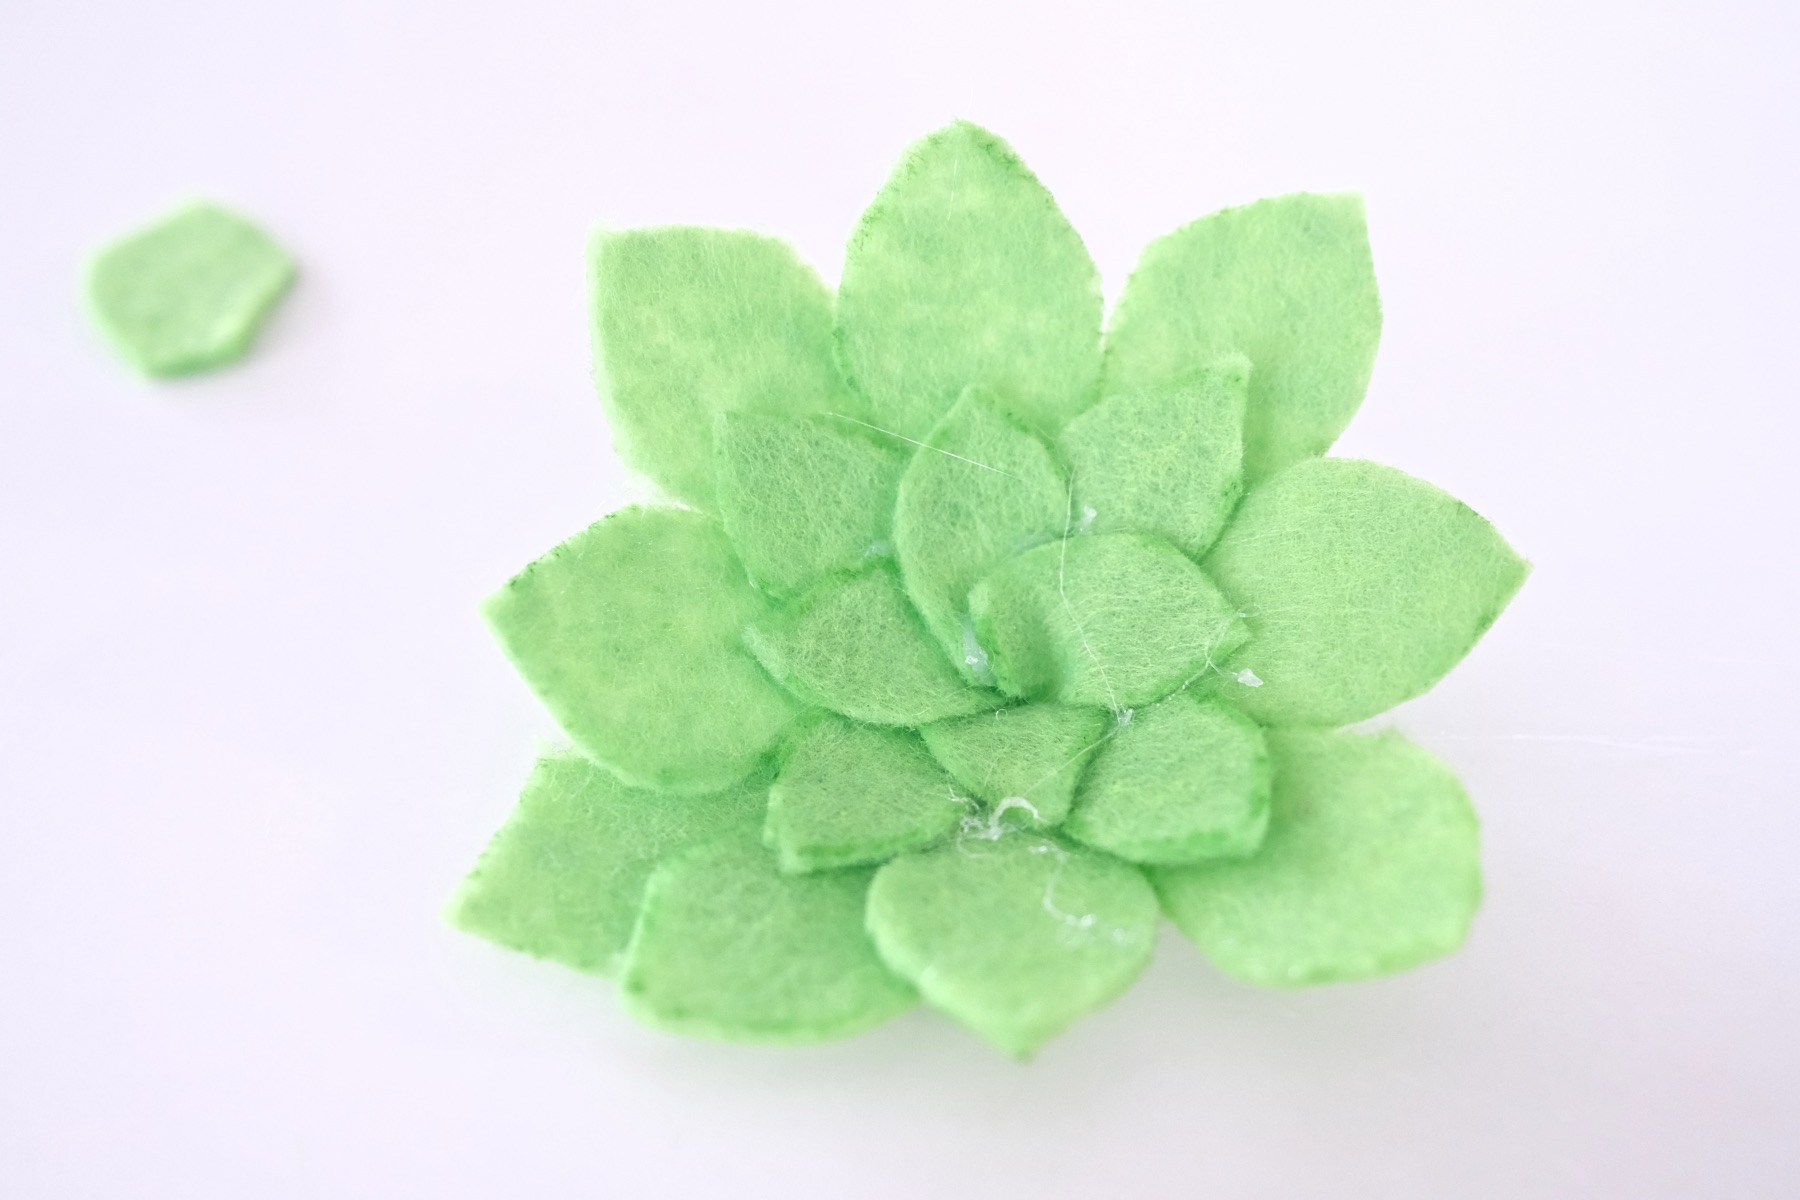
Once you have about 3 rows of succulent leaves, your succulents should be finished!
Step 6: Pull Any Glue Strings Away
Whether you made flowers or succulents, give the piece around an hour before pulling the strings away. Hot glue dries fast, but it doesn’t completely set right away.
This takes at least a few hours. If you see any glue that’s visible or any strings, simply pull them away from your piece. They will come right off!

How to Make Flower Leaves
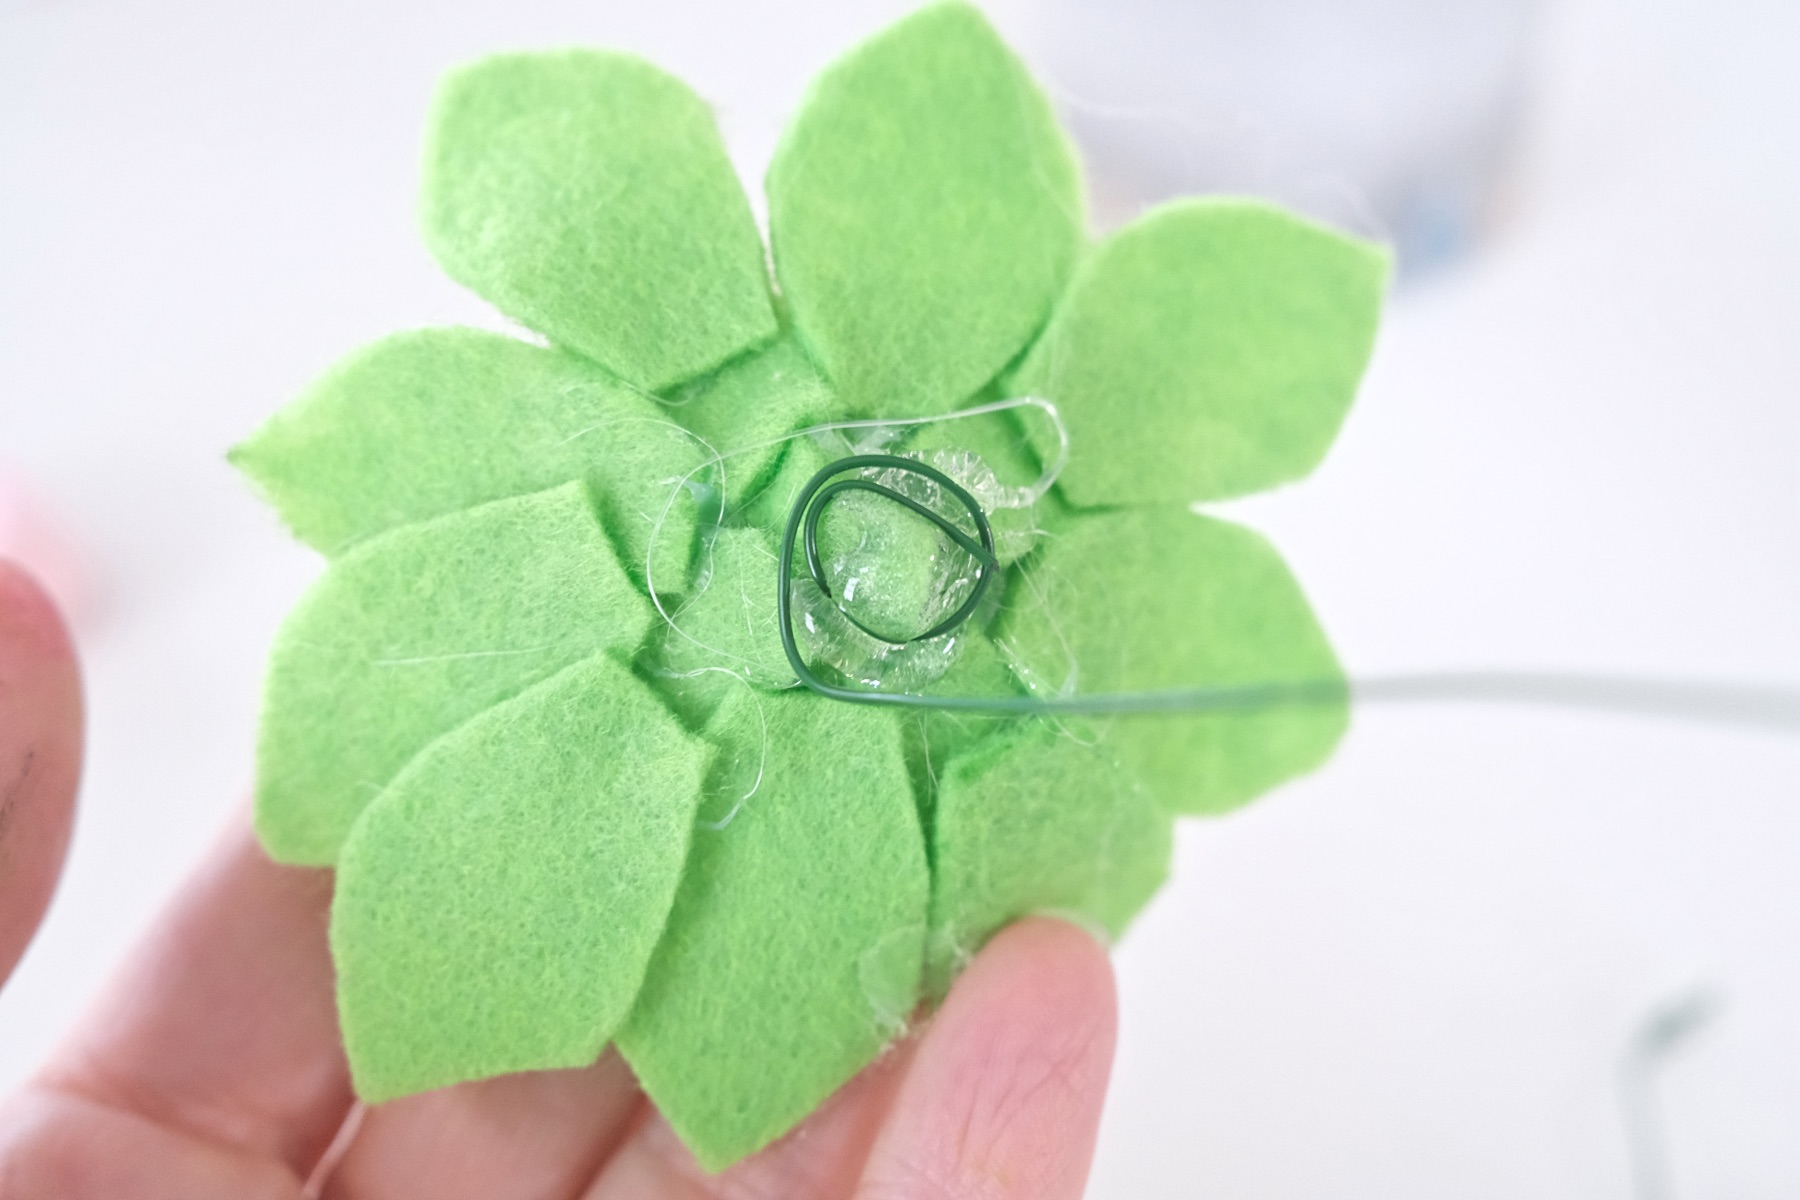
To make flower leaves, use a small section of green felt. It can be any color of green and if you are going to add floral wire, the leaves are the perfect way to cover the wire. So cut your felt and set it aside.
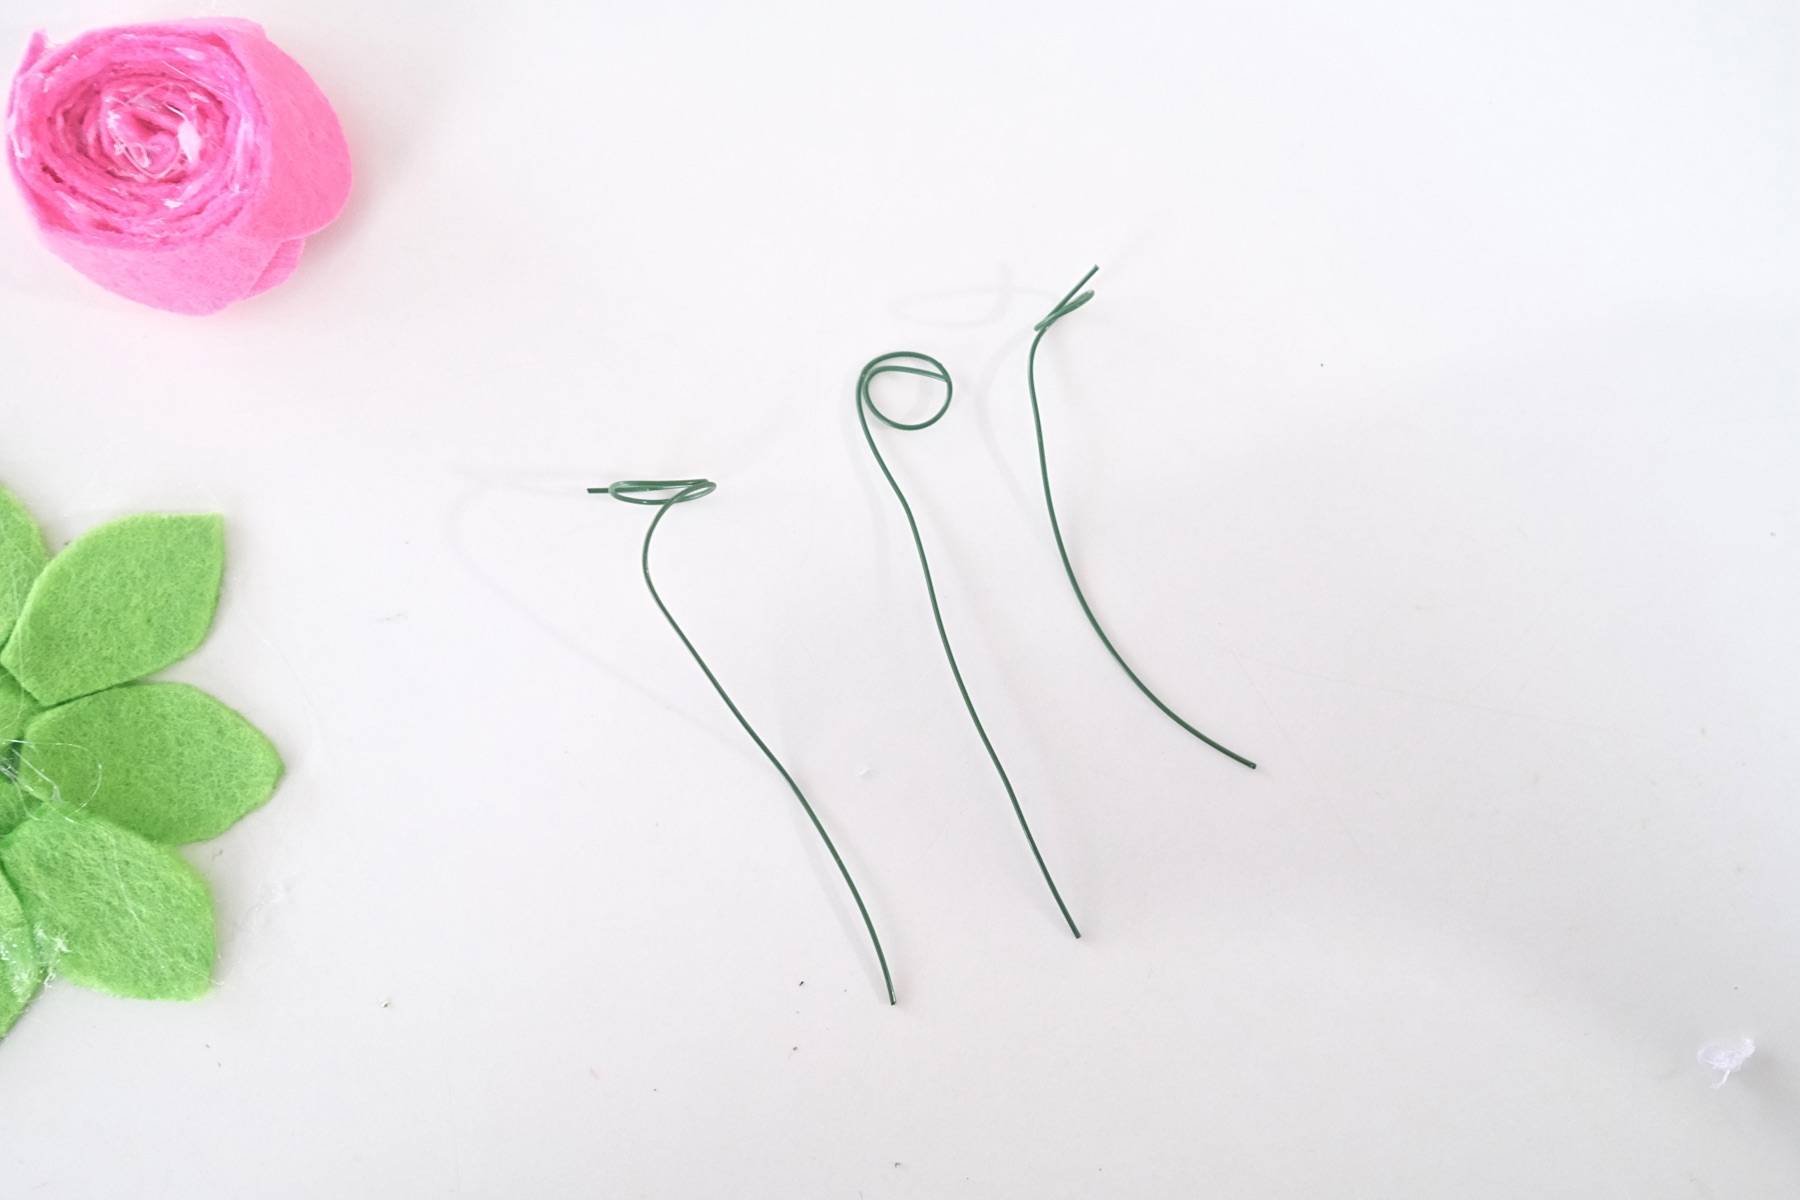
How to Make Flower Stems
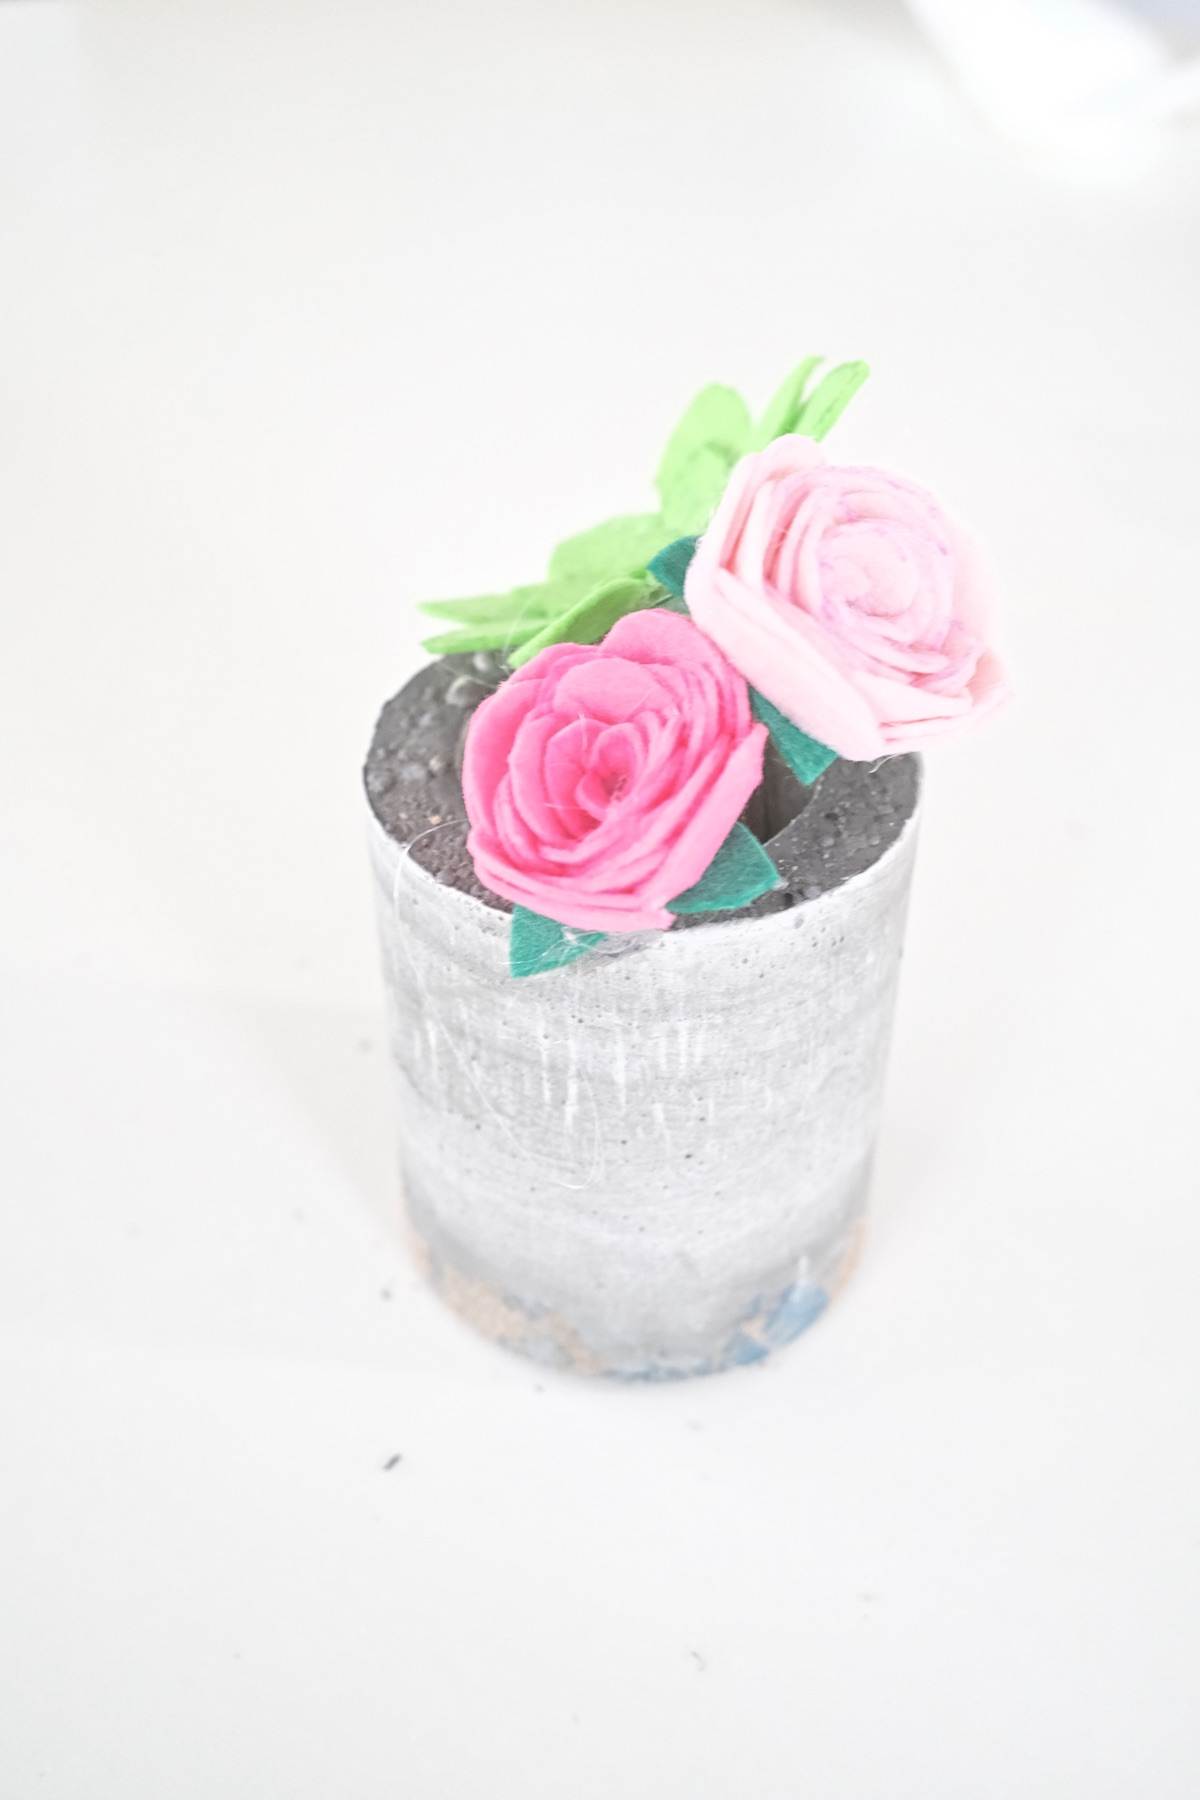
Stems come in handy when you need your flowers to stand up. It’s perfect when you want to add them to a vase. To make them cut a length of floral wire around 9 inches in length and then make a loop on one end of the wire that’s slightly smaller than your flower.
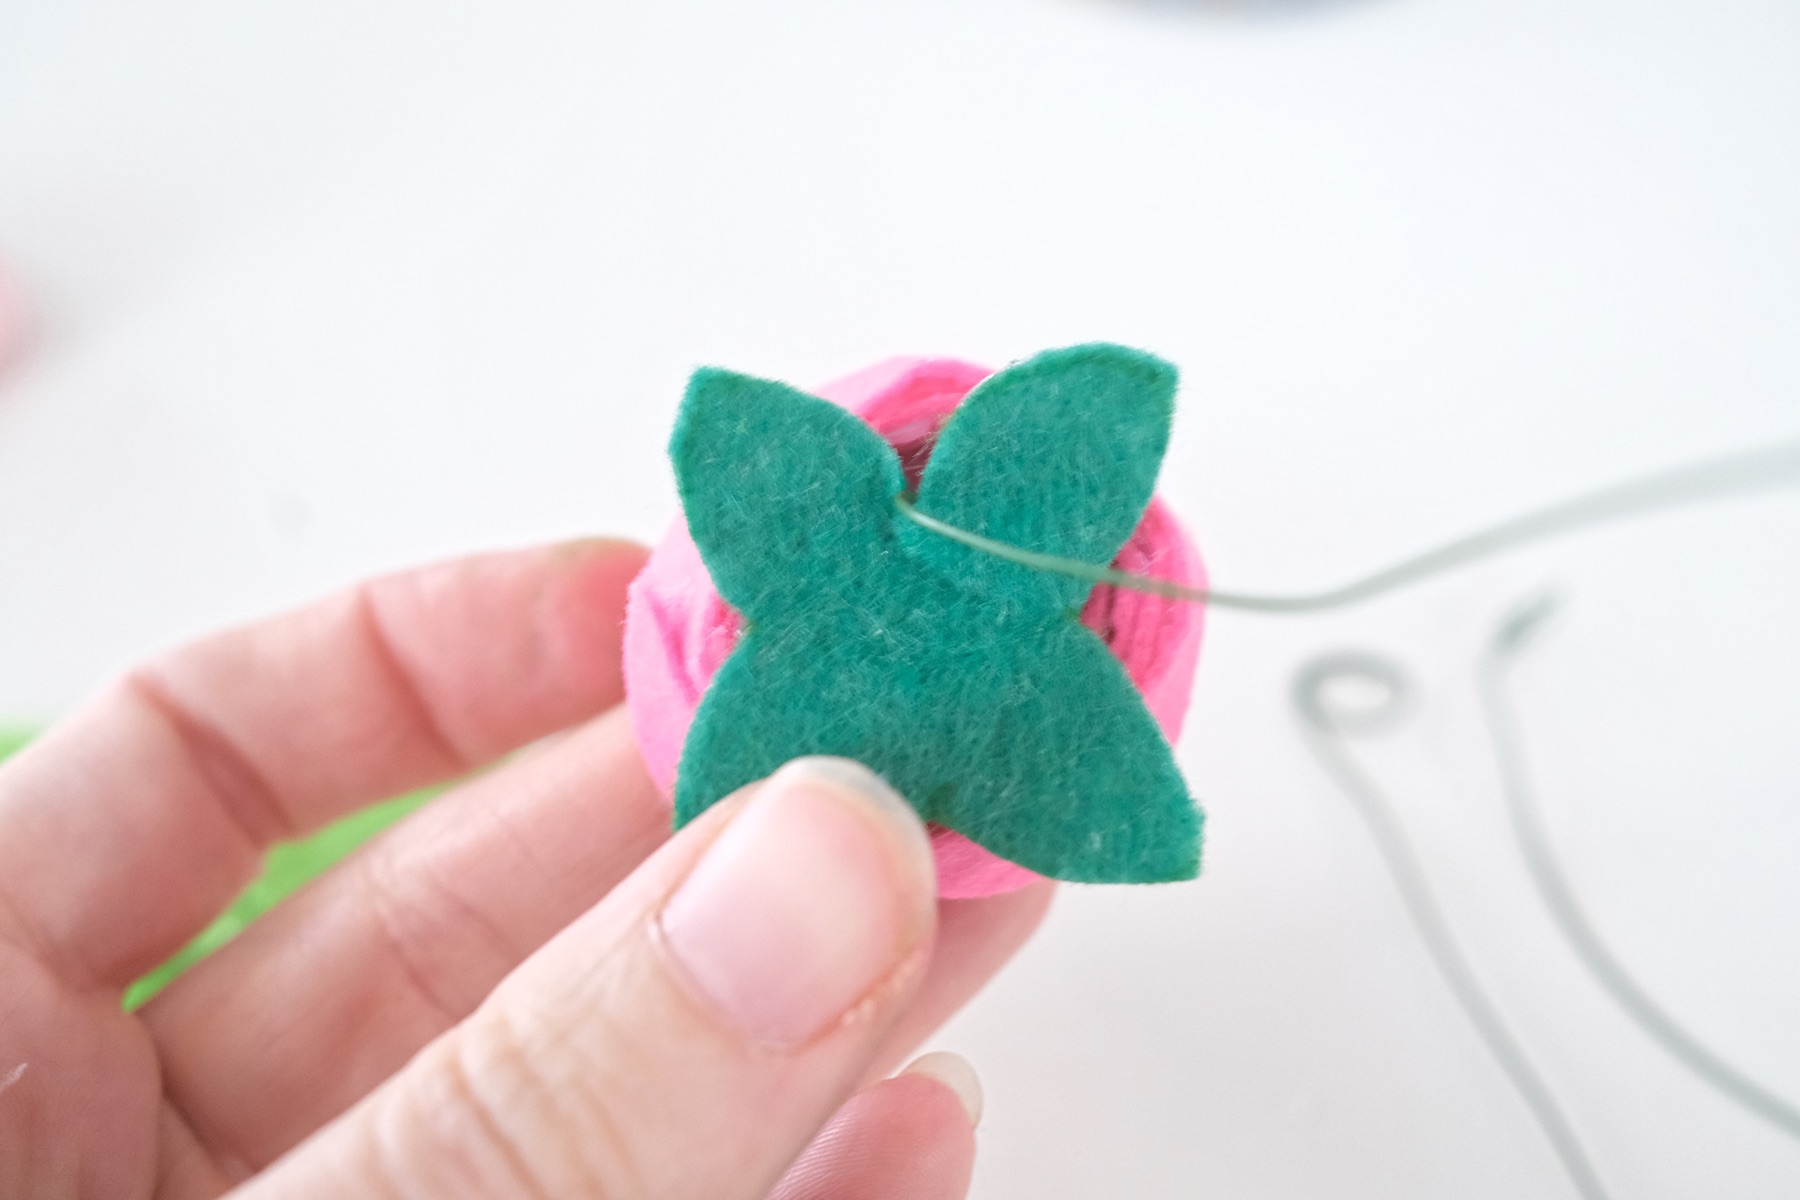
Use your hot glue gun to attach the loop to the flower or succulent base. And hold it in place for a few seconds. Then attach the leaves to bottom of the flower or succulent to cover the wire.

And viola! Your felt flowers are finished! This is the perfect way to decorate with flowers! They last forever and they require no clean up because they don’t make a mess!
If you are making these flowers for yourself, don’t forget to download the templates here! You can keep these forever for personal use.
And if you want to make this project and get all the supplies and instructions included, be sure to grab the kit here! Happy Crafting!
Let’s Be Friends!
Insta | Pinterest | Enews | TikTok