
DIY
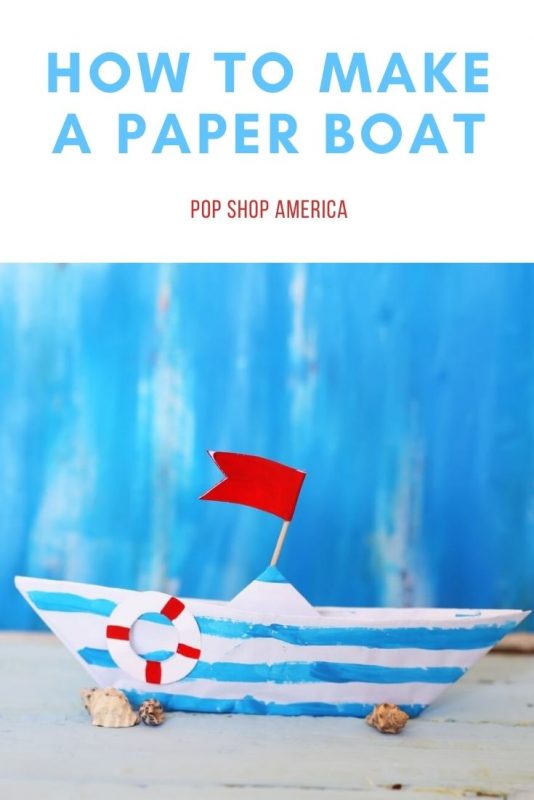
How to Make a Paper Boat with a Flag & Lifesaver
Jun
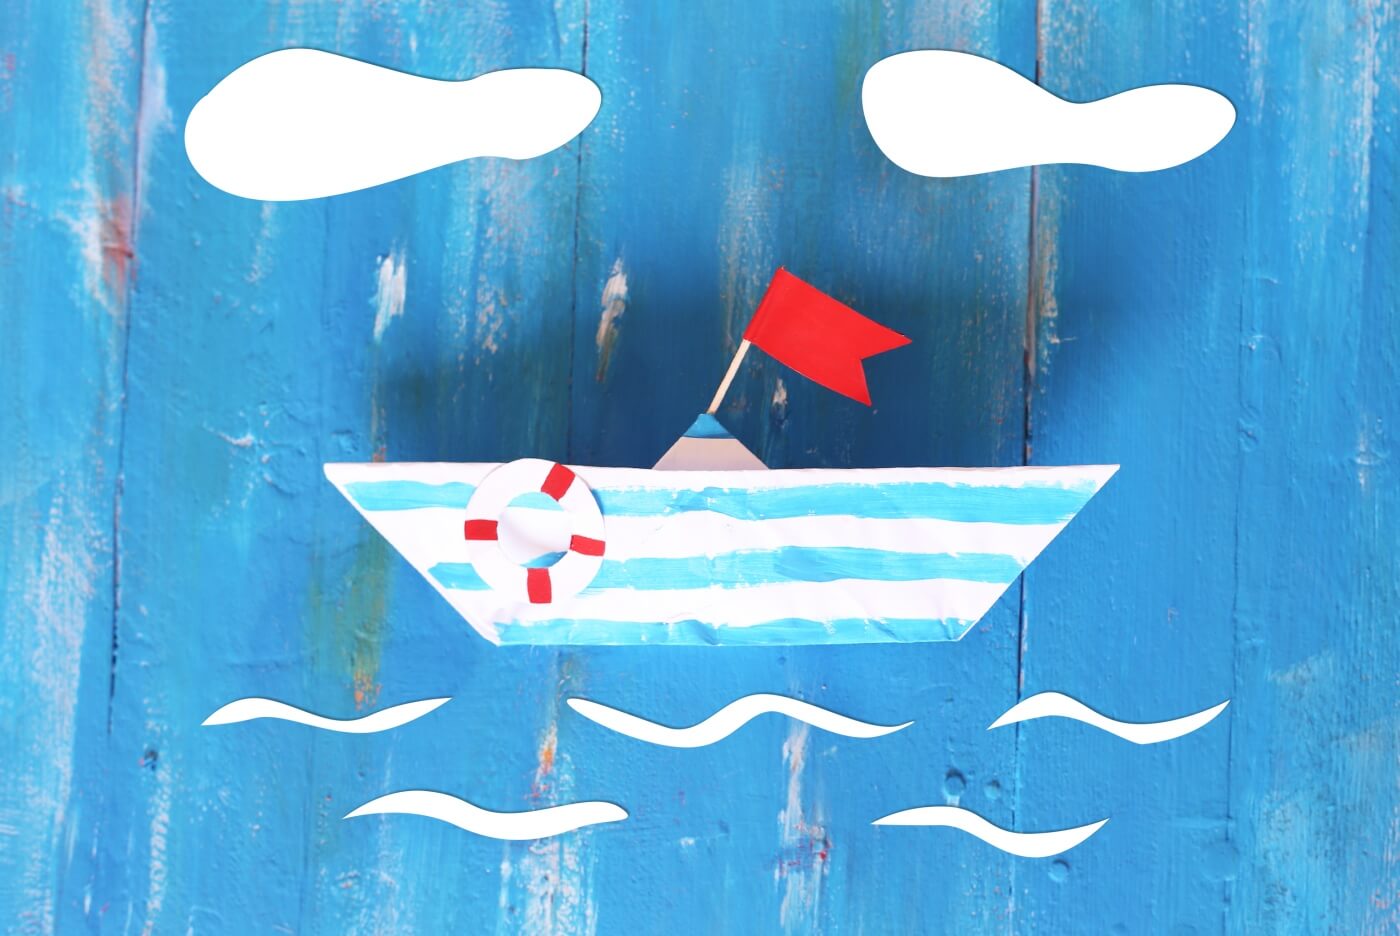
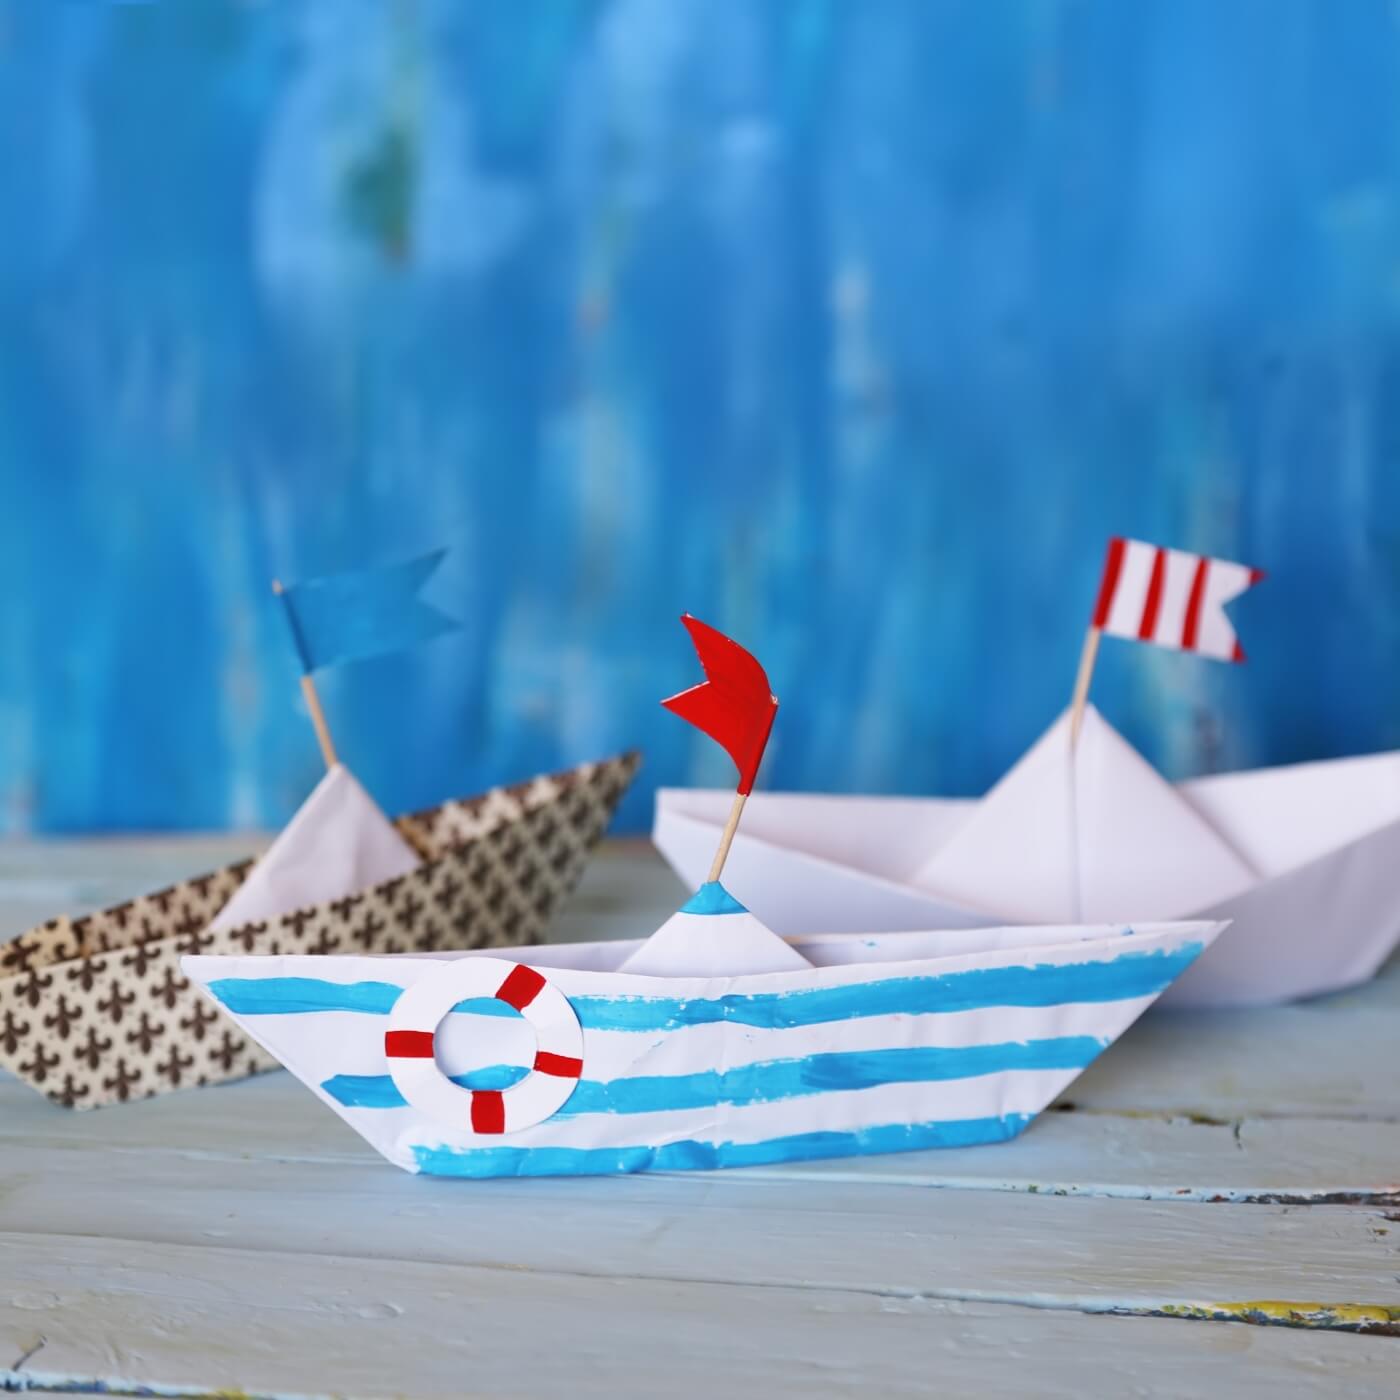
Ahoy mateys! Looking for a summer perfect DIY? Then let’s make this simple and fun DIY Origami Paper Boat. What makes this boat special is the color and details! We added an array of paper flags in addition to the sweetest red and white lifesaver.
We also gave this Paper Boat nautical blue stripes. The red, white, and blue gives this paper boat a vintage vibe that I just love! You have to make it too.
Supplies to Make a Origami Paper Boat:
8 1/2 x 11 inch paper
Optional:
Additional Paper
Red & Blue Watercolor
Watercolor Brush (Size 8, 10, 12)
Toothpick
Washi Tape or 1 1/2 x 3/4 inch piece of paper
Glue Stick

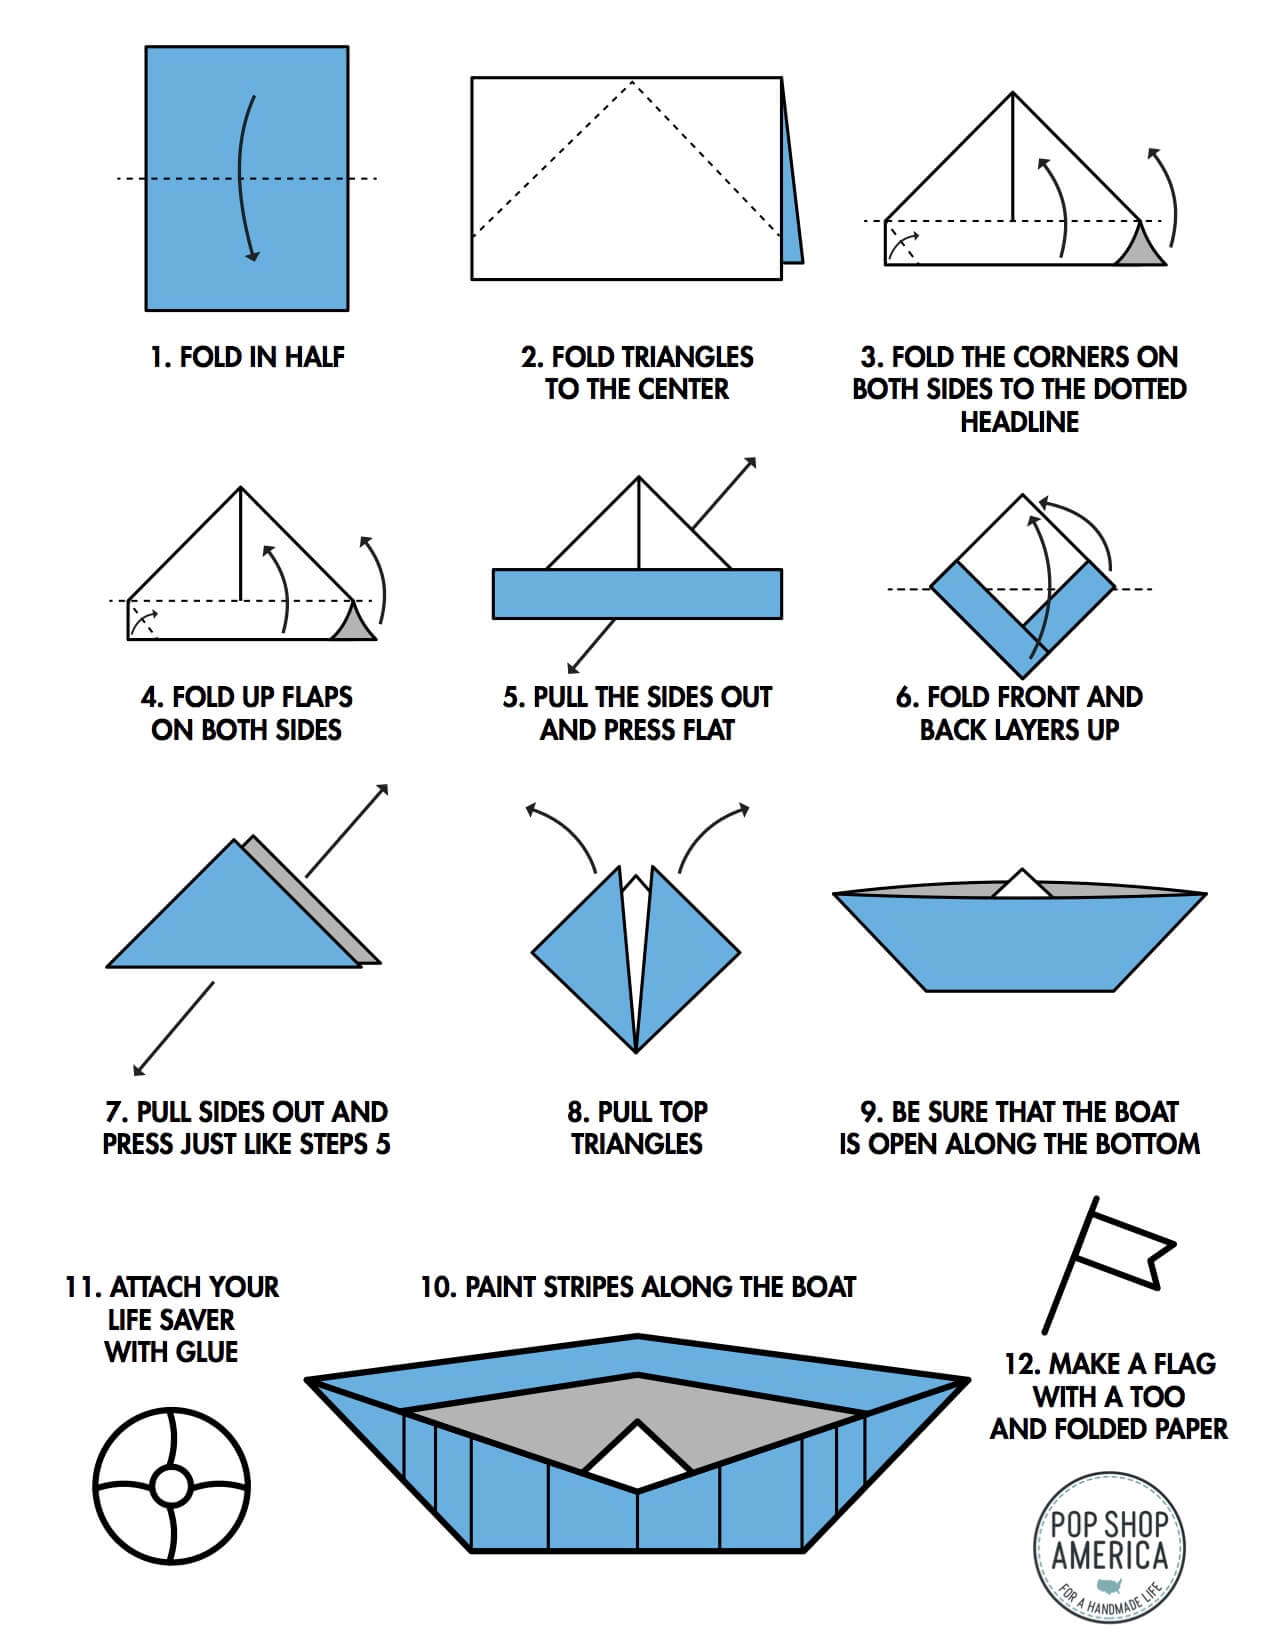
Use the template above to fold you boat! It’s very easy for some and totally impossible for others. For me, watching a video made folding an origami boat clear. Here’s my favorite video that you can follow.
After you fold your paper boat, you will want to do the following 3 things: make a flag, paint the boat with stripes, and add your life preserver. You can add one of these items or add them all! To make the boat, all you need is paper – all of the other supplies are for these cute accessories.
How to Make the Paper Flag
Using a 2 inch length of red washi tape or using a 2 inch length of red painted paper, fold the piece in half long ways. If you are using washi tape, the tape will stick to itself, but if you use paper, use a glue stick to glue the paper together. Next cut out a triangle creating a traditional flag shape.
Hold the paper boat in one hand and the flag in the other to gently poke the toothpick through the paper in the top most and center most point in the boat.
How to Paint the Paper Boat
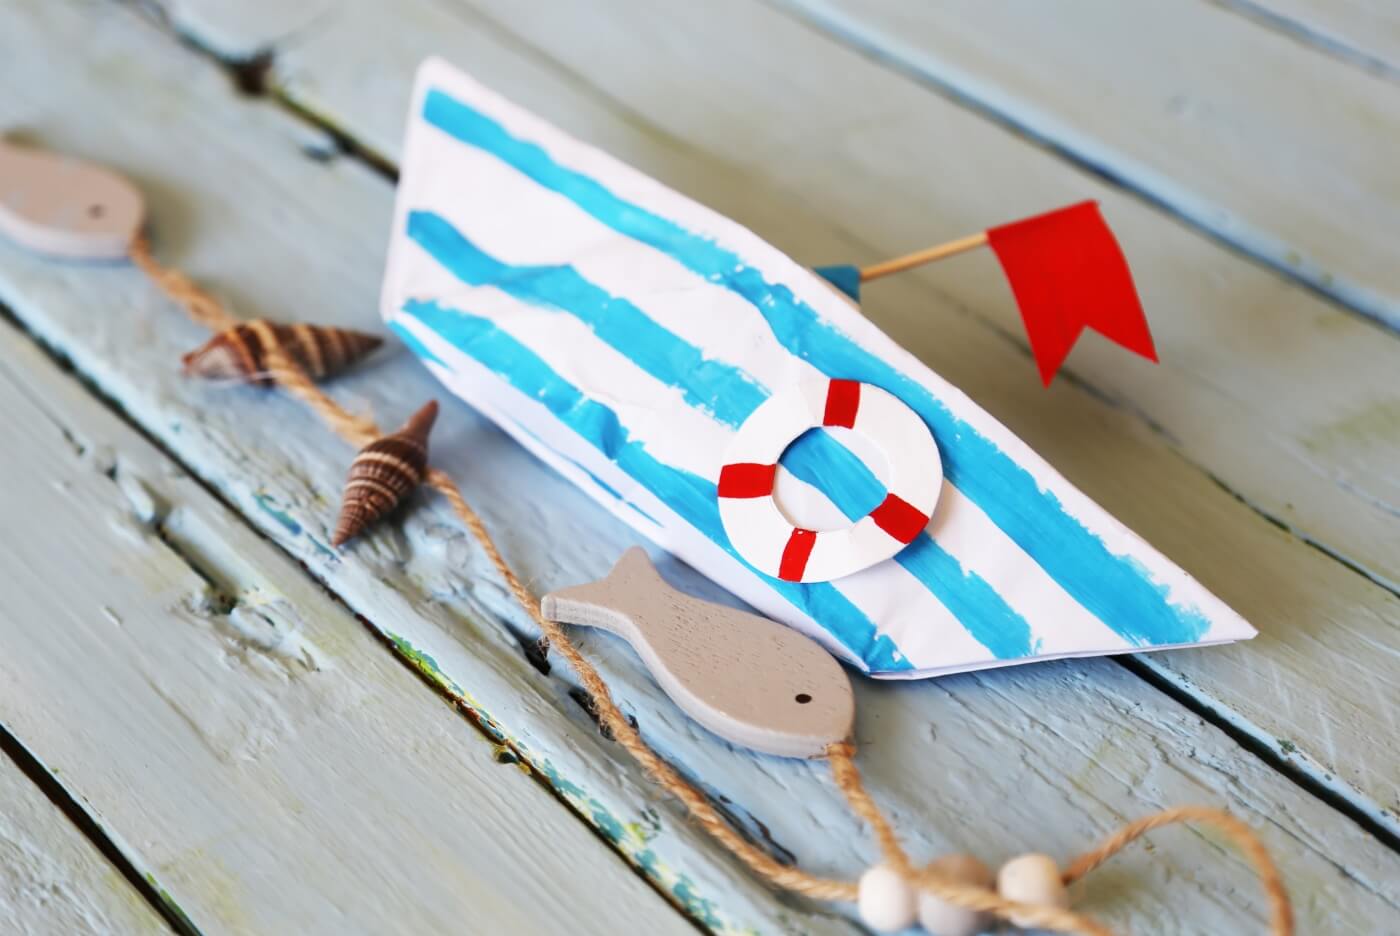
Use a watercolor brush and watercolor paint to create your boat stripes. Lie the boat down flat, dip your brush in a very watery and thin watercolor. Use enough paint to make a stripe from one side to the other without stopping and go! Your stripe does not need to be perfect. A messy, handmade stripe will give it that vintage feel that it needs.
How to Create a Paper Lifesaver
With another piece of paper, cut a small circle by hand. Cut an interior circle and remove the interior. Don’t use a circle cutter cut them by hand so your life preserver will look handmade.
Then using your red watercolor and a clean watercolor brush, make a few red stripes from the interior of the circle to the outside. Allow the paint to dry which will just take a few minutes and using the glue stick, affix your lifesaver to the side of the boat.
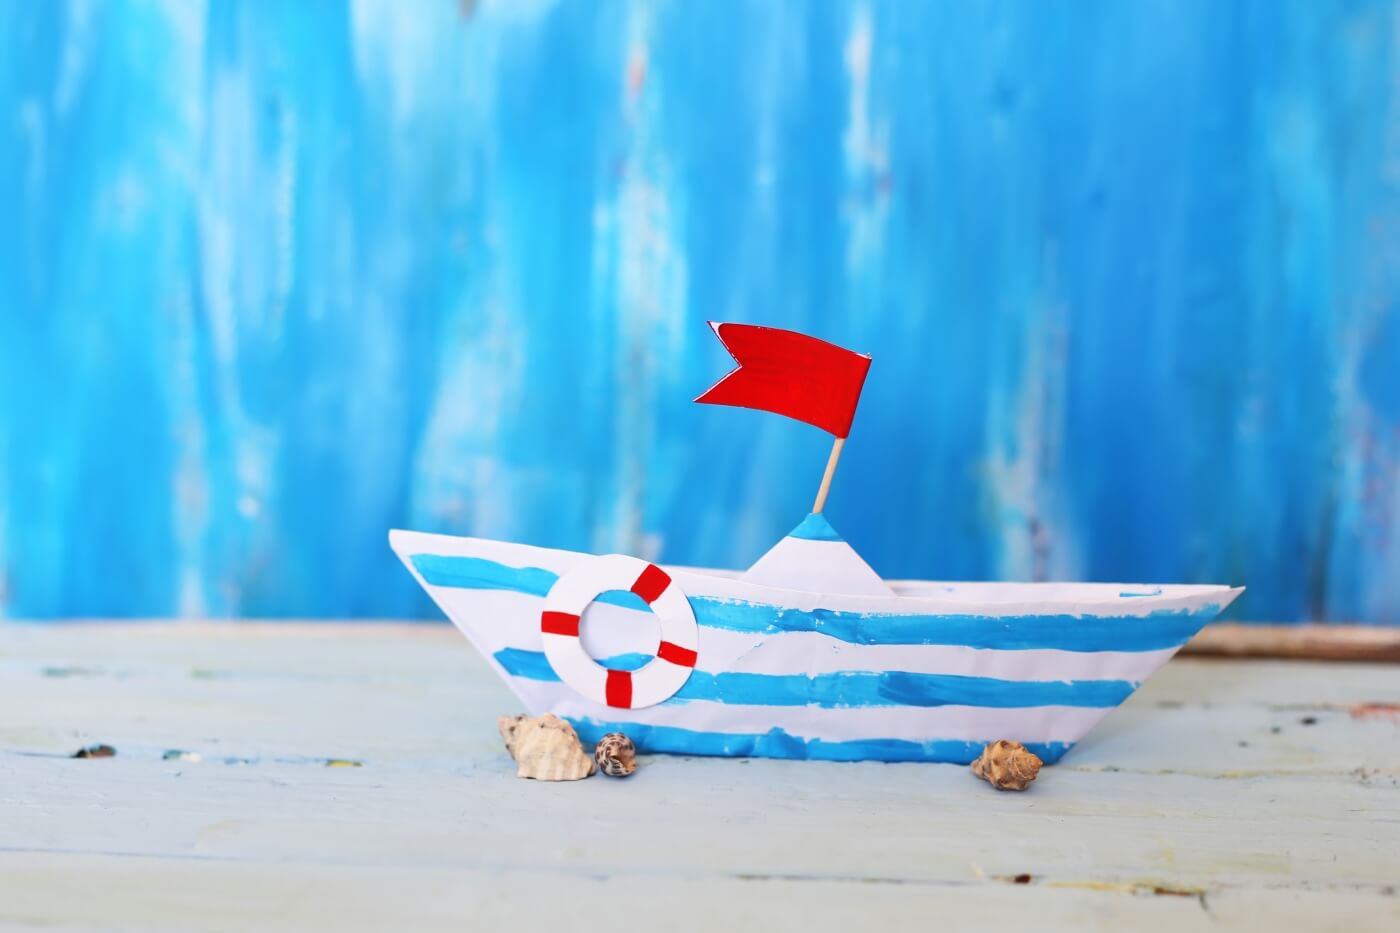
And viola! Your very own Origami Paper Boat all styled up! Isn’t it adorable and summer perfect?!? If you need more Red, White, and Blue Craft Tutorials try these Star Stamped Kitchen Towels. If you are looking for summer perfect paper crafts, take a look at this Shrimp Hat Template.
Let’s Stay Friends!
Insta | Pinterest | Enews | TikTok


this website is HORIBBLE. I HATE it.
Haha! Then go somewhere else.
Girl, chill.