
Jul
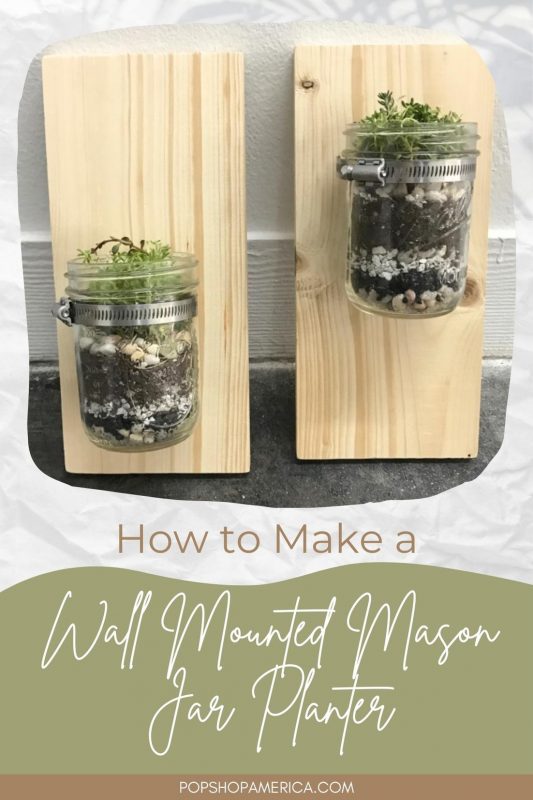
Want to find a gorgeous and simple way to wall mount your mason jars? This is it! We’ve made ours into a Wall Mounted Mason Jar Planter but this would be a perfect vase or even the perfect place to hold your keys by the door!
This Wall Mounted Mason Jar is cute, versatile, and surprisingly easy to make. All the supplies you will need are at the hardware store so let’s have some fun and get started.
Supplies:
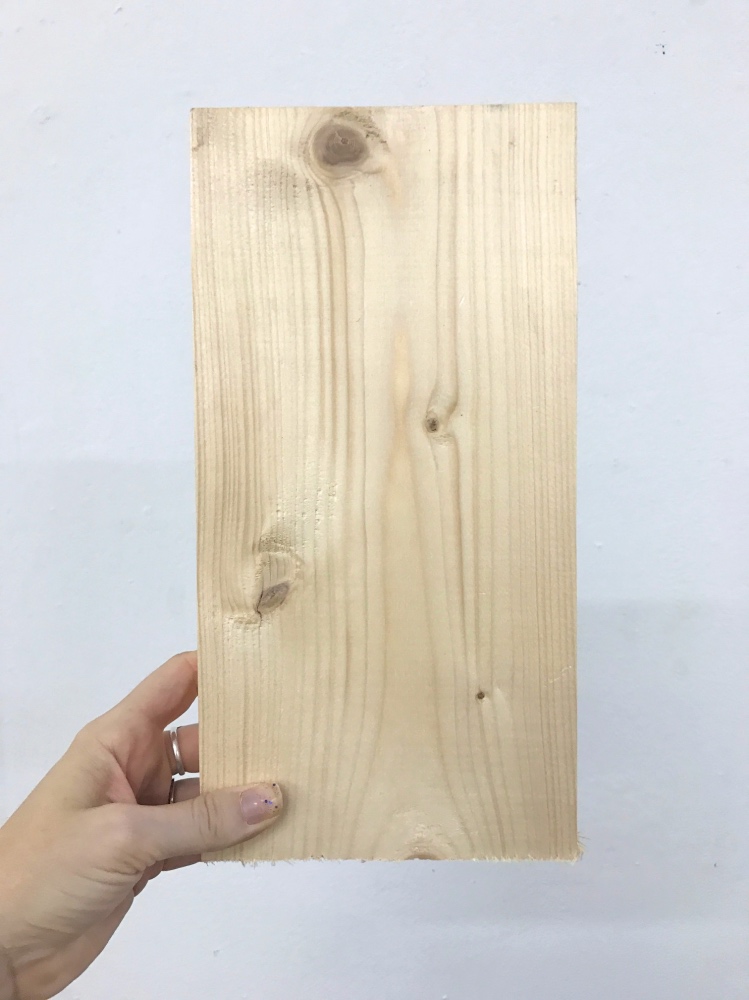
A Piece of Wood (We Choose 12 inches of Pine)
A Metal Hose Clamp (We used the 2 1/8 – 3 inch Sized)
A Wood Screw that’s Shorter than the Piece of Wood that You are Mounting the Mason Jar To
A Nail & Hammer -or- A Drill
A Flat Head Screwdriver
A Phillips Head Screwdriver
Optional: Sandpaper, Stain, or Paint
What type of wood you pick for this project is totally up to you! I chose pine because it’s so versatile because of it’s light color. It’s also soft which makes it very easy to screw into. If you use the hammer and nail technique, which we’ll show you later, you won’t need to use a drill at all! You can just use a screwdriver!
Before you get started, sand the edges of your piece of wood. This is optional but will give you a professional finish! If you are planning on staining or painting your wood at all, you will want to do it now.
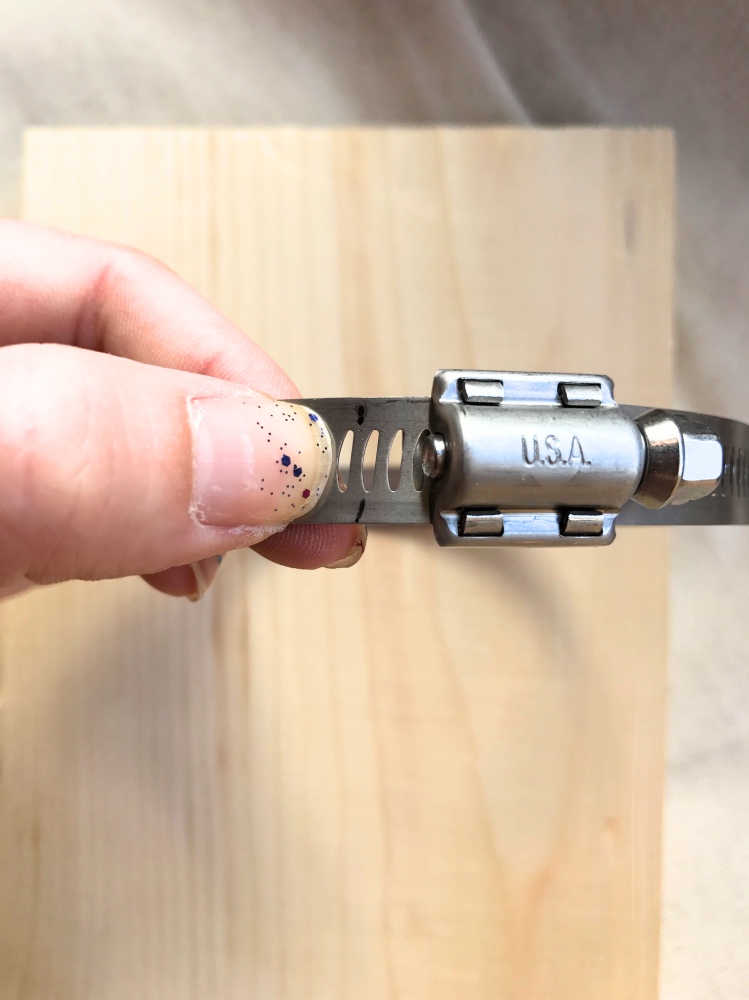
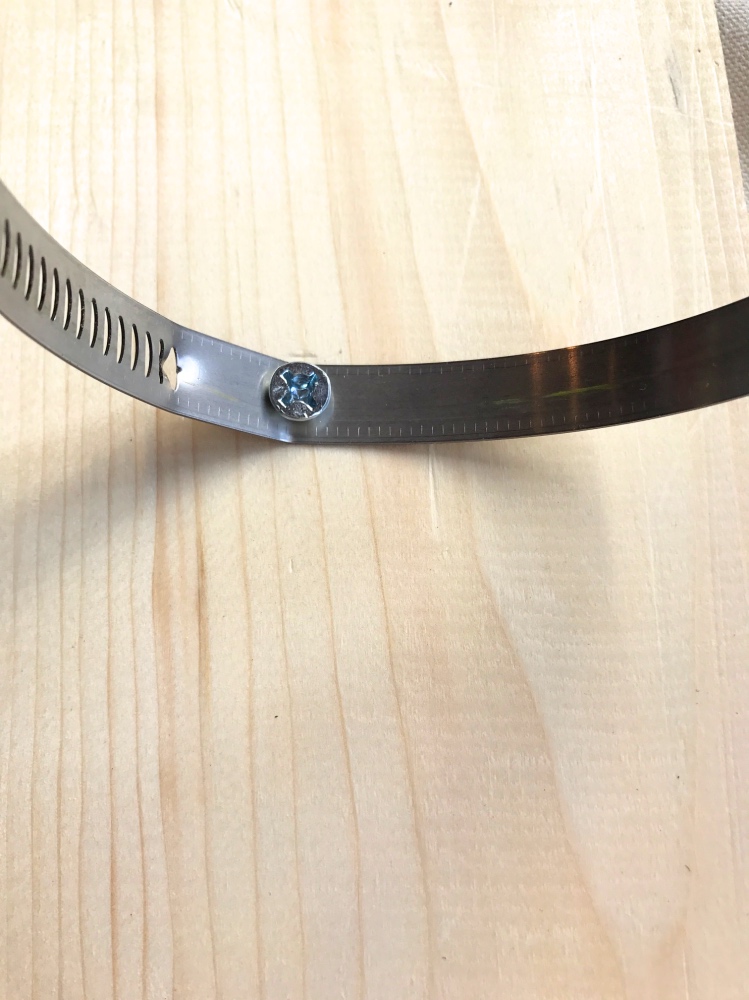
First, wrap your hose clamp around your mason jar and tighten it with your screwdriver. Make a mark (like the one above) along the edge of the clamp. Position your mason jar where you want it to hang on the wood.
Your mason jar could be positioned in the very center or up high and down low like the finished photos we show above.
Once you know where your mason jar will be positioned on the wood, make a small mark on the wood where it touches the metal hose clamp. And make a small mark on the hose clamp where touches the wood.
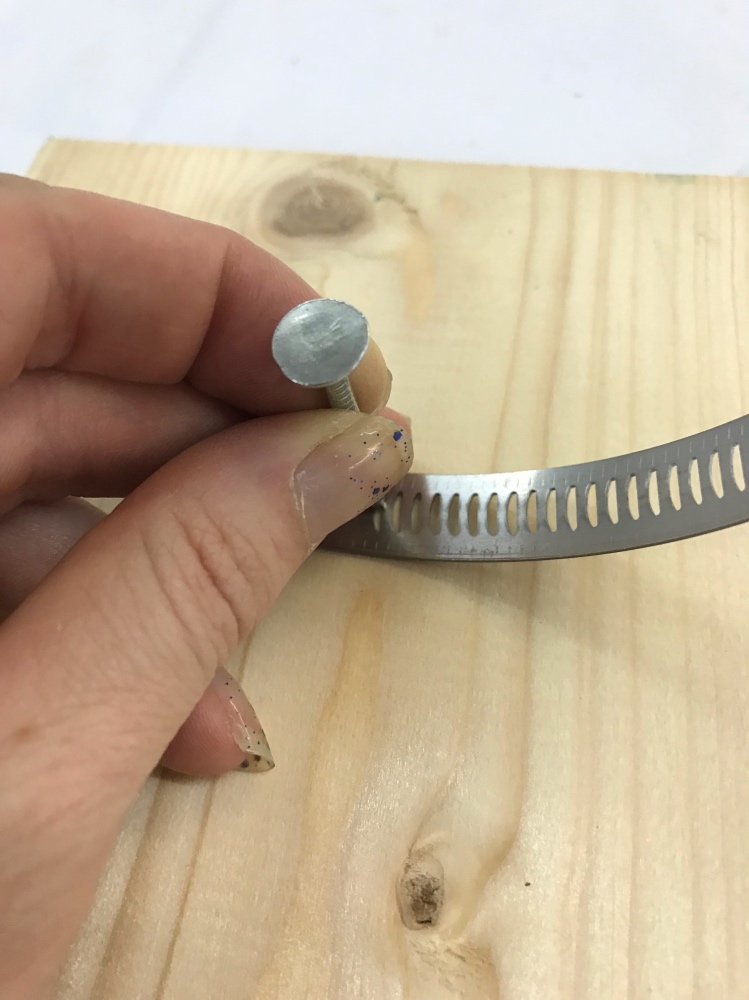
Now here’s the Easy Version!
Use a sharp nail to widen one of the slits in the hose clamp. It should just take a few whacks!
If where you want the metal clamp to attach to the wood is a solid part on the metal, and not where one of the slits are, you are going to need to use a drill.

Using a drill to cut through the metal hose clamp is not the easiest thing in the world. It certainly takes a minute! And it may bend your metal hose clamp a bit, but it will still work just fine.
You can see both techniques above. 1. Widening the slit with a nail and 2. drilling through the solid part of the metal clamp.
Using your wood screw, attach the metal clamp to the wood block. Before you finish up, and add your planter, check that everything lines up just how you like it.
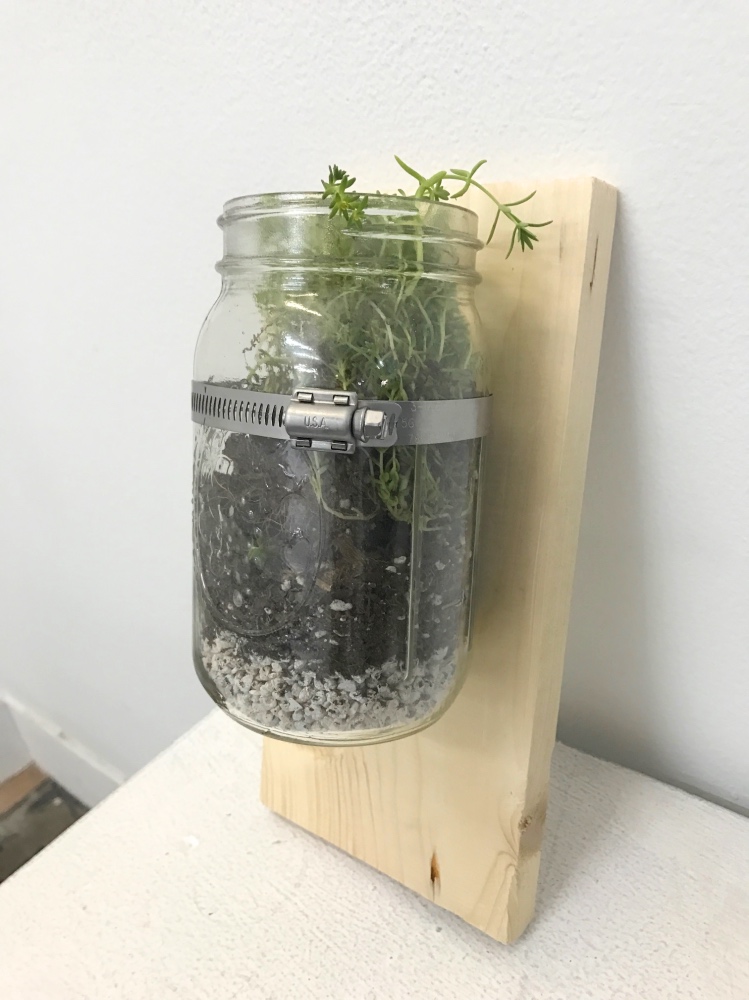
Now just attach your mason jar! When you get your mason jar positioned how you like it, make sure you close the hose clamp firmly to keep it solidly in place.
Need inspiration for your Mason Jar Planter? Check out this Terrarium Inspiration Blog and this How to Build a Terrarium DIY Here!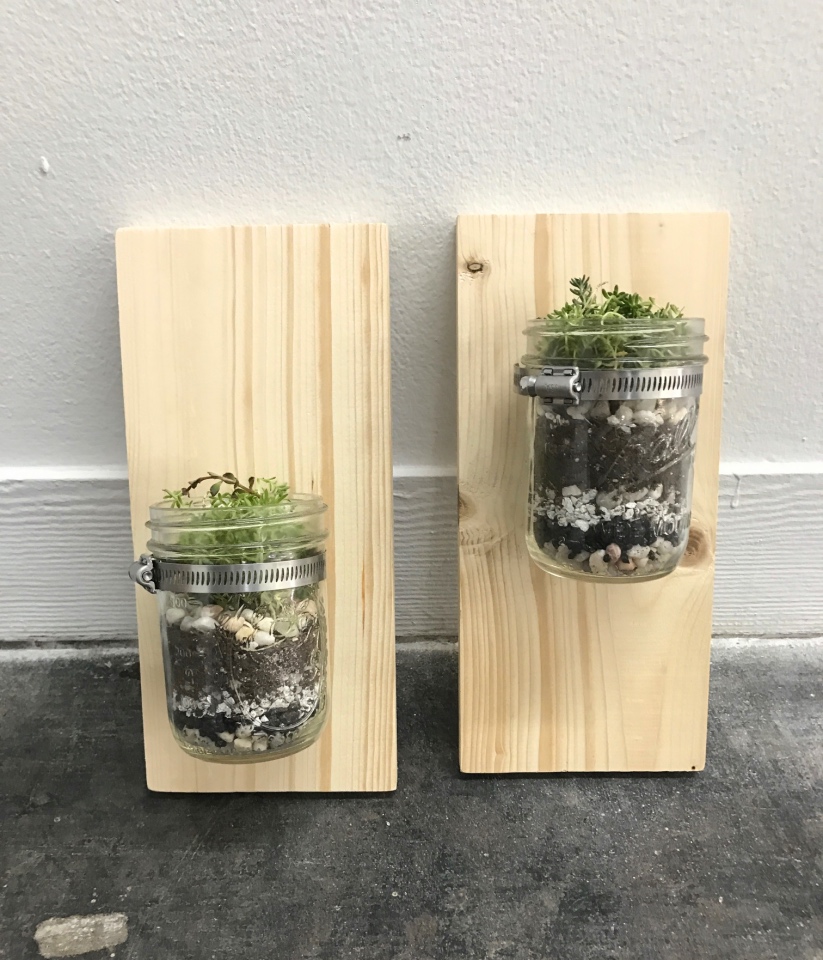
Viola! Wall Mounted Mason Jar Planters!
Let’s Stay Friends!
Insta | Pinterest | Enews | TikTok


Hi! I just bought a house and have an entire wall that I plan to use your herb wall idea for…. My question is, with a mason jar that lacks drain holes, how do you prevent mildew/mold growth inside the jars?
Congrats on your new home Lynnea!
That’s a really great question. There are a couple of things you should consider:
1. How much sun the space will get.
2. Whether the plants are low light or brighter light.
3. Whether the plants need low water or ample water.
Most plants can grow in mason jars. But not all plants can grow indoors, along a wall, in mason jars. For a list of the best indoor plants, check this out. A lot of these will do well in mason jars as long as there is a layer of rocks on the bottom so the water can drain away from the roots.
If you want to prevent your plants from staying wet in the mason jars, then after rocks, you should consider how much light it’s getting because the sun is the best way for it to dry out.
If you have any specific plants in mind, we can talk those through!