Craft in Style Subscription Instructions, DIY, Gardening
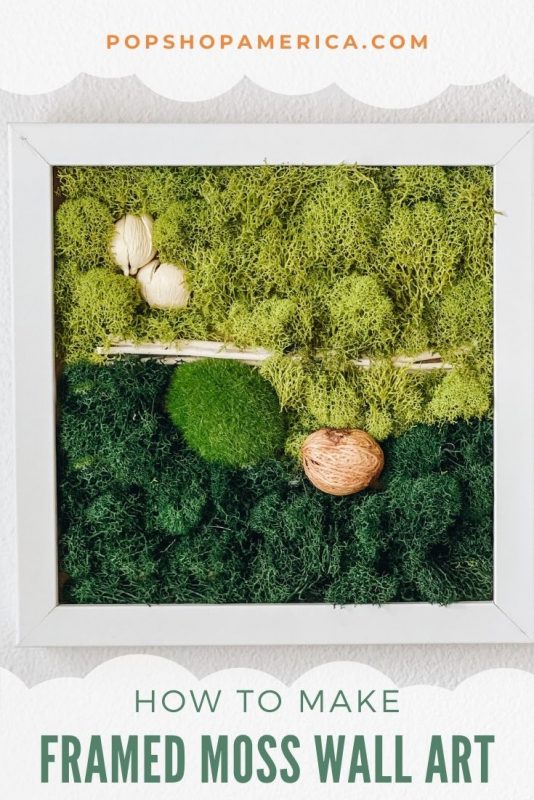
How to Make DIY Moss Wall Art
Apr
This blog is the tutorial for the March Craft in Style Subscription Box. You can find more about this box and other Craft in Style Boxes here.
Love the look of nature and want it inside your home? This DIY Moss Wall Art is so gorgeous and it also happens to be totally creative! You can make yours completely different from how I made mine. In fact, there could be hundreds…thousands of versions of this DIY Moss Wall Art – with different colors of moss and different patterns too. That’s what makes it so fun! So let’s get to making it!
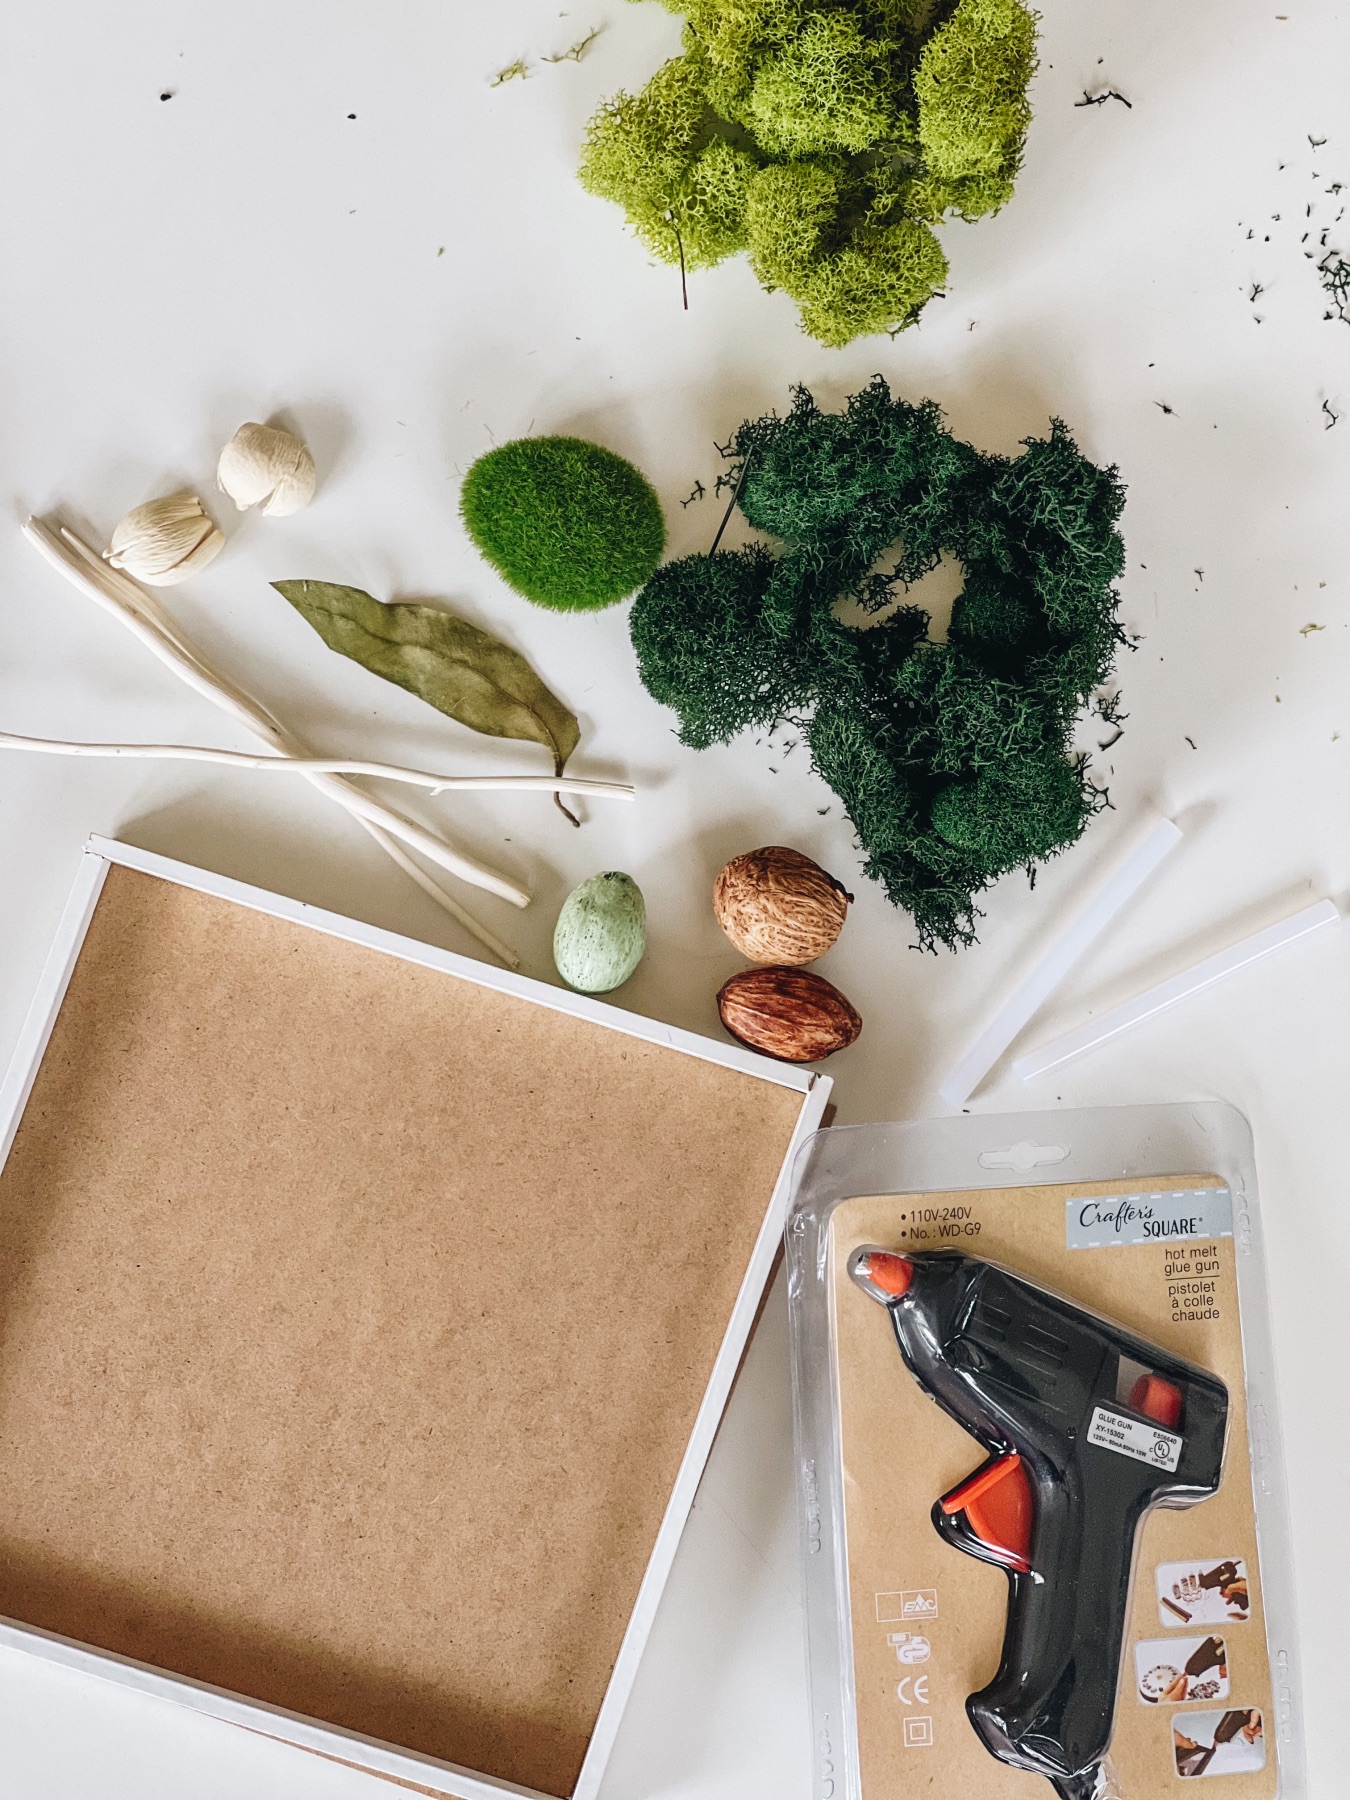
Supplies to Make DIY Moss Wall Art
March 2022 Craft in Style Subscription Box
-or-
A Shadowbox Frame (I used an white 8×8 size)
Reindeer Moss in Assorted Colors
Moss Rocks
Nature Decorations (like driftwood, twigs, pieces of nutmeg, acorns, and more)
Hot Glue Gun
Glue Sticks
Be prepared: you will need many glue sticks to finish this project. And you will need more reindeer moss that what you can imagine! With this project, it’s better to have too much than too little.
Choose Your Reindeer Moss
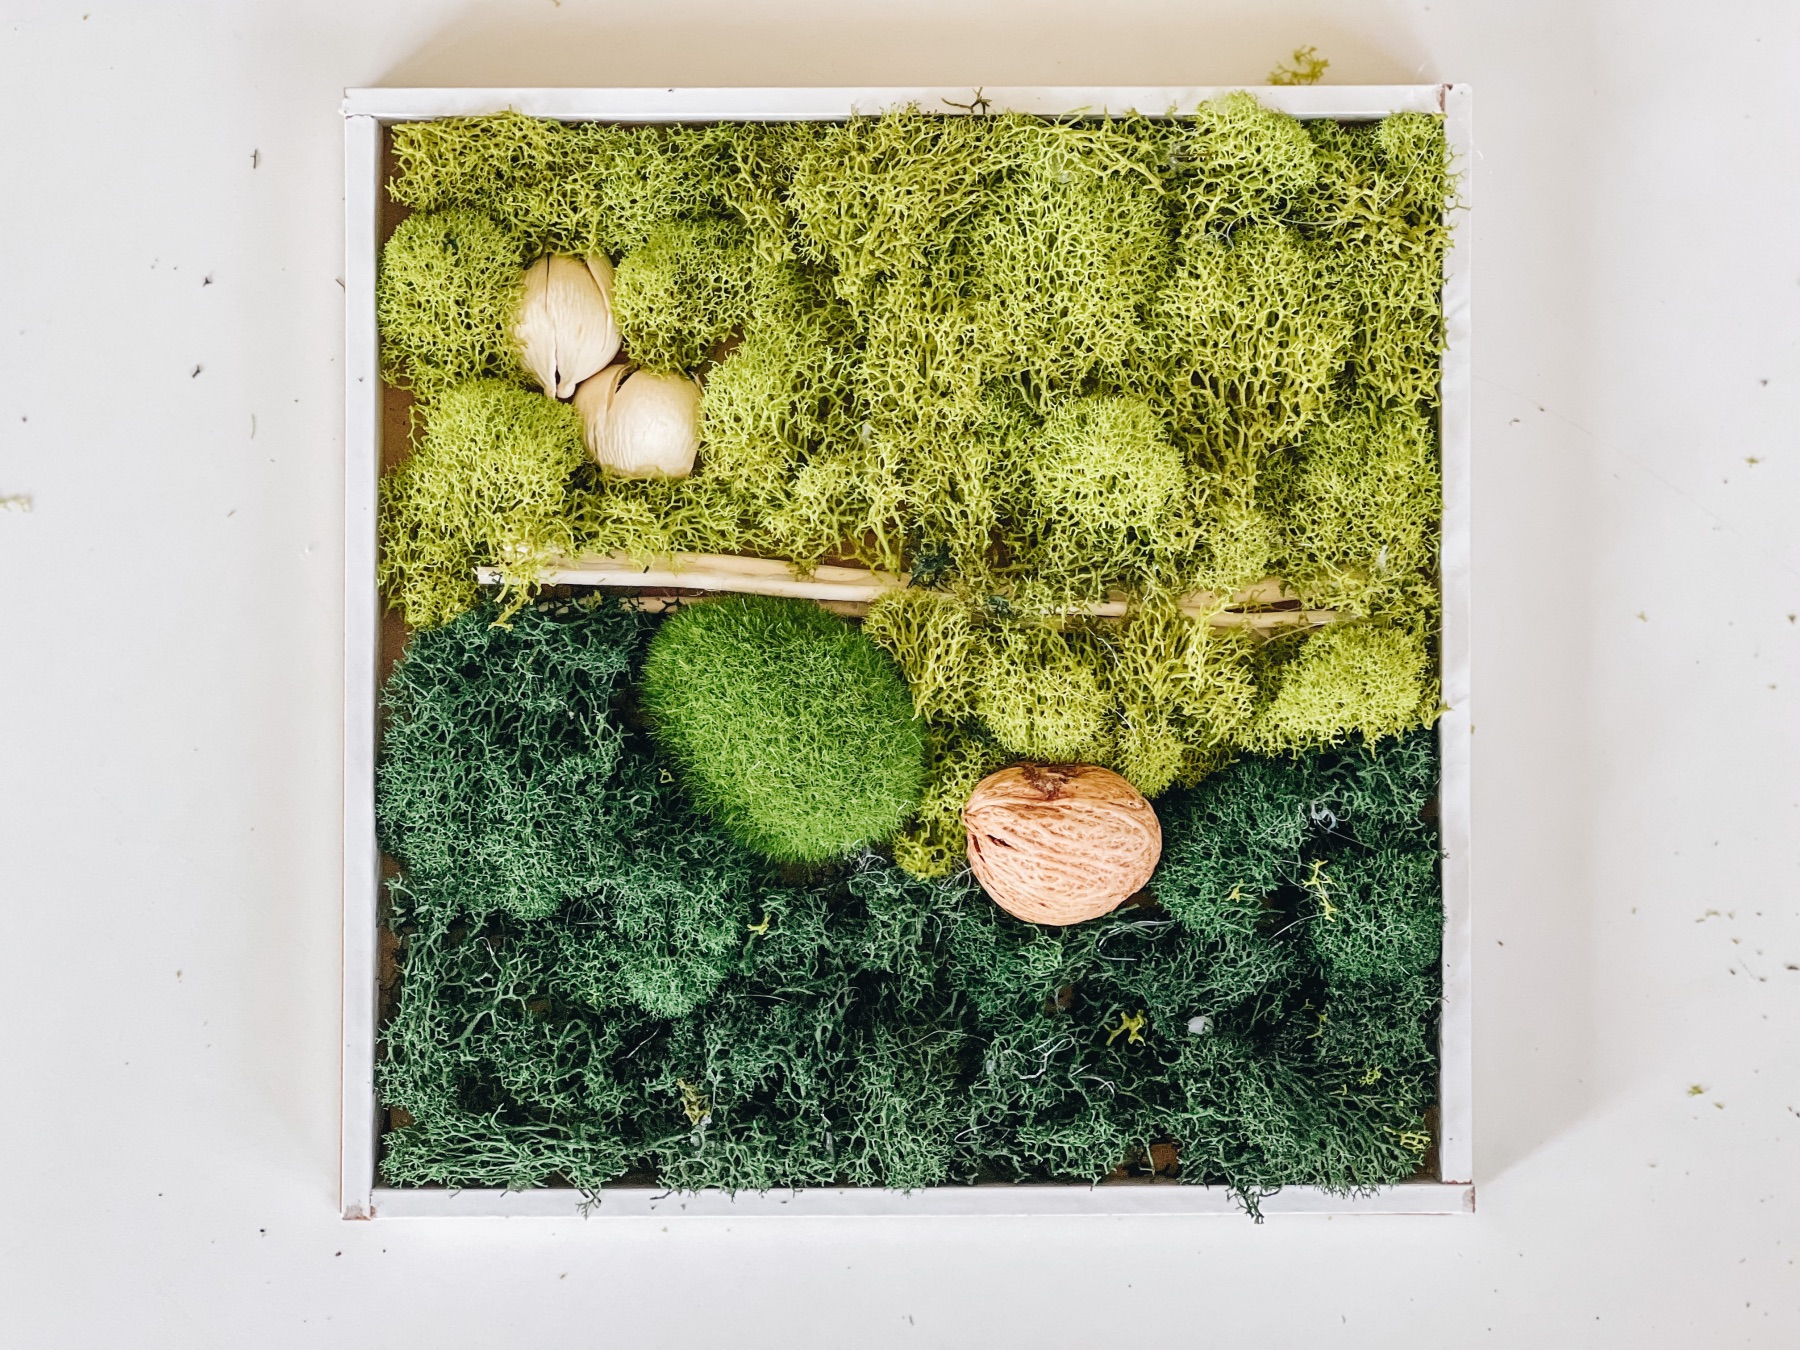
Most DIY Moss Wall Art that I’ve seen is an array of gorgeous greens. But moss comes in every color of the rainbow. So get creative! Pinks, natural browns, or blues could all add a stylish edge to your pieces.
For the natural ombre effect, I would recommend having at least a few colors that are very similar. For that I chose an array of greens.

How to Get Started
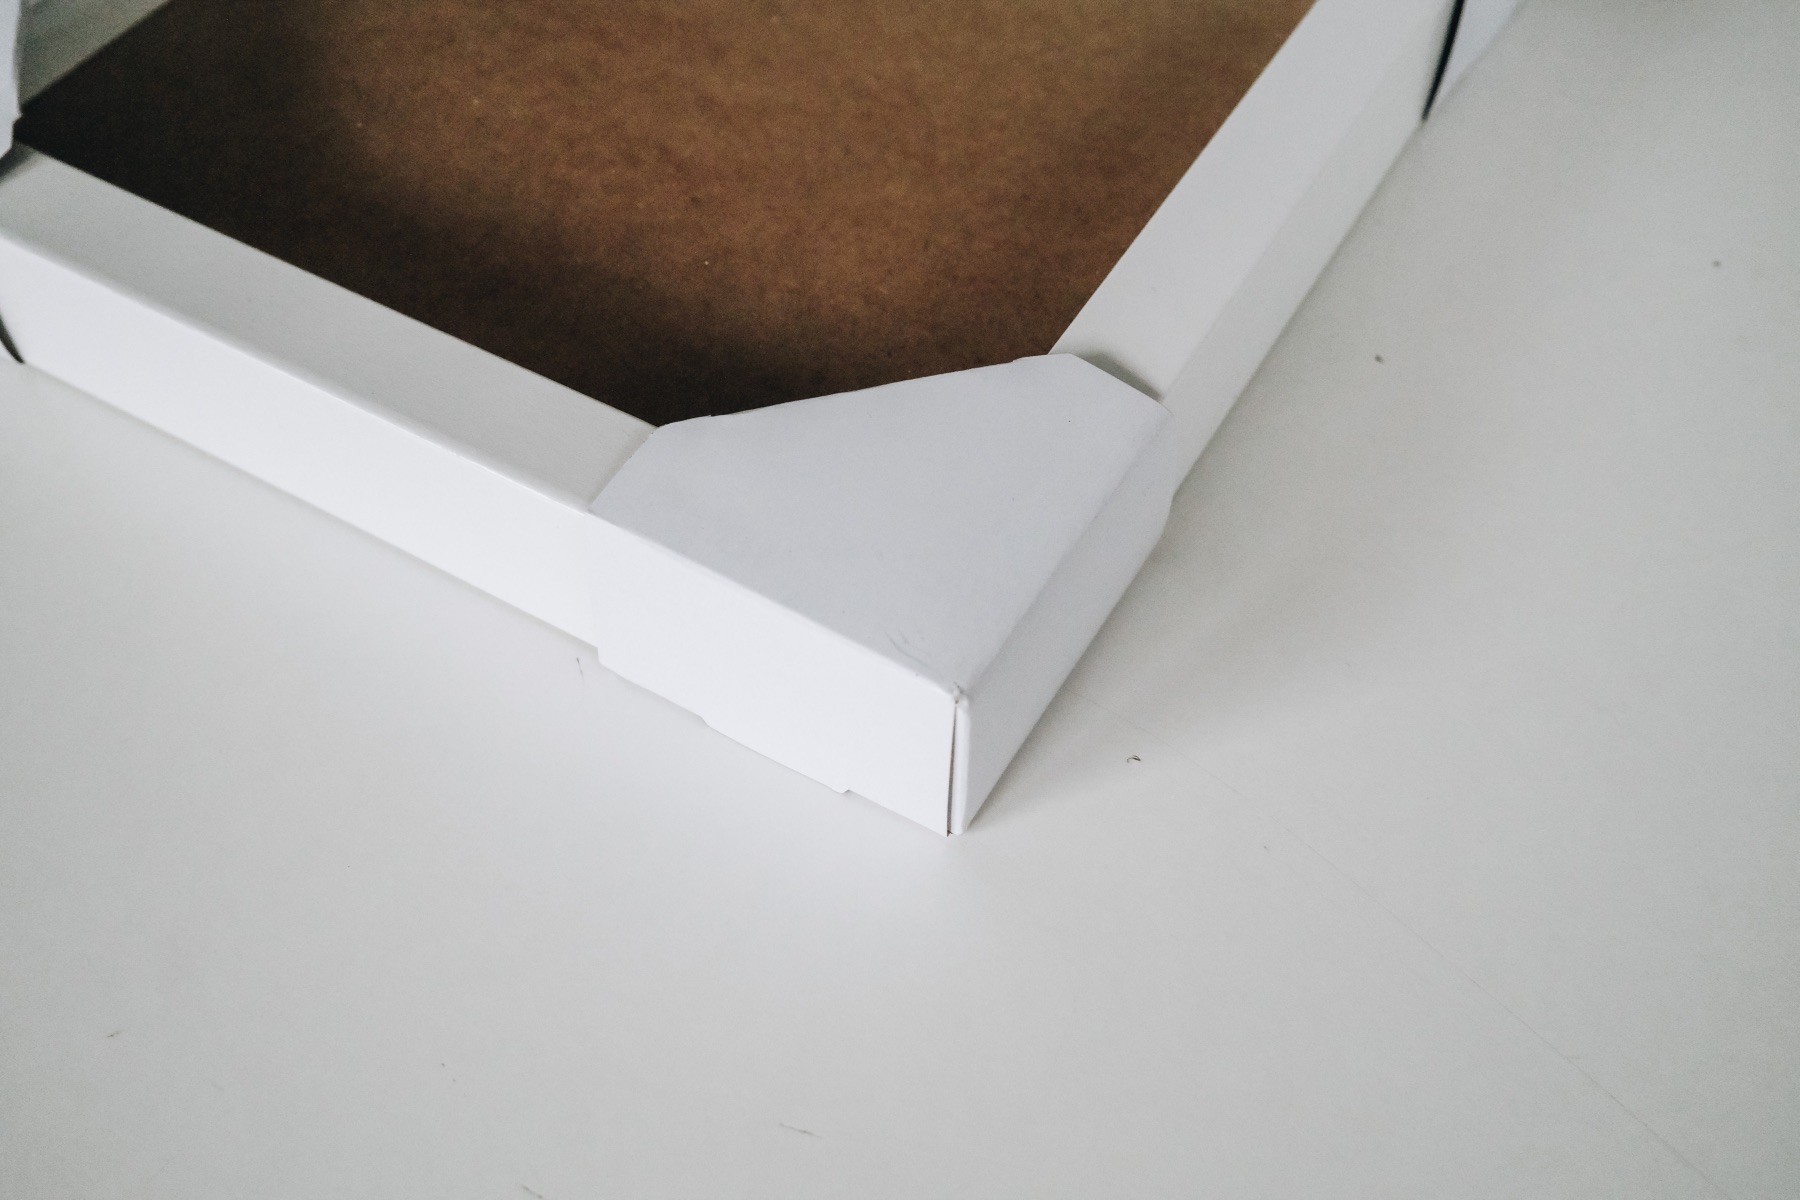
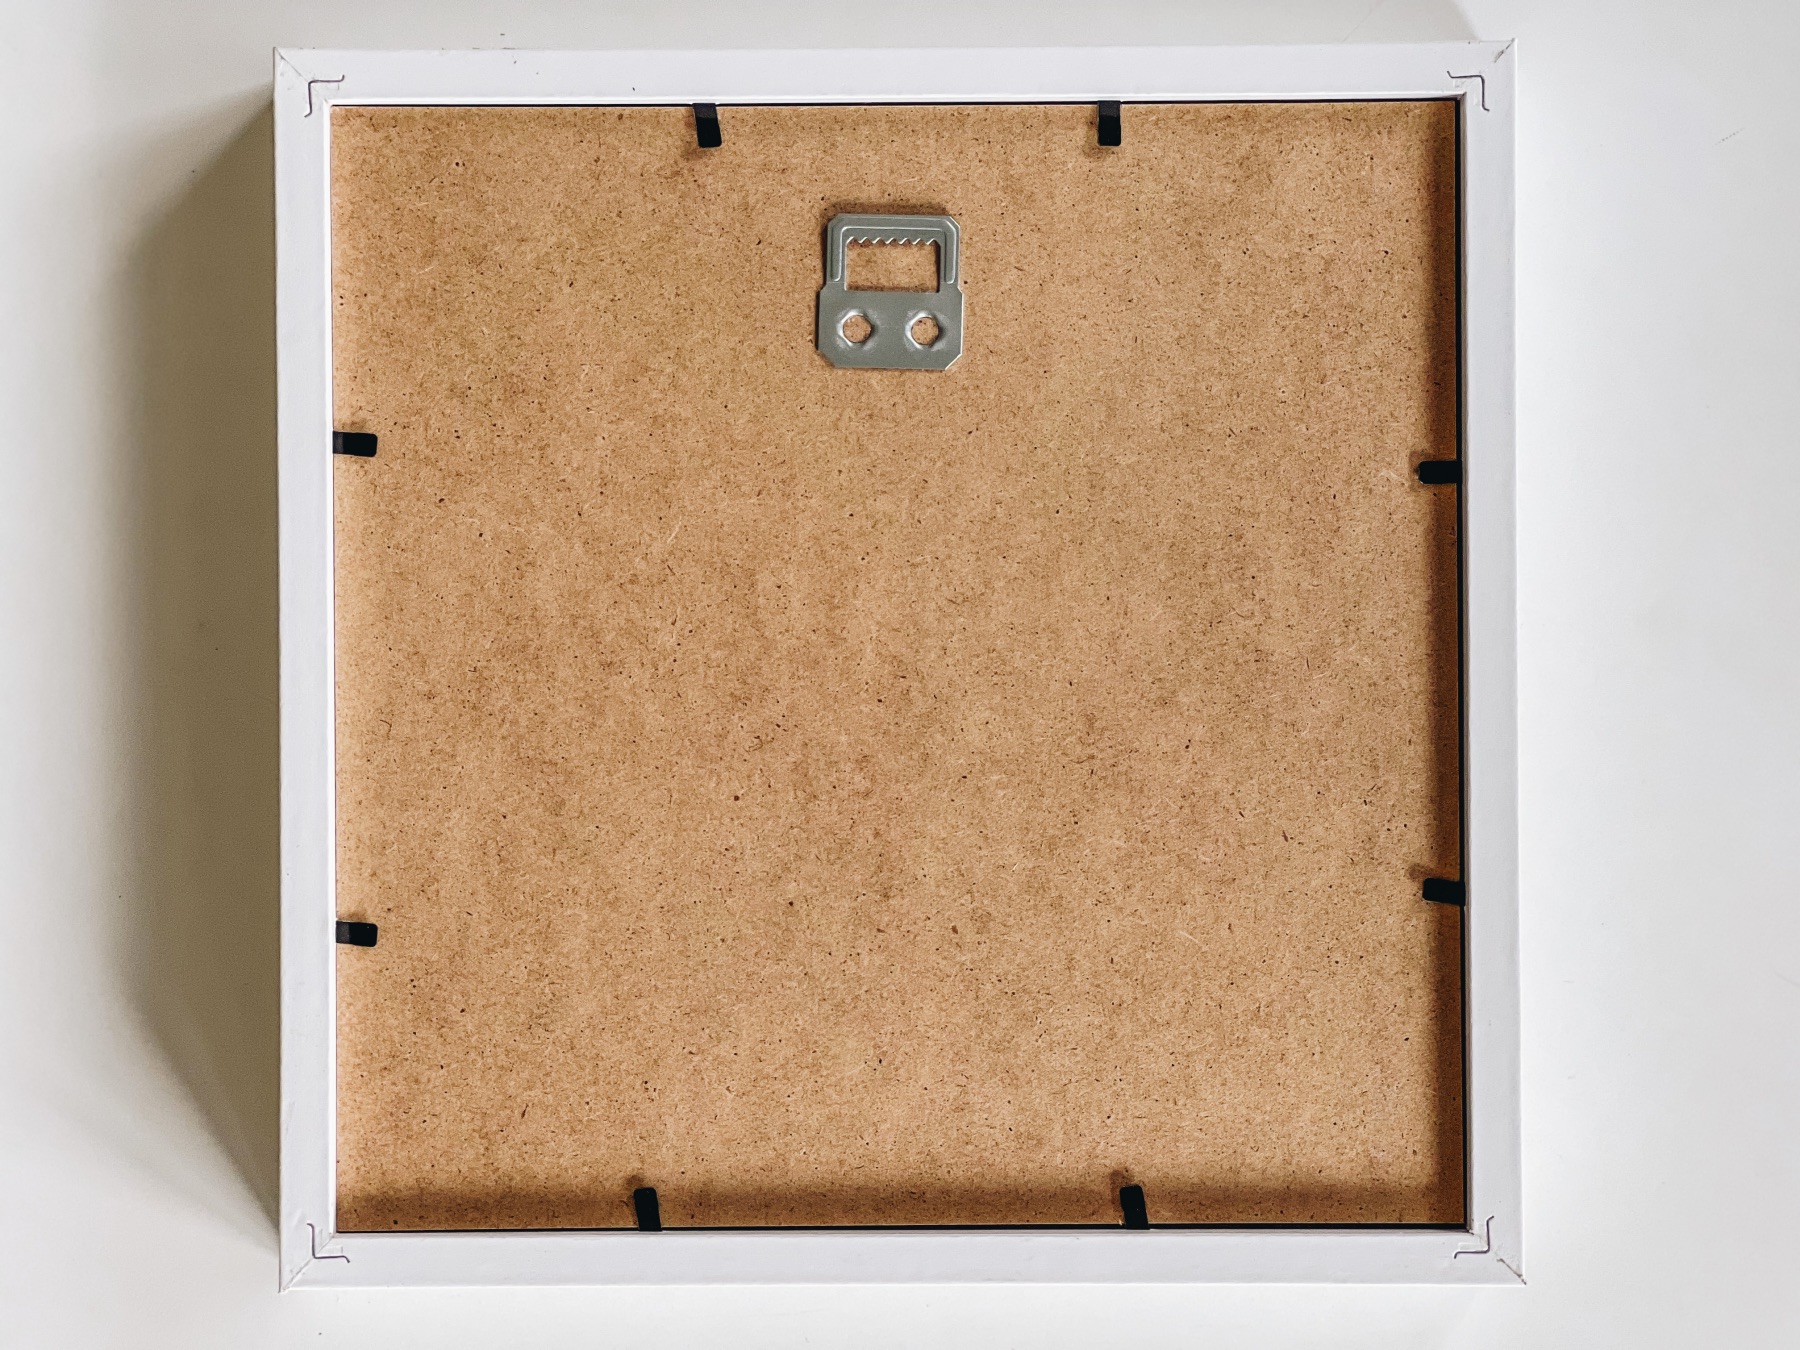
First, take apart your frame and remove any additional paper or inserts inside. Next, remove the glass and the exterior portion of the frame. For now, you will just be working with the back of the frame and any interior portion of the frame.
Basics on Working with a Glue Gun
I’m sure most of you are familiar with a glue gun, but it’s always a good idea to have a quick refresher. Glue guns are one of the most common ways to hurt yourself while crafting, so let’s talk through safety step by step.
1. Get your glue gun ready by having it plugged it. Place it on a safe surface. And place a glue catch-all (like some paper) underneath.
2. Place the glue gun in a position to where you won’t trip over the cord and send it flying.
3. Place the glue gun forward or back while it’s warm. But never place the glue gun on it’s side. That will make the glue melt incorrectly and after a few uses it will break your glue gun.
4. Even when not in use, leave your glue gun in this position until the glue is completely cool.
5. When the hot glue is squeezed from the nozzle it can burn. Be careful to avoid touching it.
6. Instead, let the glue dry and peel it off. Hot glue peels from most surfaces easily.
7. If the goal it to peel it from the moss, try cutting the glue away with scissors.

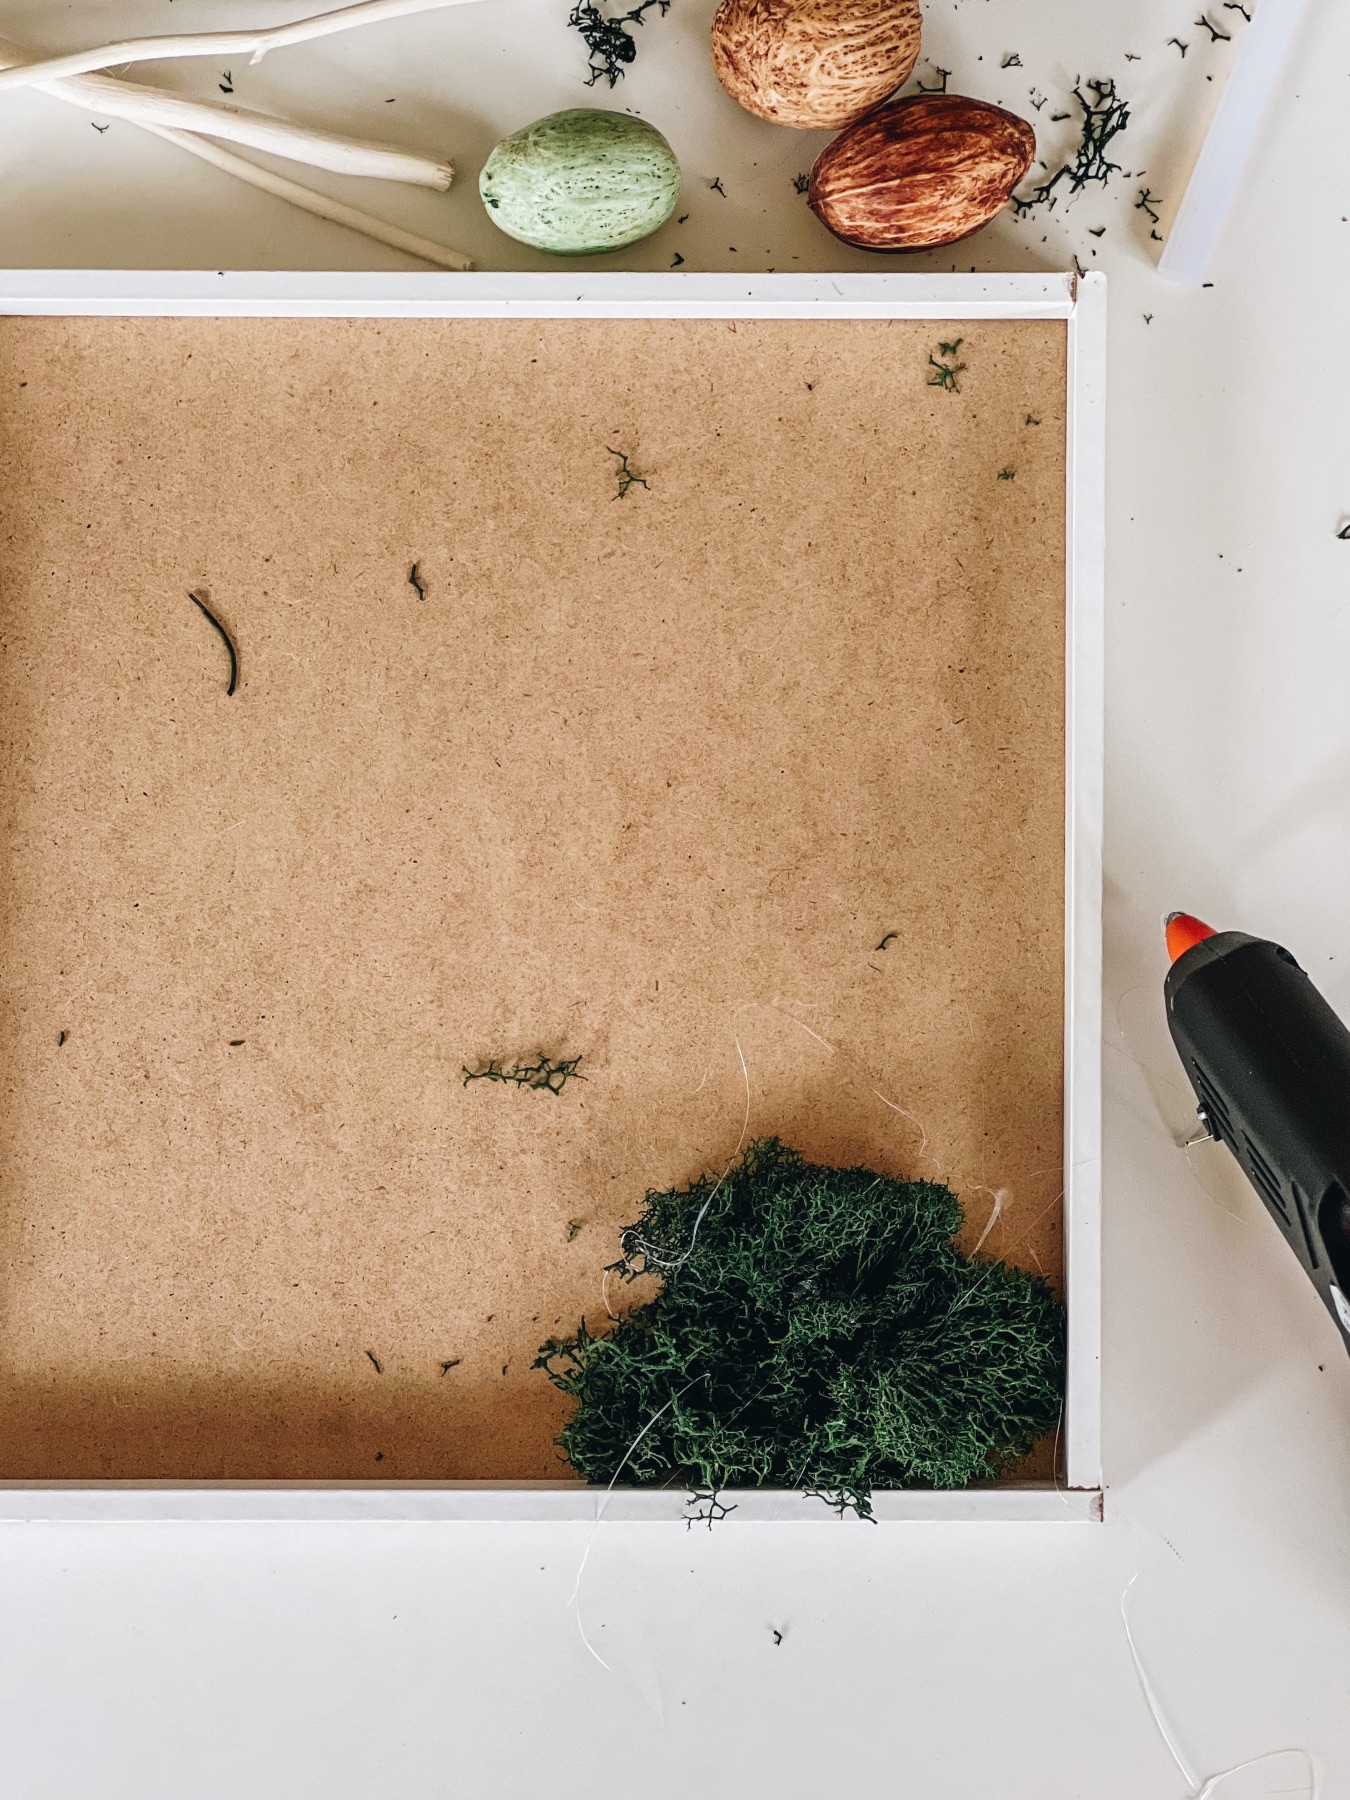
Attach the Moss to the Frame Backing
To attach the moss, start in one corner with a color of your choice. Add a dab of hot glue to the moss (not the frame) and attach the moss by holding it in place for a few seconds. Then continue this process to begin building a pattern.
Don’t worry if you end up with spots where you can still see the frame backing. Once, we are done, we’ll go back over the entire piece to look for those spots!
And don’t worry about any strings of hot glue that are showing. We’ll pull those off at the end once all the glue is dry and set.

Be Mindful of the Direction of the Moss
As you are adding moss, be mindful of the direction in which you are placing it. Most moss pieces have a distinct up and down and you may want to use the direction of the moss as a part of your piece.
It’s not just color that makes a gorgeous moss wall art piece, it’s also the quality of the moss, the shape of the moss, and the direction in which it’s placed. Use it all!

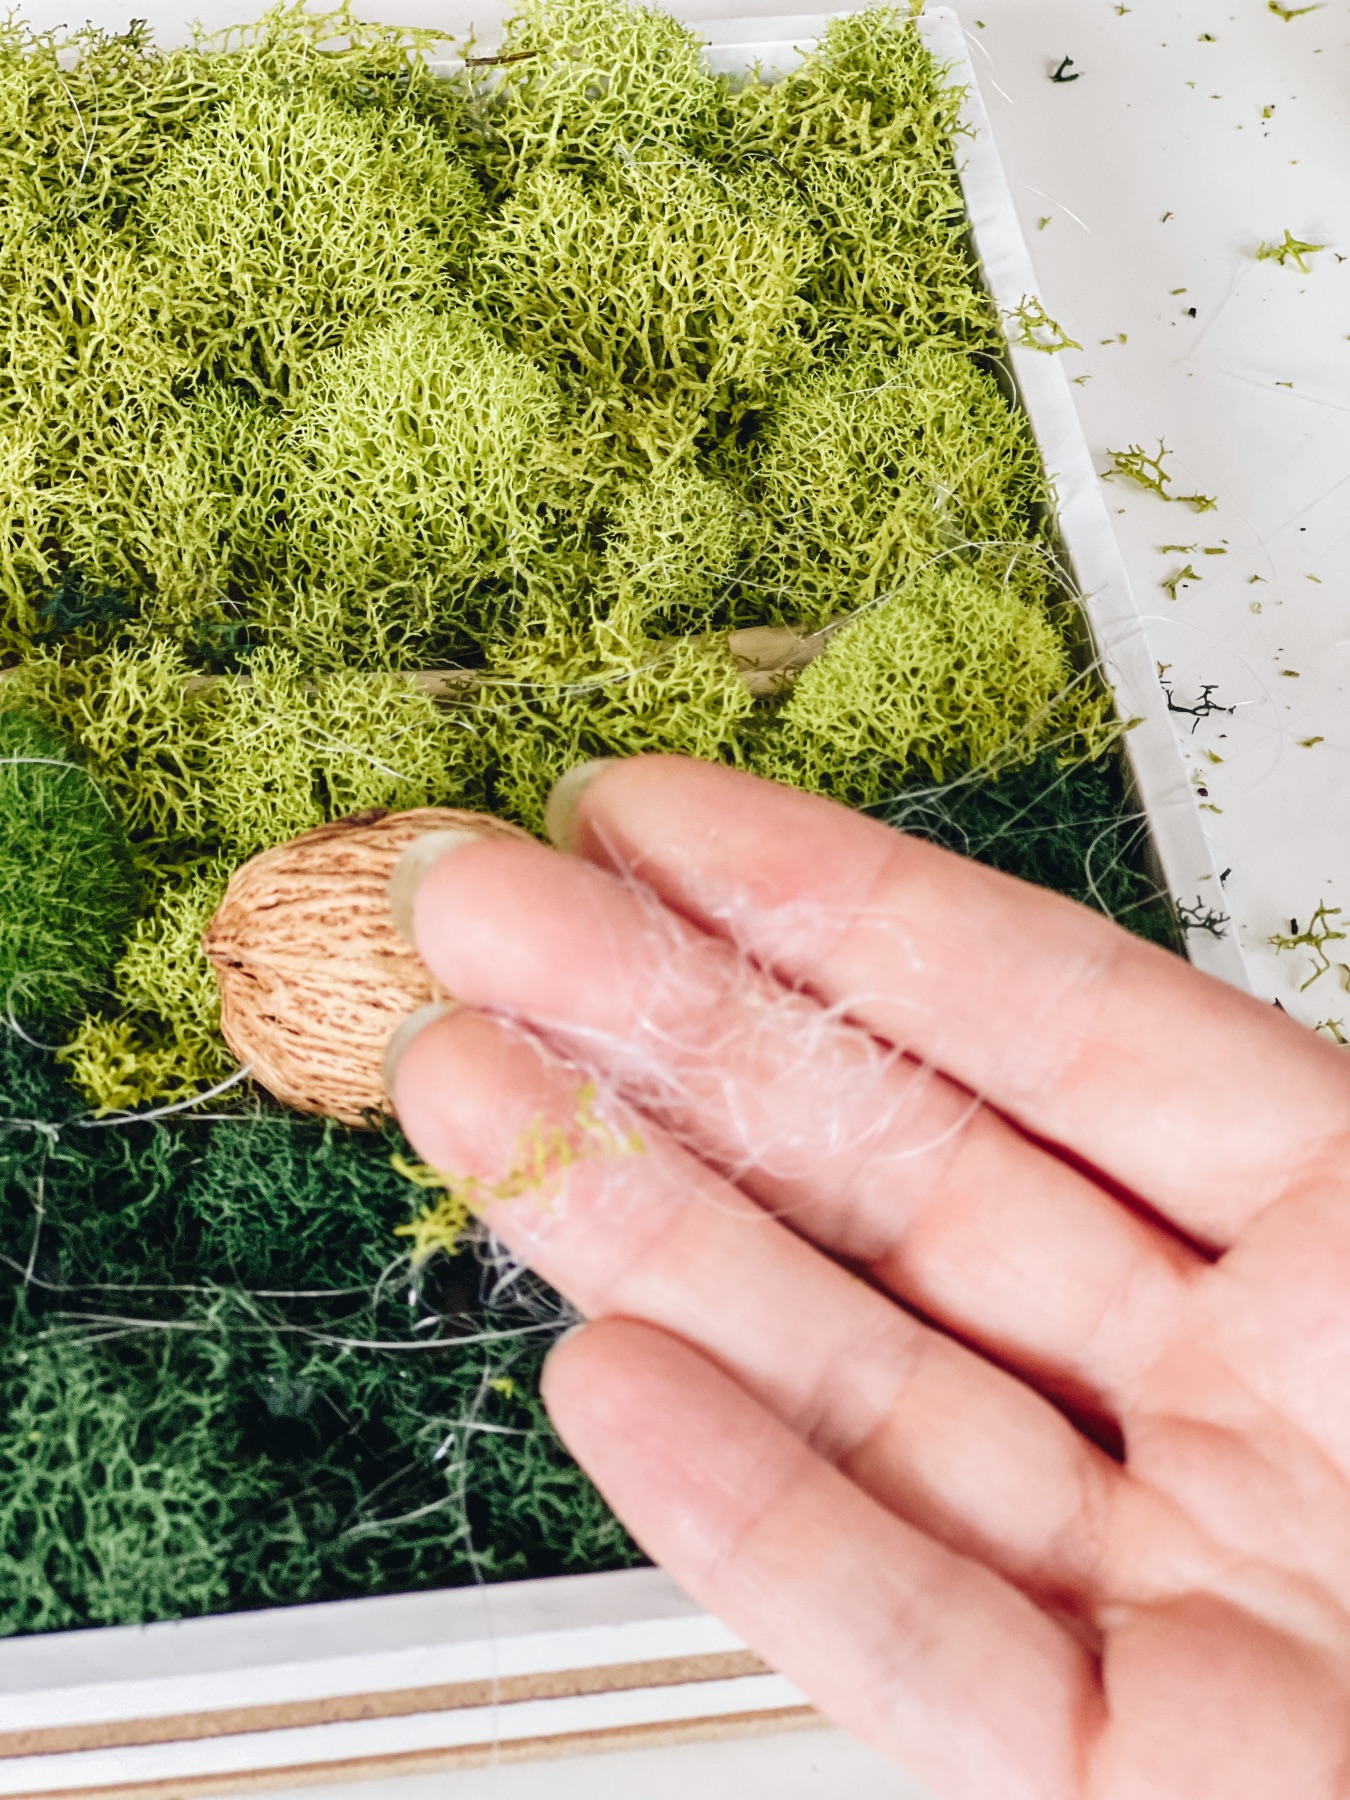
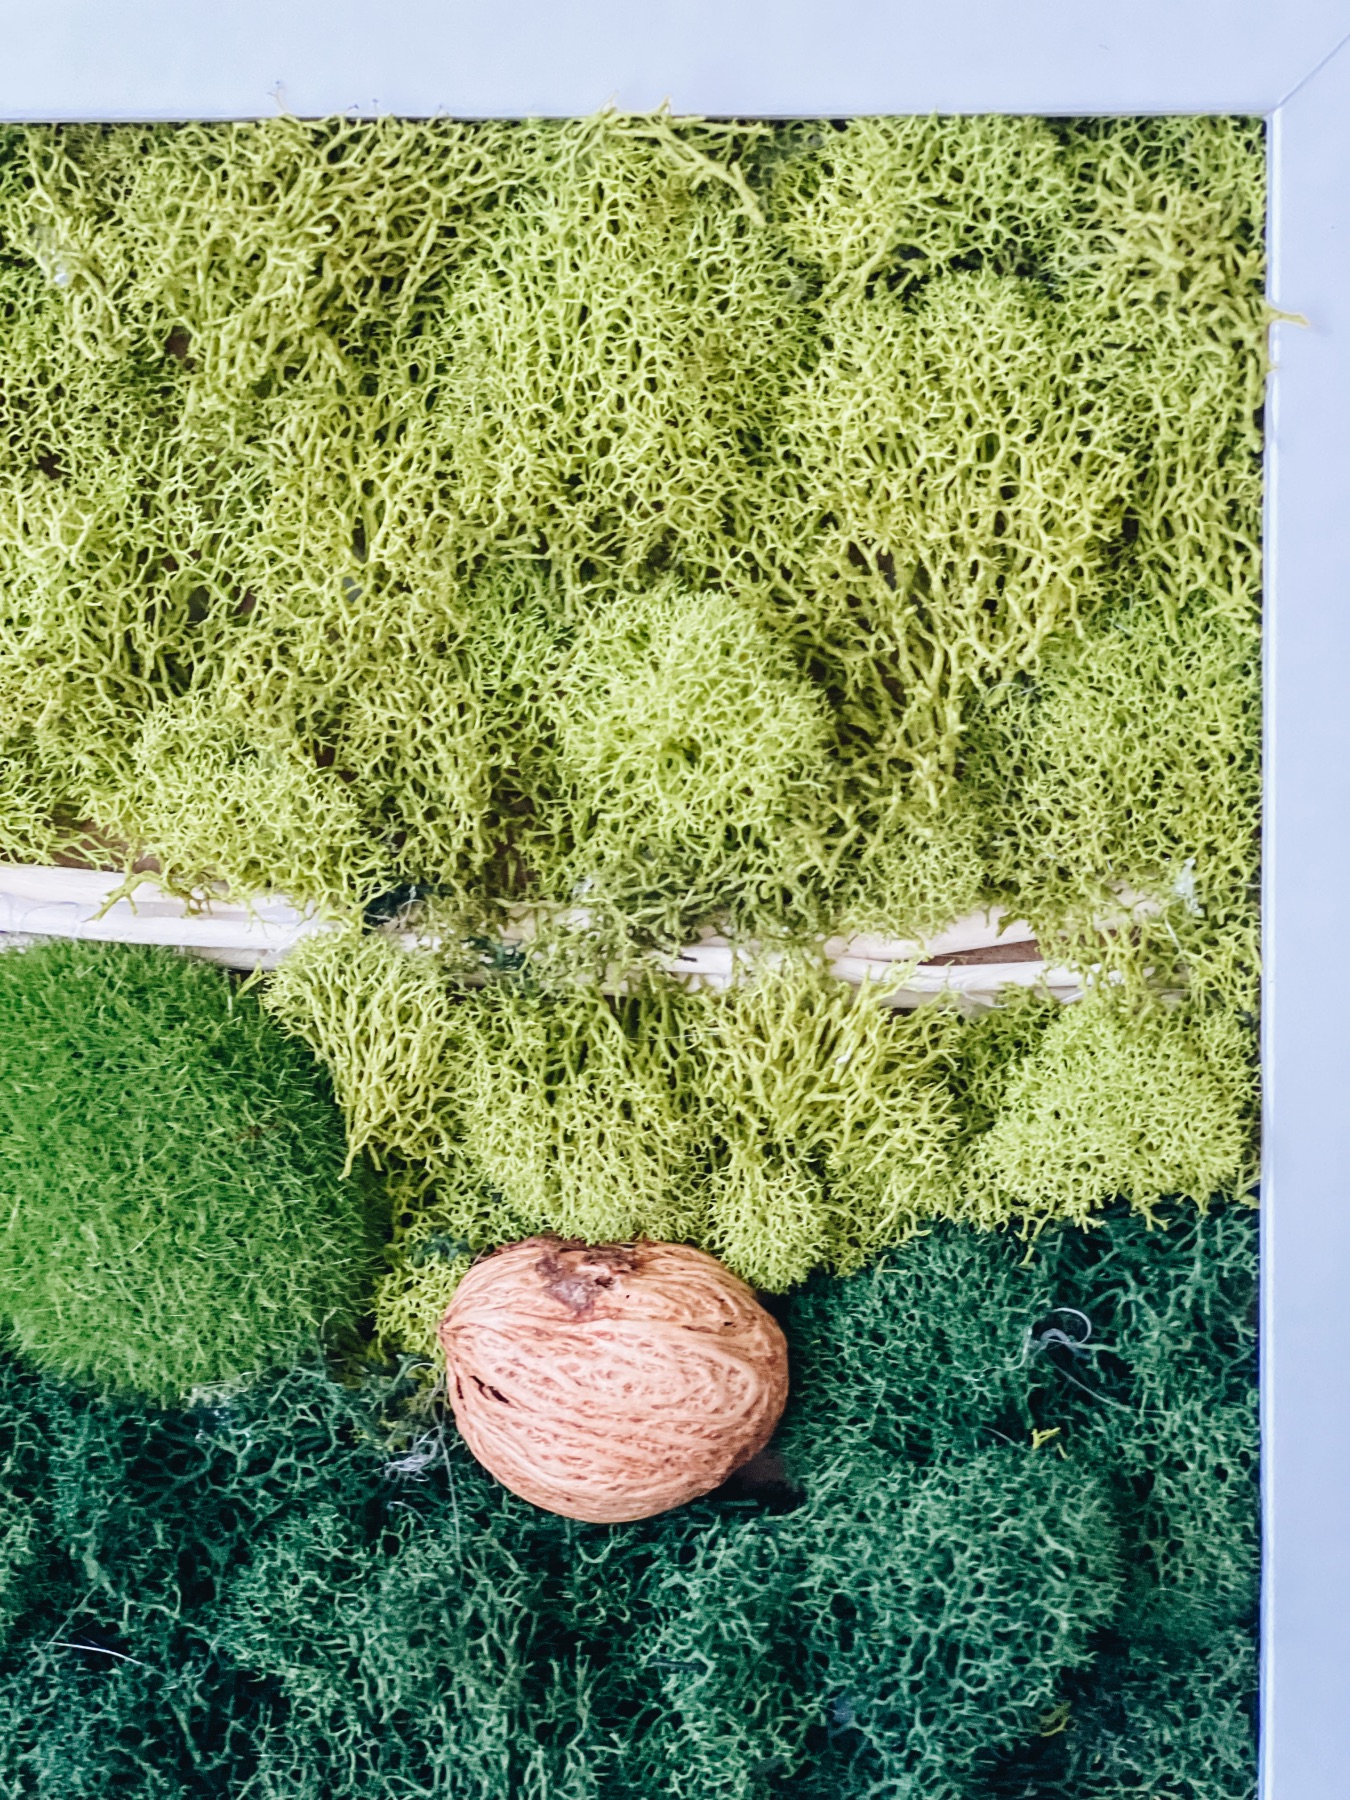
Add Natural Embellishments
To give your DIY Moss Wall Art a bit of intrigue, add natural elements. If you’ve gathered anything from a nature walk, that could be perfect!
Think acorns, mini pine cones, driftwood, nutmeg, moss rocks and so much more. Use these pieces to break up space in a way that you love. And to make the color in your wall art pop.

Continue to layer your reindeer moss and your nature decorations. Again, don’t worry if you see strings of hot glue and don’t worry if you end up with little spots where you can still see the back of the frame.
The easiest way to patter the color is to continue working from your 1st edge and outward from there.
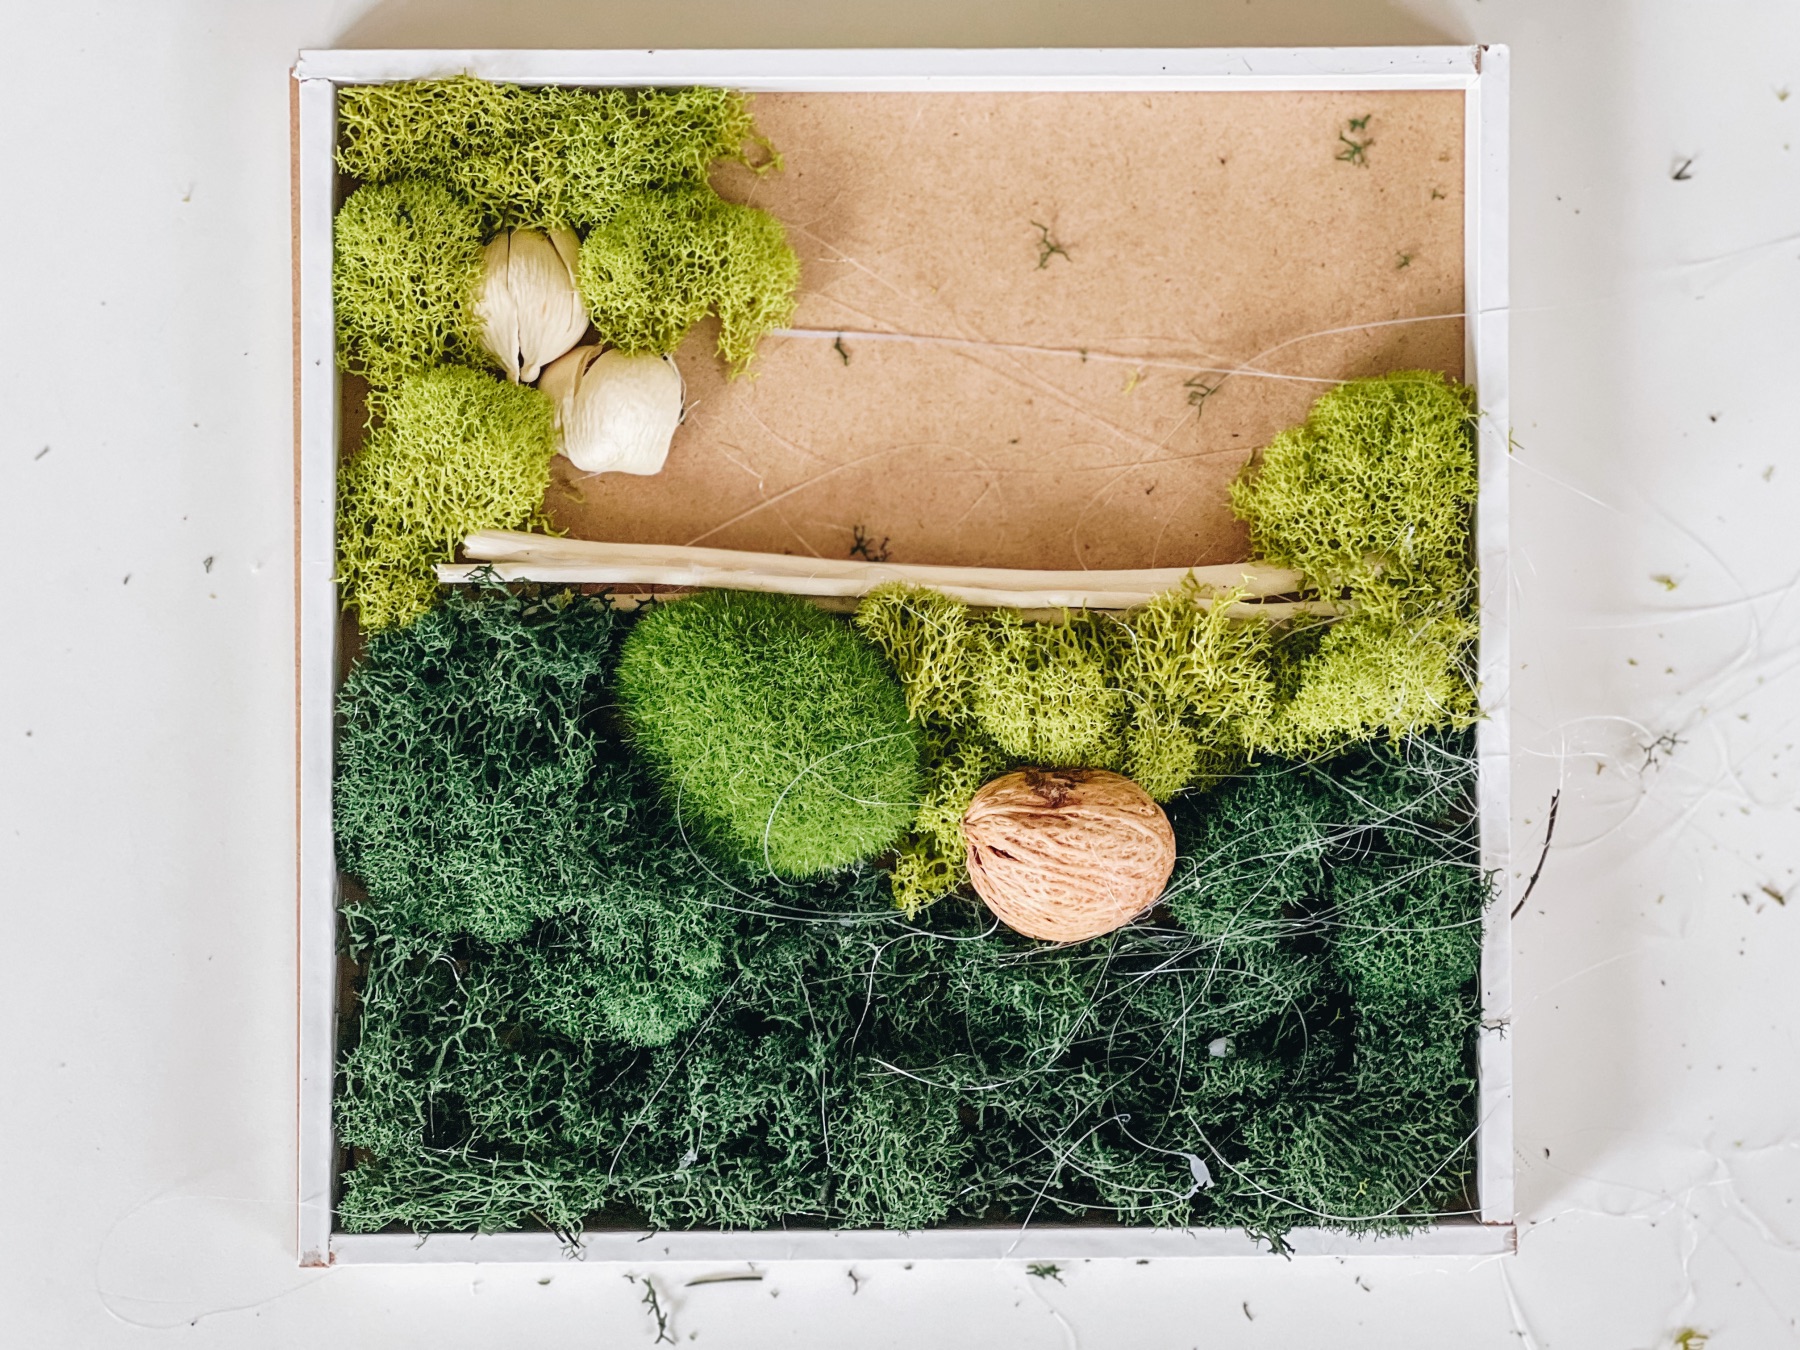
I chose to start at the bottom with mine. I used the darker color on the bottom because it gives it a grounding effect. Then I worked up like I was writing a letter but in reverse.

The whole process is fun, creative and totally relaxing. If you need inspiration for the shapes, styles and patterns of your DIY Moss Wall Art, check out our Pinterest Board here.
Additional Items Your Can Add to Your Framed Moss Art
I’ve seen so many variations of this diy – I’ve seen other cool frame shapes like hexagons. Or even a complete wall that was many feet long! You can also add faux plants like hanging ivy, succulents, and air plants. Just make sure they are faux, because live plants could not survive like this.
I’ve also seen crystals and gemstones added to these pieces. And I’ve seen the moss shaped into words and word phrases. So making this, can be the jumping off point of making something truly special to you! There are so many ideas on our Pinterest Board here.
Touching Up your Moss Wall Art
Once all your moss is added, let it dry for at least a few hours. Letting it dry overnight is great too. Then remove the hot glue strings by gently pulling them away. If it takes any pieces of reindeer moss with it, that’s okay! Now is a great time to touch up your moss by filling in any addition spaces that are needed.
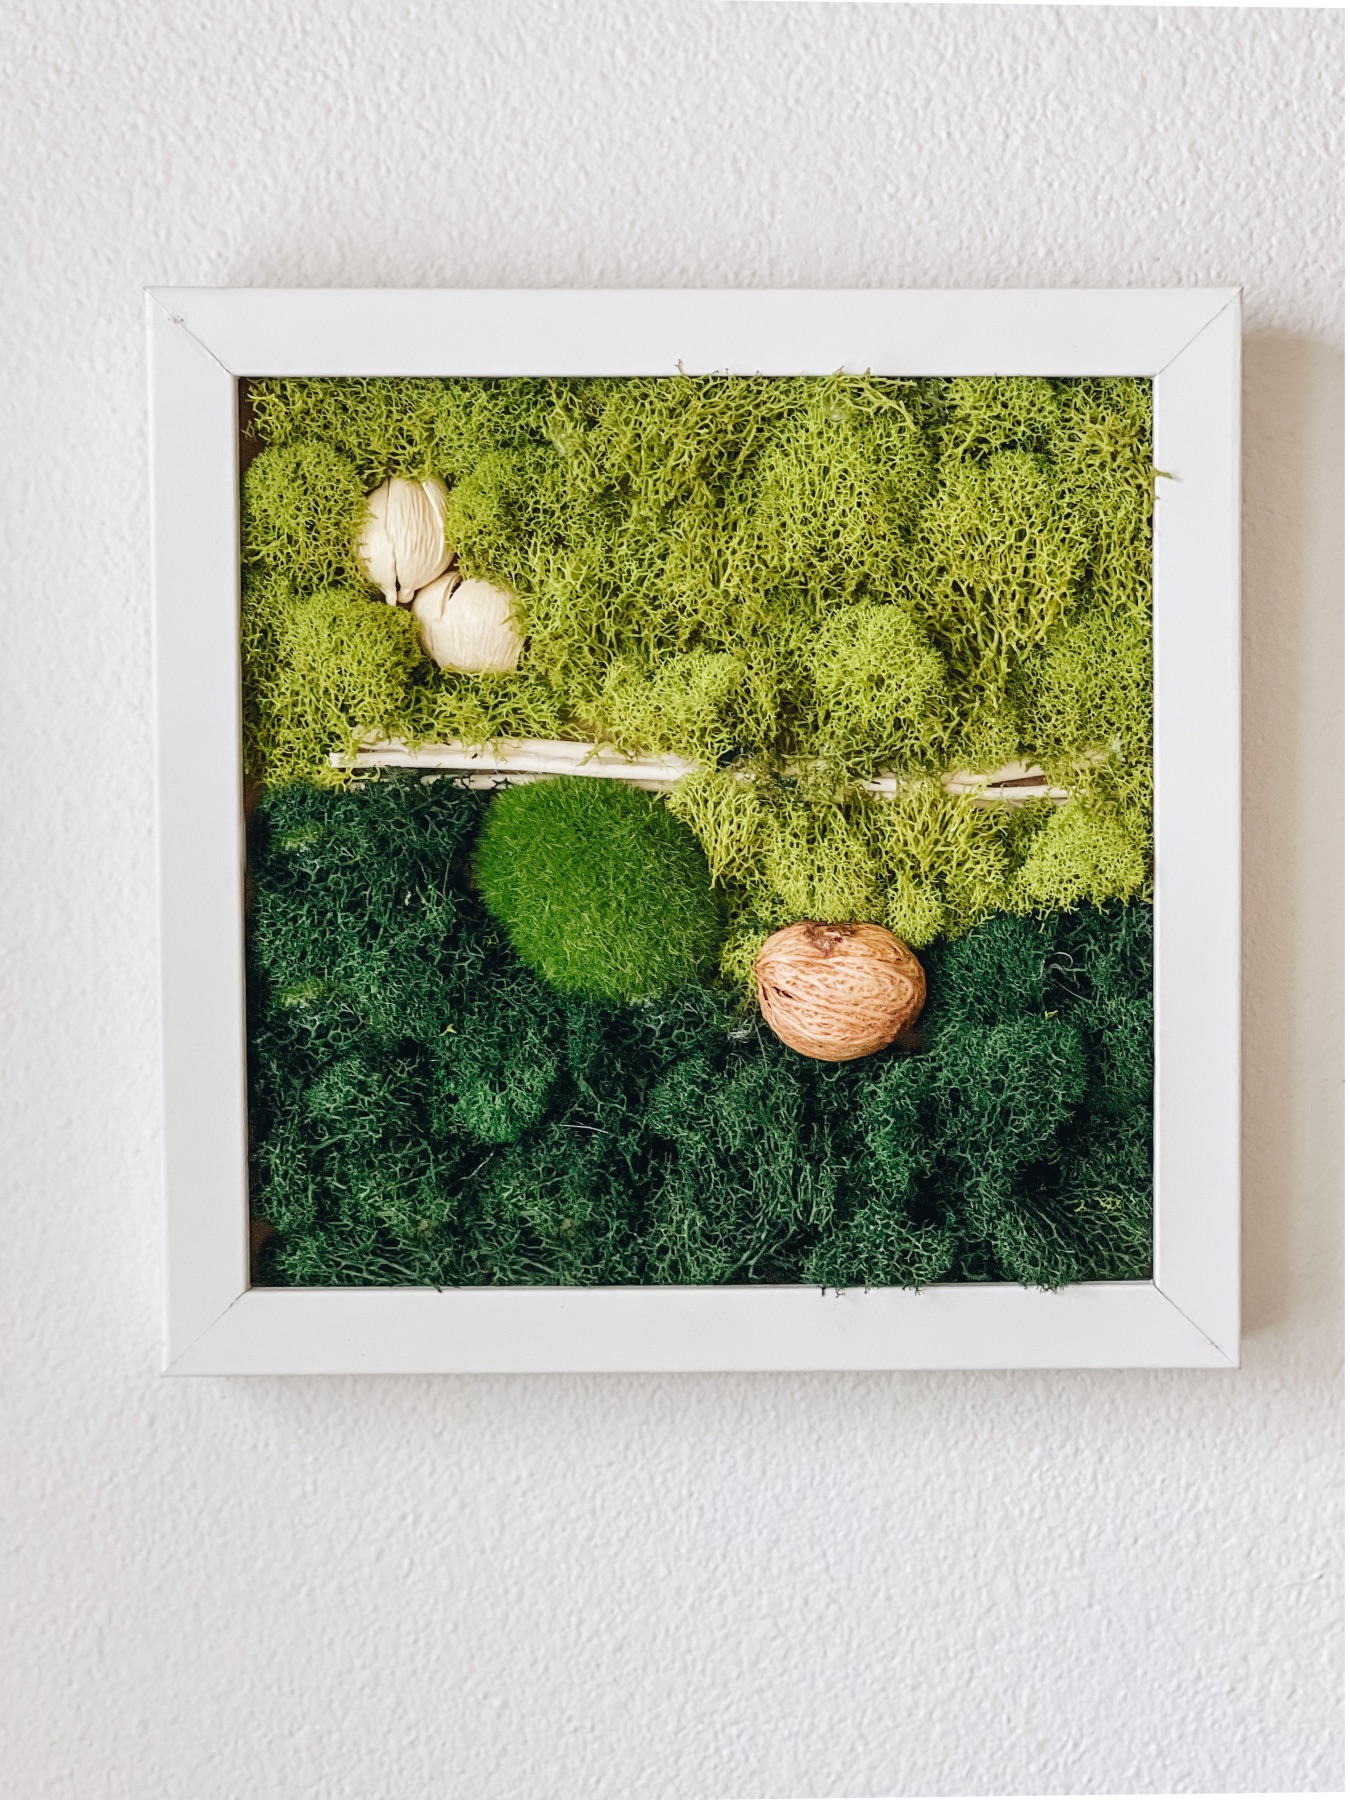
Once you are done adding additional pieces, your DIY Moss Wall Art is finished!
To Add the Glass or To Not Add the Glass
Now, if you want to add the glass – you may need to consider this before you begin the project. That’s because many decorative pieces that you add – like the darker nut I used in the bottom right, may be too tall for the glass to fit. But adding the glass can be a good idea if you: have a lot of pets, are highly allergic to dust and want to prevent dust from accumulating over the years, or want to keep it for 3+ years.
As an alternative, you can use a dusting cloth that attracts dust, you can use compressed air to keep it clean, or if you are brave, you can try using a vacuum attachment.
Putting the Frame Back Together
Whatever you choose, add the moss wall art into the exterior frame and reattach the frame together along the back. Make sure you know which side is up.
And for my piece, a had to bend the metal hanger on the back of the frame out a touch so that I could hang the DIY Moss Art.

How to Hang Your Framed Moss Art
These pieces are quite lightweight so all you need is a nail. If you hang them in the sun, you might see a bit of discoloration over time.
And viola! Your very own DIY Moss Wall Art! It’s so dreamy, right? If you love this piece, don’t miss the March 2022 Craft in Style Subscription Box where you can get all of the supplies to make your own set of 2!
Let’s Stay Friends!
Insta | Pinterest | Enews | TikTok