DIY
How to Melt & Make Gorgeous Gemstone Crayons
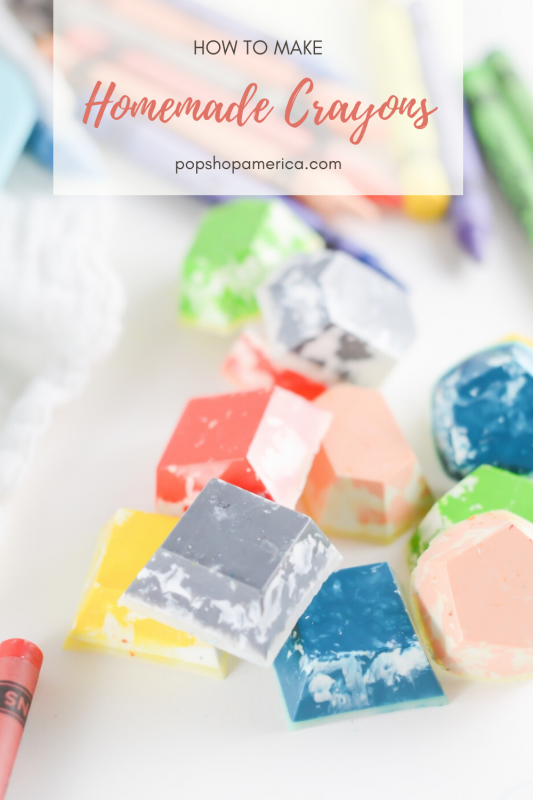
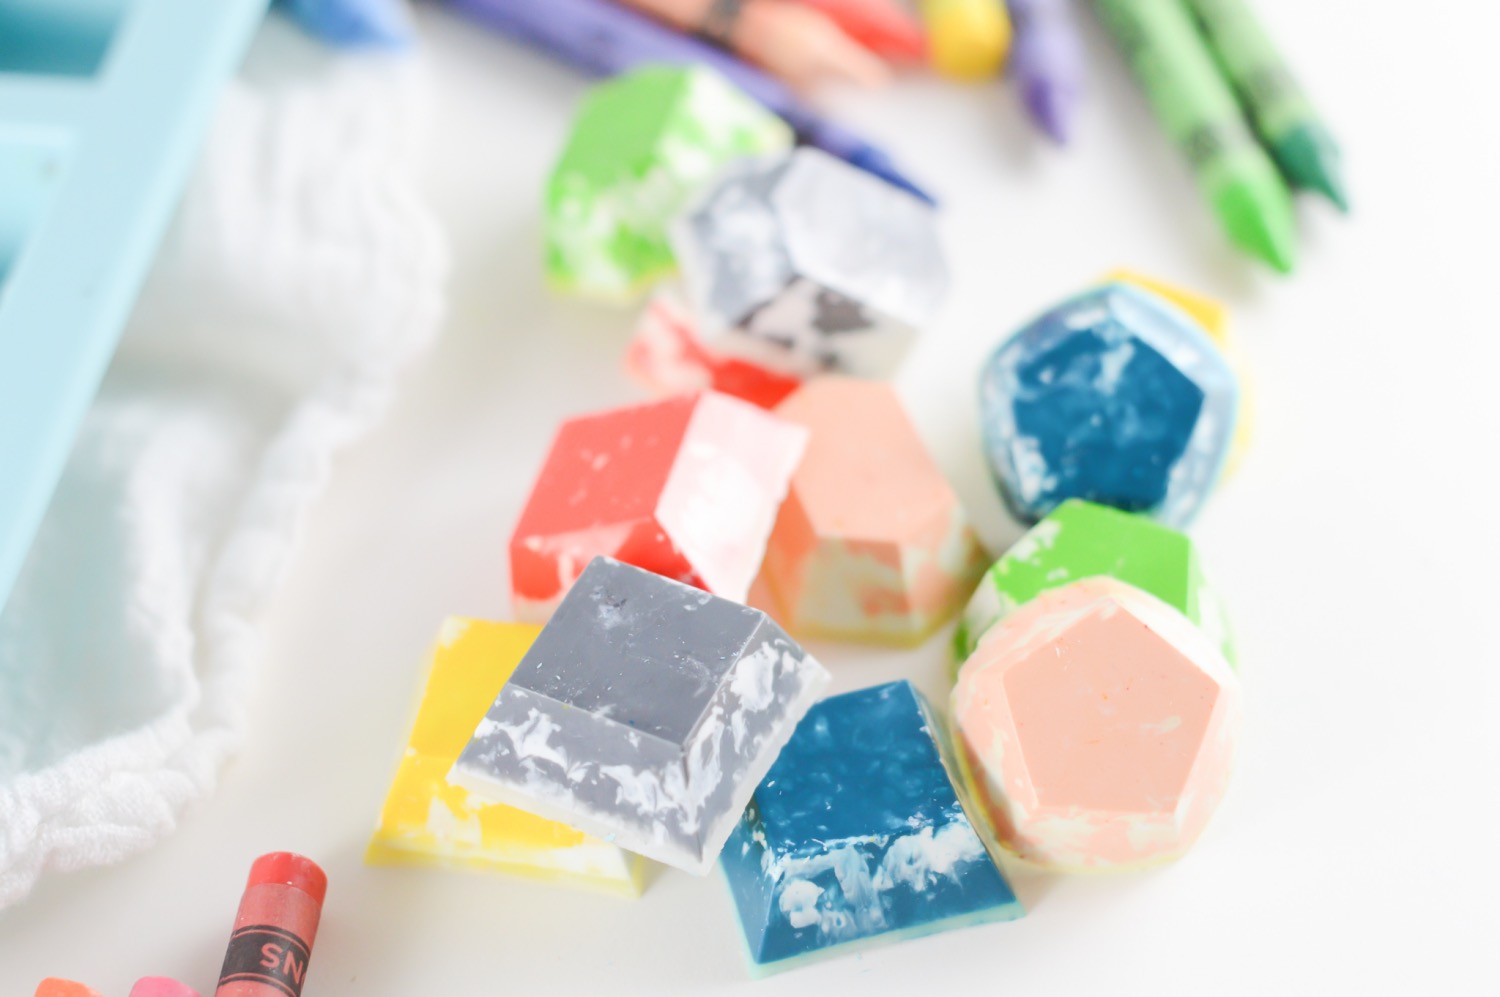
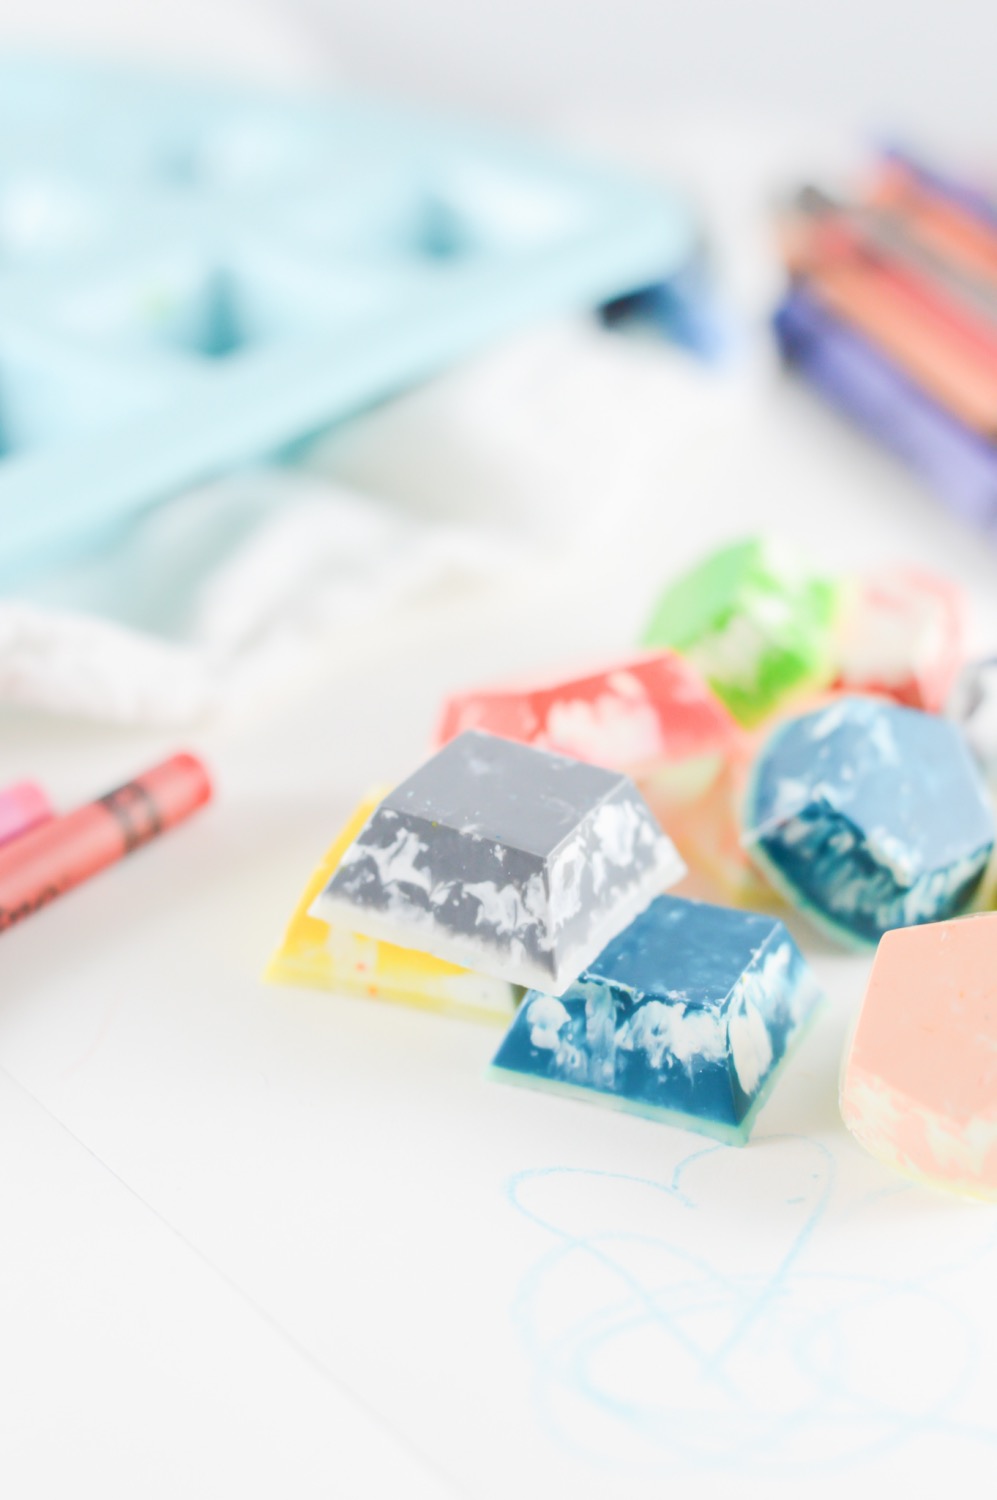
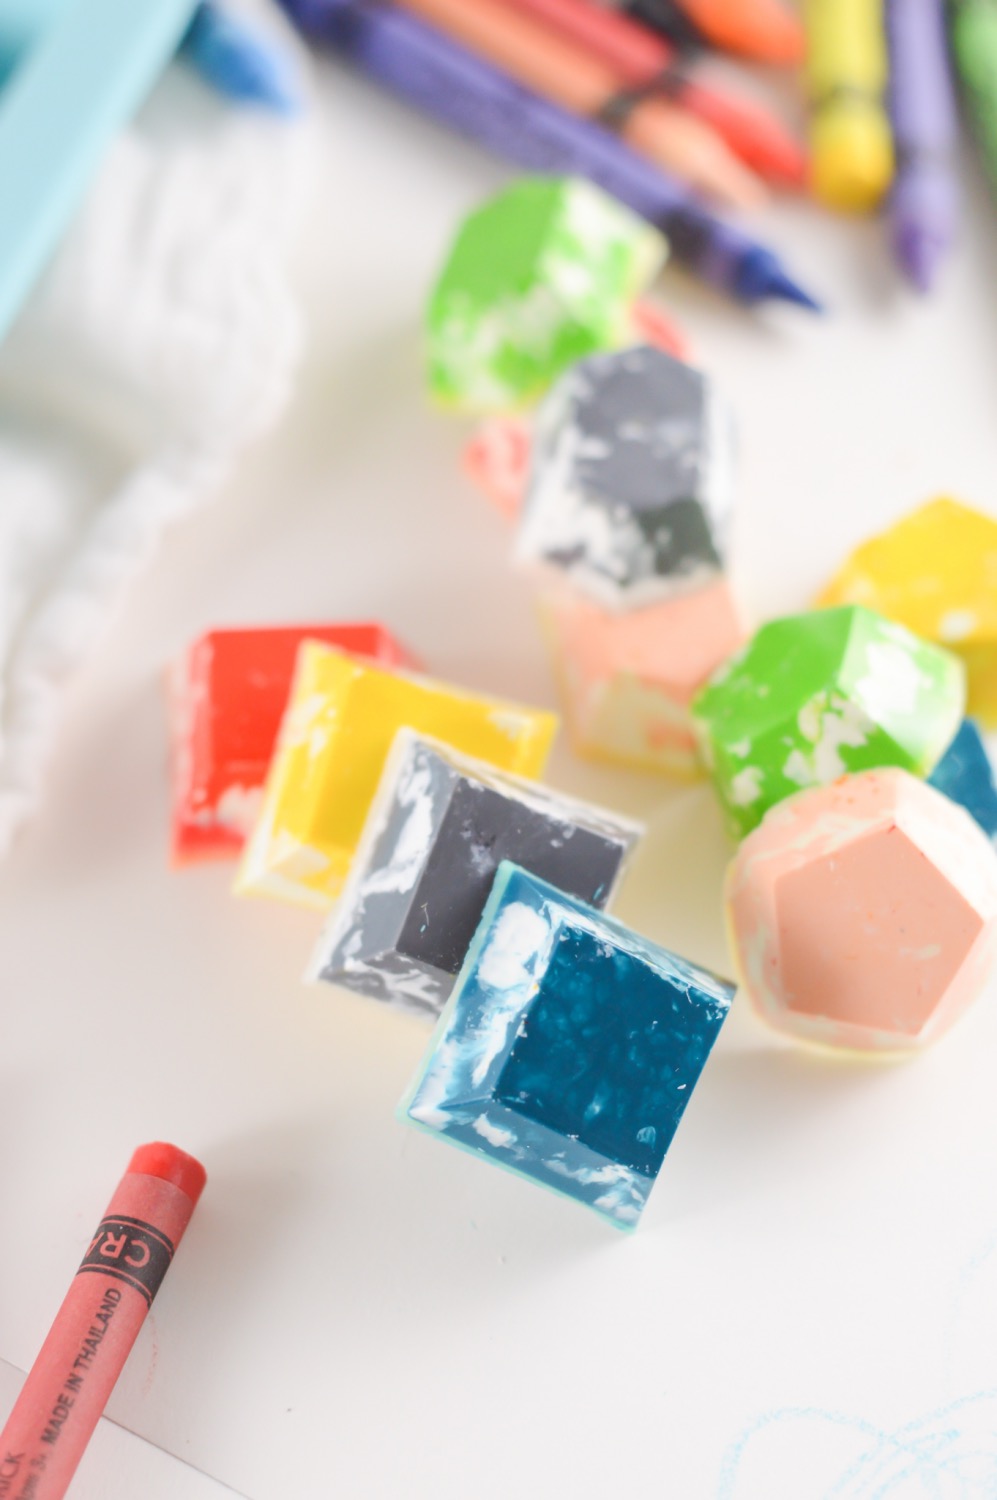
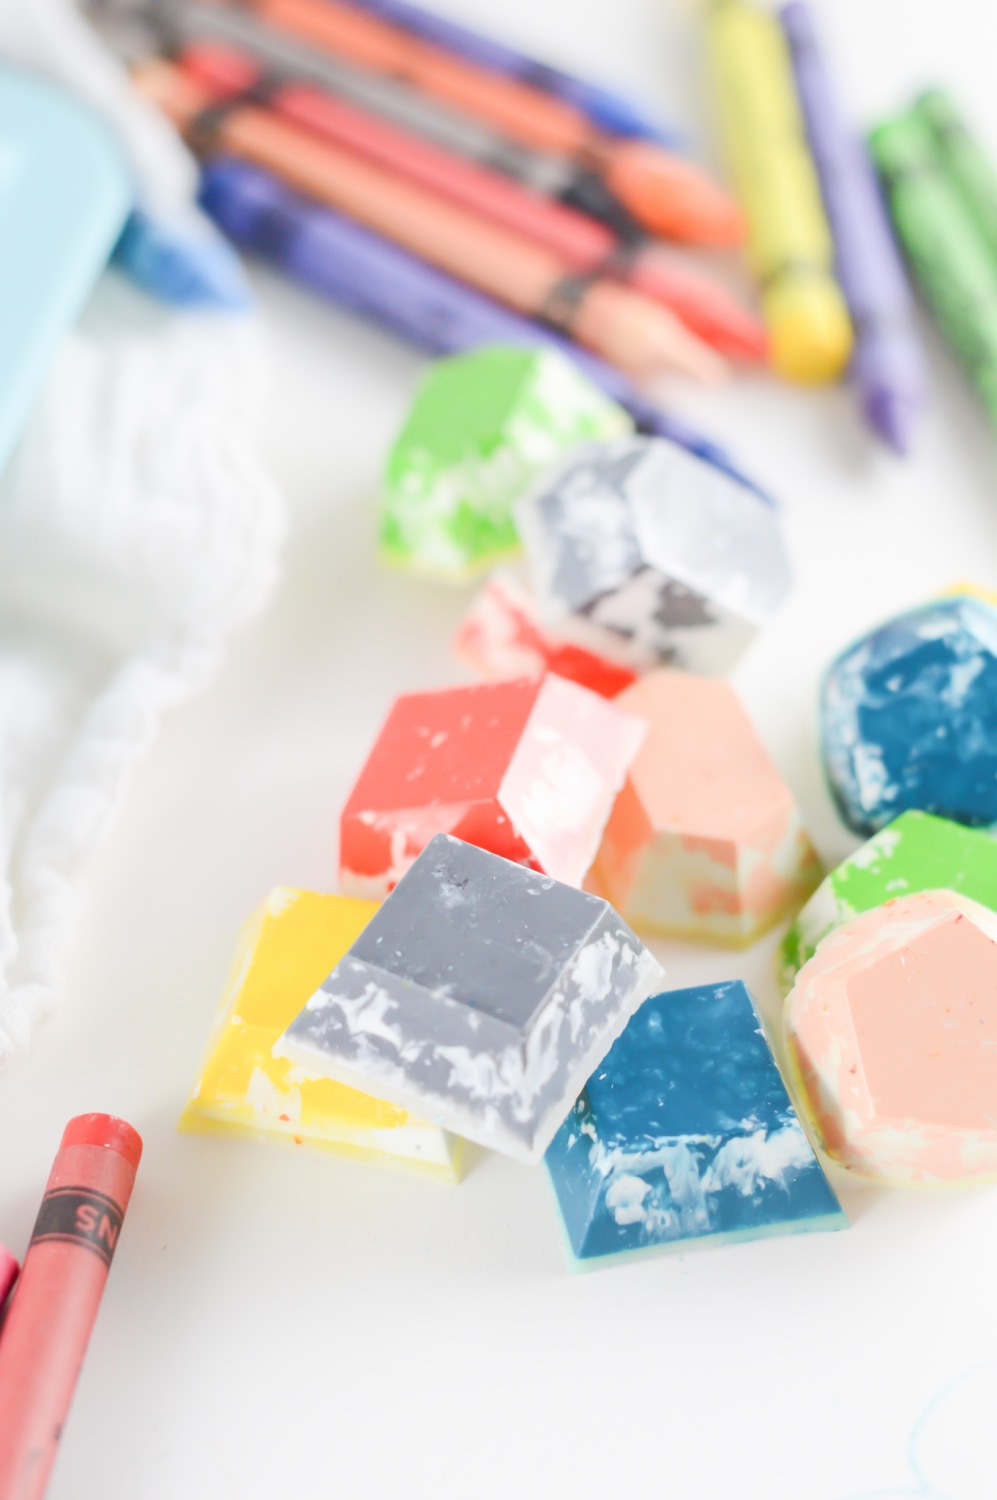
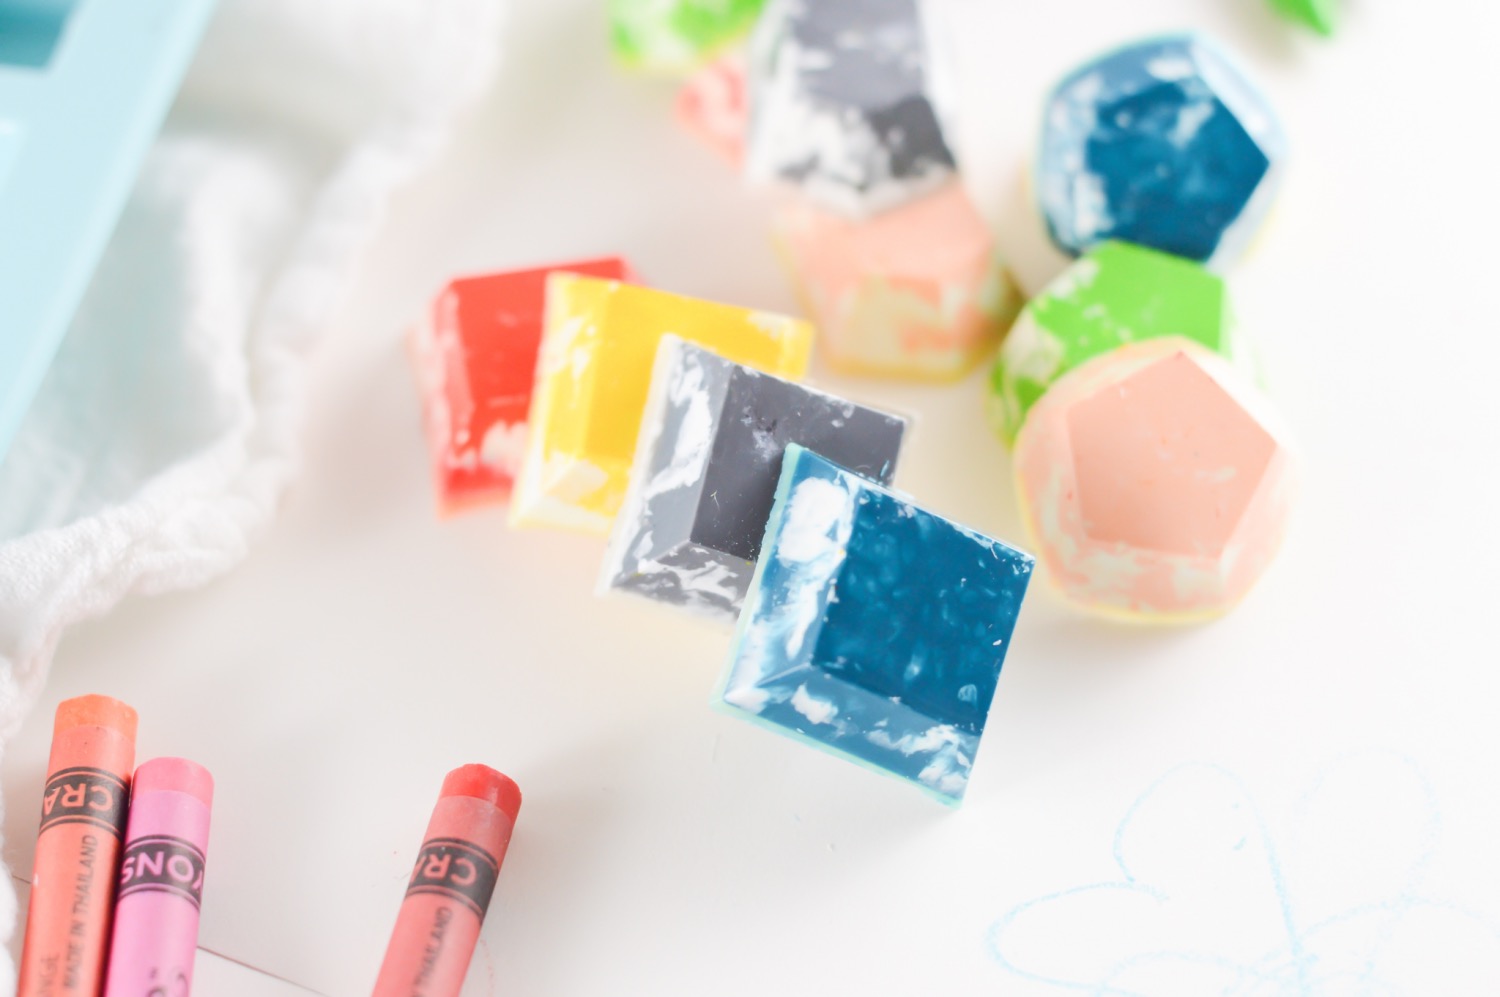
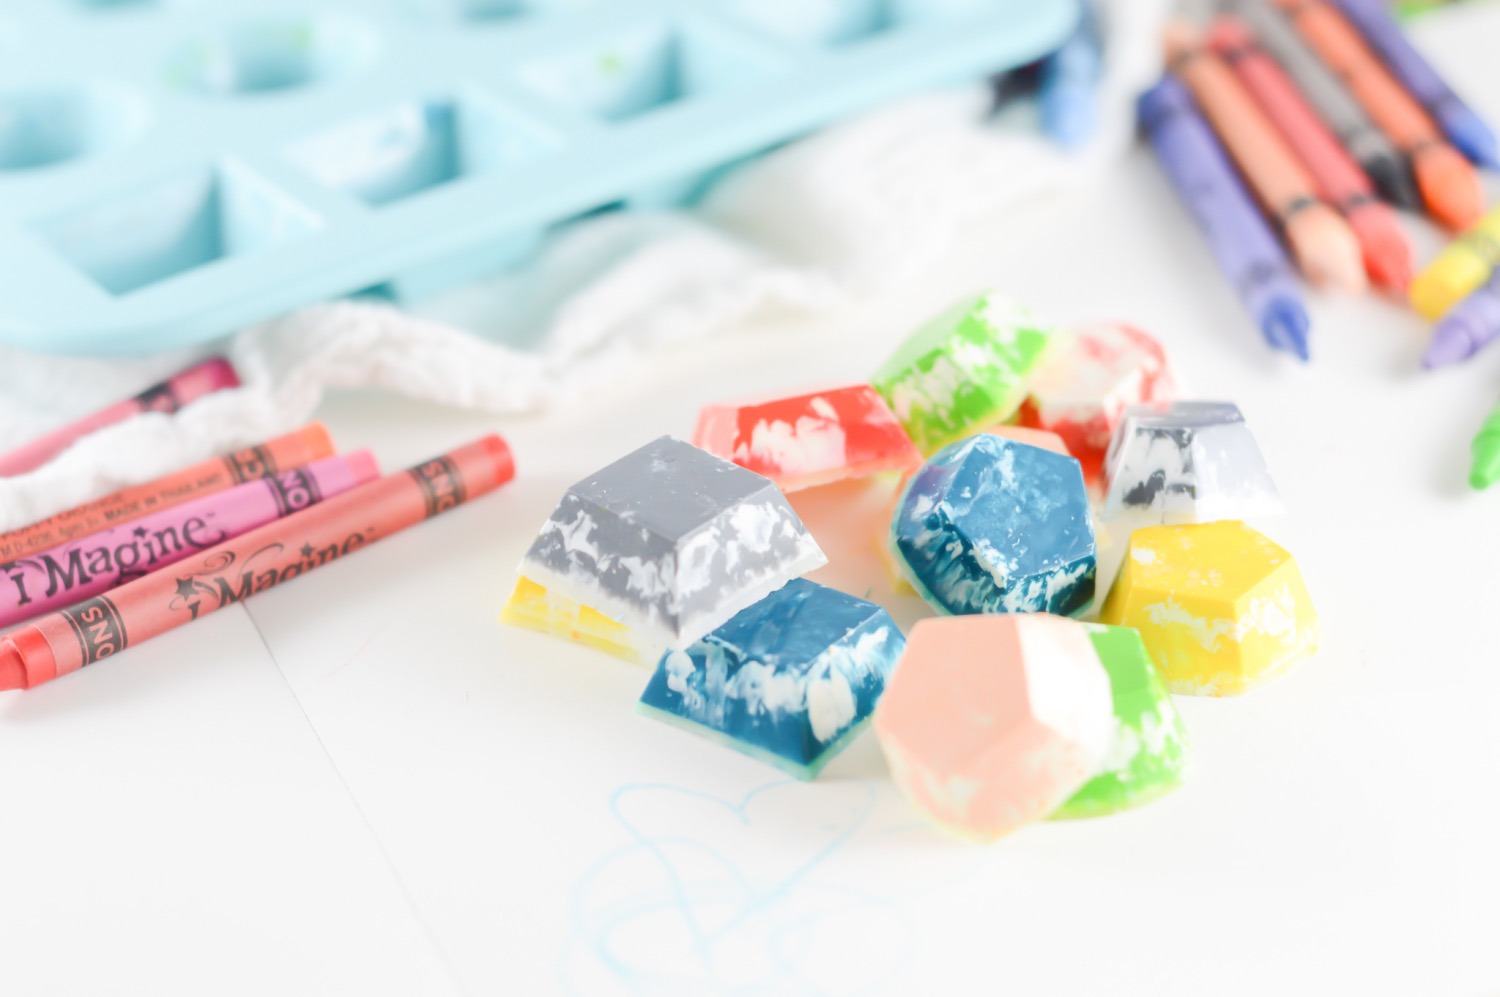
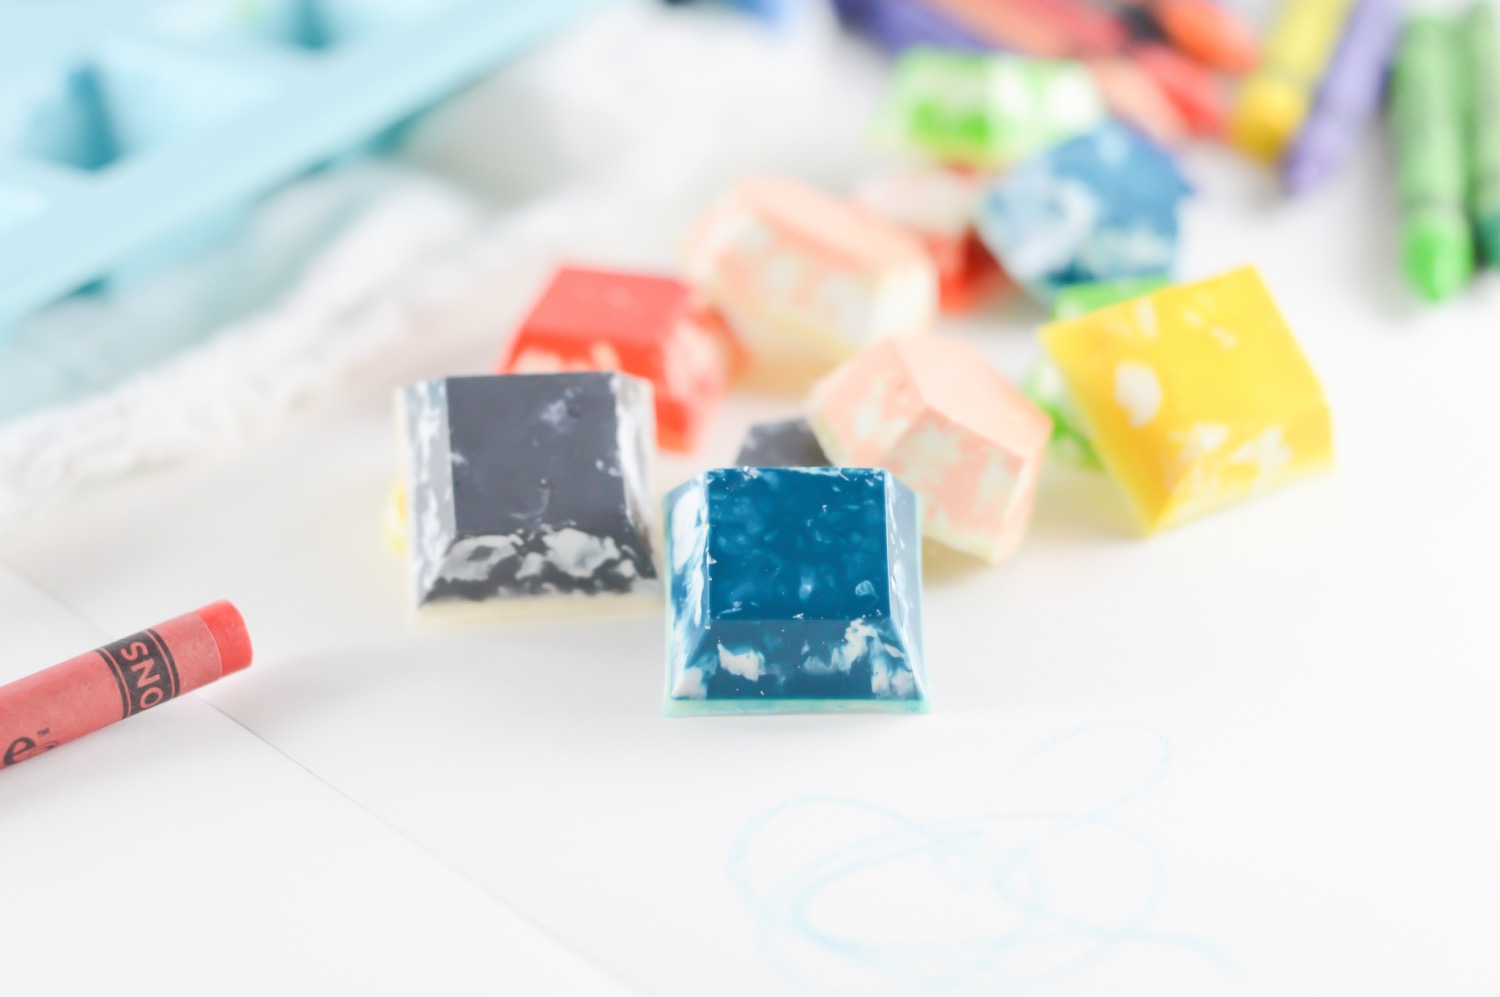
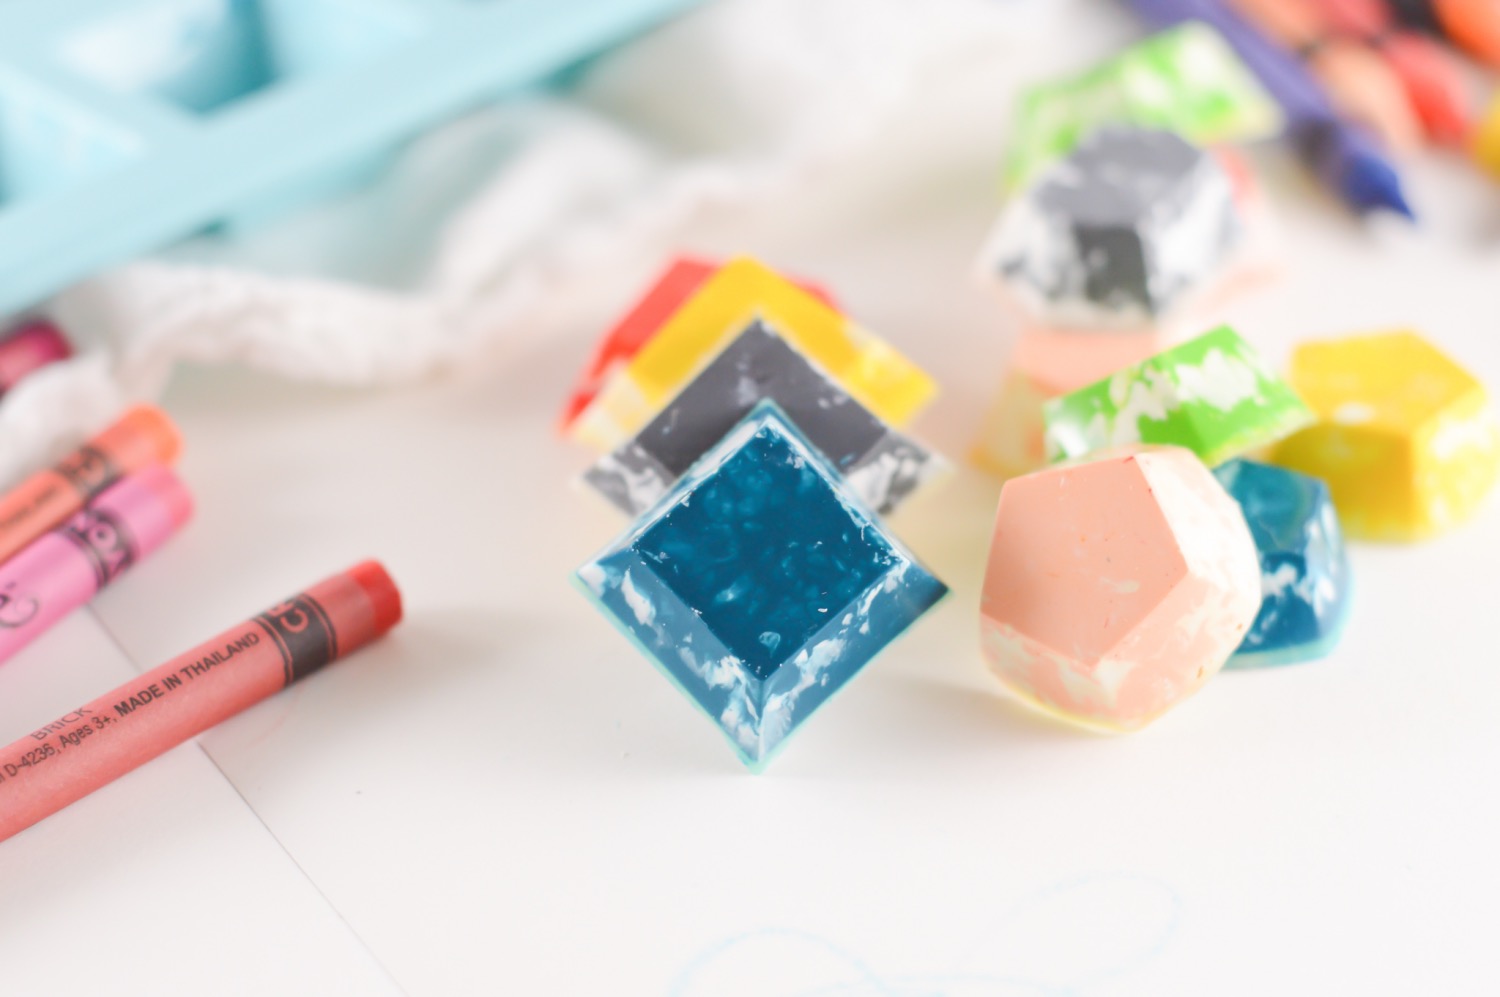
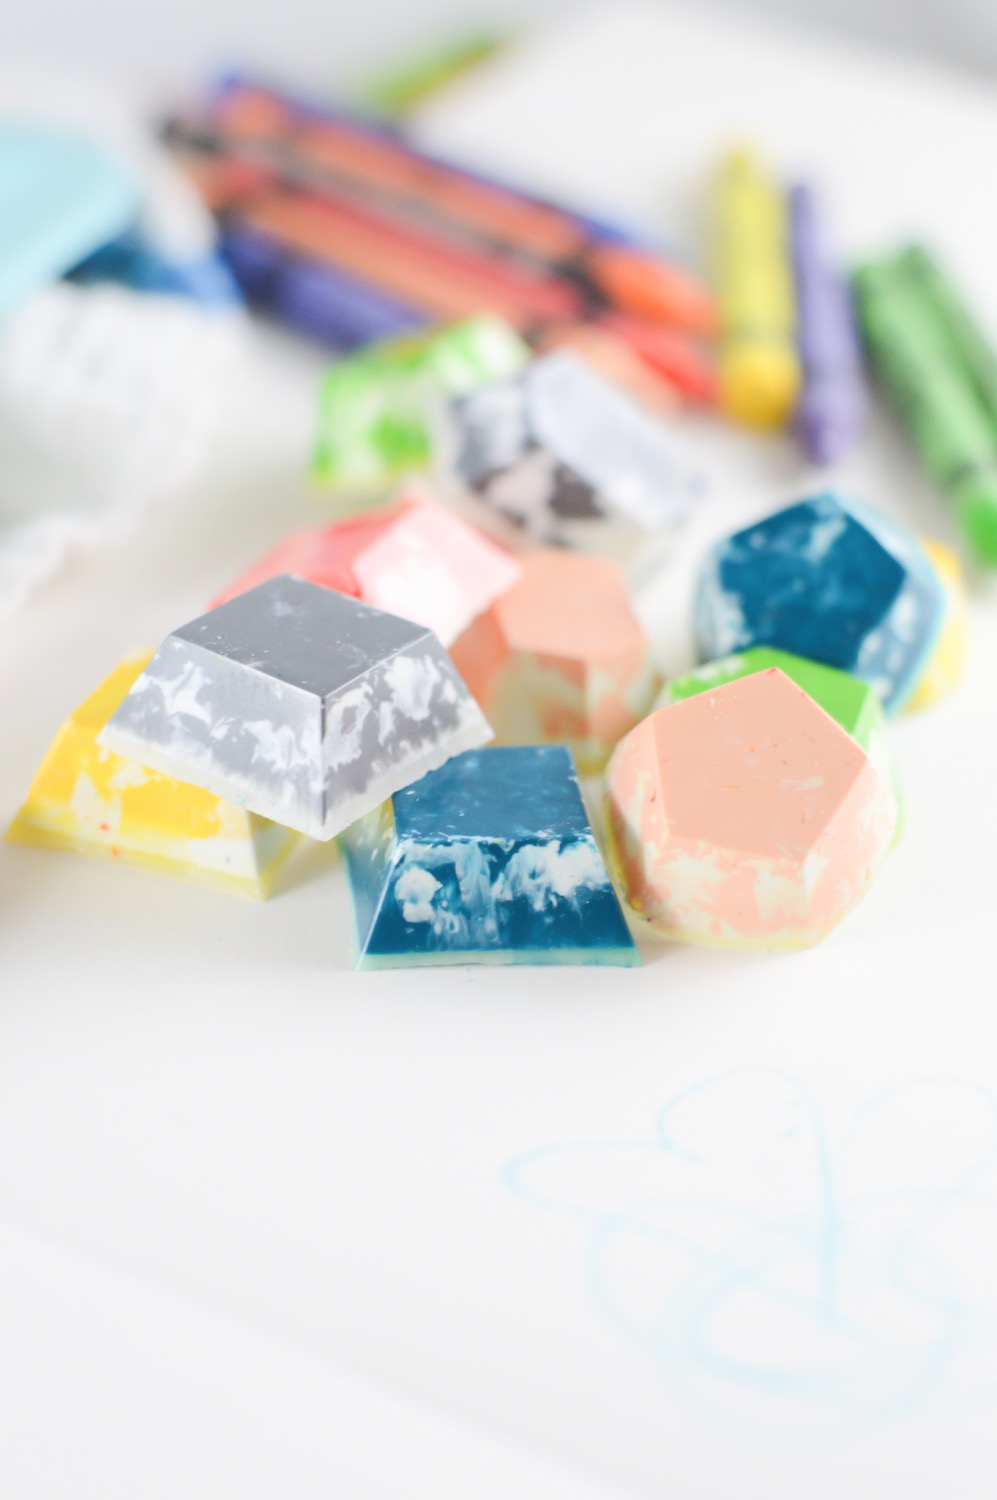
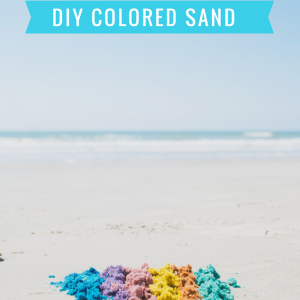
Are you ready for your rainbow dreams to come true? These homemade gemstone crayons are so easy to make! It’s the perfect way to use your leftover bits of crayons and make them into something truly special. The colors are so gorgeous it reminds me of this DIY Colored Sand tutorial here.
You can use these Gorgeous Gemstone Crayons just like you would regular crayons to color, draw, and inspire! So let’s make them.
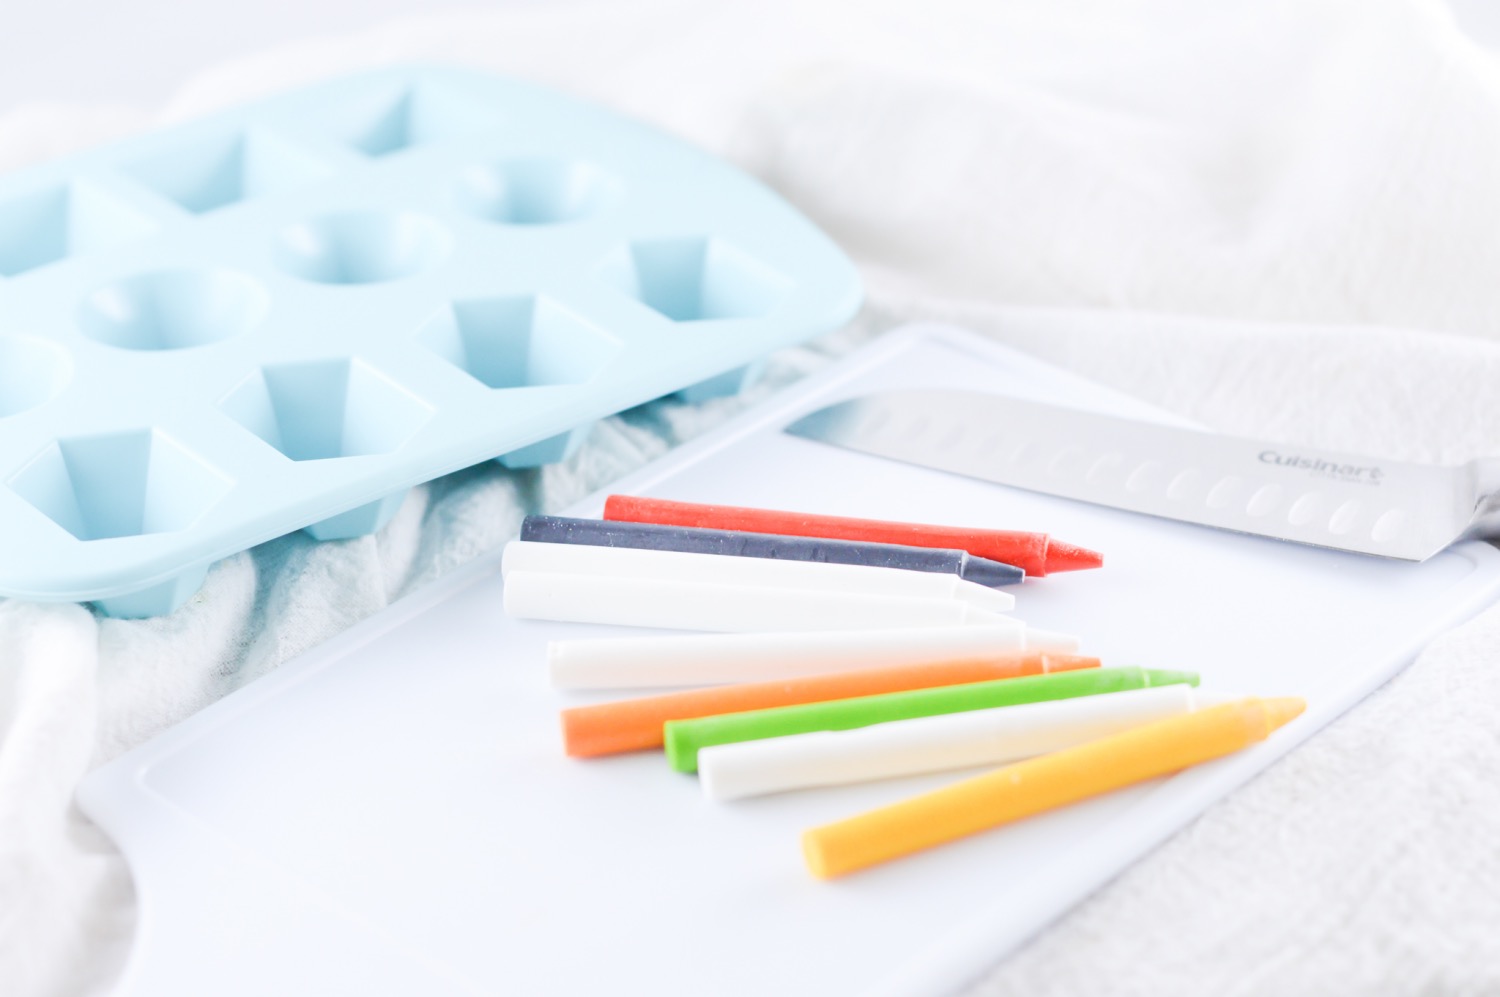
Supplies to Make Gemstone Crayons:
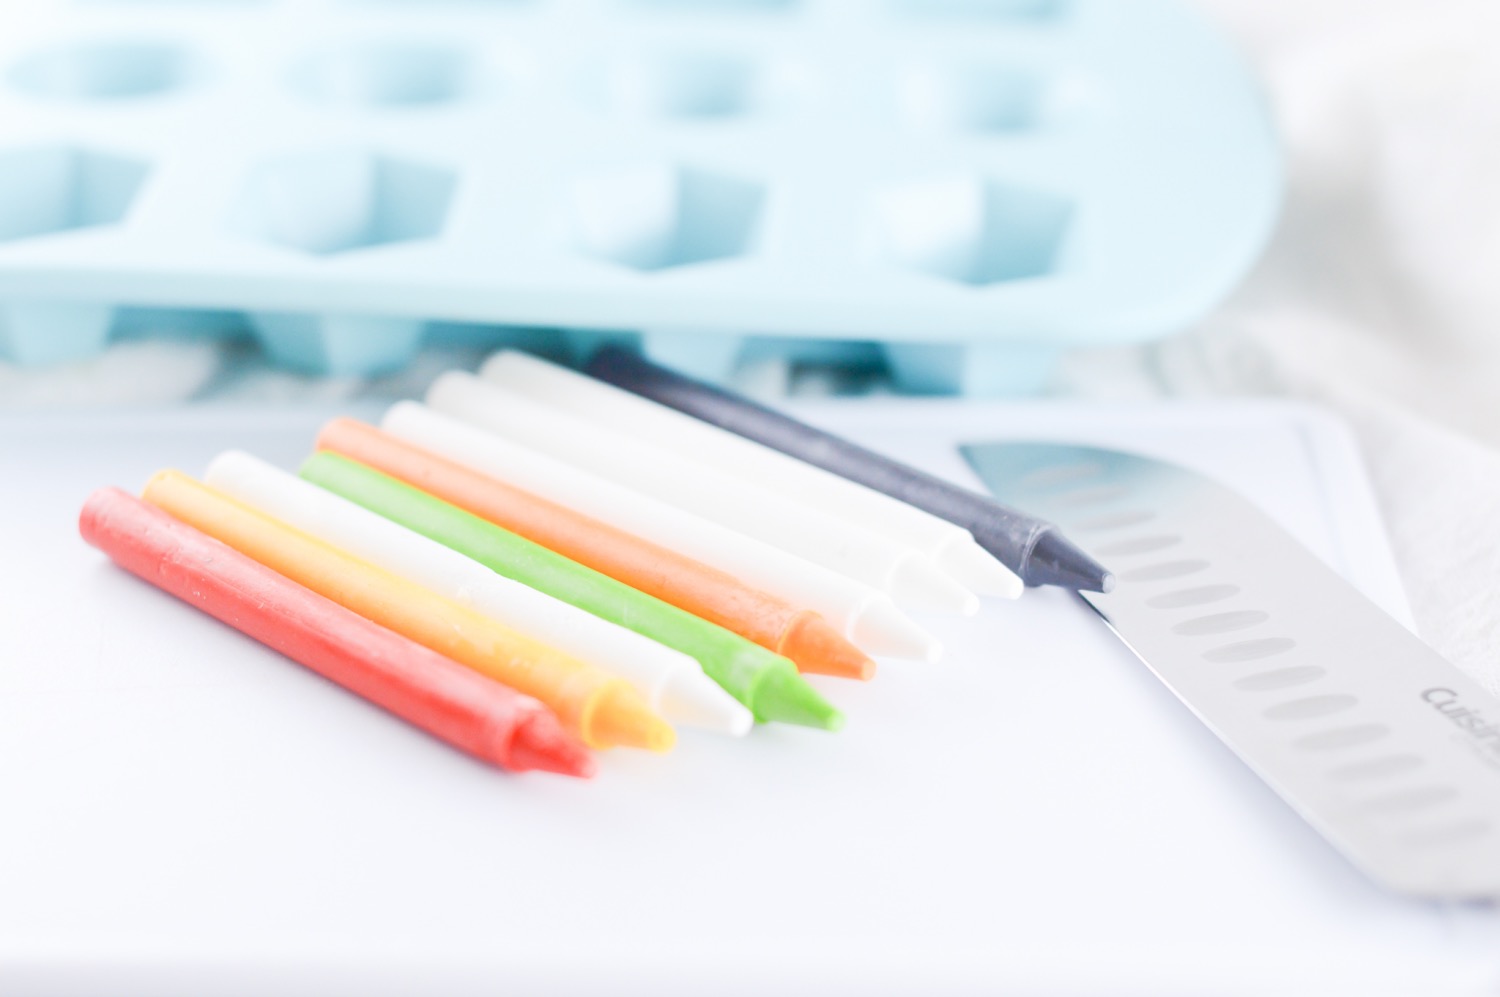
8 White Crayons*
12 Colored Crayons (2 of each color)*
Gemstone Candy Mold
Knife
Cutting Board
Plus:
An Oven or Toaster Oven
*It’s important to use only certain types of crayons. I’ll talk about that below!
I also recommend carefully selecting your colors to make a gorgeous palette. It’s fun to think of these crayons as a set and how they will look together.
Before You Get Started
This tutorial doesn’t work with just any crayons. Water based or cheap crayons will have issues melting. It’s best to use nice higher end crayons. When it doubt – use Crayola!
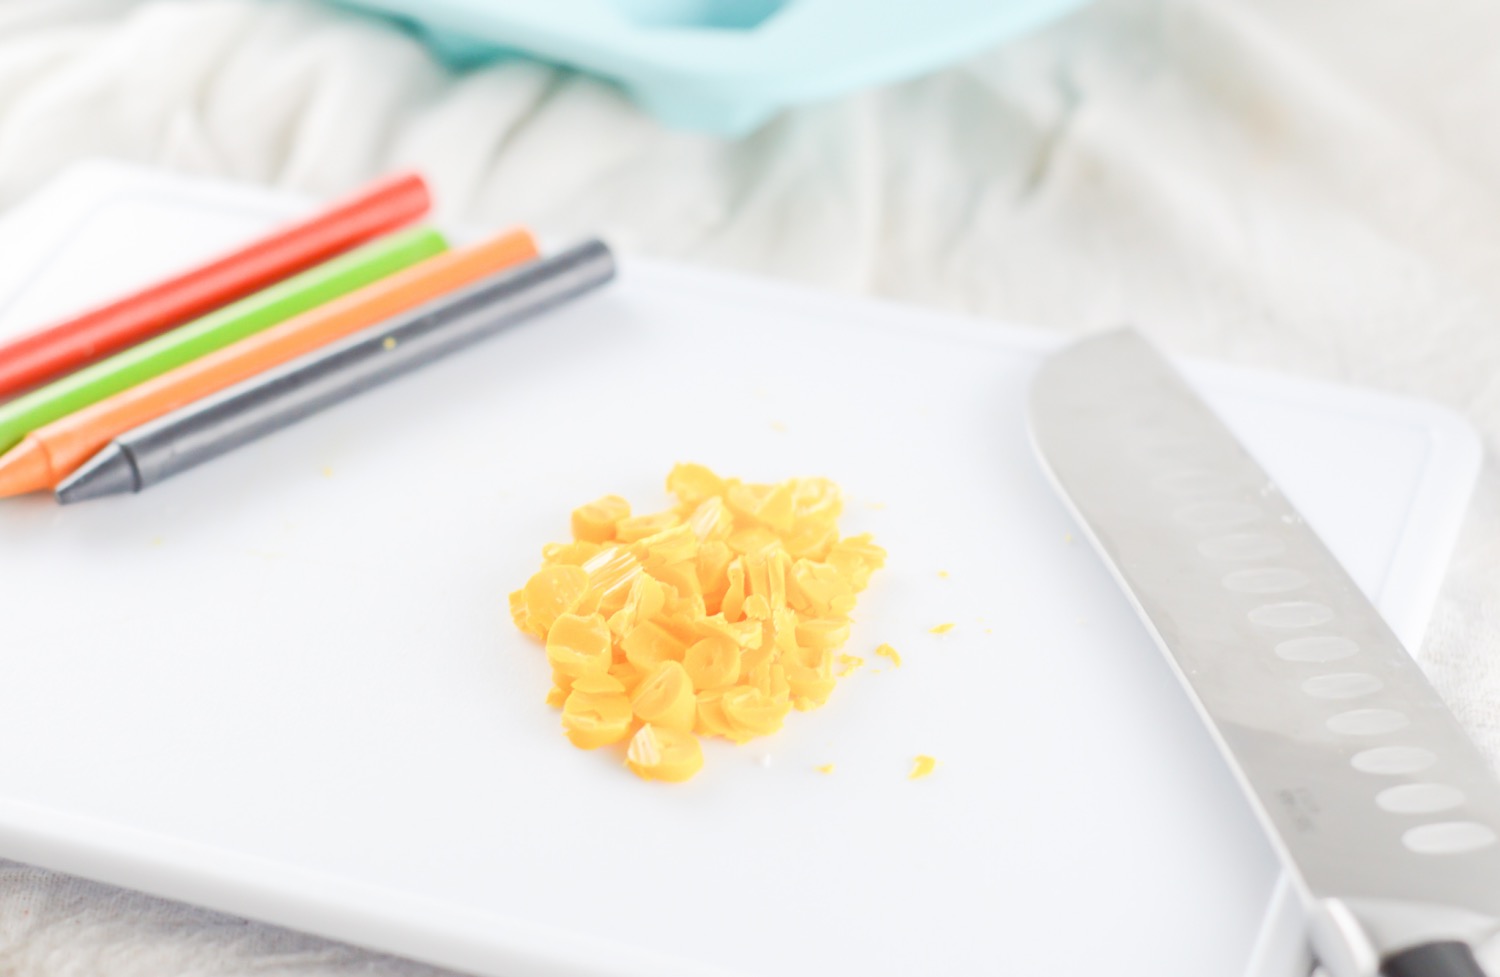
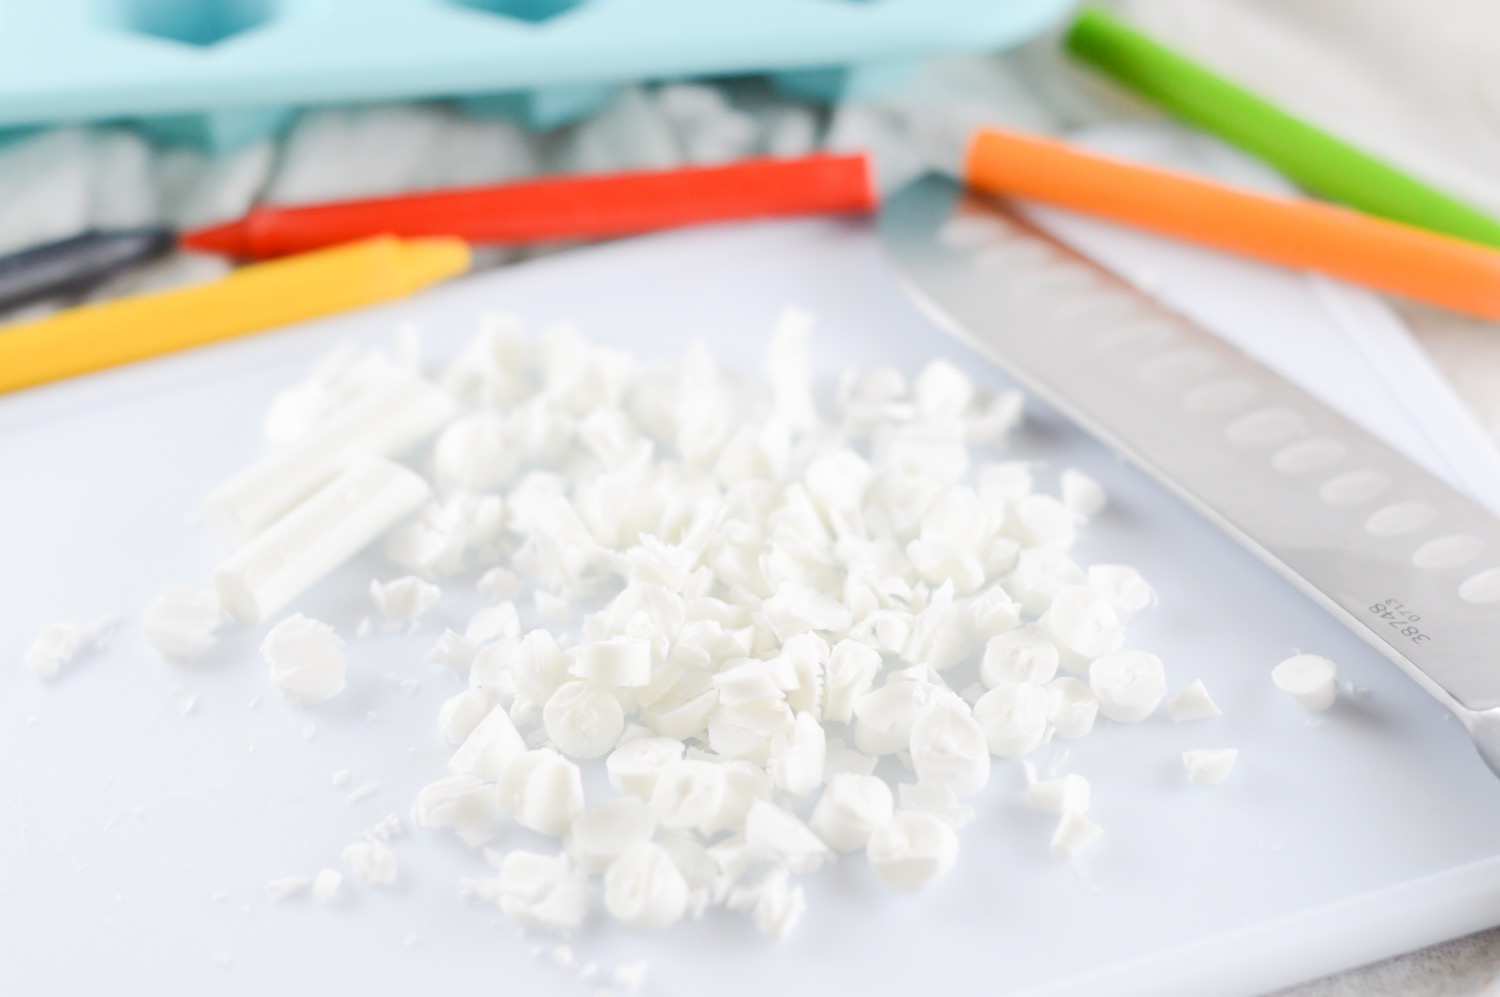
The first step in making these homemade Gemstone Crayons is to chip and cut your crayons into small pieces. Or if you are finding a way to use your old crayon pieces, this is perfect!
Your pieces should be just a few centimeters in size. You can even use shavings from a grater. But I recommend using a cutting board and knife to chop your crayons into small pieces. Keep each of your colors separate when you chop them!
Next, preheat your oven to 250°F. Place the candy mold on a cookie sheet to give it some stability.
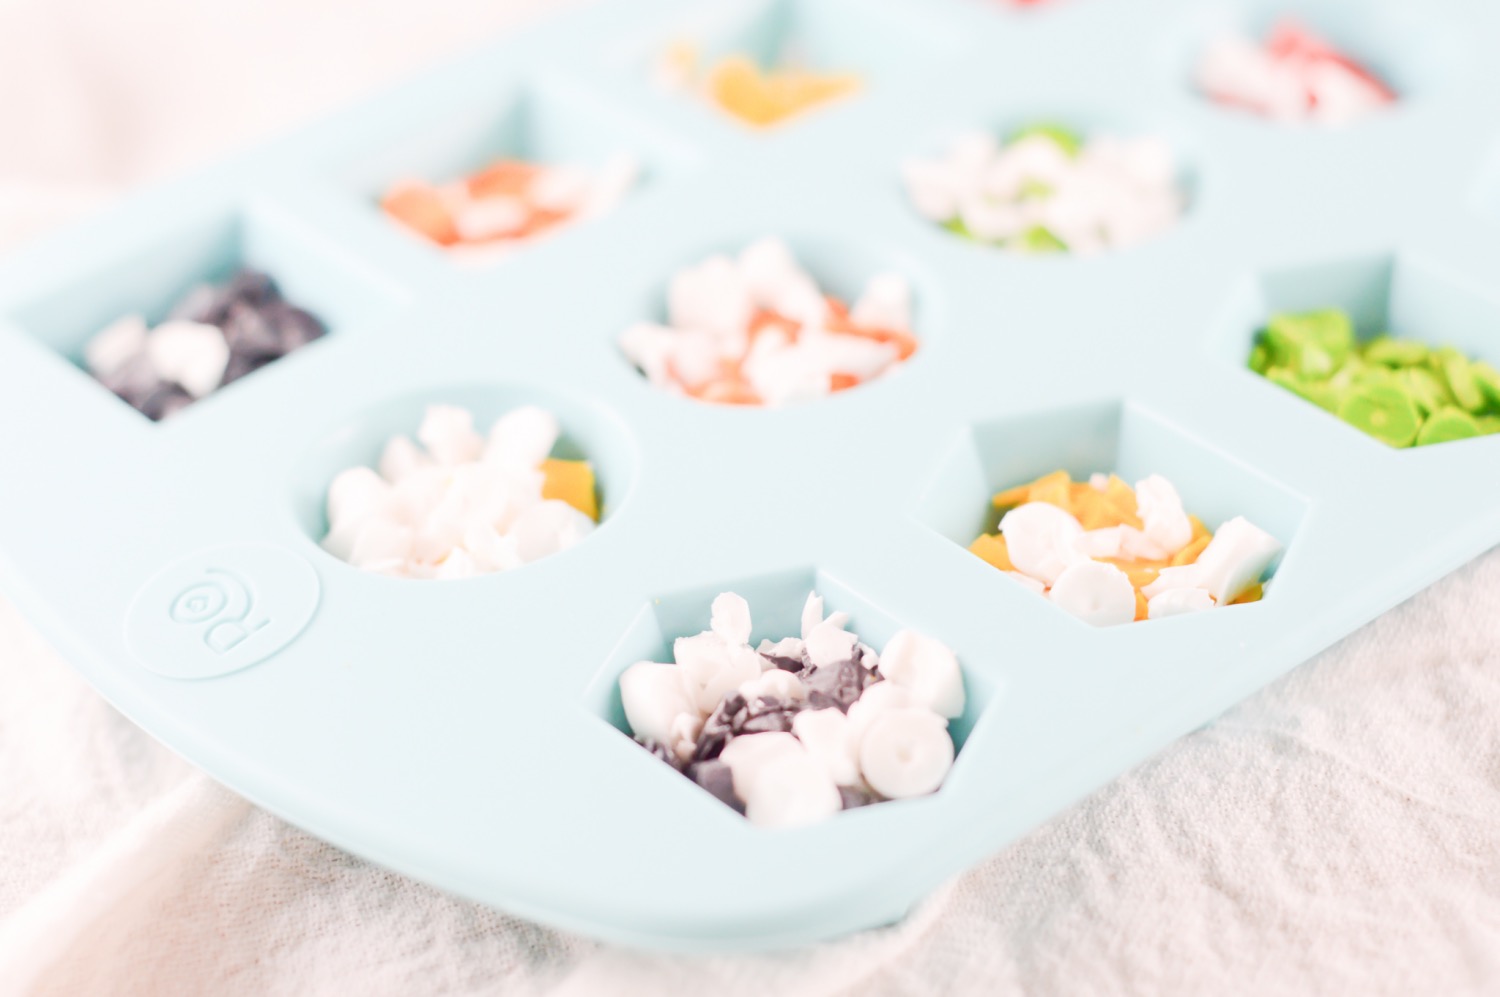
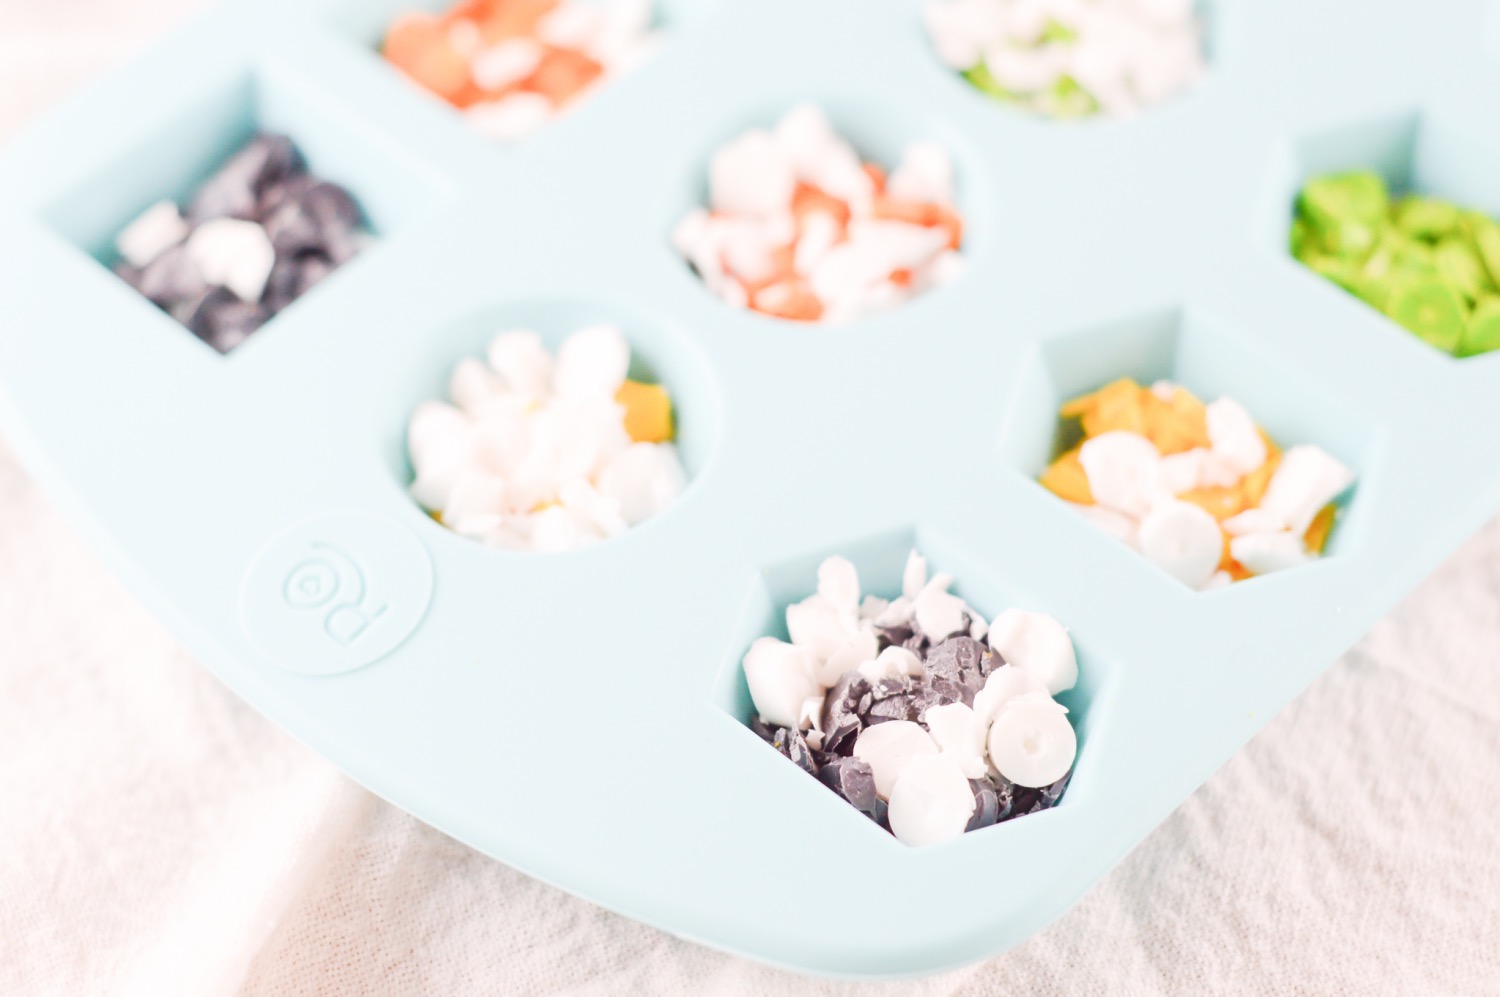
Layer your crayons into the mold but only add 1-2 colors per gemstone. Once you add 1 color, add a layer of white into each gemstone, then add another color. Finally top the gemstone molds with white.
Once your oven is fully heated to 250°F, place the cookie sheet (and gemstone mold) in the oven and bake for about 20 minutes or until the wax has just started to melt.
Remove from the oven and let the gemstone crayons sit until they are hard. It takes around 20 minutes.
If they aren’t ready to use after the 20 minutes of cooling time, you can add them to the fridge or freezer. That should just take a few minutes!
It’s important when you are baking the gemstone crayons to not overcook. Only allow your crayons to heat in their molds until they are just melted or your crayons won’t turn out quite right. The colors will be off and the texture doesn’t work either.
You don’t have to use a gemstone like I did. You can use other molds like stars, hearts, dinosaurs or all kinds of cool shapes. But different sizes will require more or less crayons and more or less cooking time. So be prepared to slightly adapt this recipe!
You can use your Gorgeous Gemstone Crayons in place of any regular crayons! You can color, draw, or just have fun with them.
And once you end up with small bits of crayons, you can repeat this process and make new Gemstone Crayons.
So what colors and what shapes are you going to make with your homemade crayons? Are you going to make gemstones like I did? Or a different shape? Tell us in the comments!
And if you need even more stylish craft tutorials, check out our blogs below.
Let’s Be Friends!
Insta | Pinterest | Enews | TikTok


