DIY
Marbled Coffee Mugs with Nail Polish DIY
What’s awesome about marbling with nail polish is that you can marble all kinds of surfaces! You can marble your nails which is super fun and stylish. One of my favorites is marbling coffee mugs. The white color of a standard coffee mug is just begging for a bold splash of color.
And coffee mugs are so fun to jazz up. This DIY is totally simple and creates a gorgeous coffee mug that will make your morning happy. All you need are a few simple supplies and a few simple steps. We’re going in detail about How to Marble Coffee Mugs with Nail Polish below but here’s a tutorial of lots of different things you can marble.

Supplies:
Large Disposable Container
Warm/Mildly Hot Water
Nail Polish – Any Color or Combination of Colors that You Like
Coffee Mugs
Toothpick (Optional)
Nail Polish Remover
First, before you get started, there’s something important that you need to know about the nail polish. Cheap dollar nail polish does not work as well as nicer, higher end nail polish. It doesn’t spread as beautifully. It will usually stay thick and clumpy. I used both expensive and cheap nail polish here, because I have to buy nail polish in bulk when we teach this as an in person workshop.
To get started, you need a container to dip your coffee mug. This will need to be as deep as you want to dip. I used a large shallow container but only planned to swirl the colors along the bottom.
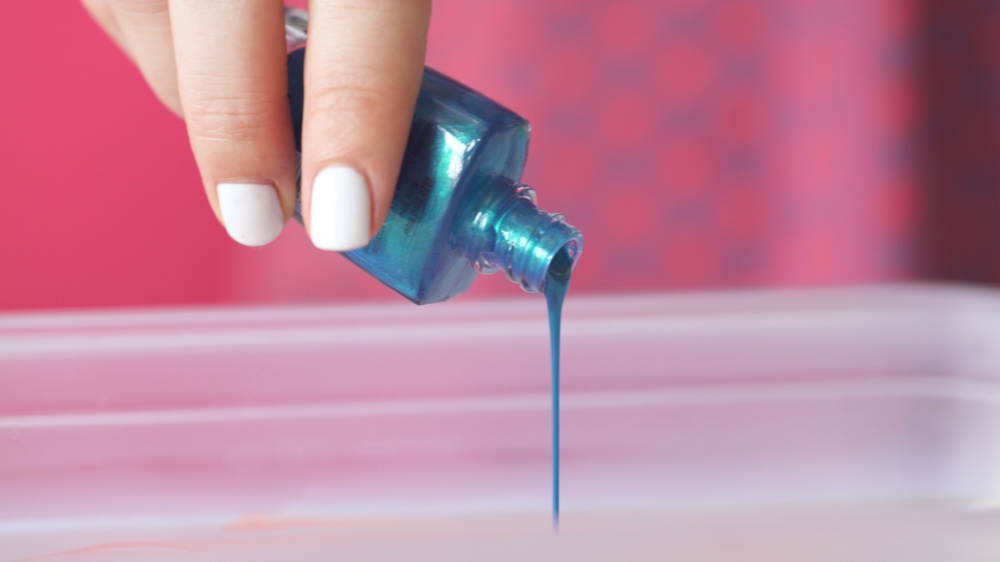
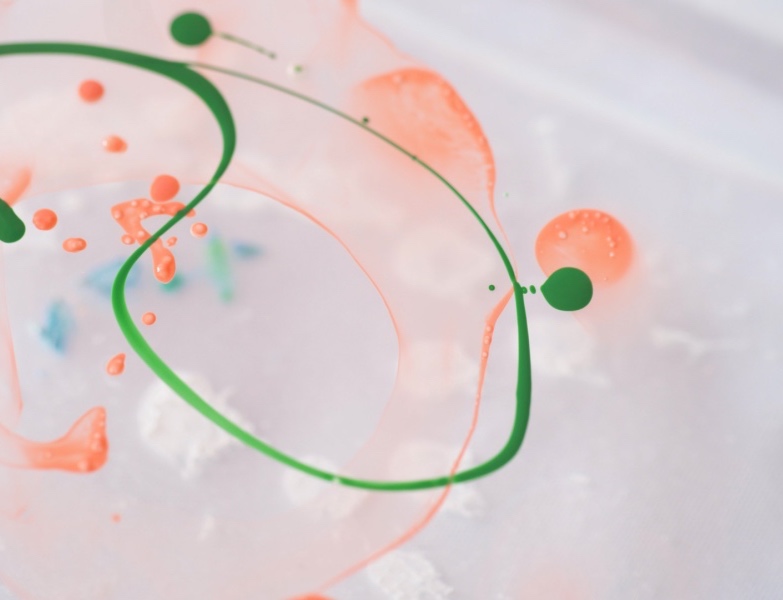
Fill the container with warm – not super hot water and swirl any colors of nail polish along the surface. You can use a toothpick to spread the colors out more thoroughly but it’s not necessary. Be sure to work quickly, because the nail polish will start to dry quickly and lost it’s even texture.
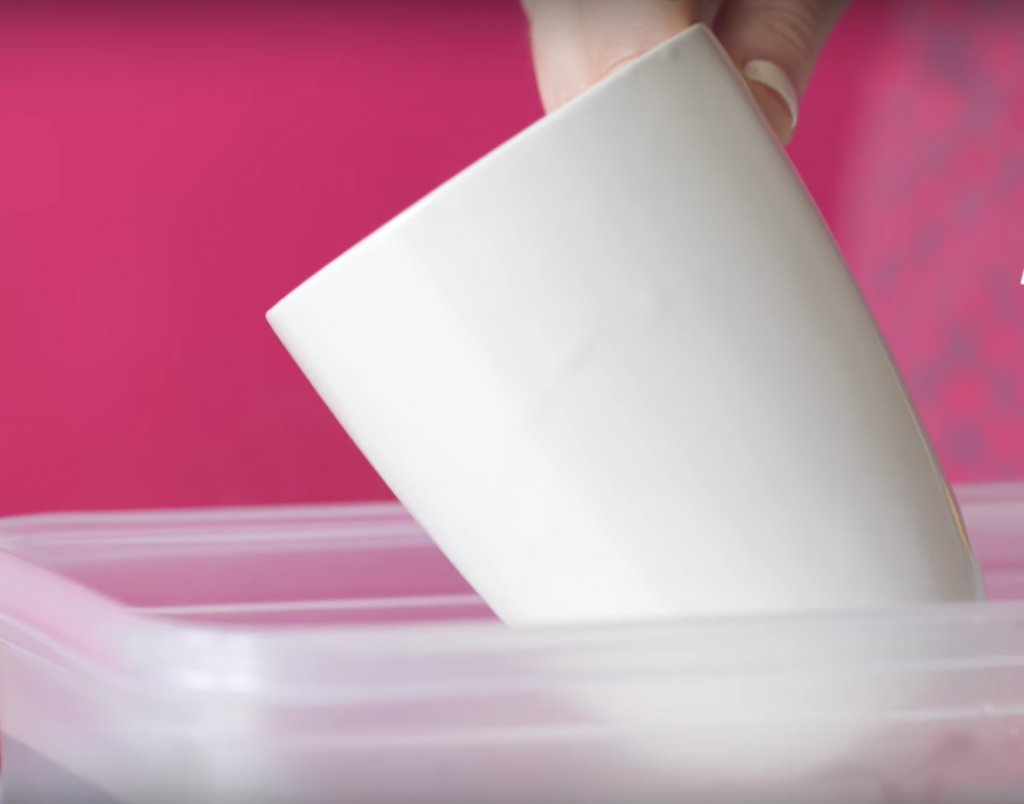
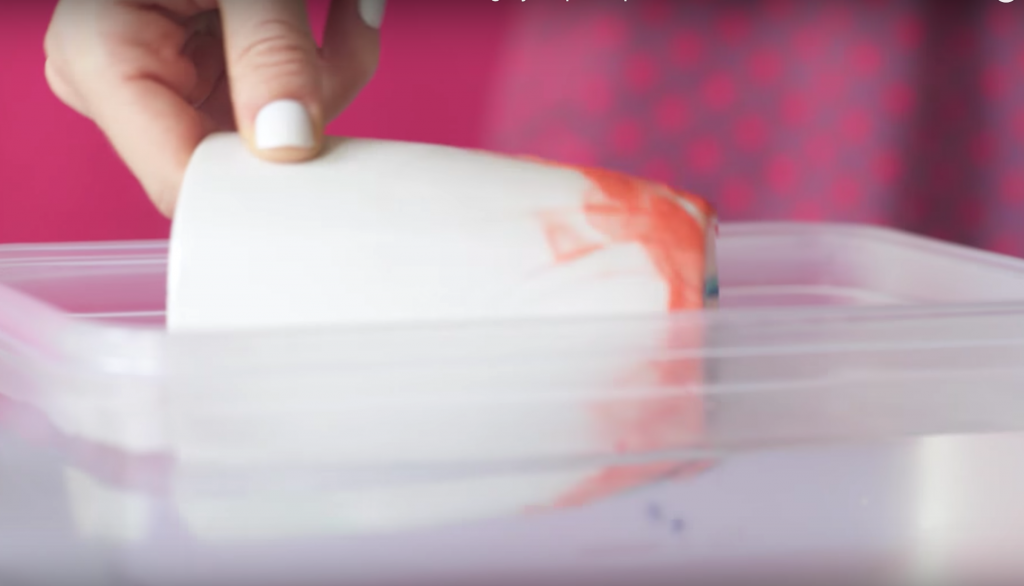
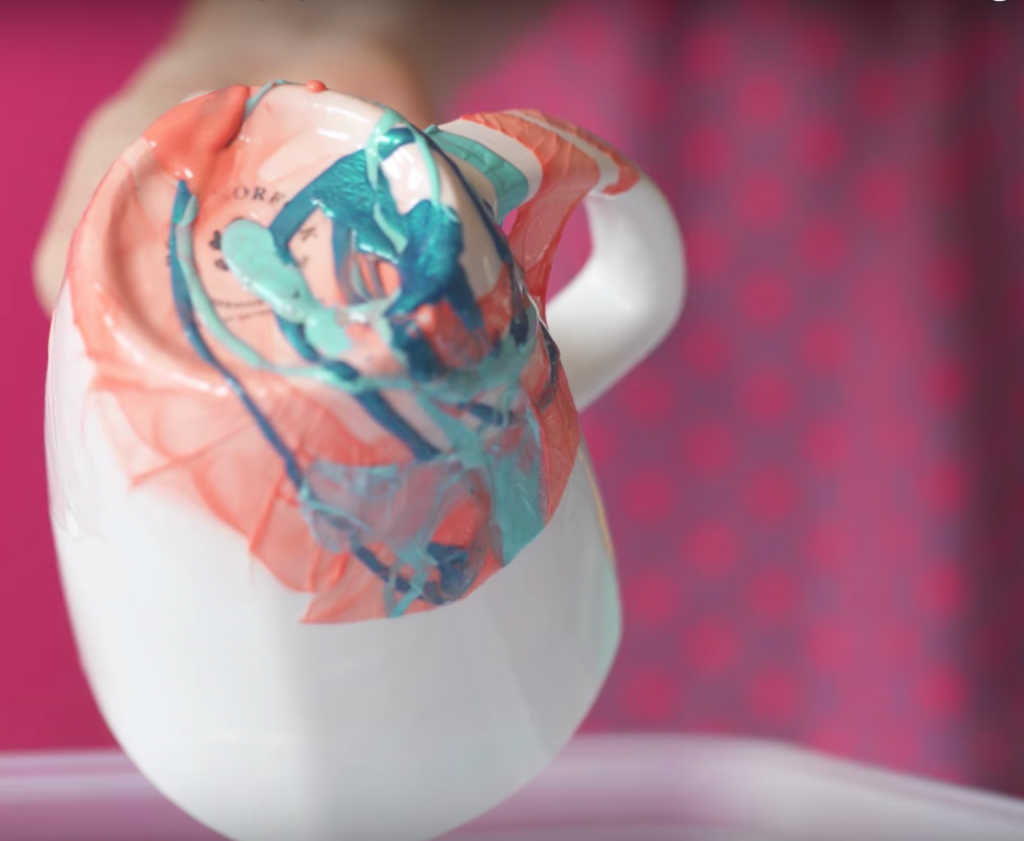
Now dip your mug slowly and carefully. You will see the nail polish almost like a magnet stick to the surface of the coffee mug. Be sure to place it upside down. It will require the same amount of time to dry as nail polish always does. So give it 20 minutes or so before you touch it.
If you don’t like your color swirls you can use nail polish remover and start fresh! You can also add additional layers to the swirls by giving your mug a second dip once your first layer is completely dry.
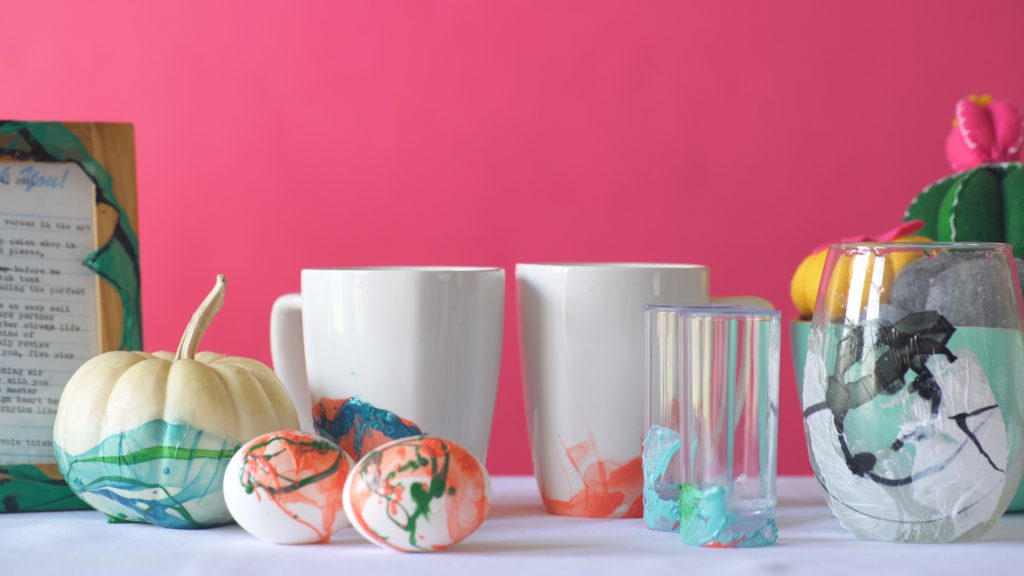
You can marble all kinds of things and with all kinds of colors. The sky is the limit!
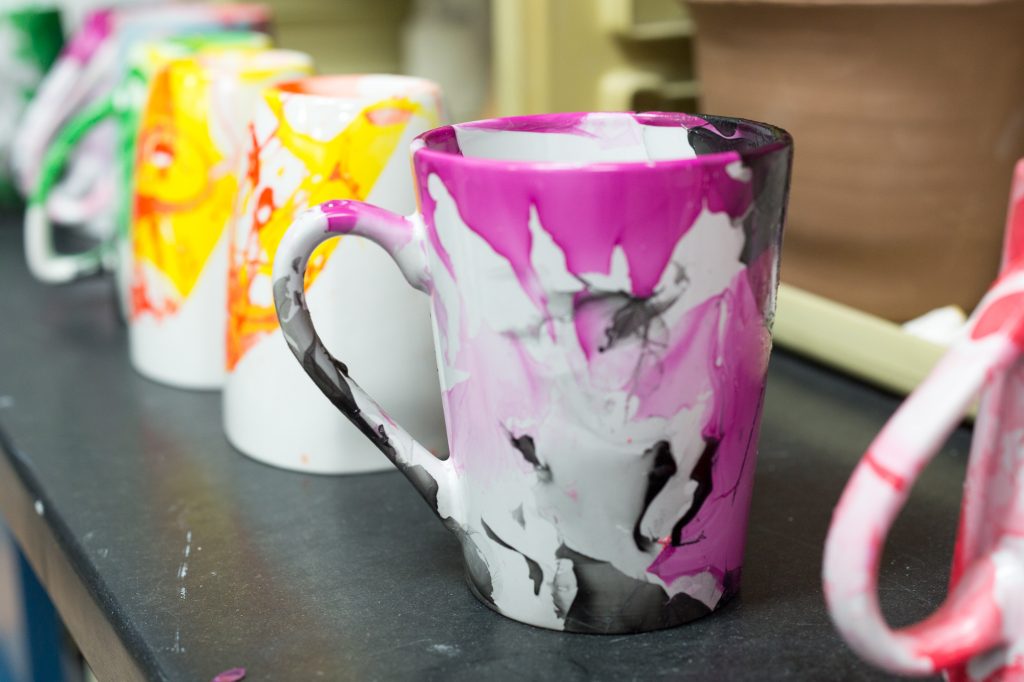
And here are some additional color schemes from an in person workshop. Hope this gives you some great inspiration!
Let’s Stay Friends!
Insta | Pinterest | Enews | TikTok






These marbled mugs look fantastic! It looks easy to make and I can’t wait to try “marbling” my mug. Thanks for sharing this great tutorial.