DIY
DIY Christmas Tinsel Dress
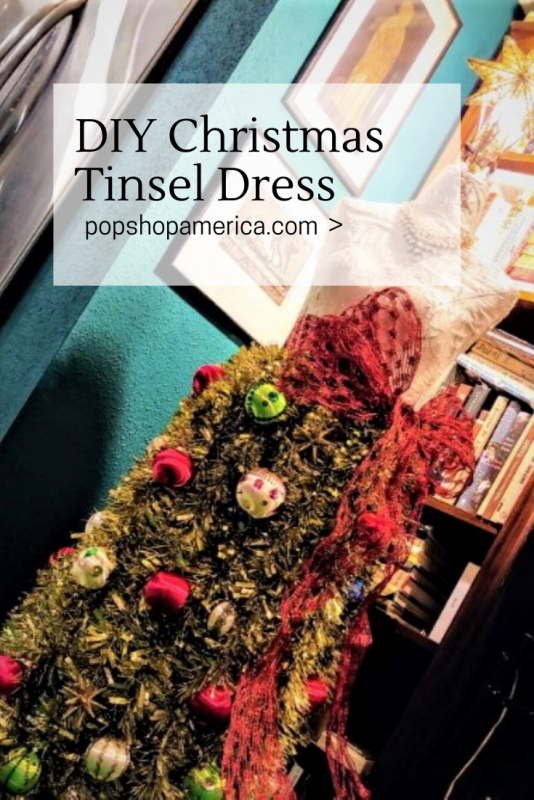
It’s December already! I have been plotting this gorgeous DIY since I saw a Halloween-themed mannequin all dressed up way back in October!
Several years ago, my crafting-goddess Mom re-covered a dress form and upcycled it into the fanciest lamp:
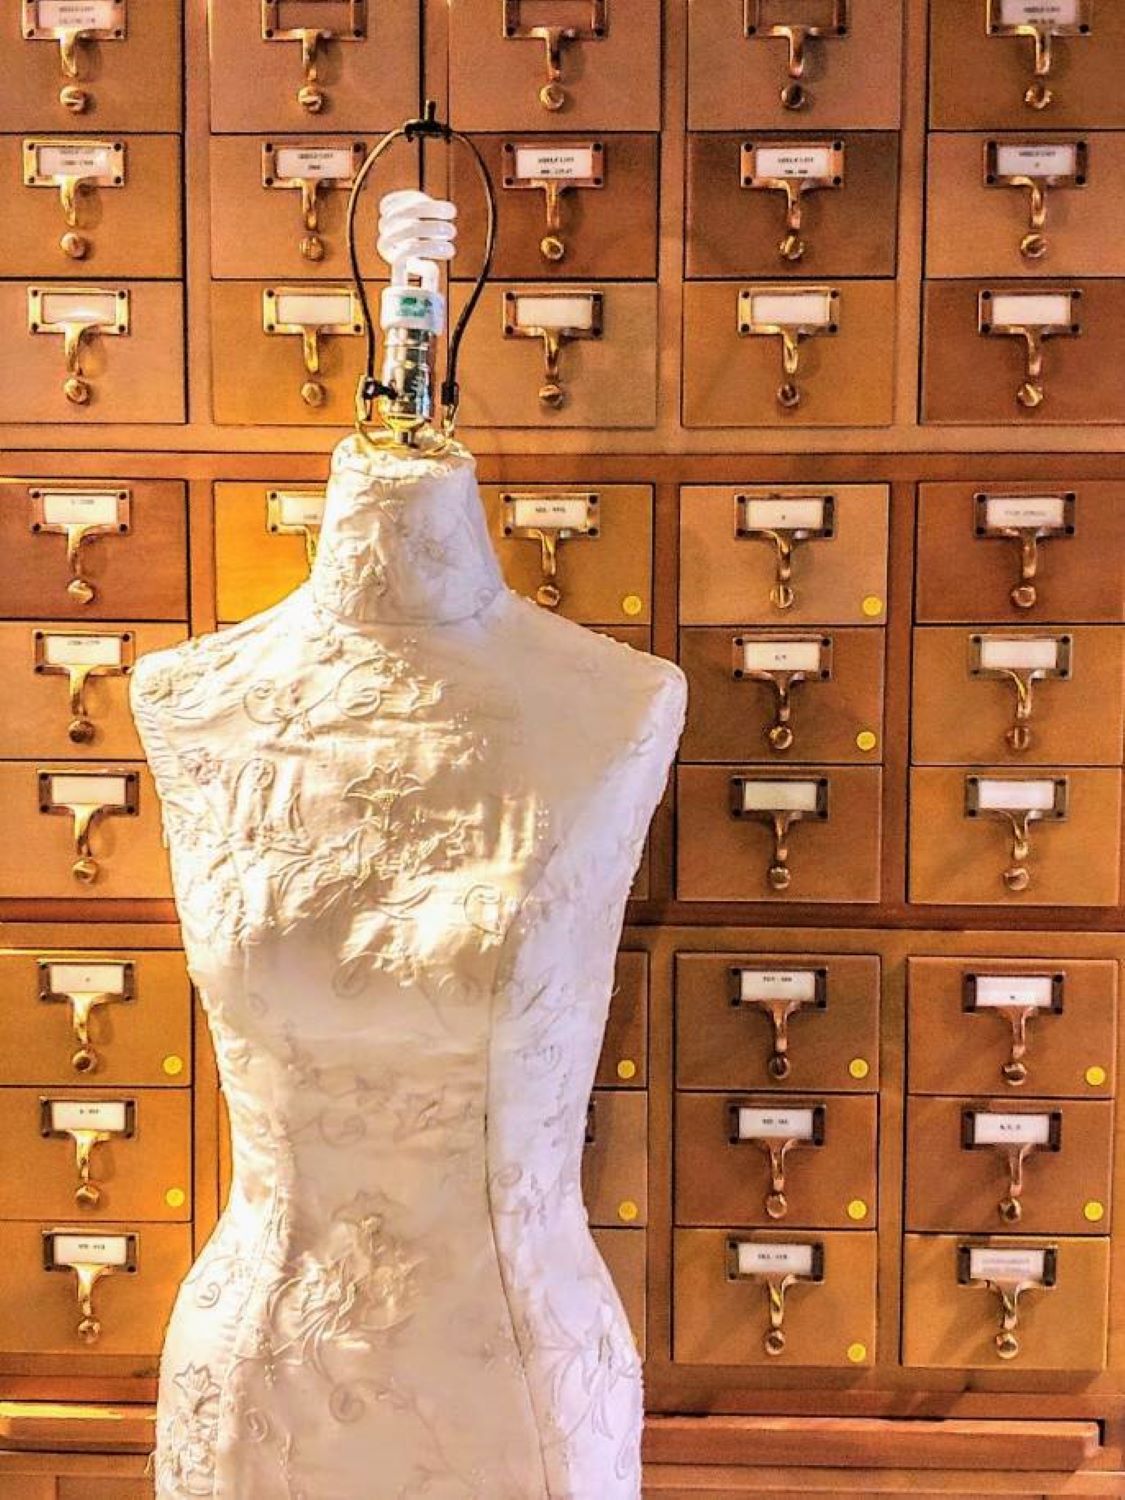
Since I just happened to have this beauty lying around, already wired up and ready to go, I grabbed my festive supplies and started to create a theme! What I love about most crafty projects, which also totally applies to this one, is they can be whatever you desire and/or have on hand. Love the classic green and red? Make it work! Into peacock feathers this year? Live that dream!
My supply list was as follows:
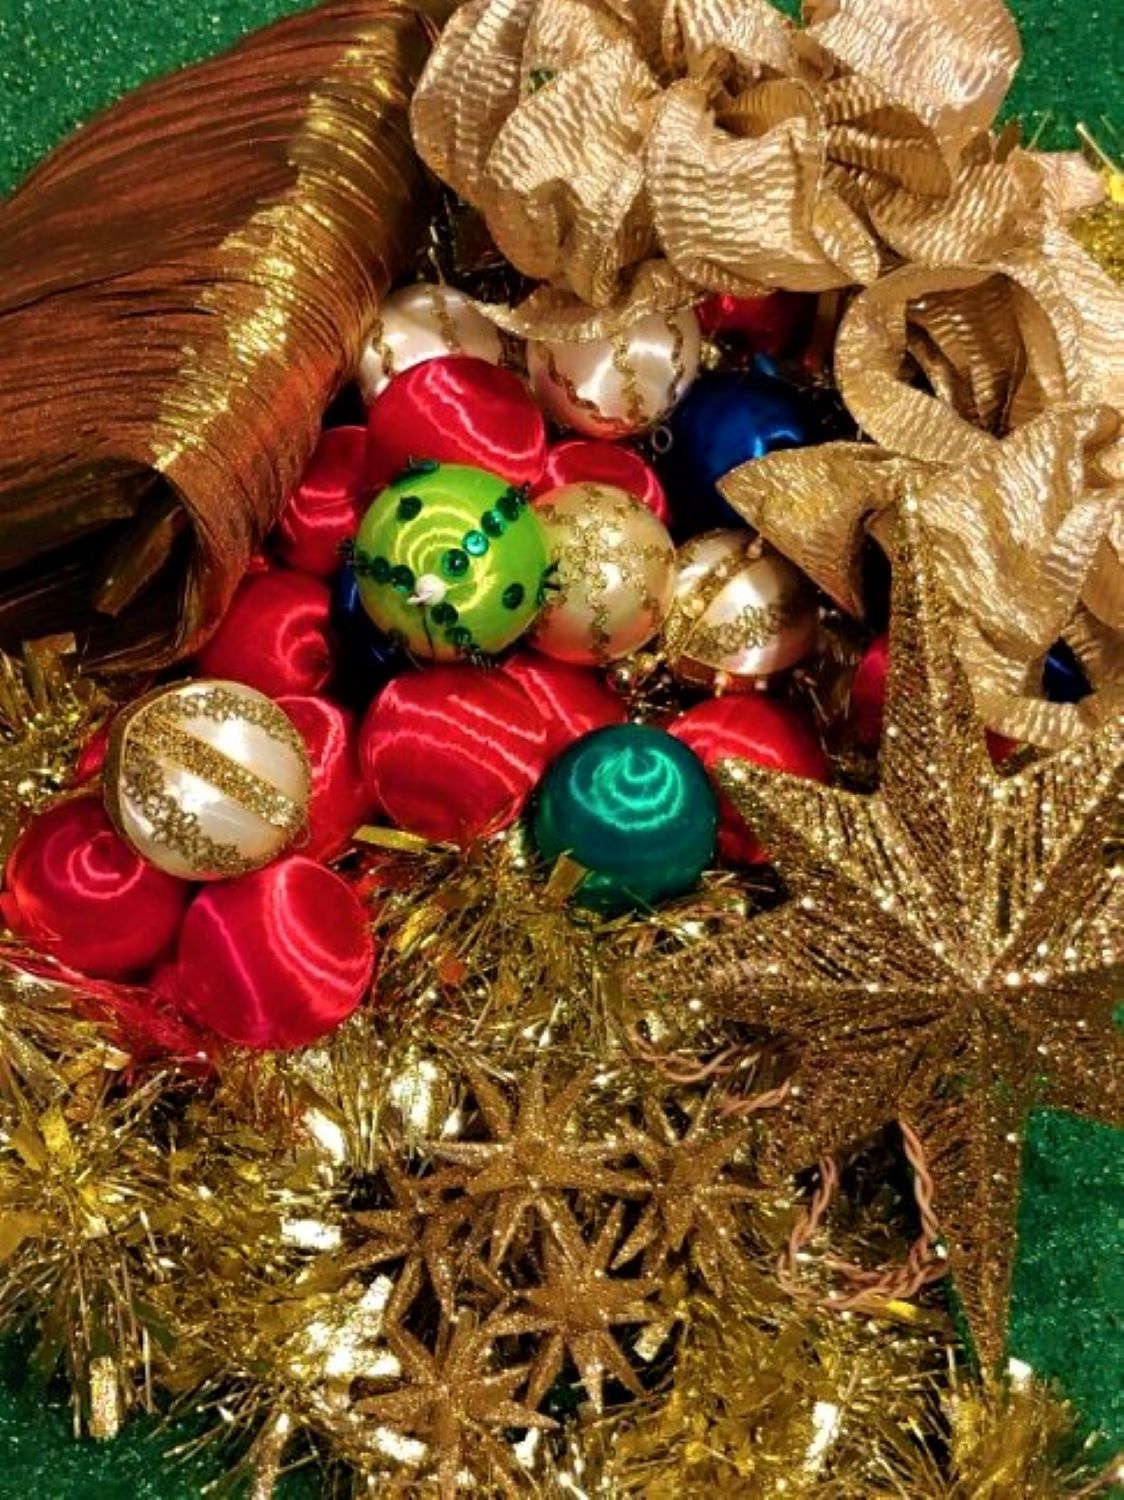
- Gold fabric
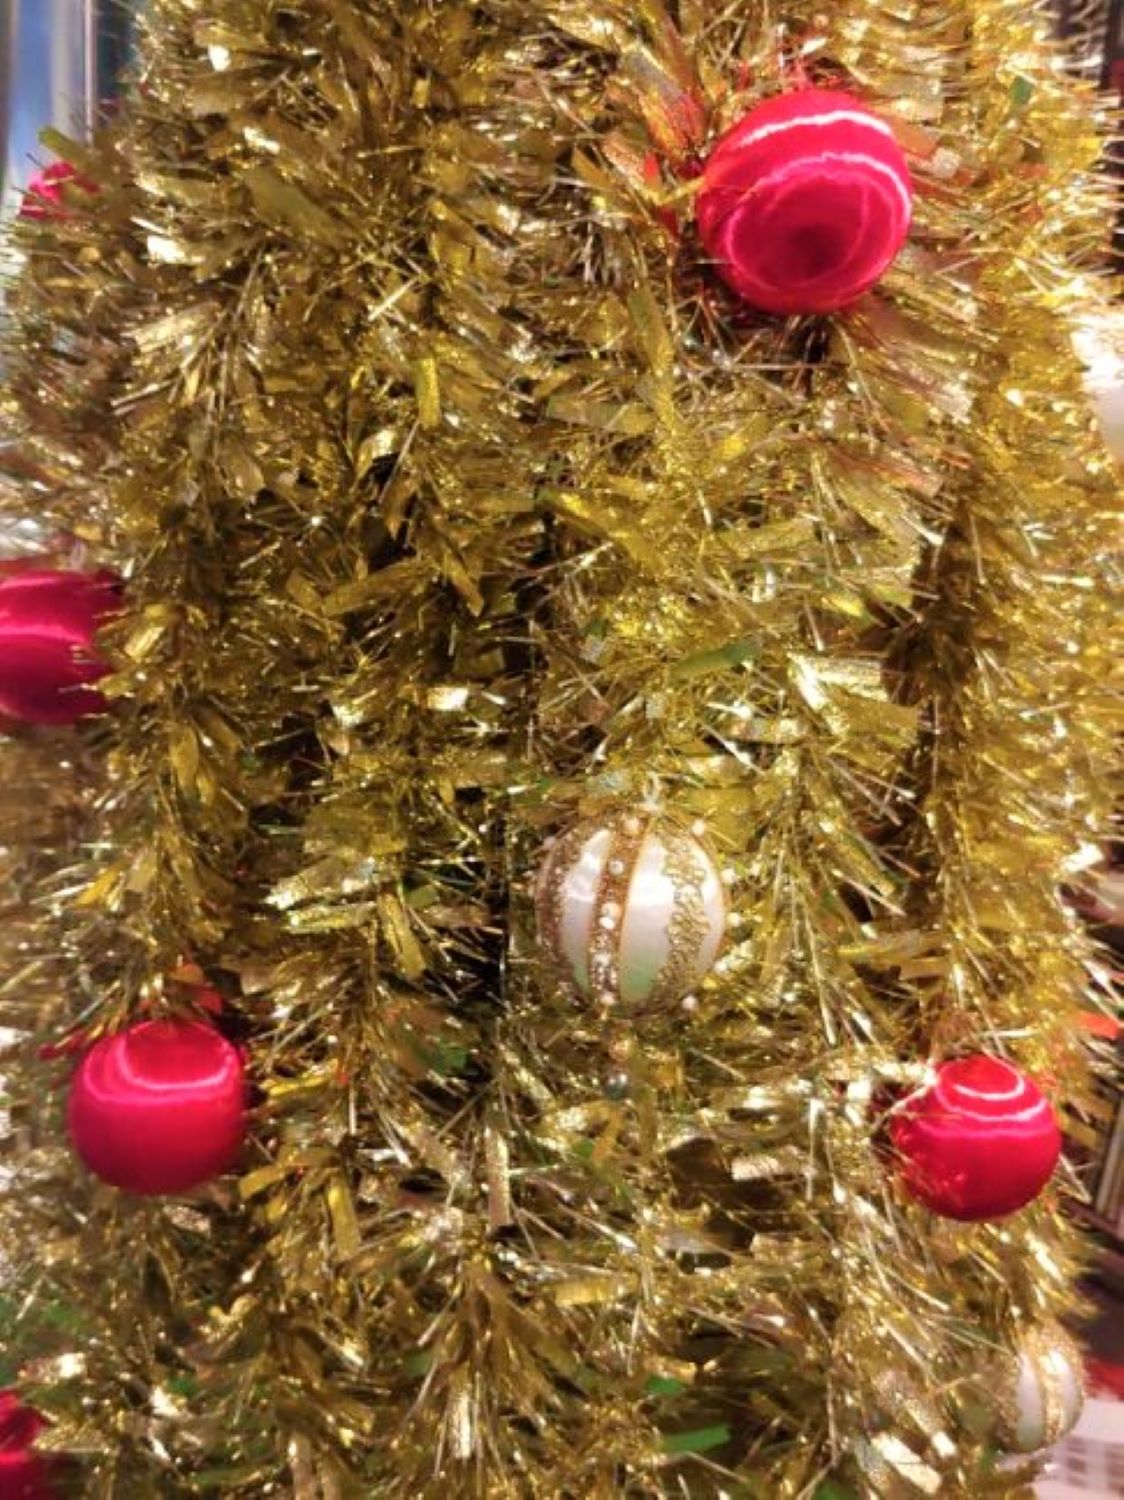
- Gold tinsel
- Satin Christmas balls in various colors
- Gold star ornaments
- Wire ornament hooks
- Pre-lit star tree topper
- 3″ – 4″ wide, wired ribbon
- Straight pins
- Statement necklace (if desired)
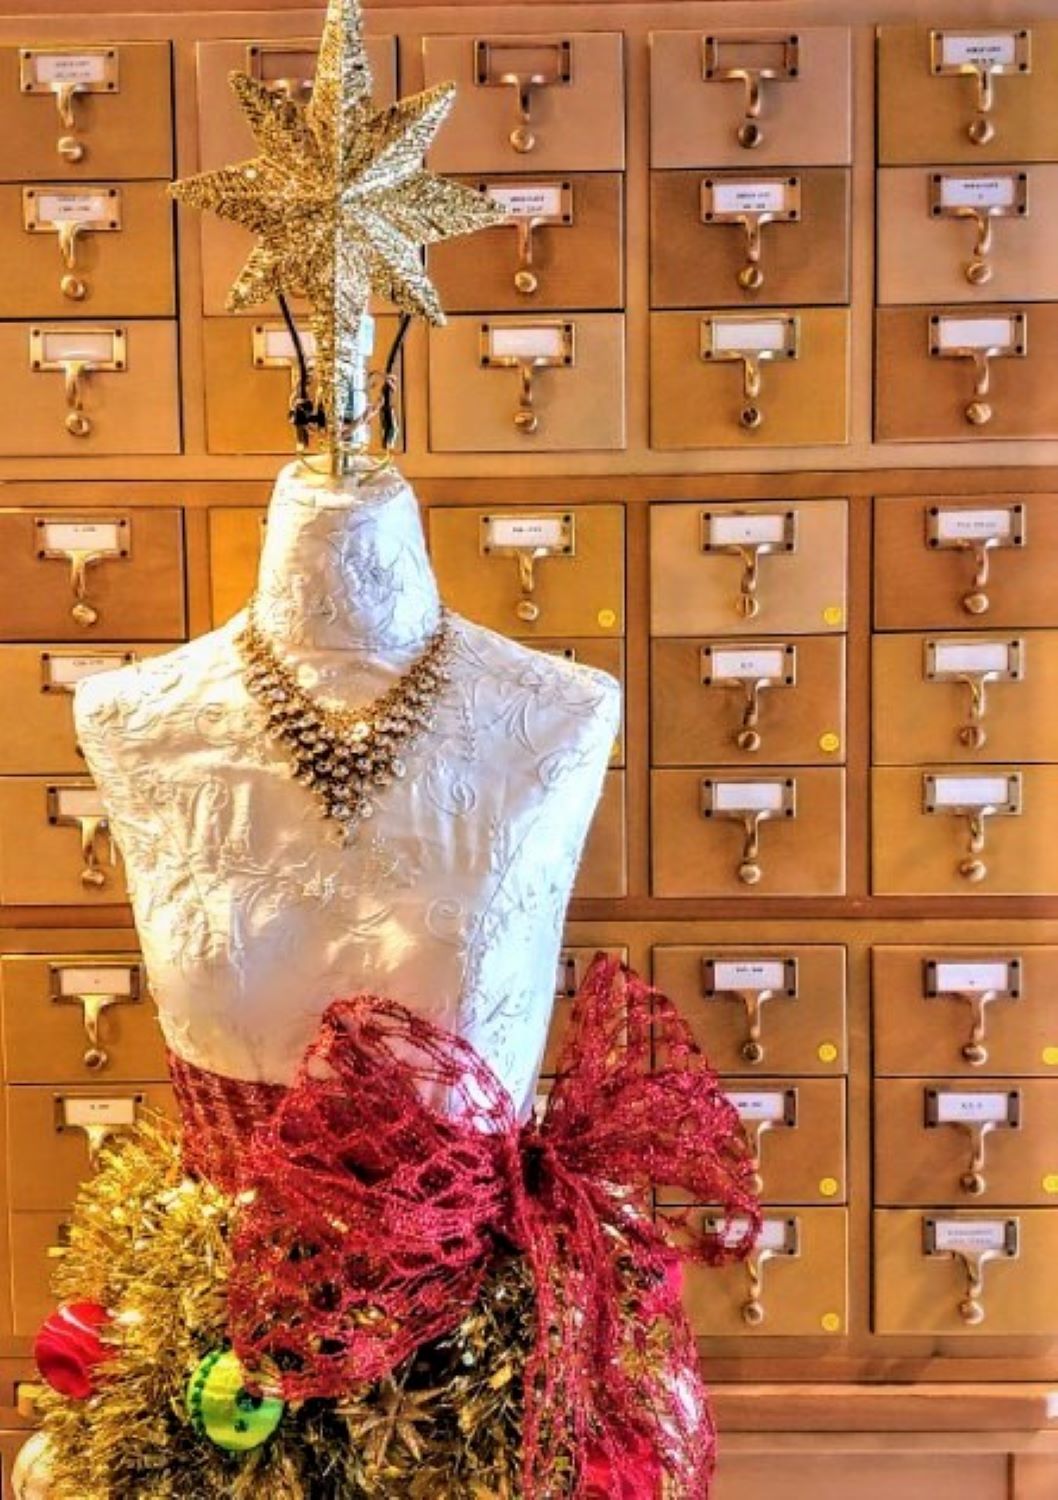
Originally, I intended to use additional gold bows to create the “skirt,” however, they seemed to overwhelm her delicate silhouette, so I went without. Again, if you love bows, make an entire skirt out of them, but this holiday incarnation only features a single statement bow. Here are the steps to create a lovely Christmas Tree Gown:
Instructions:
1.Create a theme with your supplies, either based on color or style. This will give you direction when putting it all together. Feel free to leave things out, but give yourself room to play, adjust and improvise.
2. Start with a “base” of fabric, if possible, to give the skirt body and substance. Fold in half, if necessary, to the desired length (Have space for a ball gown? Take it all the way to the floor!), and pin in place just below the waist. It should look similar to a loose-fitting pencil skirt if you’re keeping it simple.

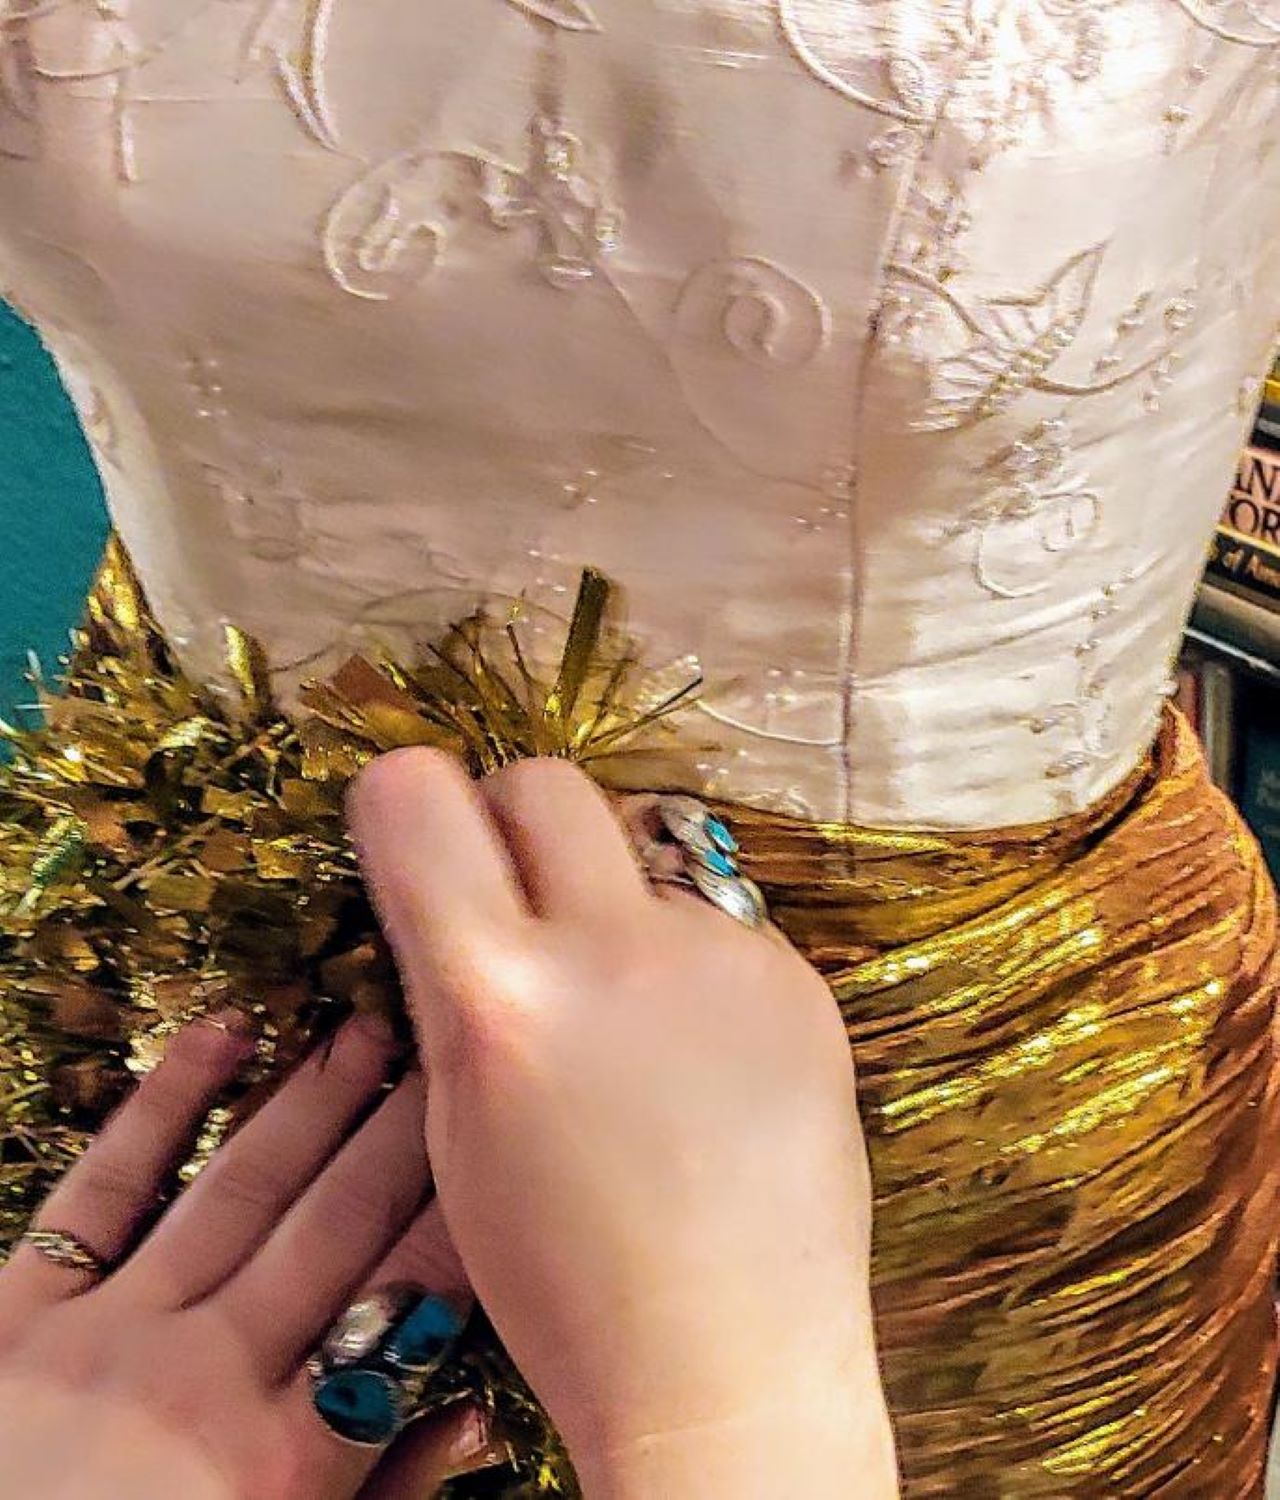
3. Next start pinning the tinsel to the fabric around the waistline. The fabric underneath will fill in any gaps, but try to cascade the tinsel so it hangs vertically like long fringe. I left mine uncut at the bottom, but for a totally even line, feel free to trim! You could also add additional layers for more fullness! *If you are working with a mannequin or wooden form that doesn’t allow you to use straight pins, you can absolutely use hot glue for steps 2-3, just be careful and take your time.
4. Once you’ve pinned your layers enough to feel secure, now comes the best part: adding your ornaments and baubles! Using wire hooks, you can place ornaments wherever you’d like in the tinsel by pinching the top of the hook around the tinsel to keep it in place. *The heavier your ornaments, the more secure your tinsel should be attached. (If you’re using garlands, you might consider breaking out your trusty staple gun!)
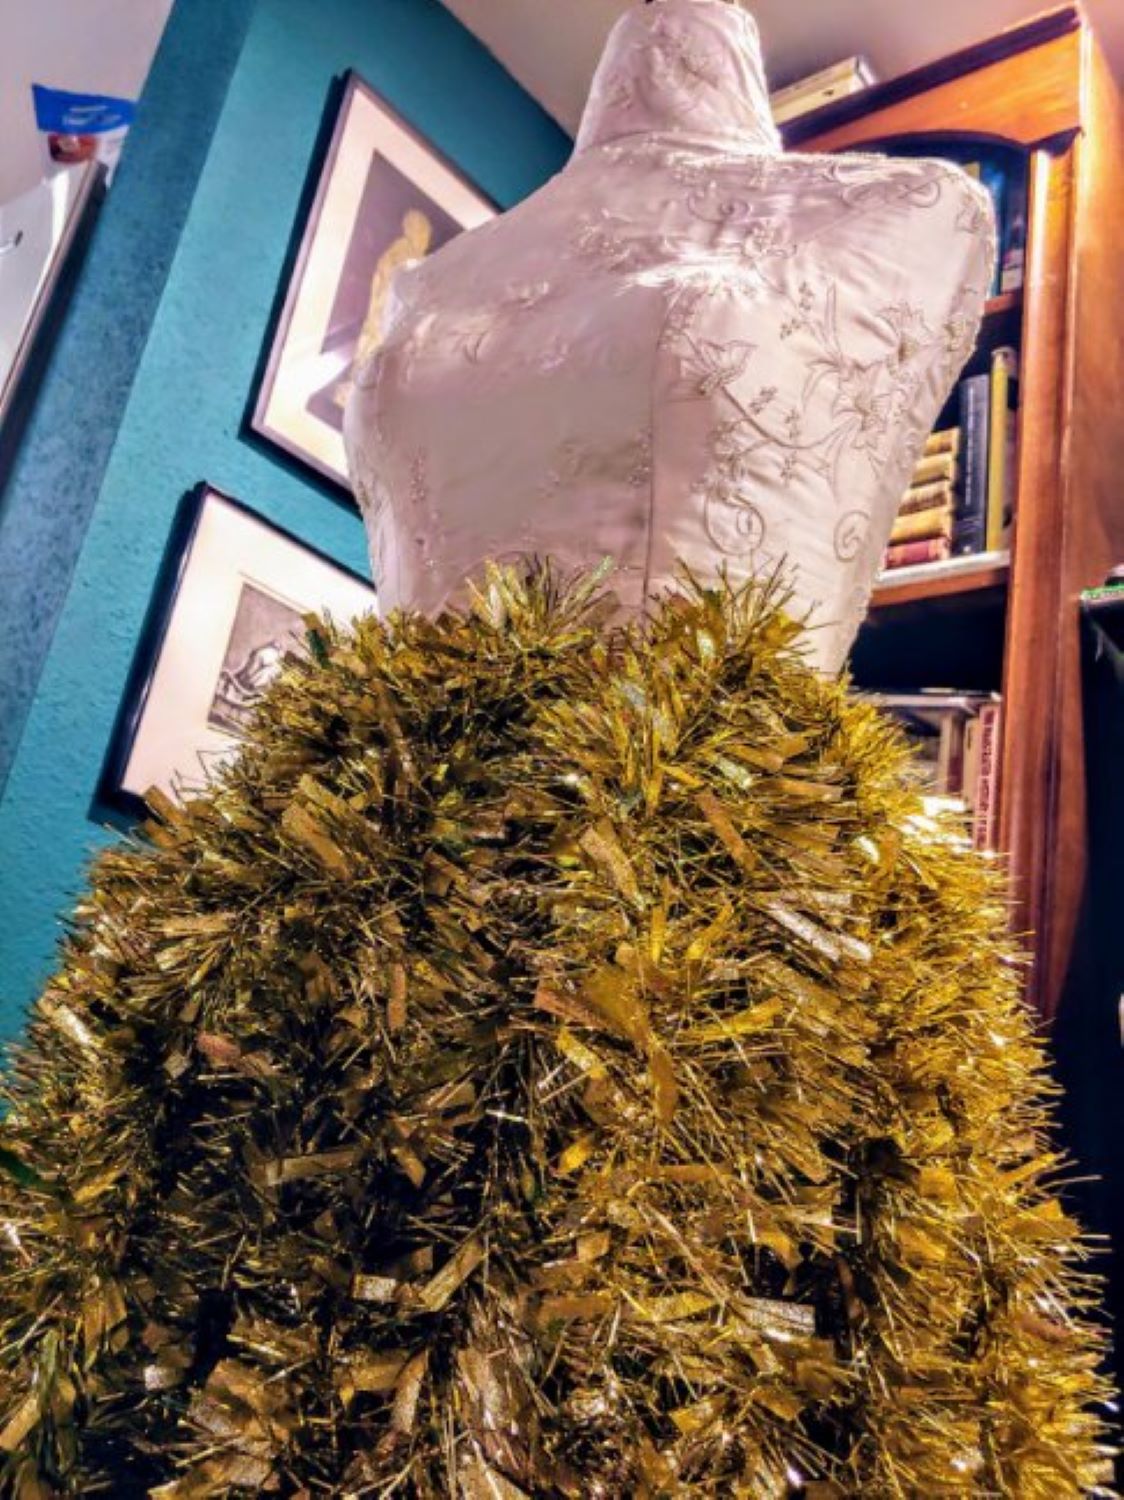
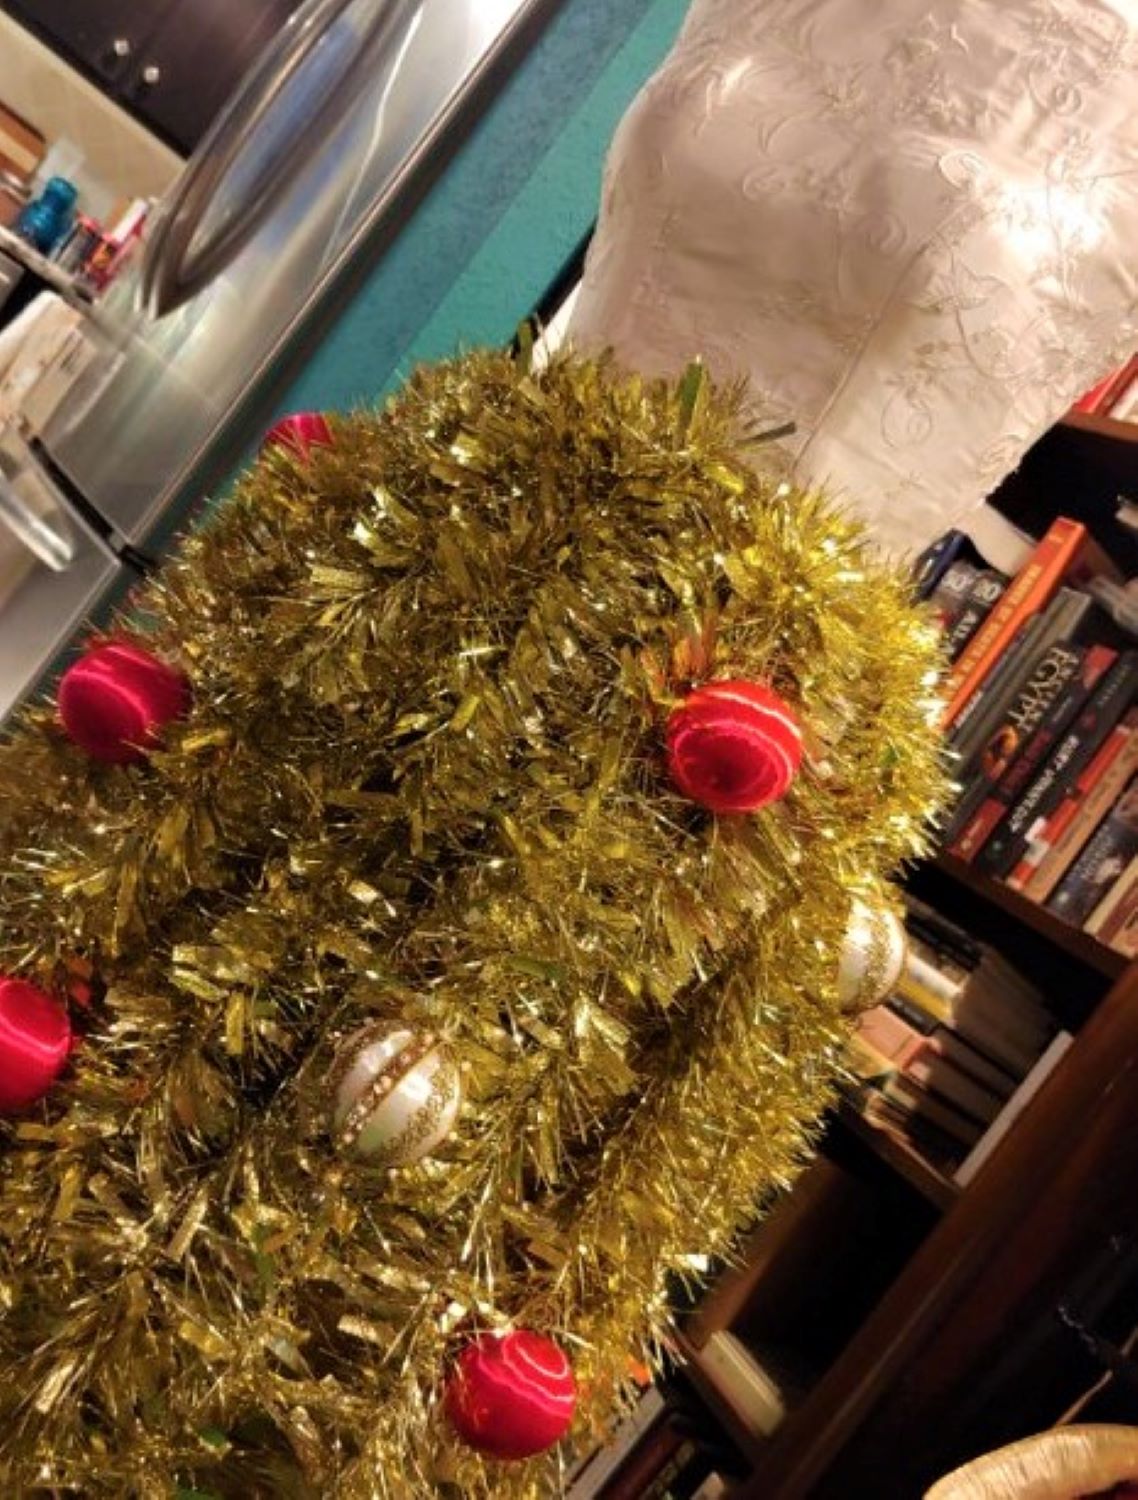
5. Finally, using wide, wired ribbon, accentuate her “waist” with a beautiful bow-belt! Make a simple knot, tied tightly, and create a big bow in the middle, or off to one side.
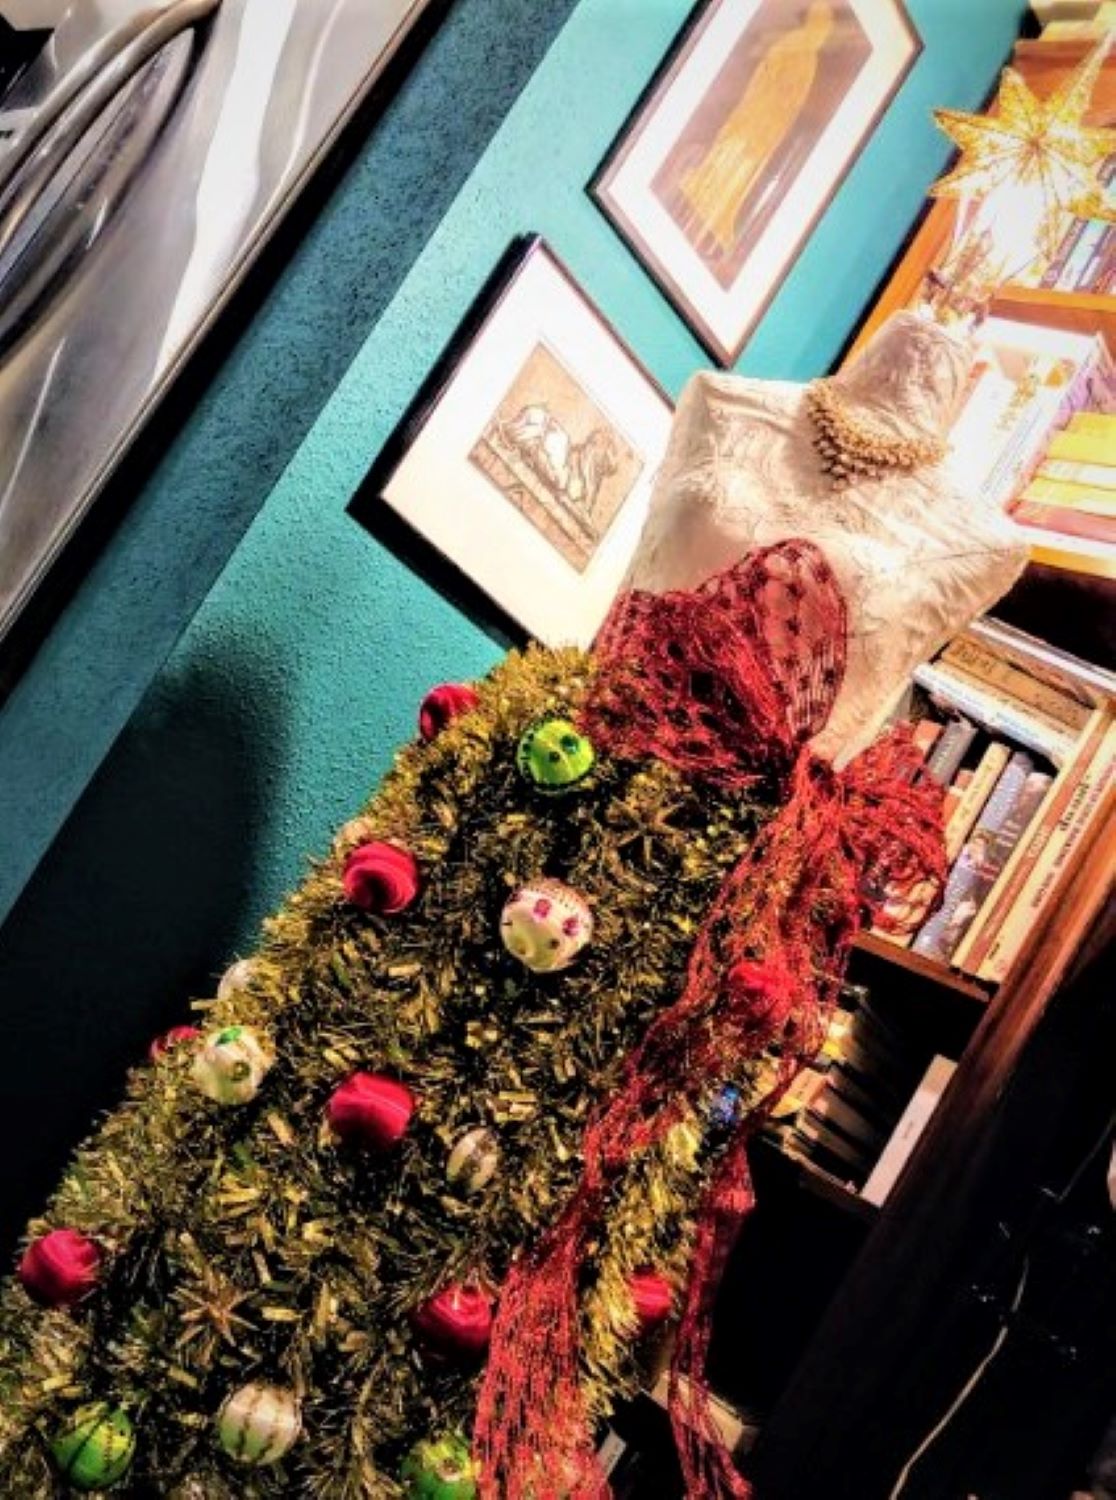
Once you’ve created the basic shape, feel free to add anything else you’d like! Necklace(s), epaulets, a tree topper, brooches, faux fur, photos of loved ones, or Christmas postcards; anything that inspires you! I adore this Christmas DIY, it’s so simple, fun and festive! Perfect for small spaces, and so easy to customize!
Have you made a Christmas Gown this year or in the past? What did you or what would you add??
Let’s Stay Friends!
Insta | Pinterest | Enews | TikTok


