Craft in Style Subscription Instructions, DIY
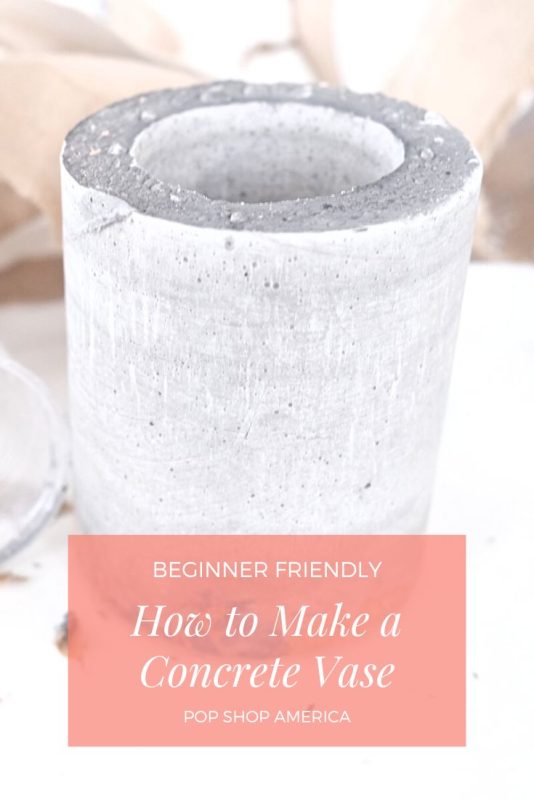
How to Make a Concrete Vase
This blog is the Part 1 of 2 tutorials for the February Craft in Style Subscription Box. You can find the additional tutorial for February, previous box tutorials, more about this box, and other Craft in Style Boxes here.
Everyone loves flowers, right? Then here’s a beautiful way to display all your favorite flowers with something that you can make yourself!
This concrete vase is simple, easy, modern and totally stylish.
Once you understand the basic concept of how to make it, you could customize it in lots of different ways.
First of all, you could paint it – use acrylic paint in any colors you like. You could use gold gilding to give it a pop of metallic shine. Second, you could make a vase in lots of different shapes.
I chose this cylinder shape because it’s beginner friendly and still beautiful. But you could use something different as your mold, like these Geometric Shaped Molds. Are you excited yet? Let’s make it!
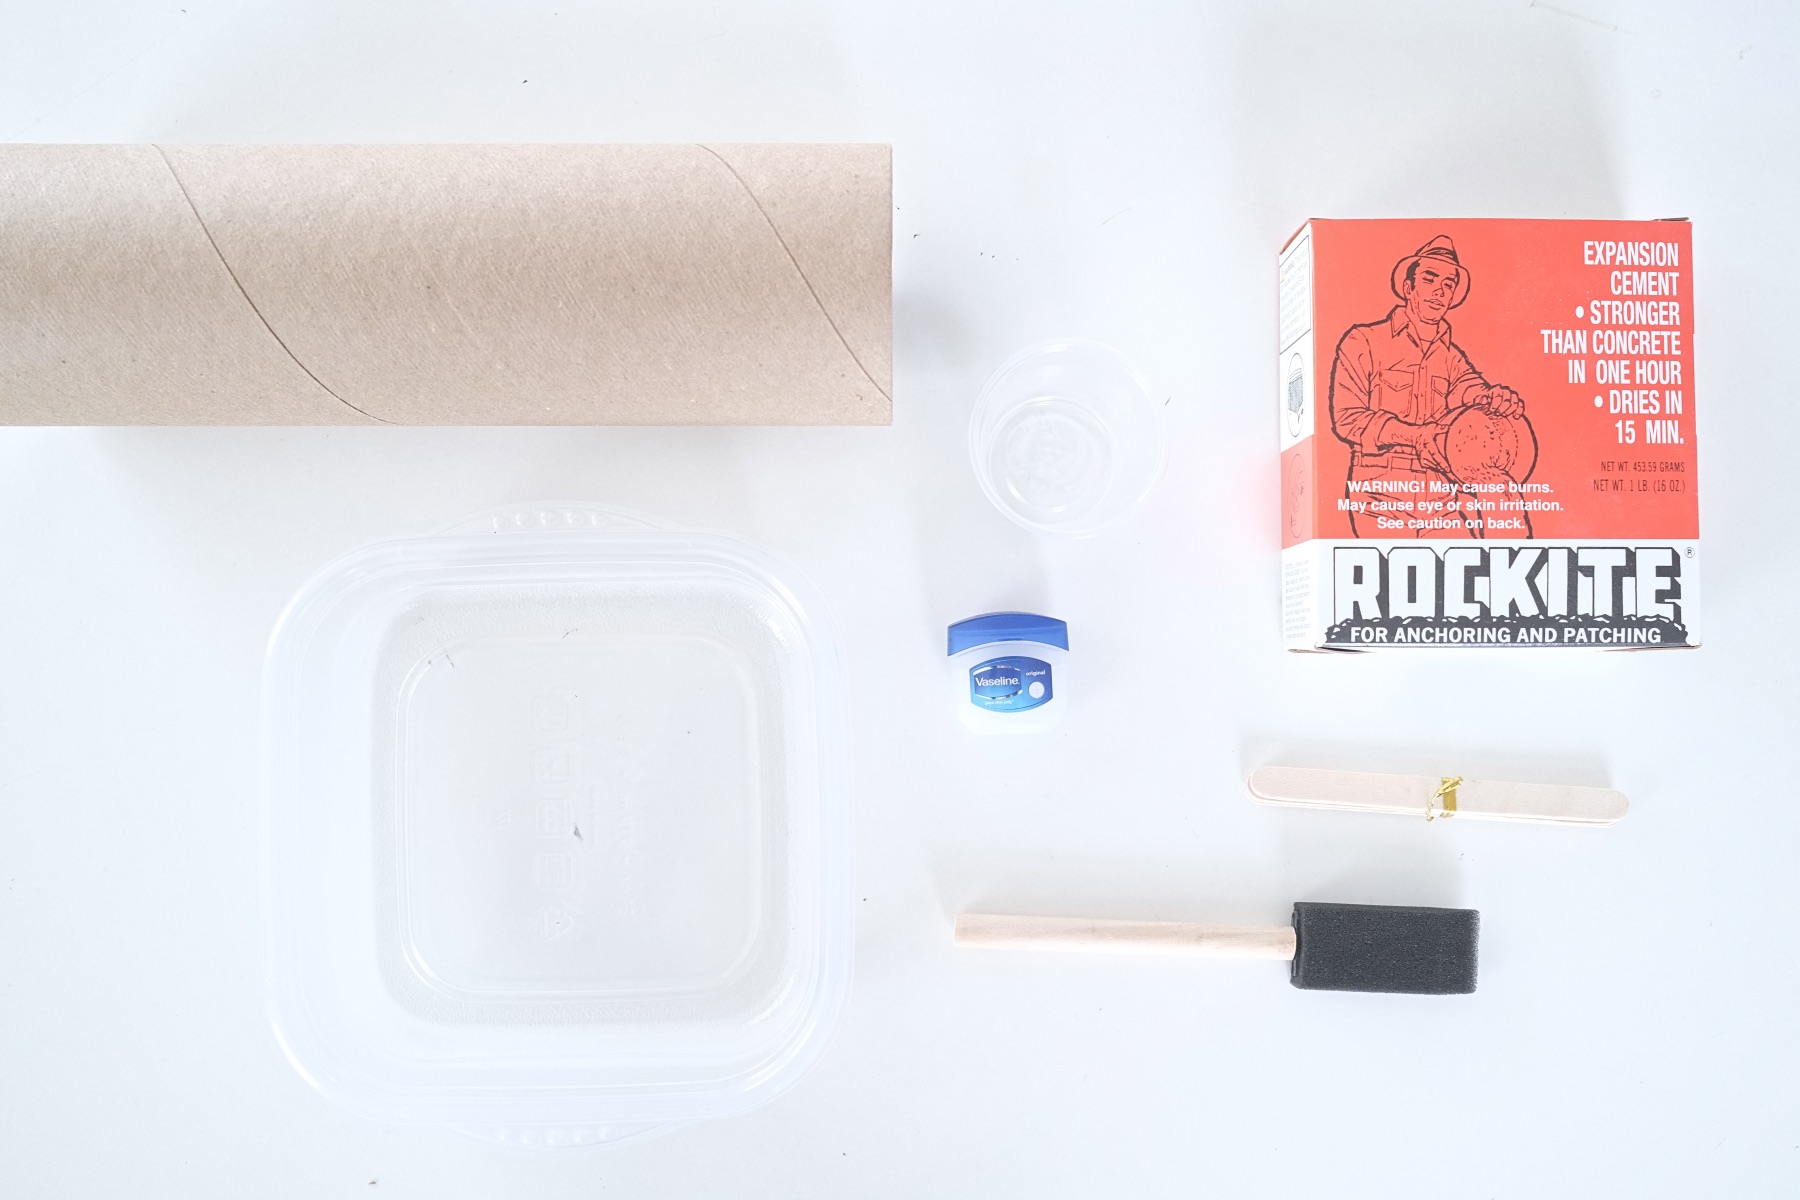
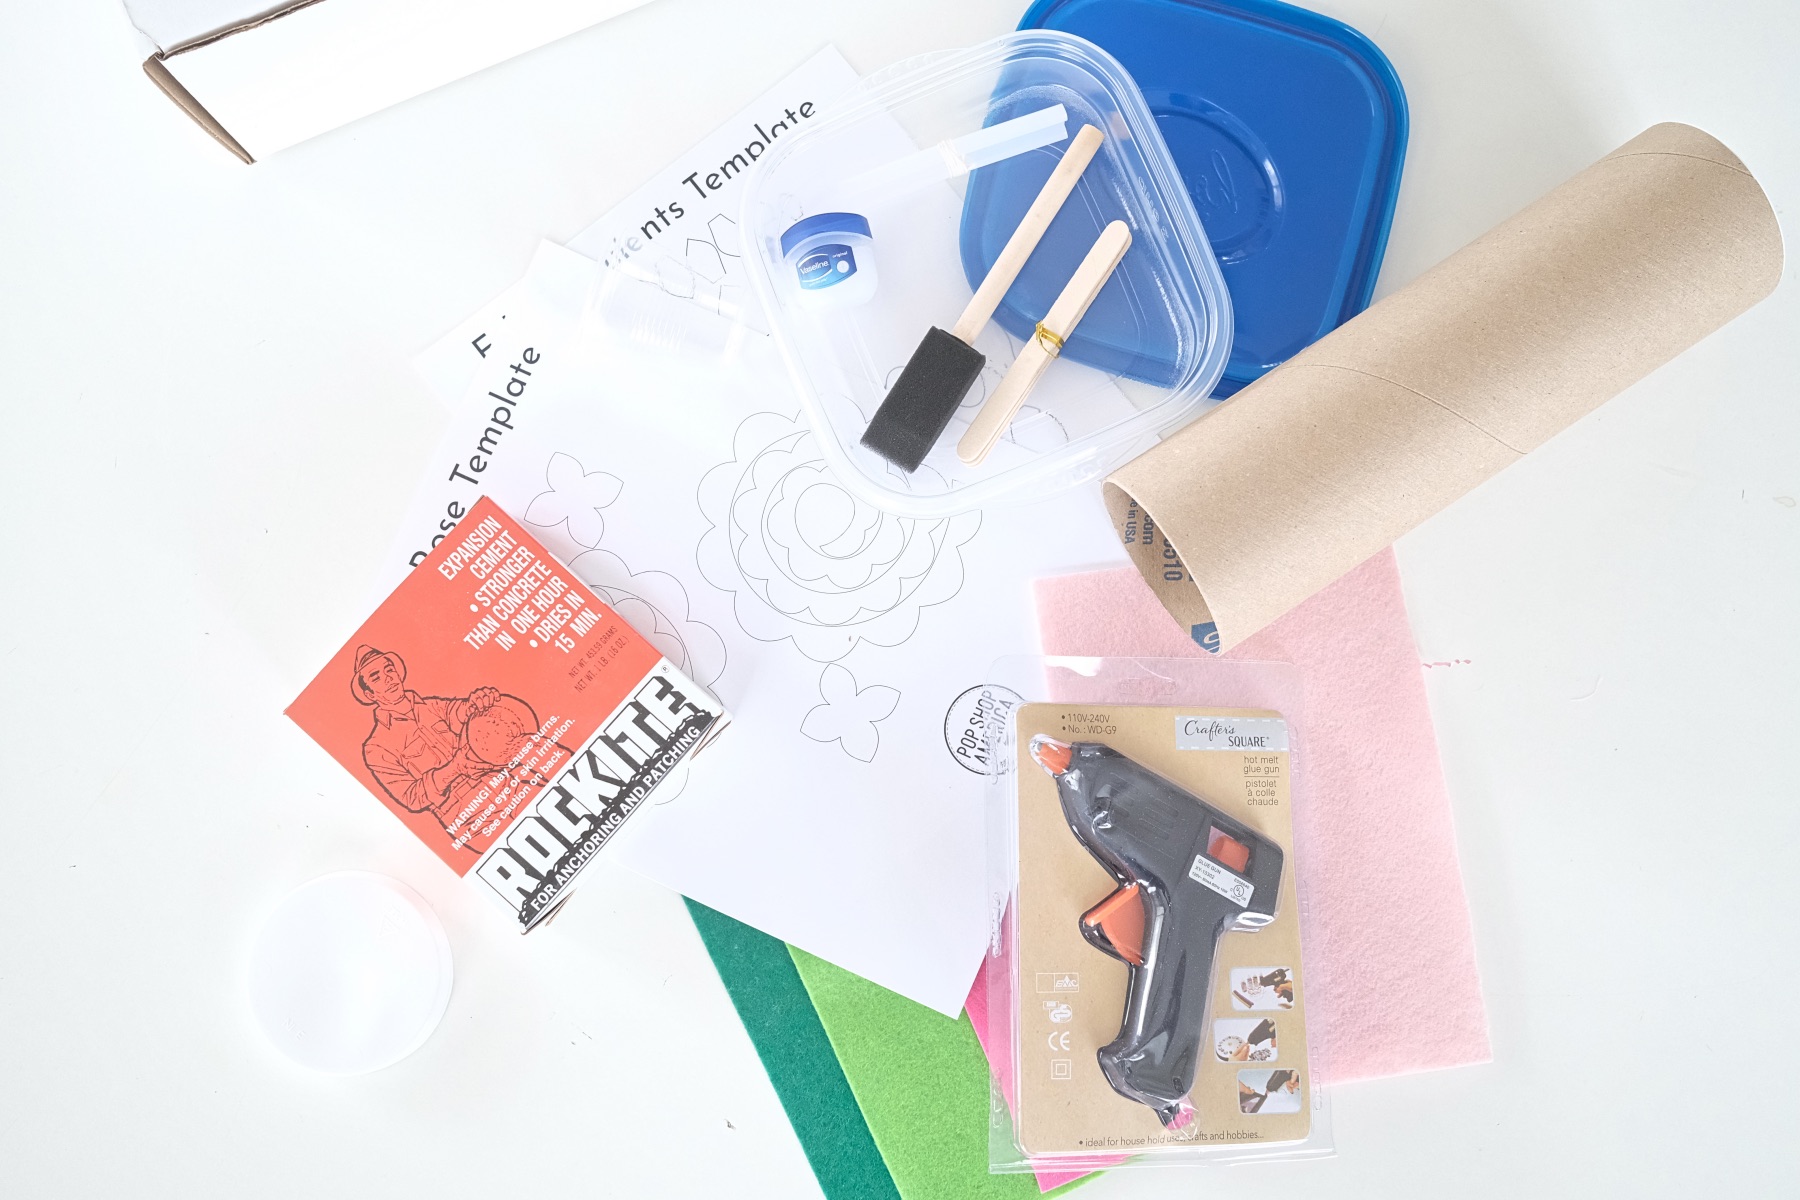
Supplies to Make a Concrete Vase
February Craft in Style Subscription Box
-or-
1 Lb. Rockite Concrete Powder
1 Mailing Tube with a 3 Inch Opening
1 Bathroom Sized Paper or Plastic Cup
1 Bowl or Plasticware
Vaseline or Oil
Popsicle Sticks
Foam Brush
Water
Sandpaper
Step 1: Prep Your Mailing Tube
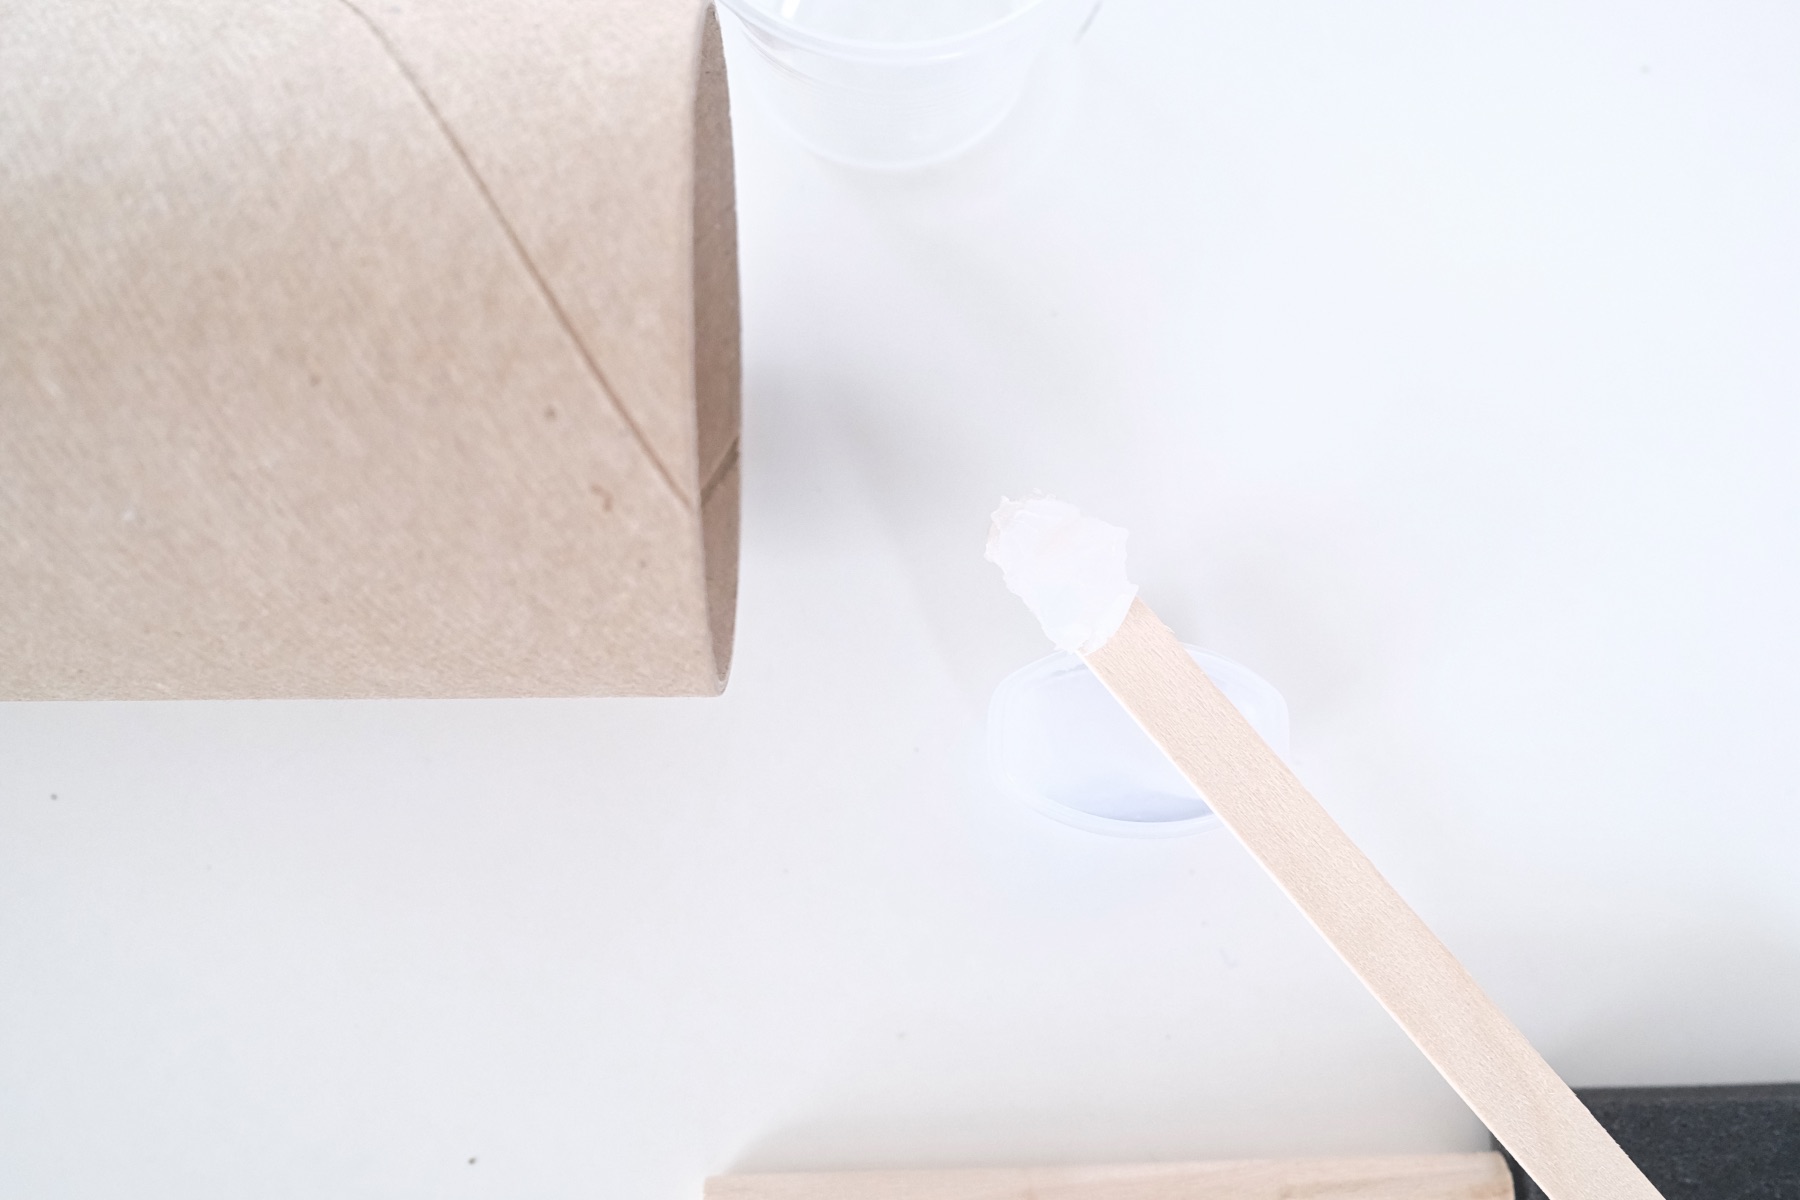
To get started, prep your mailing tube to get it ready to add the concrete. To prep it you must do 2 things.
First, cut the mailing tube to around 5 inches tall. If you are using the Pop Shop America kit, this will be about half its height. This will make it slightly taller than what you need when you add 1 lb. of concrete. To cut the mailing tube, use a kitchen knife or box cutter. Just be careful when you cut!
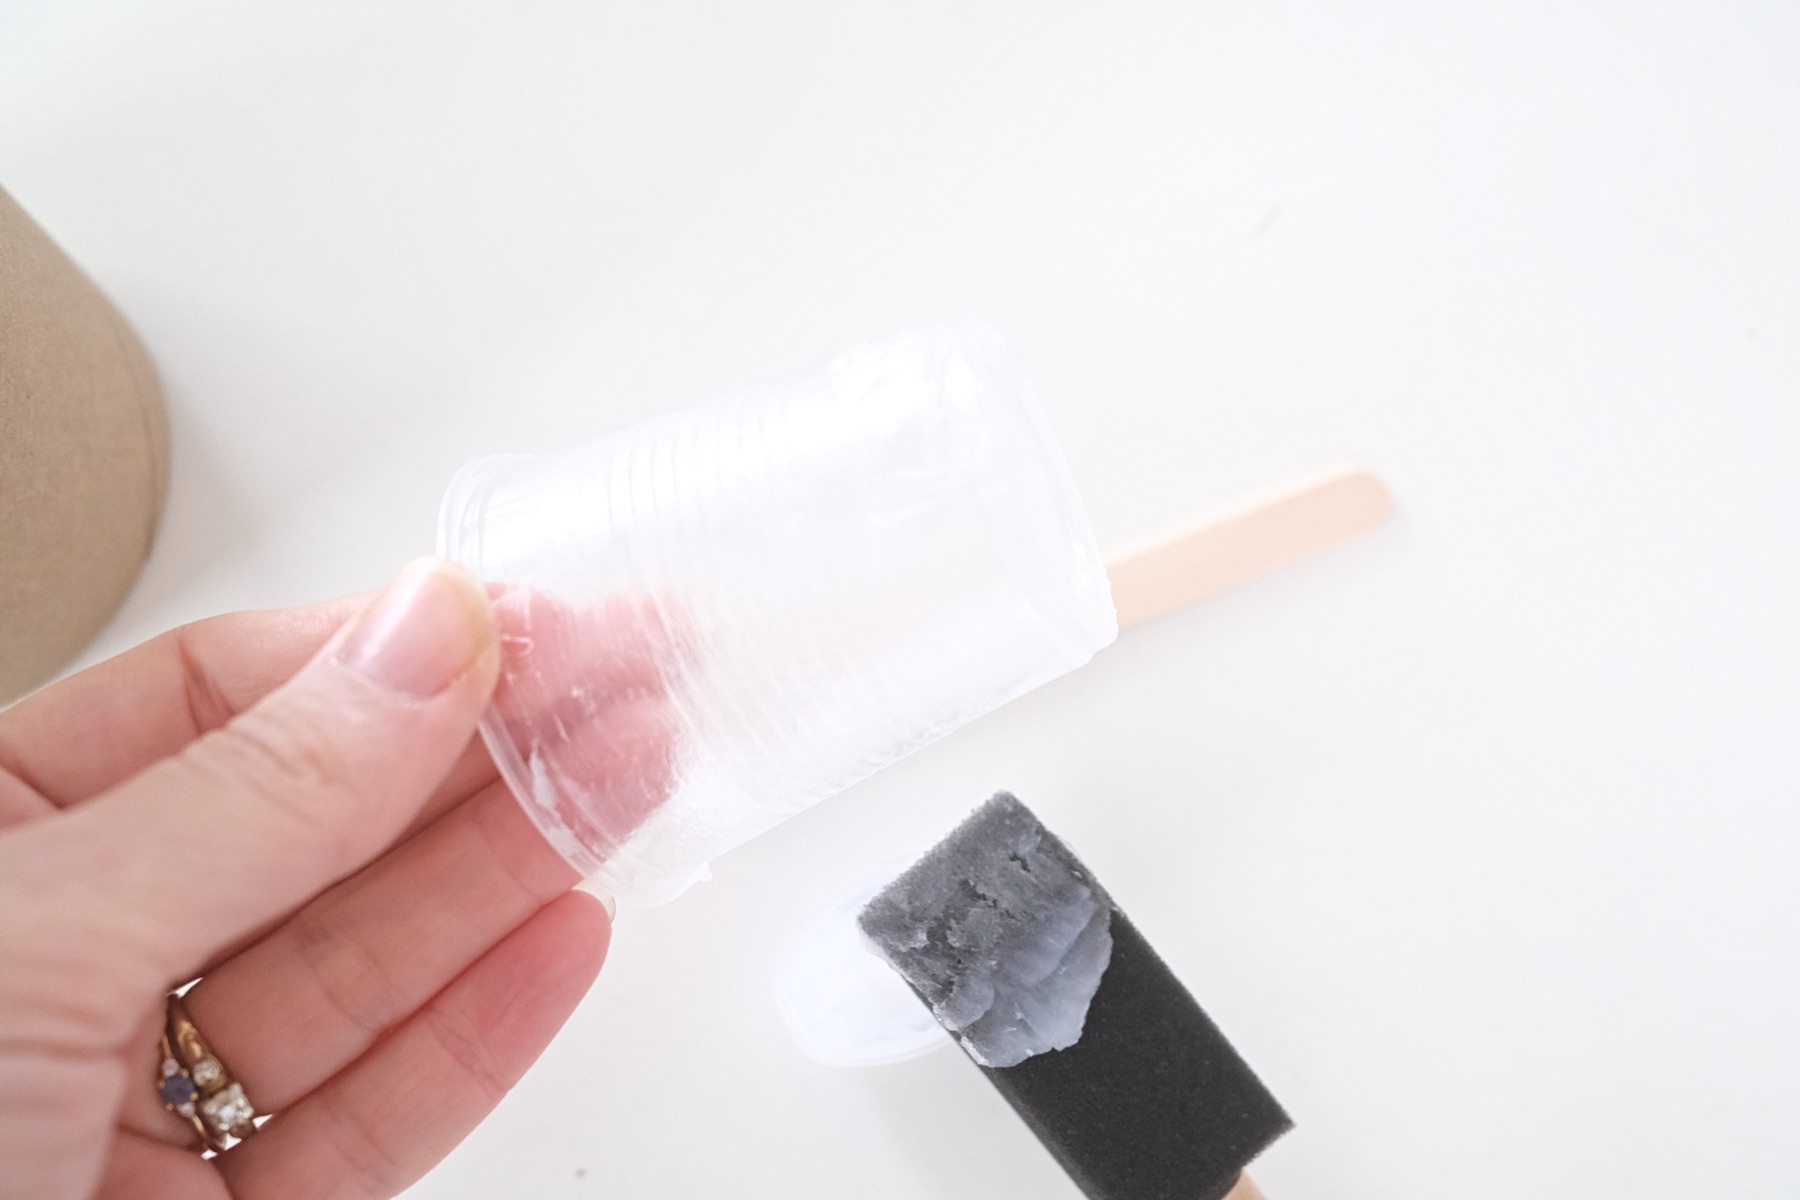
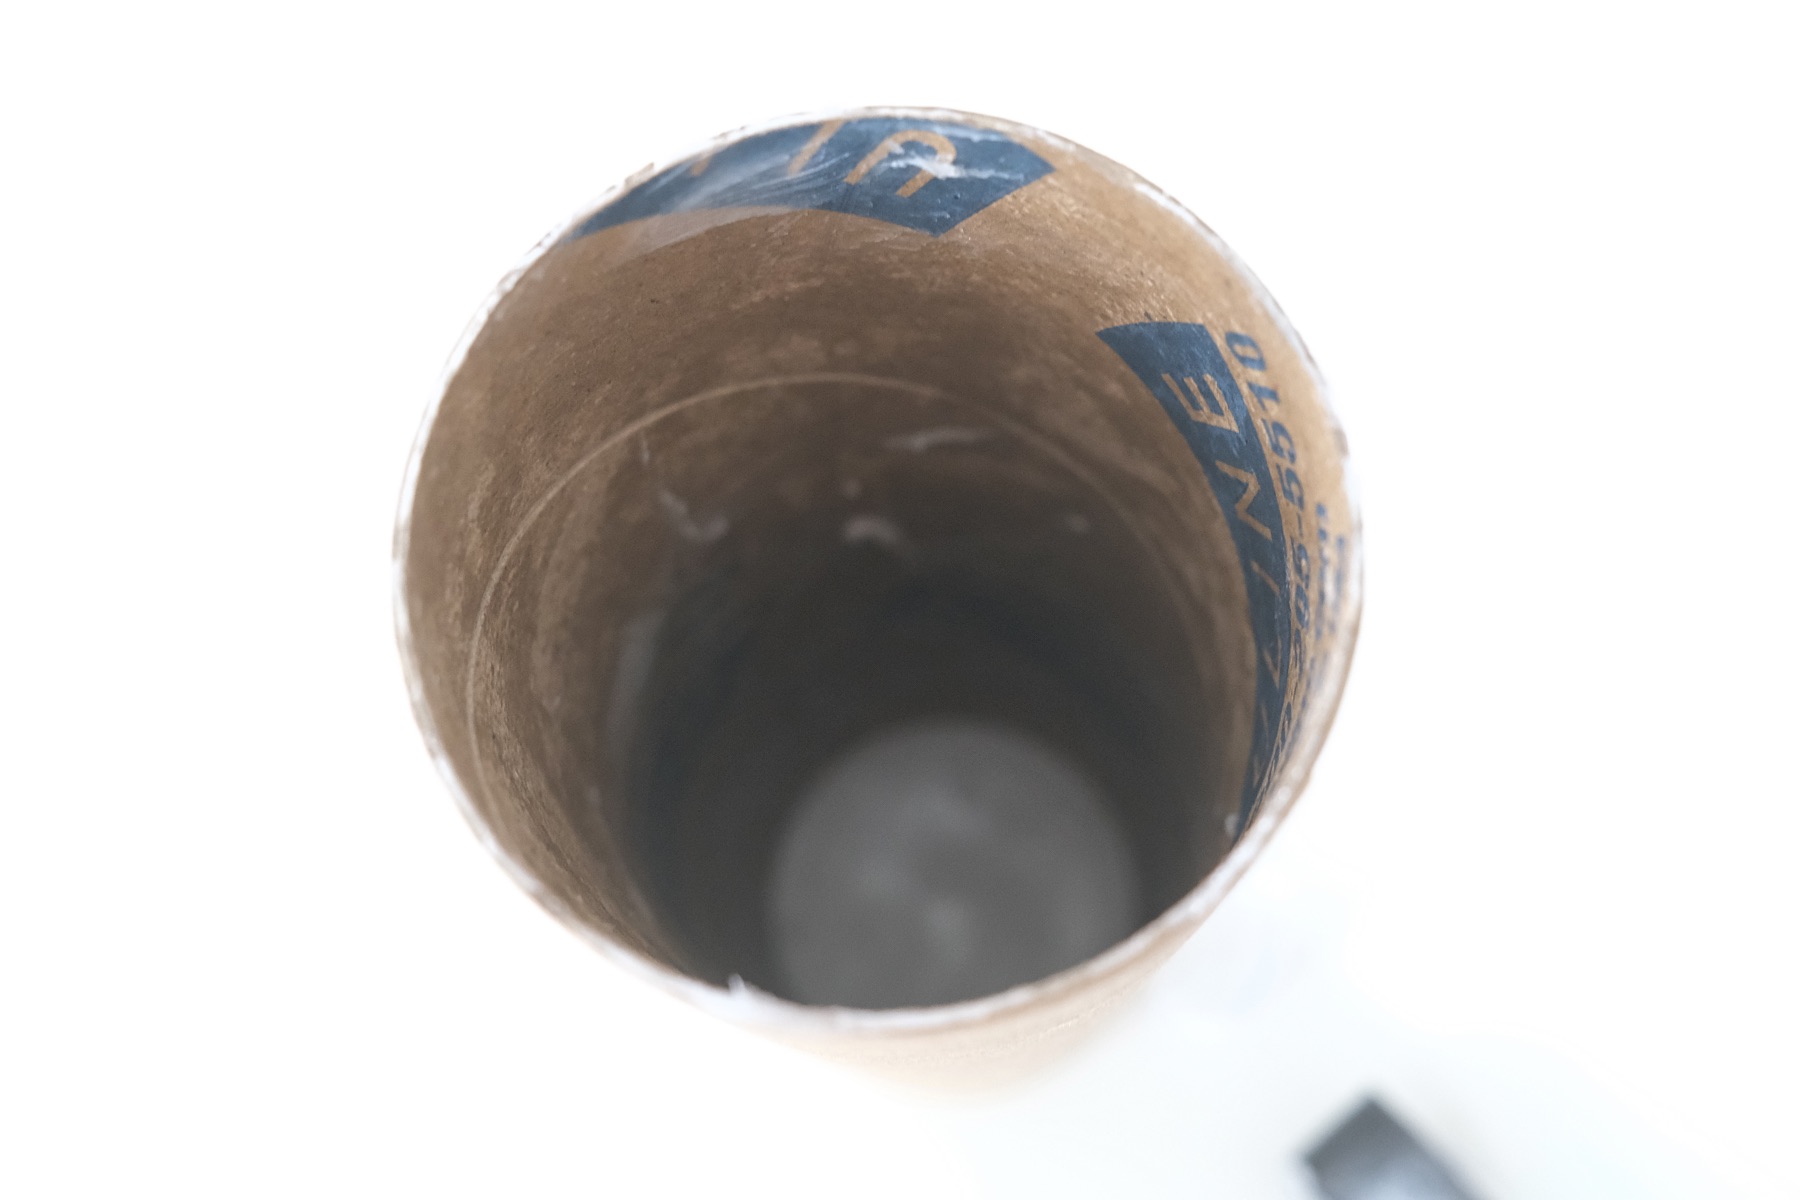
Next, coat the inside of the mailing tube with Vaseline. Make sure the lid of the mailing tube is on – that will become the bottom of the concrete vase.
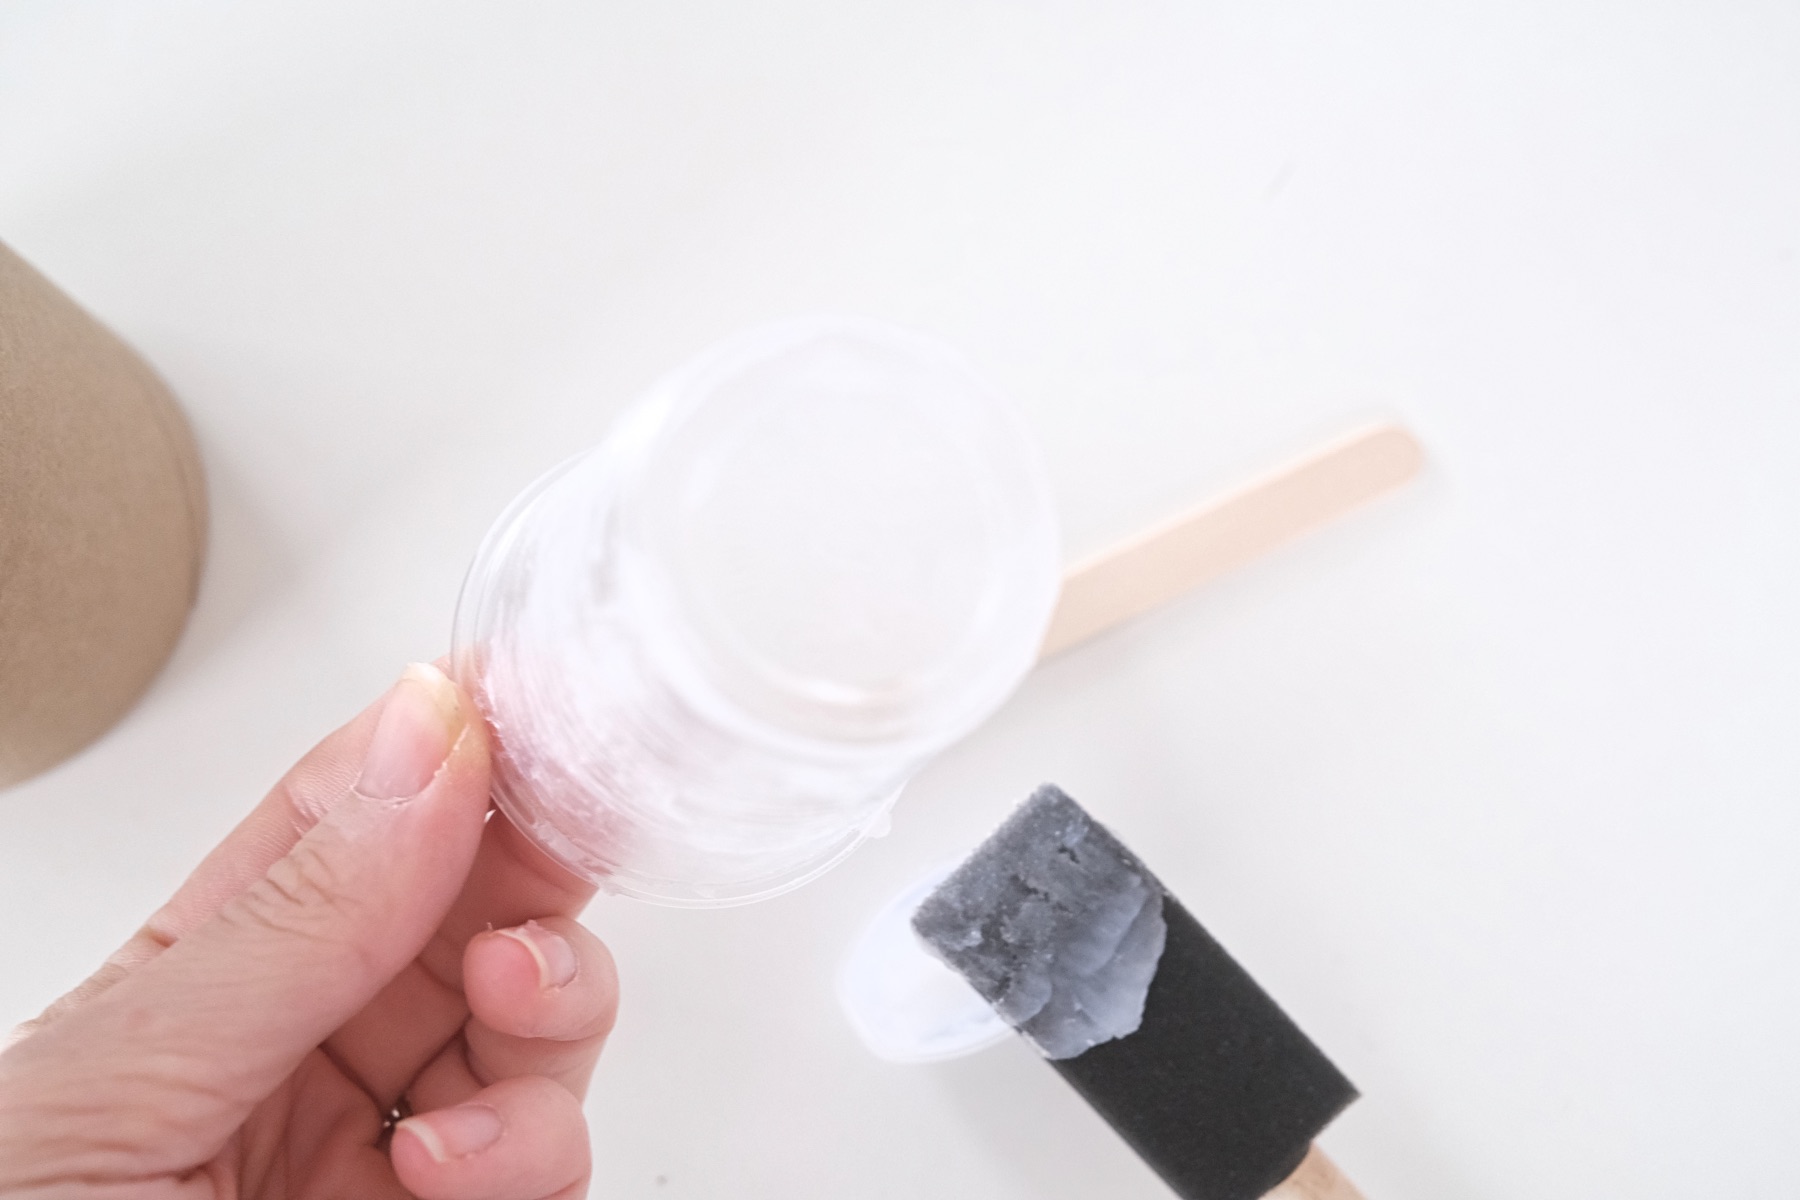
To coat the mailing tube, I used a popsicle stick to scrape out all the Vaseline. Then I used a foam brush to evenly coat a thin layer across the entire inside of the mailing tube including the lid that’s at the bottom.
Why Vaseline?
If you have read any other tutorials about how to make concrete objects with molds, you may see others use kitchen oil – like olive oil or non-stick cooking spray. Those are great alternatives. But I prefer Vaseline for 2 reasons:
1. It’s thick and holds well to any surface. Oil can drip and it can be harder to coat your surface as well because it’s so thin.
2. Oil leaves a stain on concrete. If you choose to use oil or non-stick spray, it’s not the end of the world, since we will use sandpaper at the end to sand the concrete.
Step 2: Mix Your Concrete
When your mailing tube (vase mold) is completely coated with Vaseline, get ready to mix and pour your concrete! You will want to do these steps together quickly.
Concrete sets fast. So make it your goal to have the concrete poured within 5 minutes of mixing it.
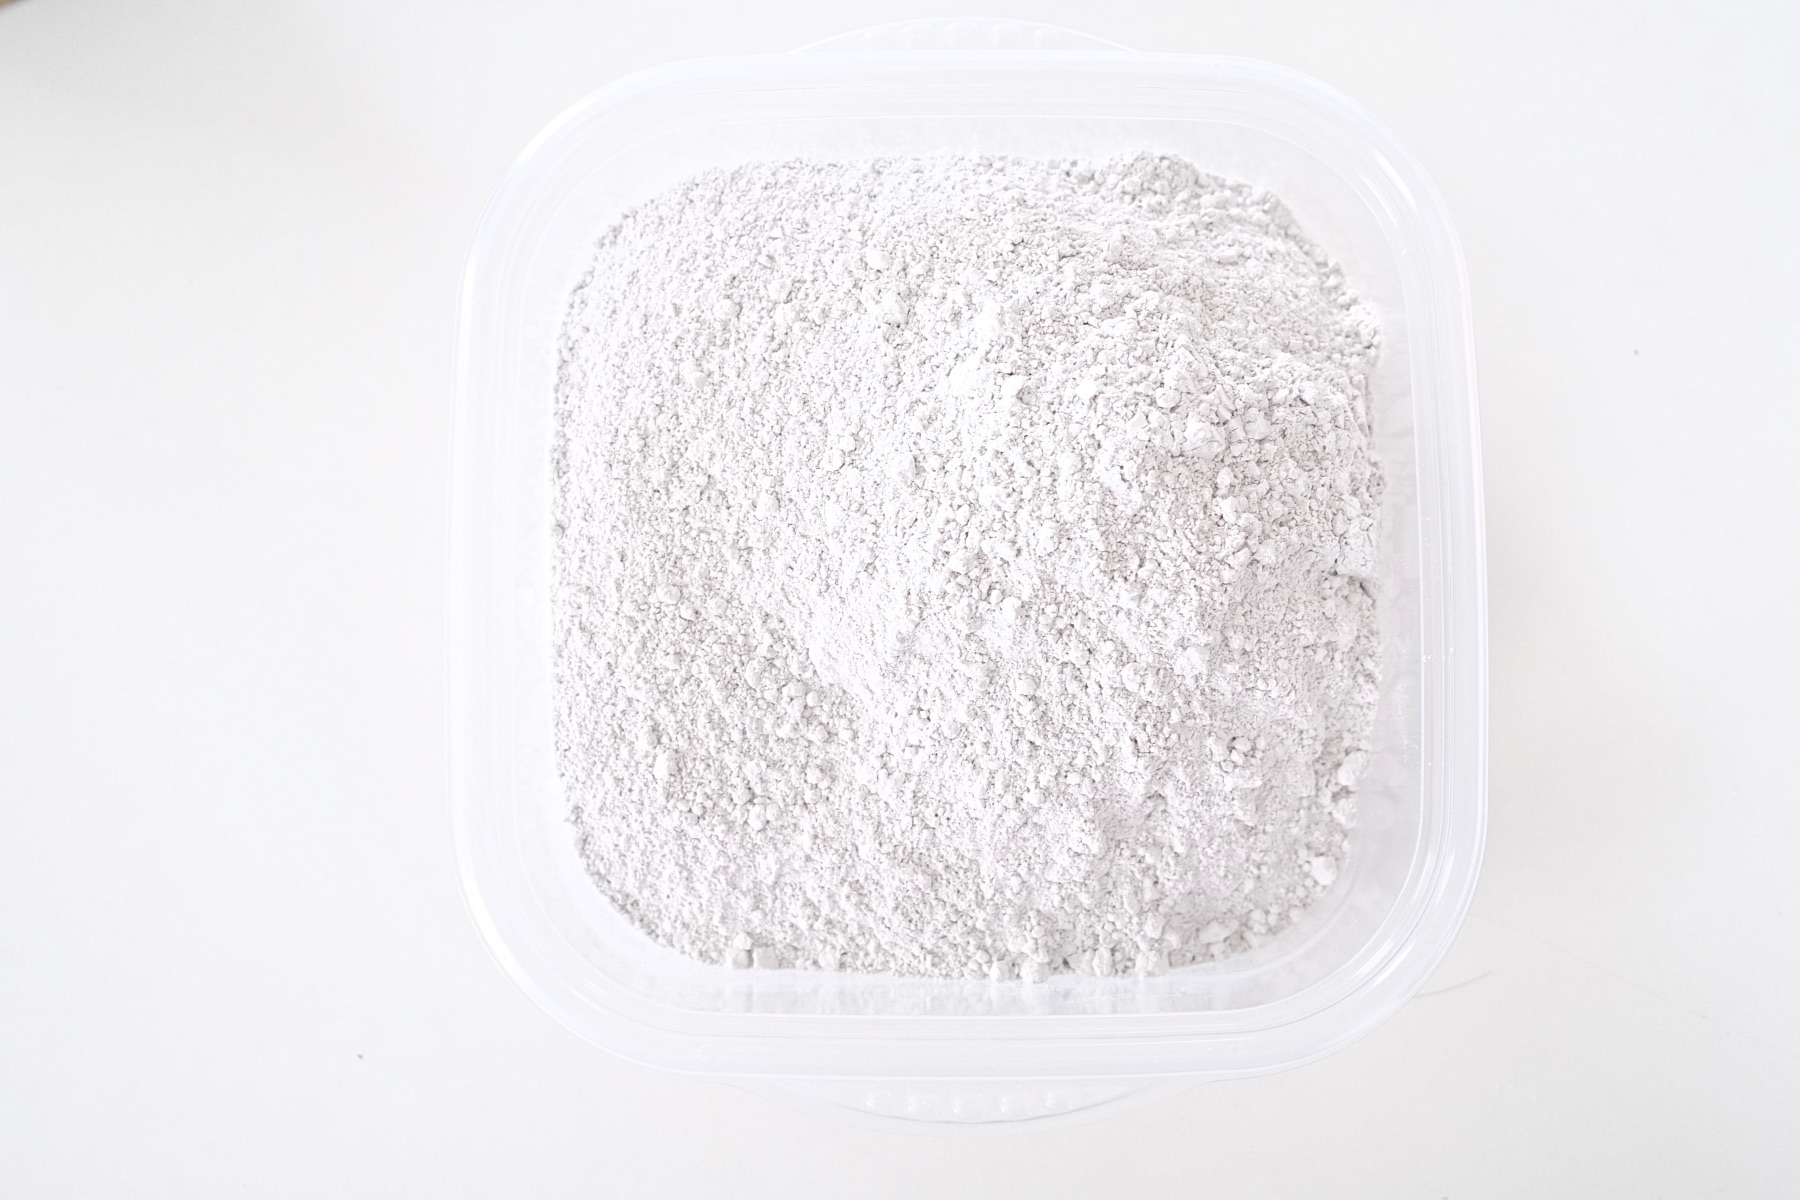
To mix concrete, pour it in any disposable or cleanable container. Plasticware is best. And if you want to reuse the plasticware, go ahead and clear out your sink or better yet, use an outdoor hose.
Once your dry concrete is in the plasticware, get a popsicle stick ready. As an alternative, you could use a plastic spoon or a paint stir stick.
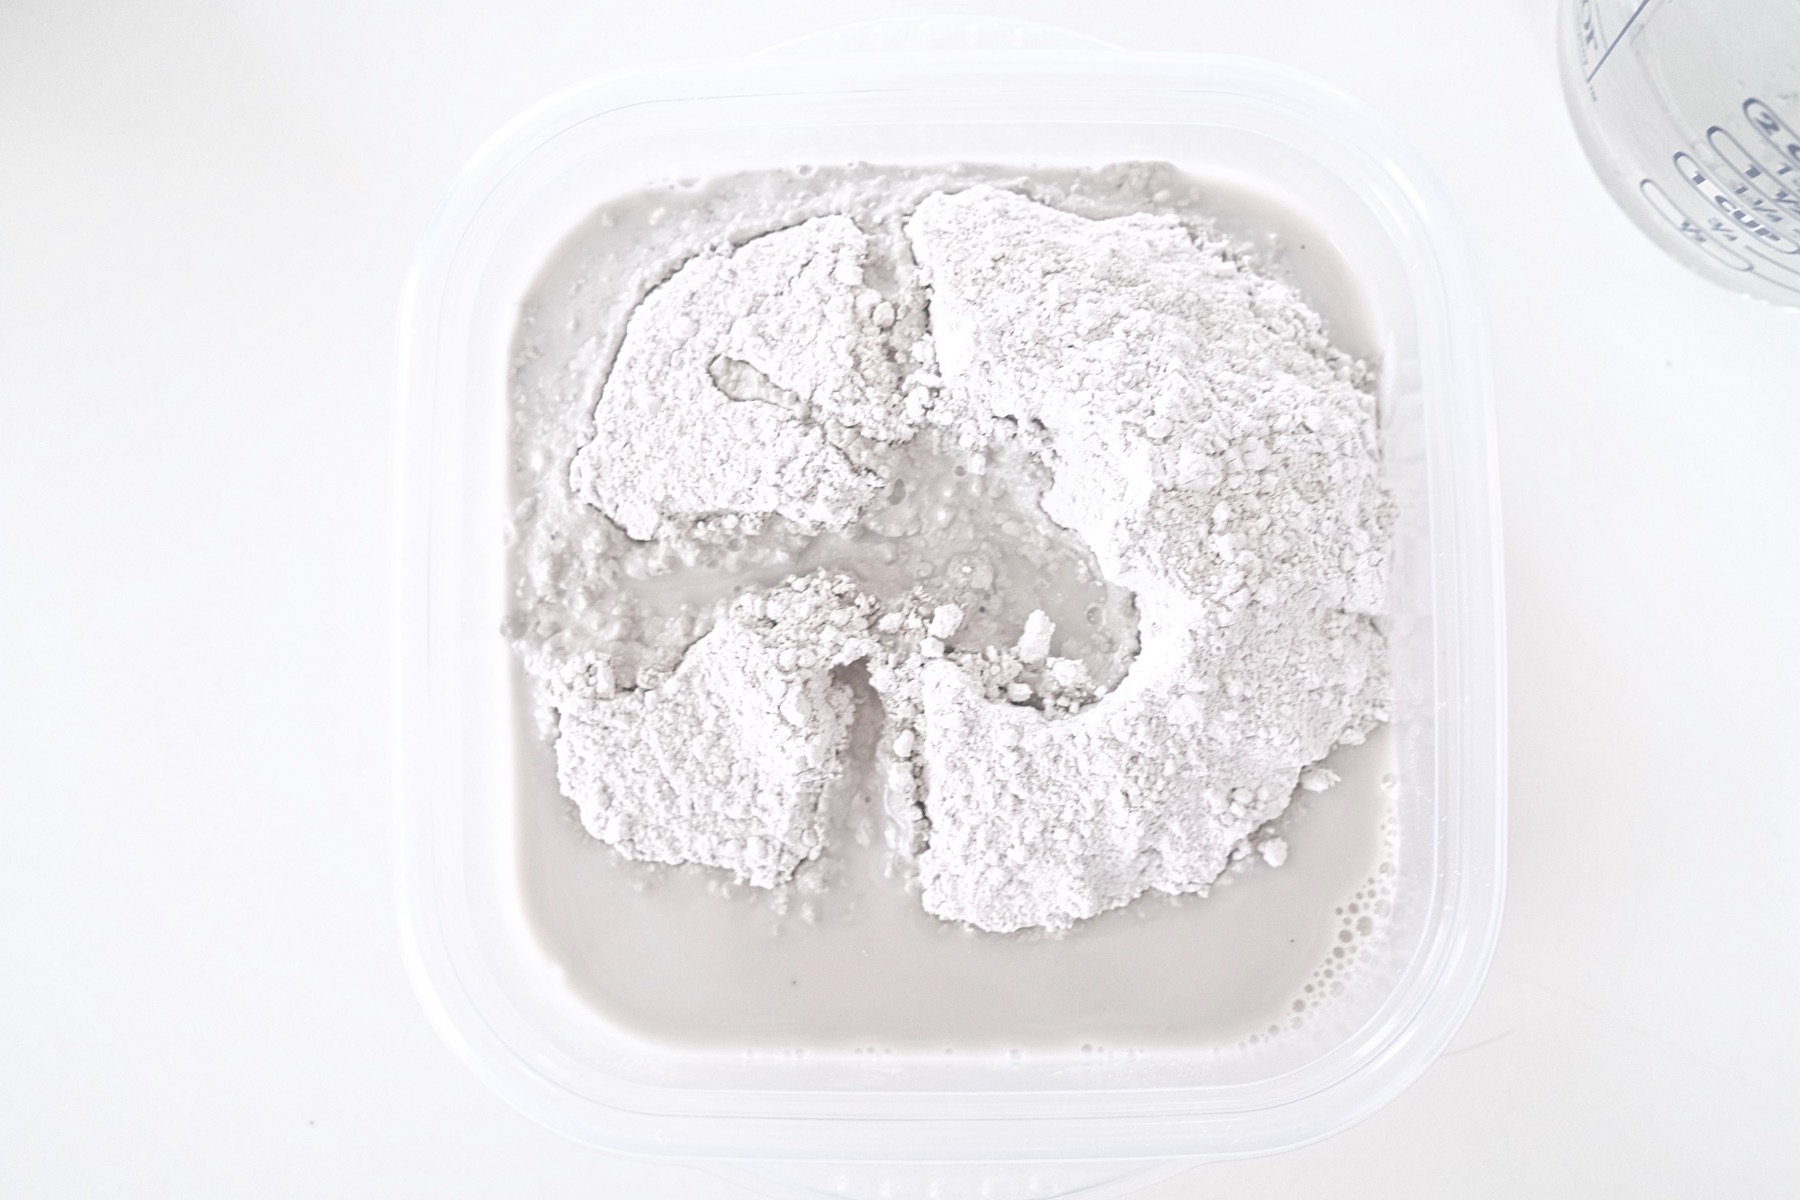
How Much Water Should You Add?
You do not need to measure the water that you add to concrete powder. You just need to get your concrete mix to a pourable consistency and be sure that your powder and water is completely mixed and fully incorporated.
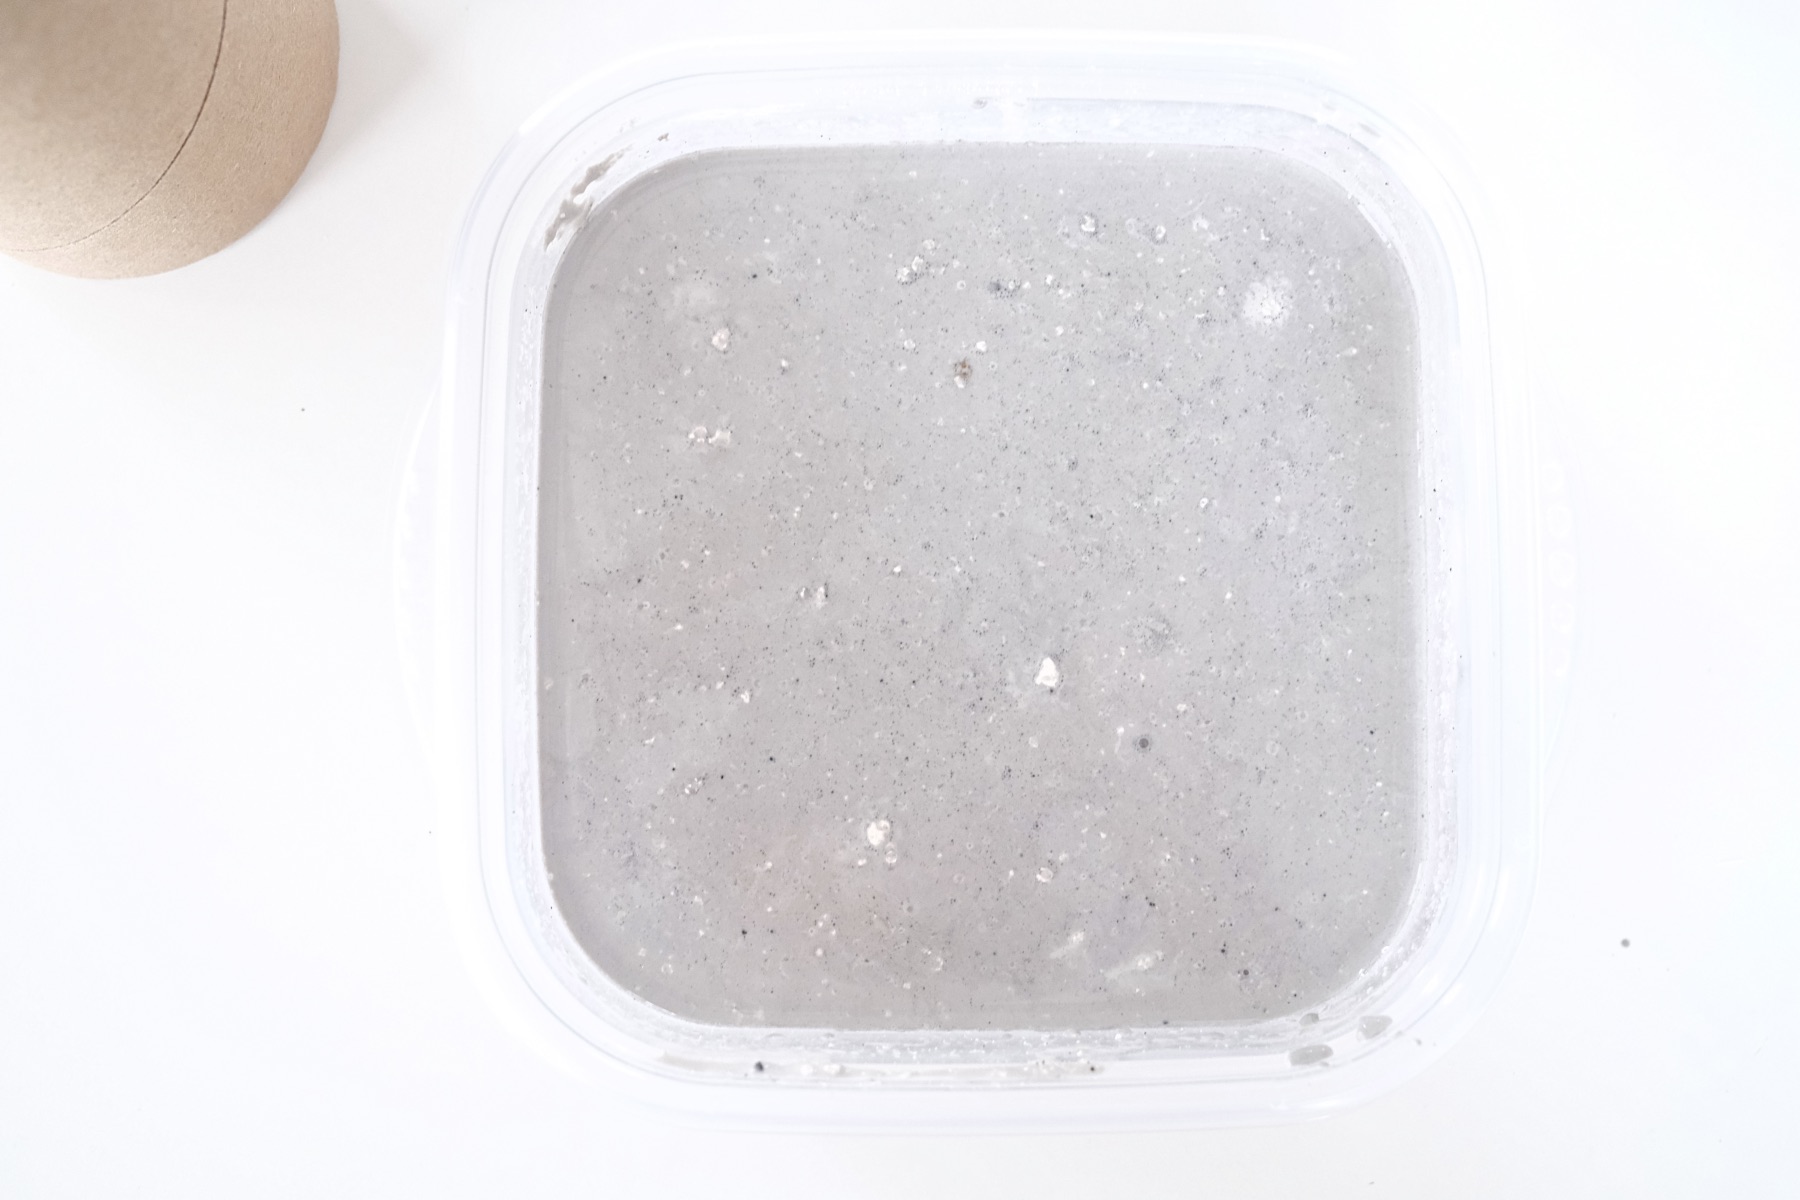
How Much Water Should You Add?
Start by pouring in around 1/2 cups to 1 cup and scrape the sides of your plasticware with your popsicle stick as you mix it. Continue this process until your texture is right.
If you add too much water, that’s okay. Just know that the more water you add, the longer it will take for your concrete to set.
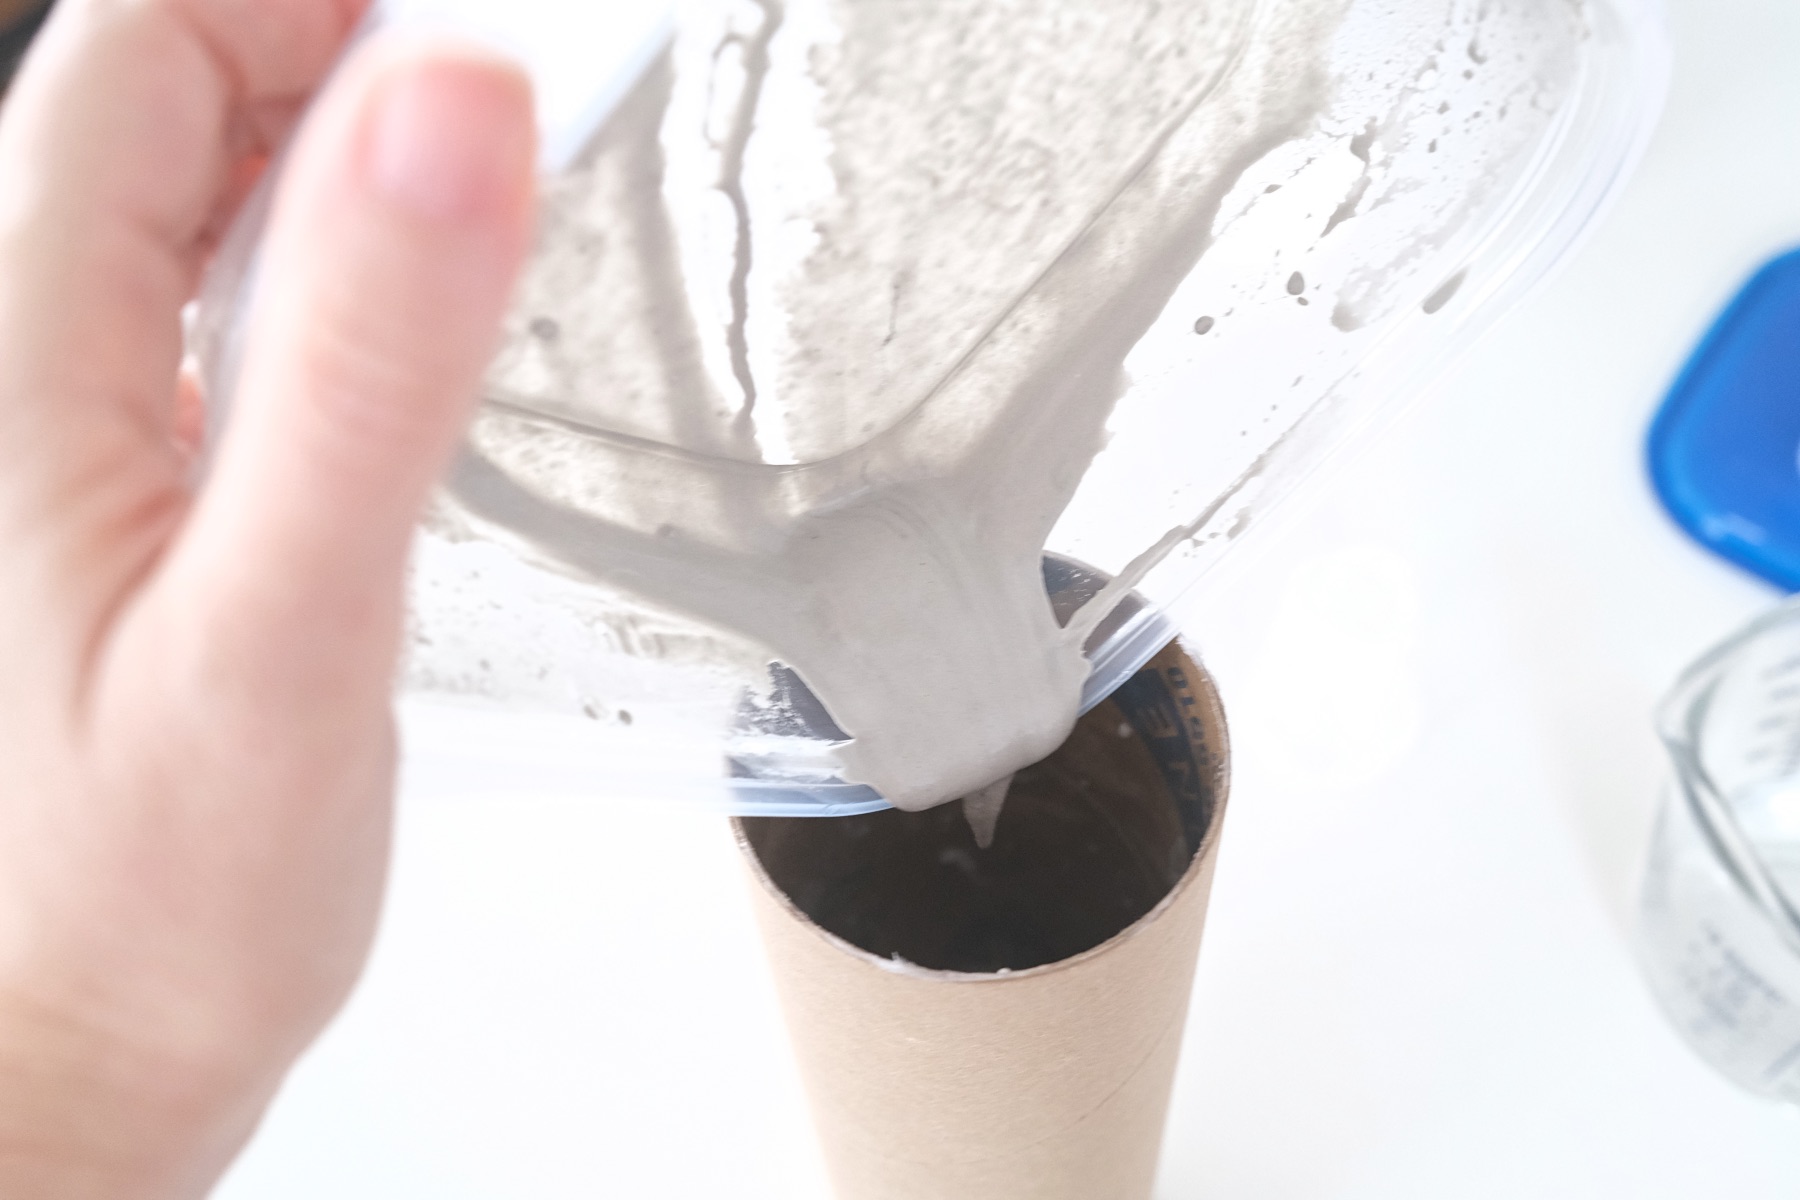
Step 3: Pour the Concrete
Now before you pour your concrete into the mailing tube, check that the mailing tube lid is securely in place to avoid any drips.
If you are worried, place the mailing tube on top of newspaper or in your sink so that any excess can drip without ruining anything.
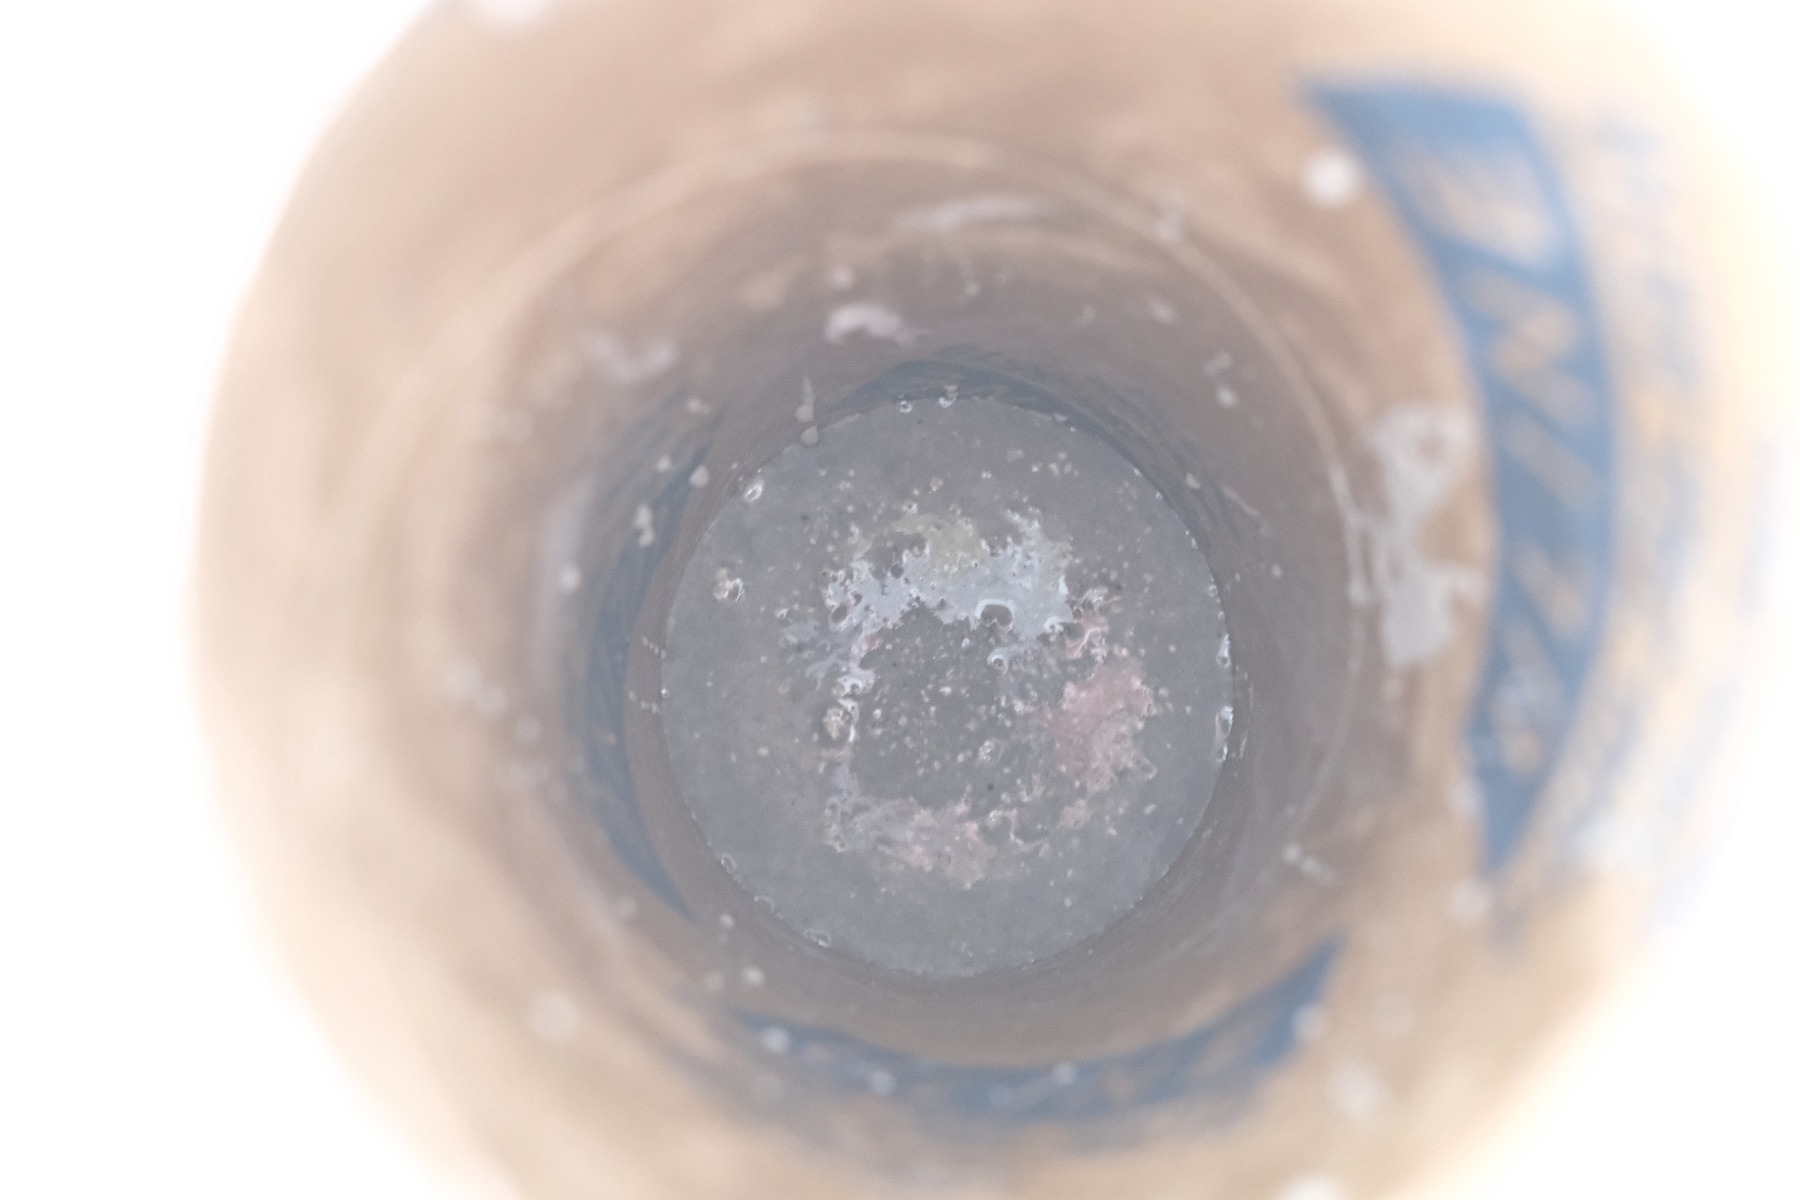
Pour the concrete into the mailing tube and scrape any excess from the plasticware to pour into the mailing tube. Immediately and urgently move onto the next step.
Once you finish the next step, you can breathe easy and take your time!
Step 4: Make the Vase’s Opening
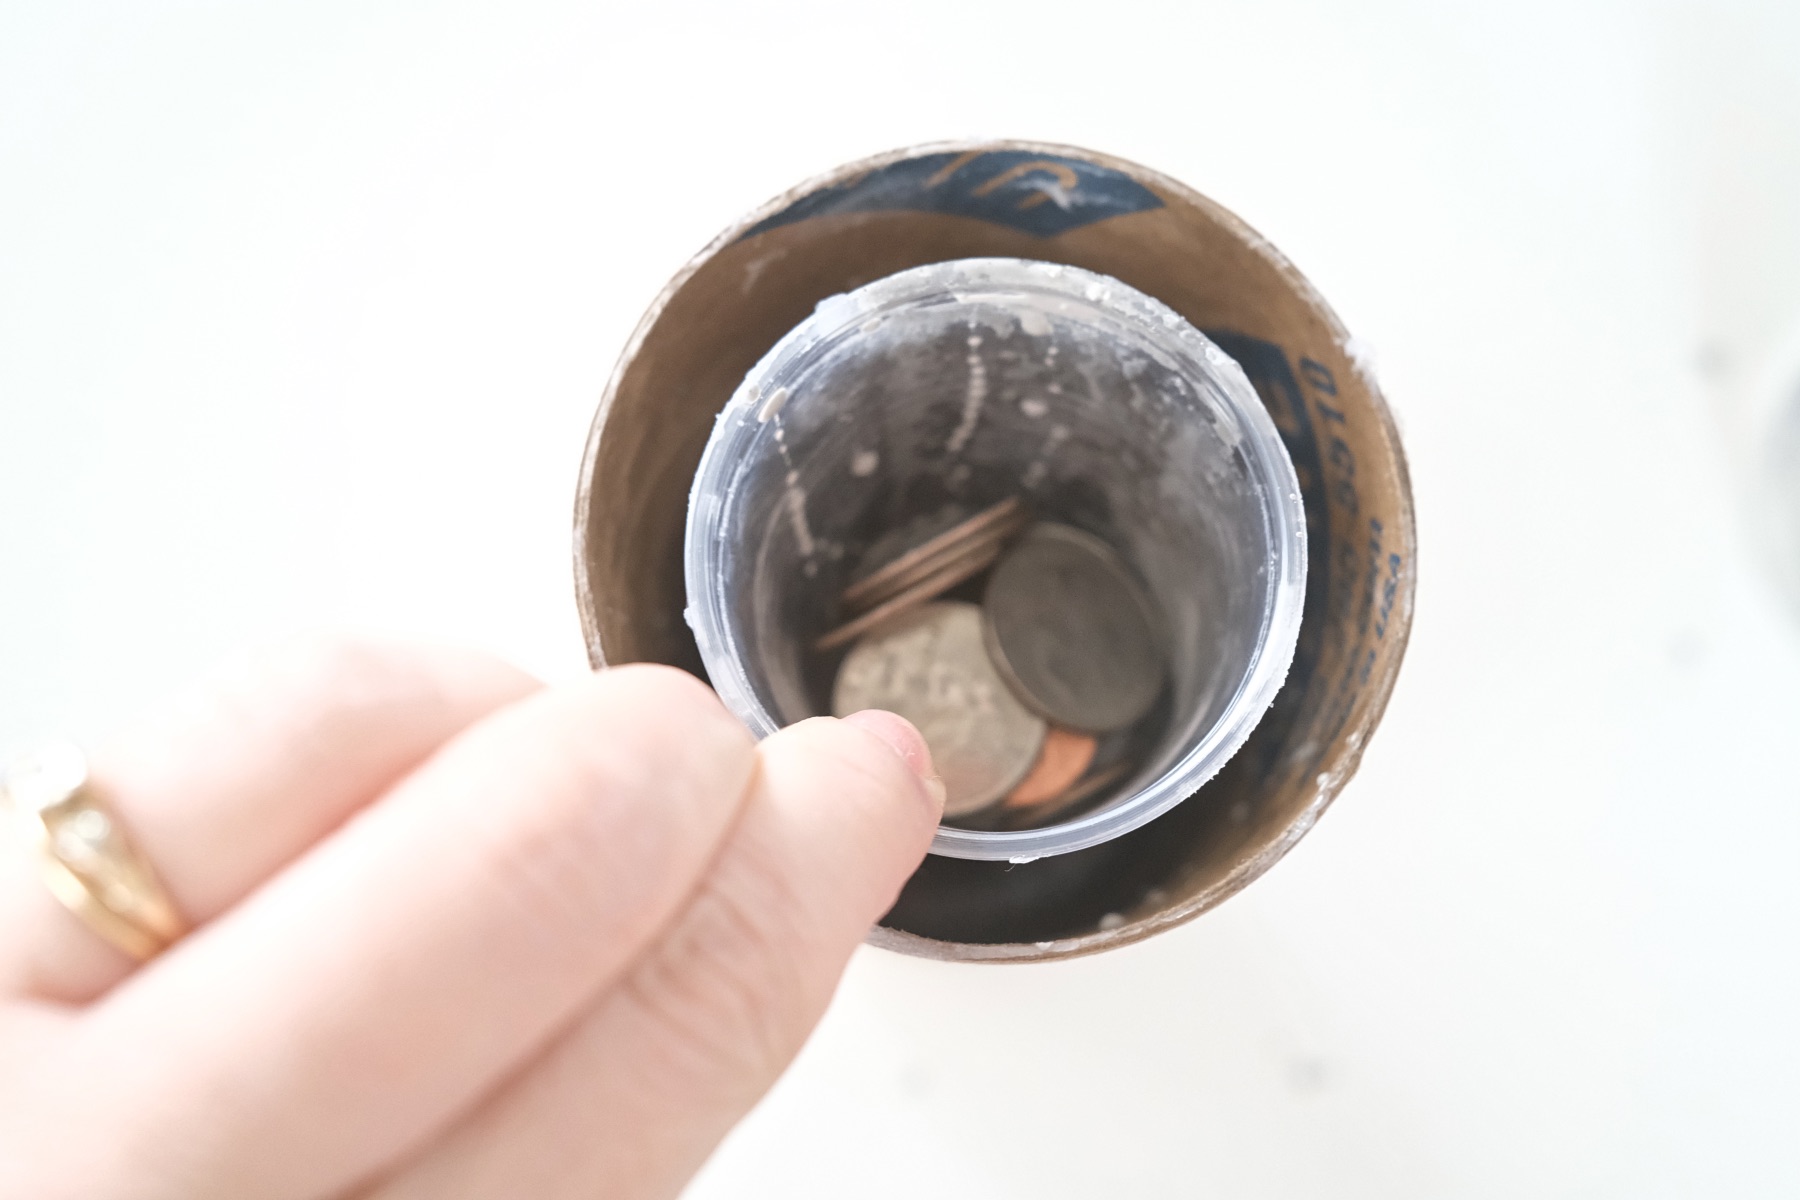
Now you have to make an opening at the top of the vase where your flowers will go. Use your plastic cup that you coated in Vaseline.
Now if you place the cup into the concrete, you will notice that it floats! You will need it to sit down in the concrete as low as possible without causing any concrete to spill inside the plastic cup.
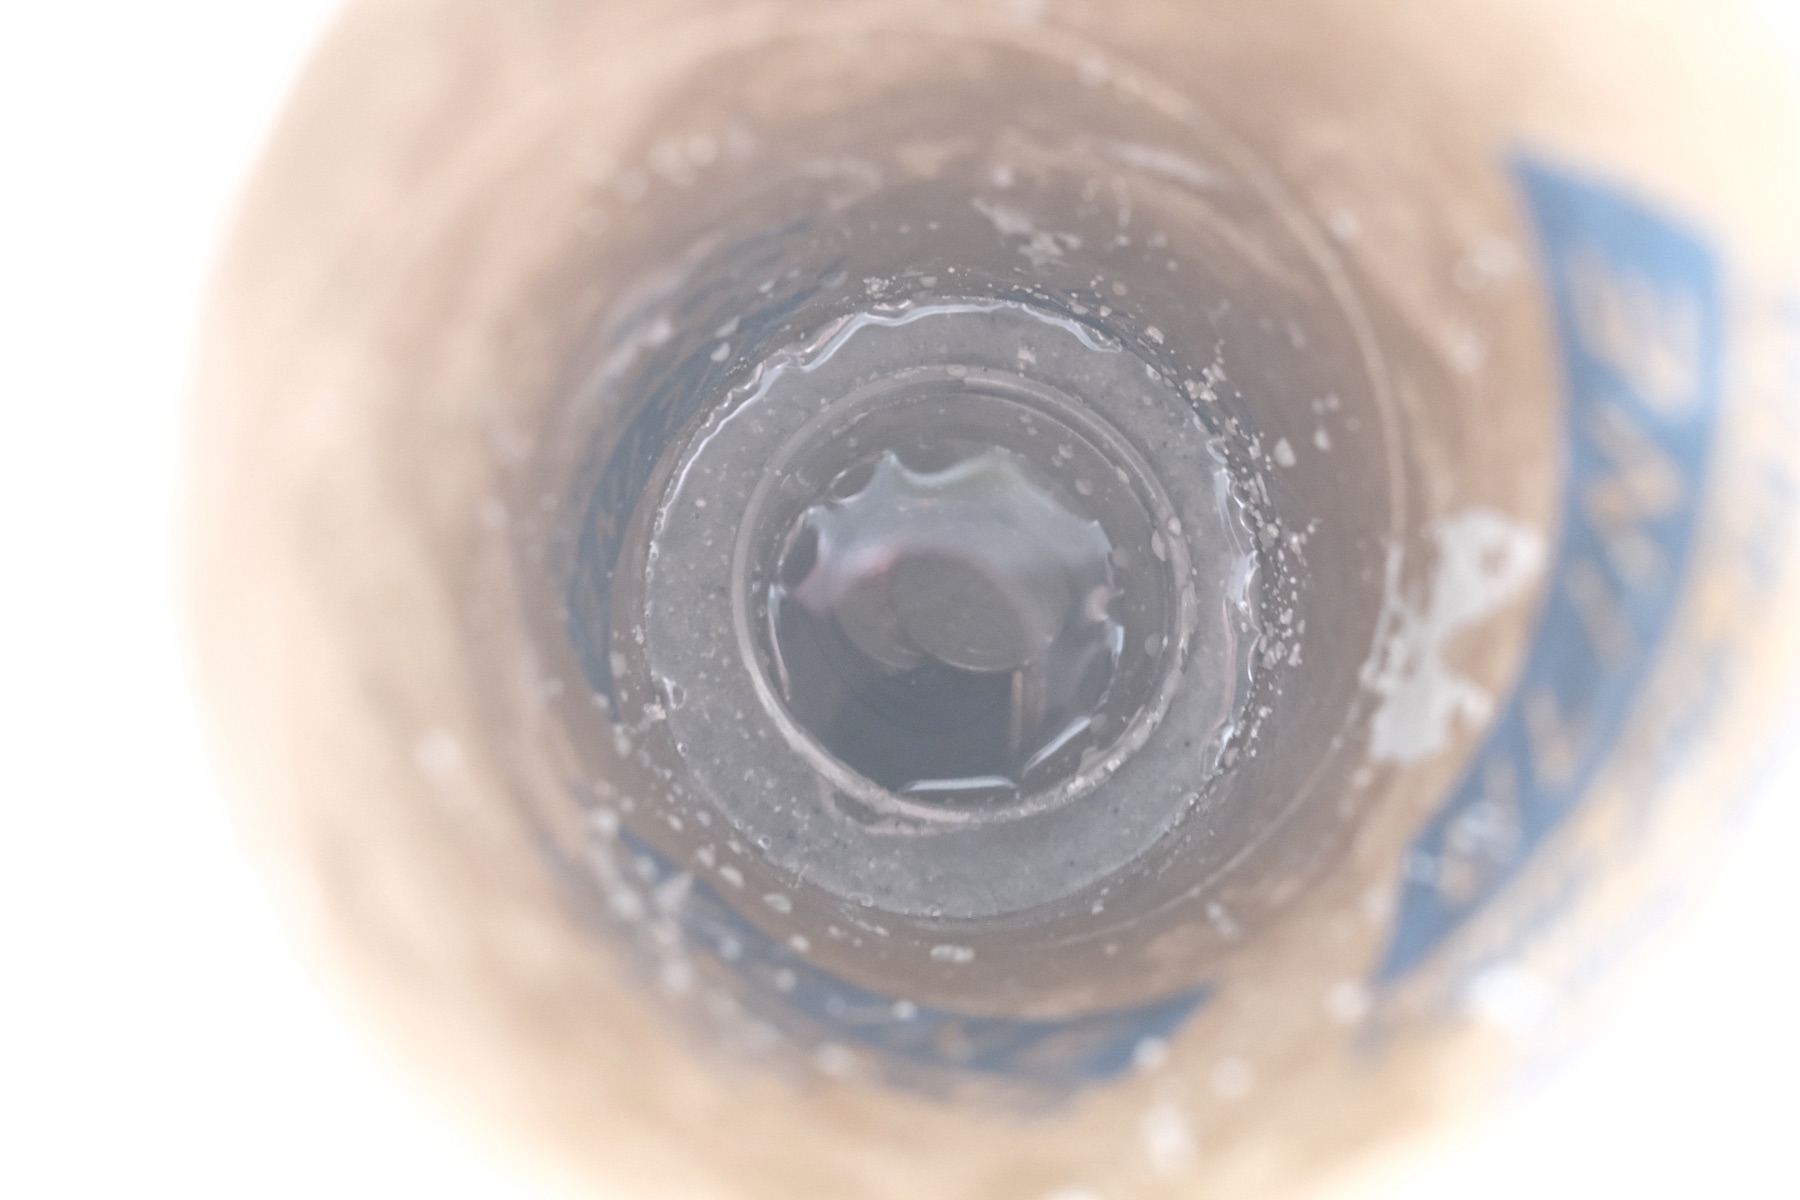
The easiest way to help the cup sit lower in the liquid concrete is to add some weight to the cup. I use pocket change. But another of my favorite options are rocks.
Anything small – it needs to fit completely inside the cup works great. And anything heavy works well too. When I first place my cup of coins inside the concrete it leaned to 1 side.
To make the cup sit straight, try adding a small amount of water to the cup. This can help even out the weight. You also need the cup to sit in the center so your vase has even smooth and complete edges.
Step 5: Let the Concrete Set
Most concrete takes around 2 hours to set. This can vary based on the weather and humidity but around 2 hours is average. To know if the concrete’s set, just touch the surface! Once it feels dry, and it’s been more than 2 hours, you can continue to the next steps.
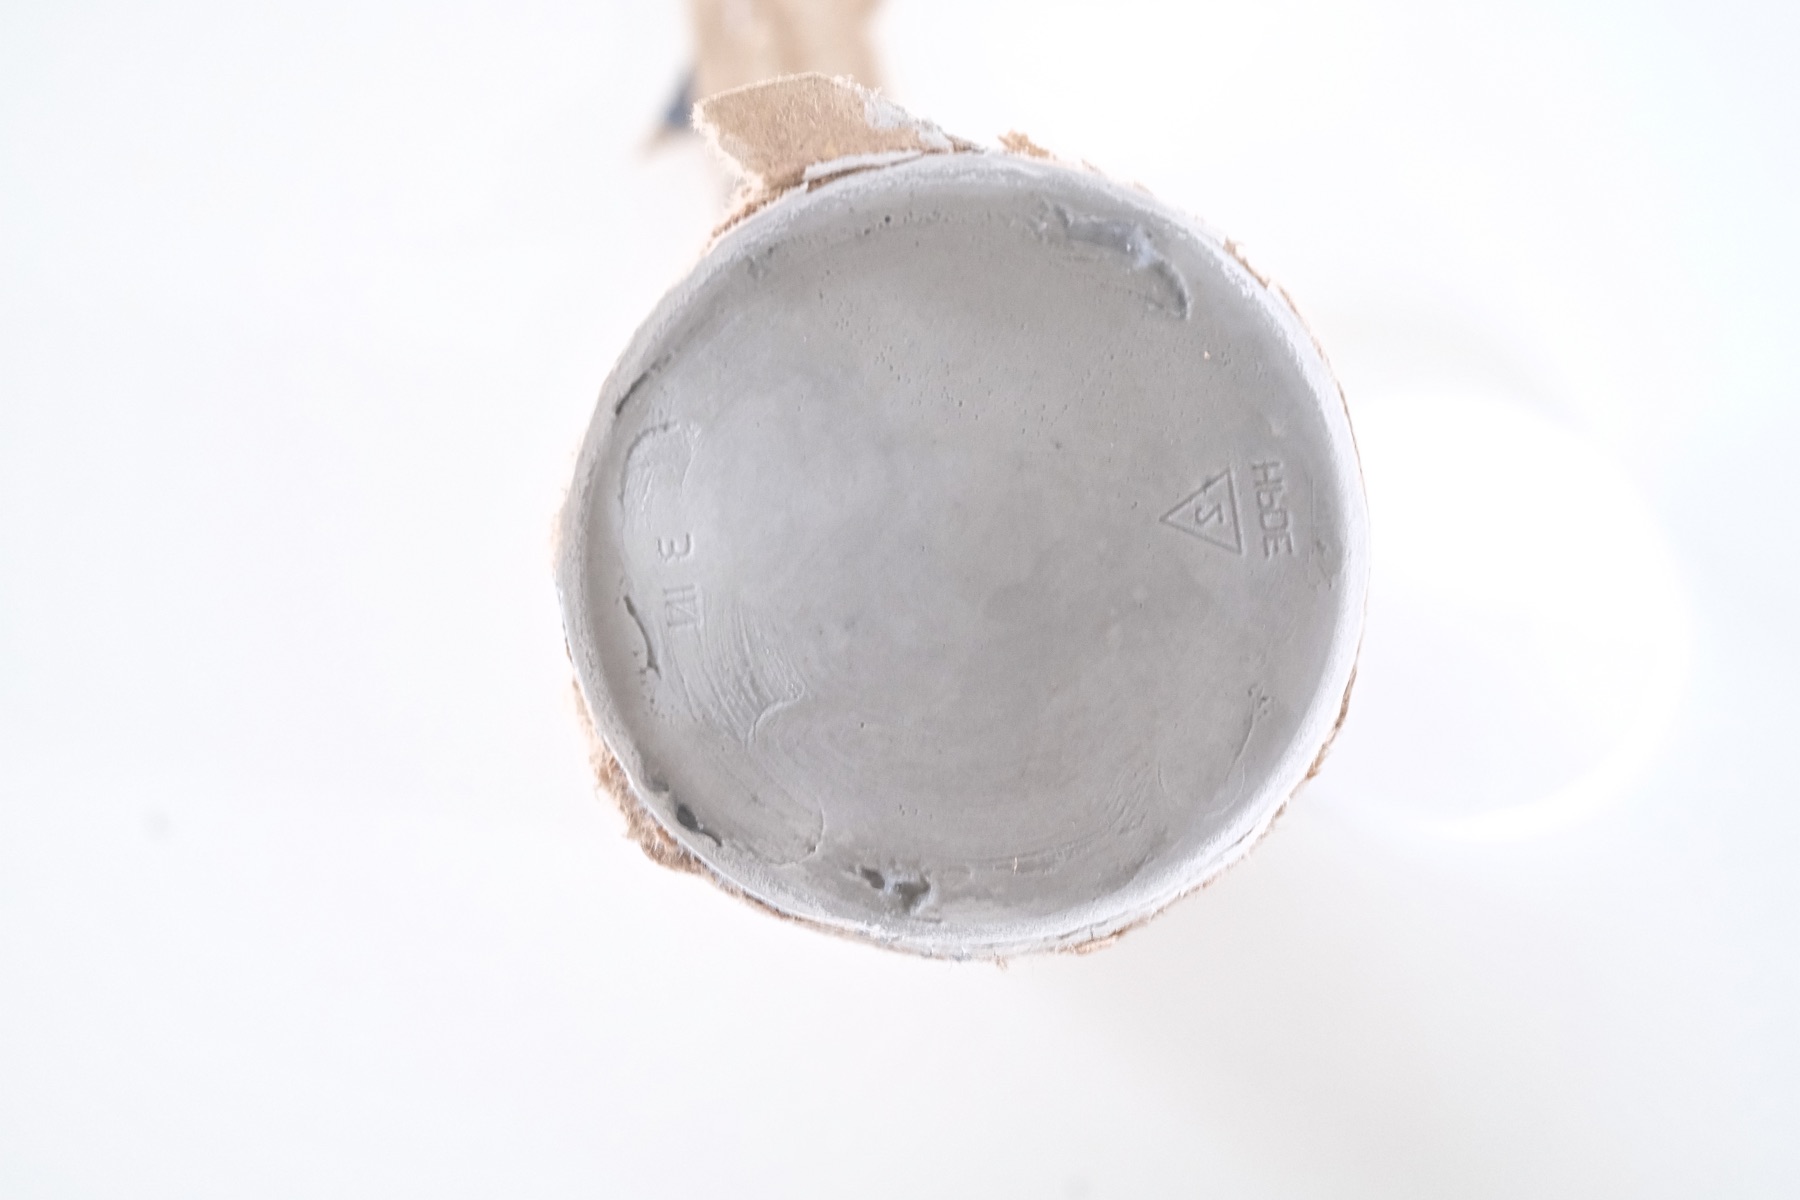
Step 6: Remove the Cup
Start by just popping out the plastic cup. This should be easy! But if you have any issues, you can use a box cutter to cut the cup out.
I would try to avoid this as best you can, because this cup can come in handy! Concrete is not water tight, so if you want to use this planter for fresh flowers, the cup can be cut along the top edge so that it sits inside the concrete vase without being seen. Then if you add water and fresh flowers, the water will hold in place and the cup will won’t be visible!
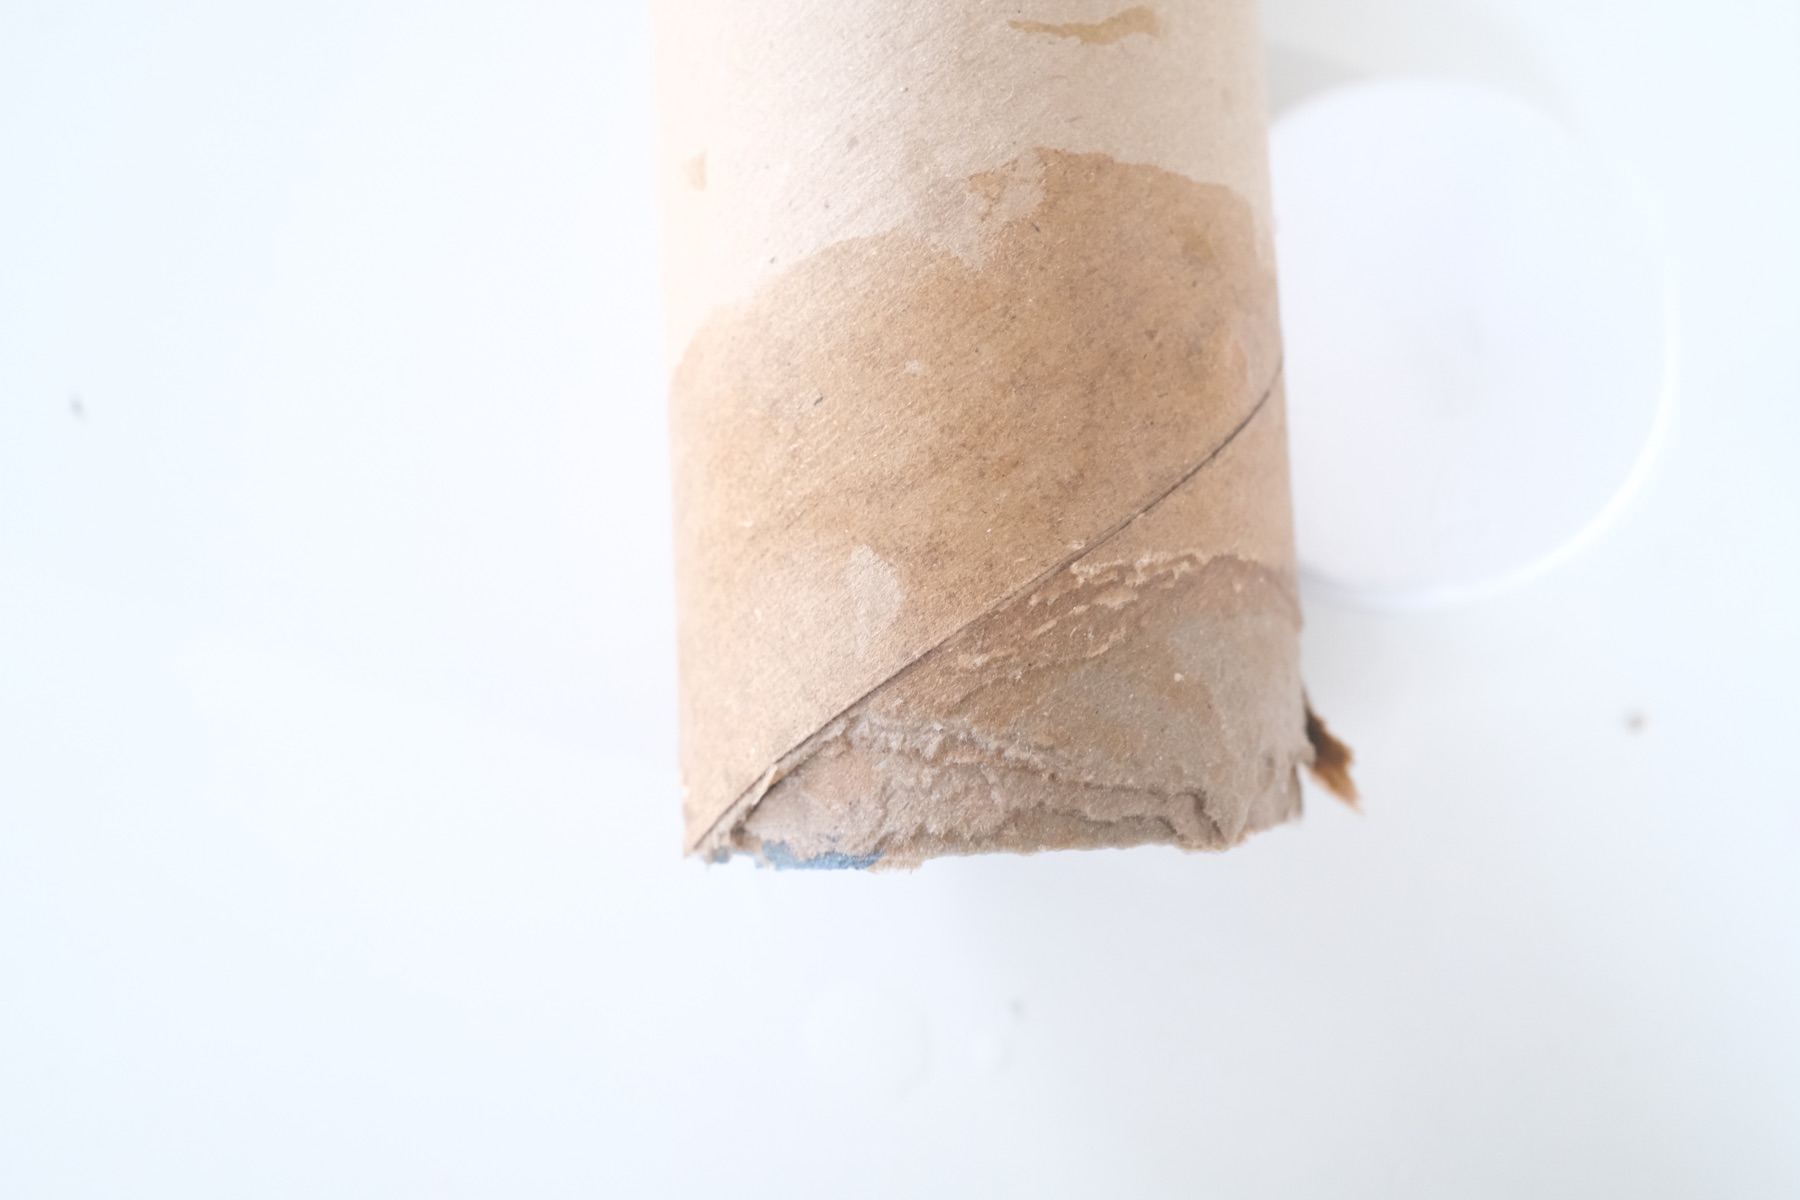
Step 7: Get the Mailing Tube Wet to Peel it Off
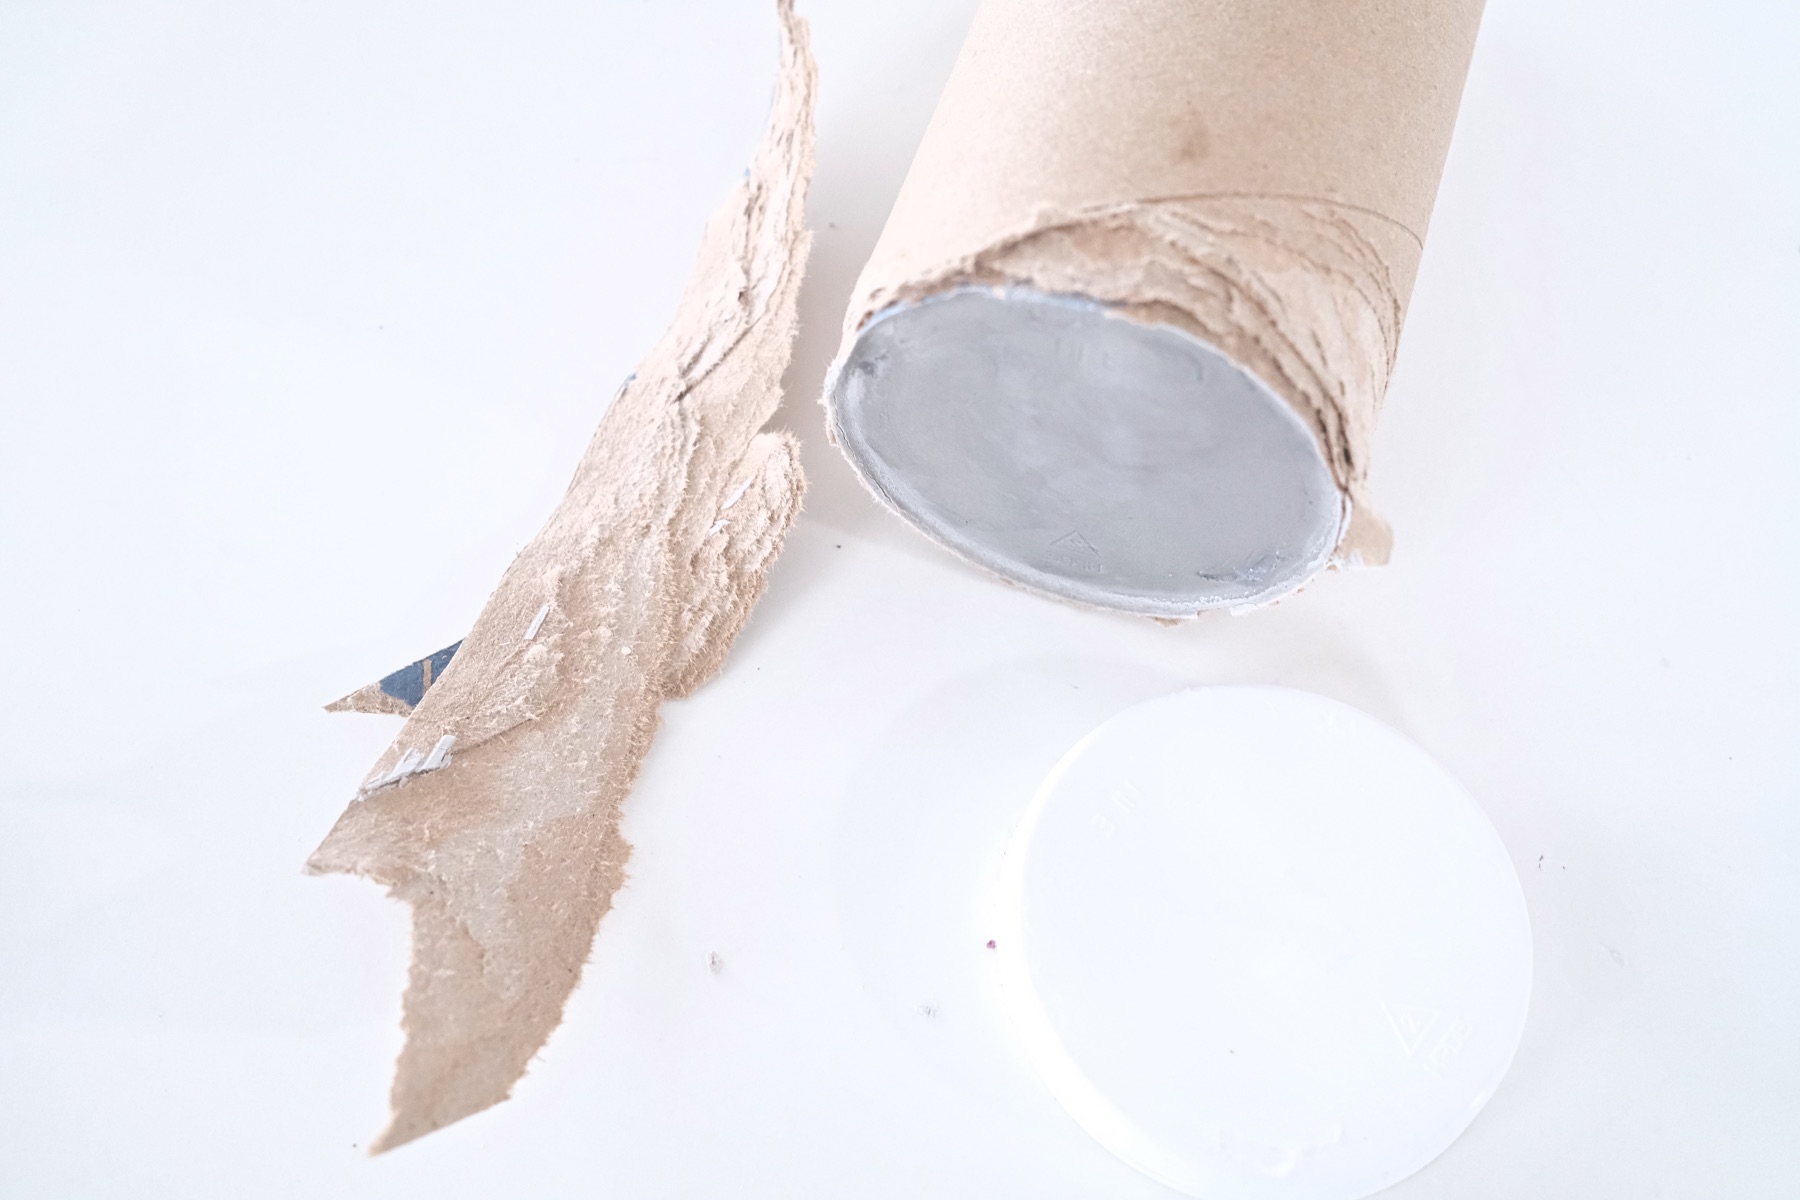
The easiest way to remove the concrete vase from the mold is to get it wet and then peel it off! It’s so much easier than trying to cut it, slide it out, or anything else that you will struggle and fight with.
This is part of why paper makes great molds! When you get the mailing tube wet, give it a few minutes to let the water fully soak through. It will not damage the concrete in any way.
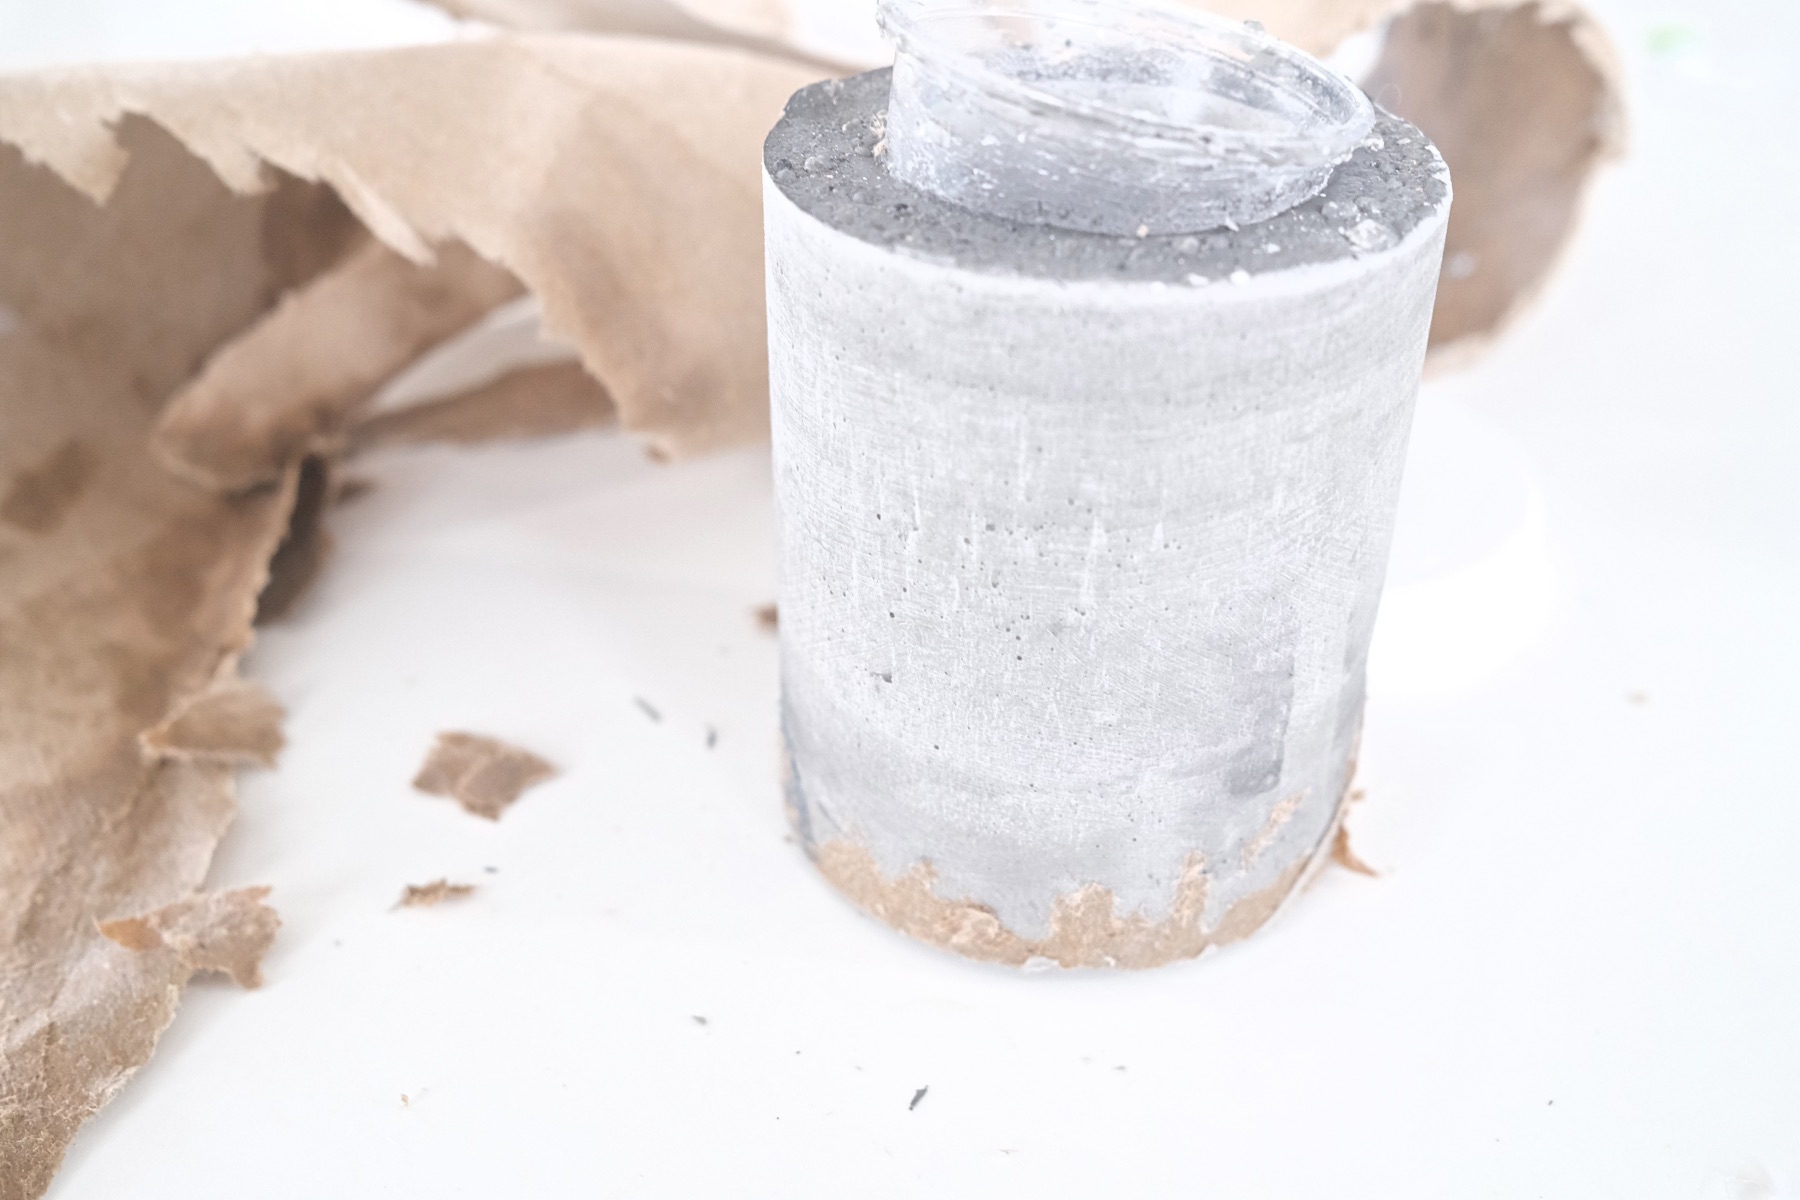
Then begin to peel. You can continue to add more water, let it set and then peel more. You may have some shreds of paper that are hard to get off. That’s okay because you can sand those off! Just get the bulk of the paper removed.
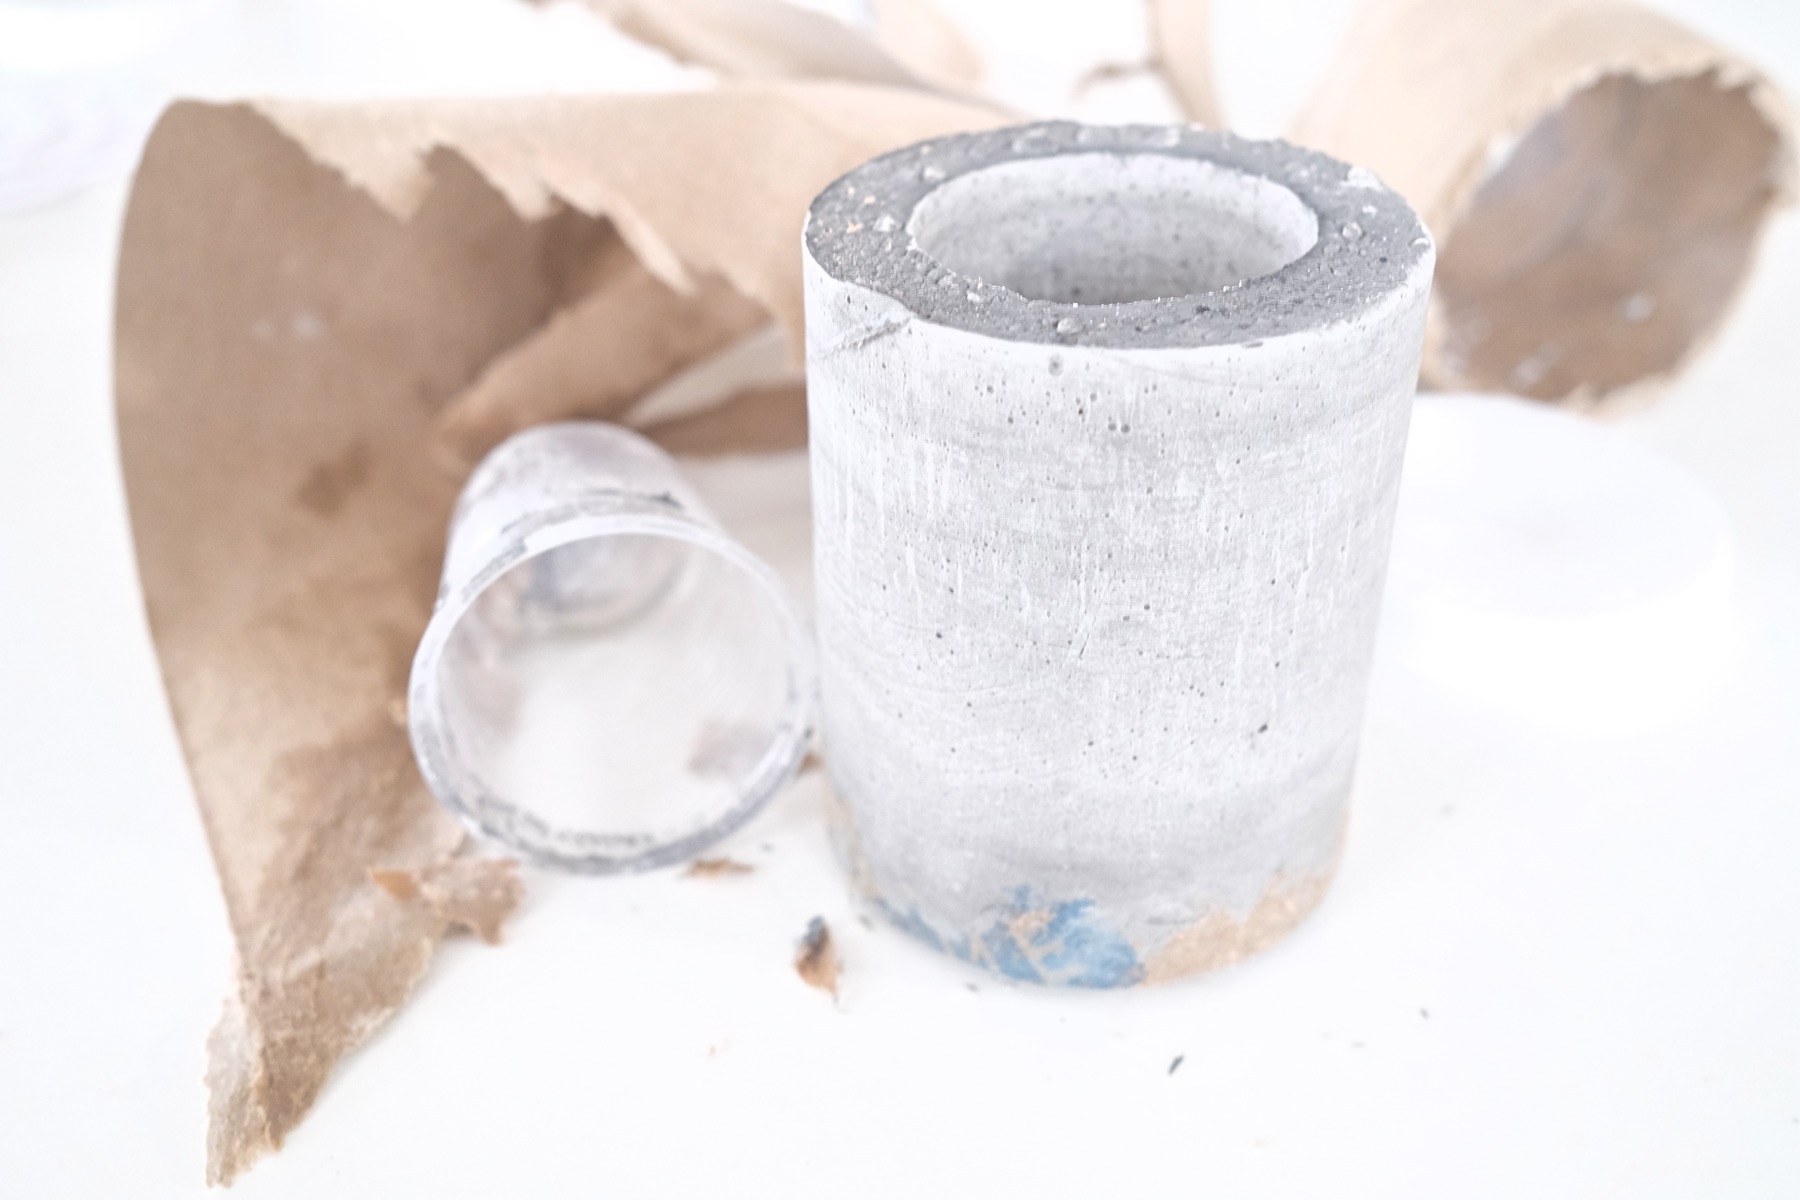
Step 8: Sand the Concrete Vase
Last, spend any amount of time finishing the vase. Notice how the top of the concrete vase is bumpy and uneven? If you like, use sandpaper to refine these edges.
Got extra paper that’s being stubborn? You can use the sandpaper to scrub that away too.
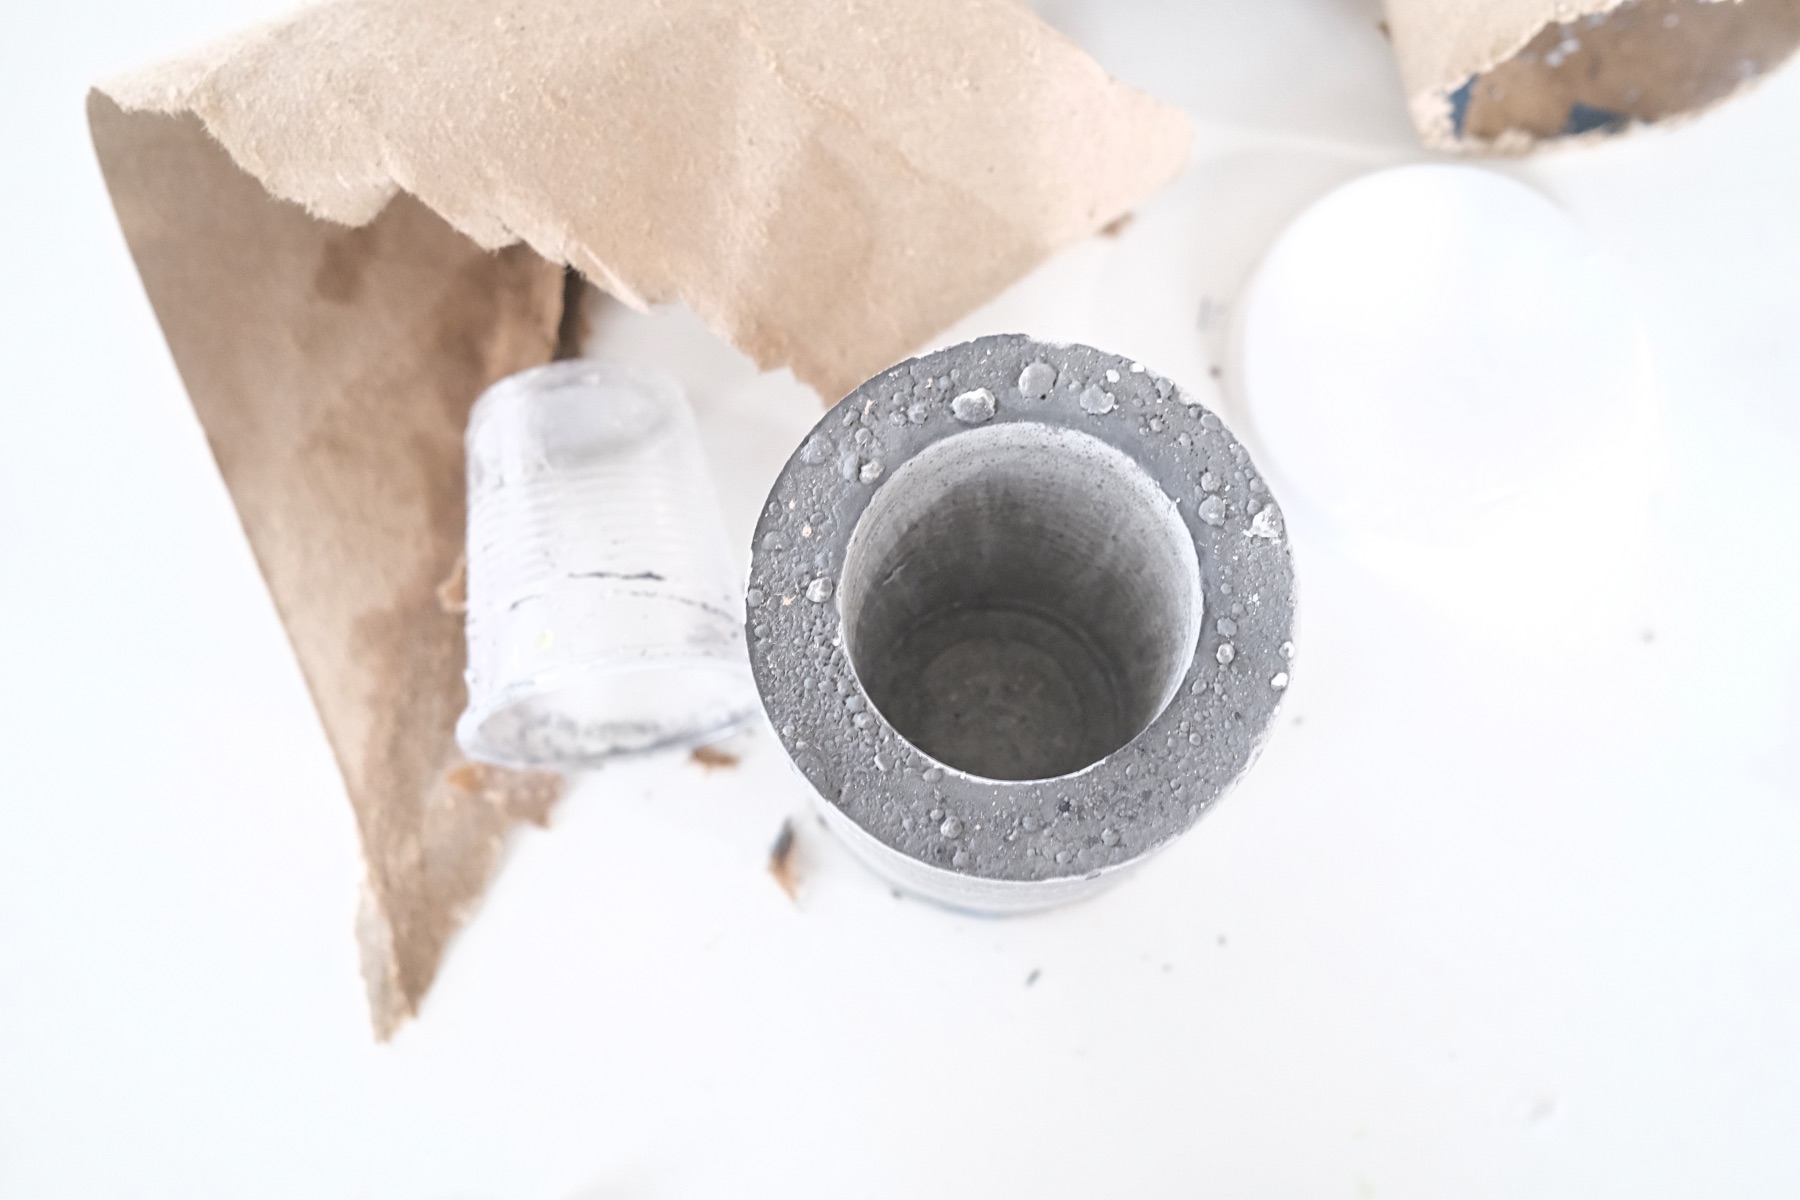
Notice the spiral line created by the mailing tube, you can smooth that out as well.
Any standard sandpaper is perfect for this task. It doesn’t have to be a particular grit.
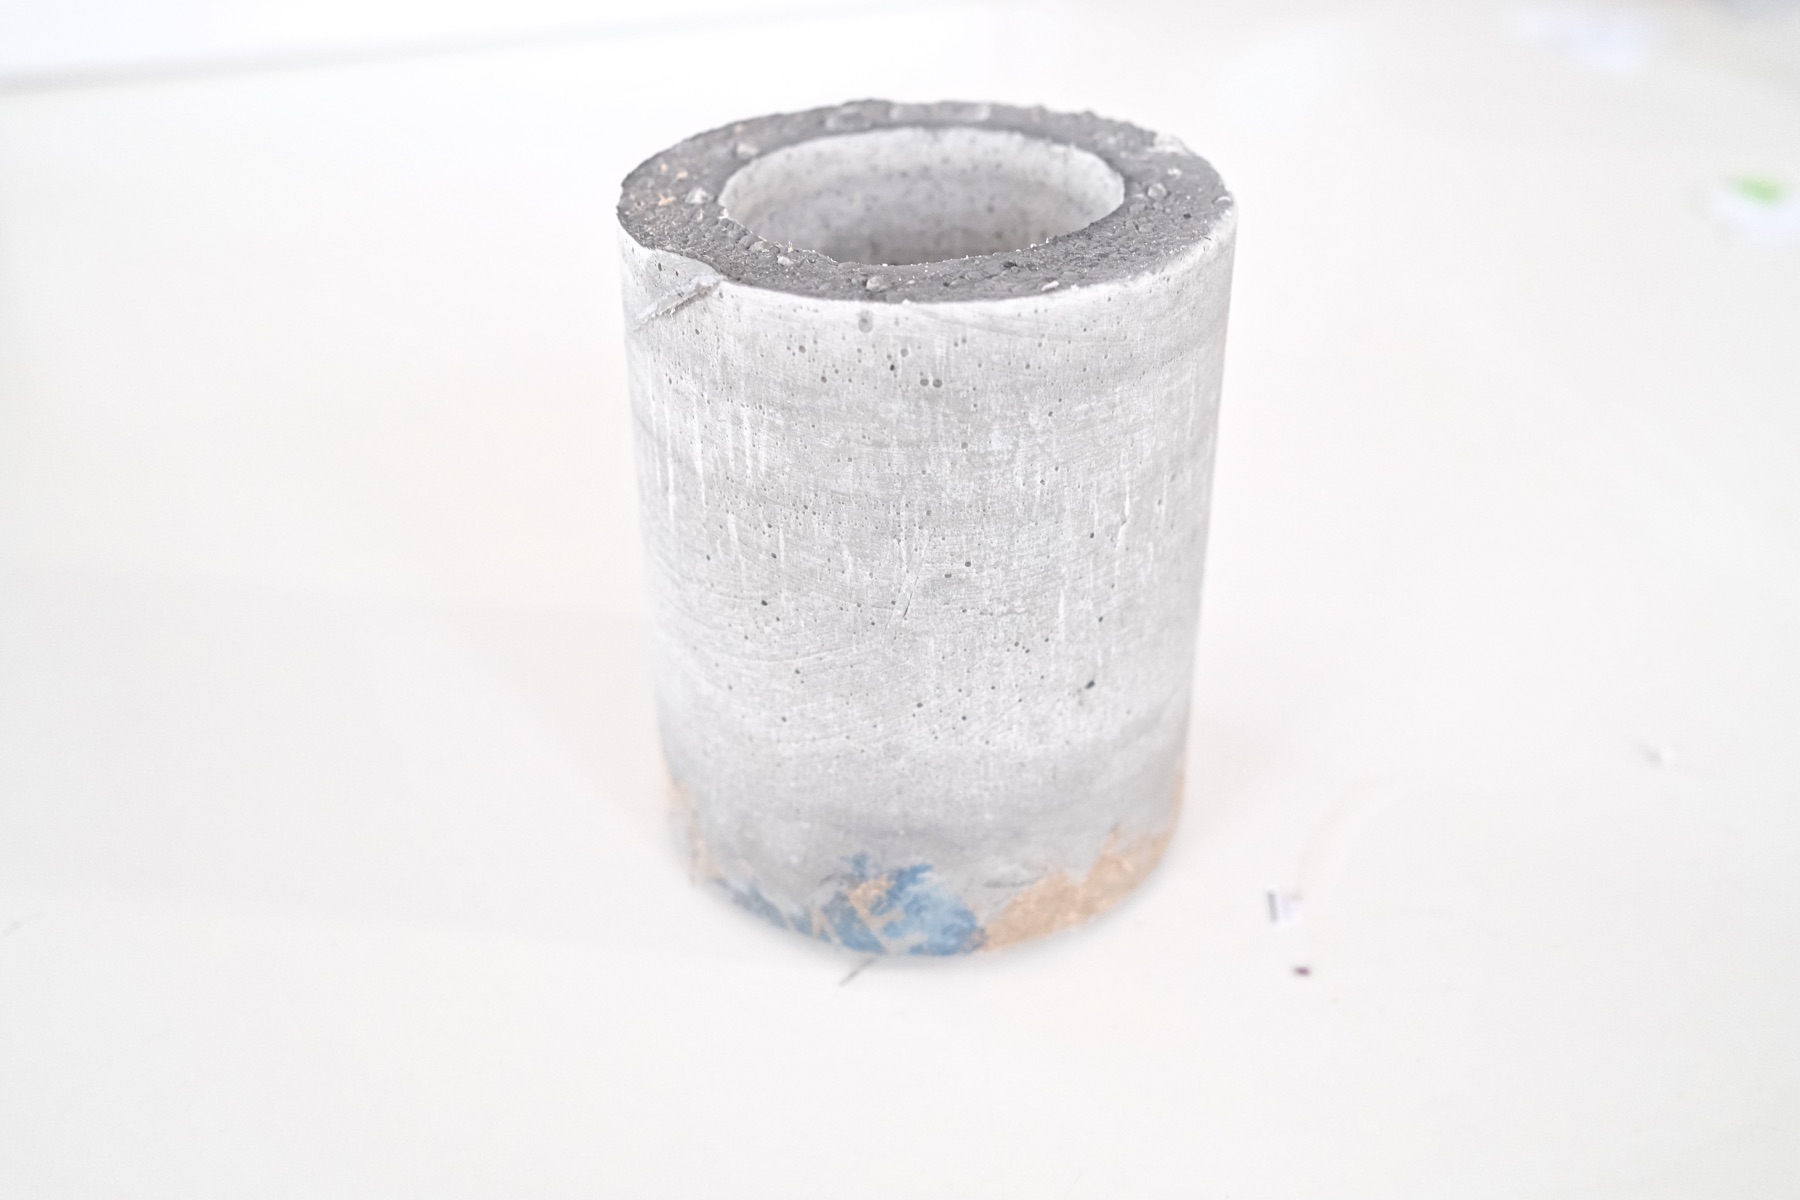
Step 9: Enjoy!
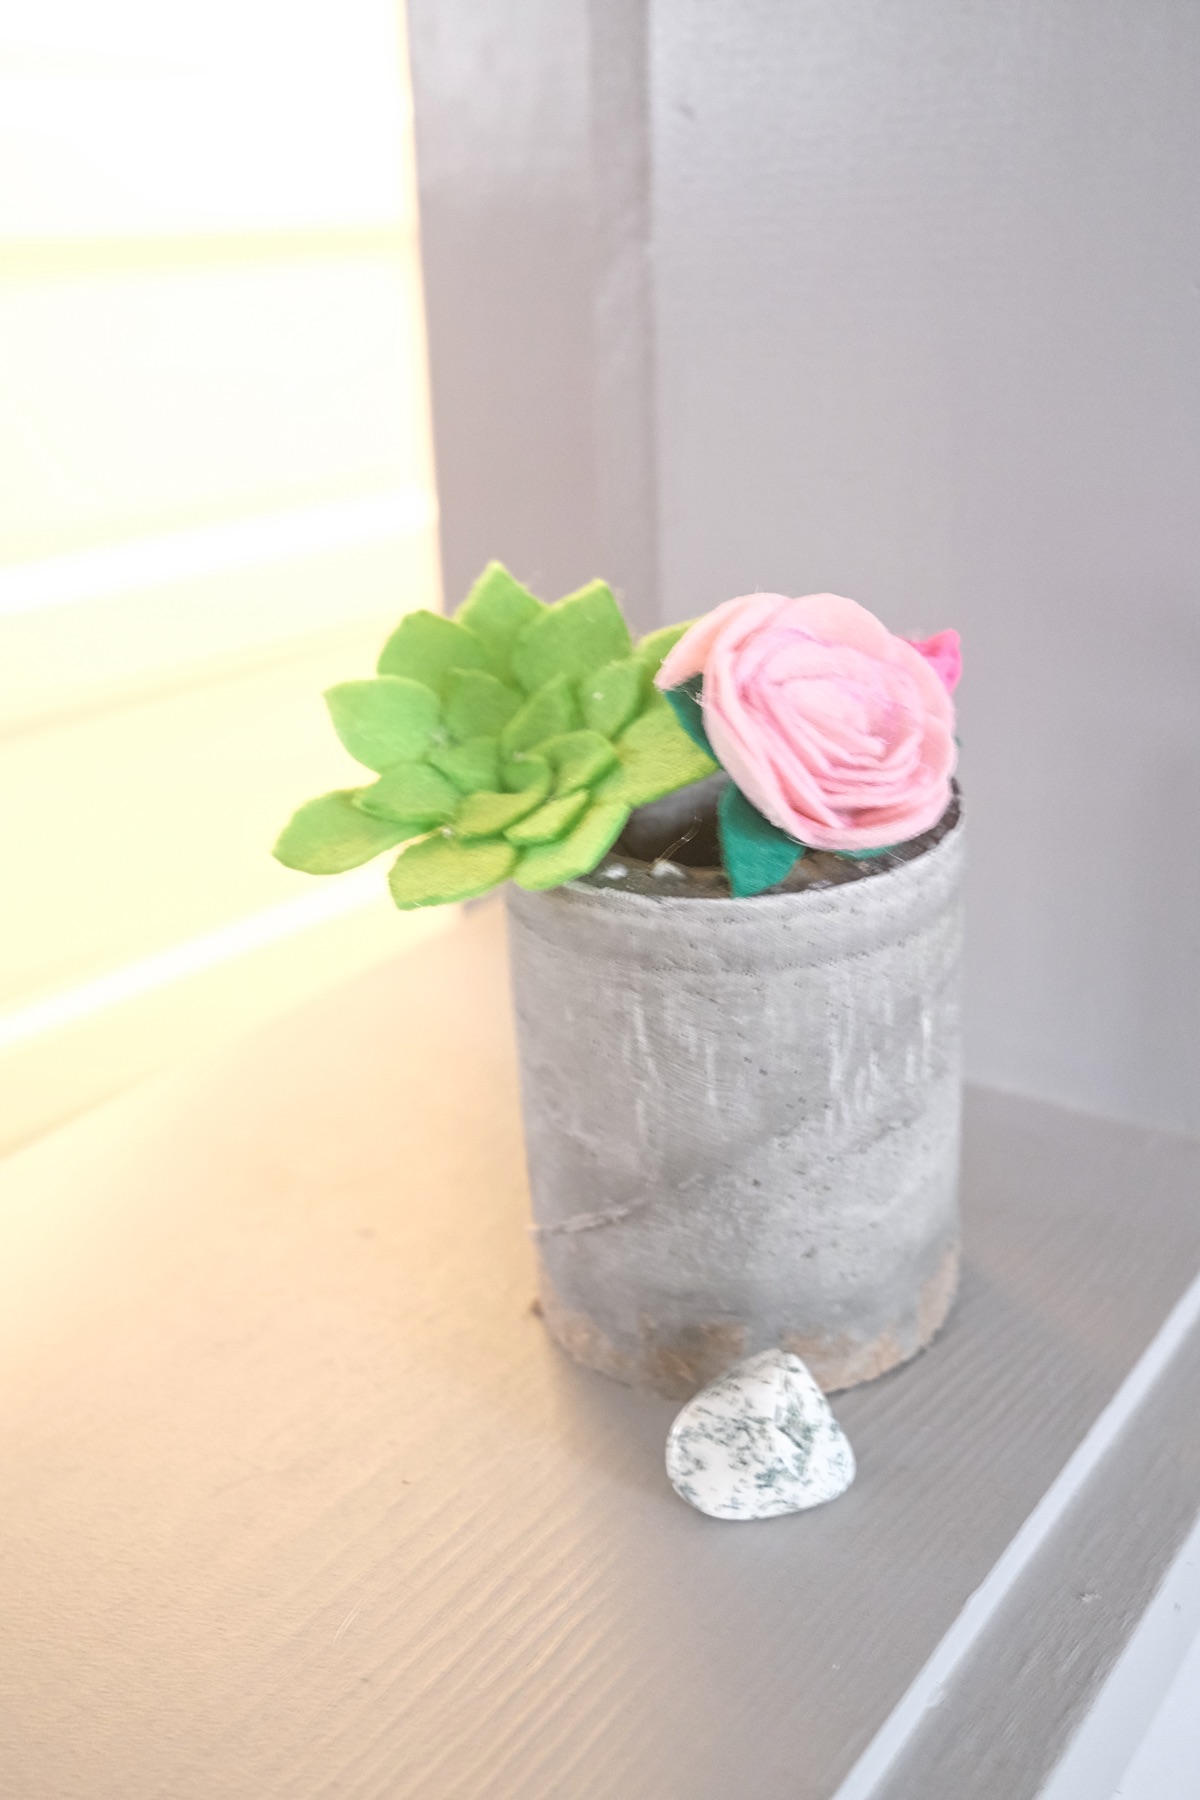
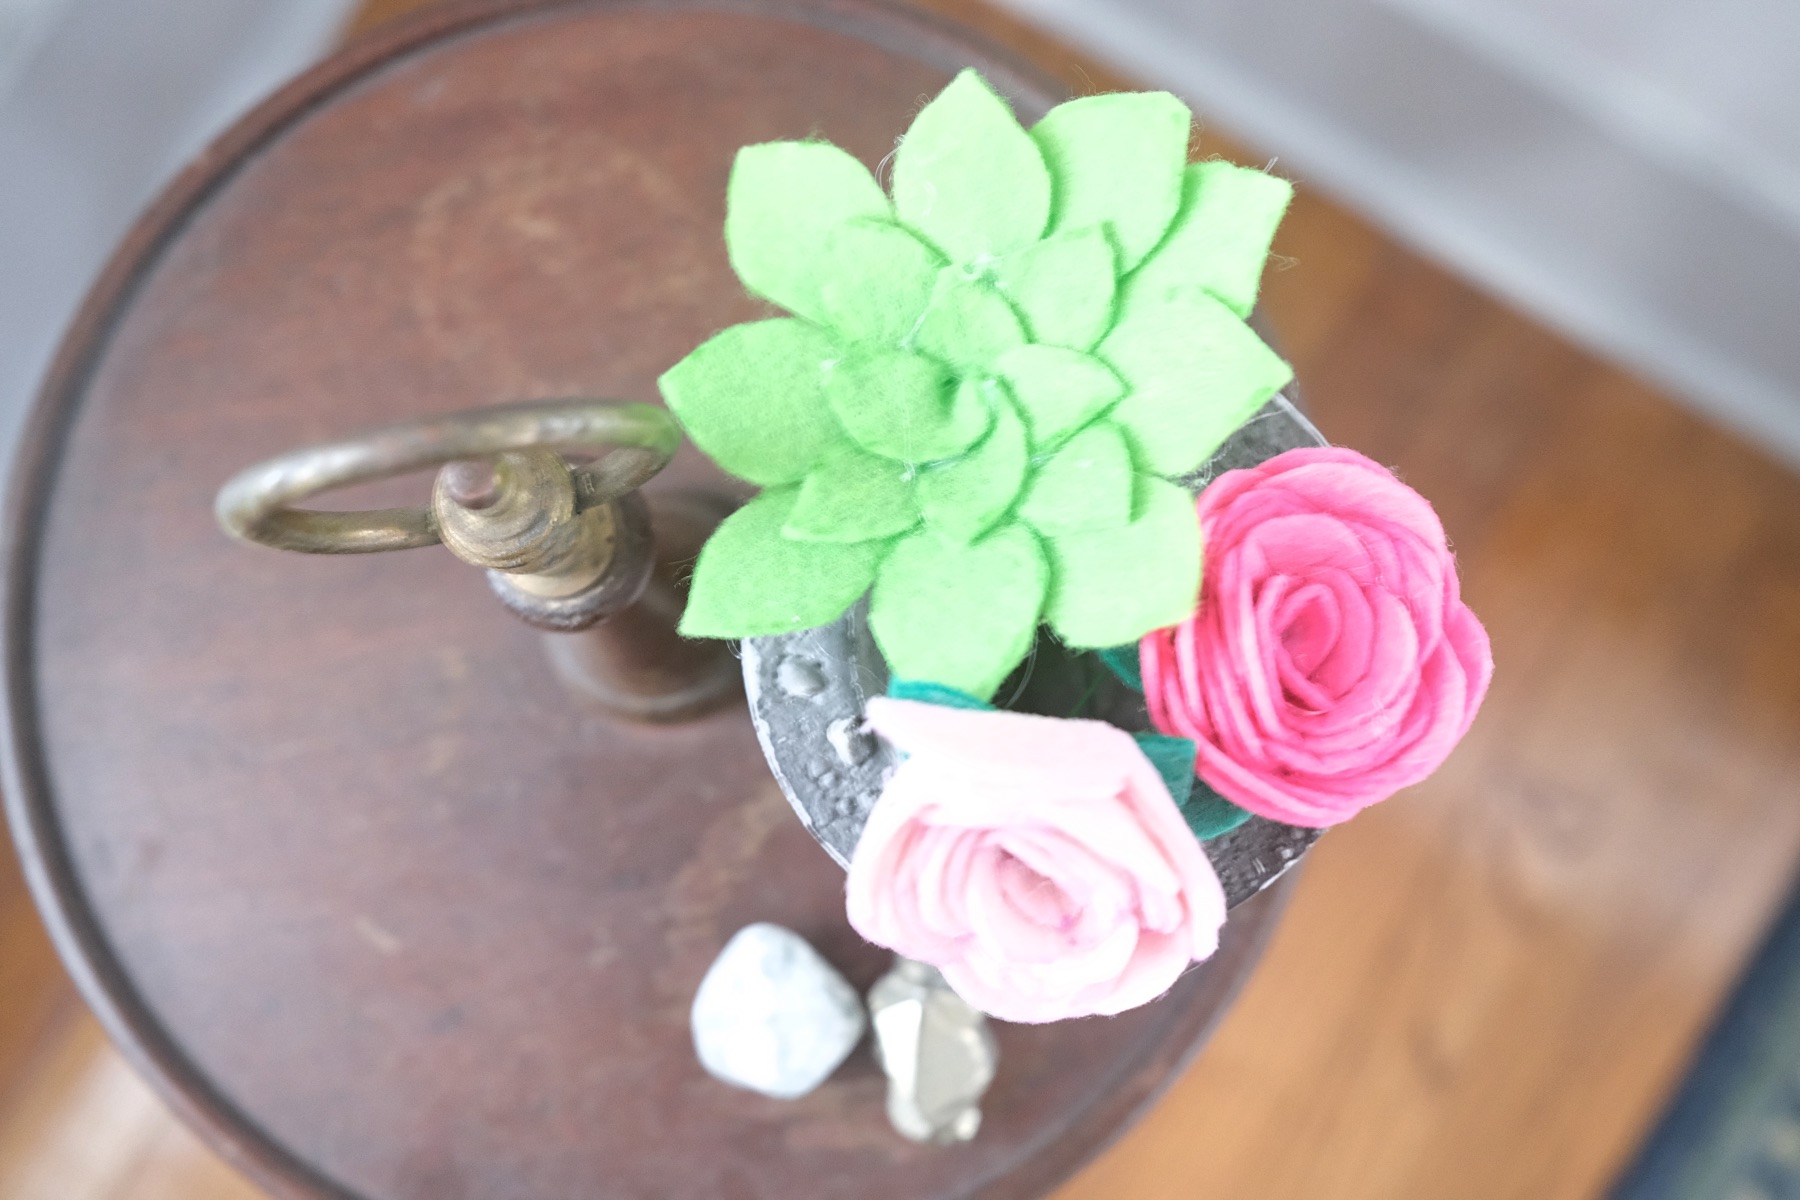
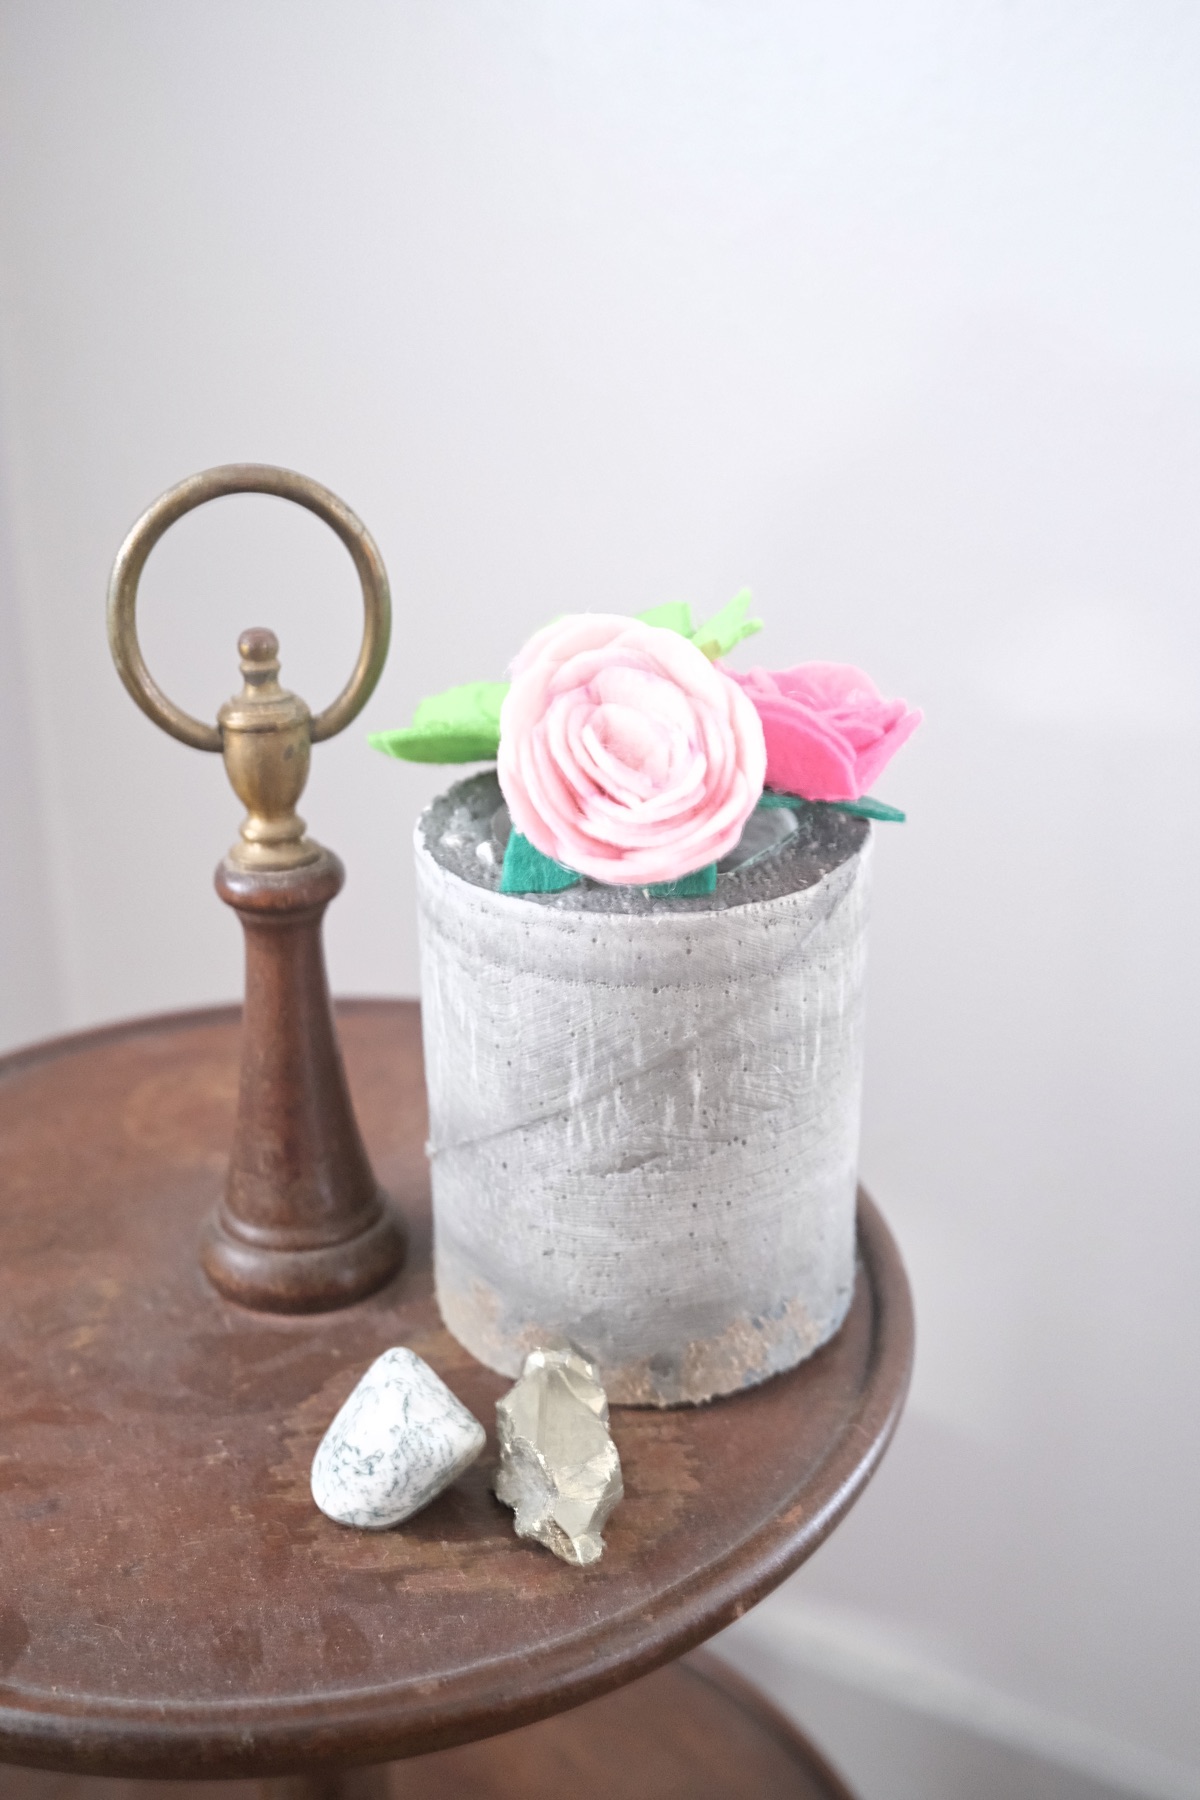
Once your concrete vase is sanded, it’s finished! You can load the vase will all your favorite flowers.
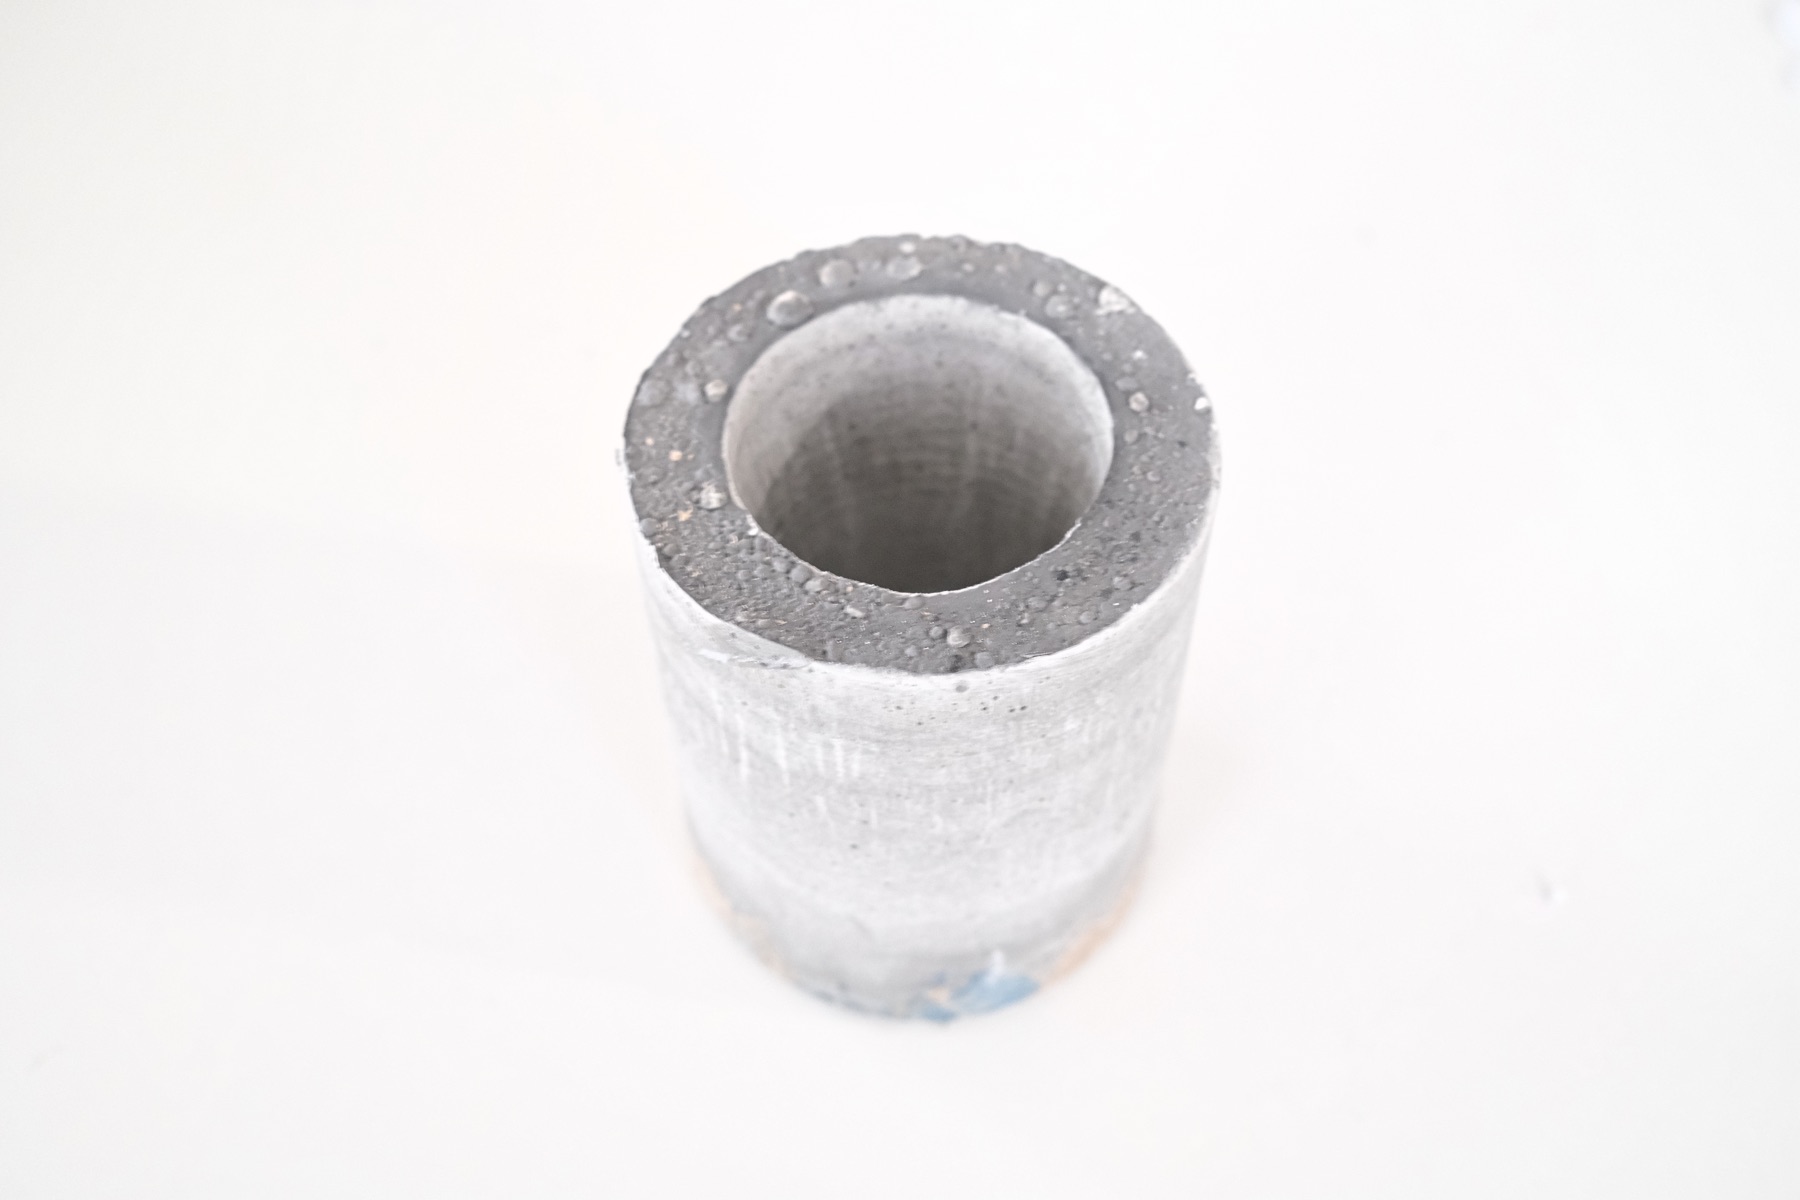
I recommend these felt flowers since again, the vase is not water tight.
You can also use the concrete vase as a succulent planter. Since it’s not water tight, water can drain away from the roots so it’s perfect for plants. Just remember that although the concrete vase isn’t water tight, it doesn’t drain like a planter with a hole in it. So you would still need to prepare your vase with rocks on the bottom so the water can easily drain away from the roots.
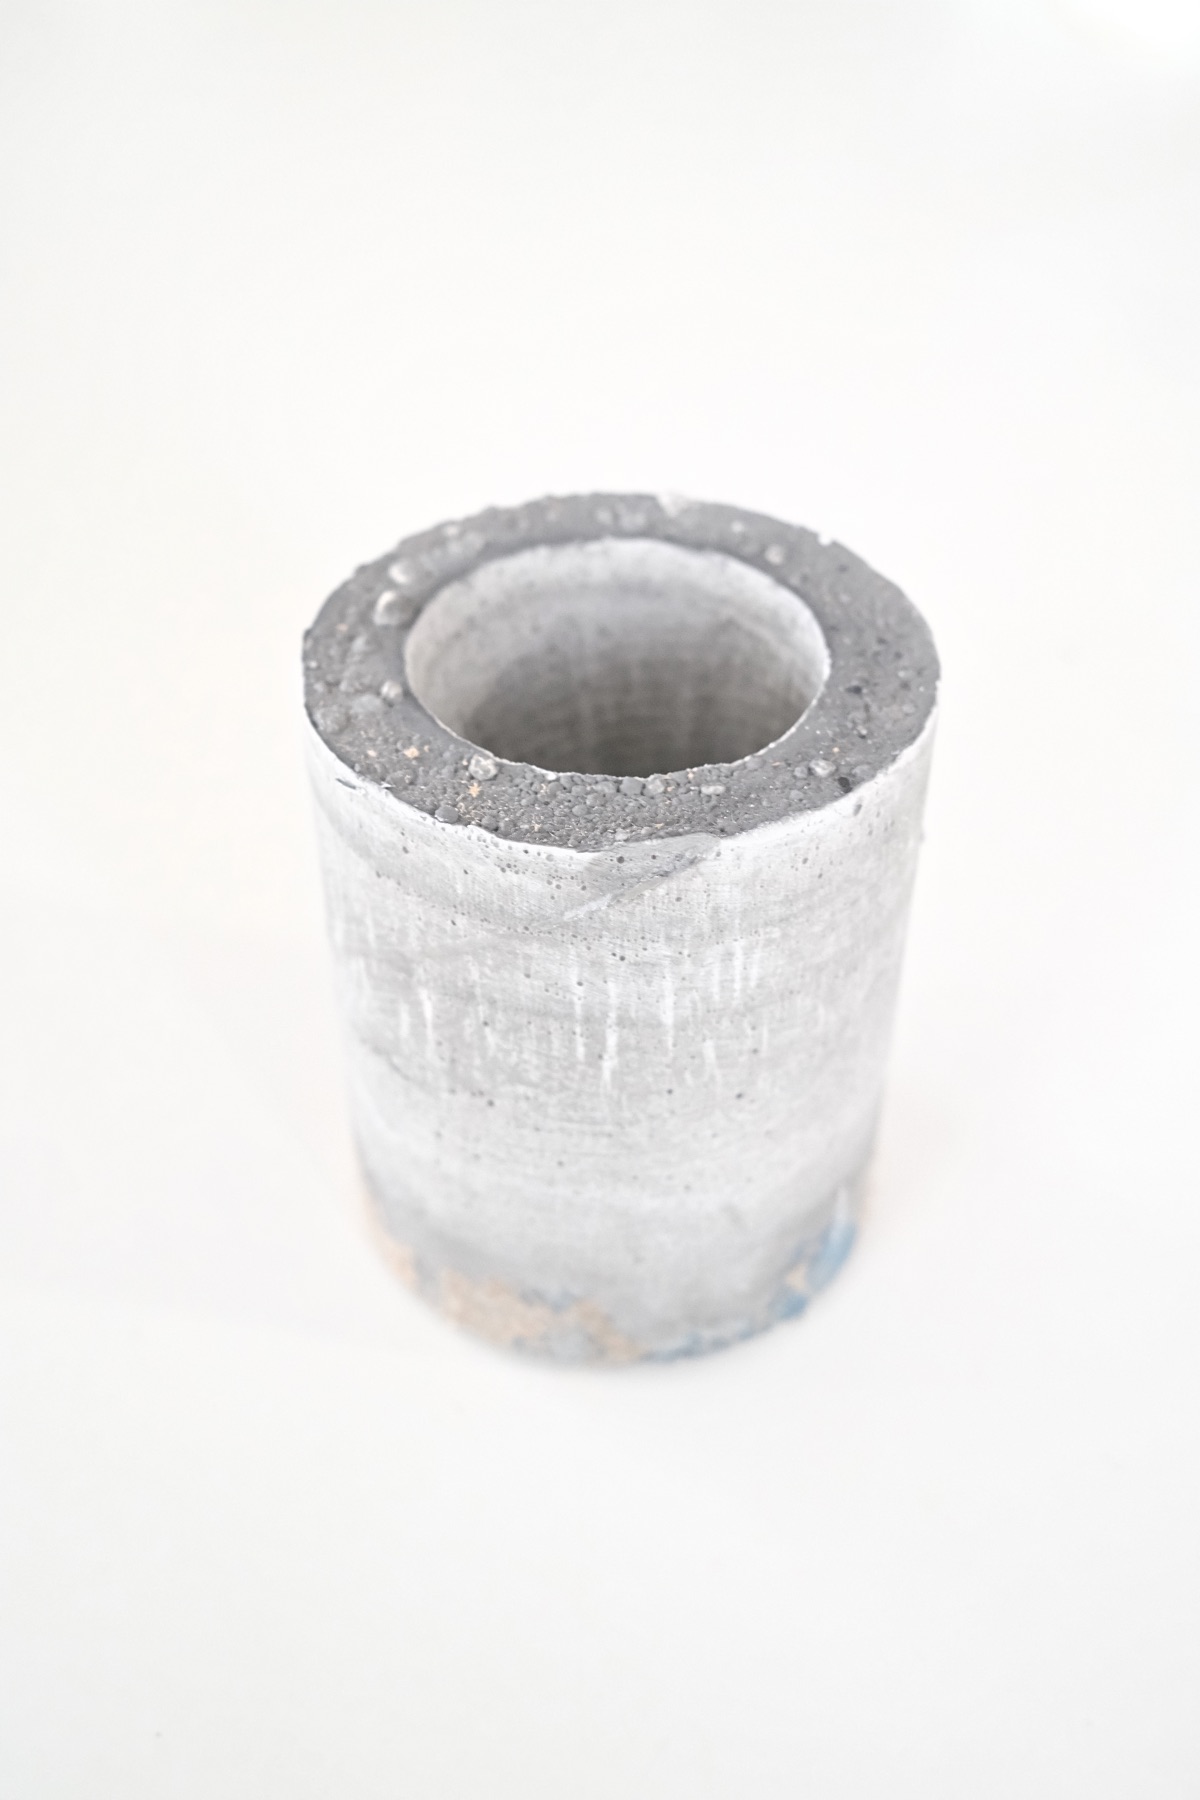
However you choose to use your concrete vase, I think you are going to love it! Because it’s so pretty and so much fun to make.
Why Rockite?
Have you fallen in love with concrete? Look below to find even more concrete projects that are perfect for crafting! My only other suggestion is to always use Rockite. It’s the best quality concrete mix and perfect for small craft projects like this.
You may find that some brands of concrete crack easily, have too many large stones and debris, or are hard to work with. Rockite is beloved by crafters including me!
Want to make this project for yourself? Then get the kit here! It comes with all the supplies you need including your Vaseline, Mailing Tube, Foam Brush, Cup and so much more! Happy crafting.
Let’s Be Friends!
Insta | Pinterest | Enews | TikTok


