
DIY
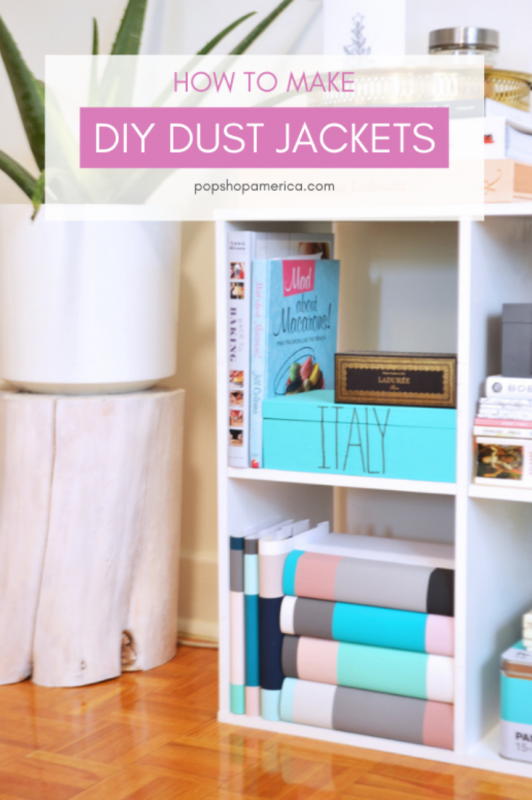
How-To Curate Your Bookshelf with DIY Dust Jackets
Jan
If the title of this post sounded incredibly boring, please bear with me – I swear it’s not! It’s actually incredibly cute and has lead to my bookshelf becoming much more visibly appealing. I decided to DIY dust jackets for my bookshelf and absolutely love the end result!
When I moved into my bachelor apartment back in November, I was hell bent on curating the space. I’m not a student anymore, so I don’t have an apartment filled with cast-off’s from my parents, random salvaged pieces, and crap from my childhood that I had to hang on to because I couldn’t afford new things. My goal was to make this apartment different. I wanted it to reflect my taste and what has evolved to become my style.
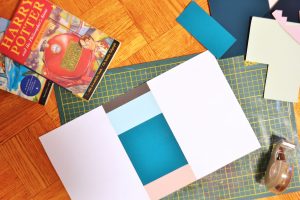
I got rid of a ton of stuff, and then thought a lot about what I wanted in the new space. I then carefully selected new items and gradually have bought them and worked them into the design. I was pretty ruthless in my decluttering, but never seemed to be able to part with my Harry Potter books. I loved them as a child and haven’t read them in a long time, but often quote the movies/books with friends, so I’ve got a bit of a soft spot for them.
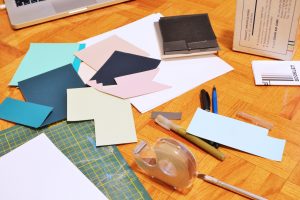
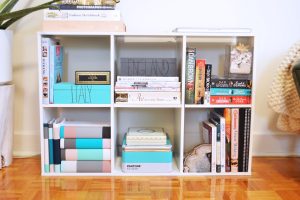
I had talked about doing DIY dust jackets for them for a while, but could never decide on what kind of paper to use. I didn’t want to just cover them in a single sheet of paper and have them loose all resemblance to the original spines of the books. I wanted something that was easy, inexpensive, and didn’t force me to part with the books. It finally hit me one day that I could use the pack of colour aid paper that I got in school to create my DIY dust jackets. I’ve used this paper for other projects as seen here. By using this paper in combination with plain white printer paper, I could use up old supplies that I had on hand (something I LOVE doing). Also, I was able to choose from over 400 colours and pick a palette of colours that all went together. The biggest stroke of genius that I had was designing the spines to look similar to the original Harry Potter spines. The bookshelf started off looking like this:
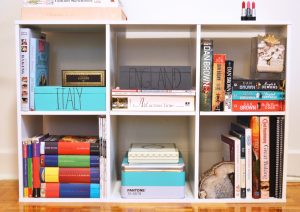
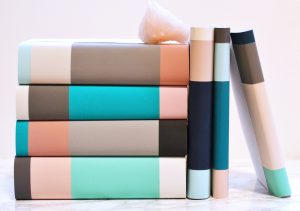
Because my books sit in the shelf and you can only see the spines, I was only concerned with having those be coloured. I was fine with the remainder of the dust jacket being white. If you want the entire dust jacket of your book to be covered in coloured paper, you may have to buy some bigger sheets!
So here’s how I created my DIY dust jackets and made my bookshelf look 100x better:
DIY Dust Jackets
Materials:
- plain white printer paper – 8.5×11
- an exacto knife
- rubber cutting mat
- coloured paper in about 12 shades – 4×6 (See above notes for sizing)
- tape
- pens/markers (optional)
Steps:
- Take a piece of printer paper and cut it in half with your exacto knife
- Flip the pieces around so that the cut edges are facing the outside
- Then pick 4 colours of paper and arrange them in the order that you want them to appear on the spine of the book
- Measure the spine of the book and add at least 2 inches to that size. This becomes your length.
- Next measure how wide you want the first band of colour to be. My first band was about half an inch wide because I was trying to recreate the look of the Harry Potter spines. This is your width.
- Take your l x w measurements and cut your first piece of coloured paper to that size. Note that the length of each piece will stay the same for each colour. Only the width will change depending on how big each section of colour should be.
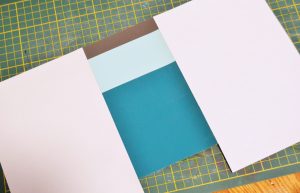
- Take you piece of coloured paper and flip it over so the wrong side is facing up.
- Line the printer paper up with the edge of the coloured paper and tape down on both sides. It should look something like this once you have a few colours done:
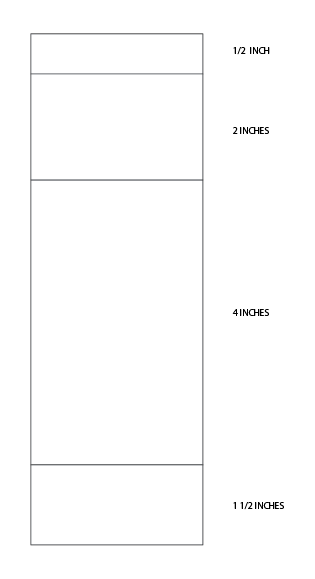
- Continue to cut your next 3 pieces of coloured paper and tape them one below the other trying to line them up as best as possible. To make dust jackets that resemble the Harry Potter covers you can follow my template below. The measurements can vary slightly, though!
- Once you have all of your pieces of coloured paper securely taped in place, pick up the cover and tuck it under the top cover of the book. Holding your cover down, gently guide it around the book and tuck into the back cover as well, taking care to make sure it has been wrapped snuggly.
- Repeat for remaining books!
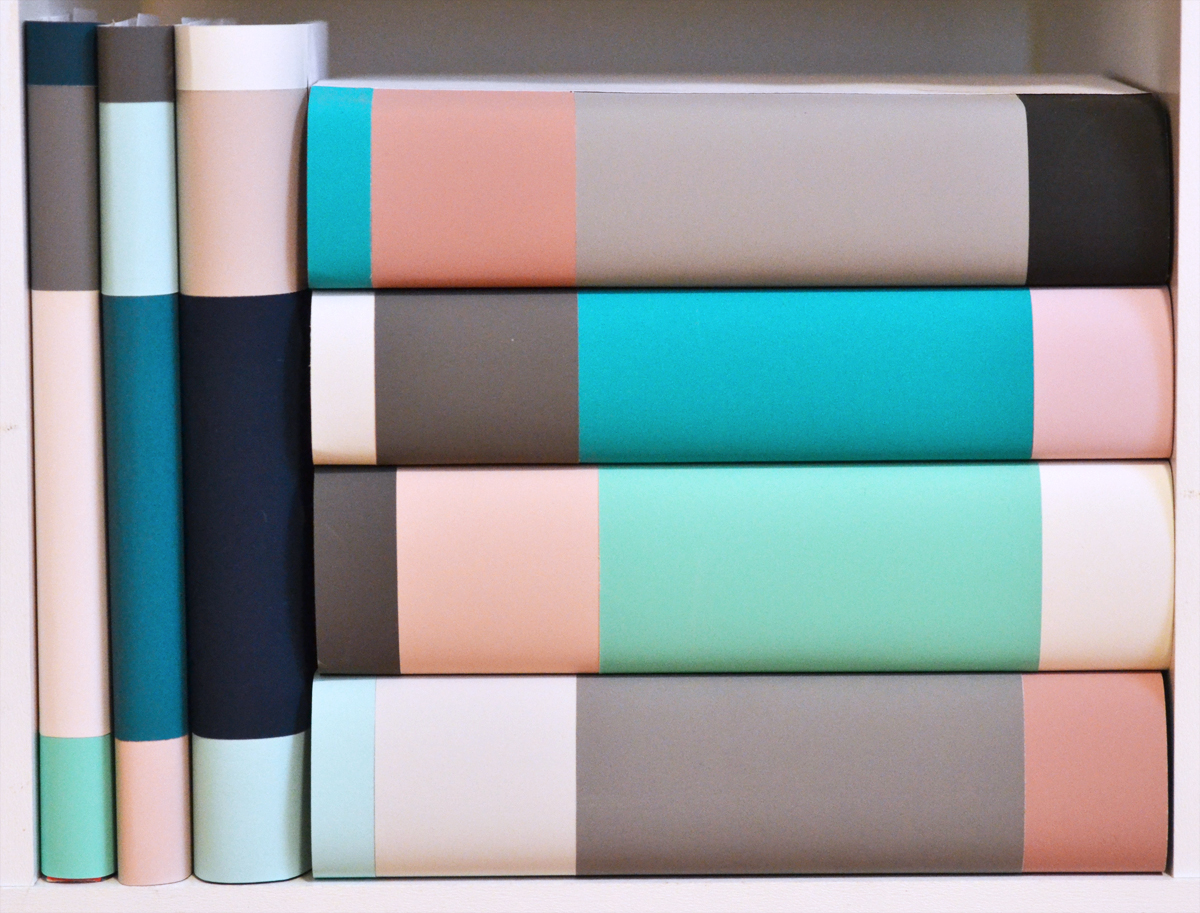
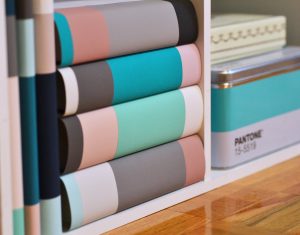
It’s a simple project, but it makes the book shelf look so much more cohesive. It also didn’t cost me a dime – which is my favourite kind of project! I chose not to write on the spines of the books because I just wanted them to look streamlined and clean – but that’s totally something I could change in the future. I also love how the design of the dust jackets still pays a subtle tribute to the original Harry Potter book spines with the coloured blocking 🙂
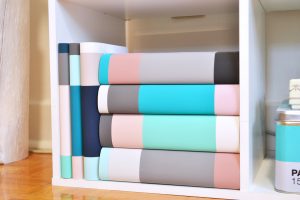
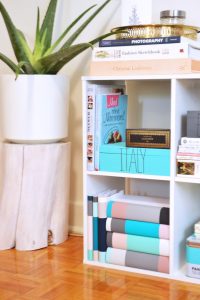
This is such a great way to make your space look cohesive by slightly tweaking the things that you already have. It’s such an easy, inexpensive little project, but I think it makes the space look much more visually appealing.
I’m so happy with how these ones came out that I think I may need to look into making some more DIY dusk jackets for my Dan Brown books!
Would you give these a try to help curate your space? I’d love to hear!
xo, tess.

Let’s Stay Friends!
Insta | Pinterest | Enews | TikTok

Love this diy idea 🙂
Thank you Jeanette!
Wow – what a super fun way to make a bookshelf look less chaotic!
Thank you so much Natasha!
Love this idea! I had never thought of doing it with paper. I have some ideas for fabric book covers, but this would take way less time for me.