DIY
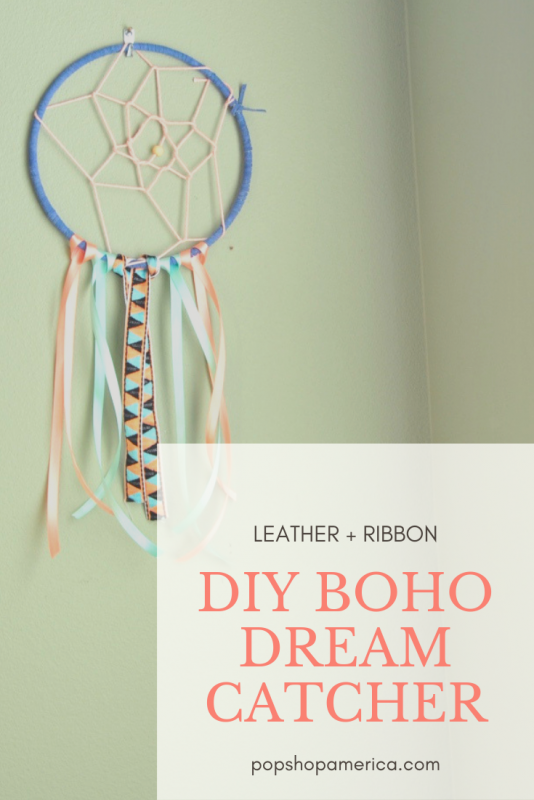
How to Make a Boho Dreamcatcher with Leather & Ribbon
So pretty and so boho! For those that know me, you’ve probably heard before that I’m not the best sleeper. The problem is, I actually enjoy being awake in the middle of the night!
It’s the only time I get to totally relax, watch TV and not think about work. The problem is, it’s not a healthy thing to do long term.
So I turn every night into a sanctuary. I love taking a warm bath especially with these Relaxing Floral Milk Bath Soaks. I always keep a lavender candle by my bed for a bit of candle lit magic. And I love adding a bit of Essential Oils like these to my pillows.
And one of my favorites are dreamcatchers.
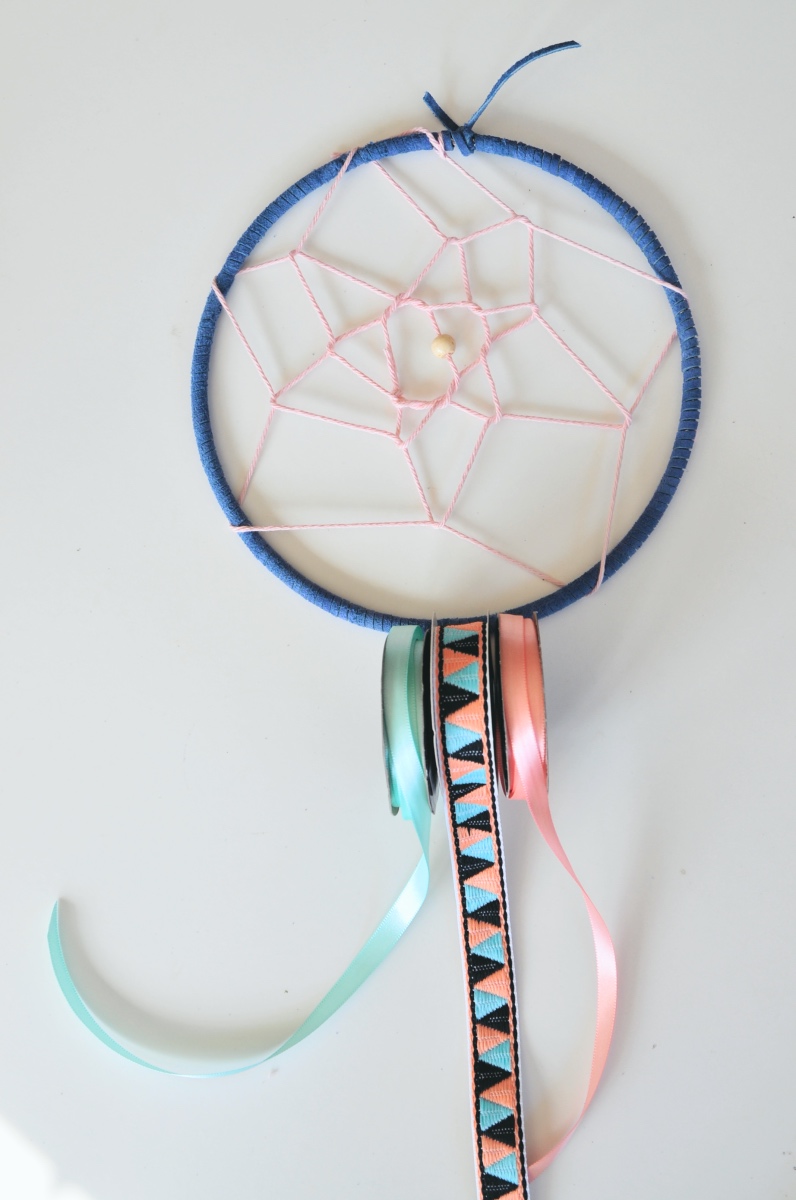
Now you can make dreamcatchers in lots of different styles, colors, and use all kinds of materials. I wanted to make one that was pretty and full of joyous bright colors. So I came up with this!
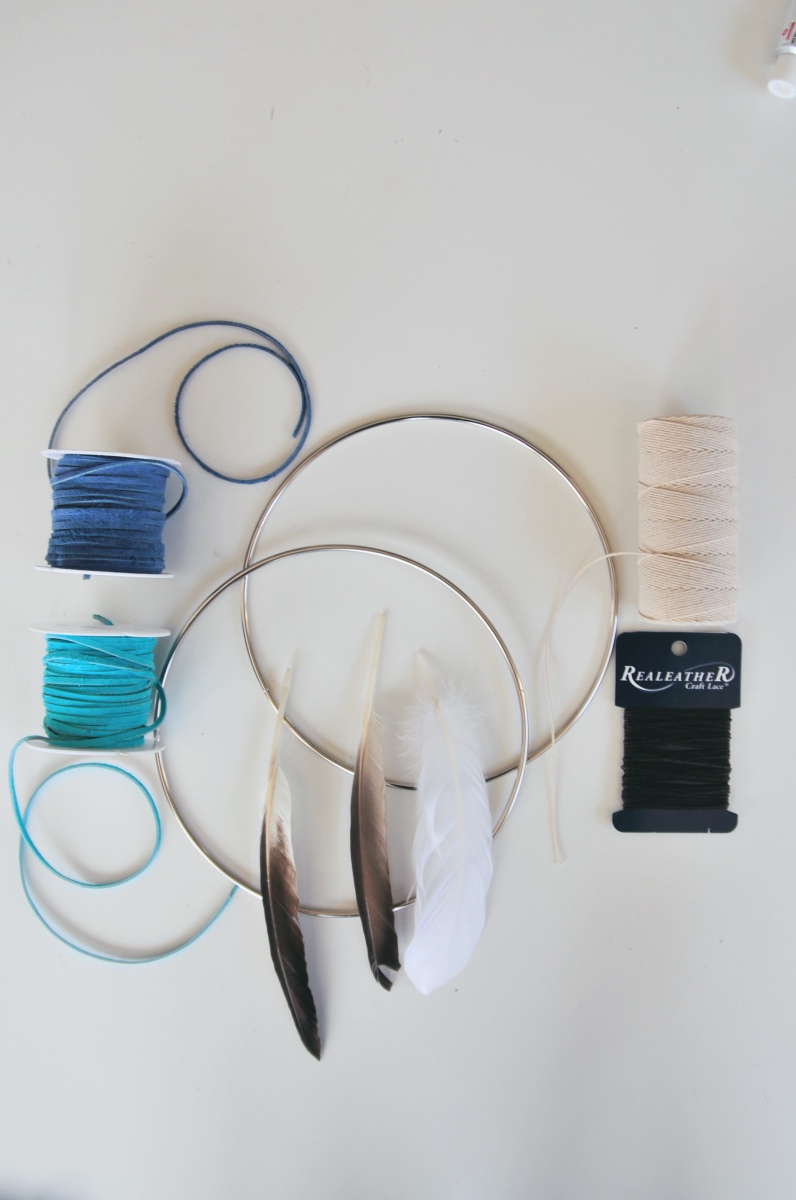
Supplies to Make a Dreamcatcher with Leather & Ribbon:
Metal Hoops
Leather Cord (I used blue)
Twine or Thread (I used pink)
A Wooden Bead
3 Different Colors of Ribbon
Other Tools You Need:
A Clothespin
Scissors
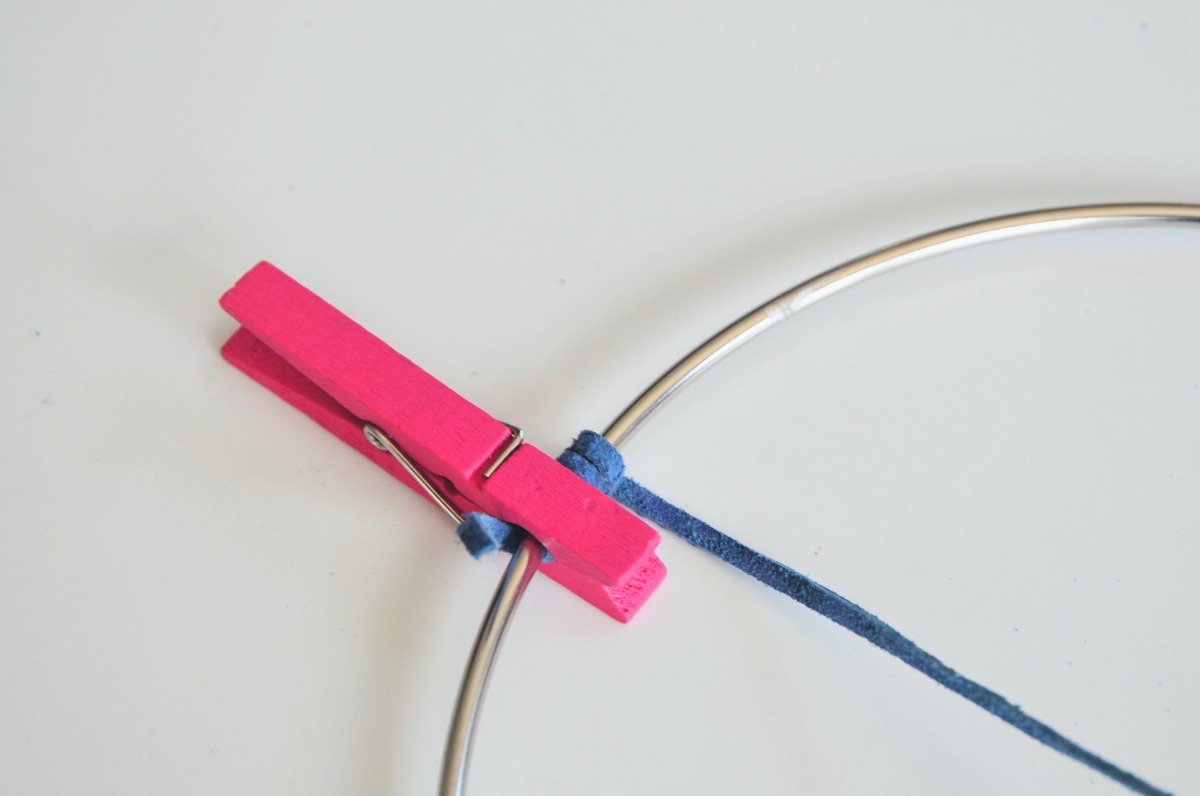
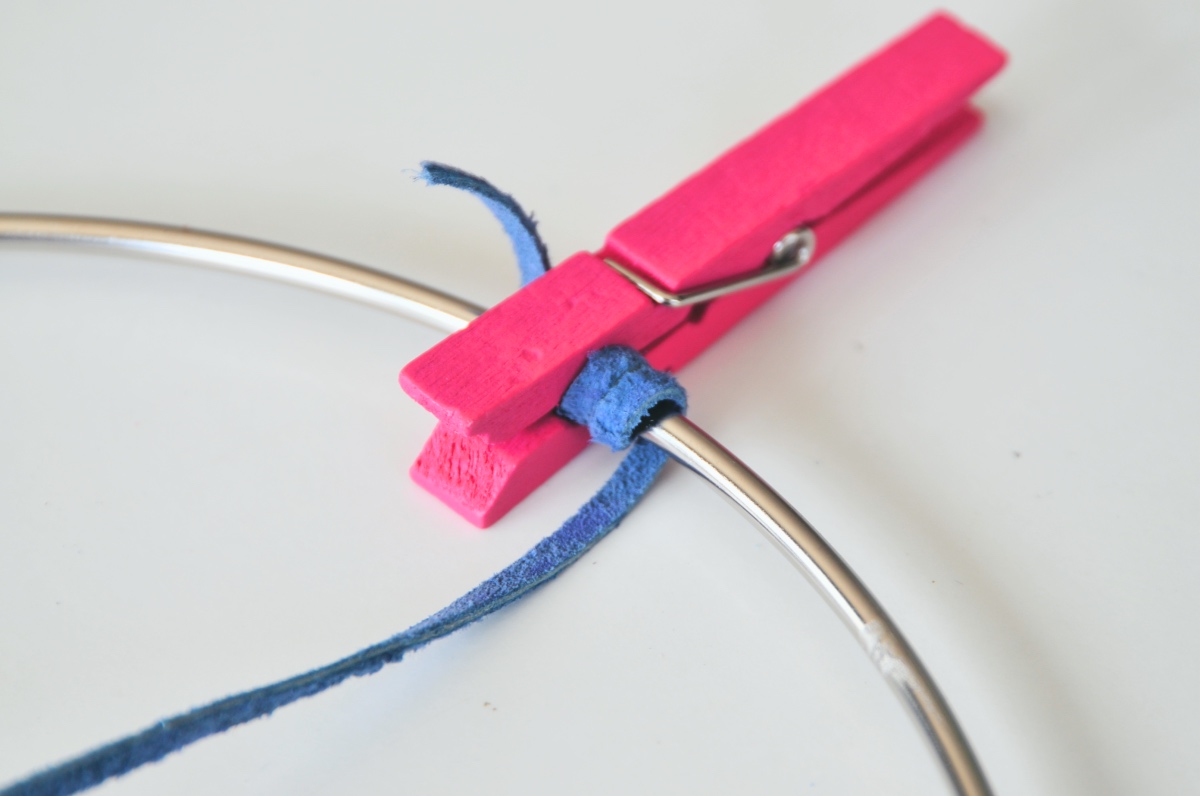
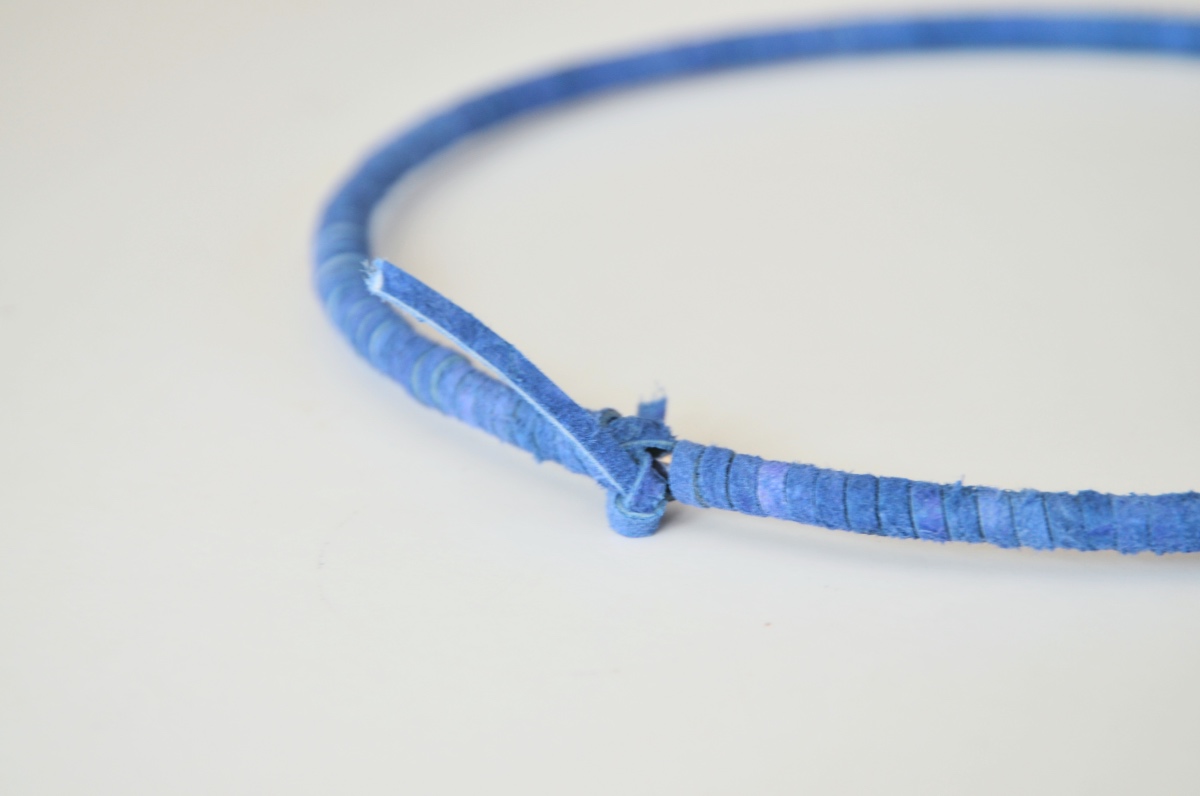
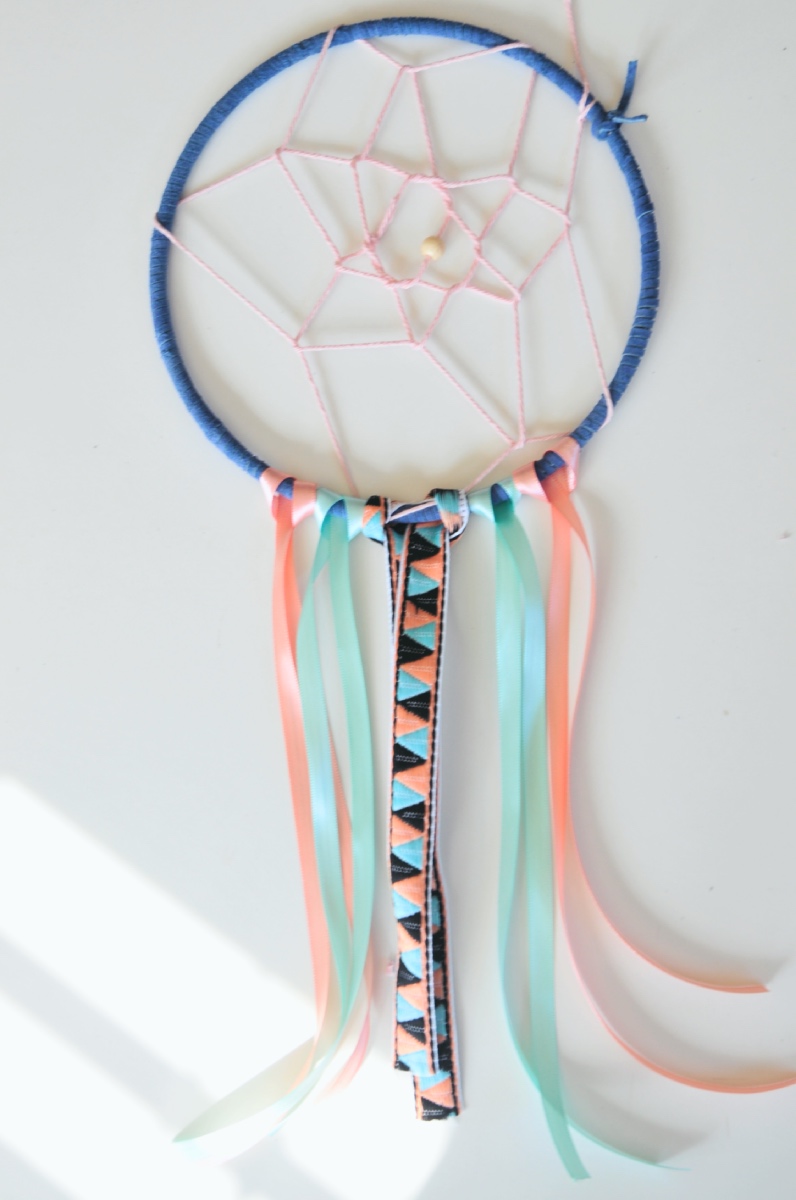
First, gather a impossibly long piece of leather chord or best of all, keep your leather on the spool and tie the end in a knot around the metal hoop. Begin wrapping the metal hoop with the leather chord in a spiral.
The clothespin is perfect for holding your place as you work, because you will need to keep the leather taught the entire time.
Wrapping the metal hoop is the most time consuming and difficult part of making this. And it’s not that it’s terribly “difficult.” It’s just that you can’t let go of the leather until you are done and it will certainly take at least 30 minutes.
But the rest of the dreamcatcher steps are super fun!
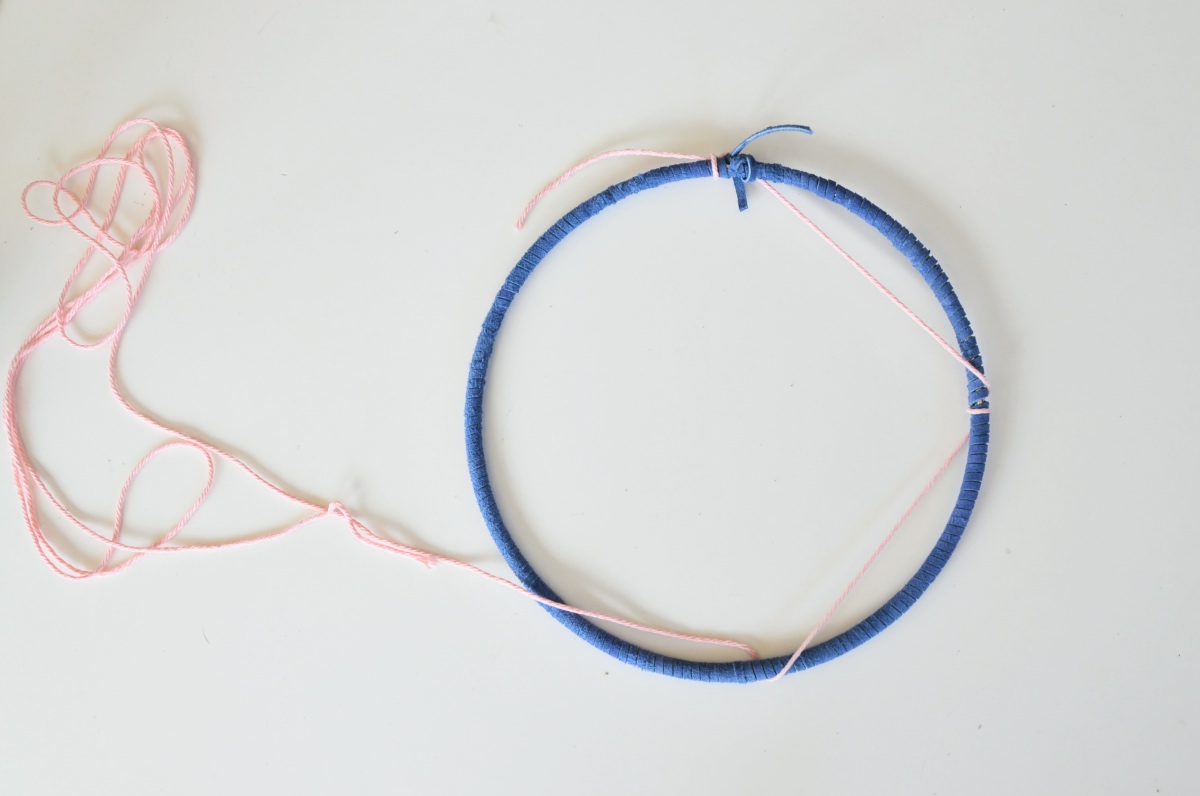
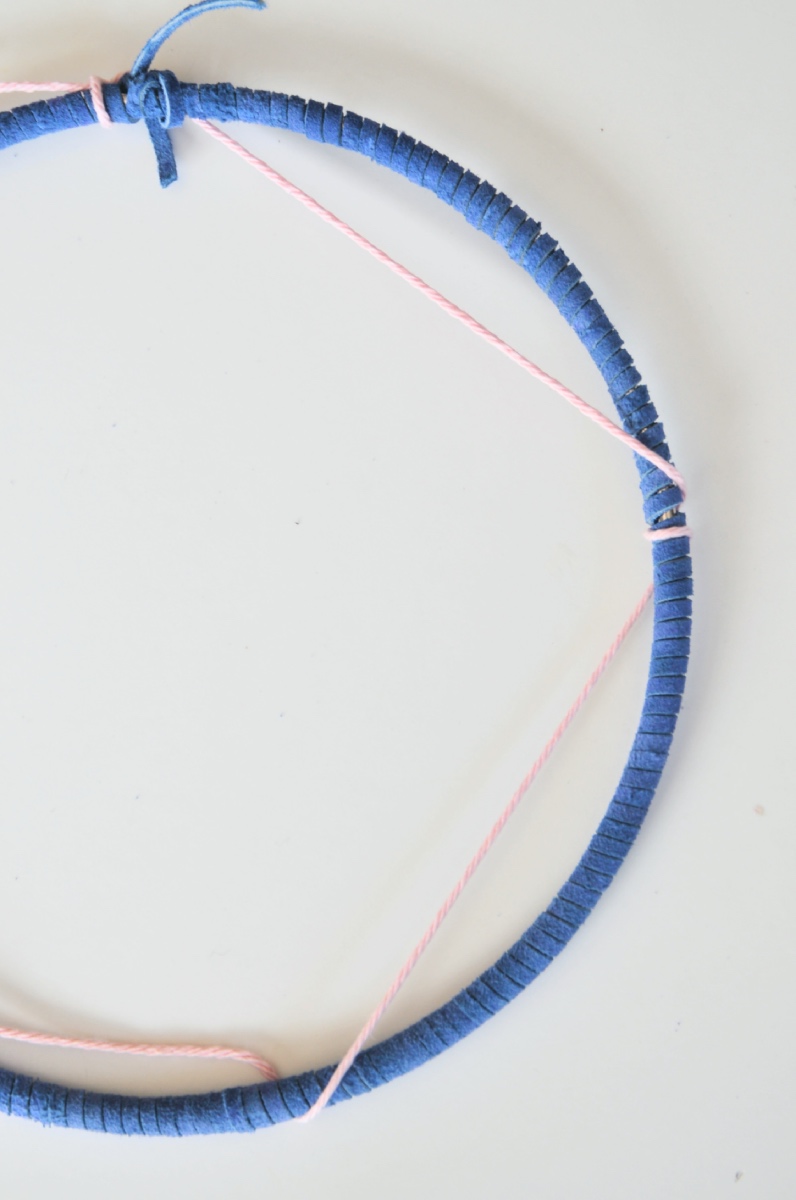
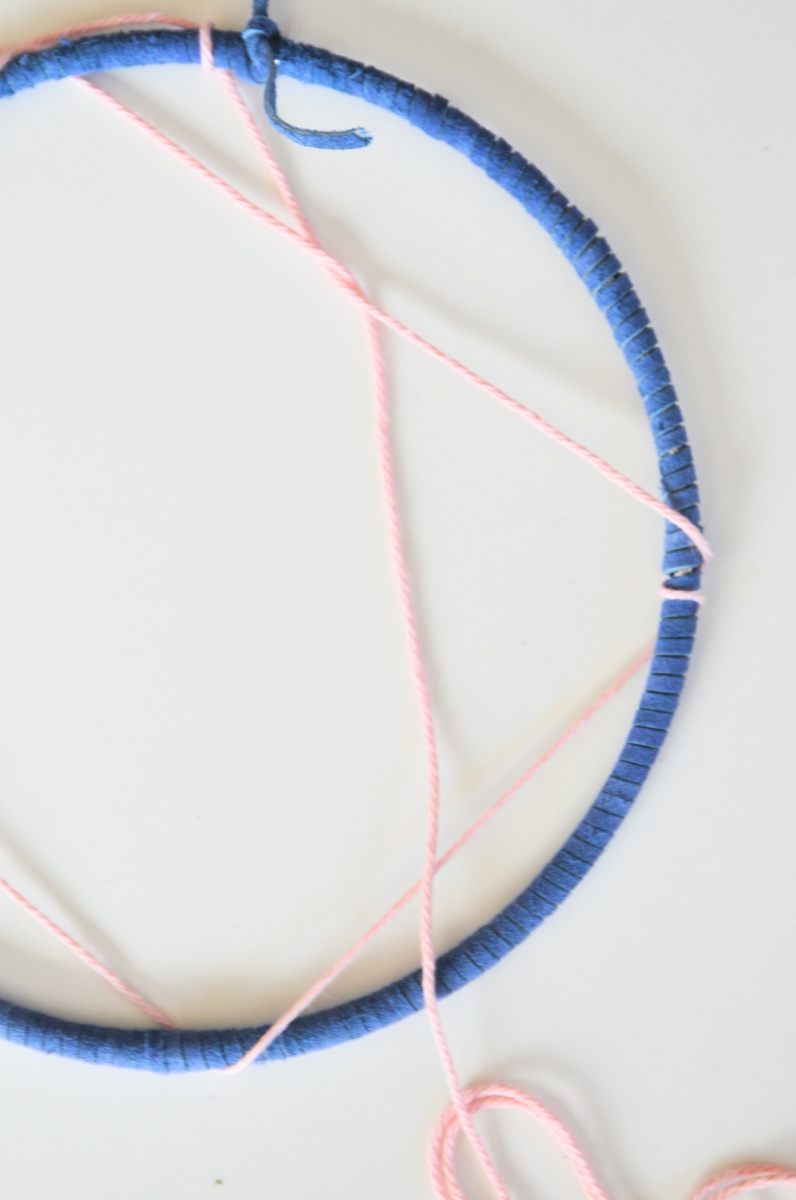
Next, we are going to cut a length of twine or thread that’s around a yard long. We’ll use this piece to weave the interior pattern of the dreamcatcher.
Tie a know with the thread, in the same spot where you started the leather. Make sure you make at least 5 loops around the outside. For the rest of the pattern, use this handy Pinnable Guide below!
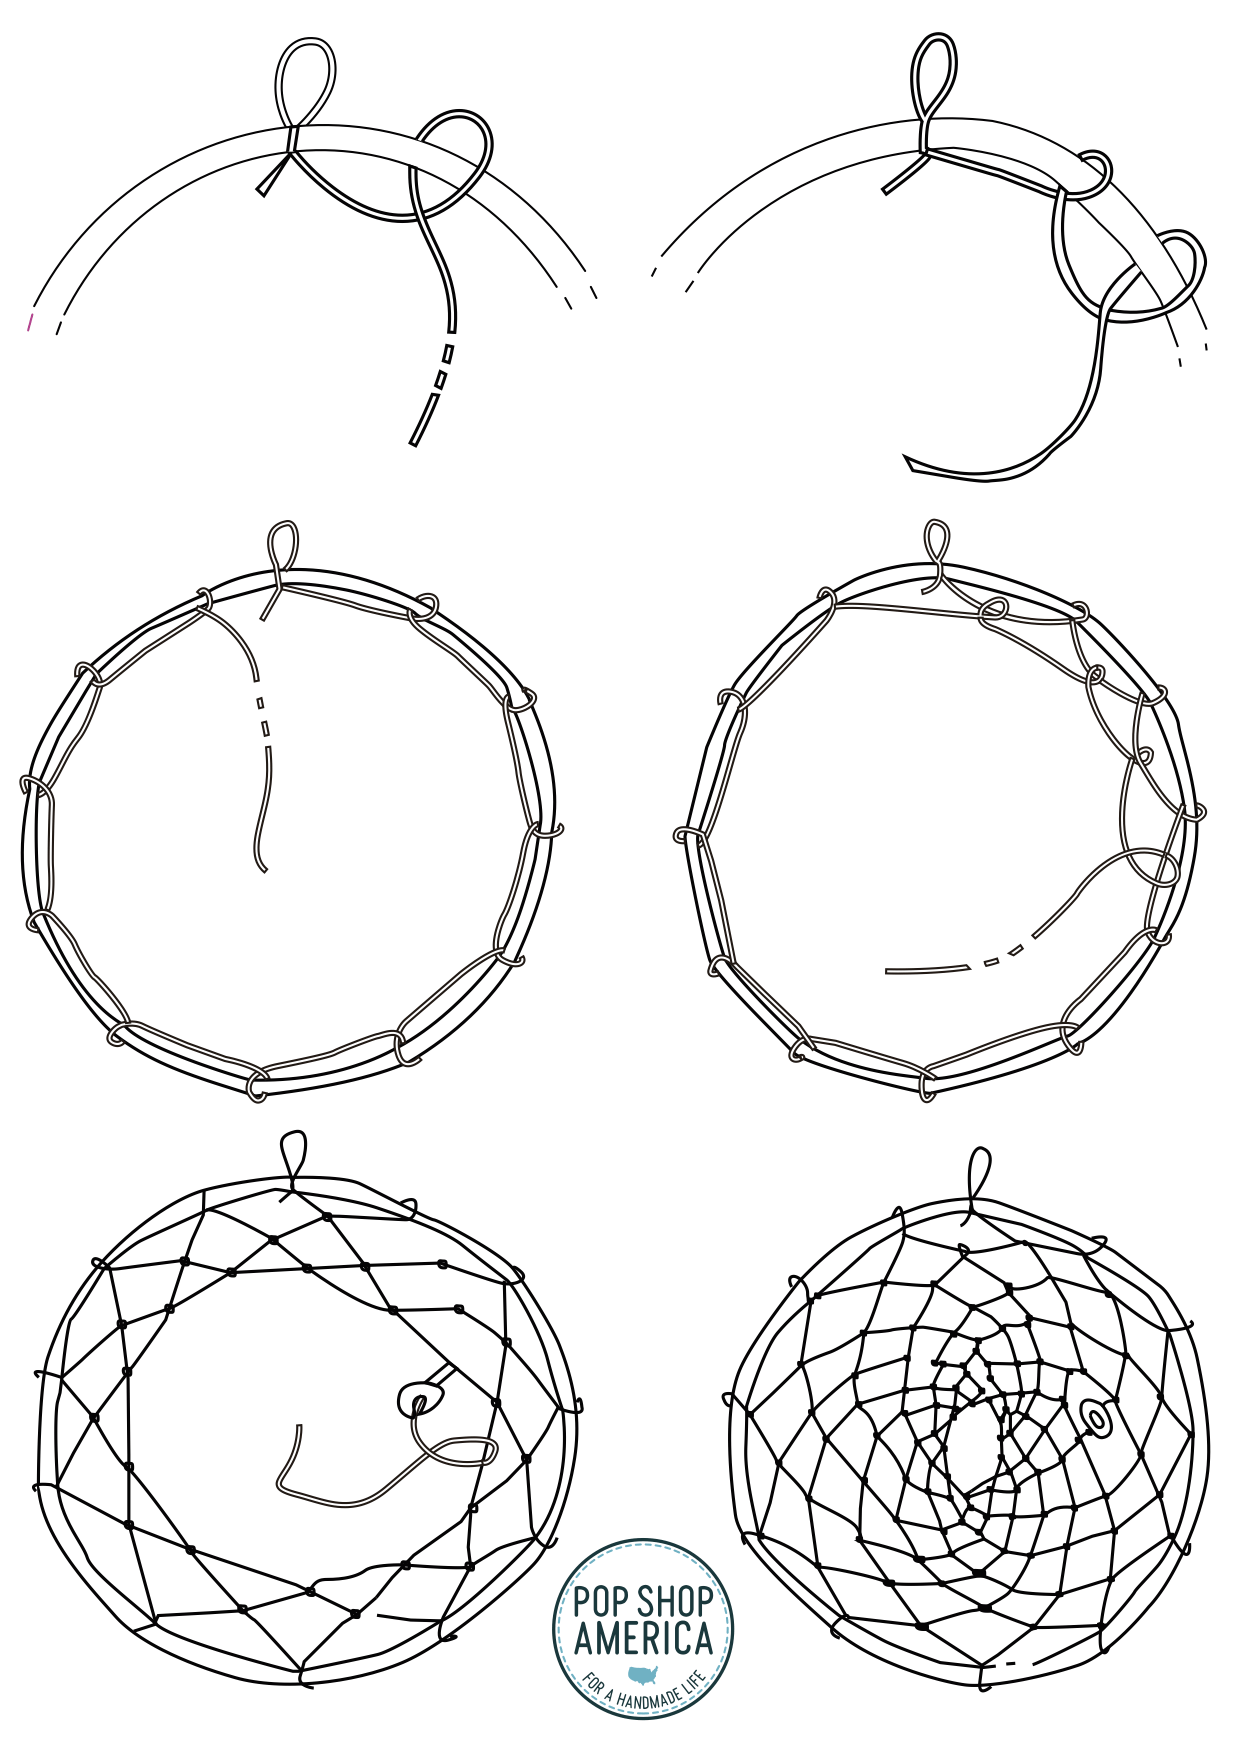
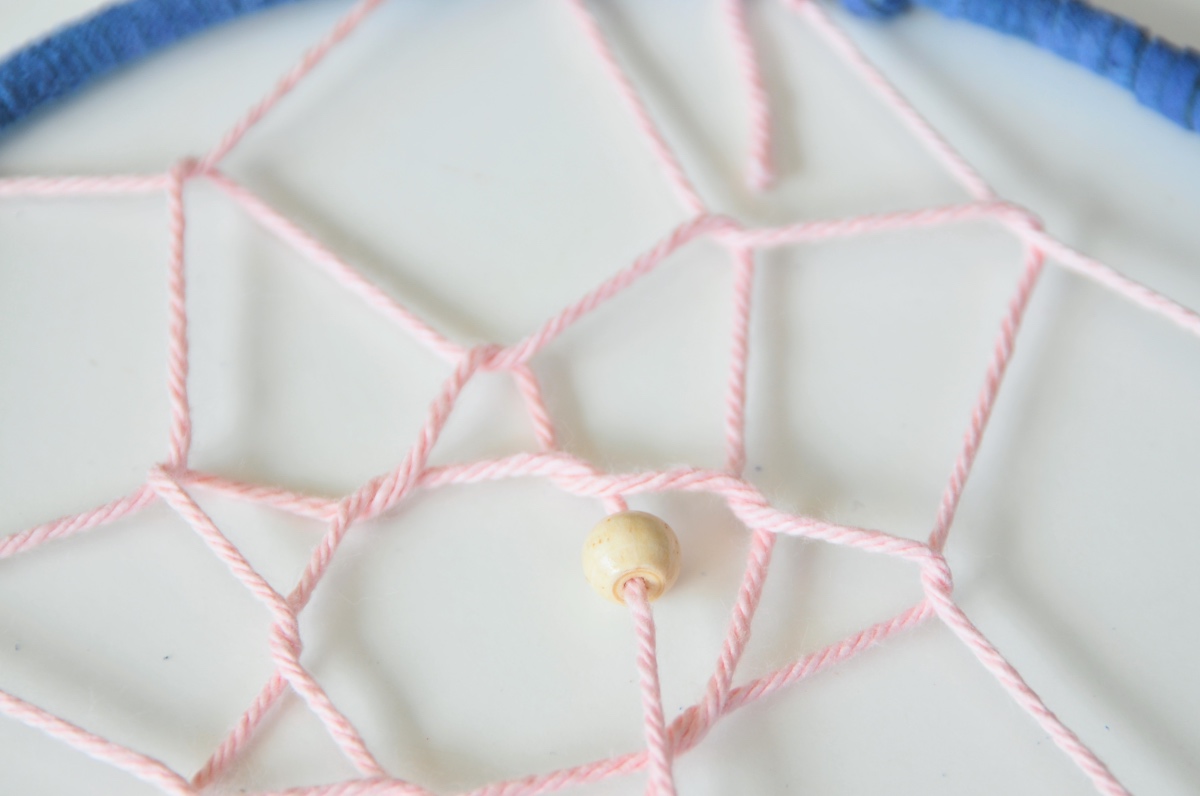
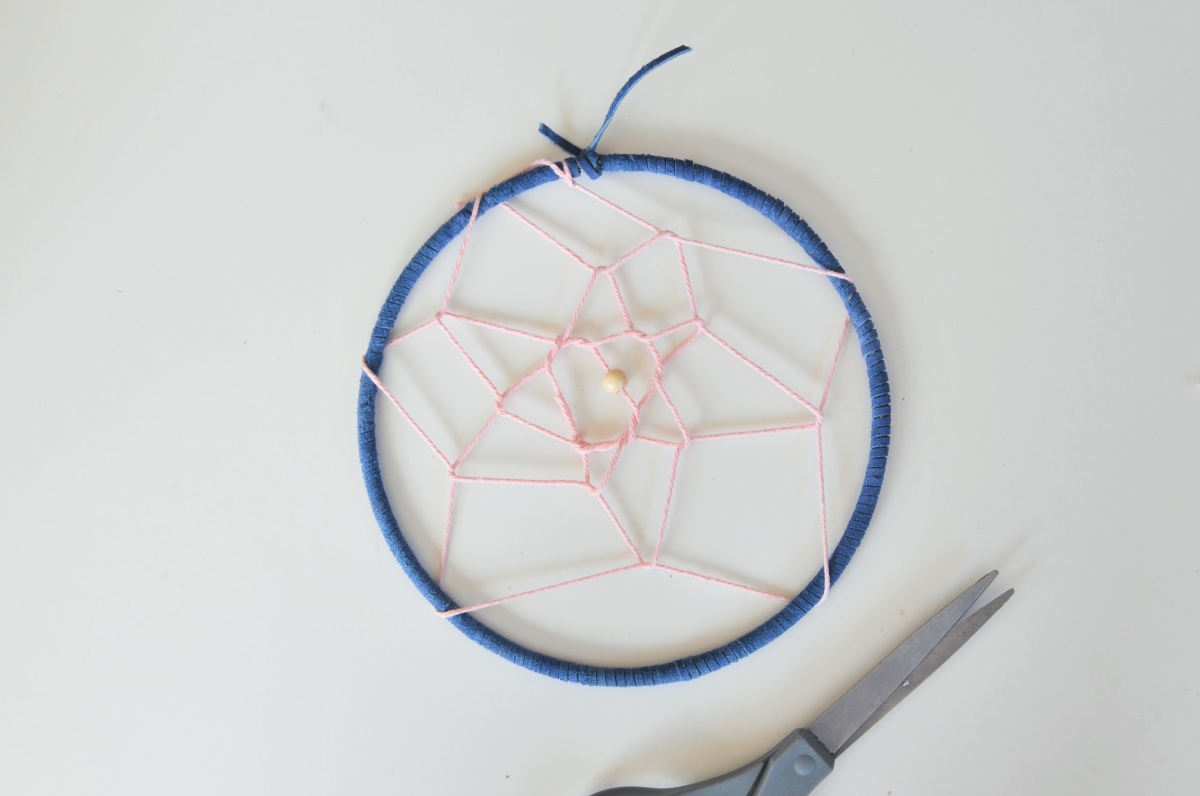
There are a couple of ways you can make the interior weaving look different depending on the choices you make. One way is to either pulling the thread taught as you go or keeping it loose. If you keep it loose, it will look a bit more geometric like mine. Keeping it taught is really important if you make a lot of loops.
The second way you can individualize the interior part is to either make a ton of loops around the outer ring. Or just make a few loops like I did. A ton of loops will make it really dreamy and give that traditional spider web feel. Of course, the more loops the more complicated!
Be sure to add a bead into your weaving. This bead represents the “spider.” There are many different version of how dreamcatchers were first made and many different stories about the spider. They are believed to be created by the Ojibwe tribe. In the version I know, the bead represents protection because the Spider is a Female Spirit that spiritually protects the tribe.
Once your center thread is tied, the top half of the Dreamcatcher is done! Now it’s all about adding the ribbon.
Measure how long you would like the ribbon to be. Then double that length and cut yourself at least 5 pieces. You could definitely add more ribbon. Way more. Feel free to go ribbon crazy.
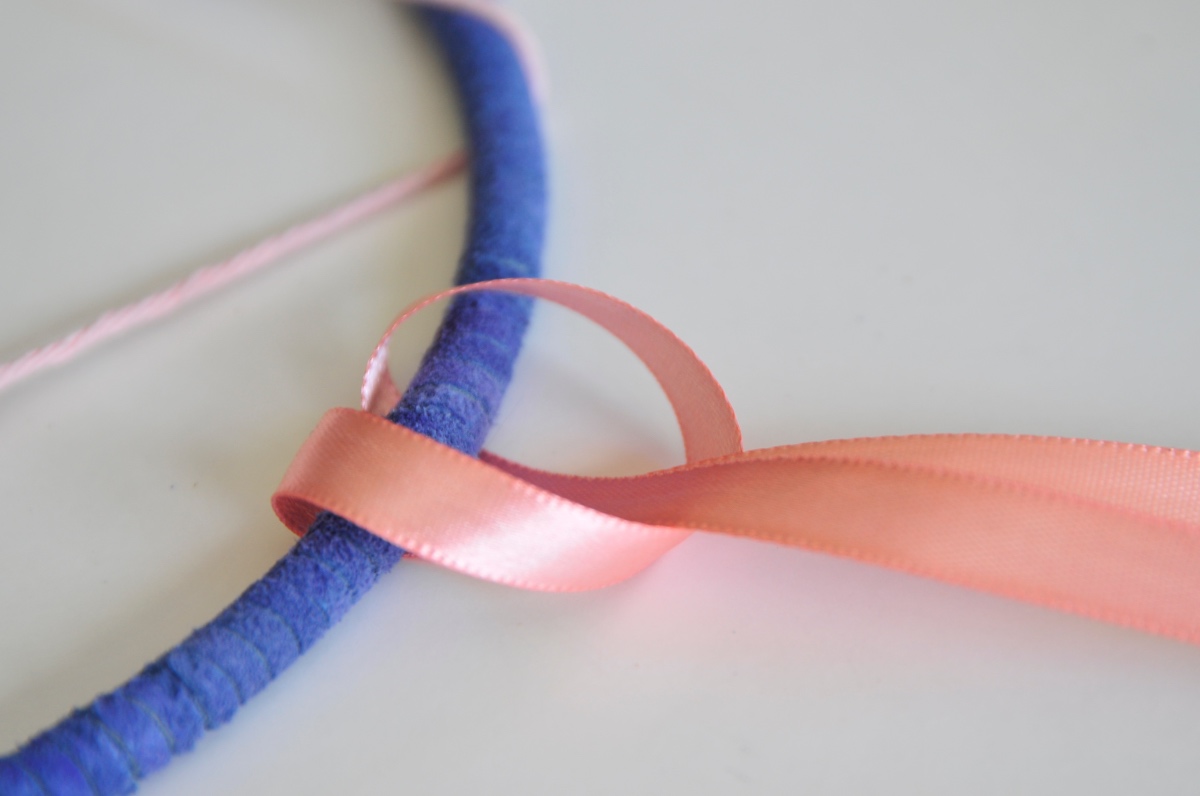
I used the same technique here that I did in the October Fall Wreath DIY here. It’s almost like making a pretzel!
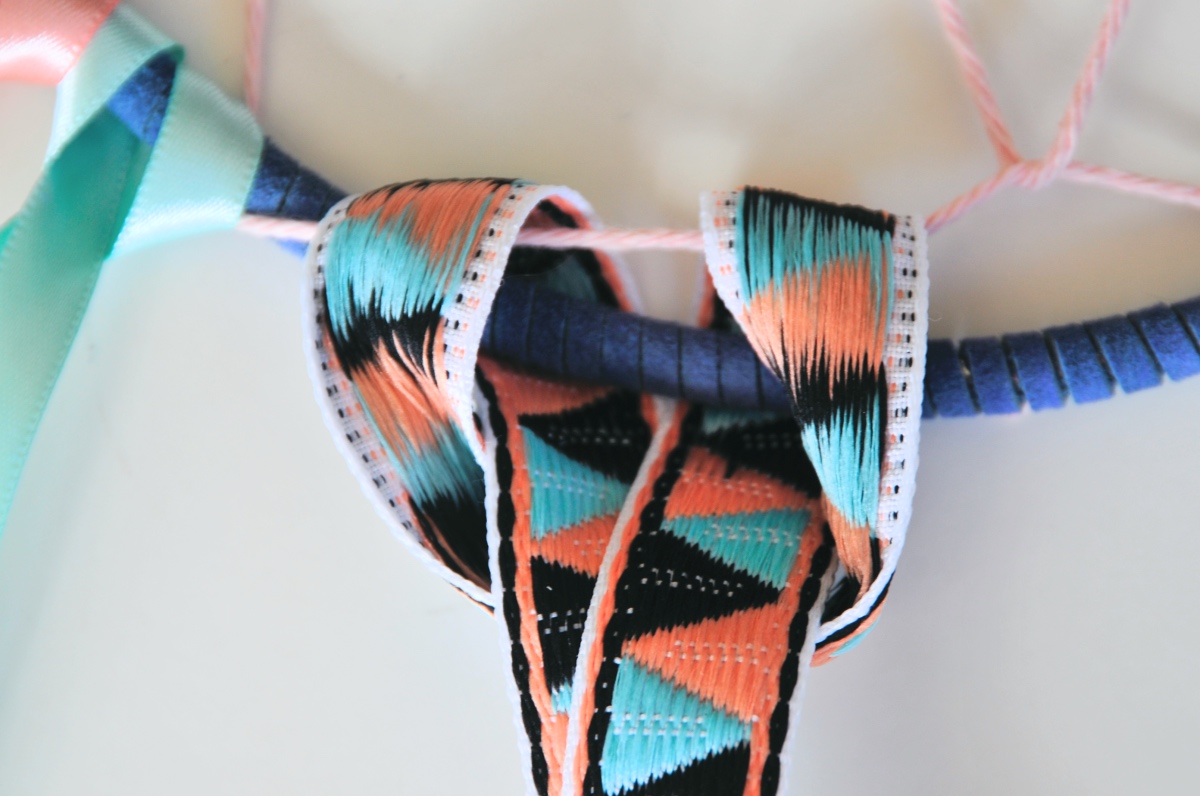
Both of the ribbon ends will slip through the leather dreamcatcher ring and the center of the ribbon together.
If you have ribbon that faces in a certain direction, use the image above as your guide! The loop part will likely sit backward so that the ribbon that hangs down can face forward.
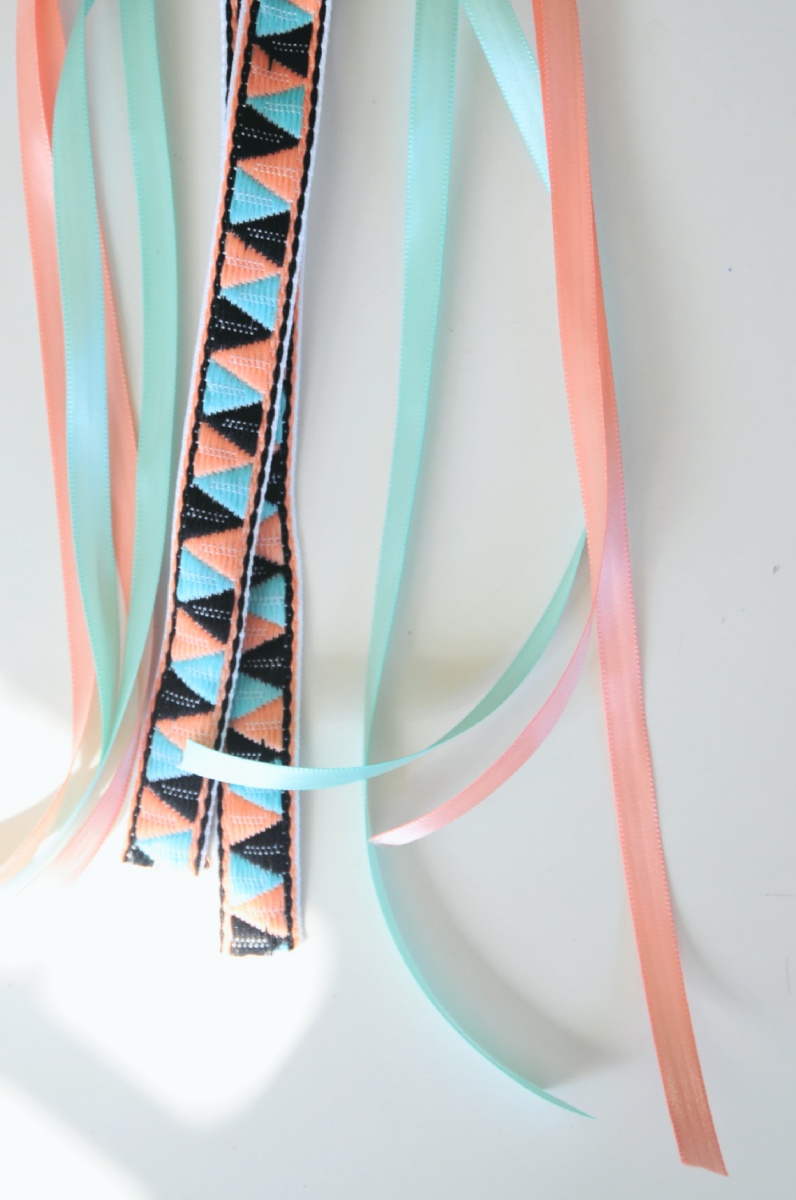
Just repeat attaching the ribbon as many times as you would like! I used a pretty color palette of turquoise, salmon, and a cool Southwestern pattern.
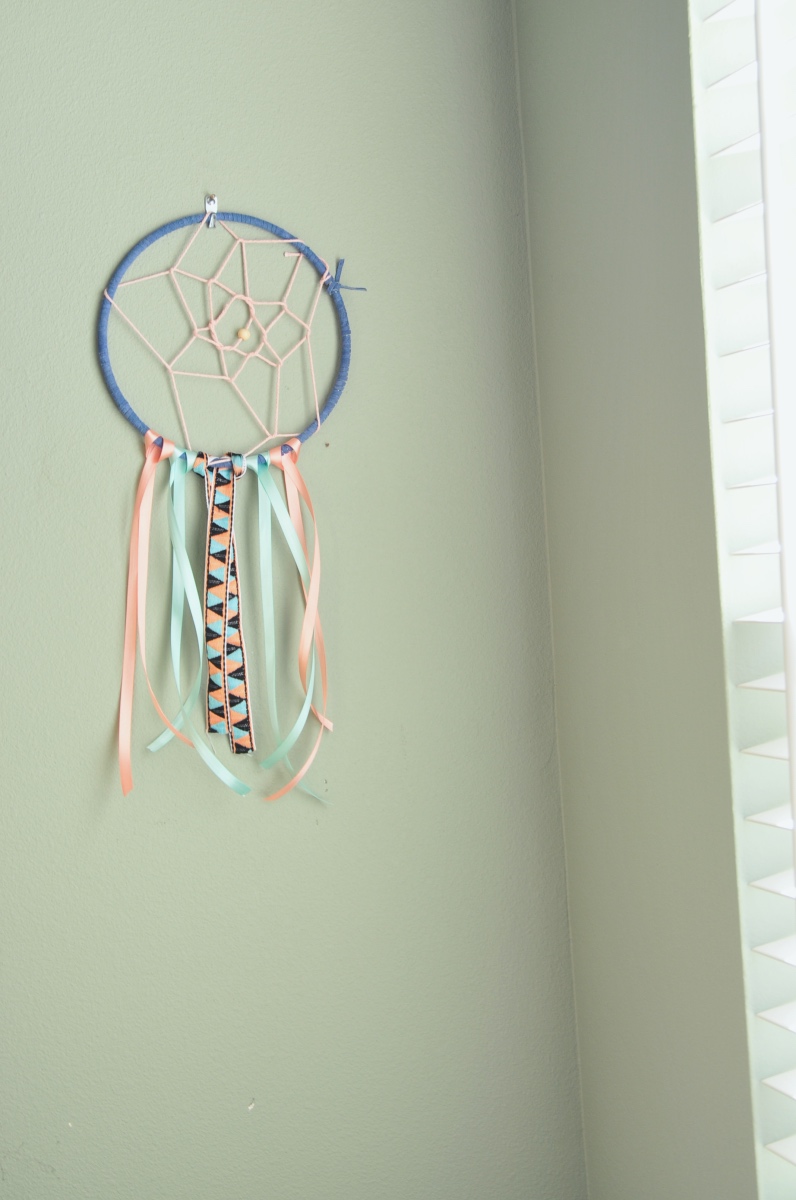
And viola! Your Boho Dreamcatcher with Leather & Ribbon is finished! So where are you going to hang your dreamcatcher? Near your bed, to help protect you while you are sleeping? Or will you put it on display and totally fresh boho decor? Tell us in the comments!
And if you are looking for more cool wall hangings, try this Rustic Wood Sign DIY.
Let’s Be Friends!
Insta | Pinterest | Enews | TikTok


How do you secure the ribbons? Im planning on doing this as a birthday craft and with the sample I made the ribbon stayed in place initially but came loose within hours.
Thicker ribbon and softer ribbon and will loosen just like how you are describing! You could use ribbon with wire in it. But hot glueing the ribbon to the leather dreamcatcher hoop would be the best way.