Craft in Style Subscription Instructions, DIY
How to Make Geometric Concrete Vessels
This tutorial was originally created for the May 2019 Craft in Style Subscription Box. Part 1 is this tutorial. Part 2 can be found here: How to Color Concrete. The Concrete Planter Kit includes everything in this diy and can now be purchased here.
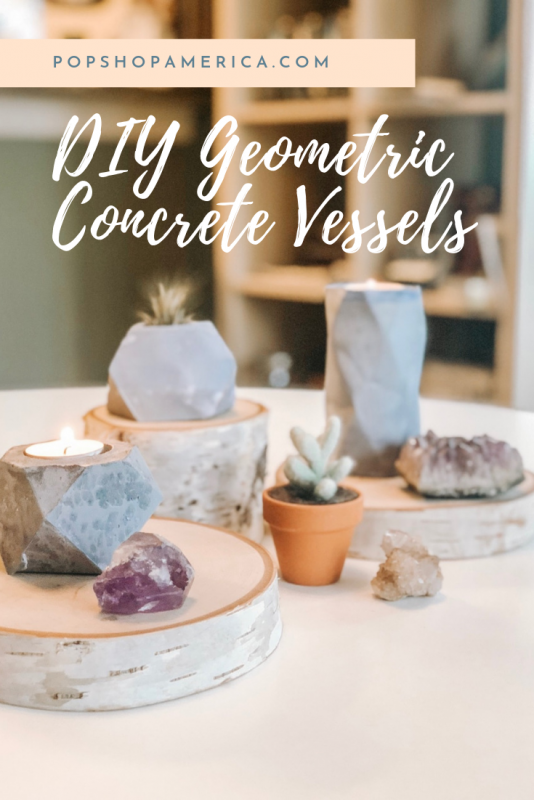
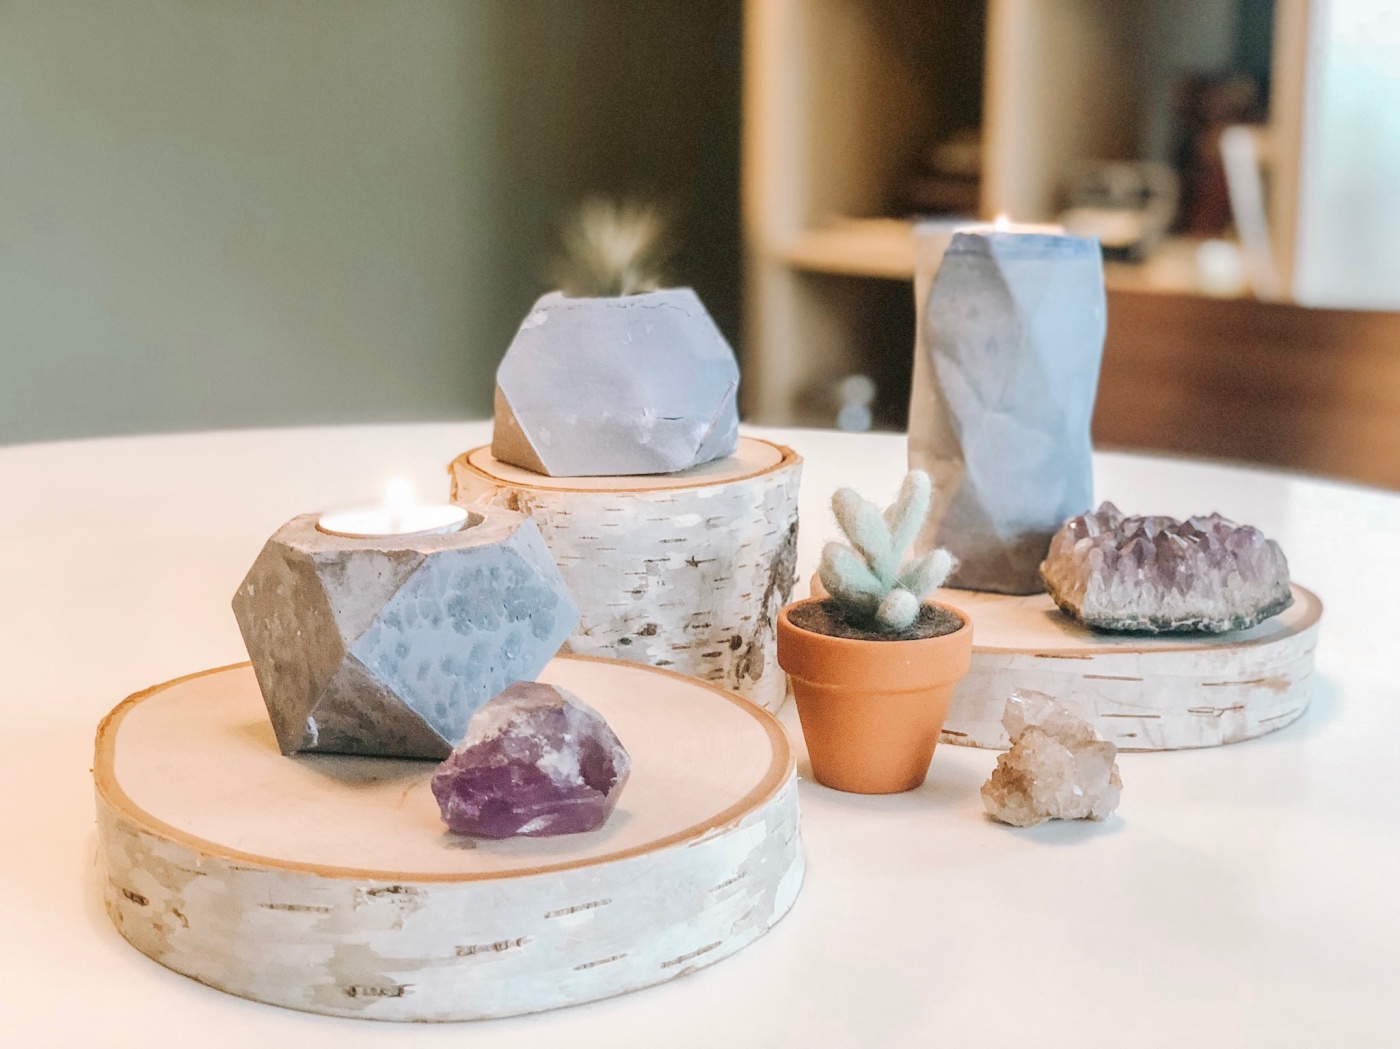
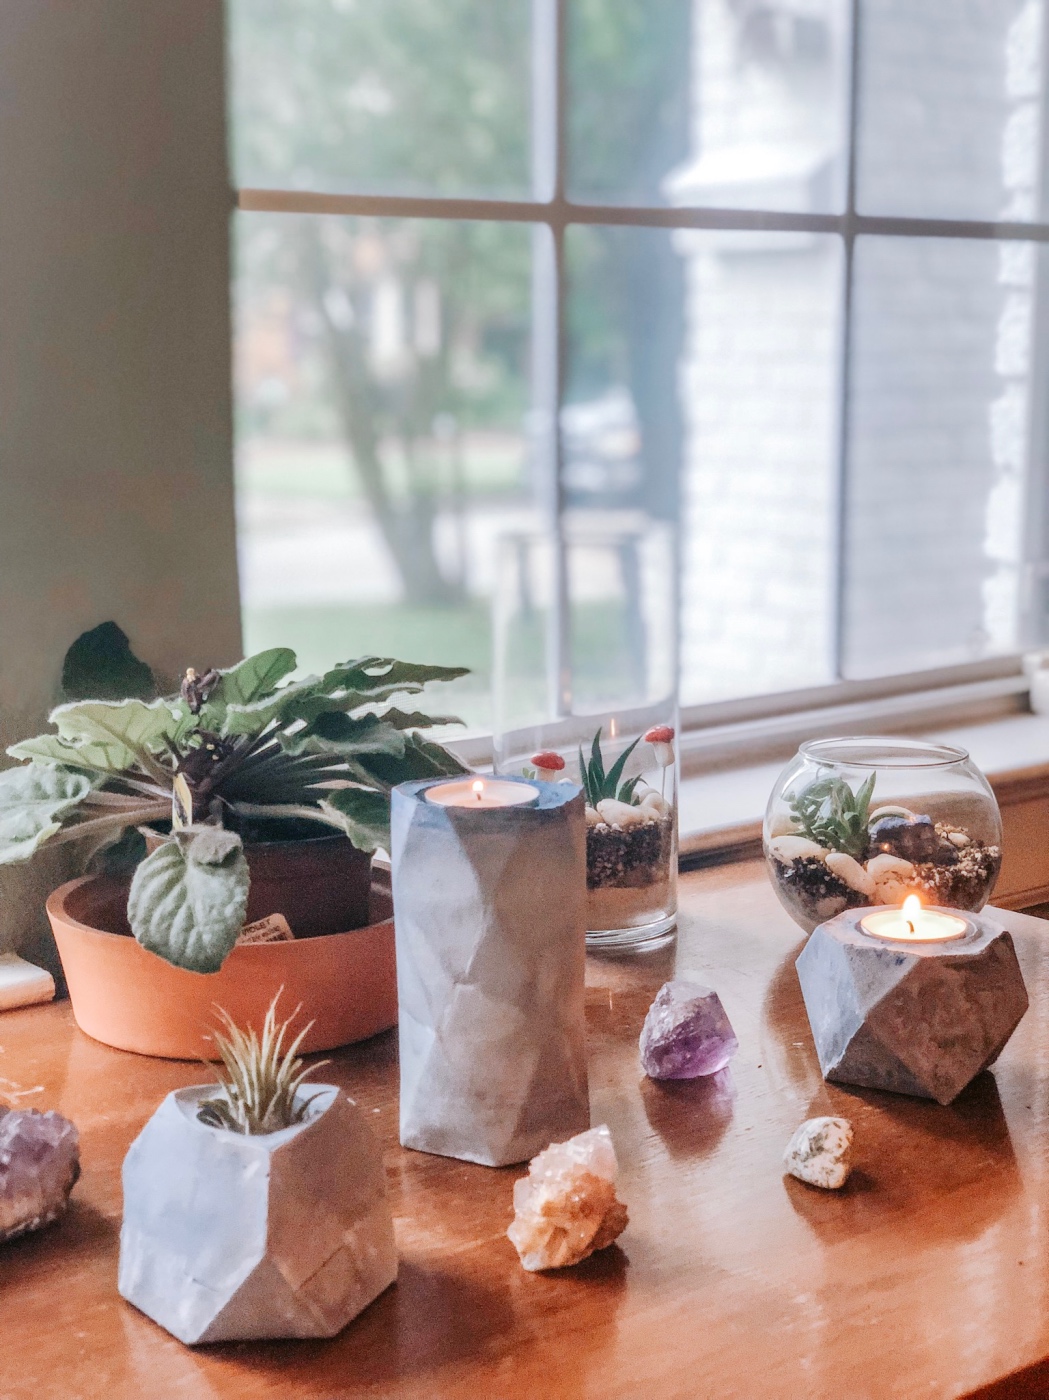
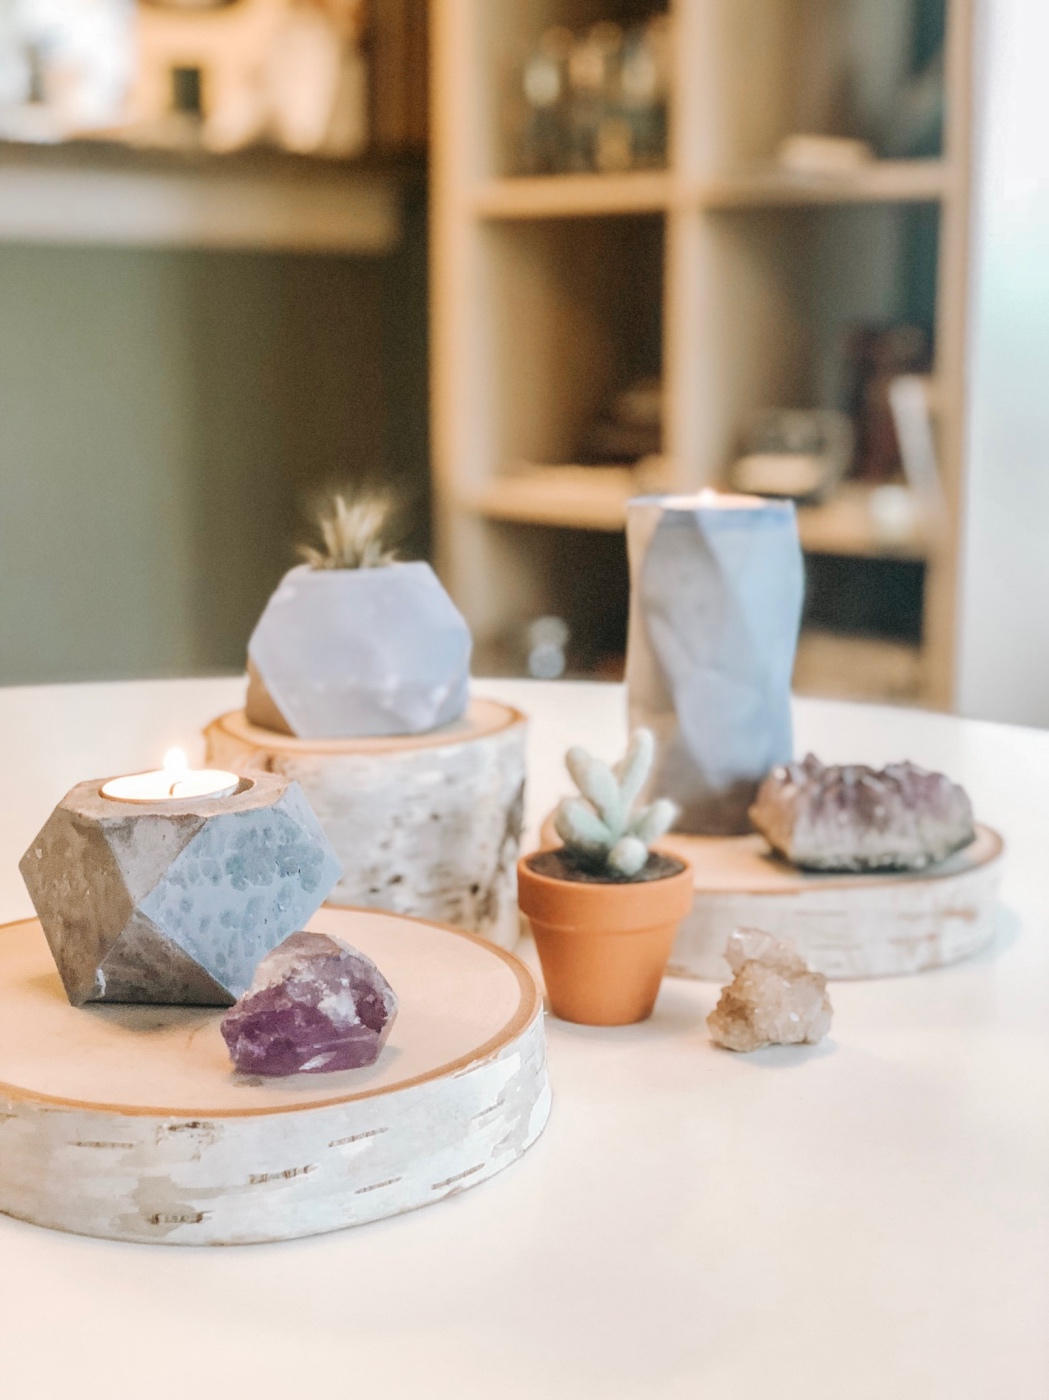
These geometric concrete vessels are perfect for your night stand as a way to hold small objects. You could keep them in your bathroom as a perfect place to hold your toothbrush or little items like cotton swabs and lip balm.
Or if you are about that plant life, these would make the perfect planters. It’s part 1 of 5 for the May Craft in Style Subscription Box. That’s our subscription box that’s full of cool craft supplies that fit together to make unique projects each month.
So let’s get started making these Geometric Concrete Vessels!
Supplies:
Concrete Planters Craft Kit
-or-
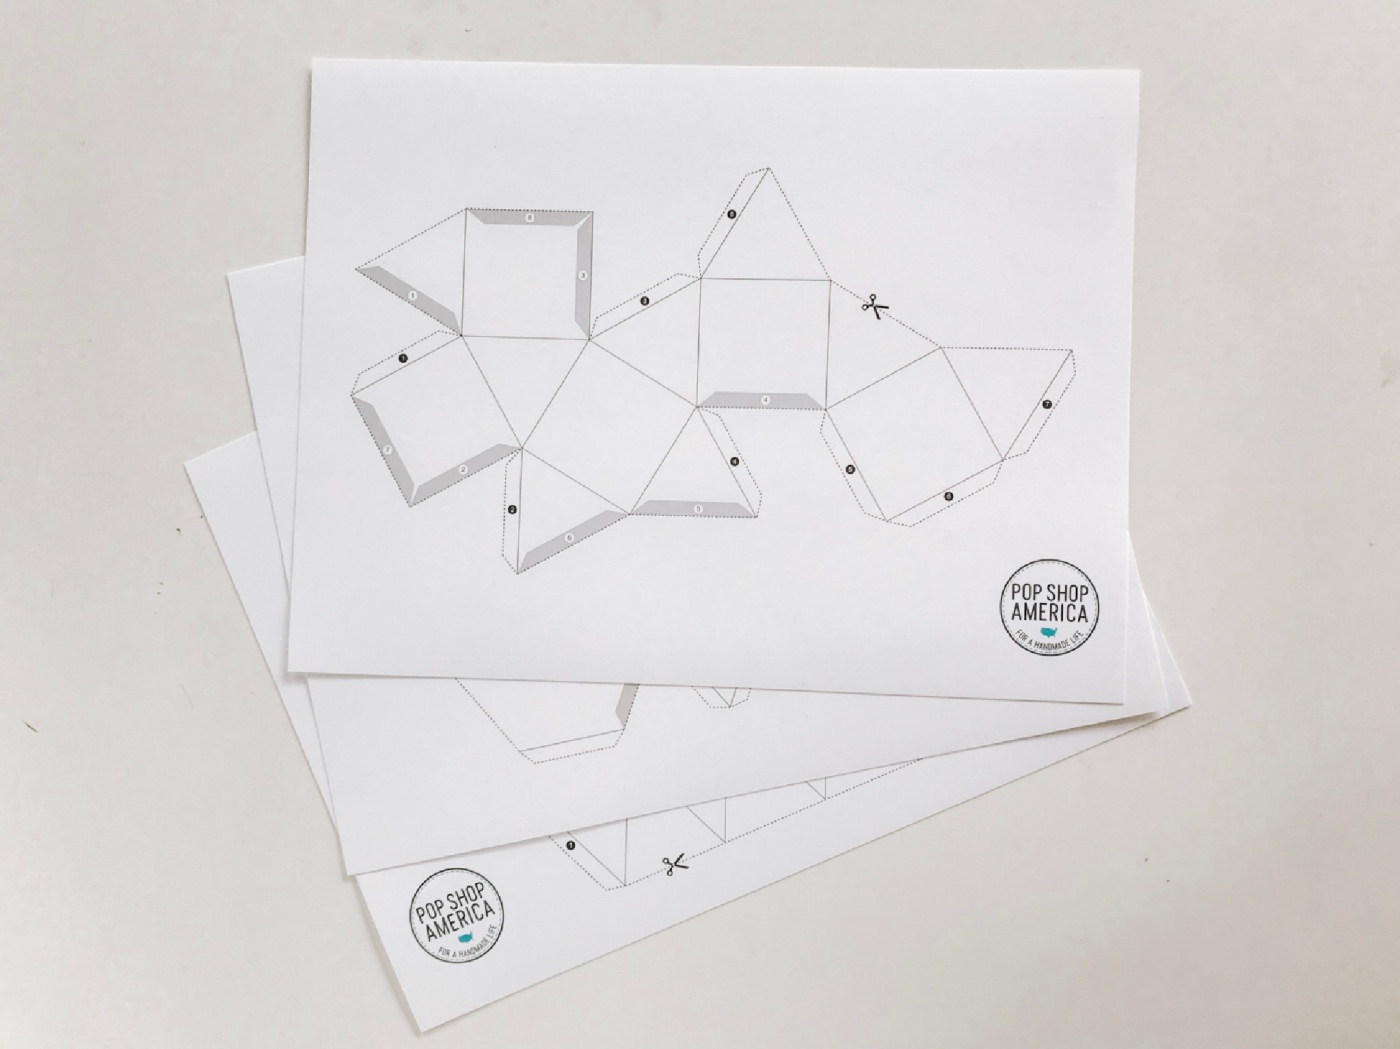
Geometric Printable Templates by Pop Shop America free to download
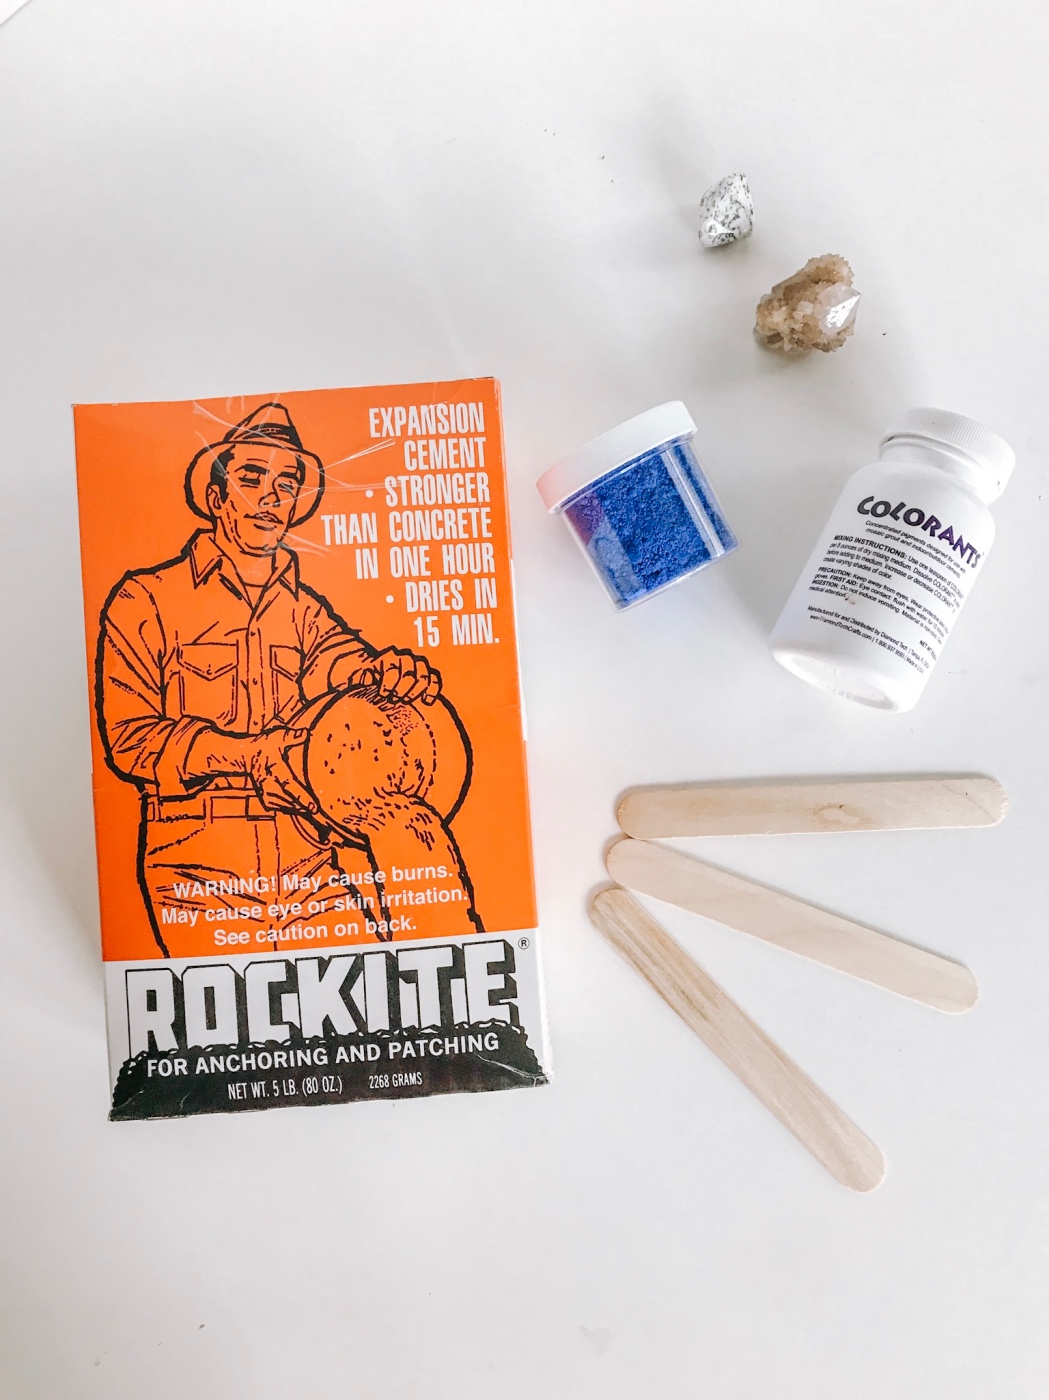
Rockite Concrete Mix
Water
Plastic Container (that you don’t mind ruining)
Popsicle Sticks
Scotch Tape or Painter’s Tape
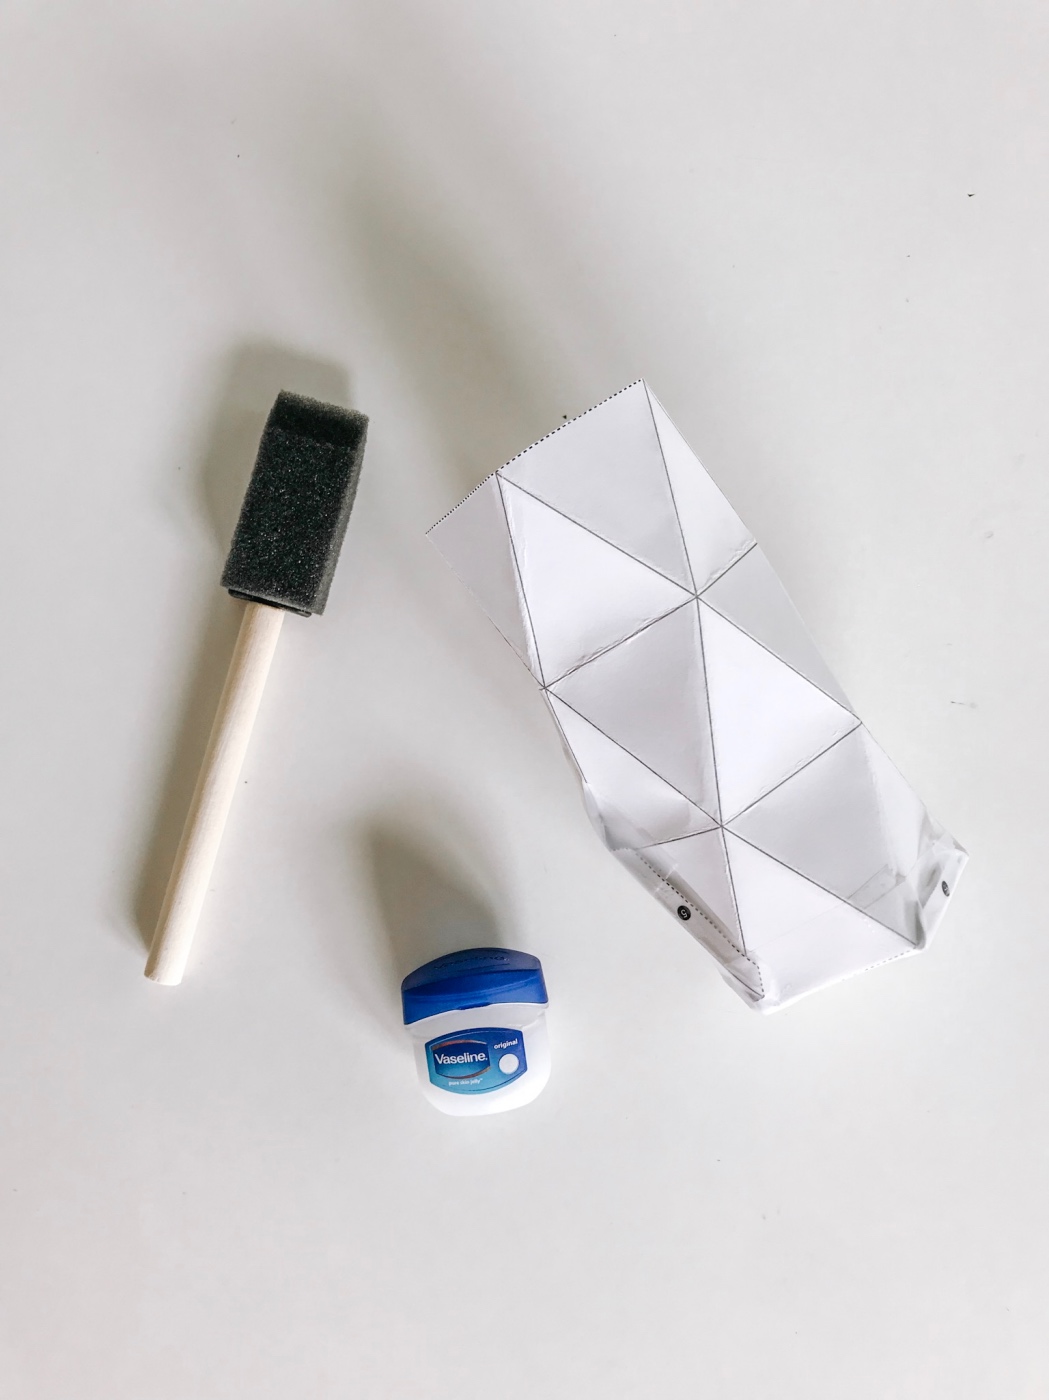
Oil or Vaseline
Foam Brush
Optional:
To create the opening: A Paper Cup, a Plastic Shot Glass,
a Tealight Candle or any small Cylinder Shaped Object
Concrete Colorant (I’ll tell you more about that in the next post)
First, start by cutting and folding all of your templates. You can download the templates for free here. Be sure to cut only along the outer edge. The parts that attach to each other are marked. Take your time when assembling the templates because how well they line up when they are assembled, will dictate how even the sides of the finished concrete vessels are.
Very important: When taping the templates, use a ton of tape. Like a ridiculous amount of tape. Liquid concrete can be a bit heavy and the last thing in the world you want is for the template full of liquid concrete to break!
So tape it along the edges and then make cross beams of tape. Once your template is taped into it’s geometric form, use a foam brush to coat the interior with a dense oil, like coconut oil or vaseline.
Whatever object you plan on using to create the opening of the concrete vessel – like your paper cup or tealight, be sure to coat that with oil as well.
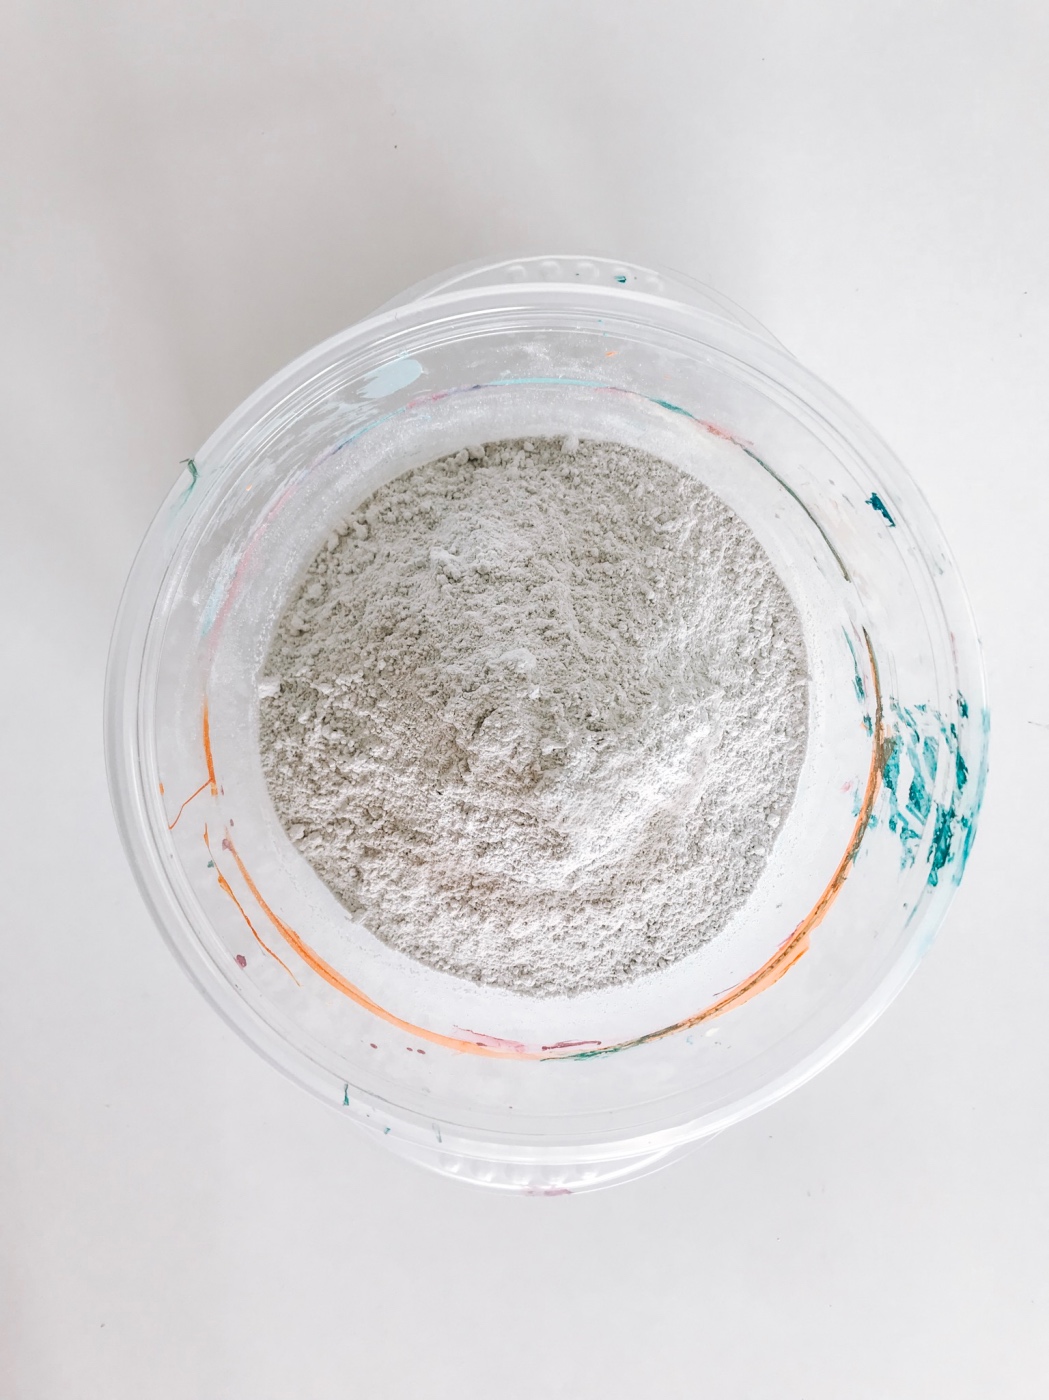
Rockite is my favorite brand of concrete mix. It’s sturdy, strong and beginner friendly. You don’t have to be perfect about mixing in the water and it’s got a great color. Before mixing it, be sure that your templates are ready to go. And find a spot where you can allow your vessels to set and dry.
I recommend setting up your templates that you will fill with liquid concrete outdoors or in a safe space. If you ordered the Craft in Style Box, use your shipping box as a tray! Set the templates inside the box and fill them with concrete while inside the box.
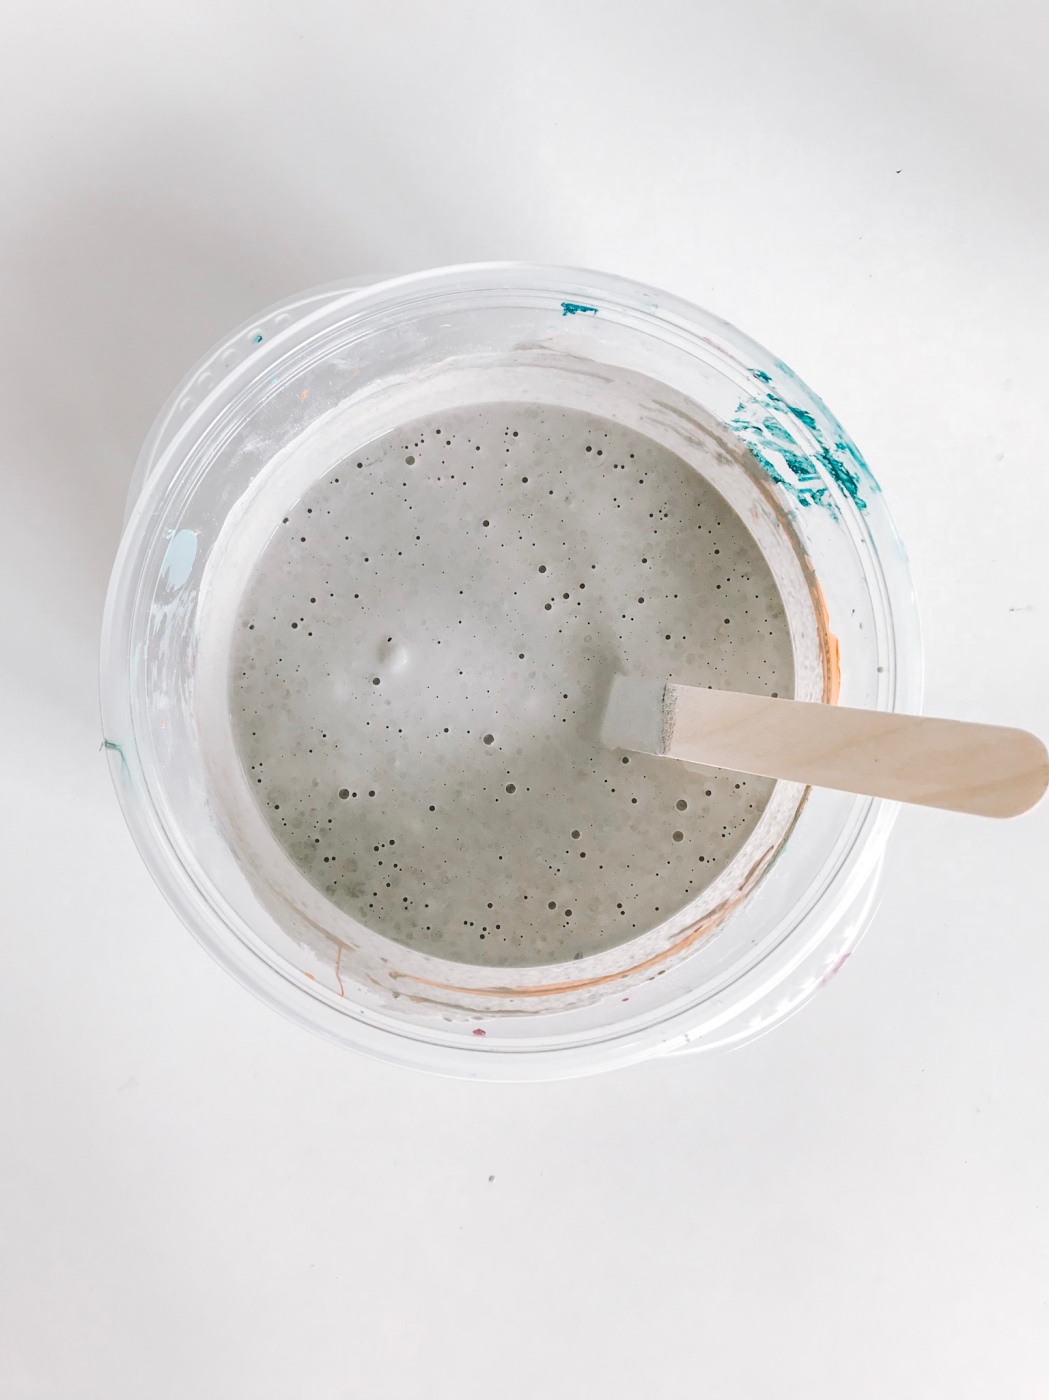
Once you add water to your concrete mix you will need to mix and pour quickly. Concrete begins to set fast so be ready! Add water to the concrete mix to create a cake batter consistency. Stir thoroughly with a popsicle stick and immediately pour into the template to about 3/4 full.
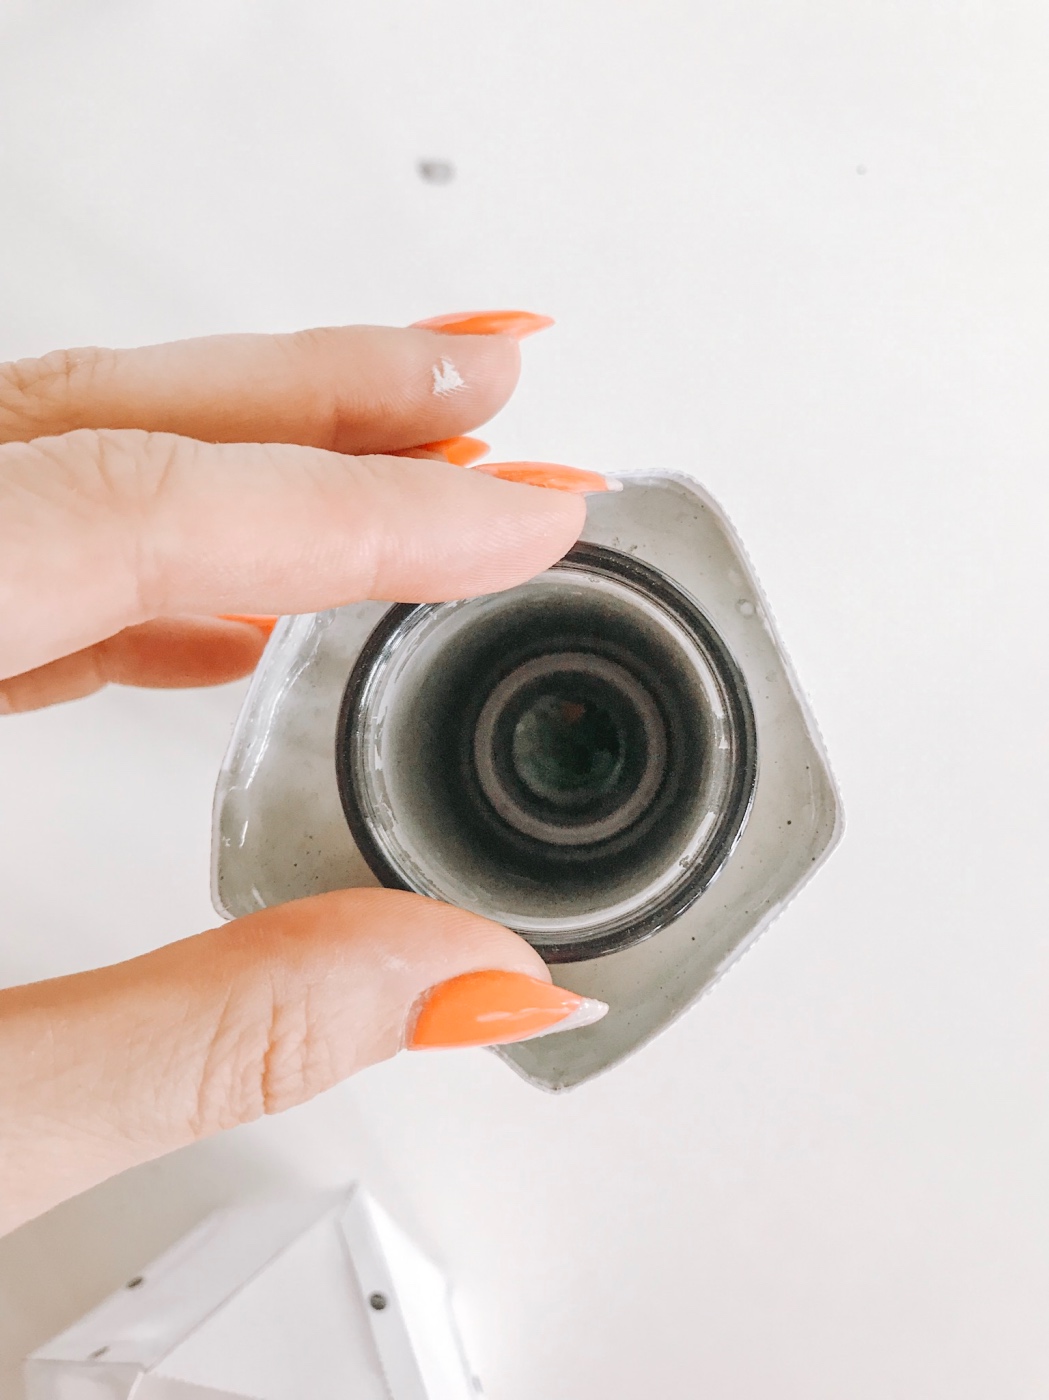
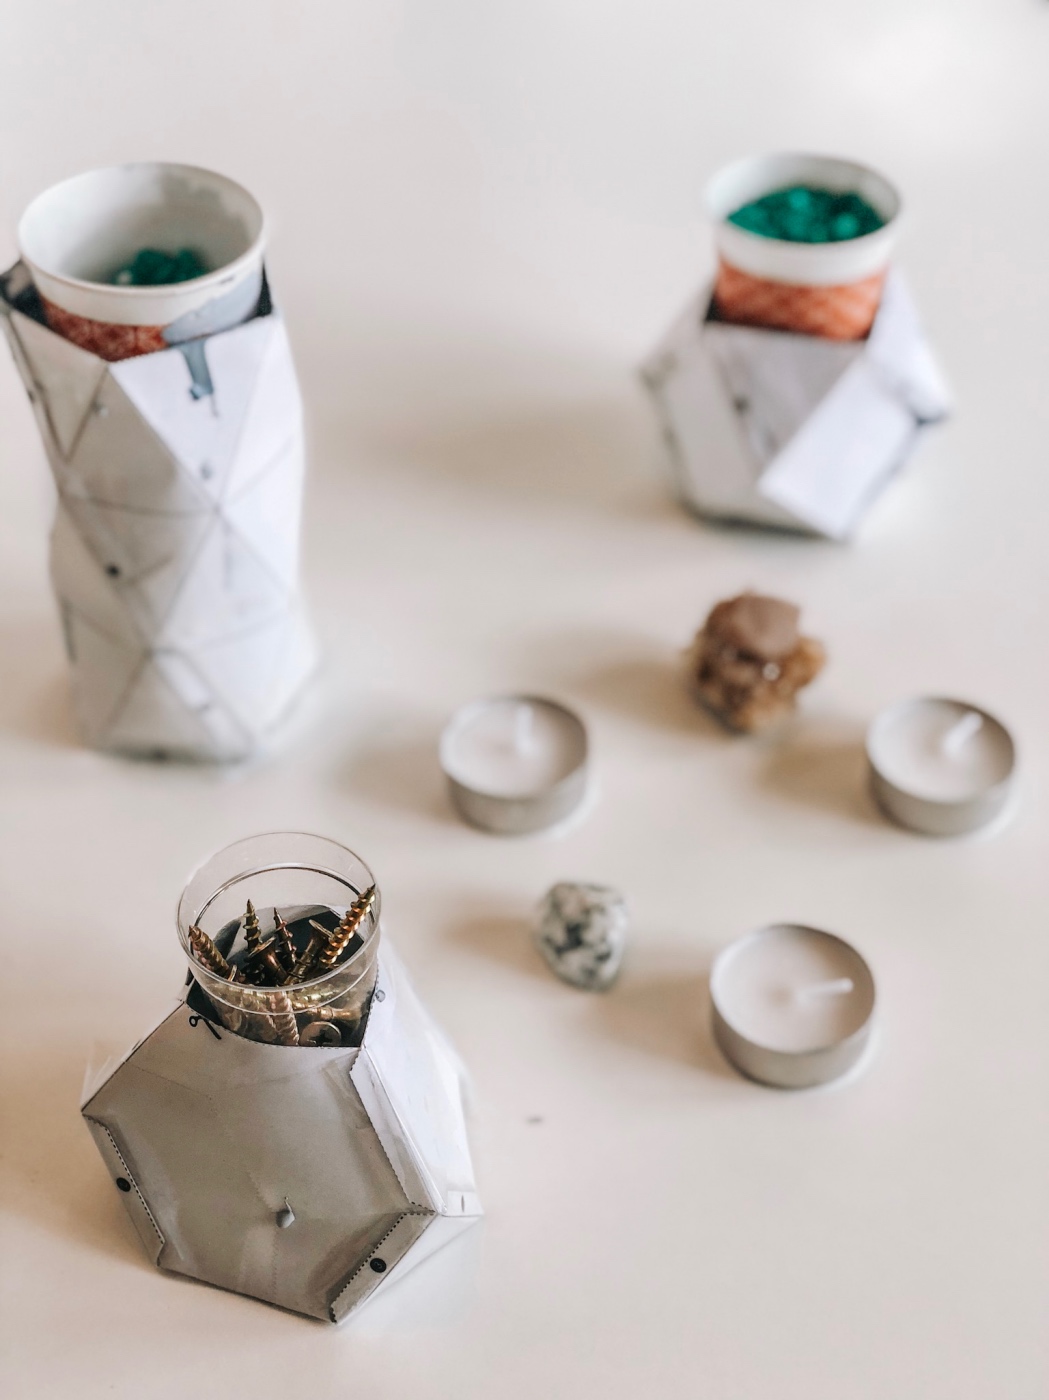
Now use your paper cup or tealight and press it down at the top of the liquid concrete. You will notice that this object will float. You can either hold it in place, or use something heavy like rocks or nails, to weigh the paper cups down.
Allow your templates full of wet concrete to completely set. It’s really fast! Be sure to feel the template as it’s setting. The concrete will get very hot. It’s so neat!
Once the concrete is completely solid simply remove the template. Viola! Gorgeous, stylish geometric concrete holders.
If any of the paper sticks to the concrete, use a kitchen sponge to scrub the paper off. If you have an edge that’s uneven, you can also use sandpaper to even it out.
Use your geometric concrete holders on your bed side table for small objects or to hold all your loose change. Use it in the bathroom for cotton balls or bobby pins. Add tealight candles to set a romantic mood or add plants if you have a green thumb!
And if you love these geometric concrete vessels you must shop the Craft in Style Subscription Box!
Let’s Stay Friends!
Insta | Pinterest | Enews | TikTok




Hi Brittany, this is such an awesome tutorial. Thank you for sharing. Will this technique work with jesmonite?