Aug
This is part 3 of 3 of the August Craft in Style Subscription Box tutorials. Part 1: How to Make a Triangle Himmeli Sculpture can be found here. Part 2: How to Make a Himmeli Wall Sconce can be found here. You can find out How to Care for Air Plants here. Craft in Style Subscription Box is available here.
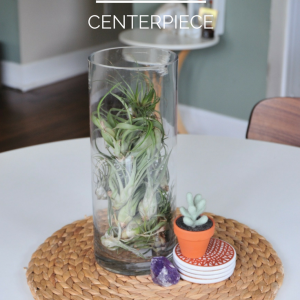
What’s better than a super stylish air plant holder? How about what that you can make! This Himmeli Hanging Air Plant Holder is just one of the things you can make with the August Craft in Style Subscription Box! Later than August of 2020? That’s okay, because the kit is available anytime here. So let’s get to making it!
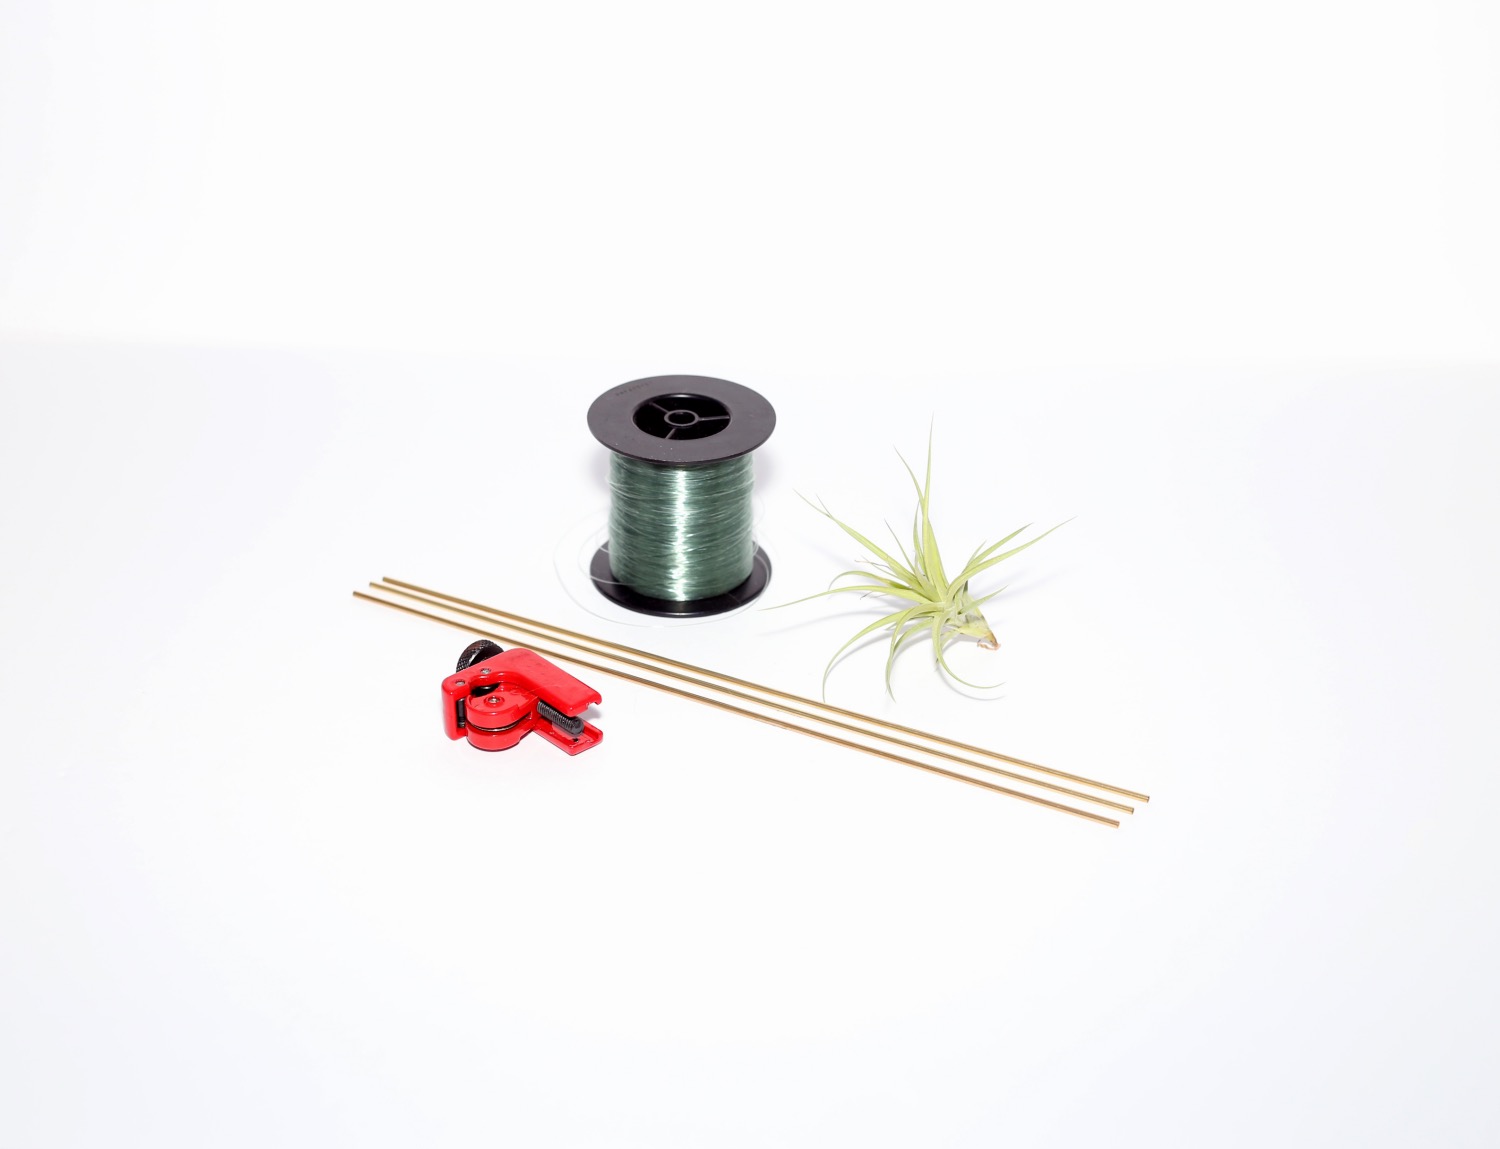
Supplies to Make a Himmeli Hanging Air Plant Holder:
DIY Himmeli Hanging Air Plant Holder Craft Kit
-or-
6x 4 inch pieces of 2mm or 2.5 mm pipe
12x 1.5 inch pieces of 2mm or 2.5 mm pipe
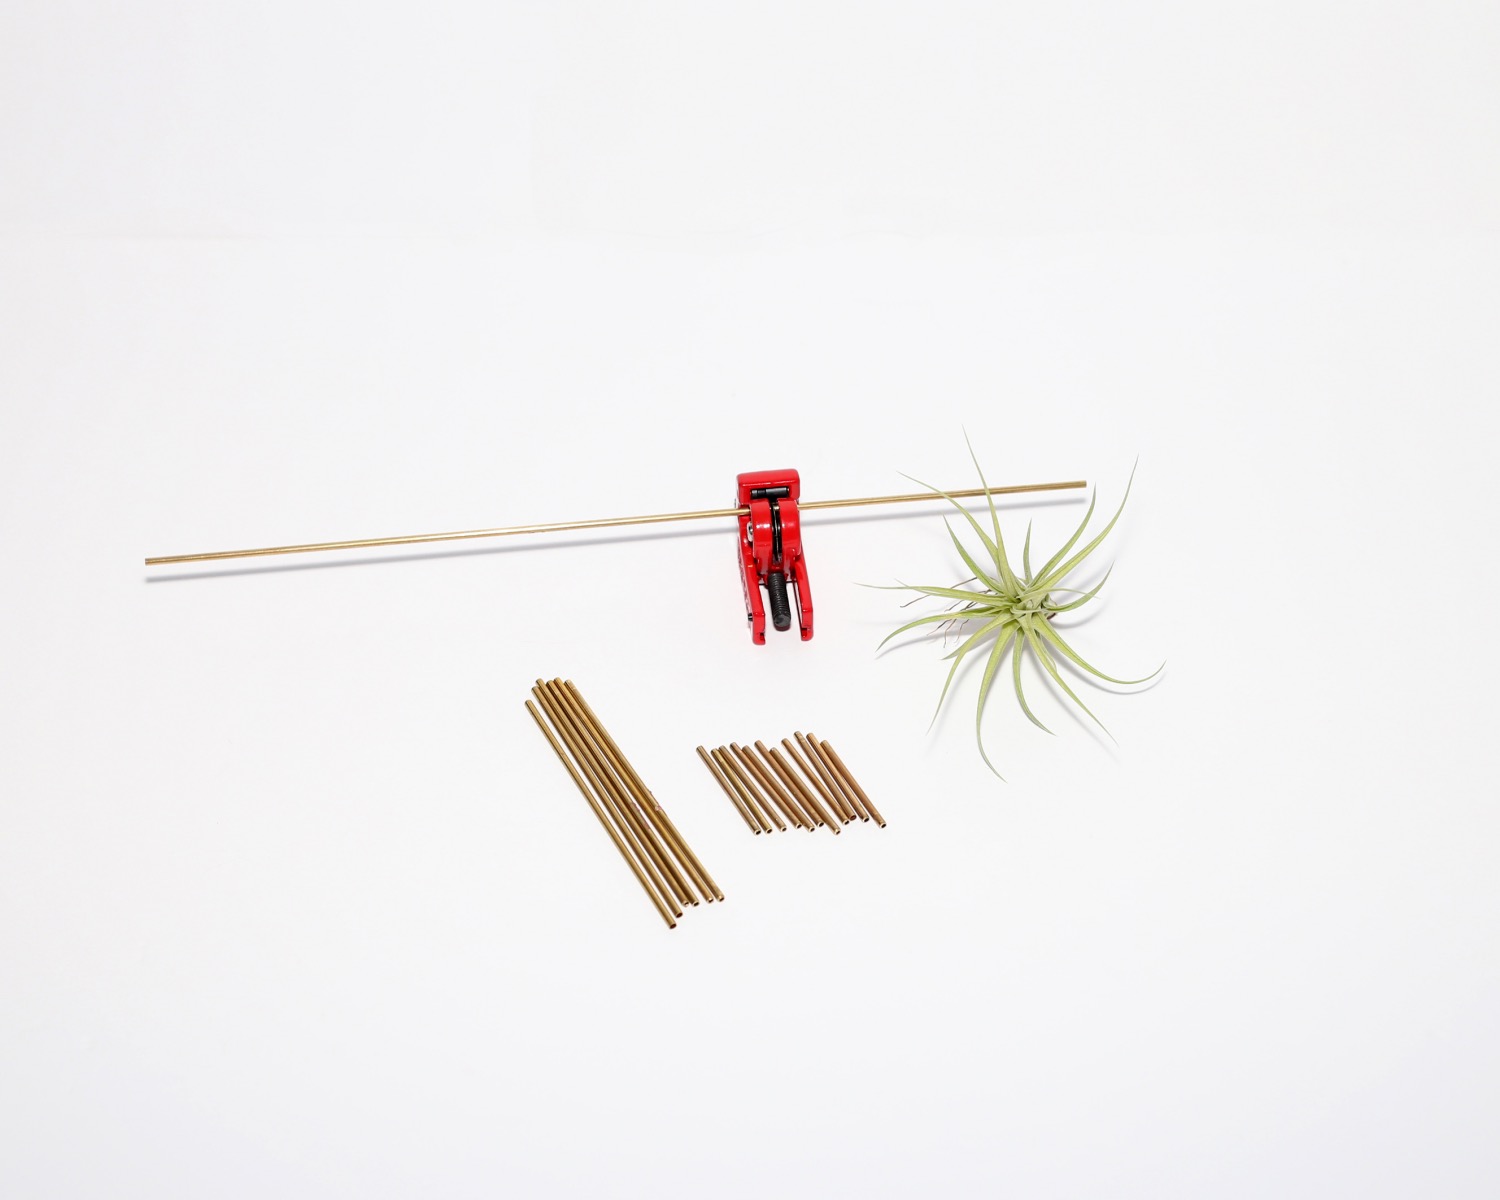
Pipe Cutter
Nylon Thread
Air Plants
This Template
Plus you may want to have a pen and ruler to measure and mark the copper pipe before you cut it.
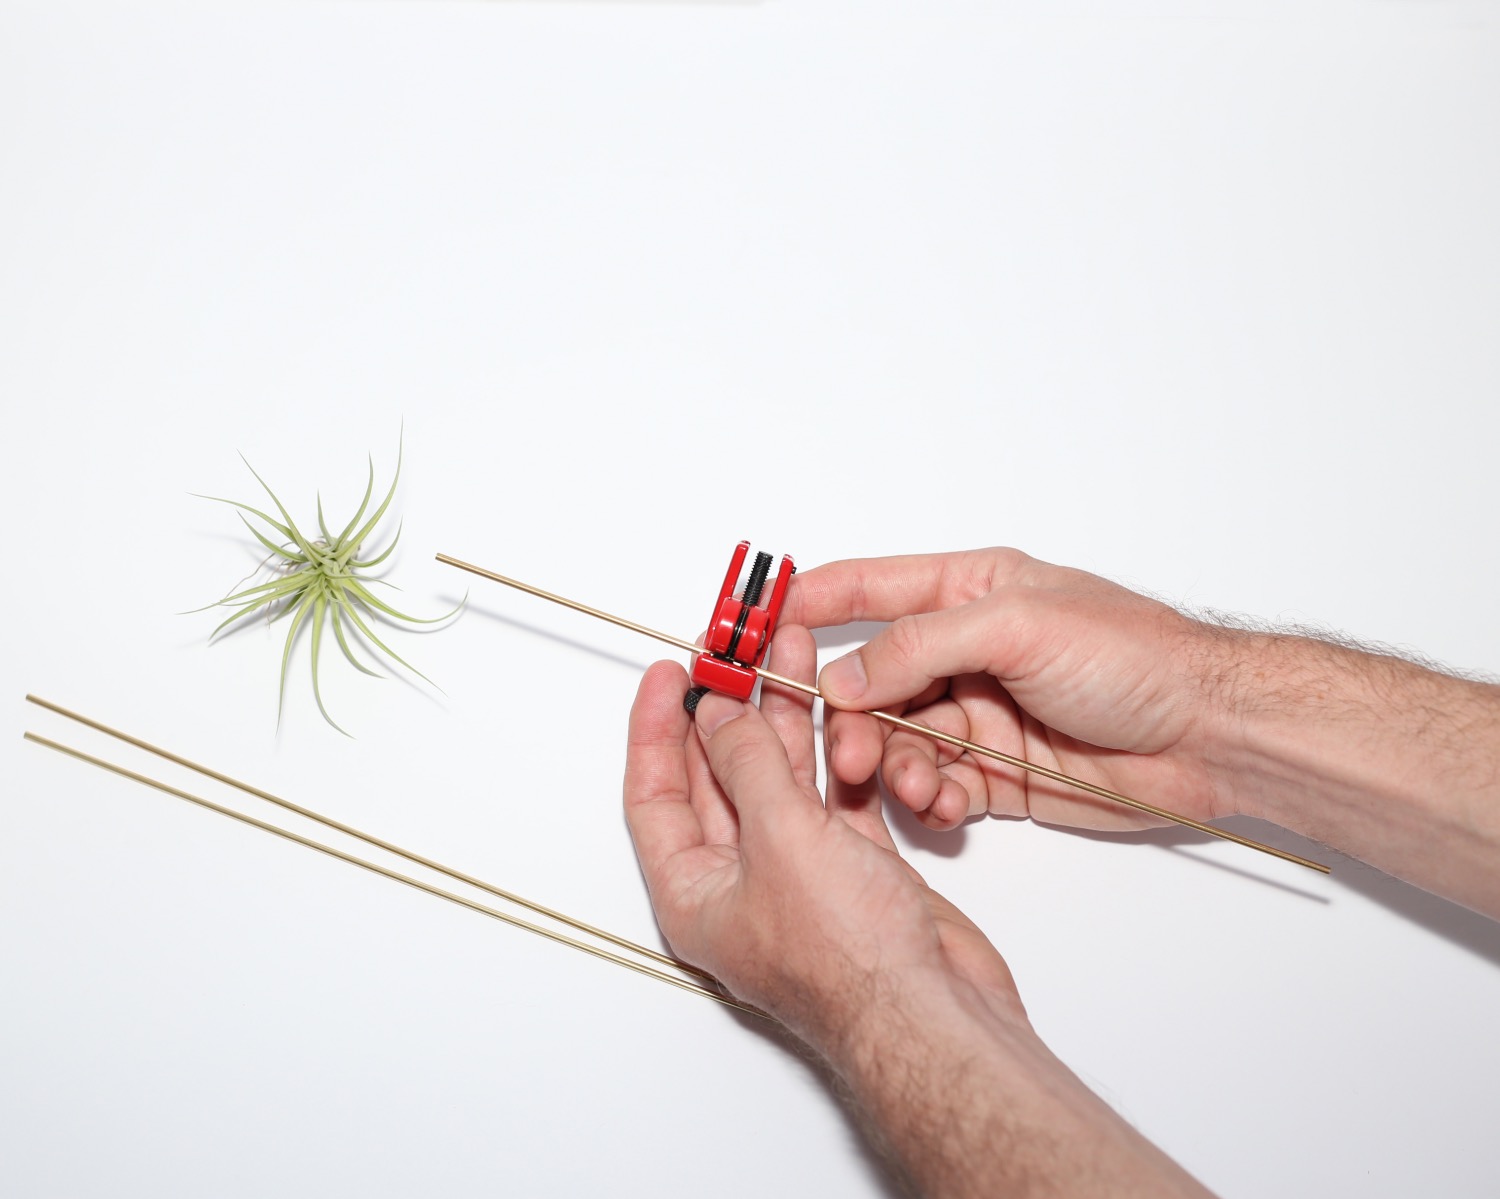
First, start by cutting your copper pipe into the lengths described above or described in this template.
Cutting copper pipe isn’t hard and doesn’t require a lot of strength, but it does require the correct size of pipe cutter. Many pipe cutting tools only work on bigger pipe! To cut the pipe, place it inside of the pipe cutter. Line up the mark you have made on the pipe (your cut line) with the wheel cutter on the pipe cutting tool.
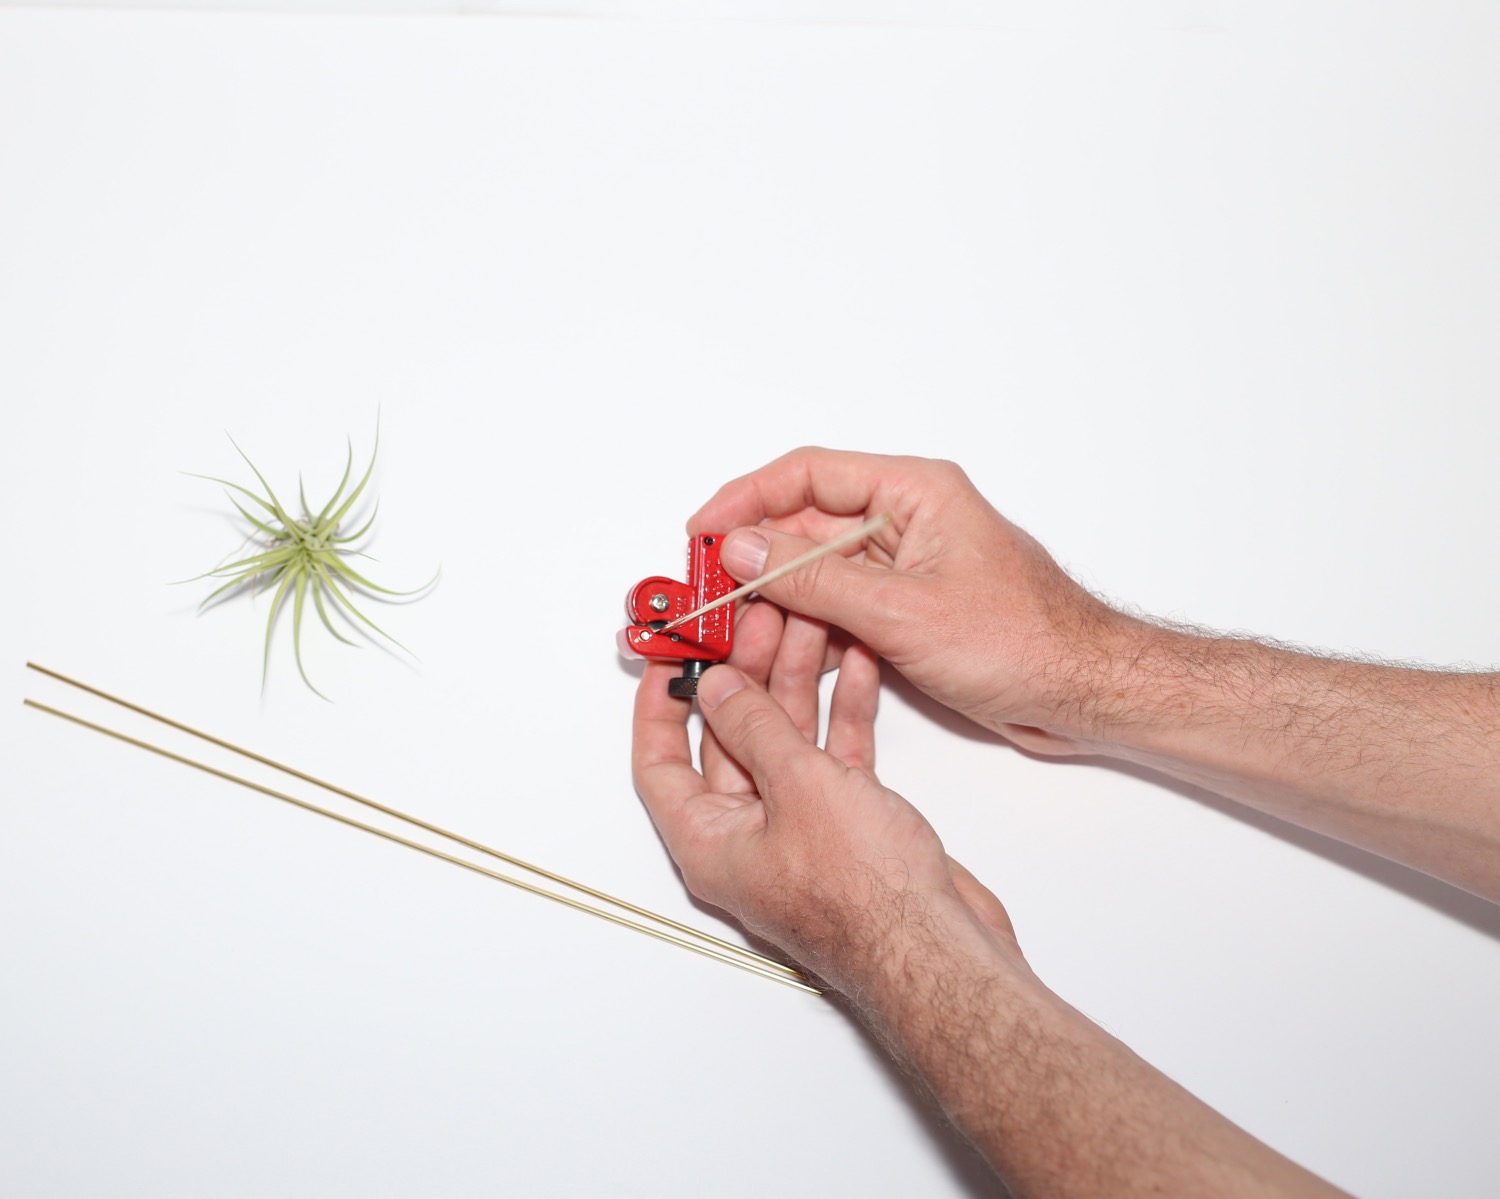
Spin your pipe or the tool around and around in circles until the pipe breaks on its own. Don’t bend or force the pipe. Just let the cutter do it’s thing! You usually need to make a few passes, but not many.
Once you have all your pipe pieces cut, it’s time to start assembling them into a pattern!
Patterns like this can be confusing, so just take your time! It’s a lot like macrame or origami. But just know that you can always unstring your nylon thread and start again.

And you can always create your own shapes or your own pattern!
If you are just getting started, or struggling the pattern of threading the pieces together, start with this Triangle Himmeli here. It’s the most simple of the himmeli templates we’ve made and is great for beginners.
Once you feel comfortable with the triangle pattern, move on to this one.

To weave the Himmeli Hanging Planter follow the template here.
Start by making the base of the himmeli hanging planter. The base is a series of triangles. Start by making one triangle by threading the nylon thread through each small piece of copper pipe.
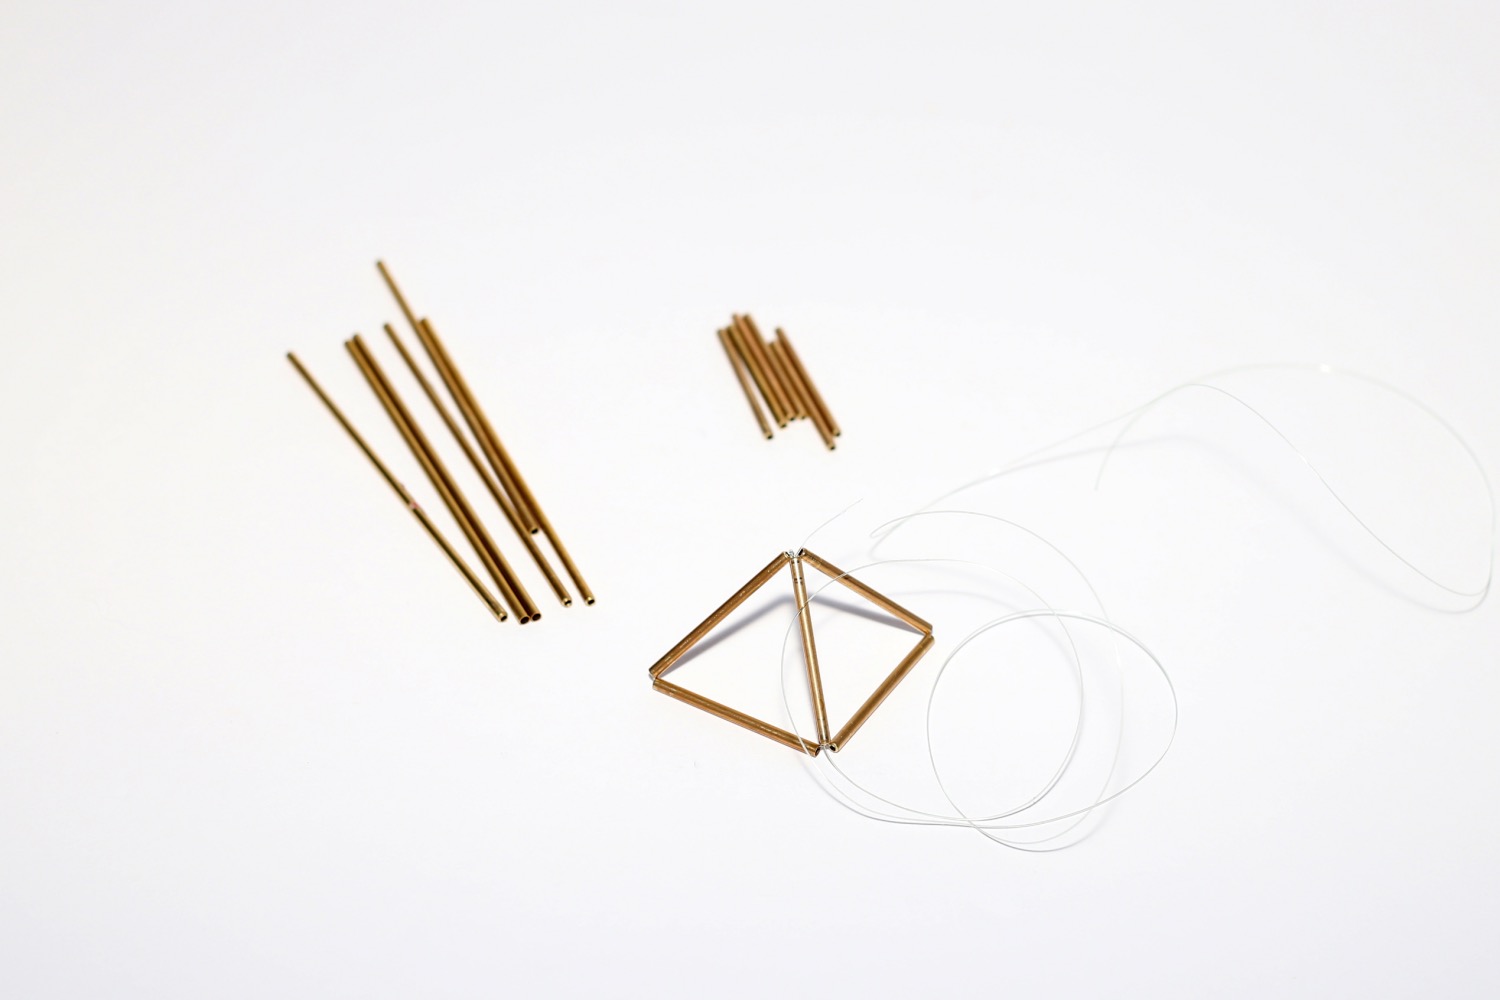
When you are threading nylon thread through your pipe, always leave the end of the nylon thread open. Don’t tie it in a knot.
As you add each piece of pipe, you can continue to pull the thread on both sides to tighten your himmeli piece and help it form into its final shape.
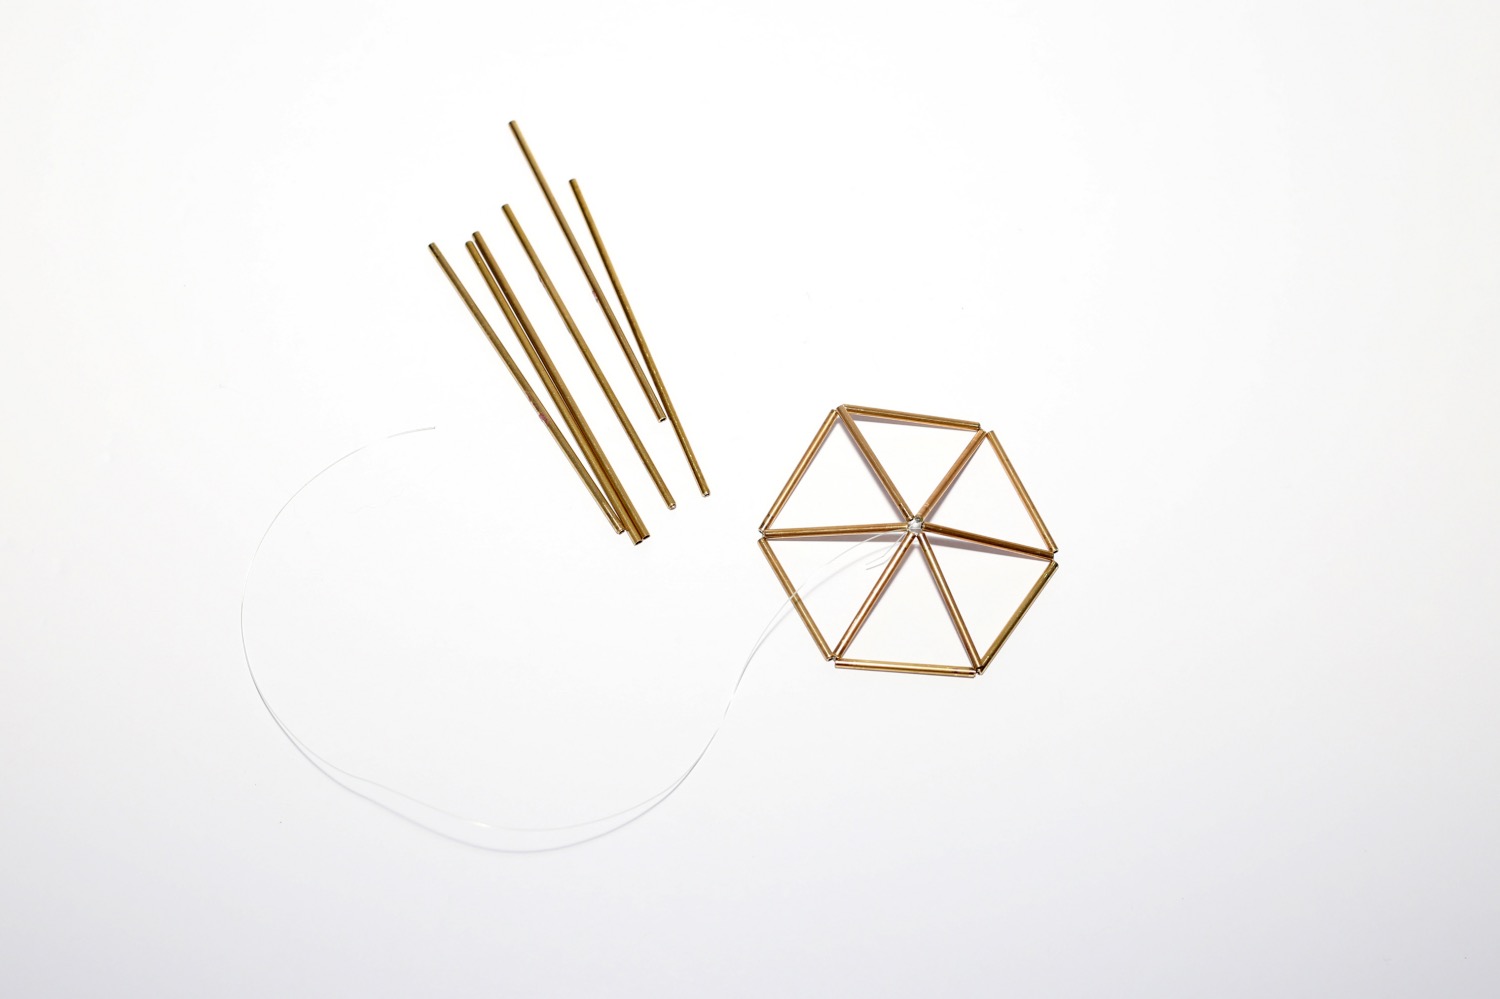
Once your base is finished, it’s time to start to add the sides. The sides are the longest pieces of pipe and there will be 6 pieces total.
Each time you weave together a side, you will weave it through the base so that all the pieces hold together.
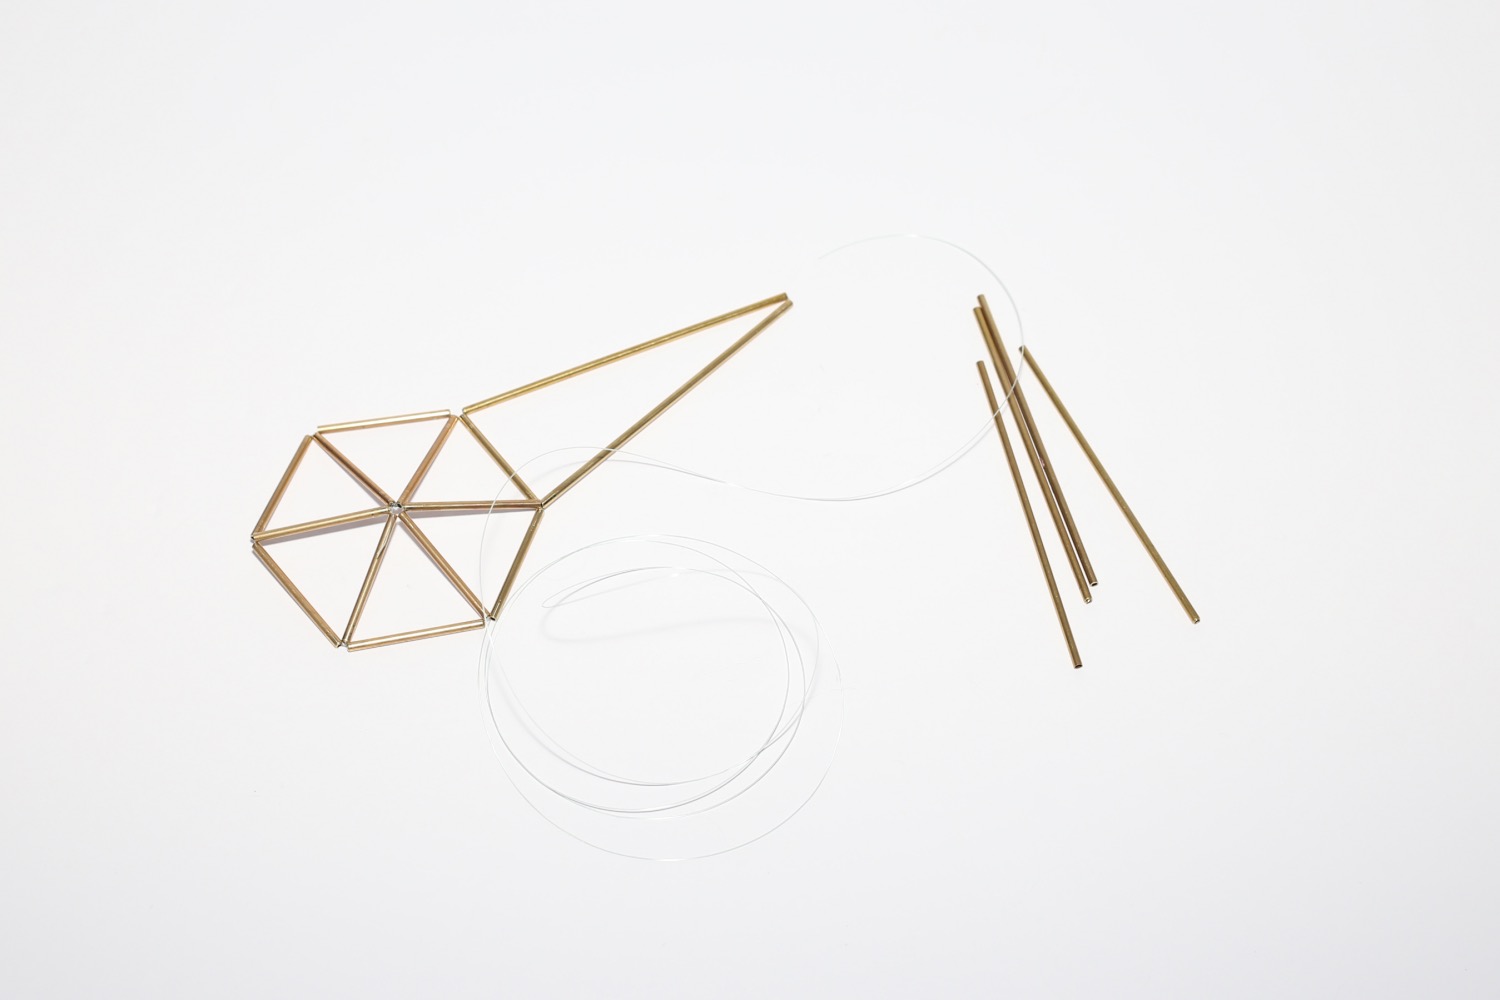
6 pieces of pipe will make 3 additional triangles. These triangles are spaced evenly across your base.

Last, all 3 sides will be woven together with thread so that they hold together at the top. Once these sides are held together at the top, your Himmeli Hanging Planter is finished! It’s just time to add some plants – preferably air plants.

If you are adding air plants, be sure to hang your himmeli near a window with plenty of diffused light. Air plants need light just like any plant, but not too much since their natural home would be in tree top canopies. We have a great guide on Air Plant Care here, that I recommend.

And if you love this diy, don’t miss the DIY Himmeli Hanging Air Plant Holder Craft Kit where you can get all the supplies you need to make this for yourself! And happy crafting!
Let’s Be Friends!
Insta | Pinterest | Enews | TikTok