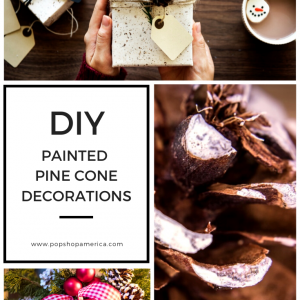
DIY
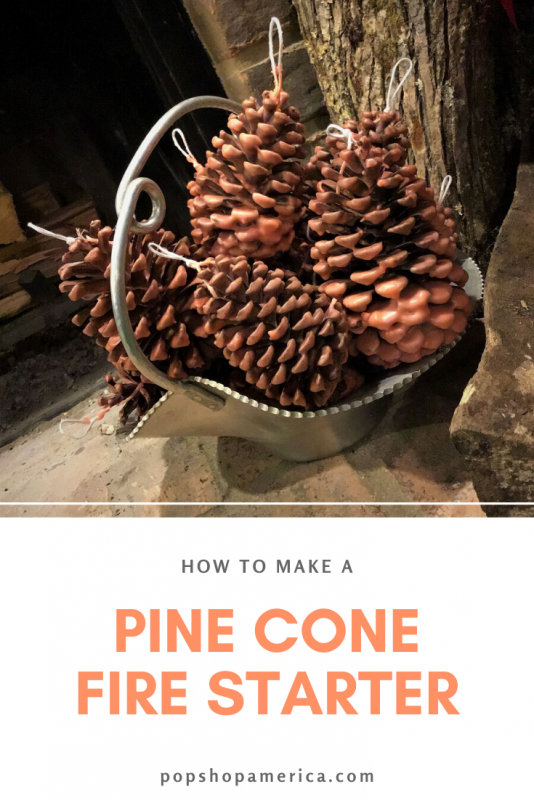
How to Make a Pine Cone Fire Starter
Jan
Confession: I’m having a love affair with my fireplace. Despite living in Houston, where temperatures reach “acceptable for indoor fire-making” approximately half a dozen times a year, I live for those rare occasions.
It reaches a fevered pinnacle whenever a cold winter night overlaps with a party I’m hosting, which happened recently. During this fancy event, I knew I wanted a fire going, but since I was busy with last minute hostess tasks, I didn’t have the chance to start one! That left it up to one of my more determined guests, who finally managed to make it work by using something like 7 of my (expensive) store-bought fire starters. That’s when it occurred to me that I could create my own fire starters for significantly less cost, plus they would be super cute and smell amazing!
There are several available tutorials about making DIY fire starters, however, like with all crafts, you can amend it to suit your purposes, which I absolutely did. With the rise in popularity of nifty outdoor fire pits, even if you or your friends/family don’t have fireplaces inside the home, these fire starters would make a great housewarming gift for folks who enjoy an outdoor gathering! If you’re being wildly generous and gifting a new fire pit, these would add the cutest little personalized touch! They’re simple to make, and the materials are mostly things you might have on hand, or can purchase easily at most craft stores.
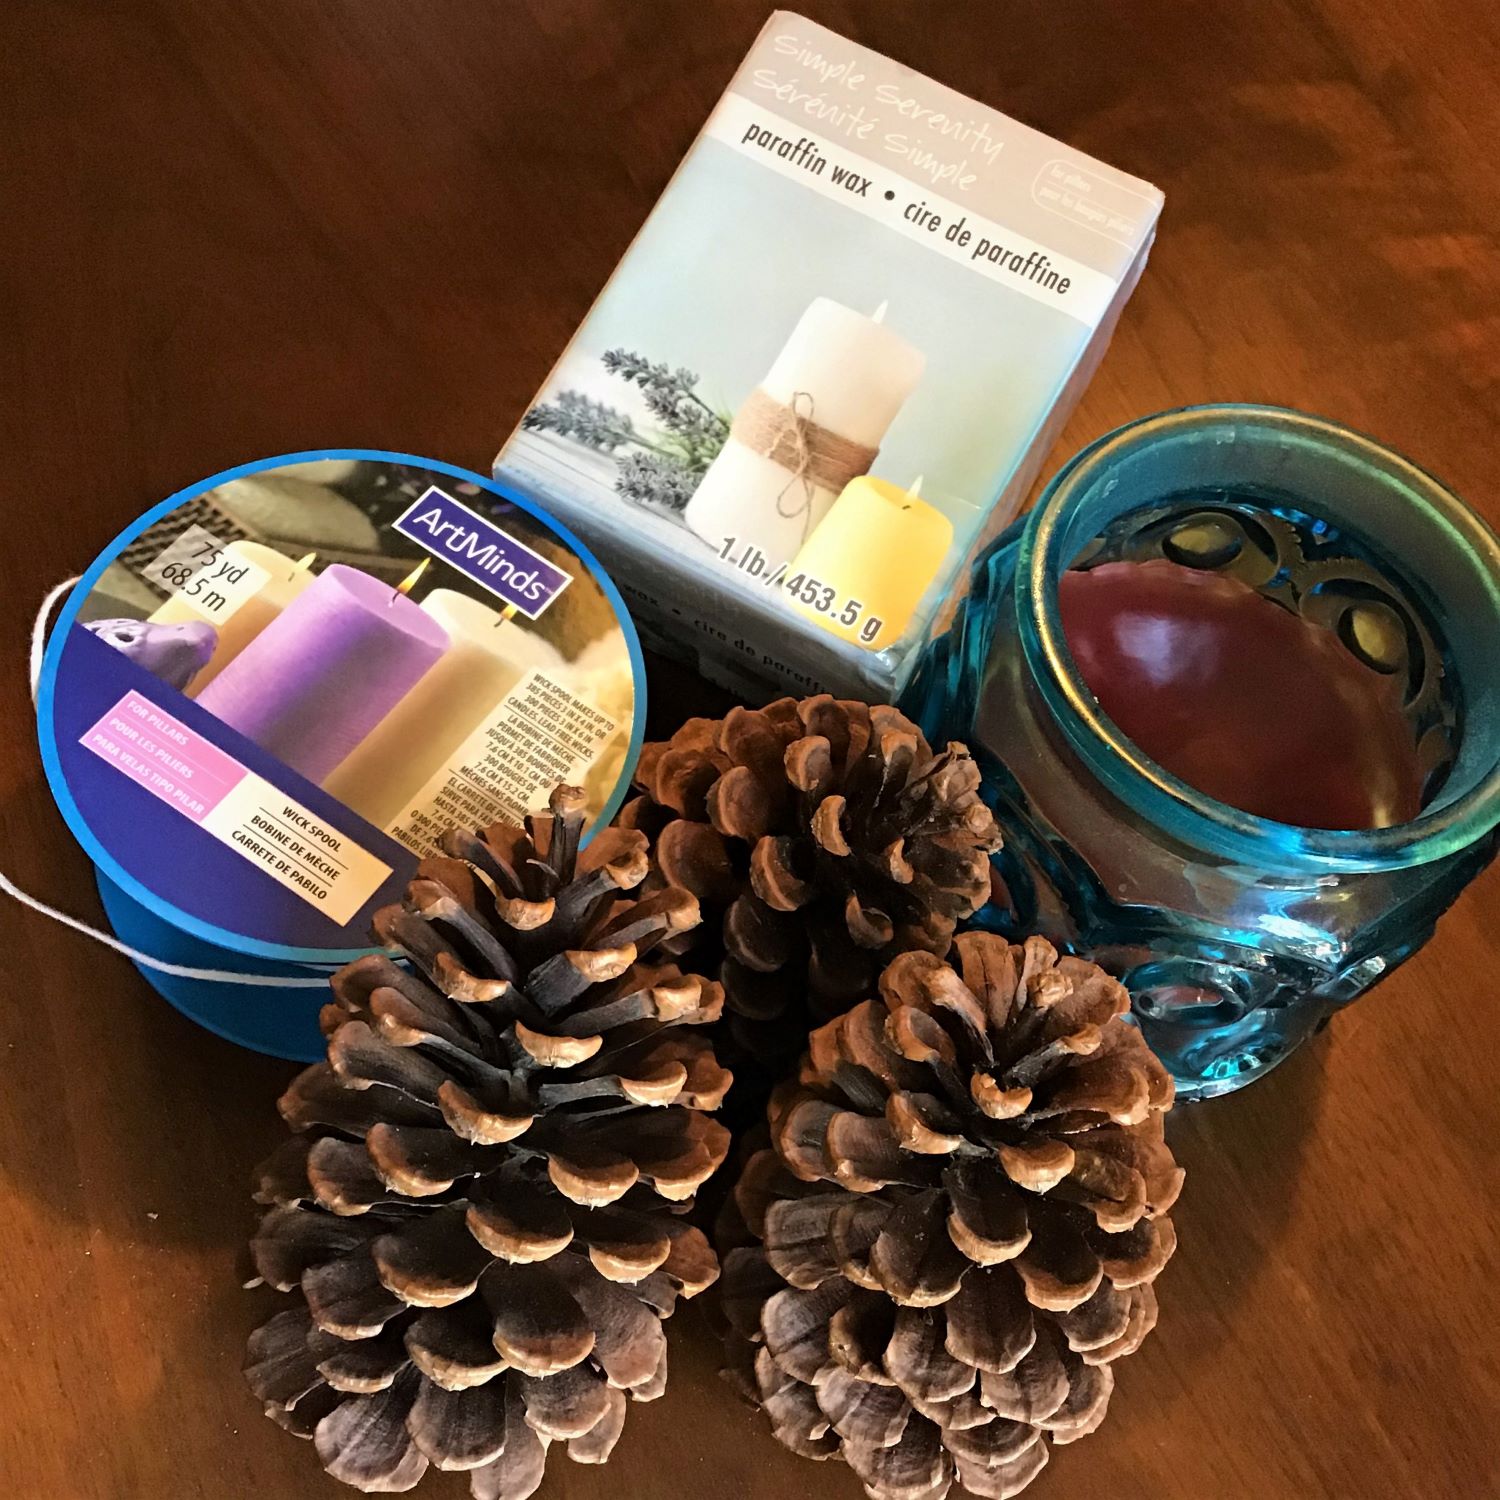
Supplies to Make a Pine Cone Fire Starter:
Wax (Here’s how to Add Essential Oils)
Raw Cotton Candle Wicks
Pine Cones
Large Bowl for melting/heating wax (non-metal will also microwave!)
Tray or cookie sheet for cooling pine cones
Parchment paper for lining tray or cookie sheet and collecting excess wax
Spoon for stirring wax
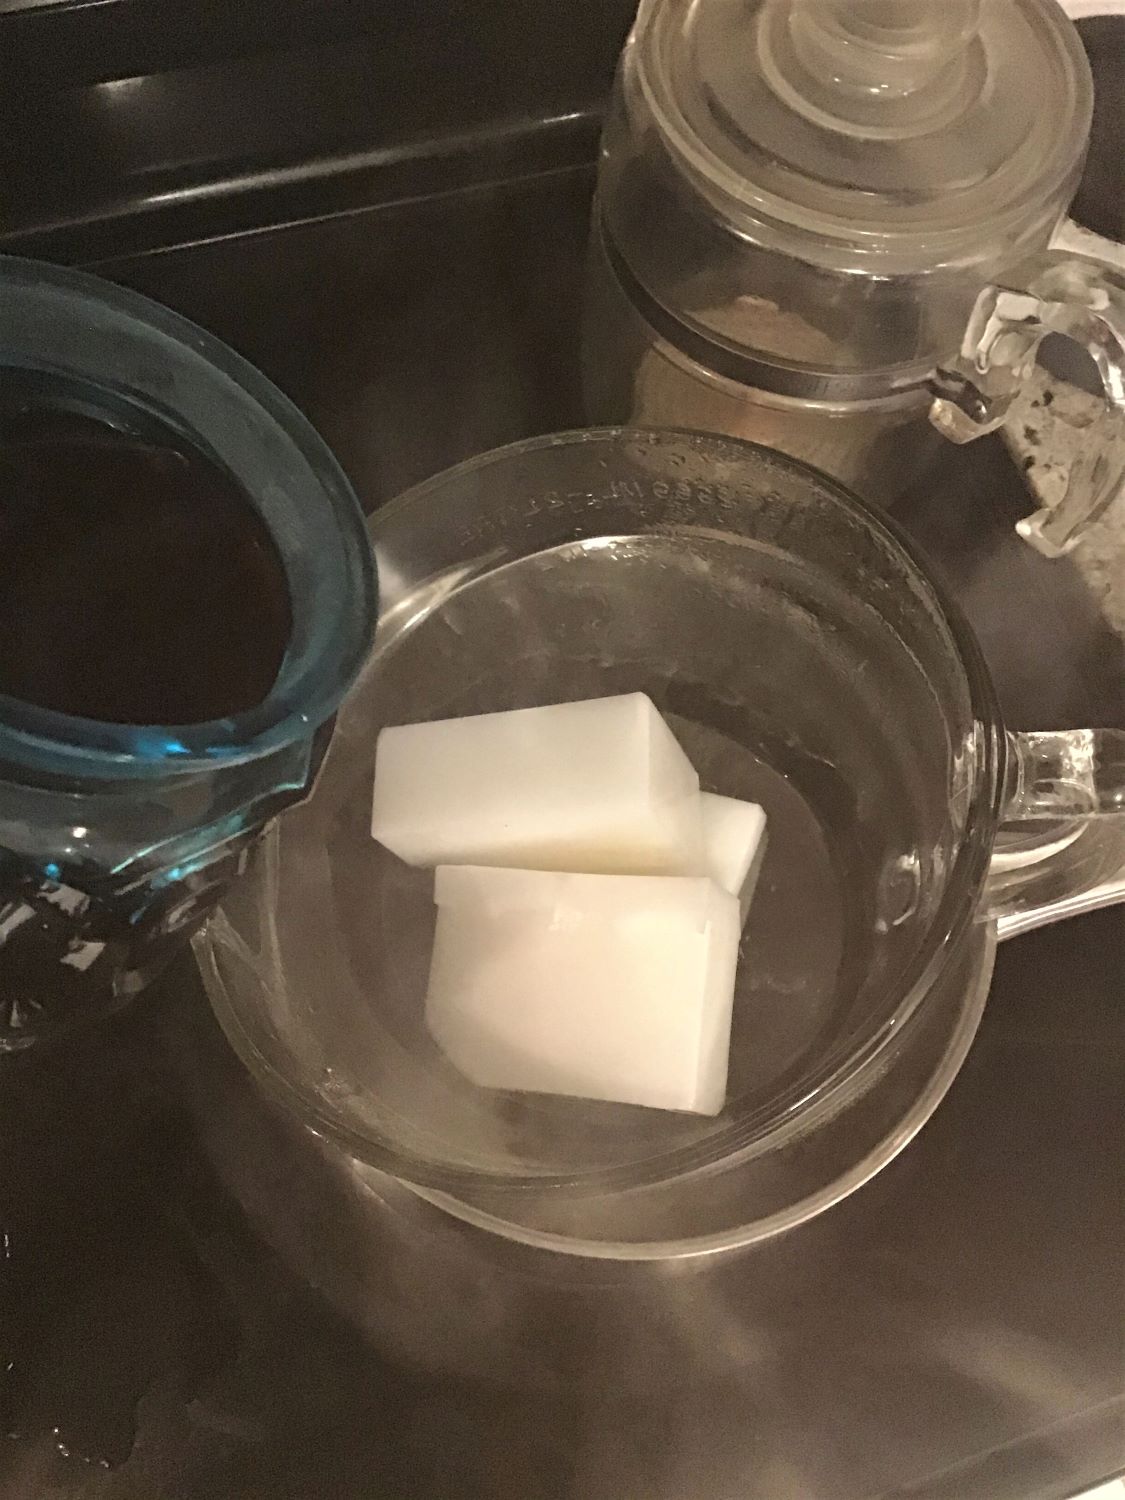
I am definitely that lady who collects leftover wax from my favorite candles in the vain hope that it will serve a future purpose. Luckily for me, now it has one! I knew eventually I would need to re-melt said wax, so I stored it in a lovely cut glass jar, which fits easily in a sauce pan and serves as a sort of double boiler.
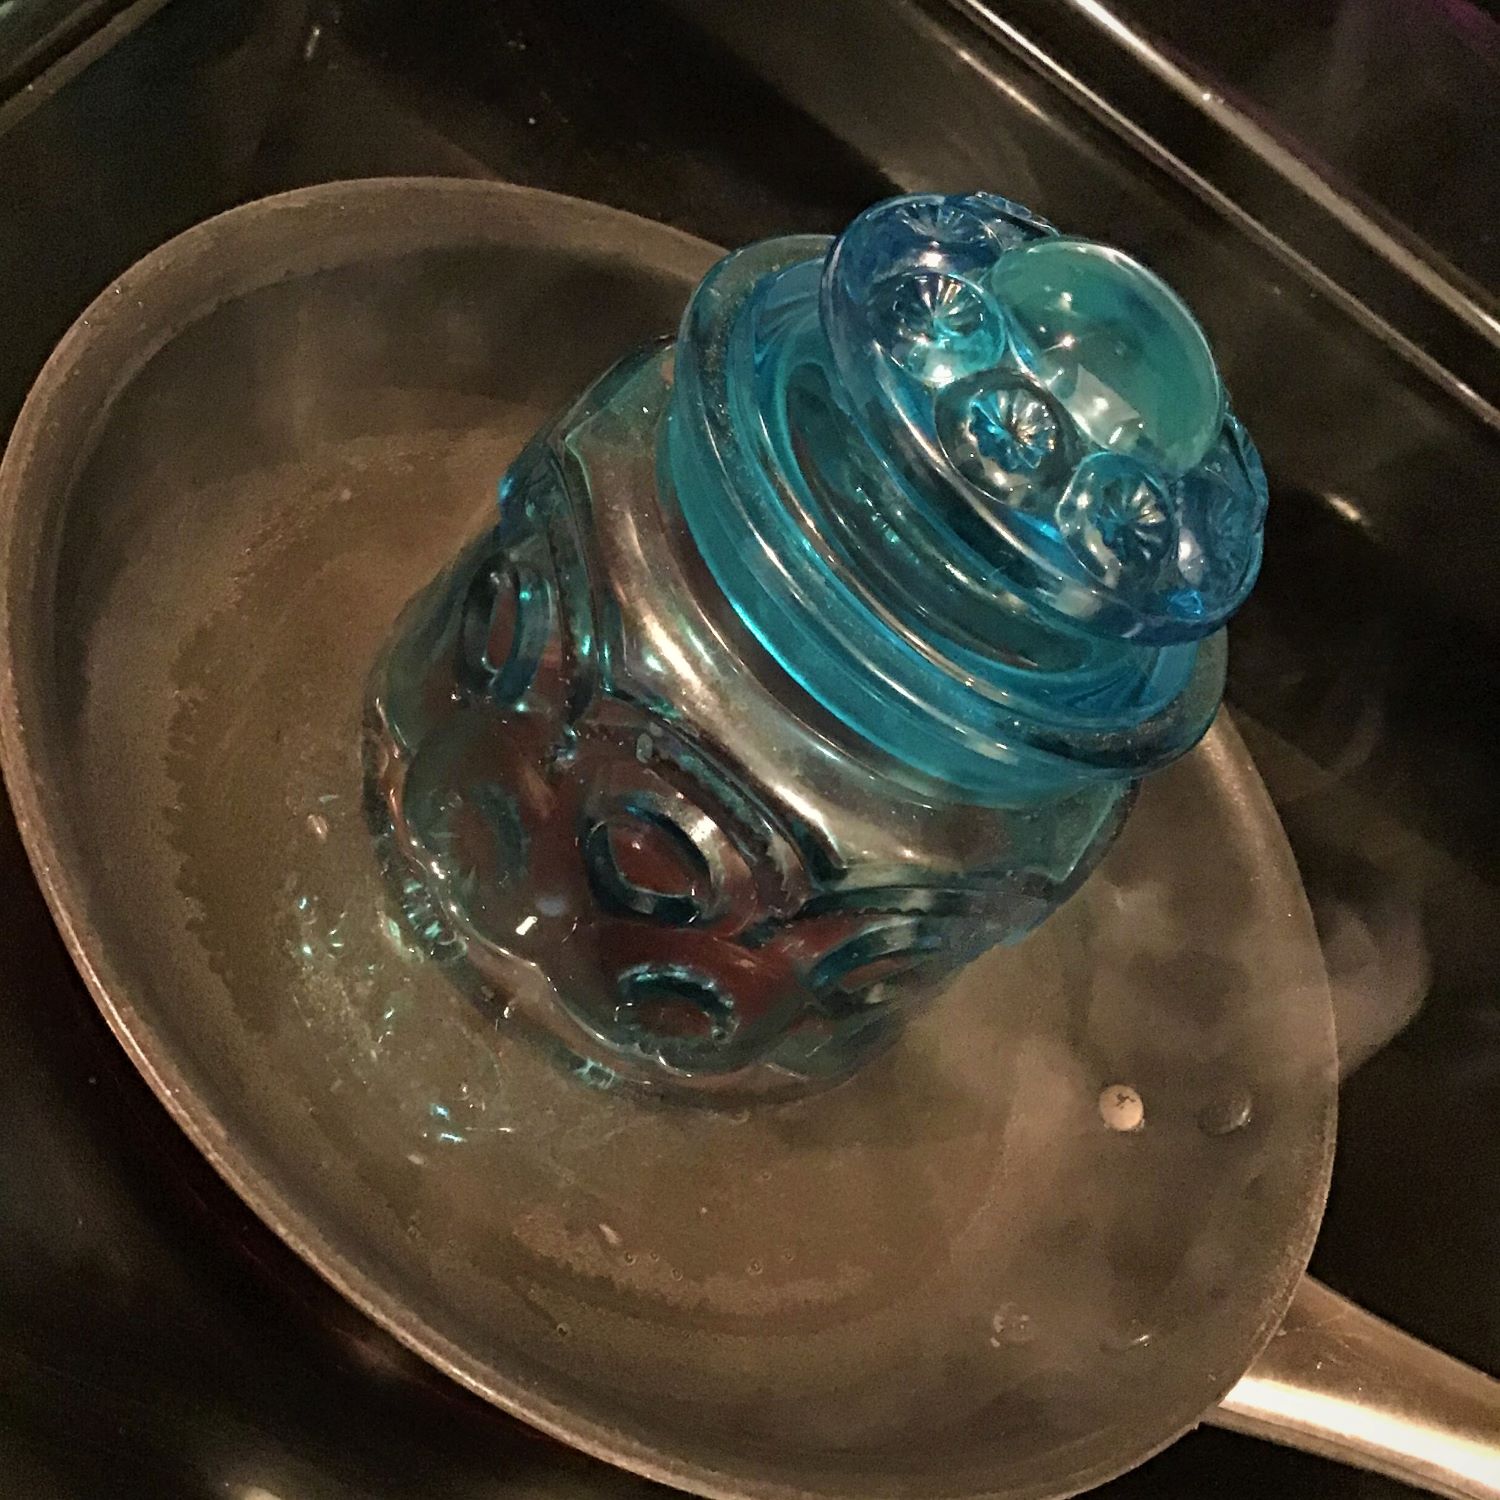
Since I had several East Texas pine cones to work with, I purchased another pound of wax to combine with my existing supply. The internet suggested paraffin wax was the best option, however, any type of wax you have will serve. The wax I saved was not only already colored (red), but also included essential oil fragrances! If you don’t already have these and want to include either/both color and fragrance, add those items to your materials list. (And if you’re on a tight budget, hit up the dollar store for some pre-scented/colored candles to cannibalize!) Add your wax into a large bowl and create a double boiler so the wax is heated, but never directly touching the heat source.
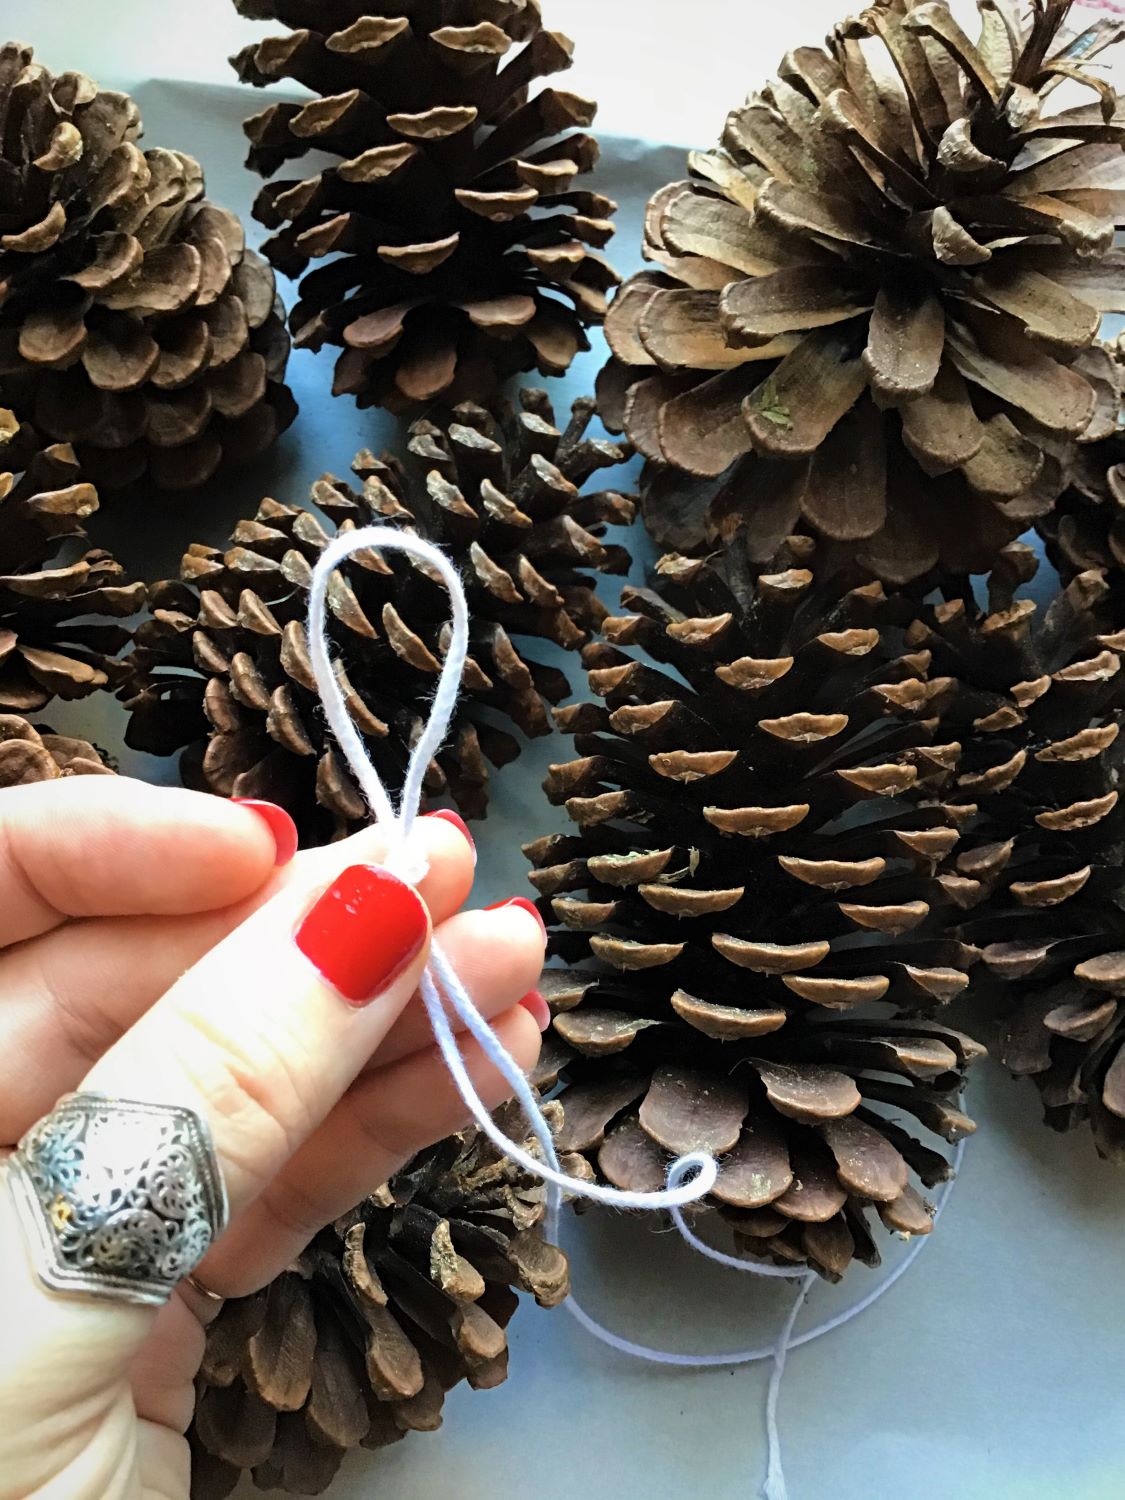
While you’re patiently waiting for your wax to melt, cut a length of wick to be wrapped around each pine cone. Their sizes will determine the length, but just to be safe, I used approximately 24-inch long pieces. You’ll then fold the wick in half and tie a loop knot to crown the top. This is both form and function, as the double wick will help them burn longer and more effectively, as well as gives you a nice little dipping handle.
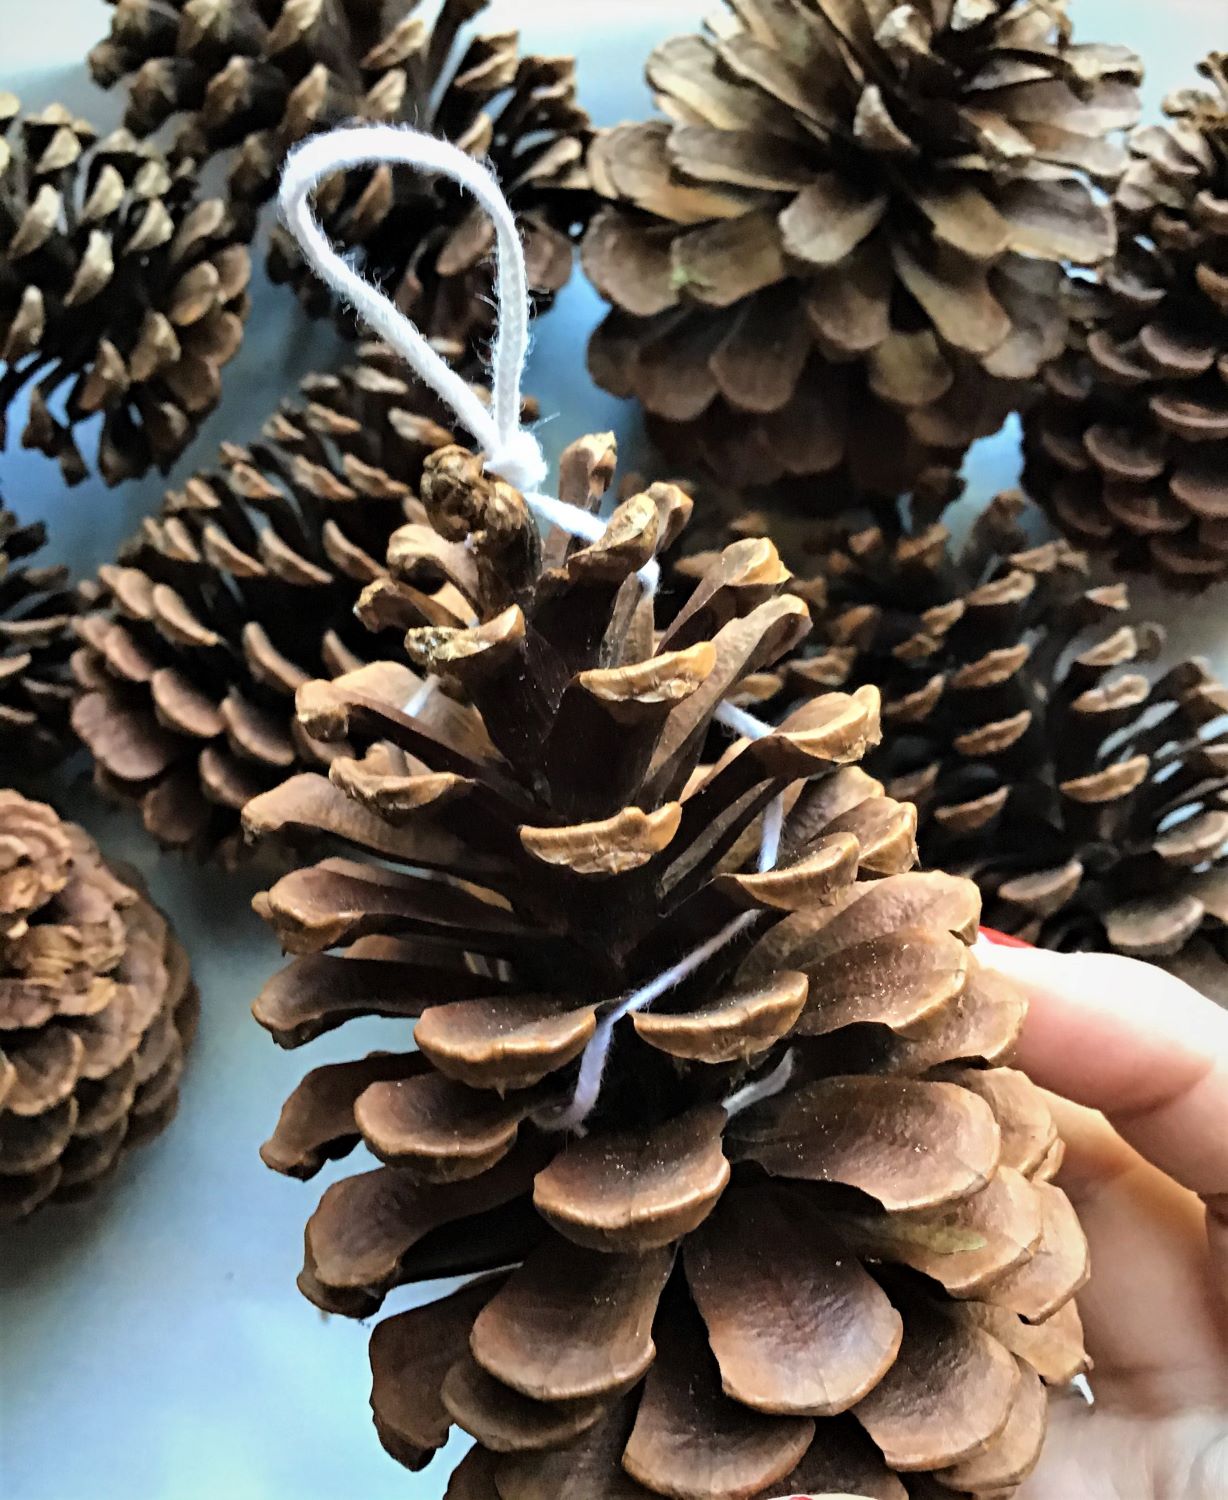
Once you’ve looped and knotted your wick, then you wrap!
Try to wrap wicks in opposite directions, one clockwise, the other counter clockwise, stuffing the wick in between those lovely layers all the way down. Once you’ve wrapped all your pretty pine cones, your wax should be melted, or close to it, and your house and kitchen smelling like heaven!
The wax, once thoroughly melted, will be extremely hot and layer on too thin, so give it a final stir, and either remove from heat or turn off your stove top and let it “rest” and thicken for 20-30 minutes. You can use this time to prep, clean, or relax, your choice! Once your wax is cooled down a bit, you’re ready for the final step, which is dipping! If it’s cooled enough, you’ll only need to dip once or twice, but the hotter your wax, the longer you’ll need between coats. I ran a quick errand and when I came back it was just right. If you wait too long and need to re-heat your wax, no worries! Just turn up the heat again and stir gently.
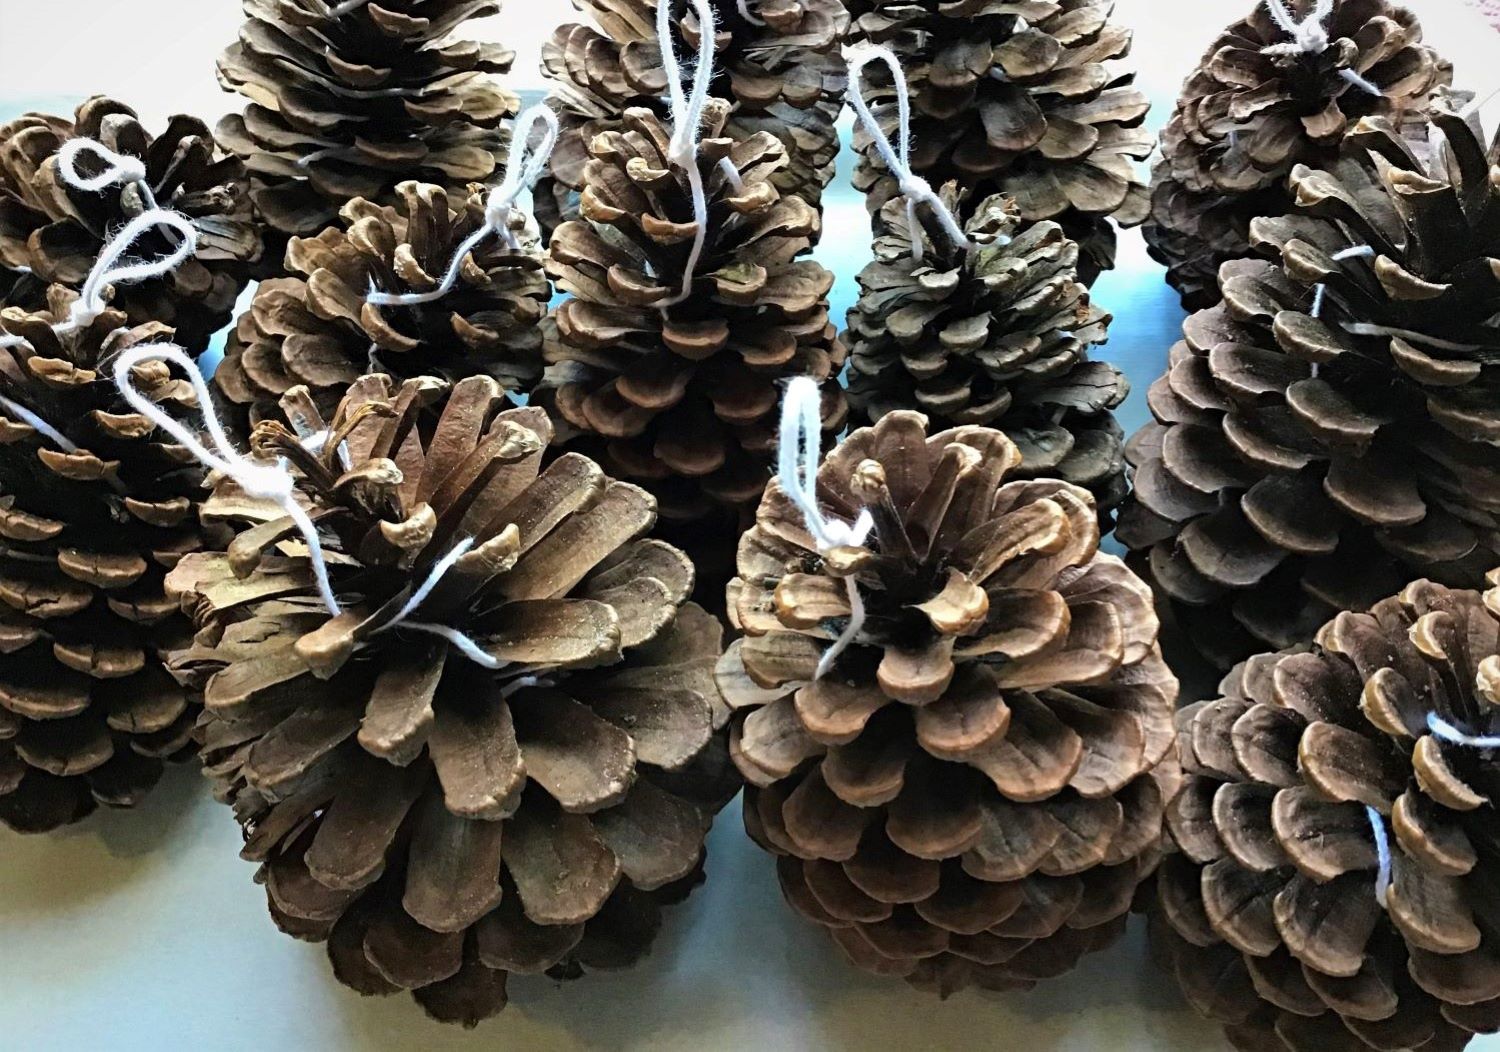
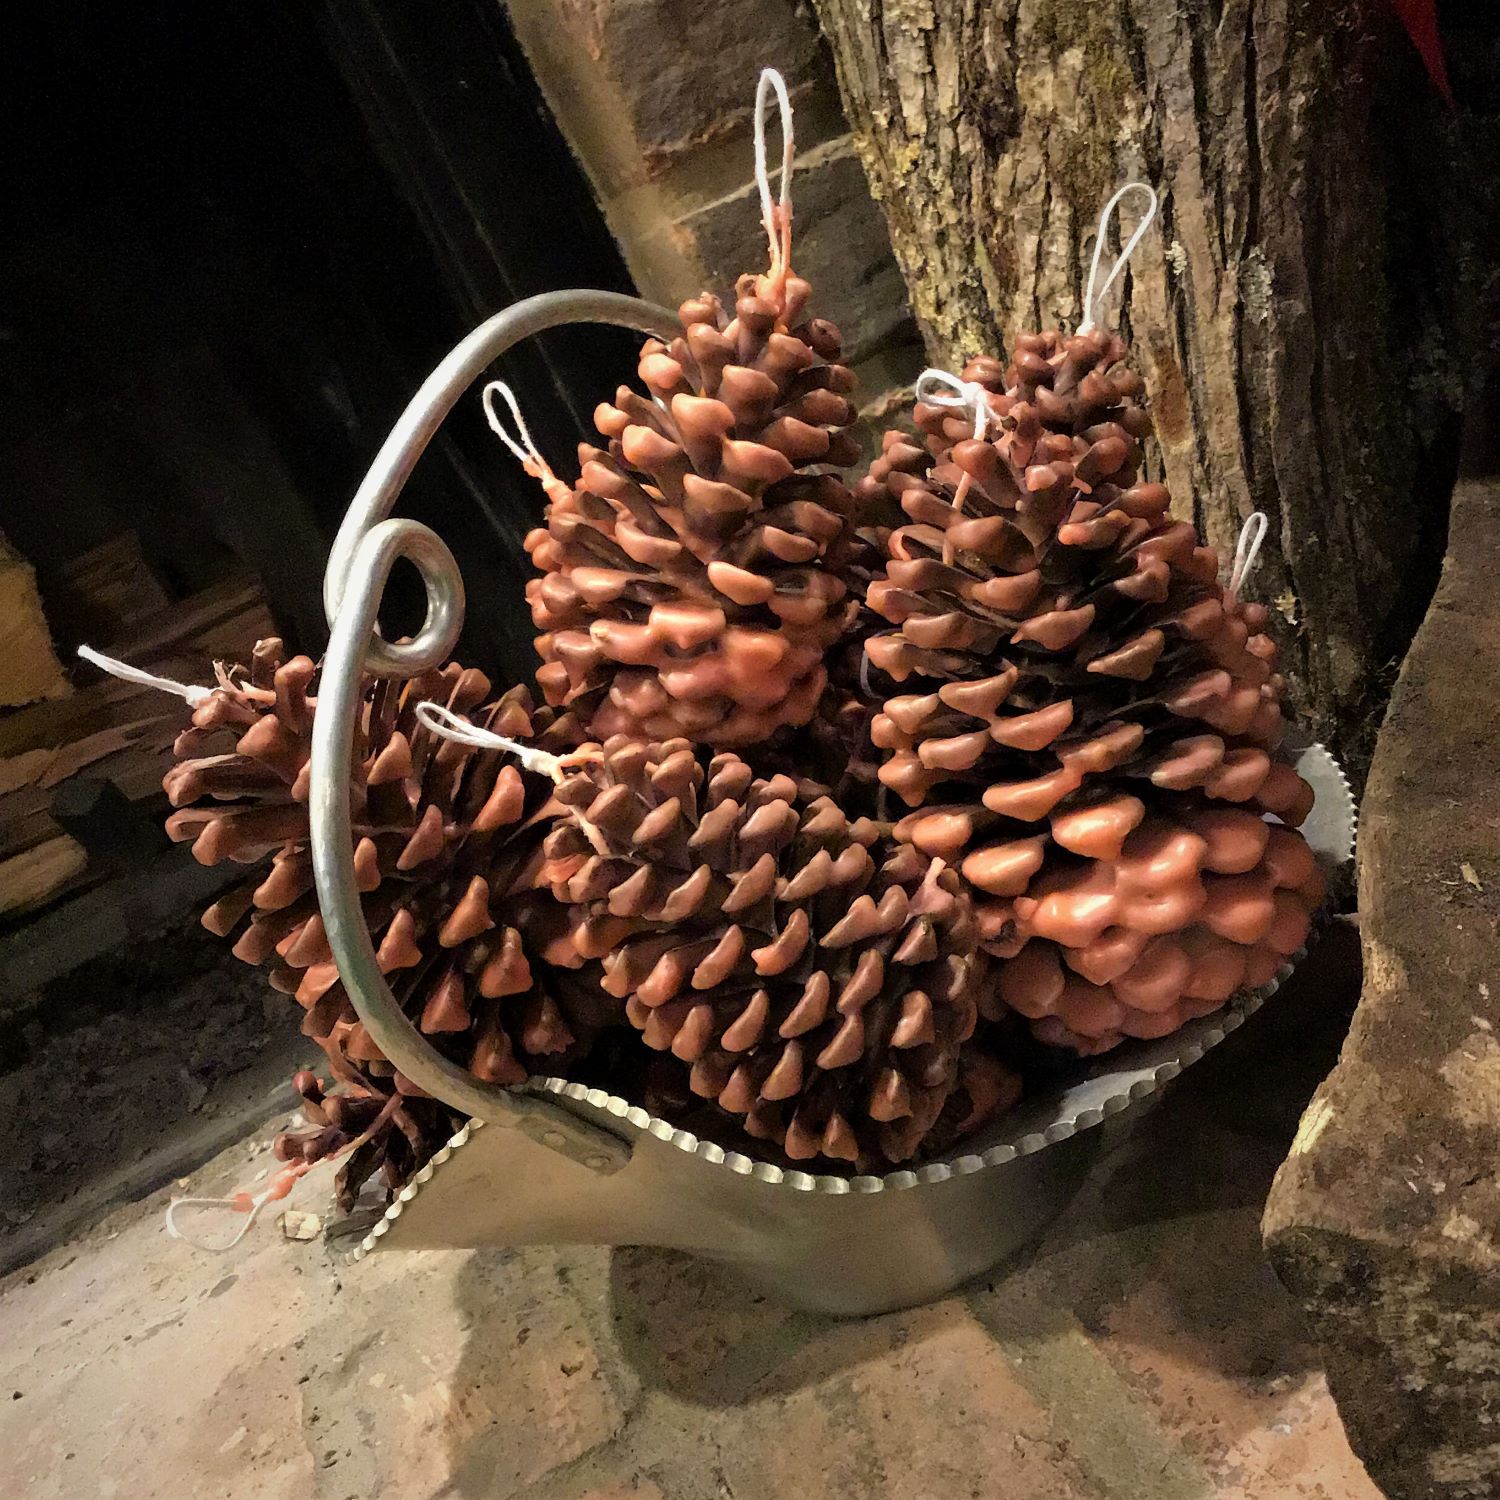
Once you’ve got a couple of coats of wax, they should look something like this!
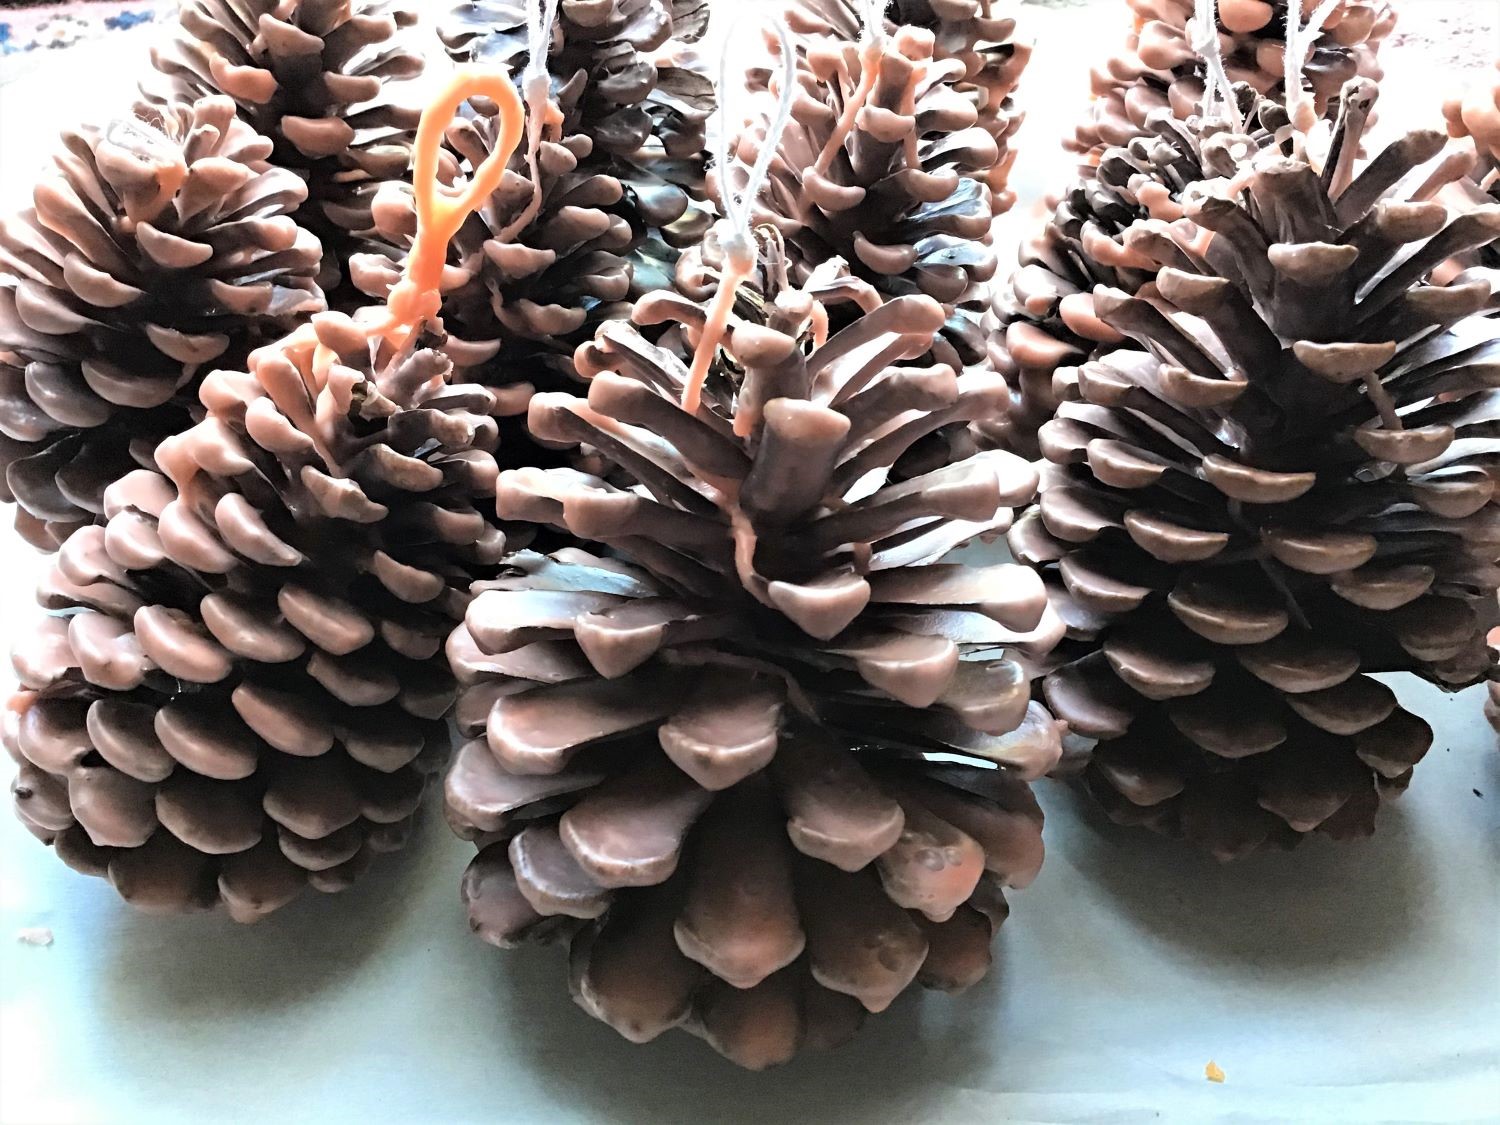
Allow them to cool and enjoy! When you’re ready to used these babies, simply place amongst your kindling and light the top wick like a candle to get your fire going.
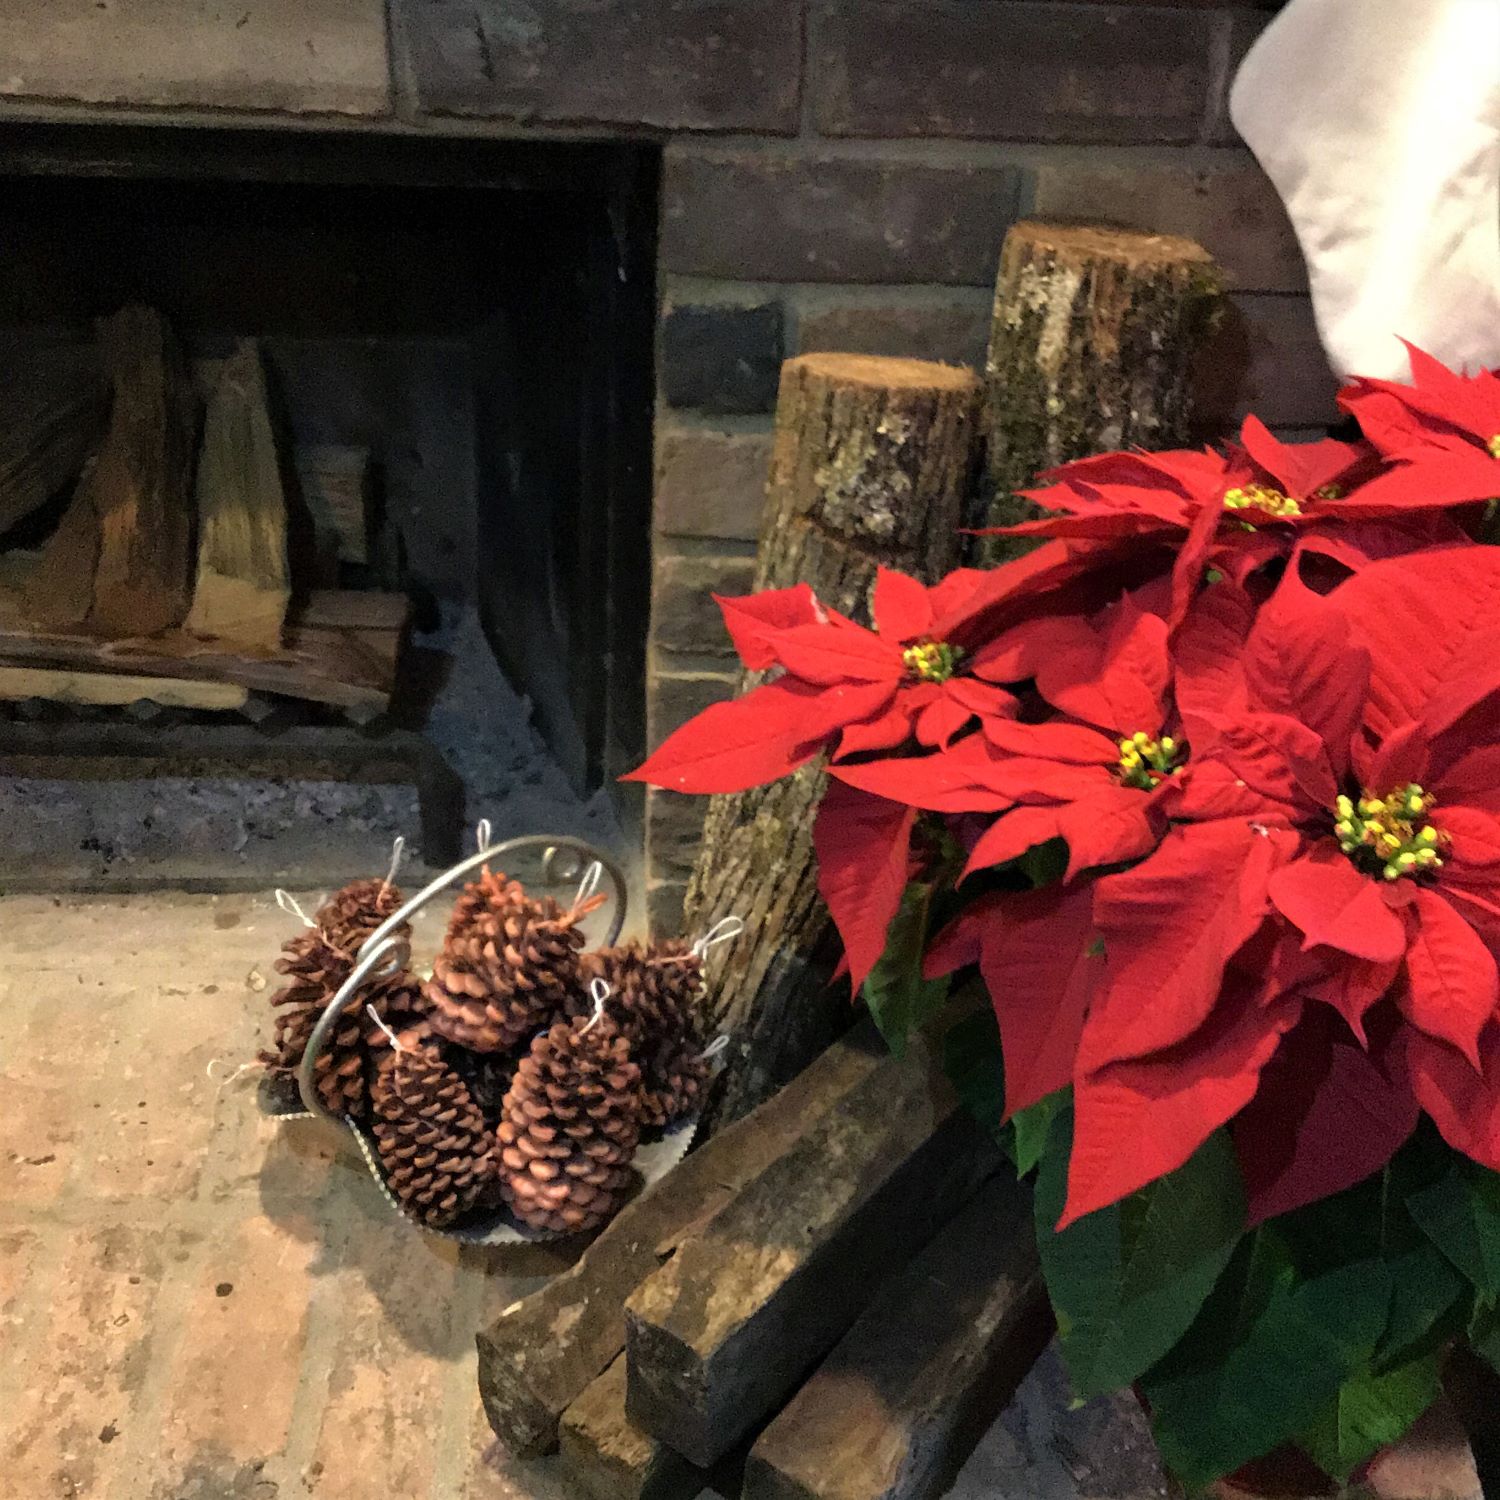
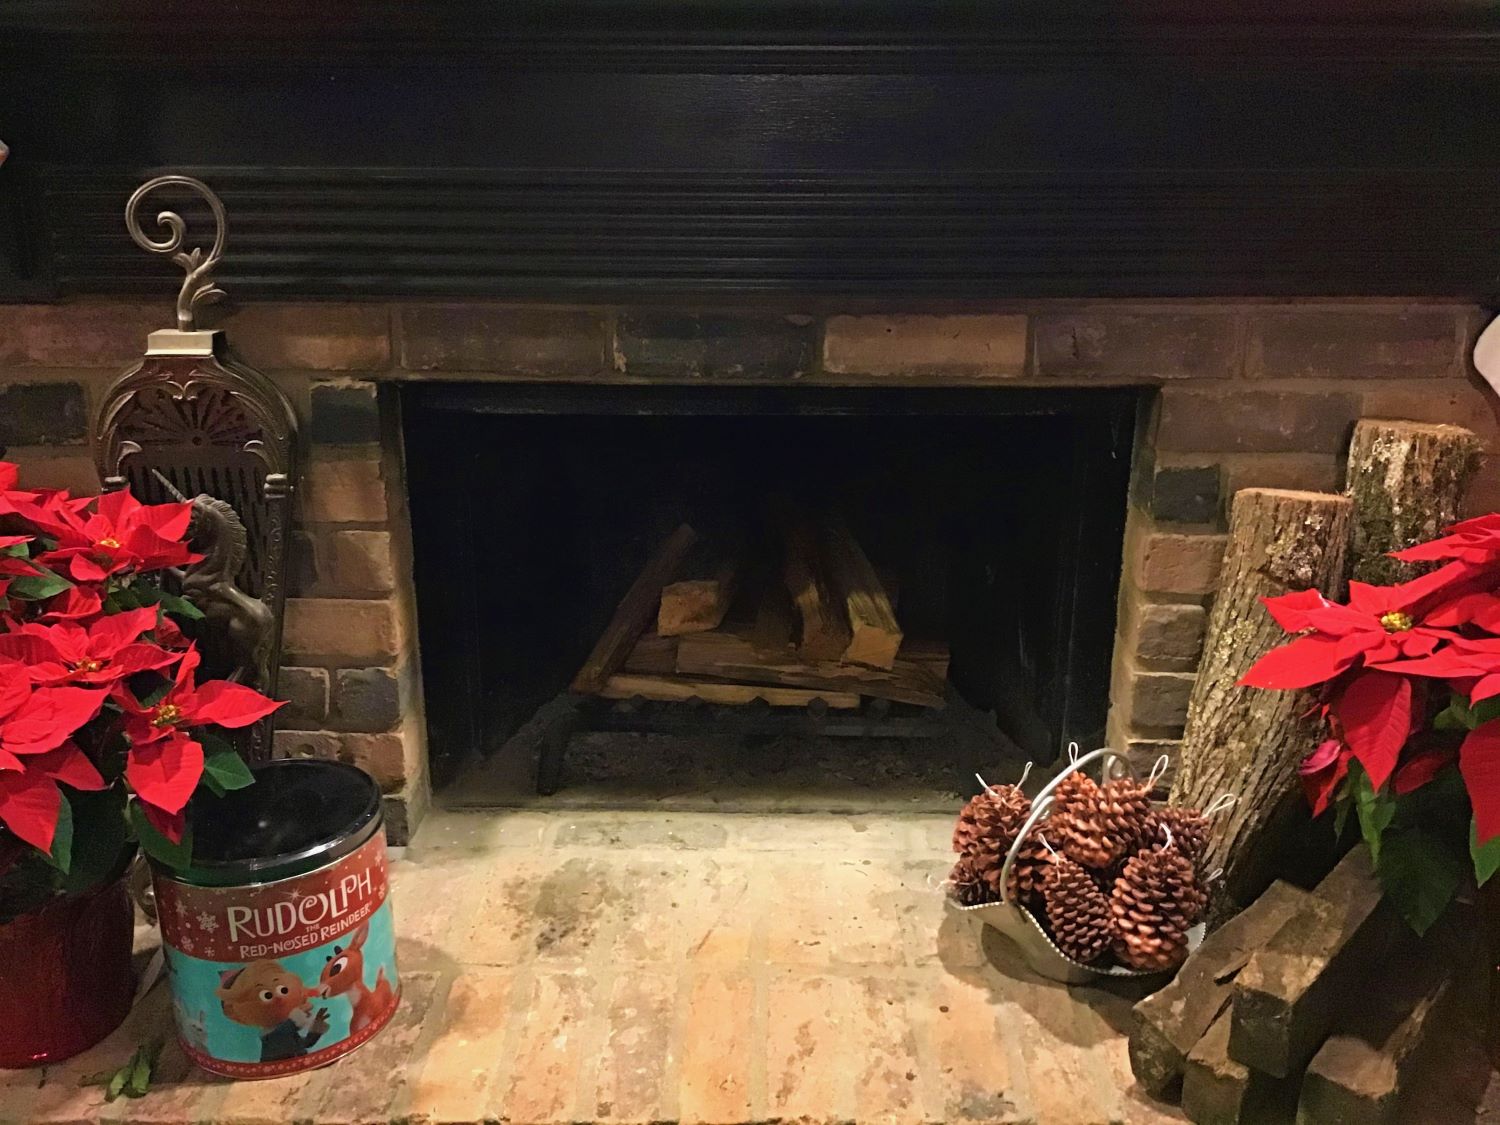
These adorable fire starters are a combination of my favorite things: useful and attractive. You can add to your own decor, or wrap and gift them to anyone who has a fireplace or fire pit!
So are you ready to make these gorgeous pine cone fire starters? Tell us all about your creations in the comments.
Let’s Be Friends!
Insta | Pinterest | Enews | TikTok