Craft in Style Subscription Instructions, DIY
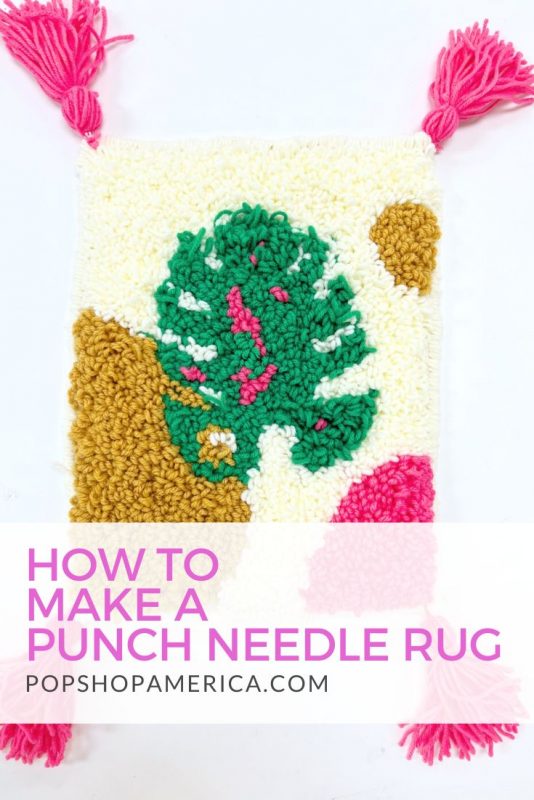
How to Make a Punch Needle Rug
Jun
This tutorial was originally created for the May 2022 Craft in Style Subscription Box. The Punch Needle Rug Making Kit includes everything in this diy and can now be purchased here.
Punch needle embroidery is so much fun and such a versatile skill set to learn! You can make artwork, coasters, or even pillows. And you can make punch needle items in a million different styles, colors or with completely different images.
It’s the type of craft that you could keep using to create for a lifetime and never make the same thing twice.
The drawback is that it’s a slow moving craft. It takes hours and hours to complete a project – especially a rug like this. Although it’s slow moving, it’s the type of craft that you can work on while you are watching movies or just hanging out with friends. It’s super relaxing and soothing.
So let’s make it!
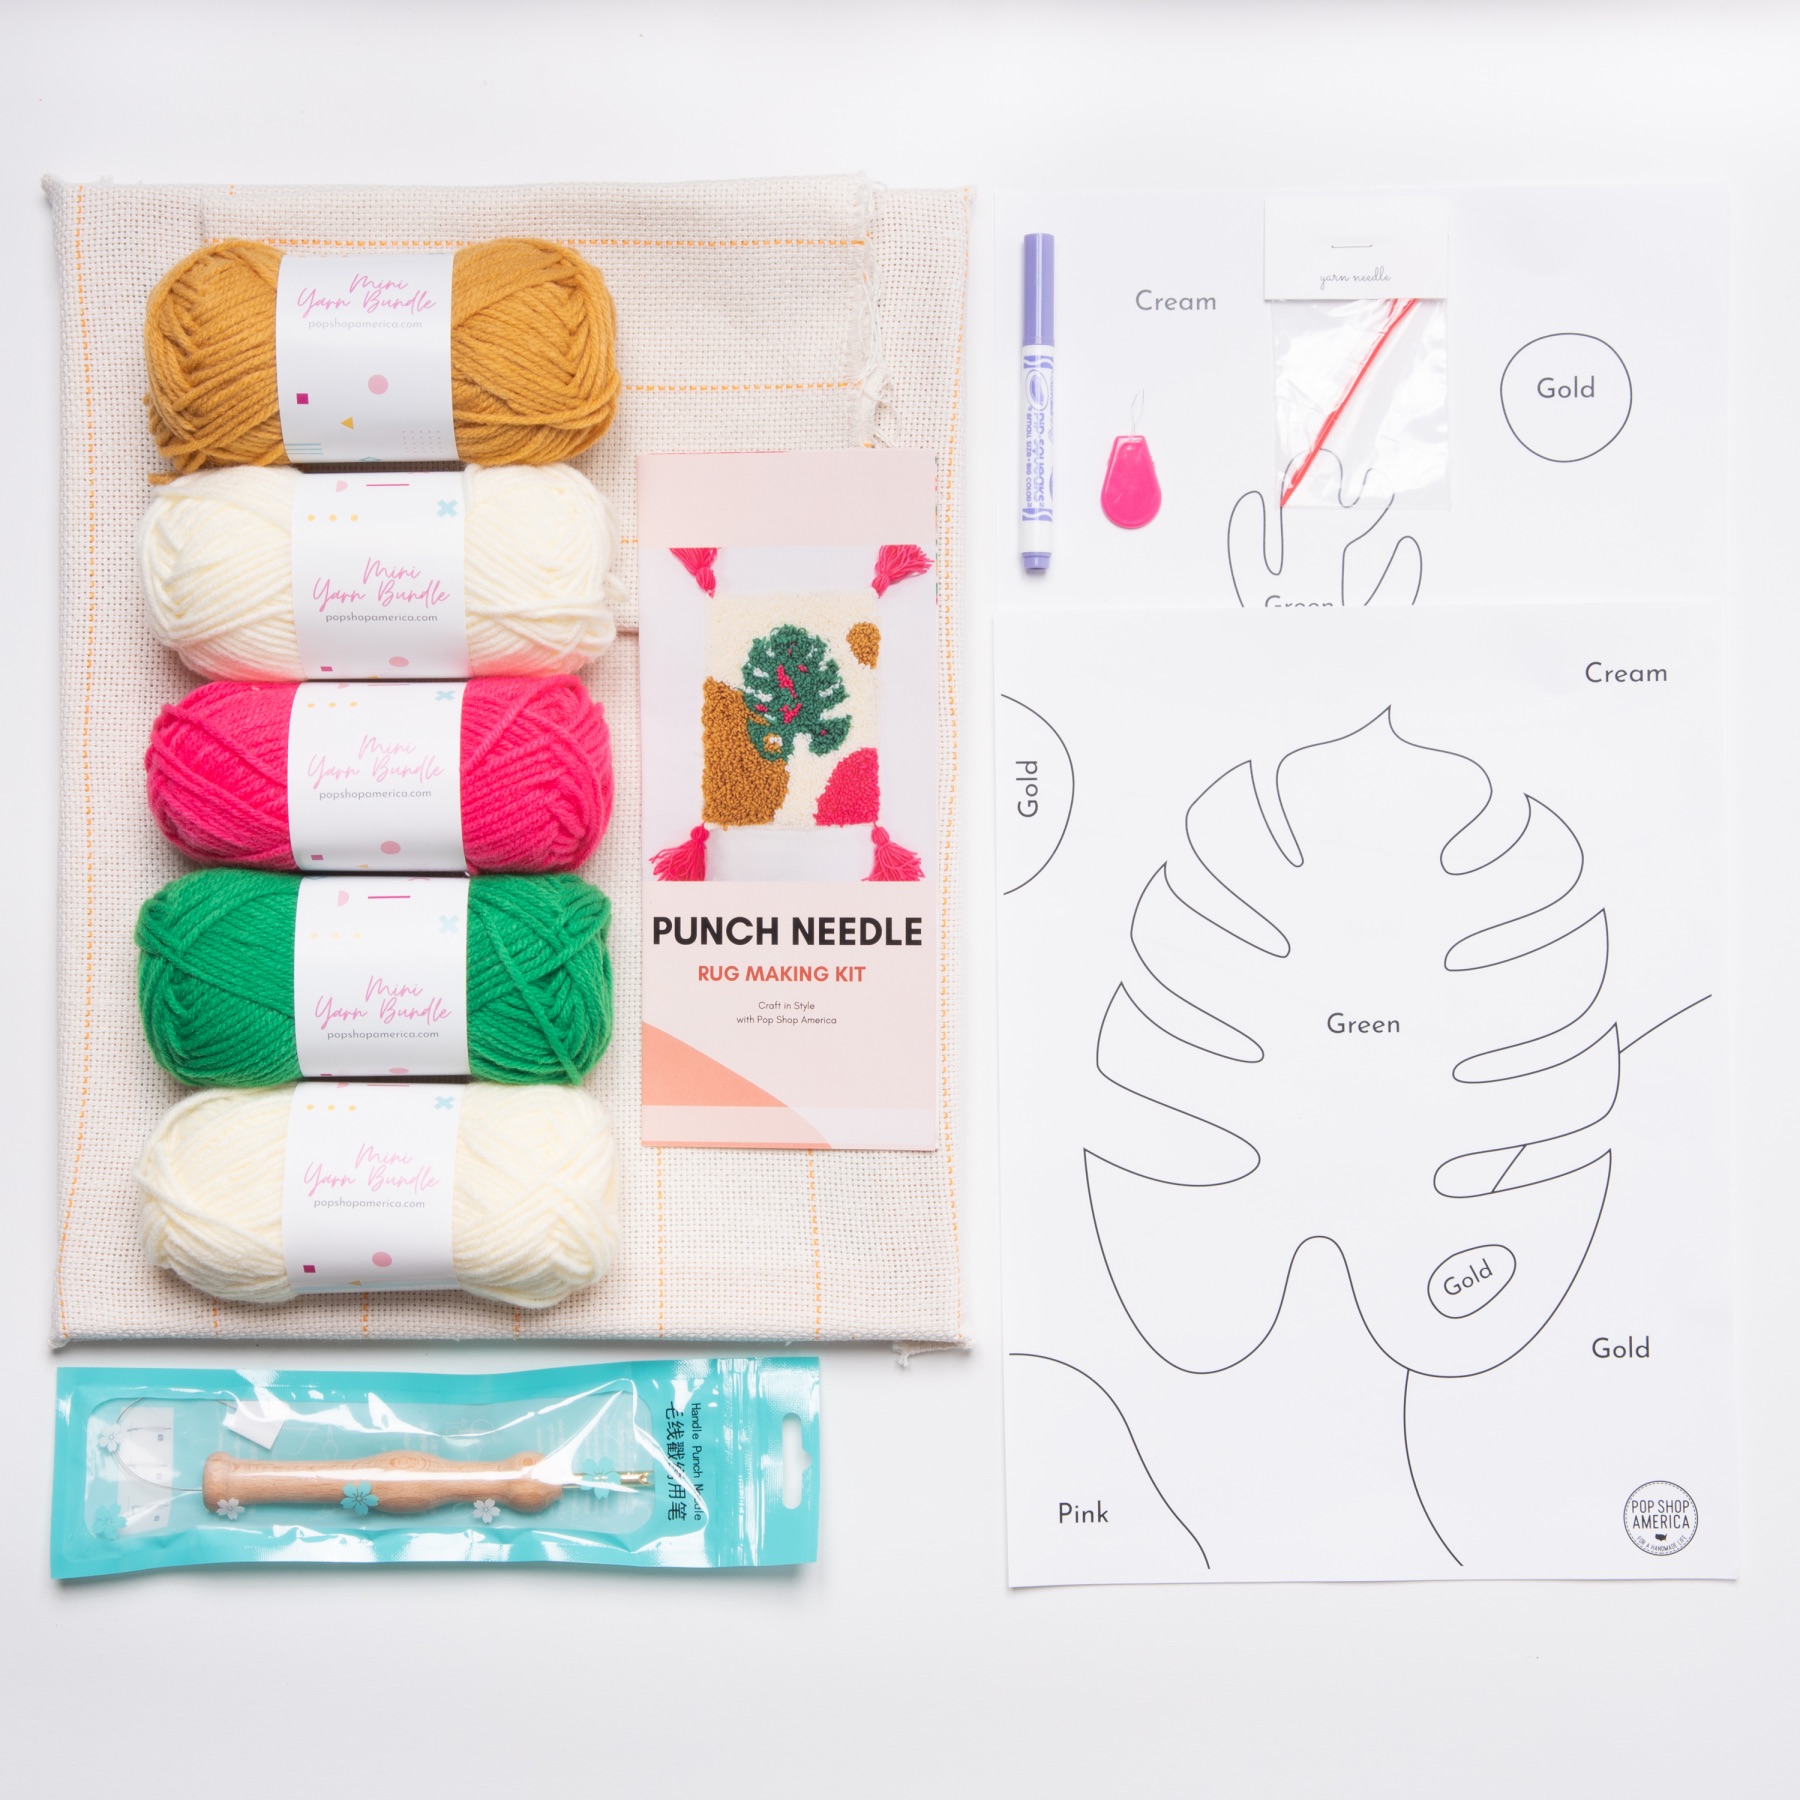
Supplies to Make a Punch Needle Rug
Pop Shop America Punch Needle Rug Making Kit
-or-
Any of these Free Punch Needle Rug Templates
Monk’s Cloth
A 11 x 14 Inch Frame or Bigger
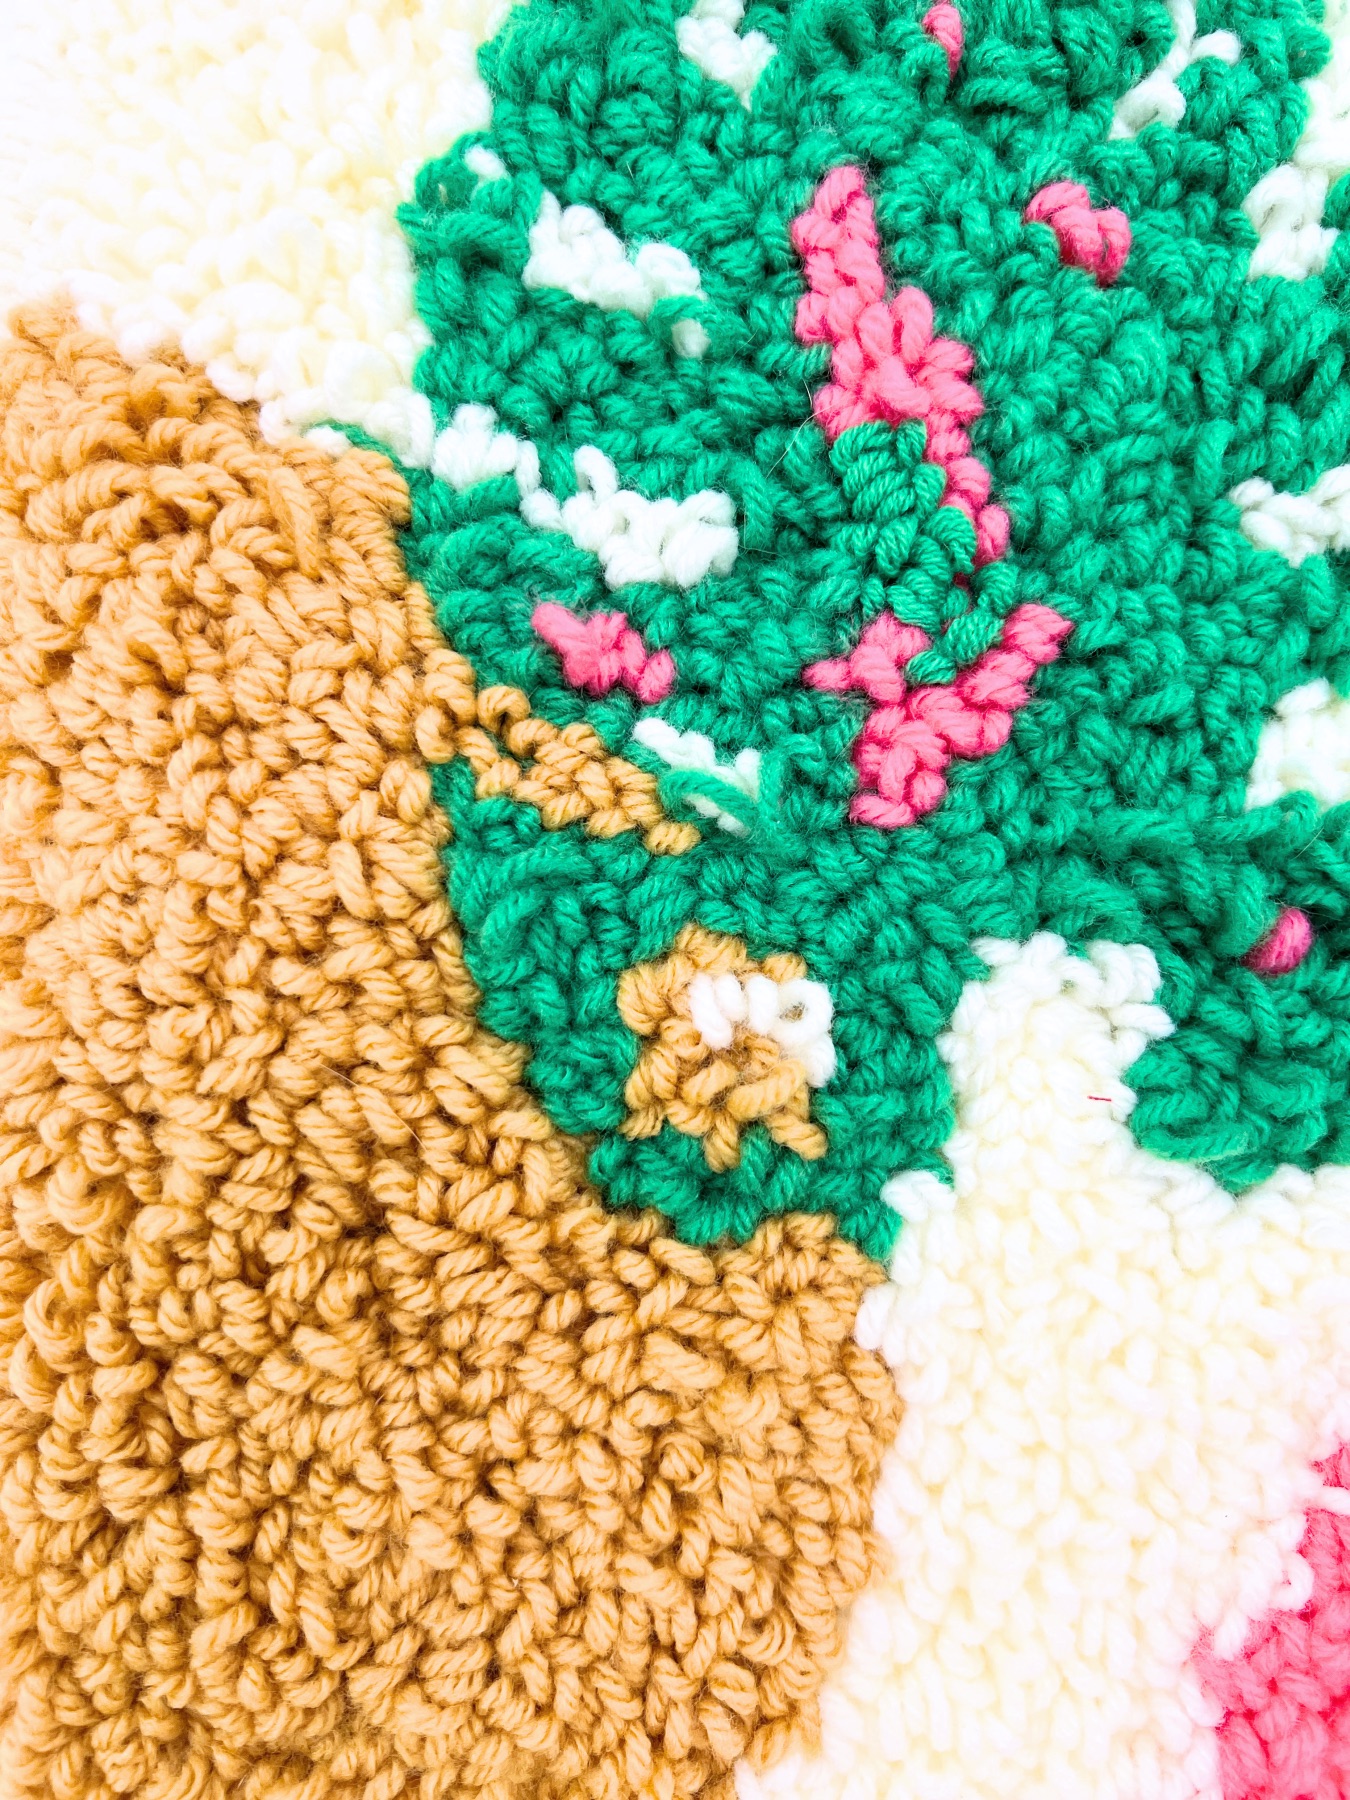
Yarn in a Variety of Colors (I used cream, gold, green, and pink)
Punch Needle Embroidery Tool
Washable Marker or Fabric Marker
Yarn Needle
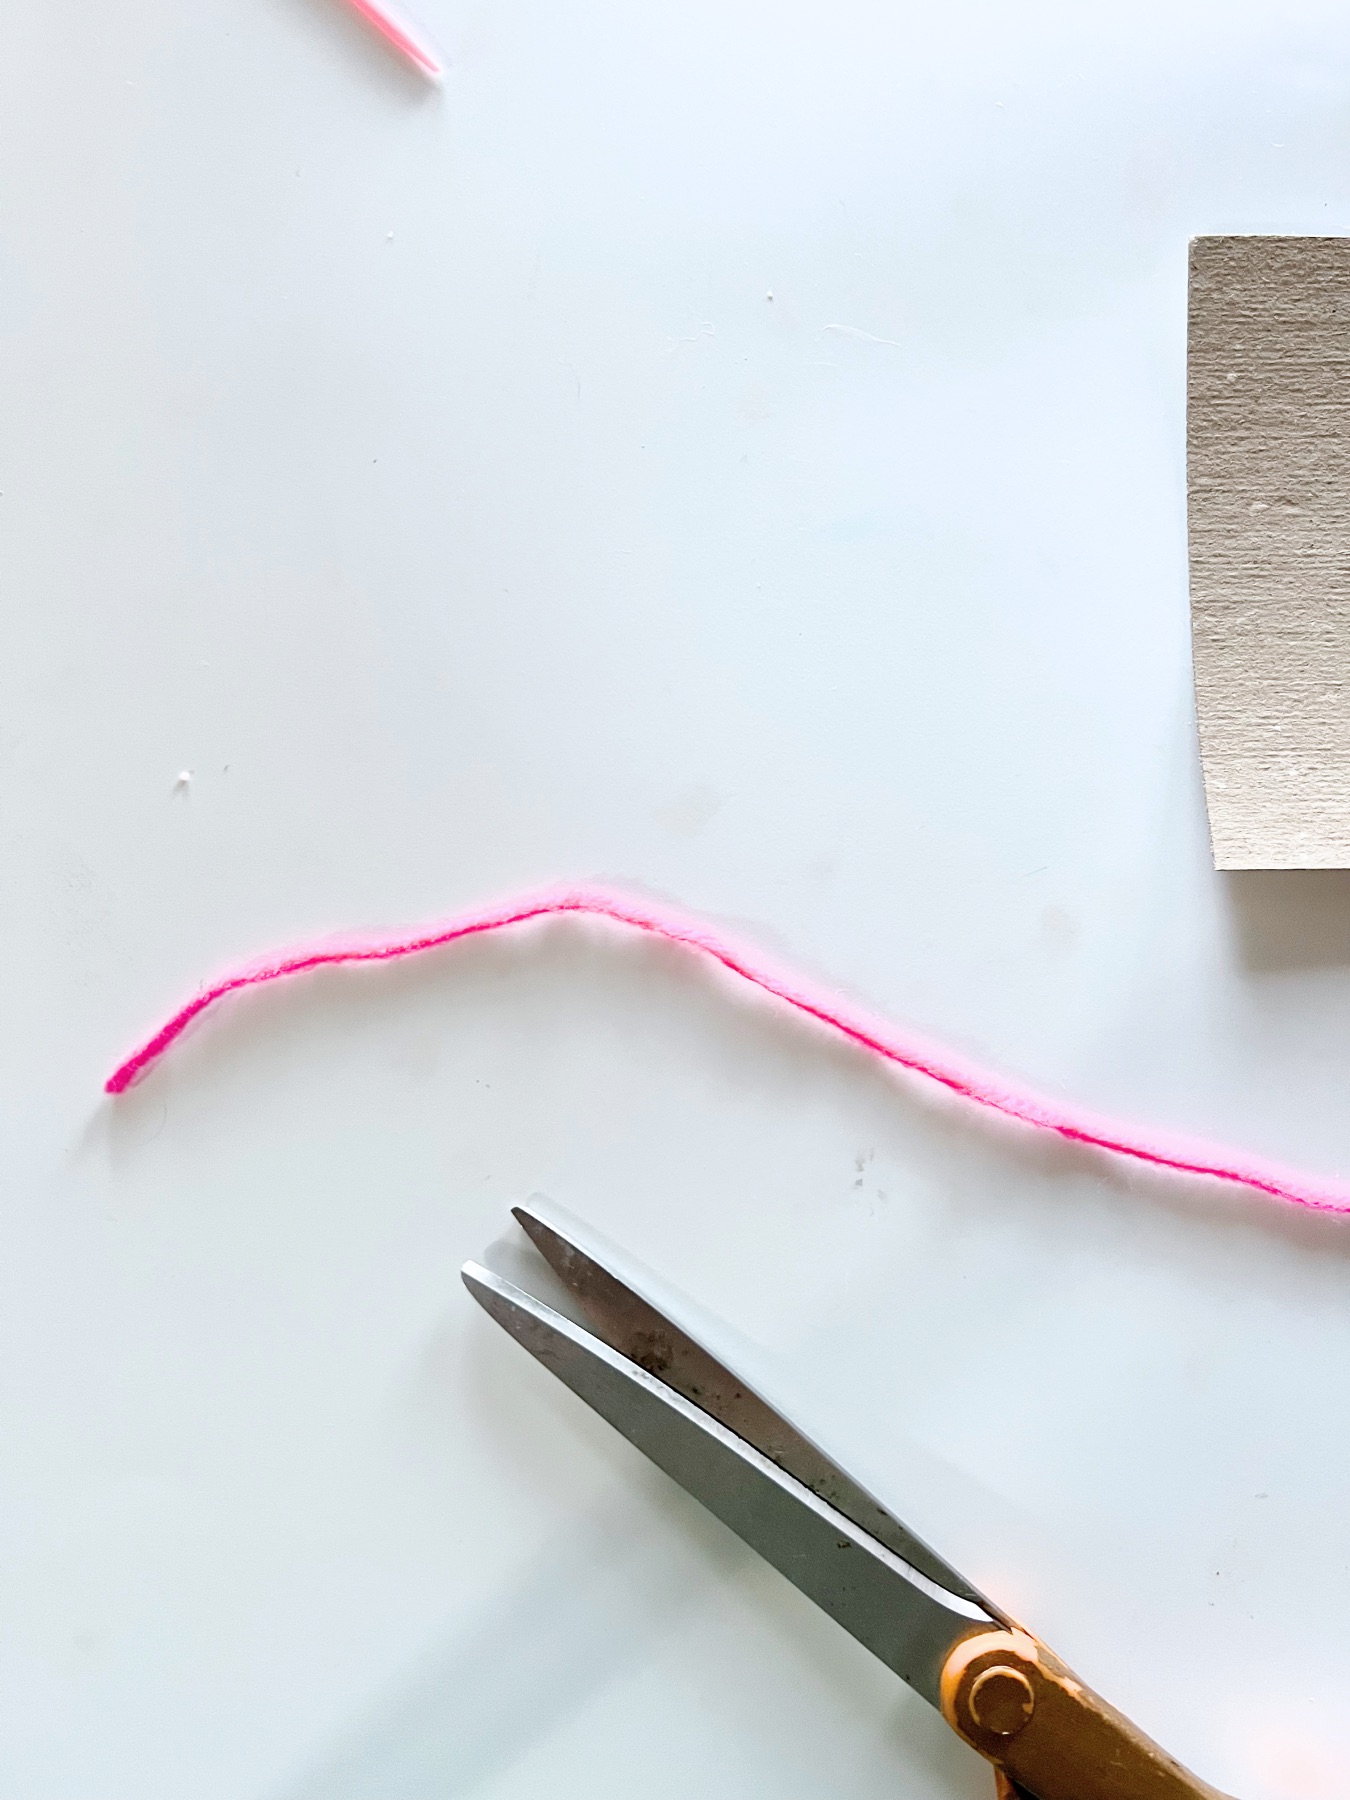
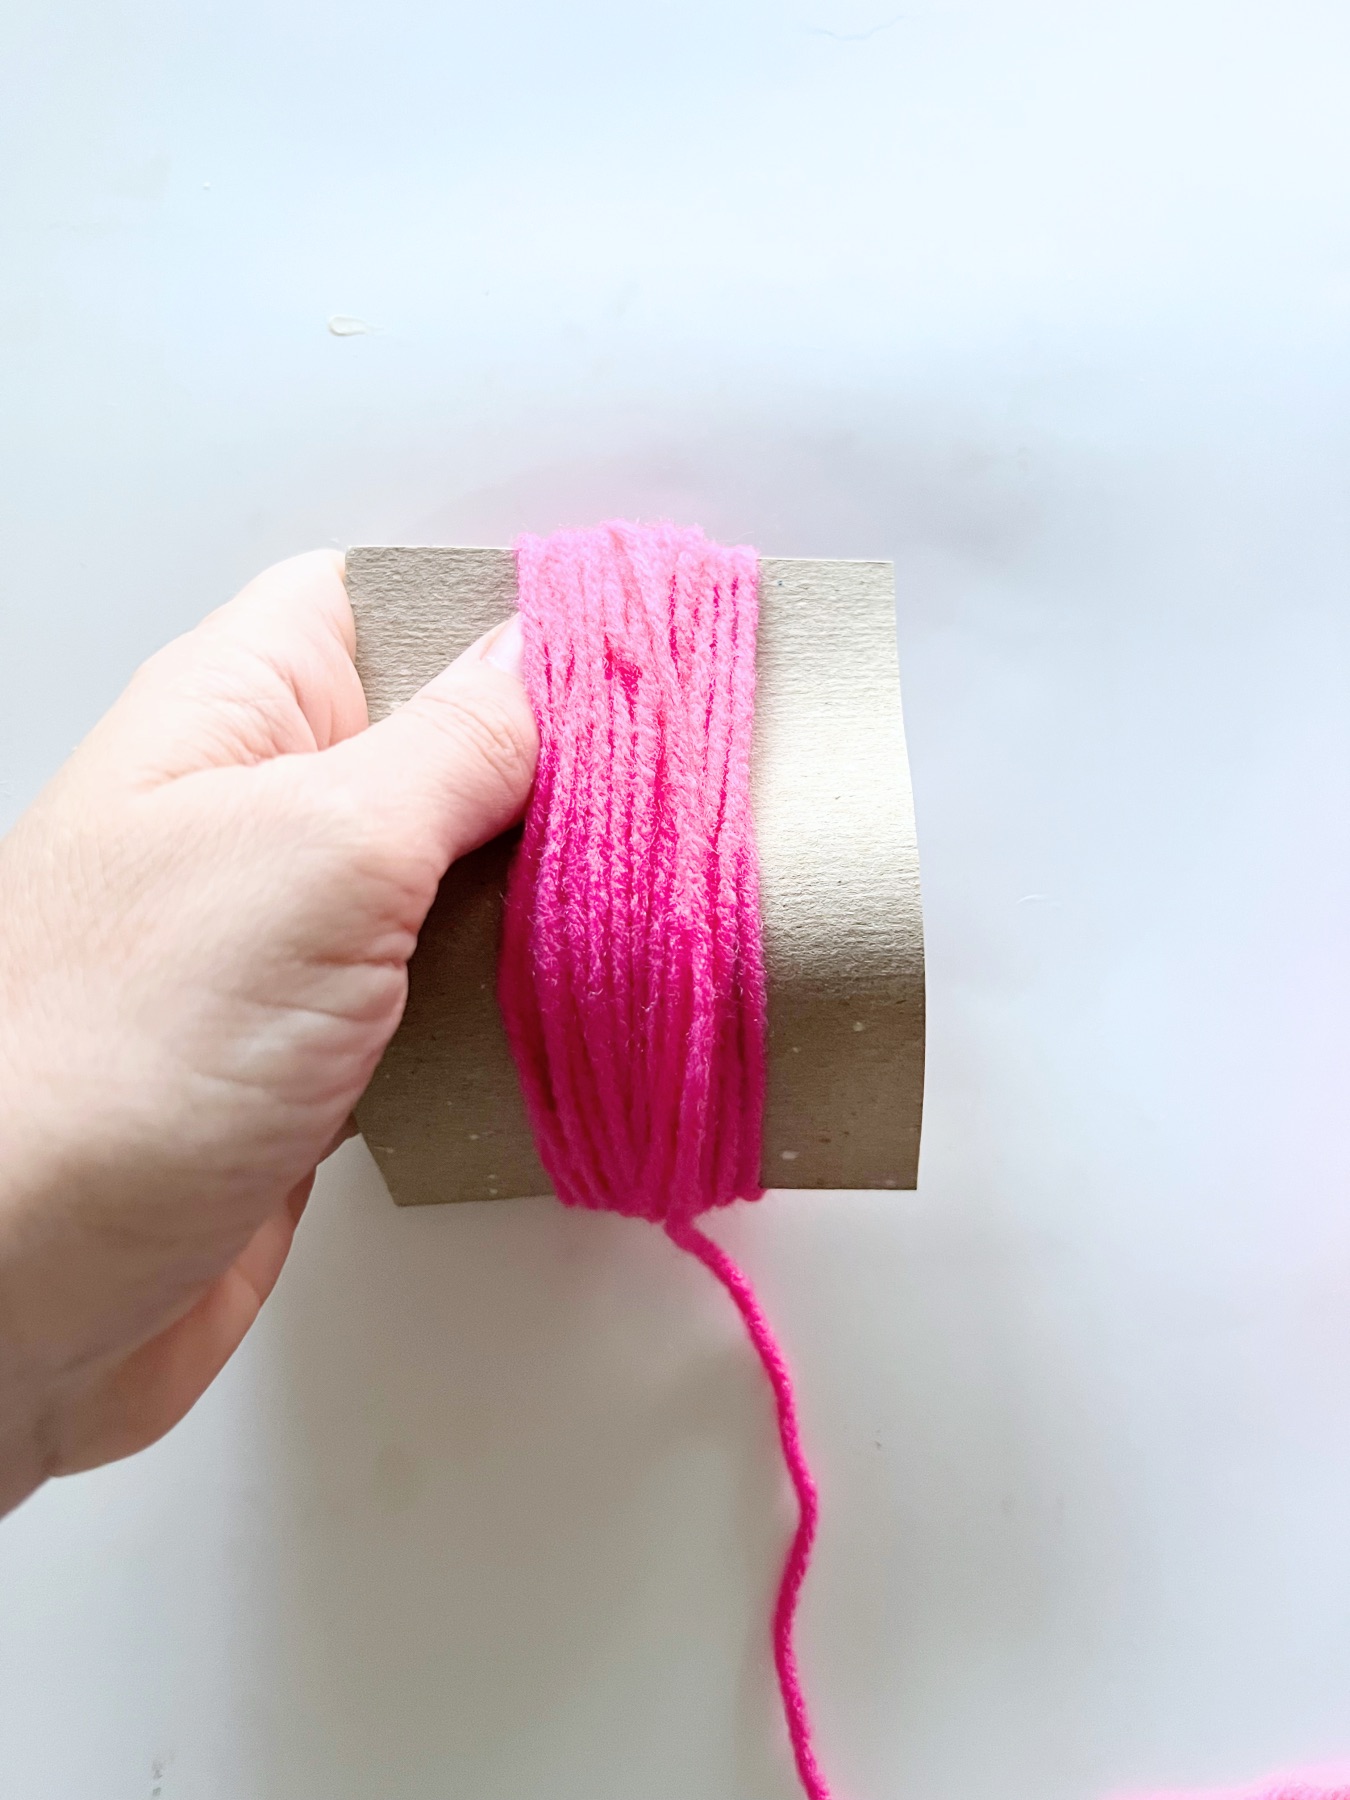
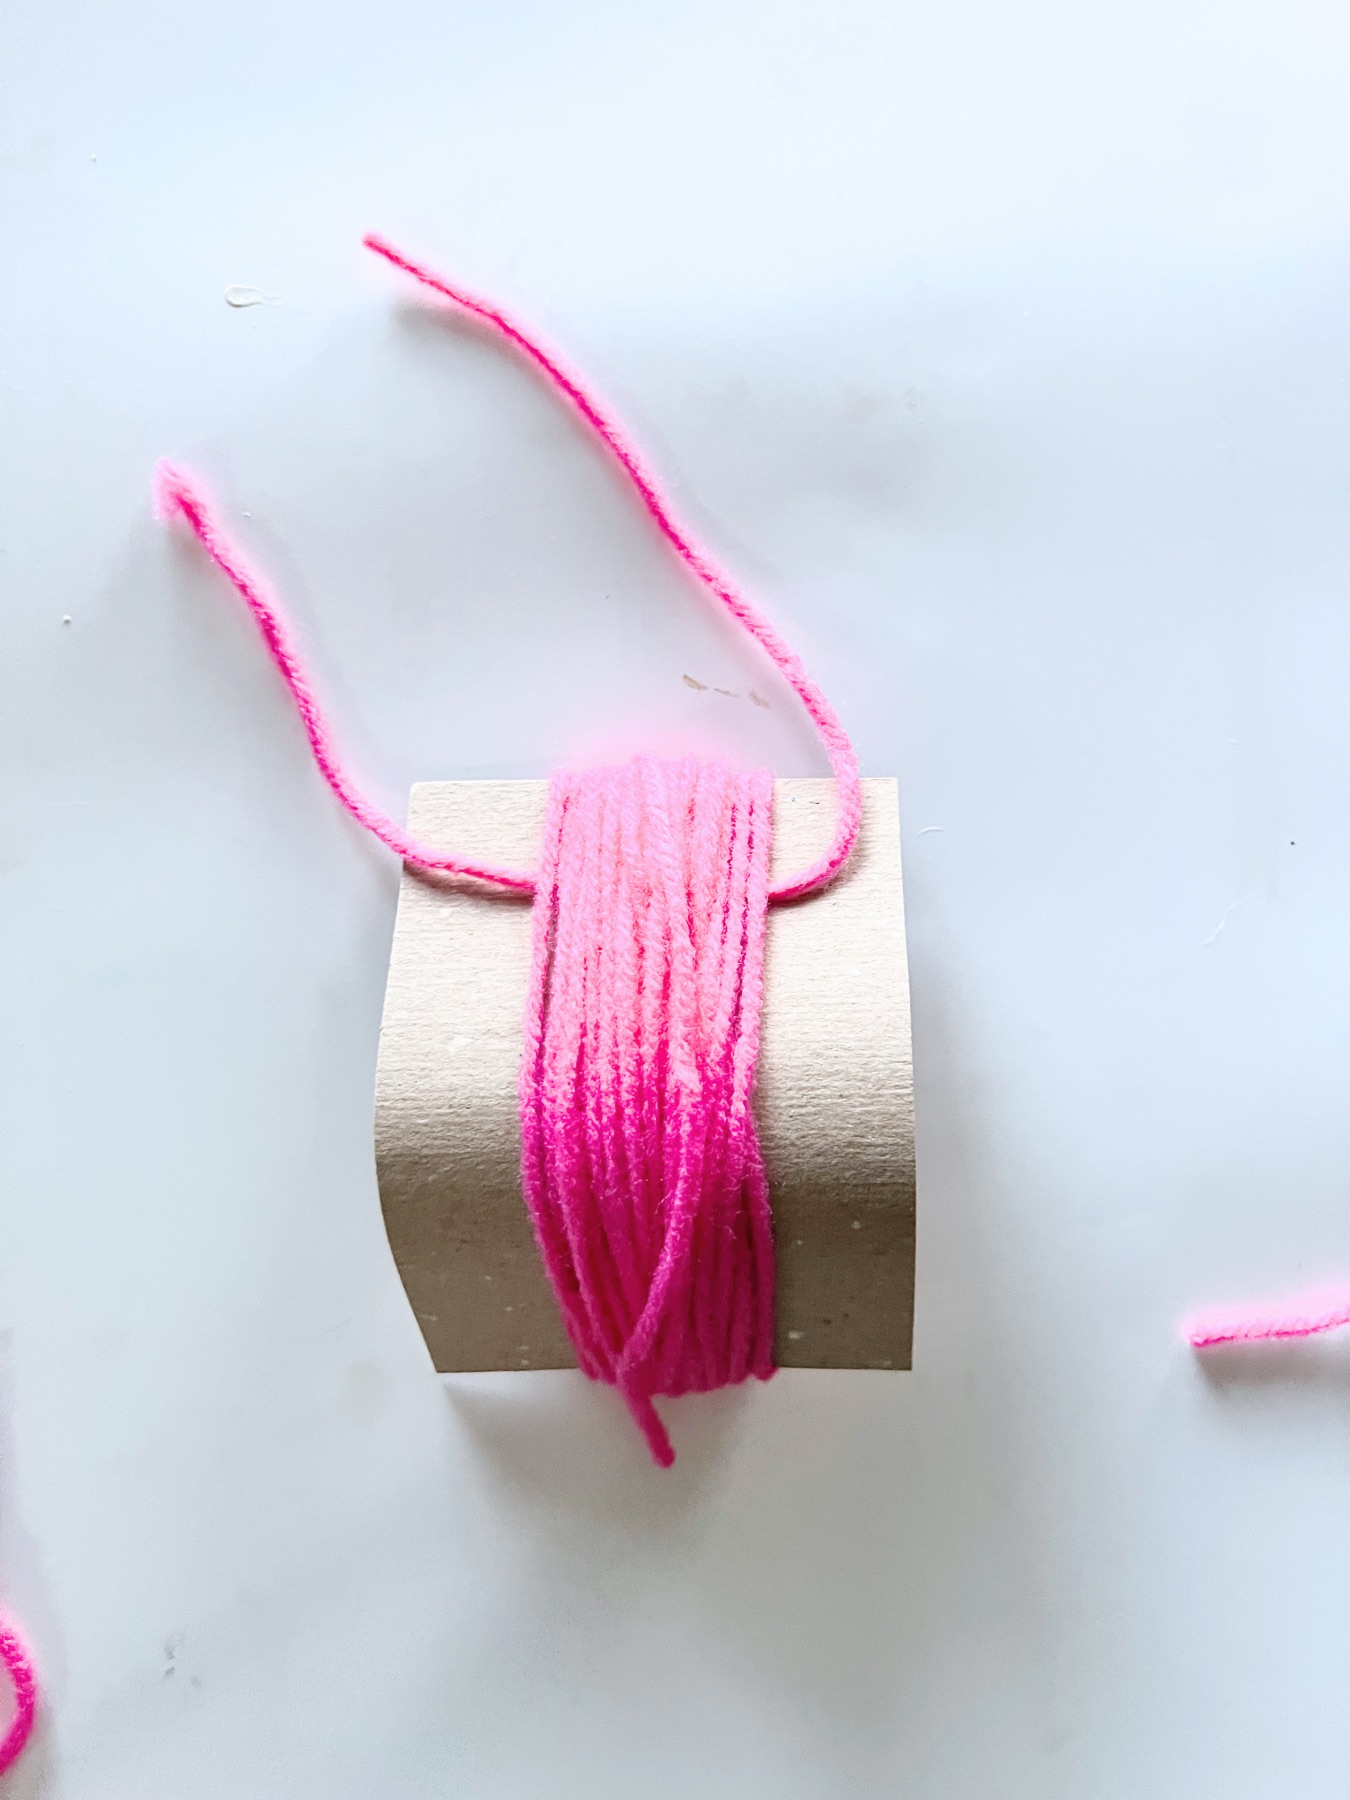
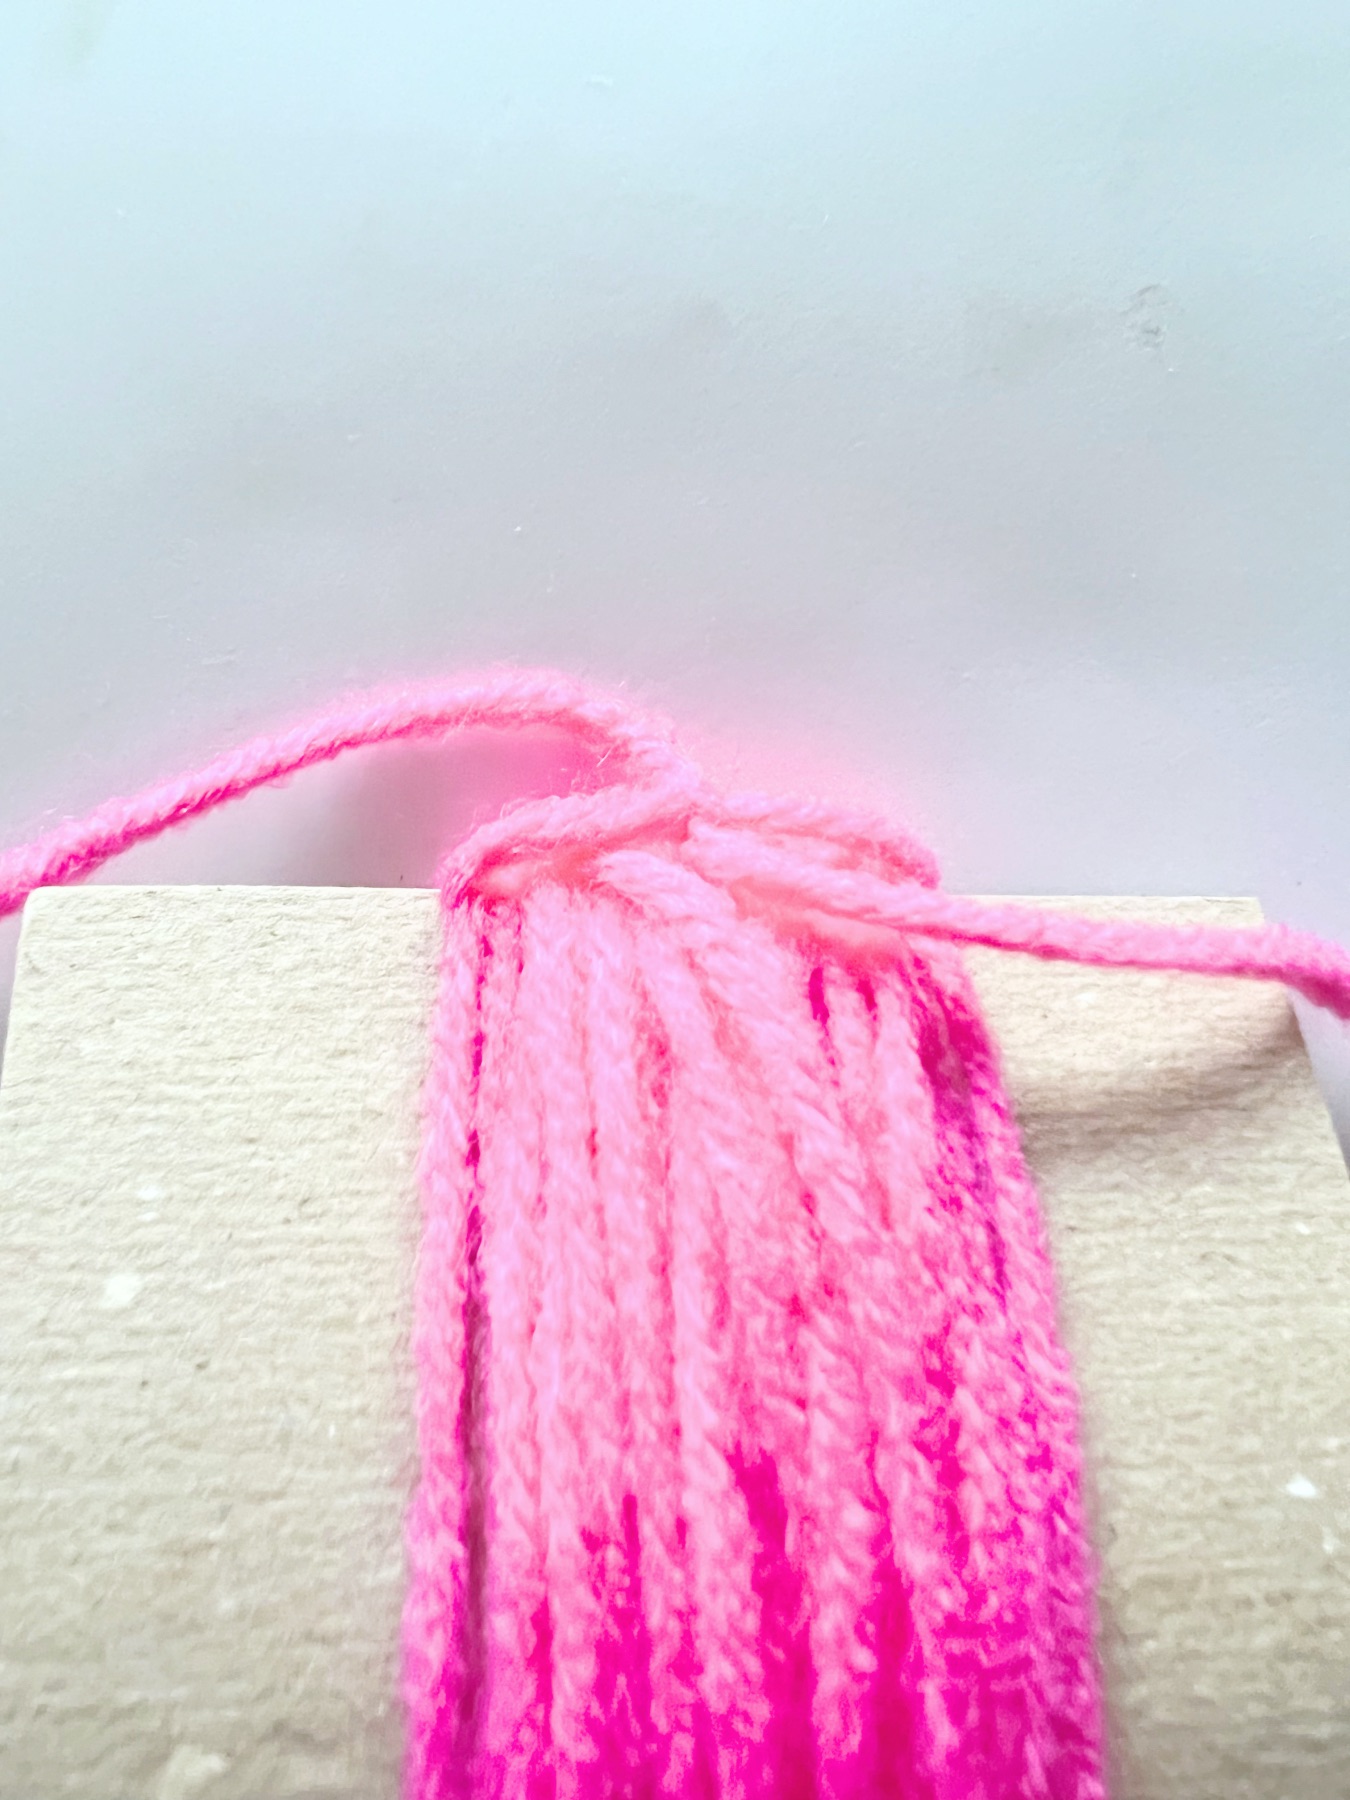
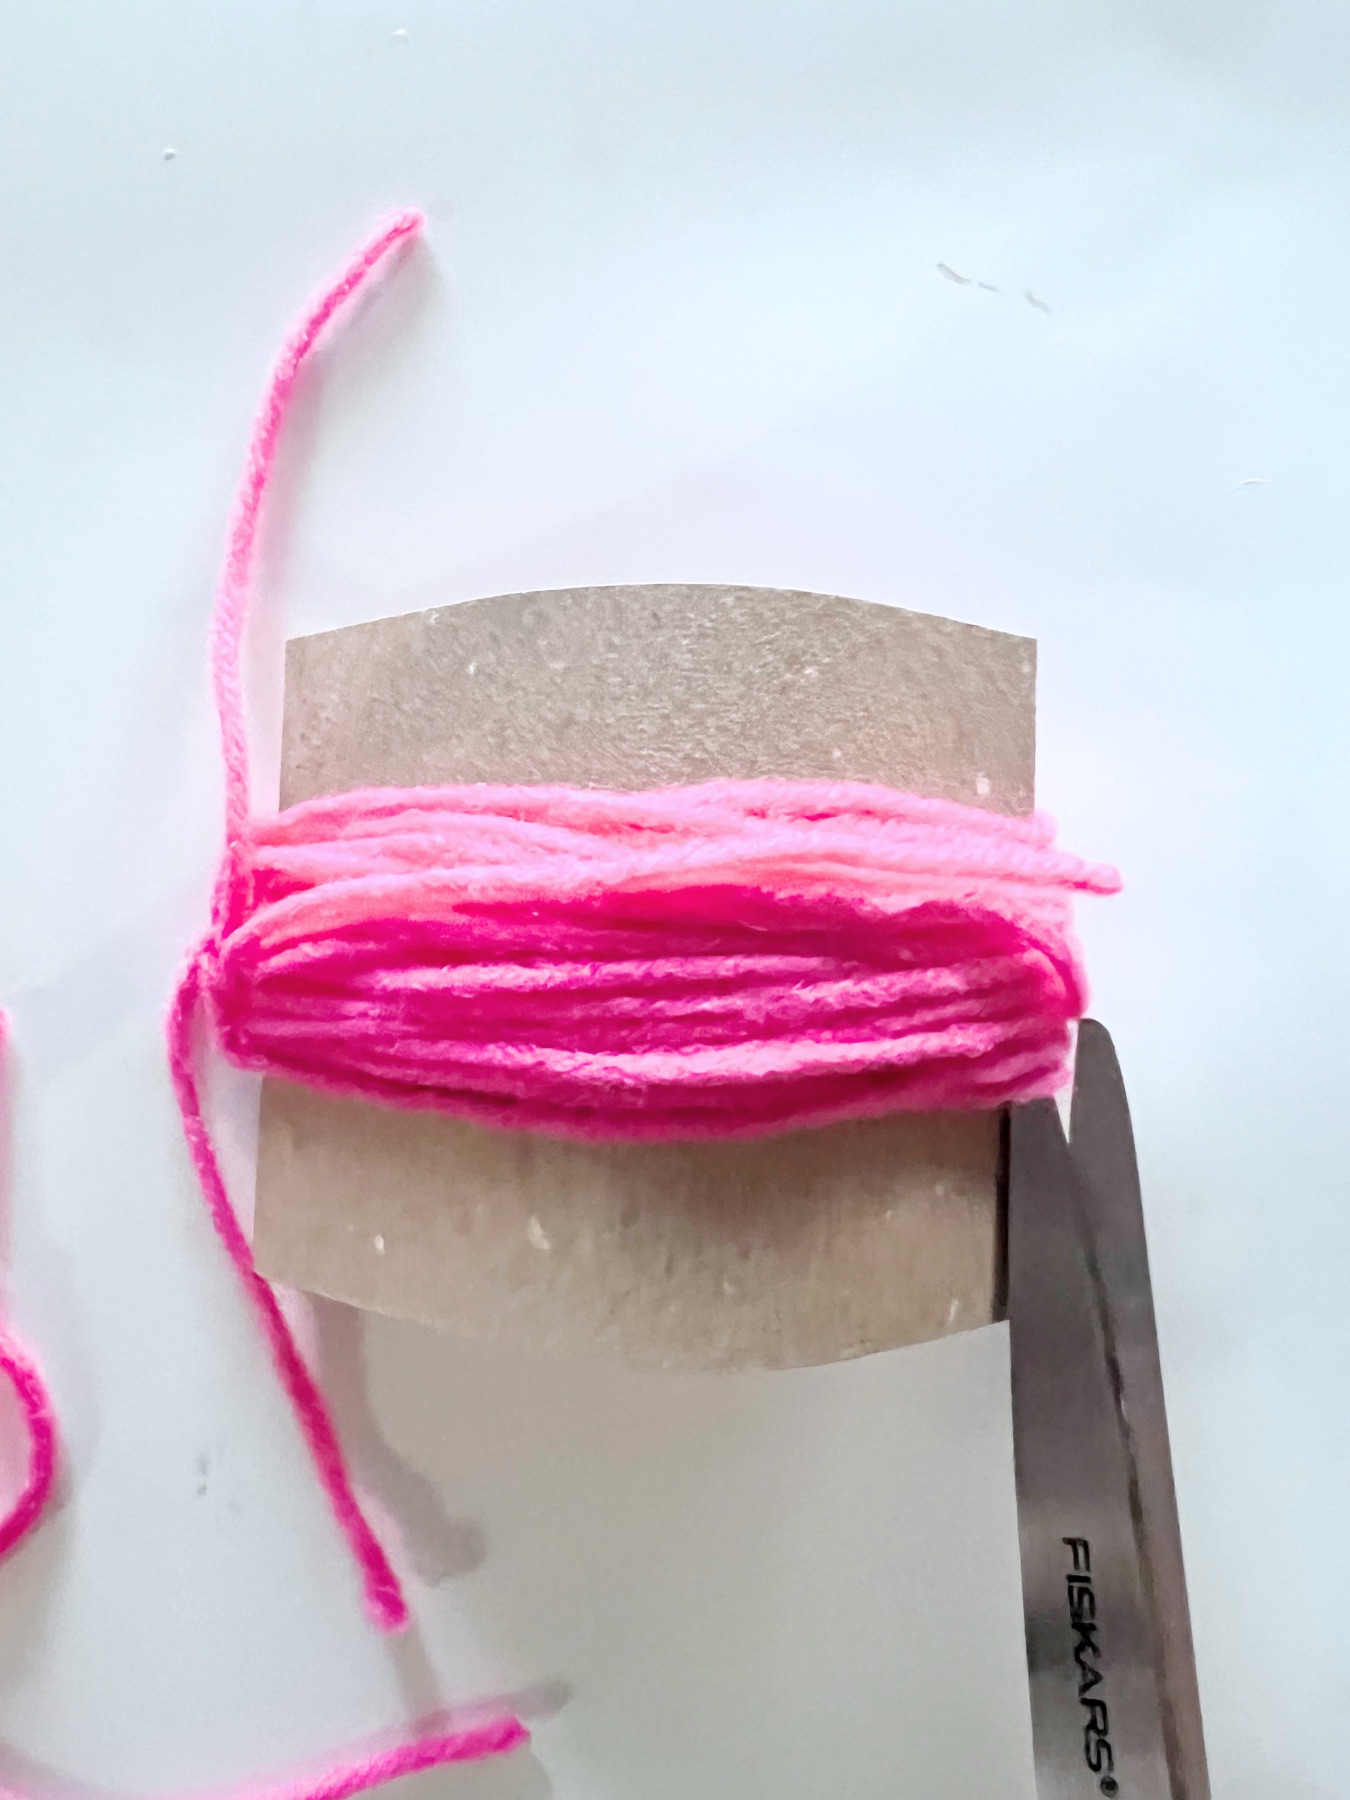
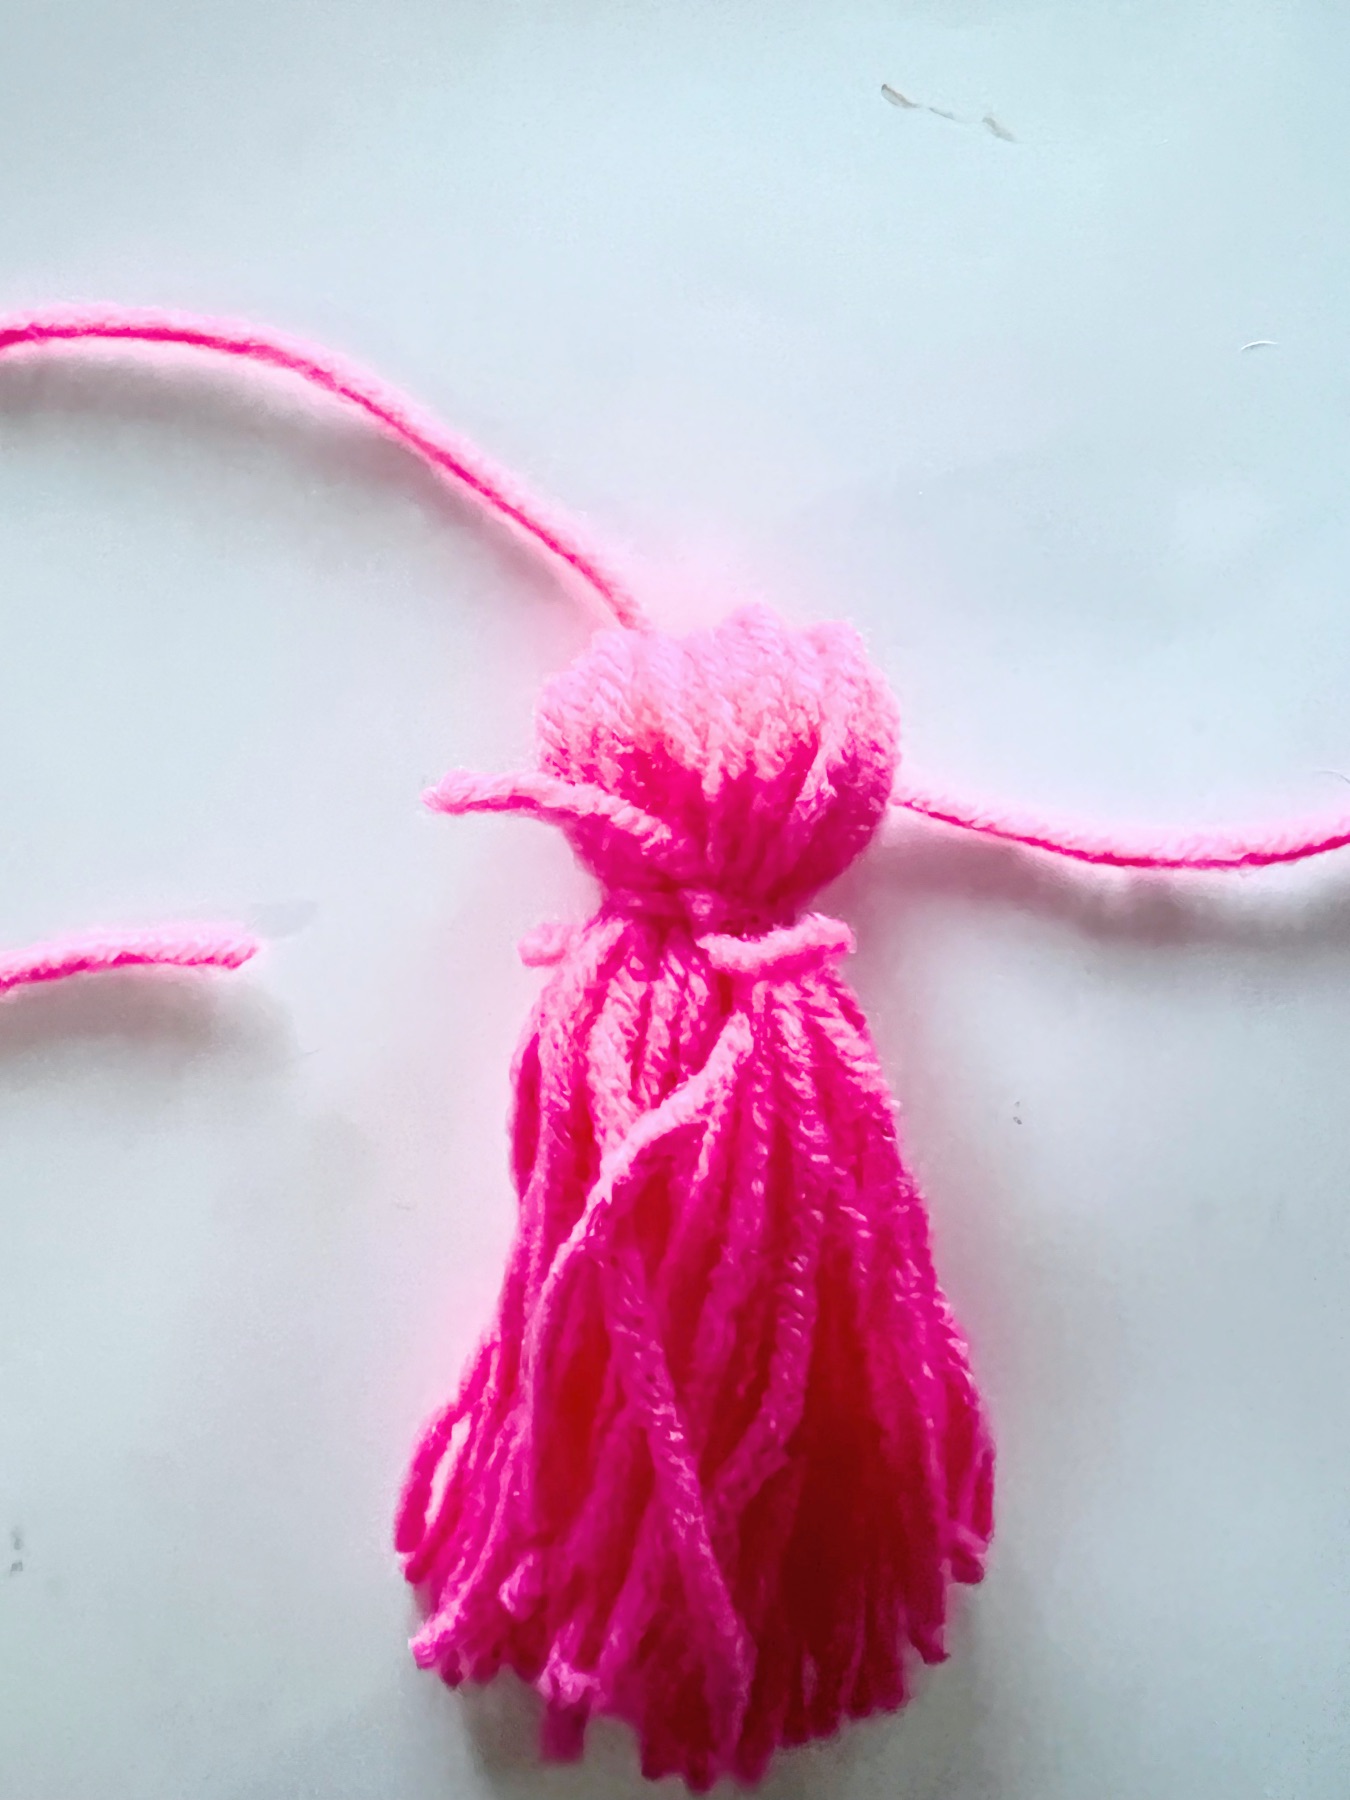
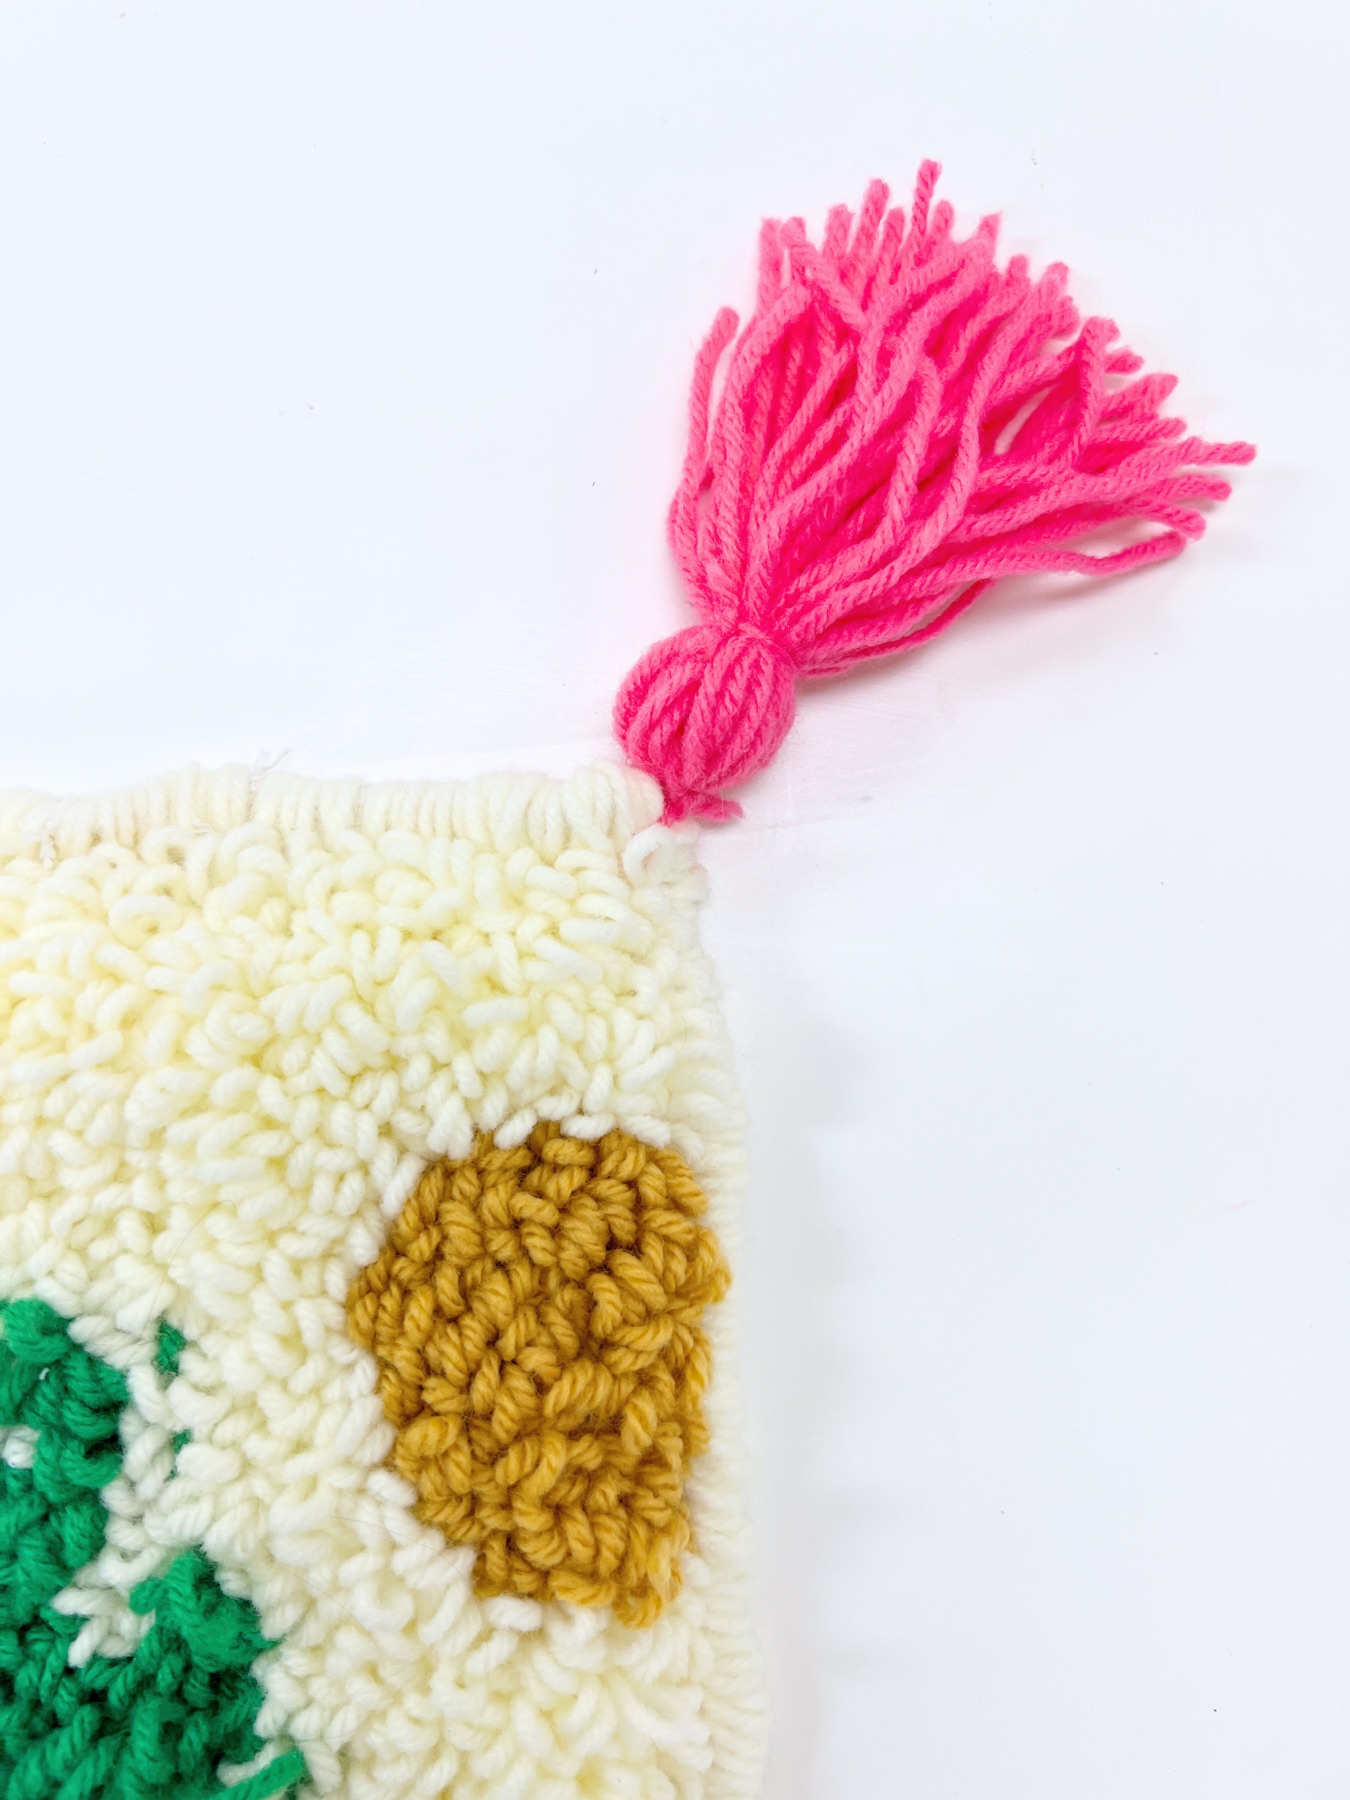
Scrap of Cardboard (to make tassels)
The rug templates linked above can be printed for an 11×14 inch rug – you can also print them bigger or smaller. However, I would not recommend using a smaller frame and making a smaller rug. You will want something that covers enough space to feel like a cool finished project. Bigger is better!
Before You Begin
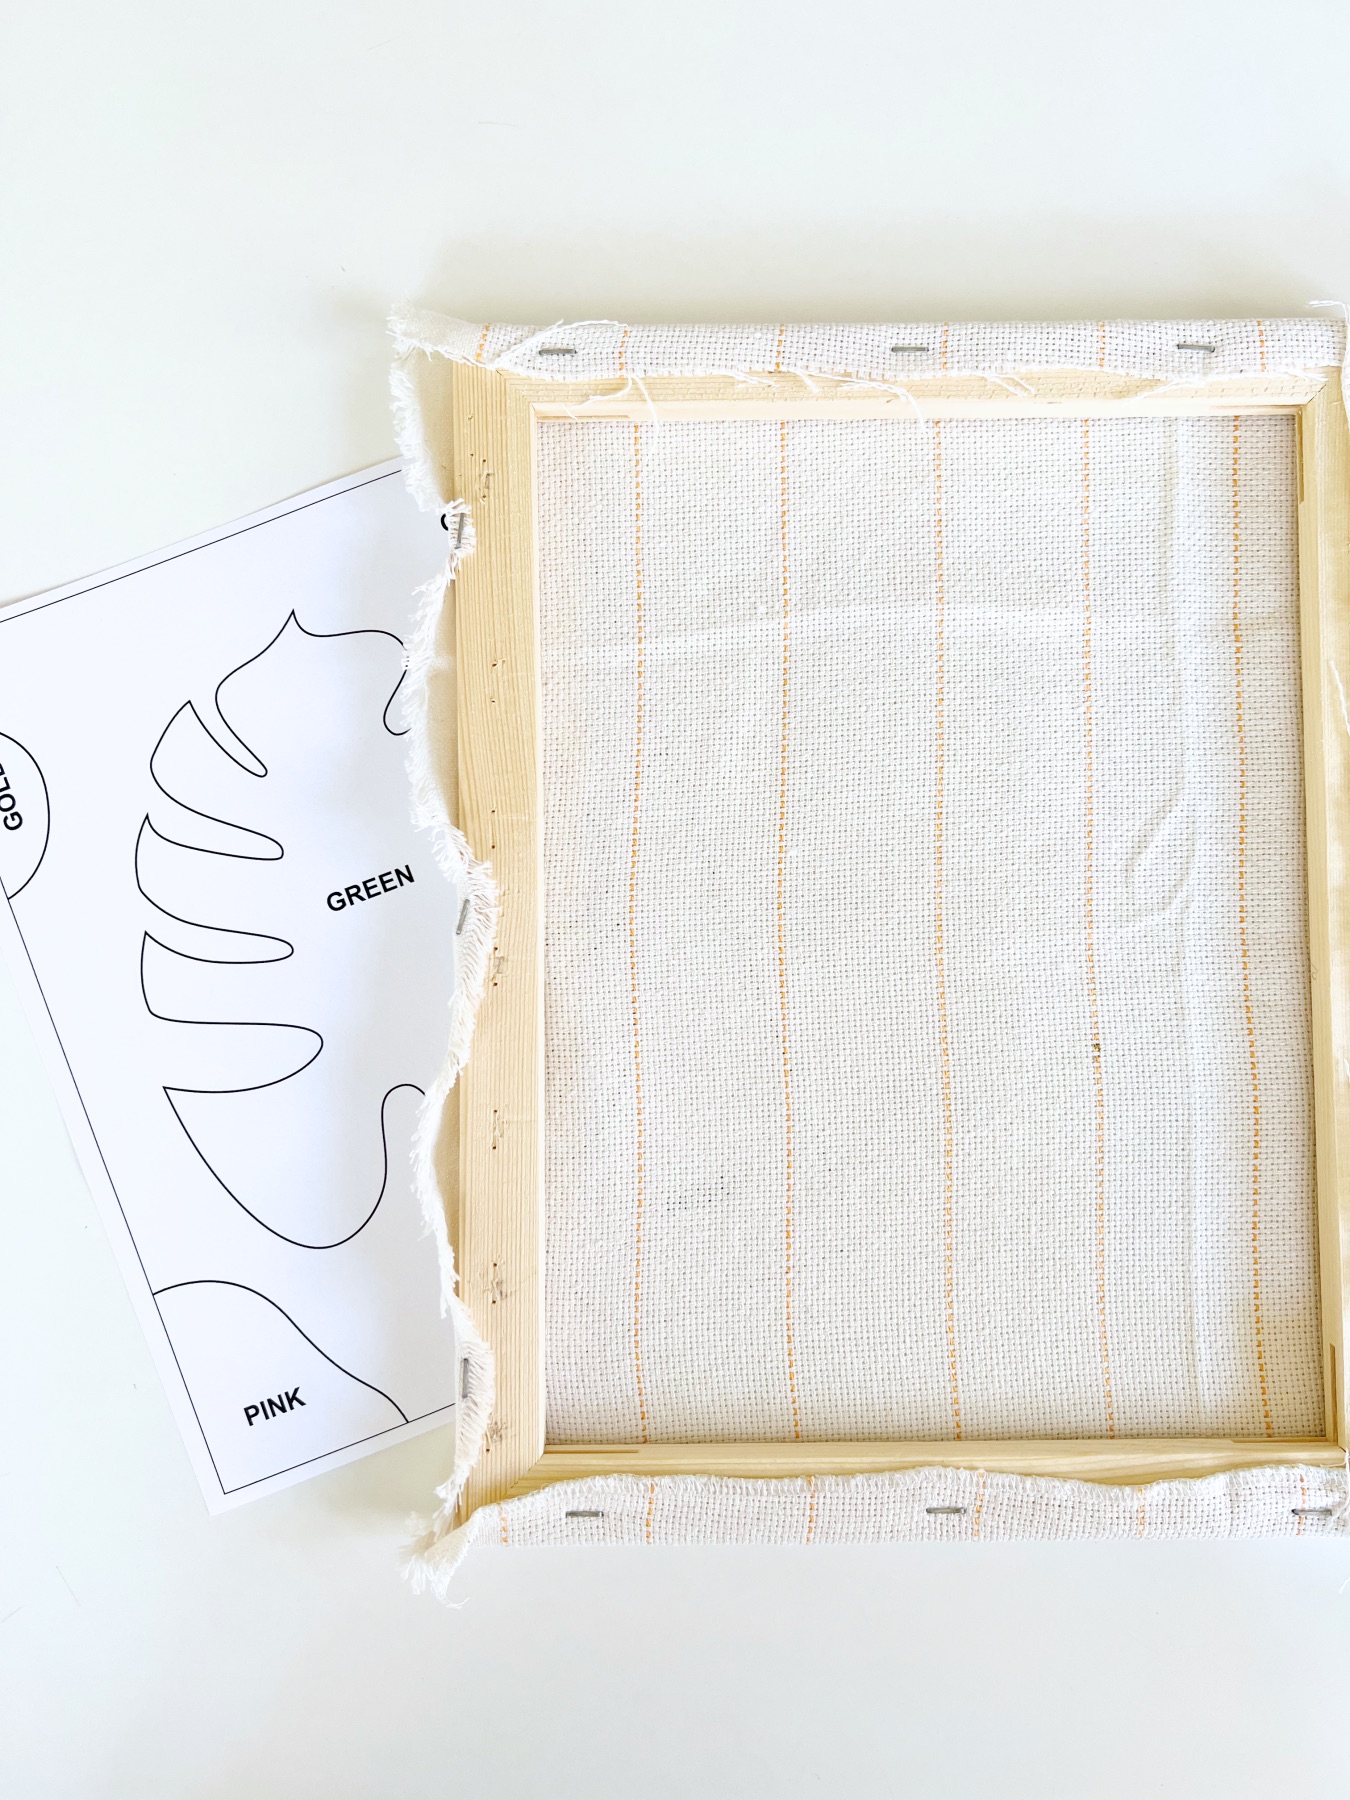
If you are working with the kit I linked above, then your monk’s cloth will already be attached to the wooden frame. If you are working with your own supplies you will either need to purchase a wooden canvas stretcher like this or build one yourself.
Then use a staple gun to attach the monk’s cloth to the frame. Pull the fabric taught as you add more staples. As you punch through the fabric, you will create a lot of movement so the tighter the fabric is, the easier it will be to make your rug.

Start by Drawing the Template
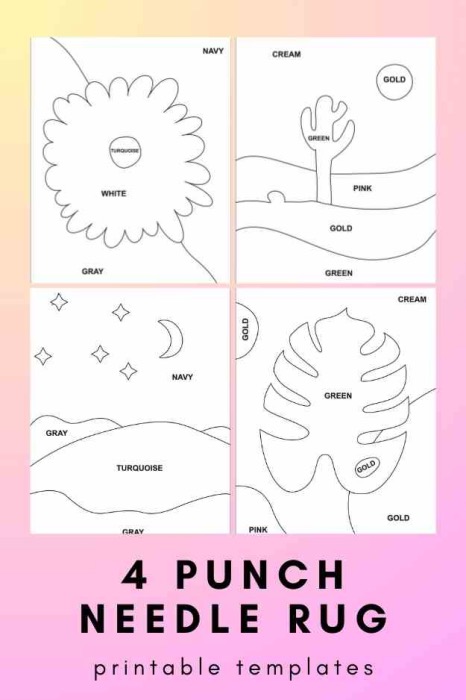
To get started, decide which template you want to use – we have 4 different ones linked in this blog here, above and below.
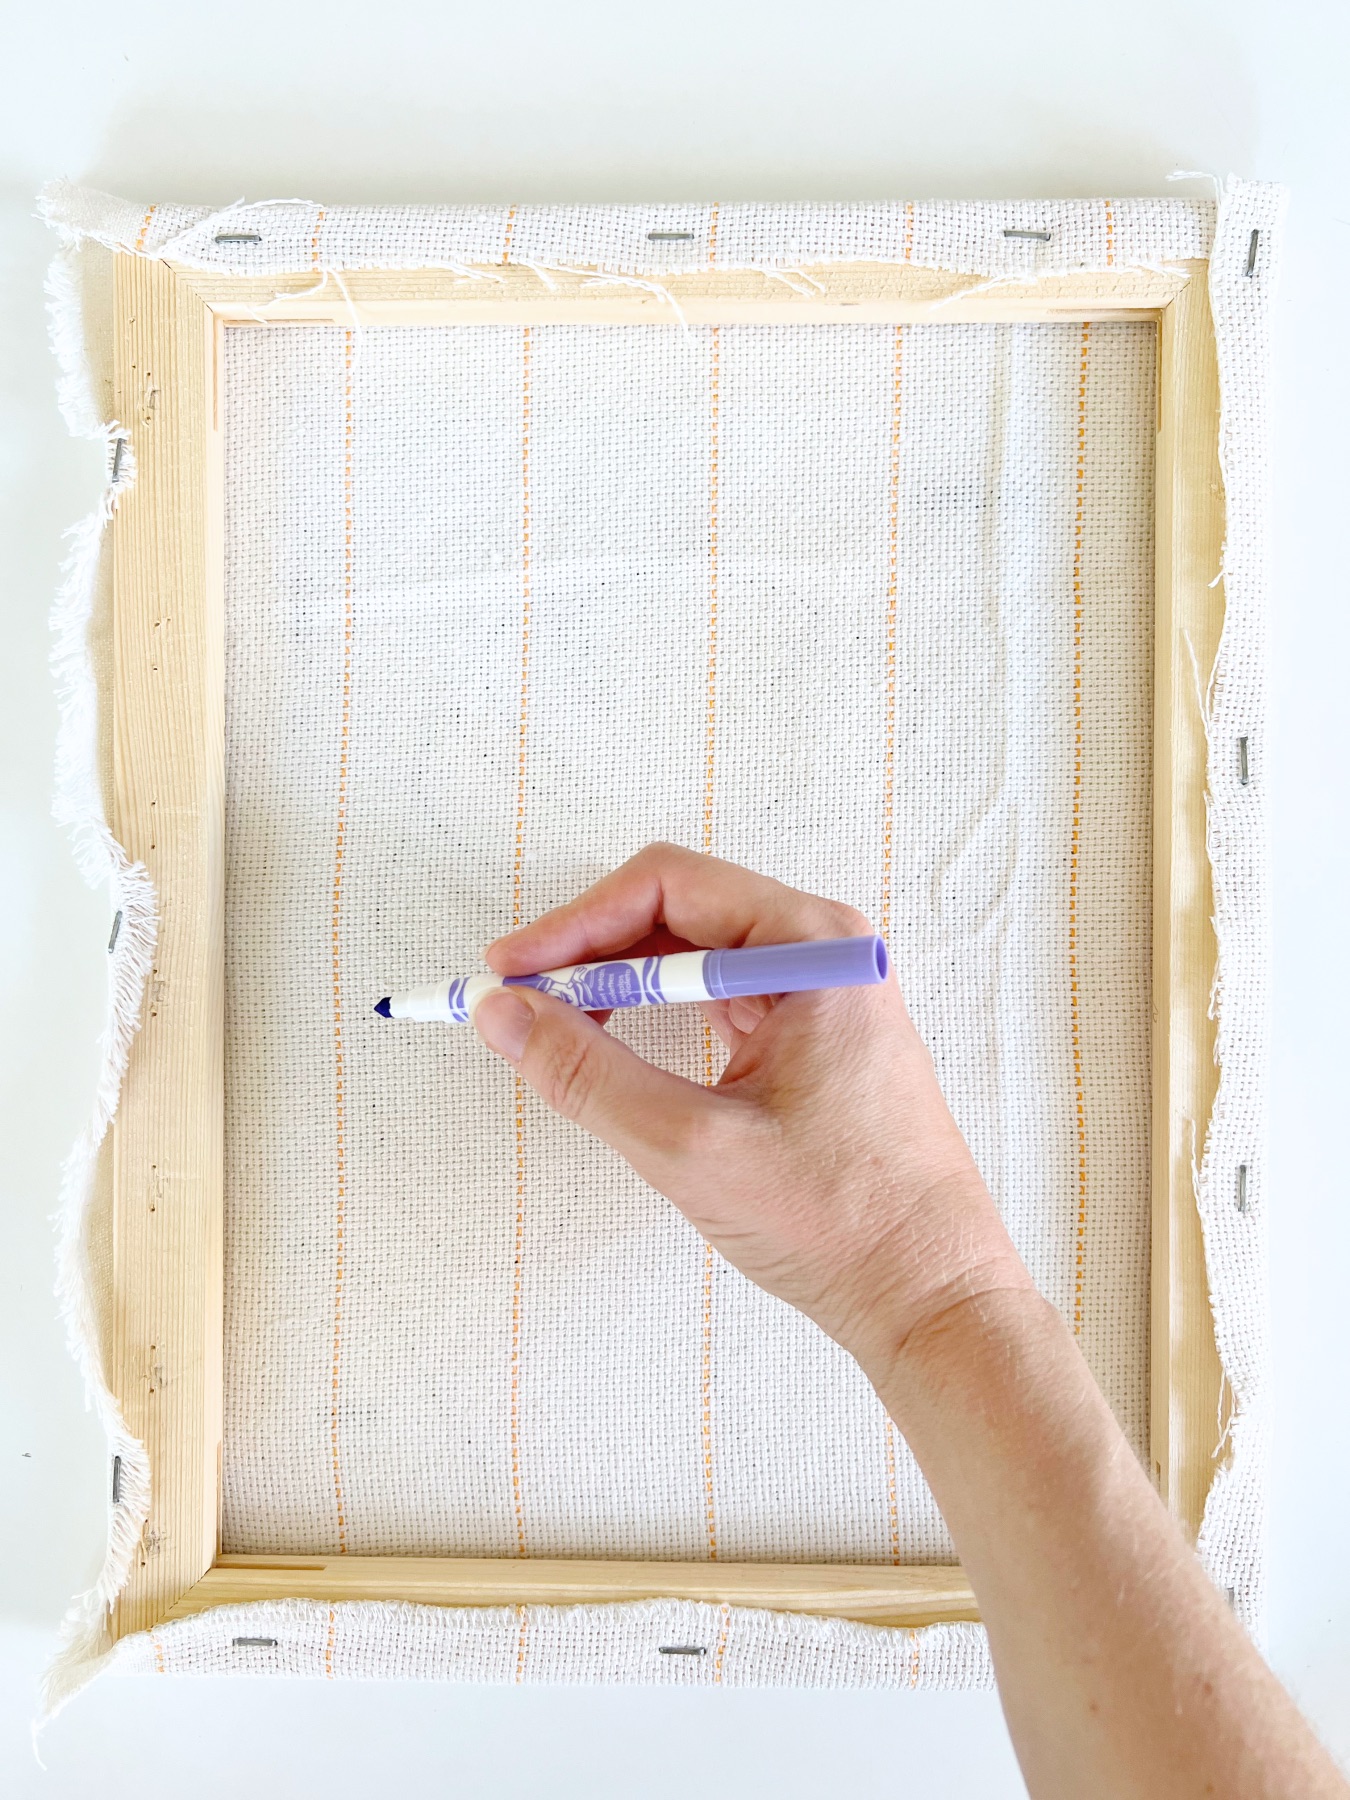
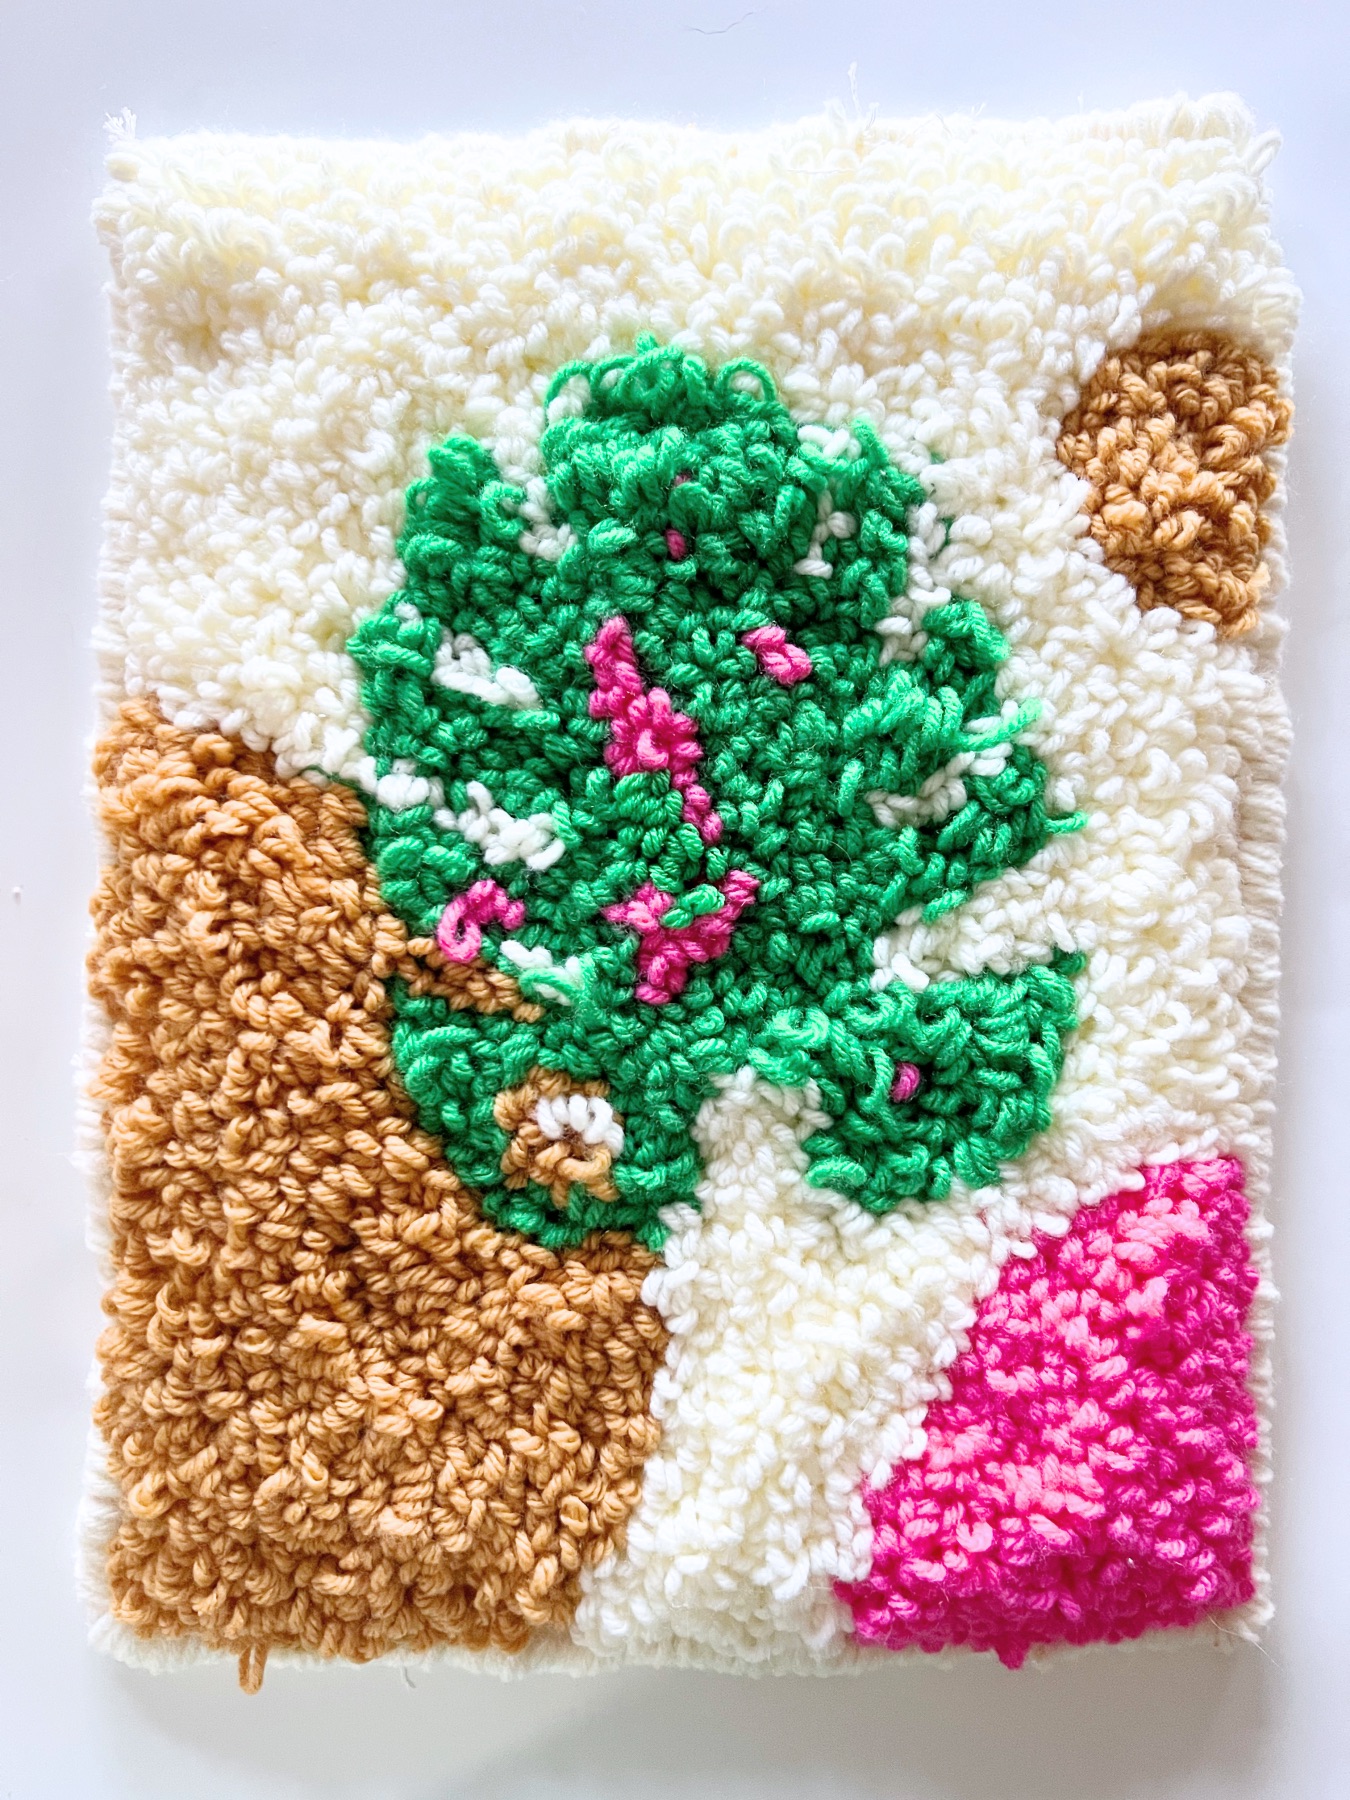
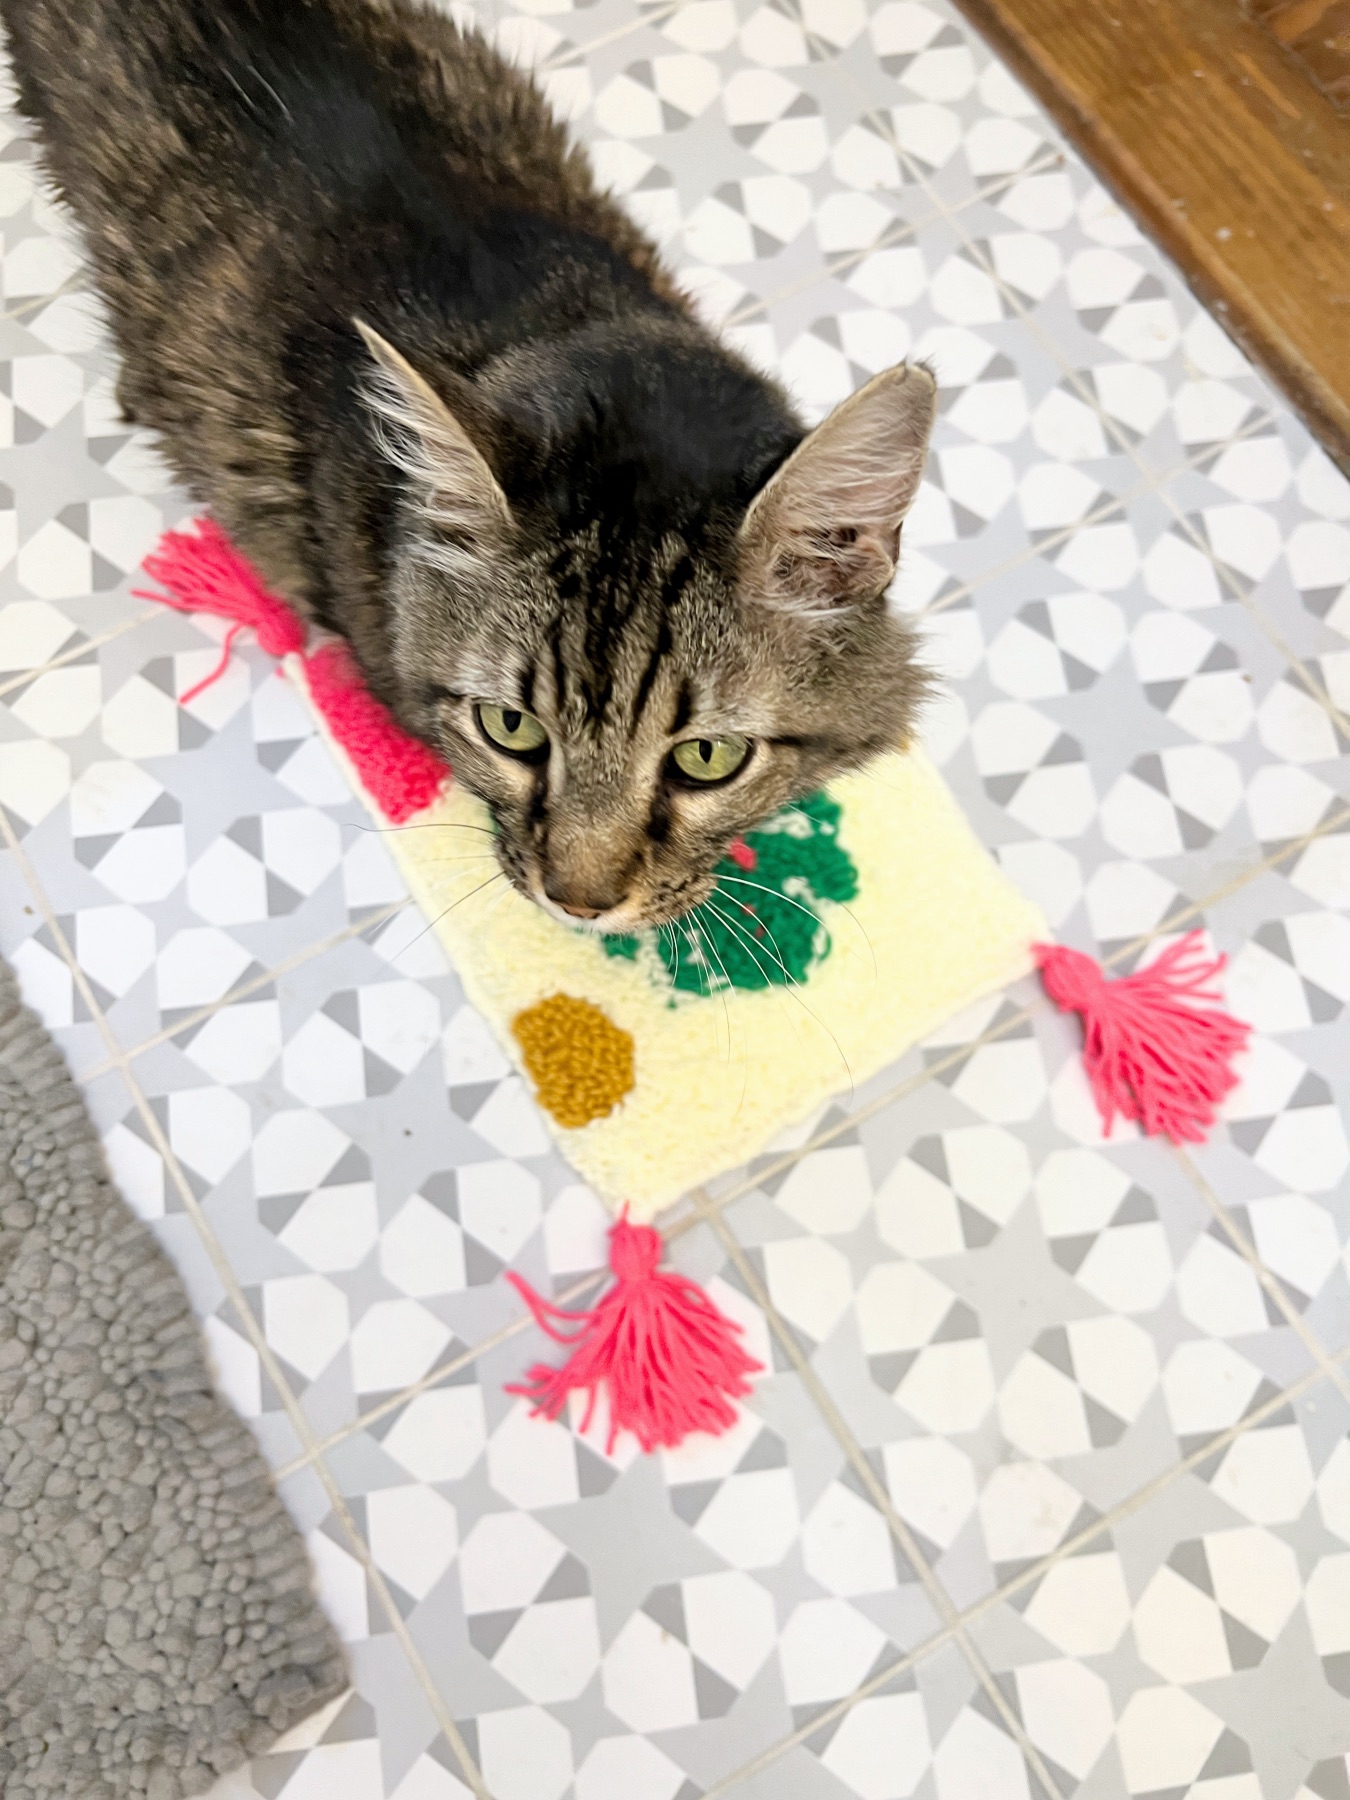
I chose the monstera leaf because I love a pop of green and this one is just so much fun. Place the printed template underneath the monk’s cloth and use a washable marker or fabric marker to draw the lines.
Draw the image on the inside of the frame. Your larger, flat side will face down and your smaller part will face up.

How to Prep the Templates
To use these templates, download them using one of the links above and print them on 11×17 inch paper for the same size project that I am making. You can also print them larger if you have a larger frame. Or you can print them smaller too. Just use your printer settings to make them the size you need, or for oversized prints, take them to a local printer.


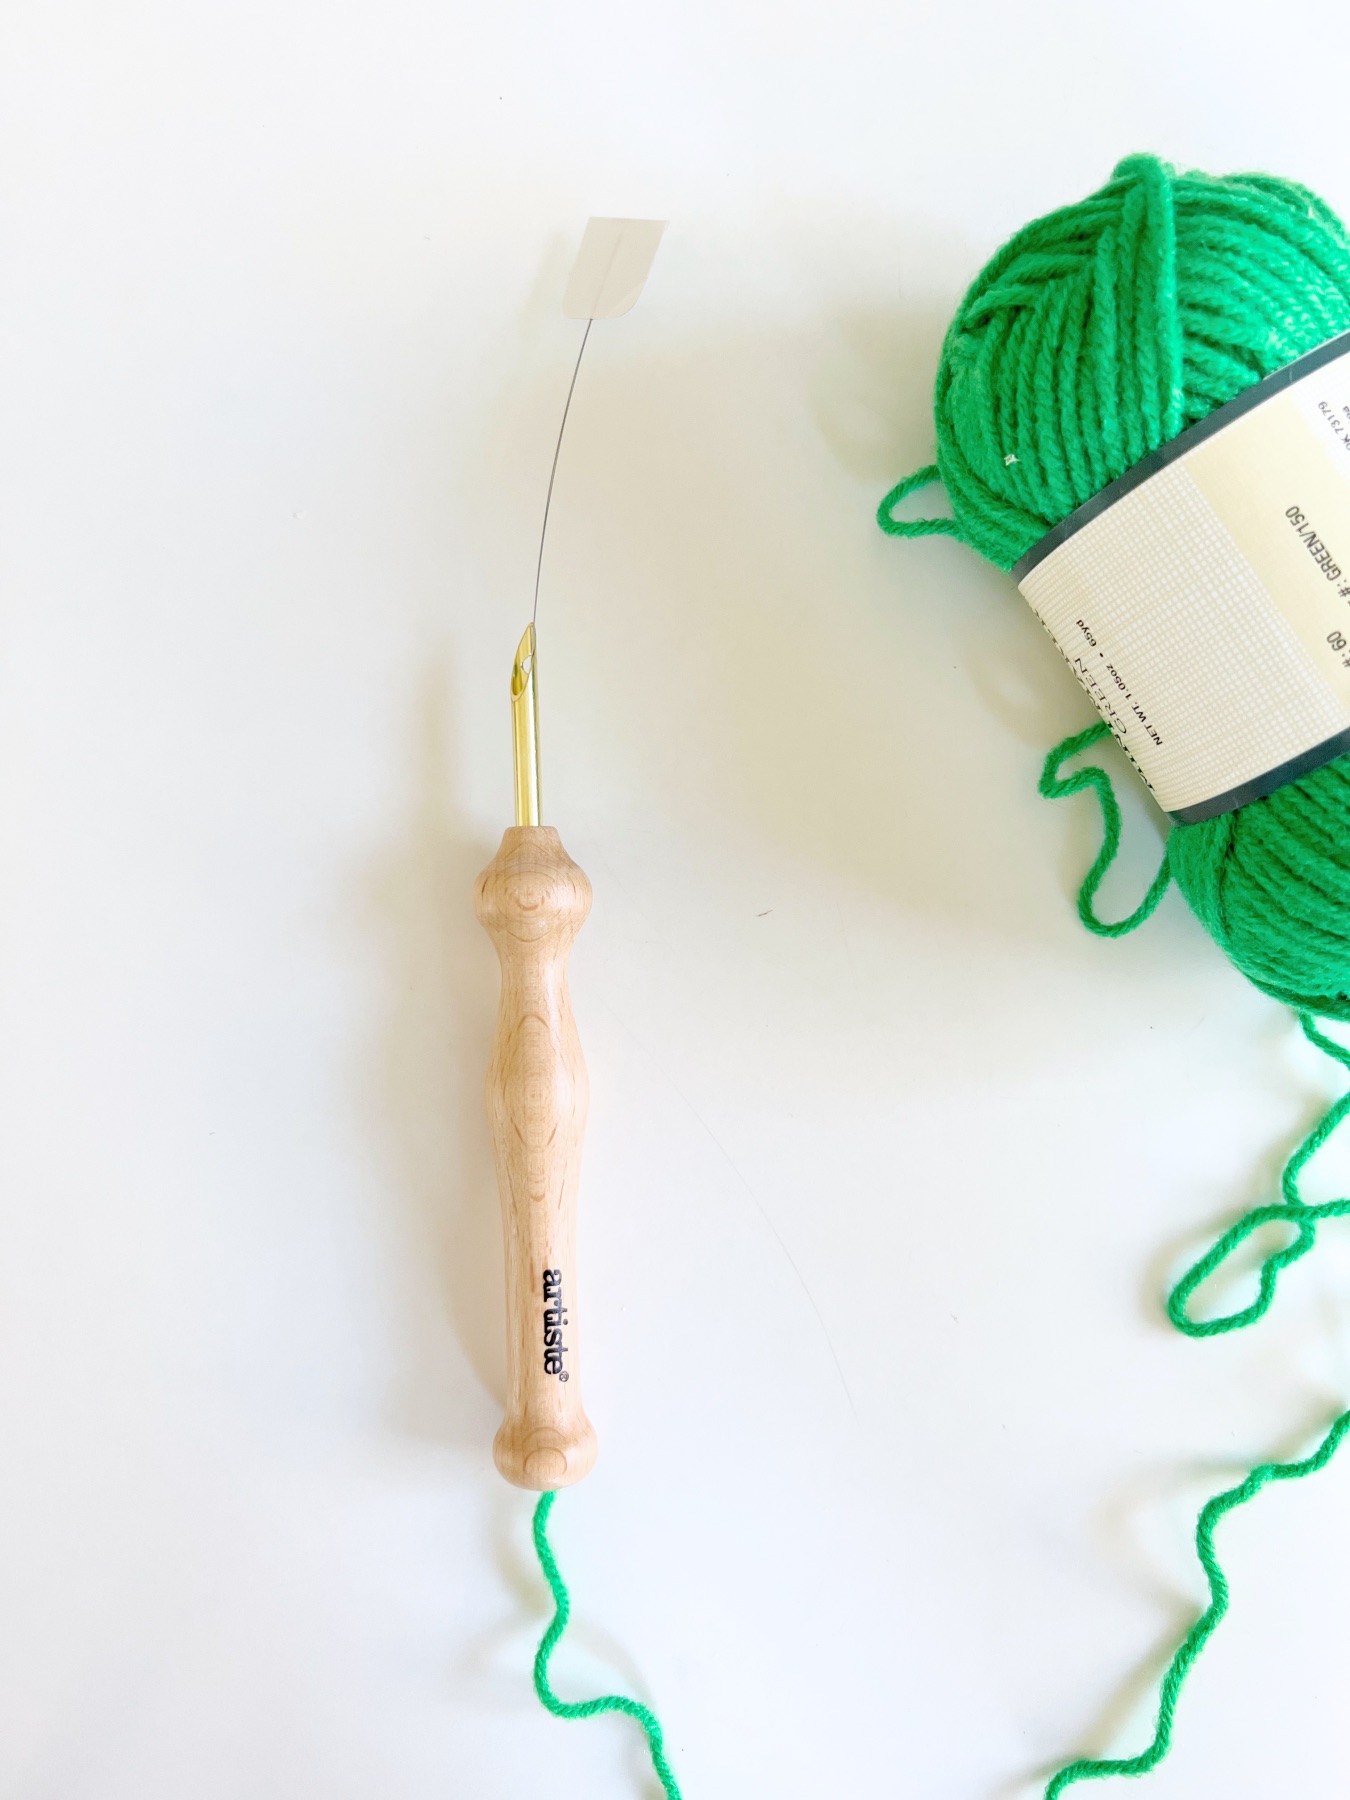

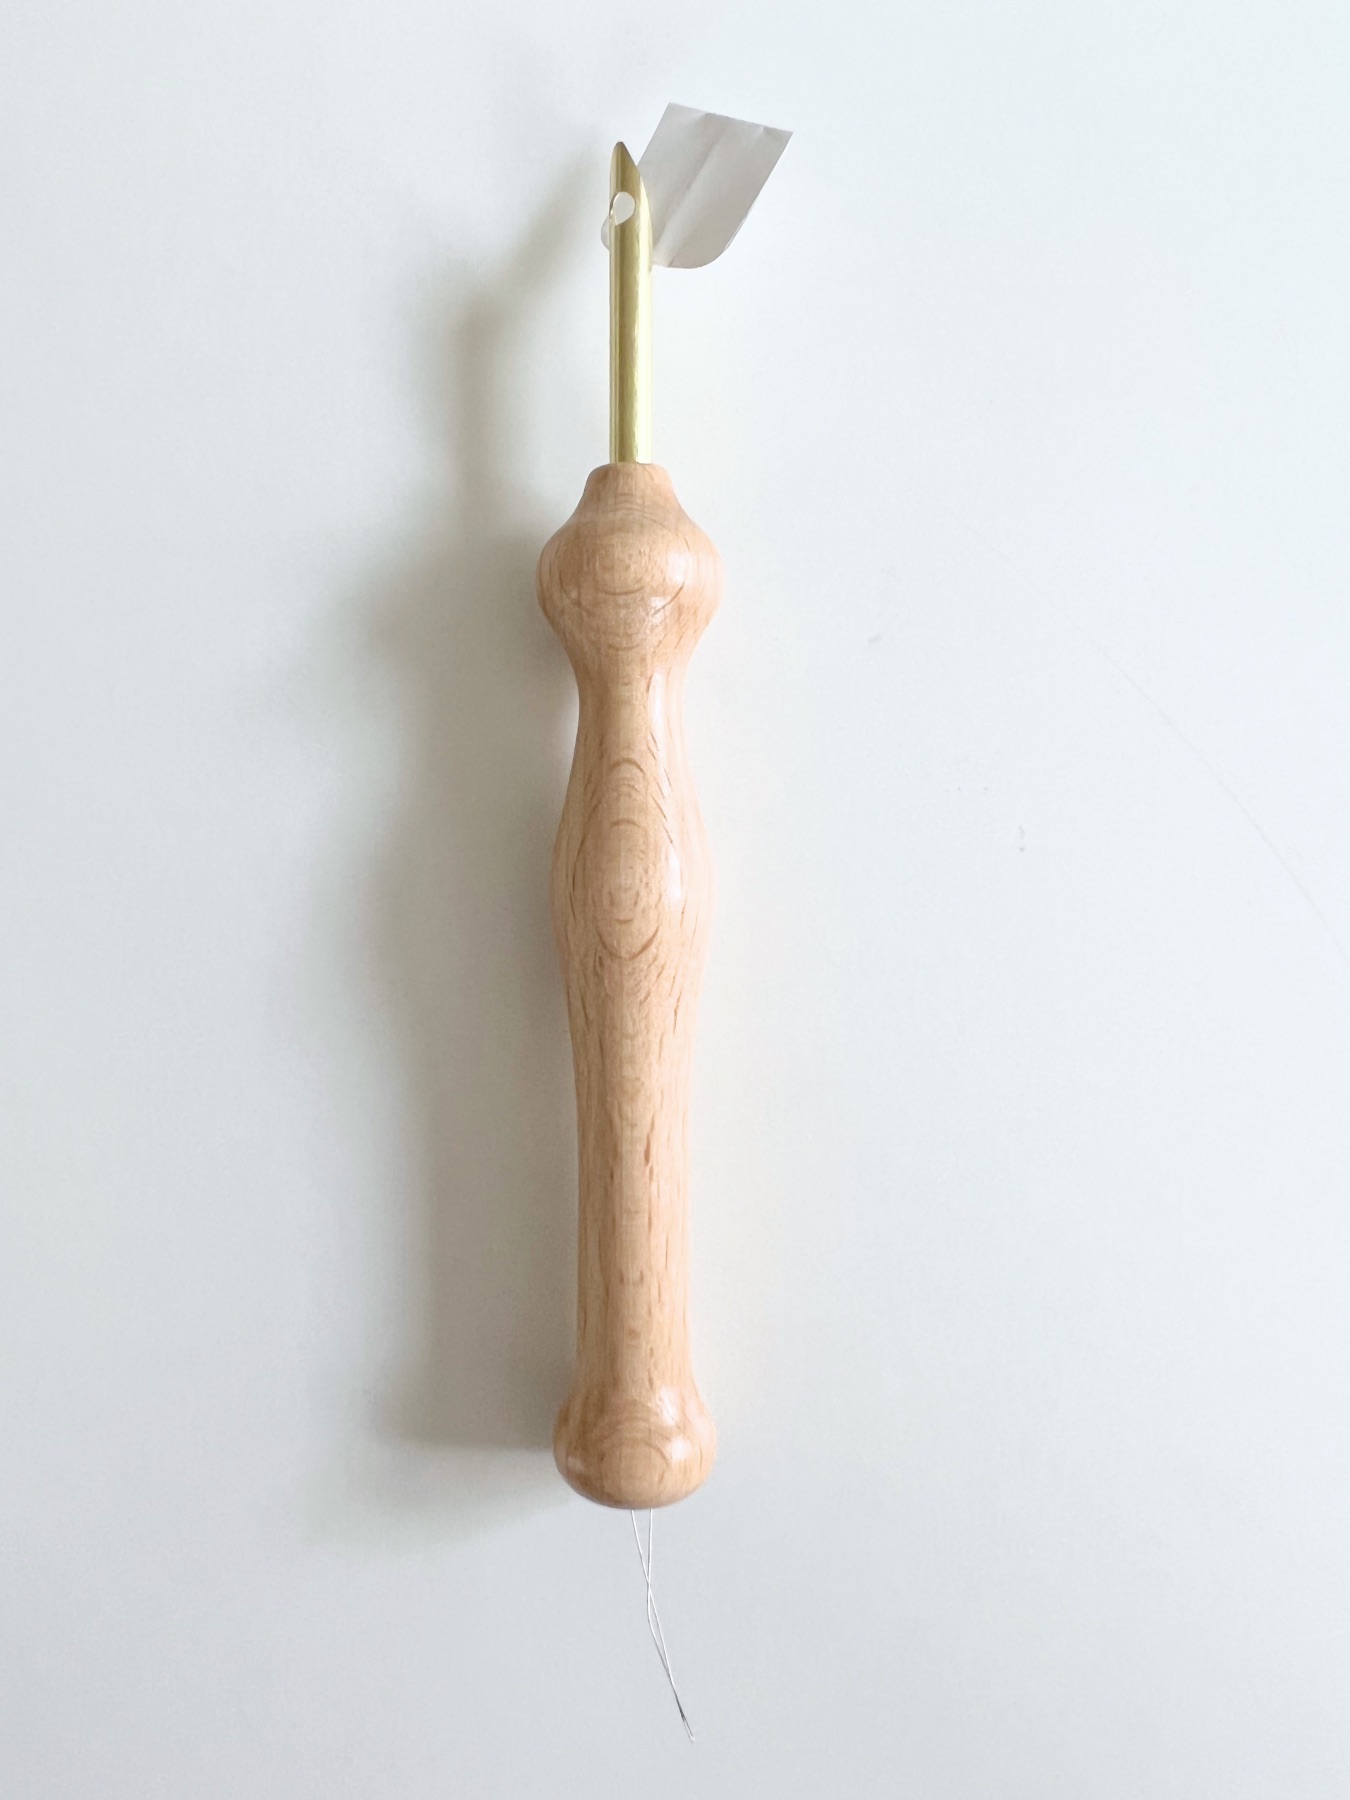
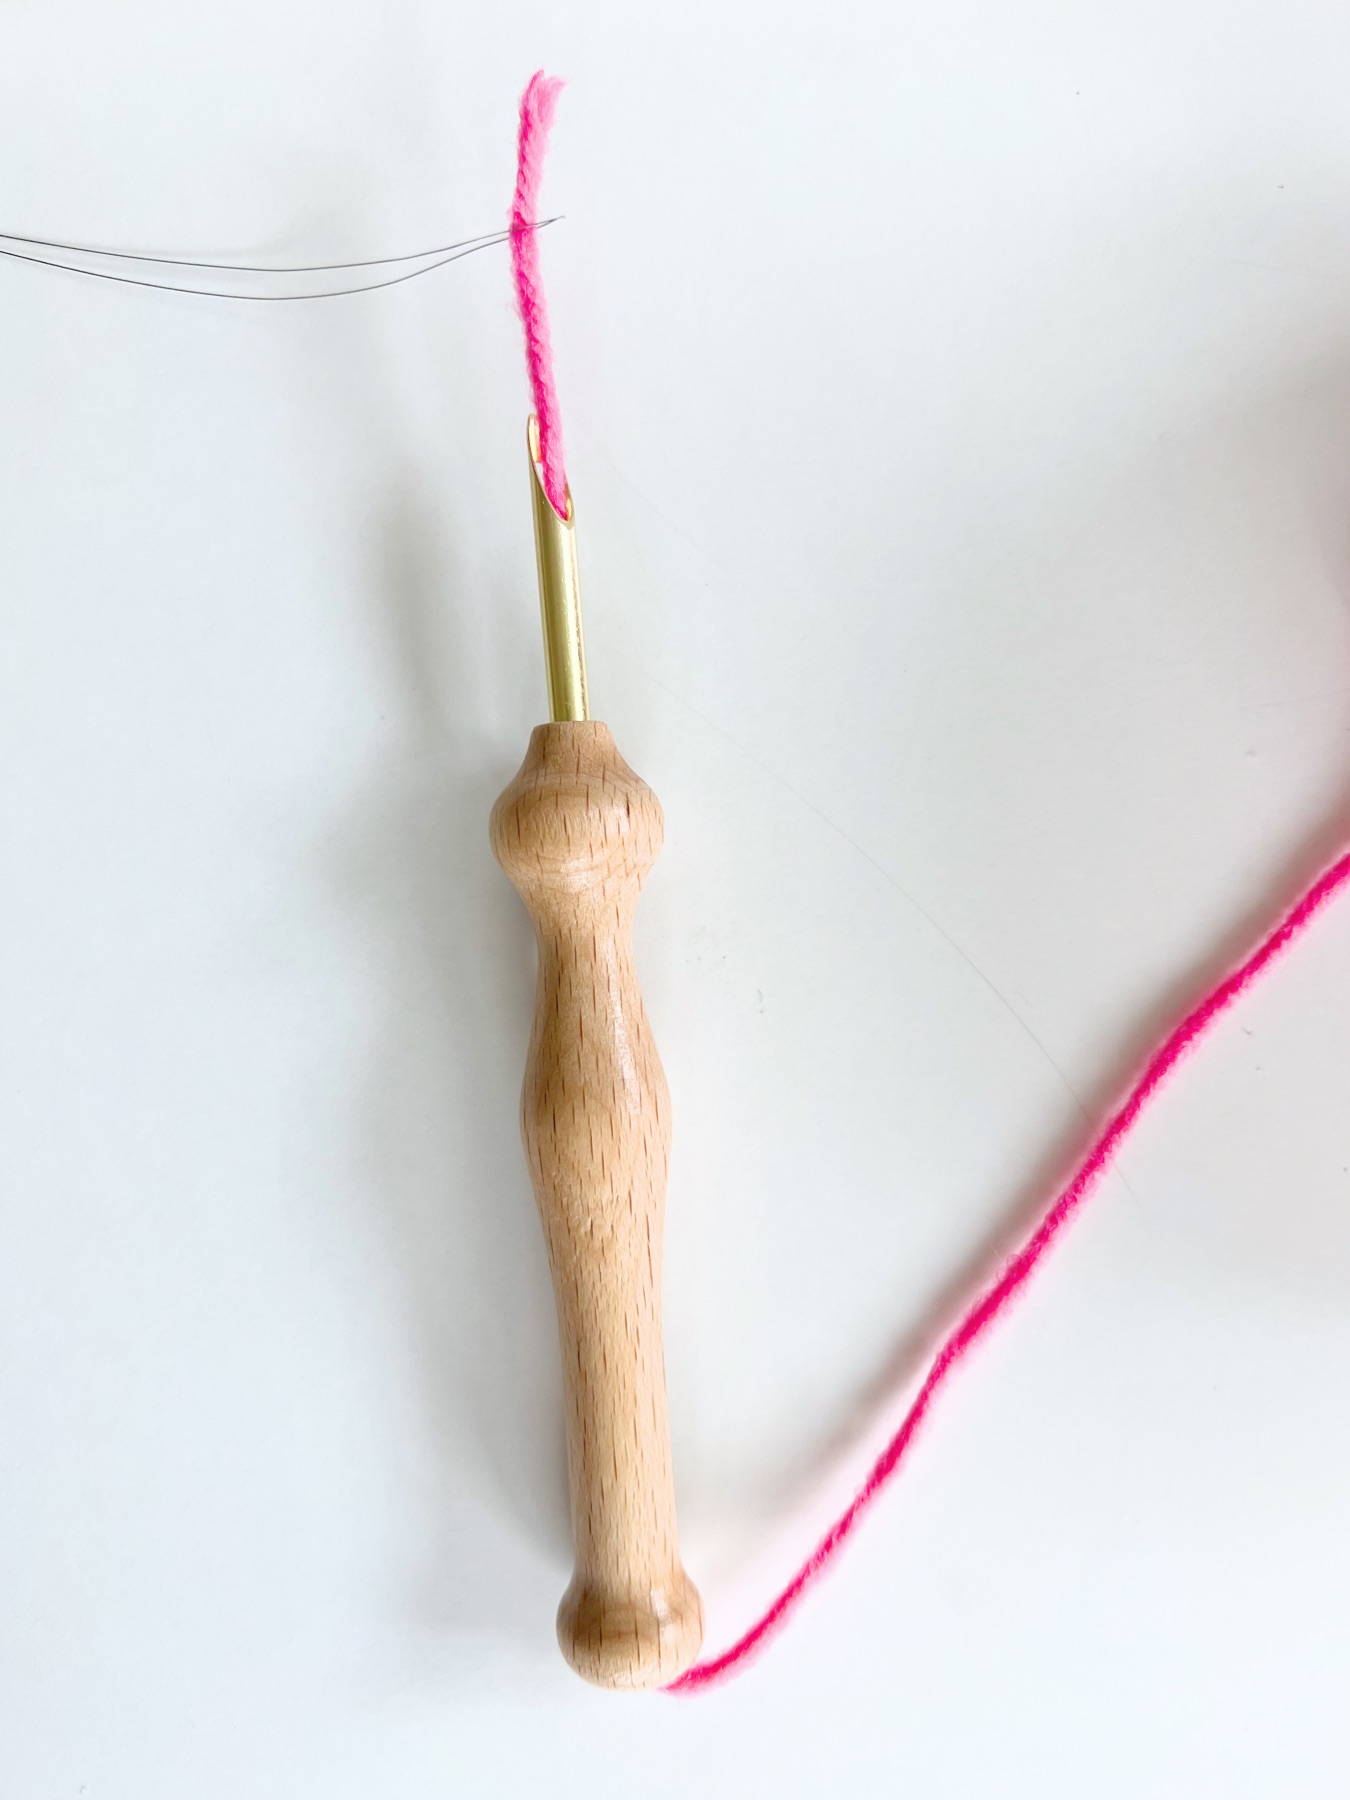
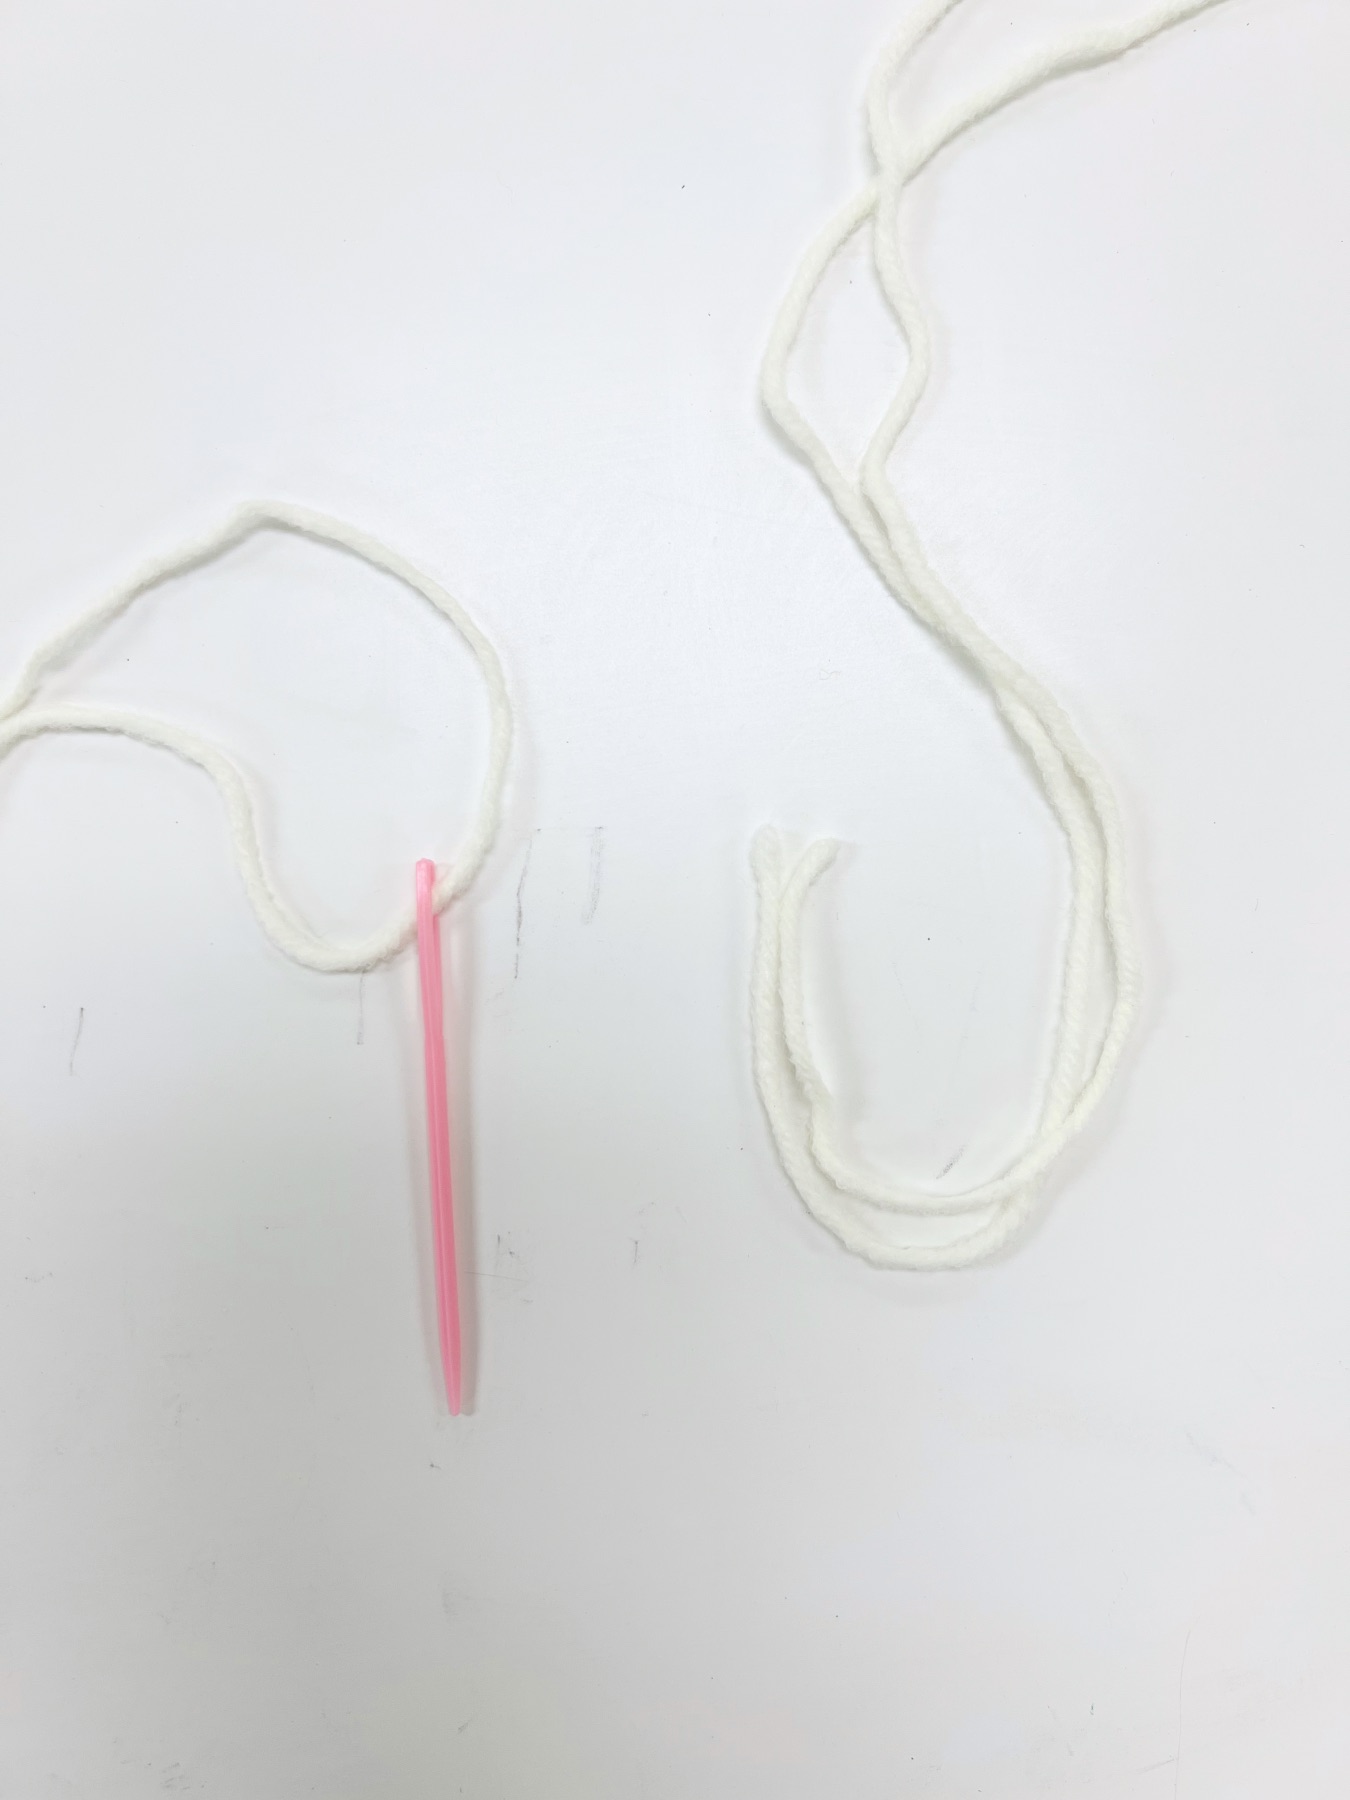
How to Thread a Punch Needle Embroidery Tool
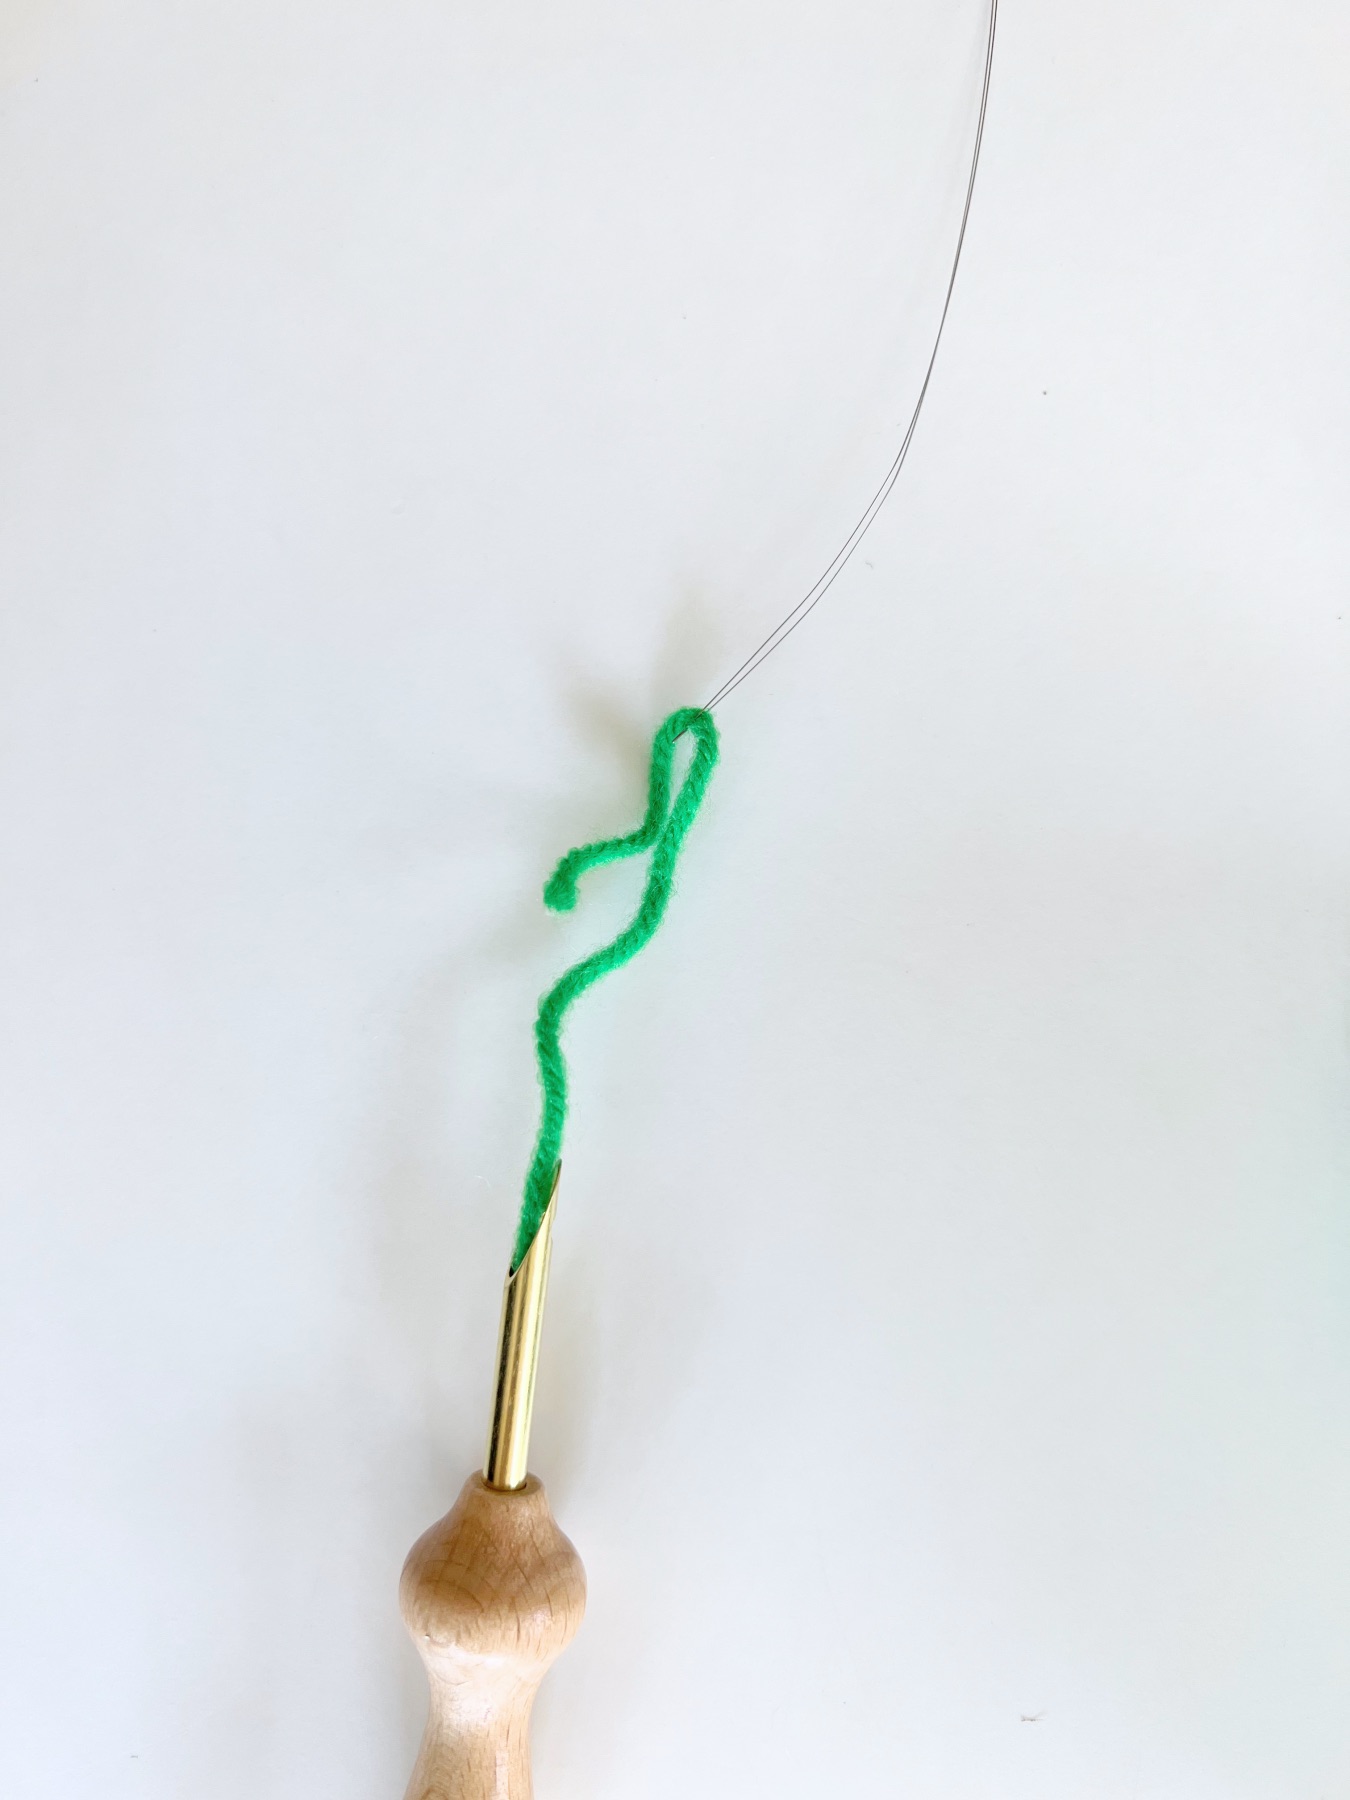
Punch needle embroidery tools always come with a long wire that will help you thread it. Start by placing the wire through the front of the punch needle tool until the other end of the wire pops out through the back. Then take your yarn and place it in between the wires so the wire holds it in place.
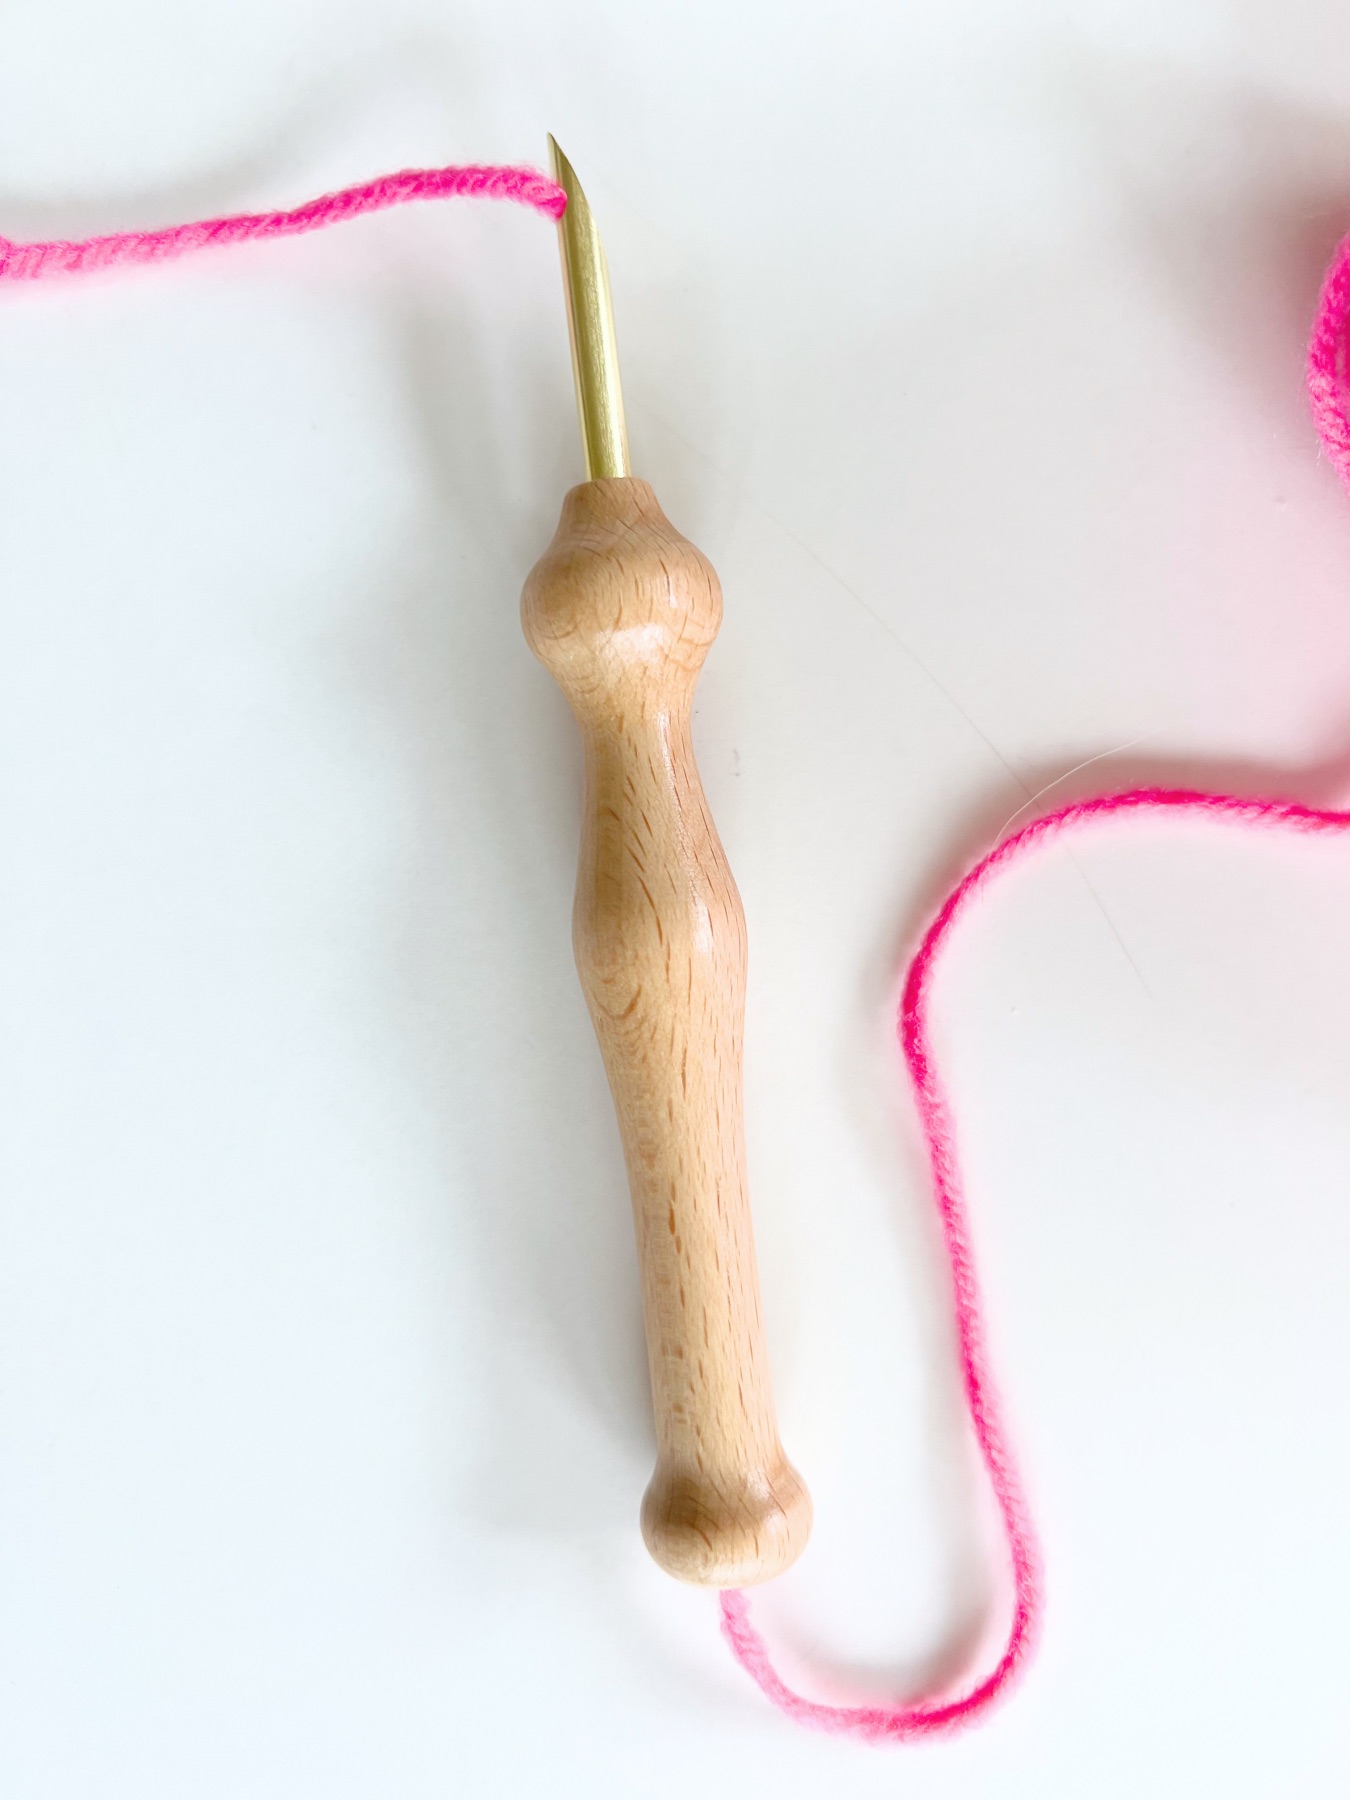
Next pull the wire out back through the front. Once your yarn has been pulled all the way through and is poking out of the front of the tool, tuck it into the small hole that’s at the bottom of the metal punch. Viola!

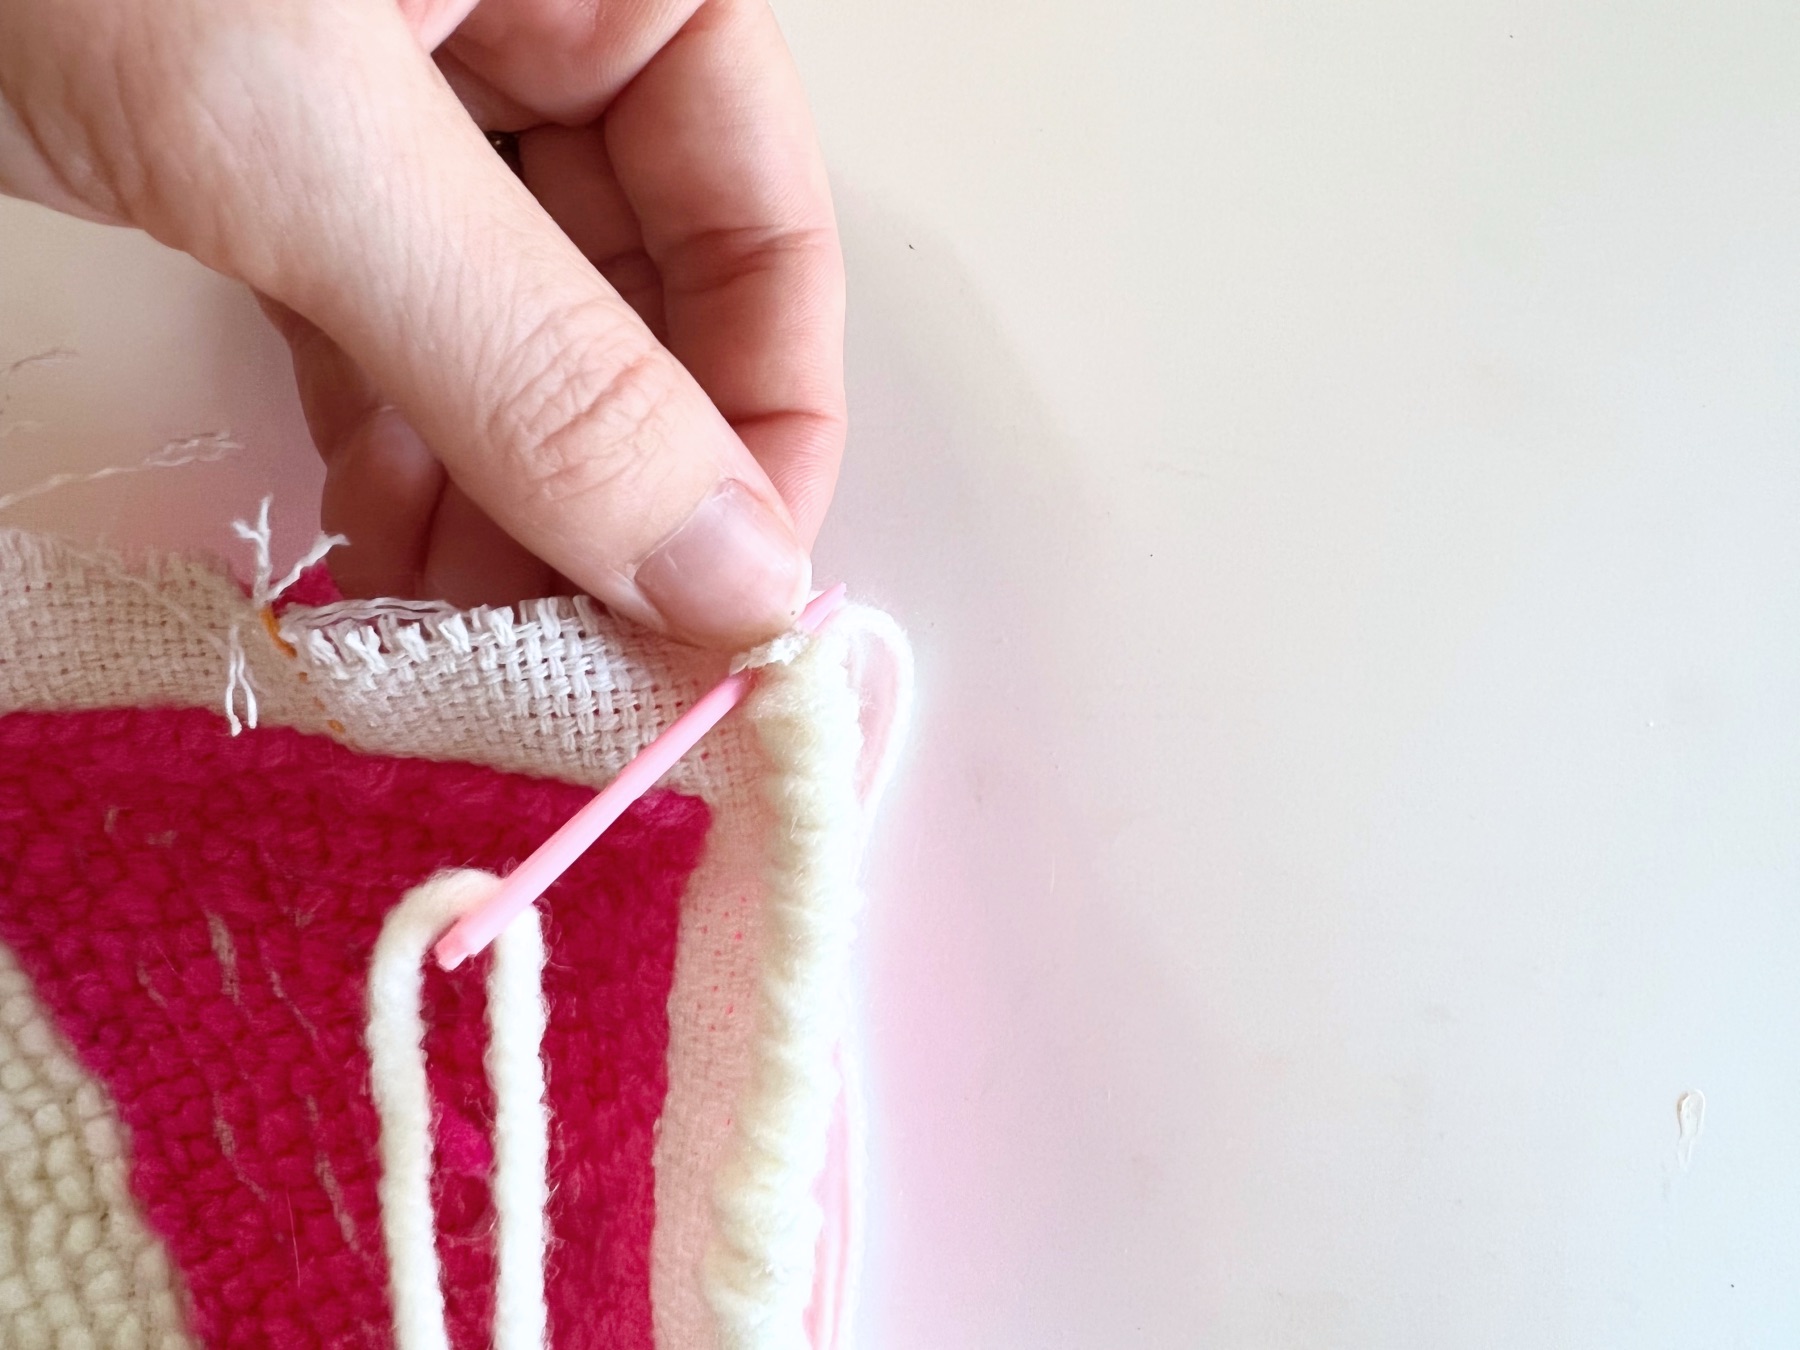
Begin to Punch
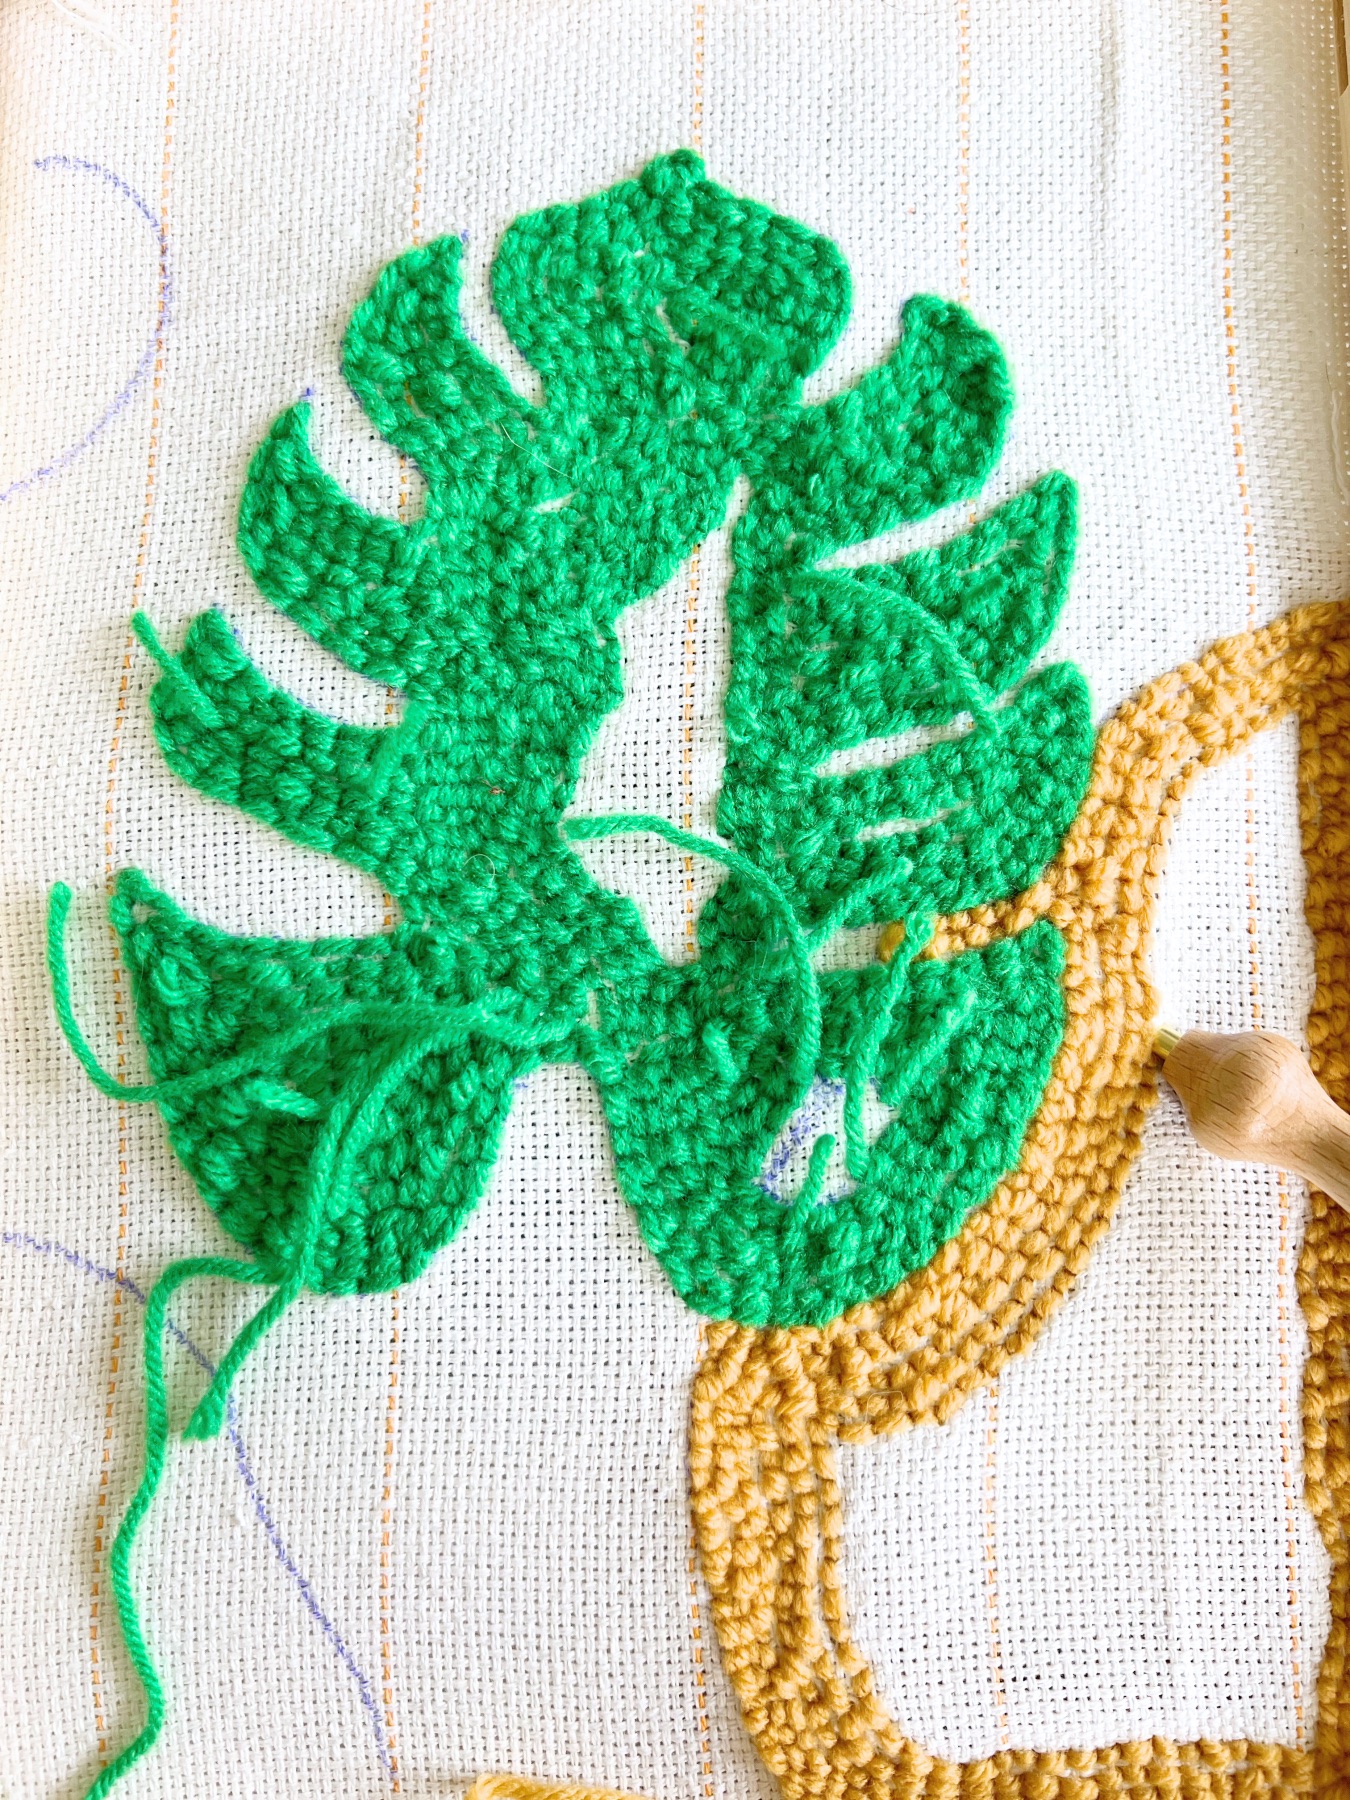
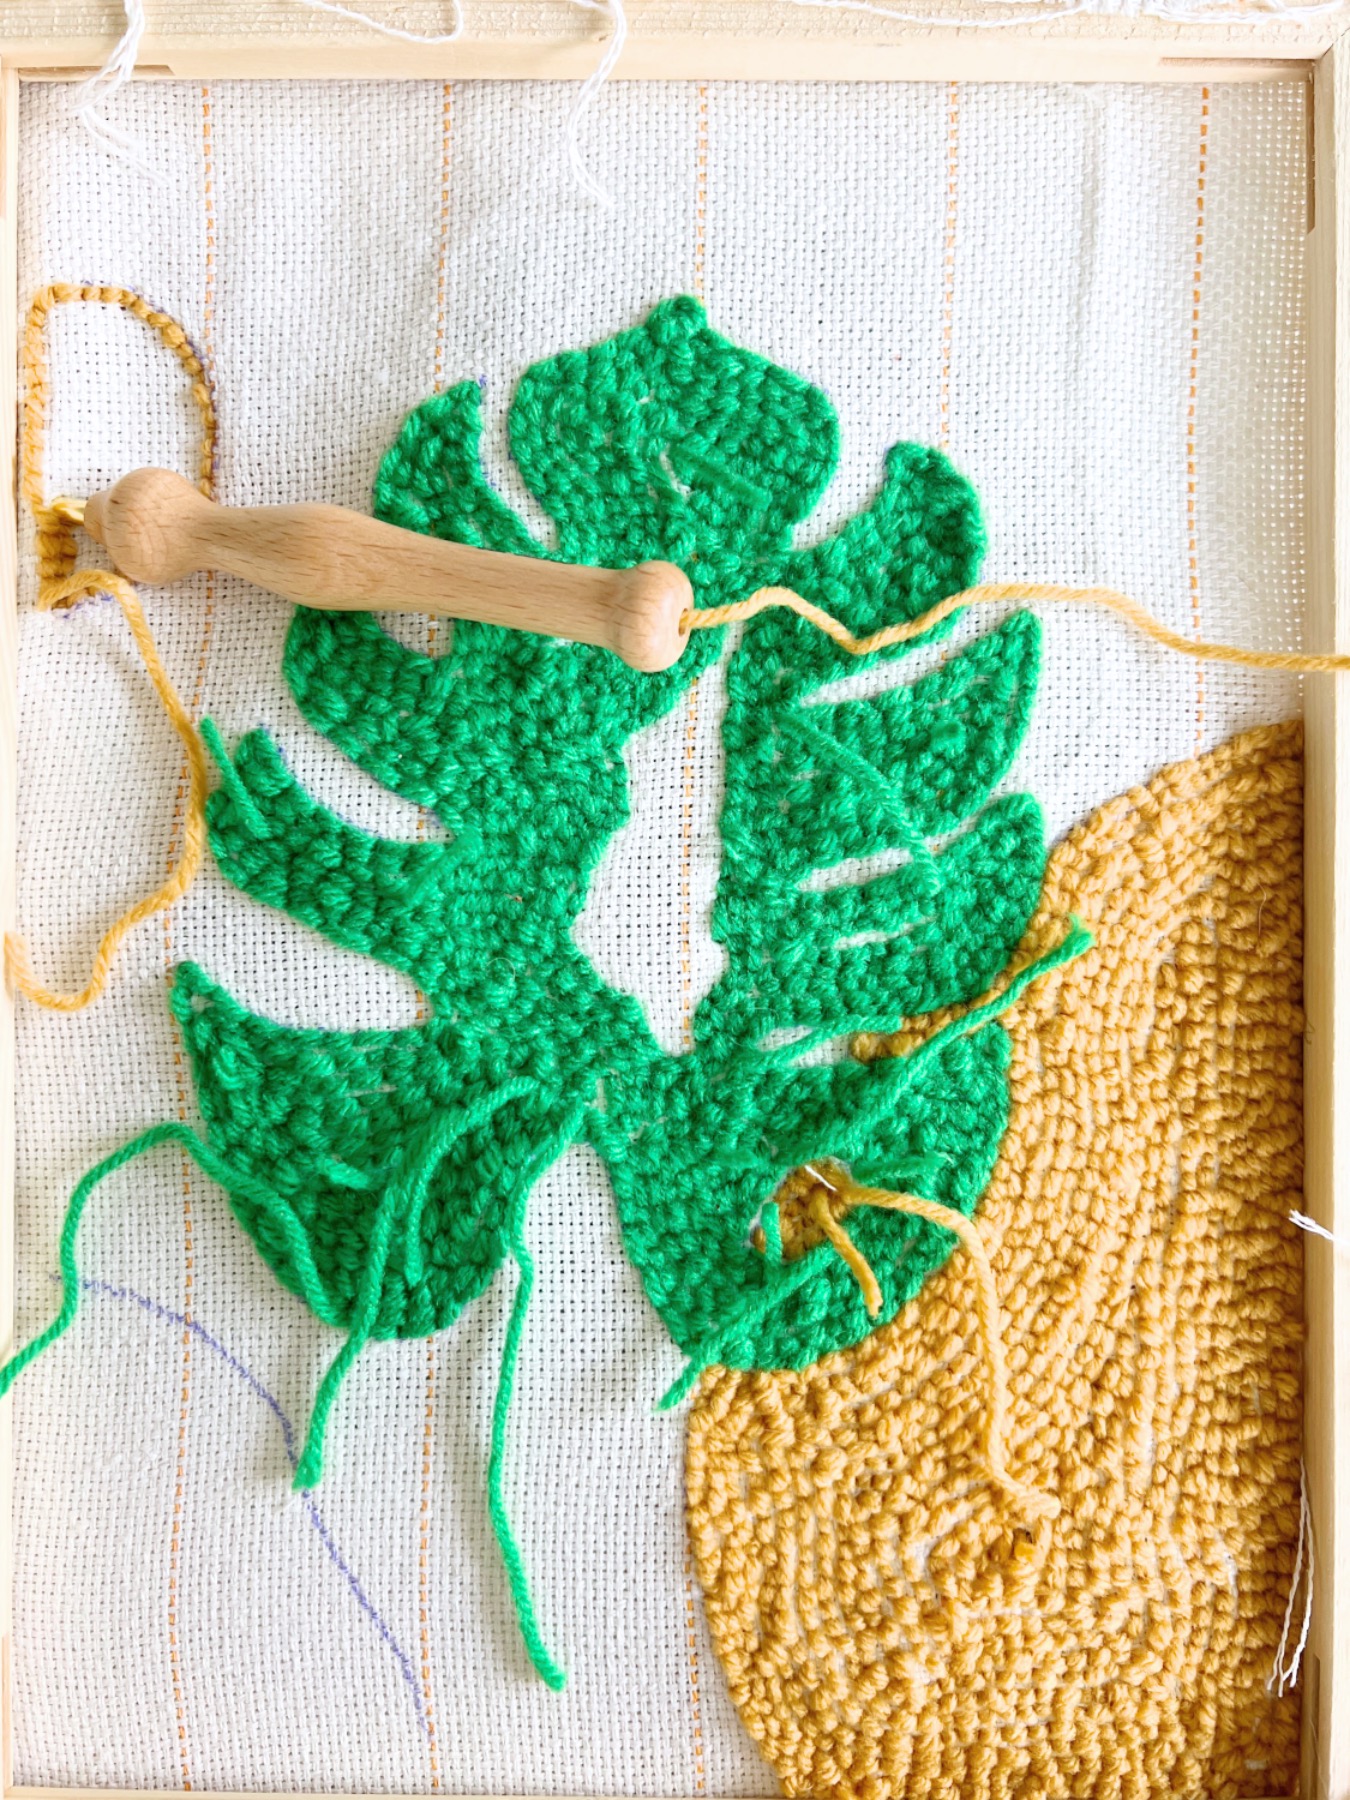
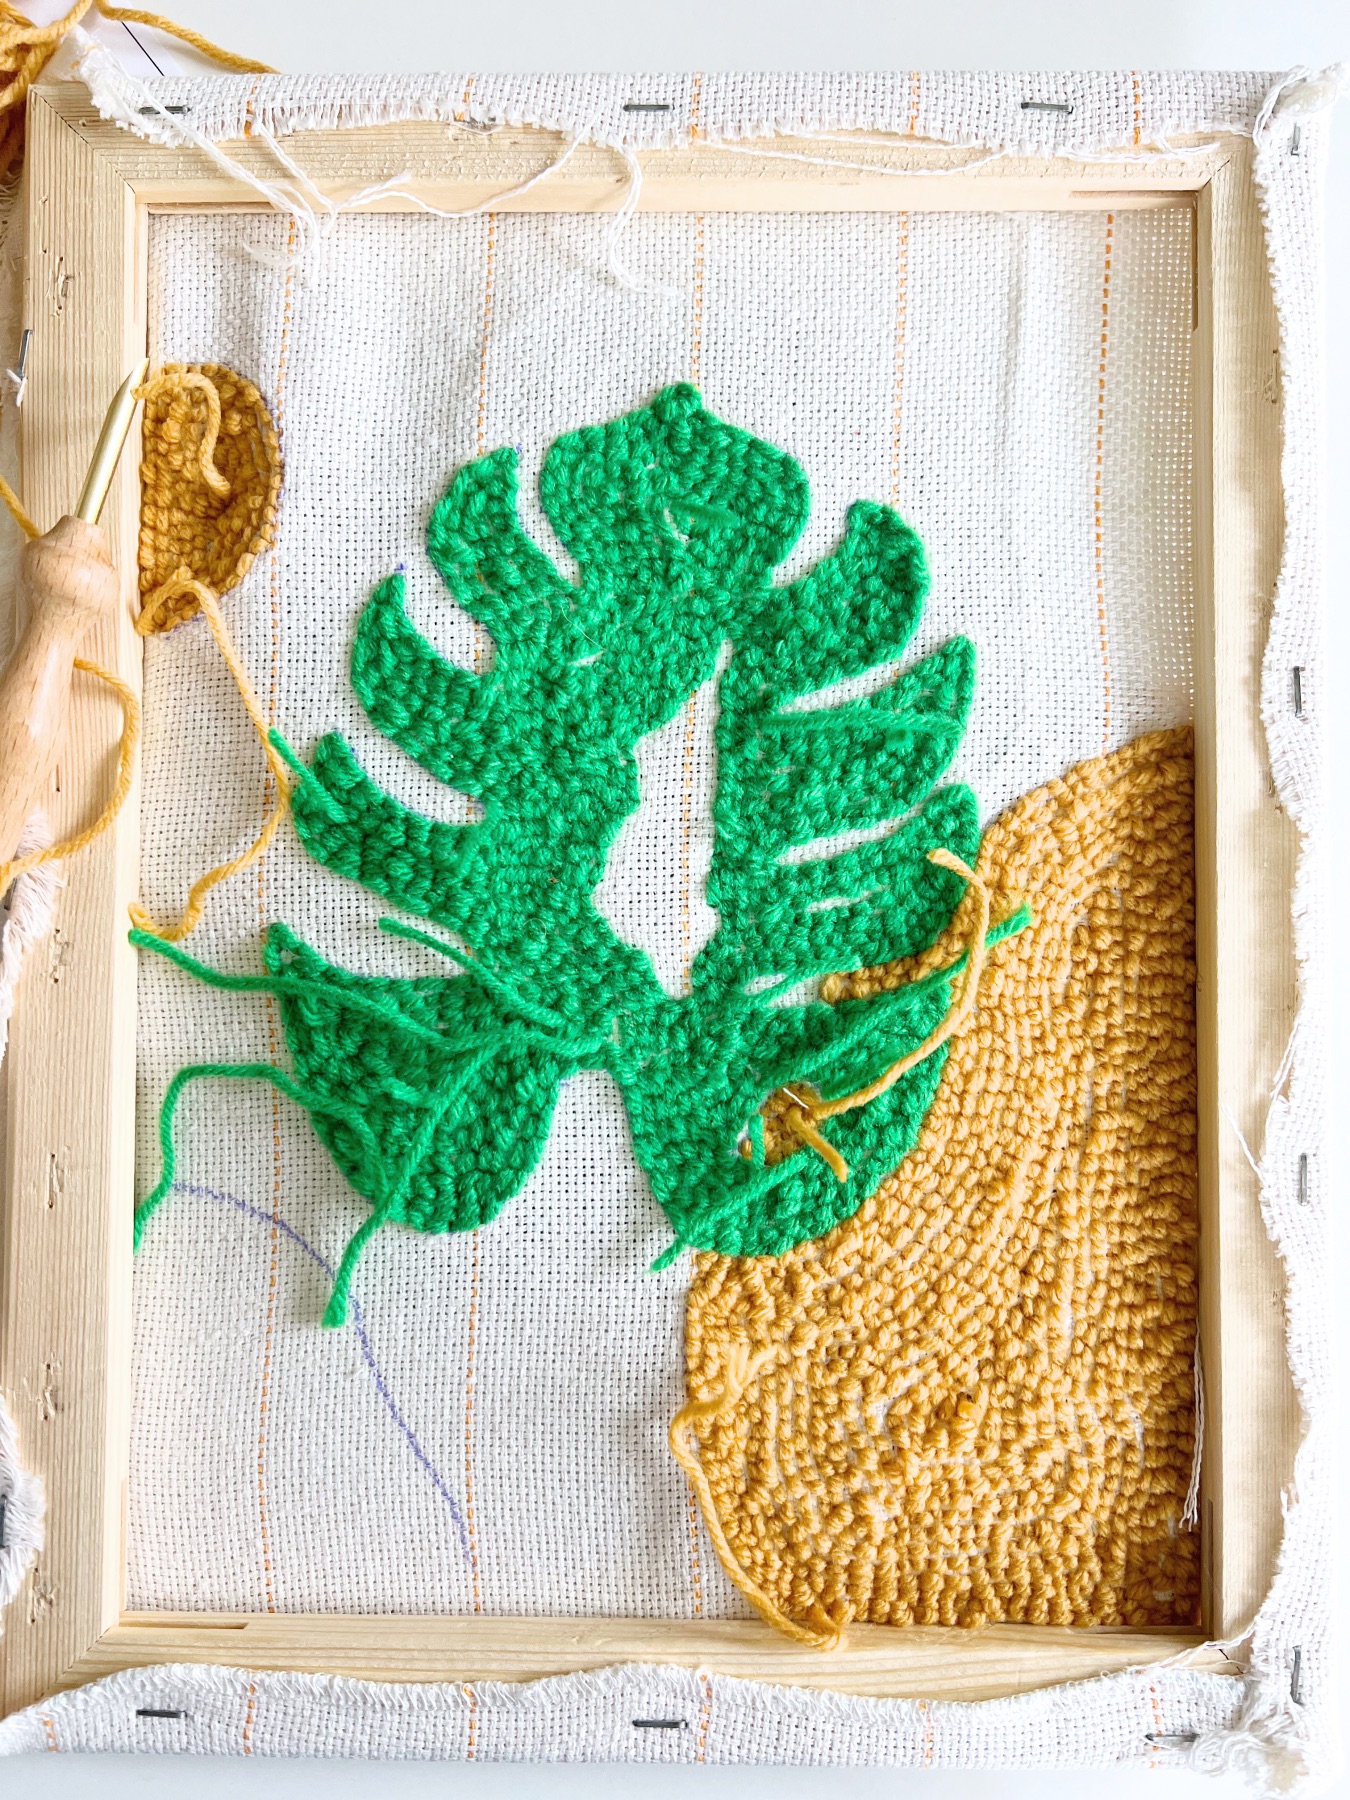
You can start anywhere you like, but I would recommend starting with your subject. Remember that you are working on the inside of your frame. So the larger flat side should face away from you and the smaller interior part of the frame will face up.

Poke your threaded tool through the monk’s cloth making small even stitches. When I see people stitching on Youtube, they never have to hold the back with one hand, but I always do!
I don’t know how there is a disconnect on that, but I would recommend punching with one hand and gently holding the punch with the opposite hand underneath the frame. Then as you continue to punch hold each new loop until a new one is made.

Hold the Project in Your Lap
The easiest way to work is to place the frame in your lap and continue to punch. It’s a perfect project to work on while watching movies or listening to records. It’s a lot like knitting or crochet in that way.
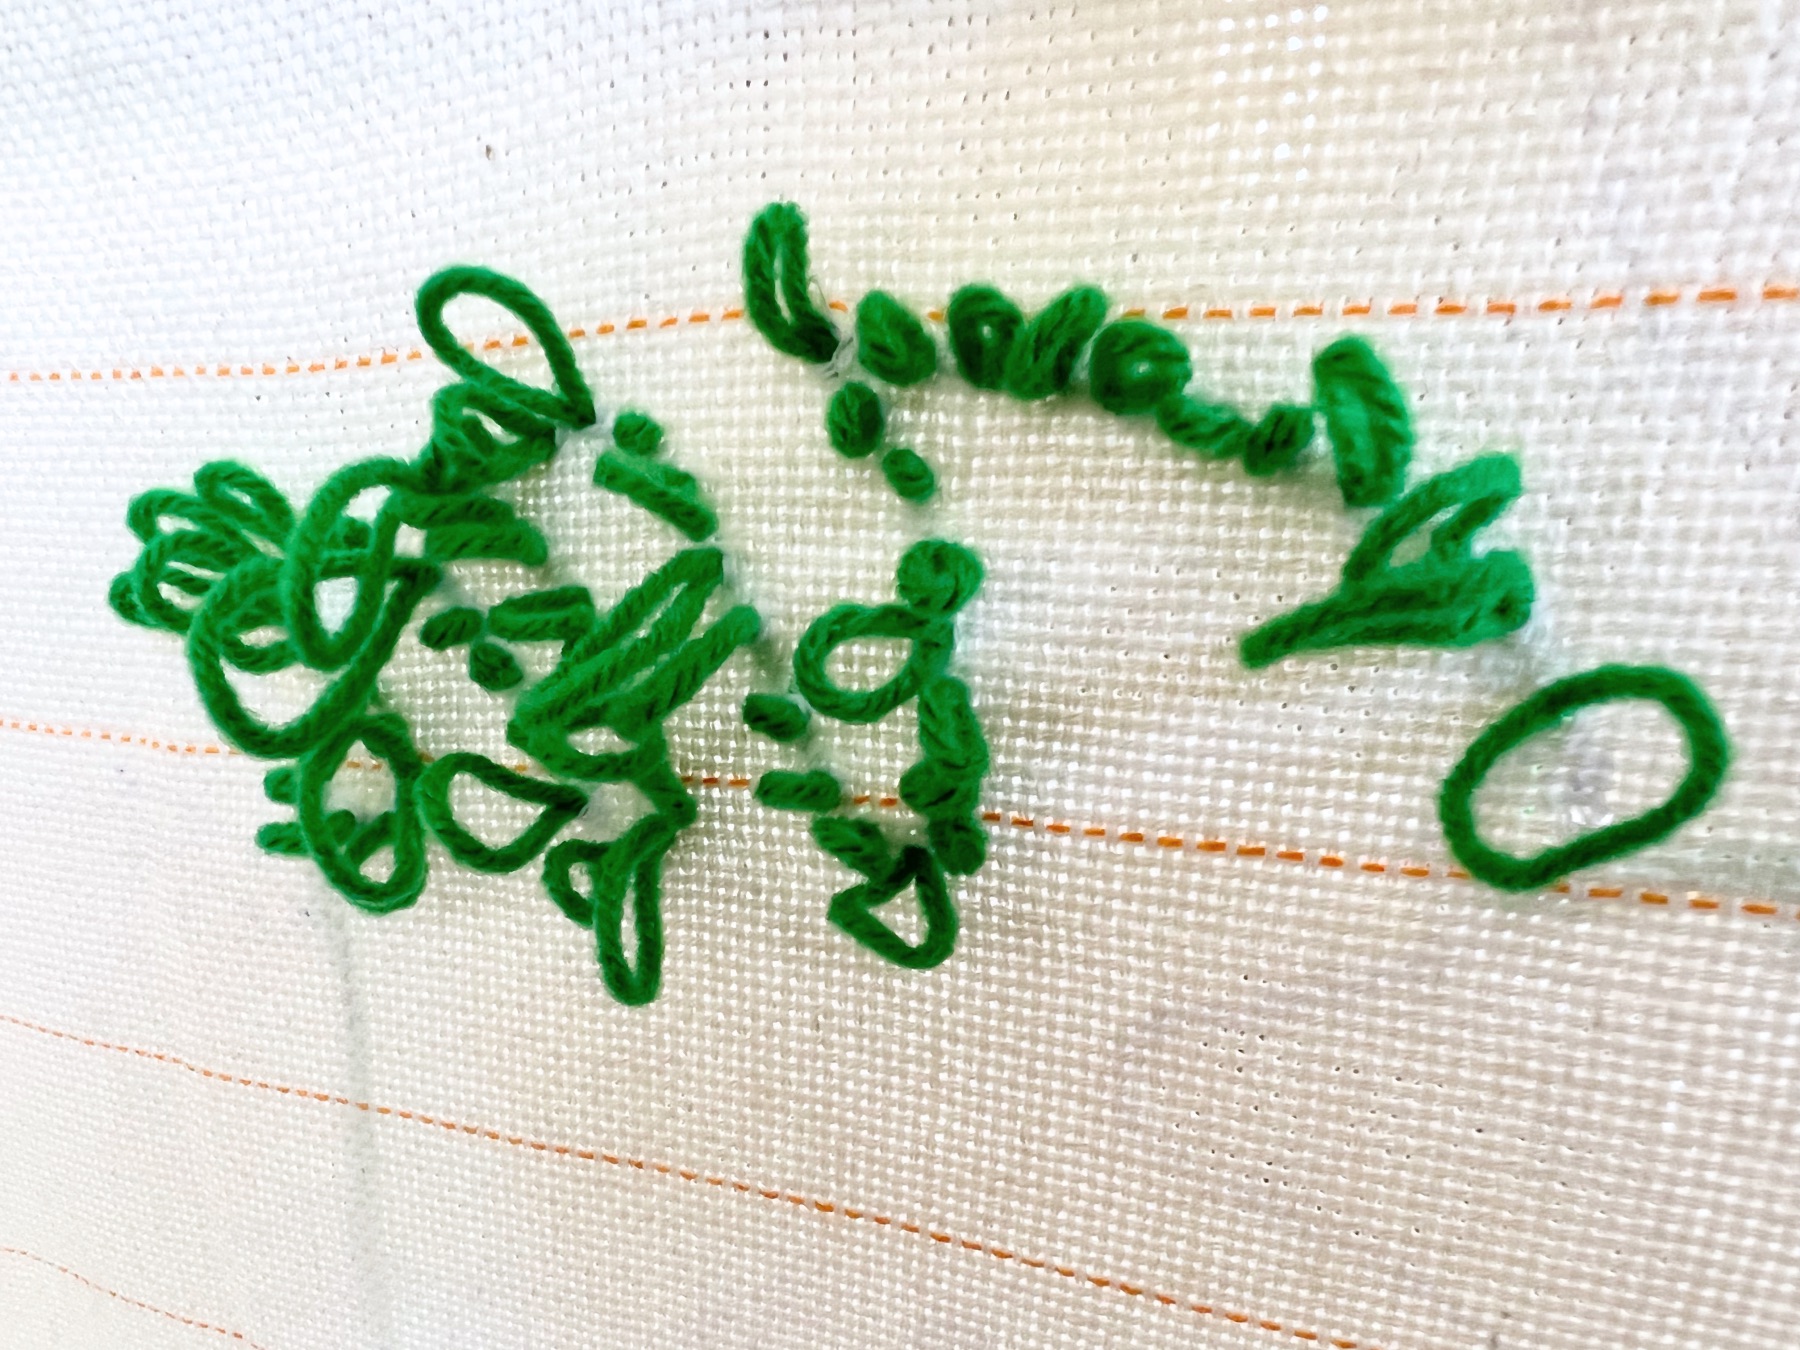
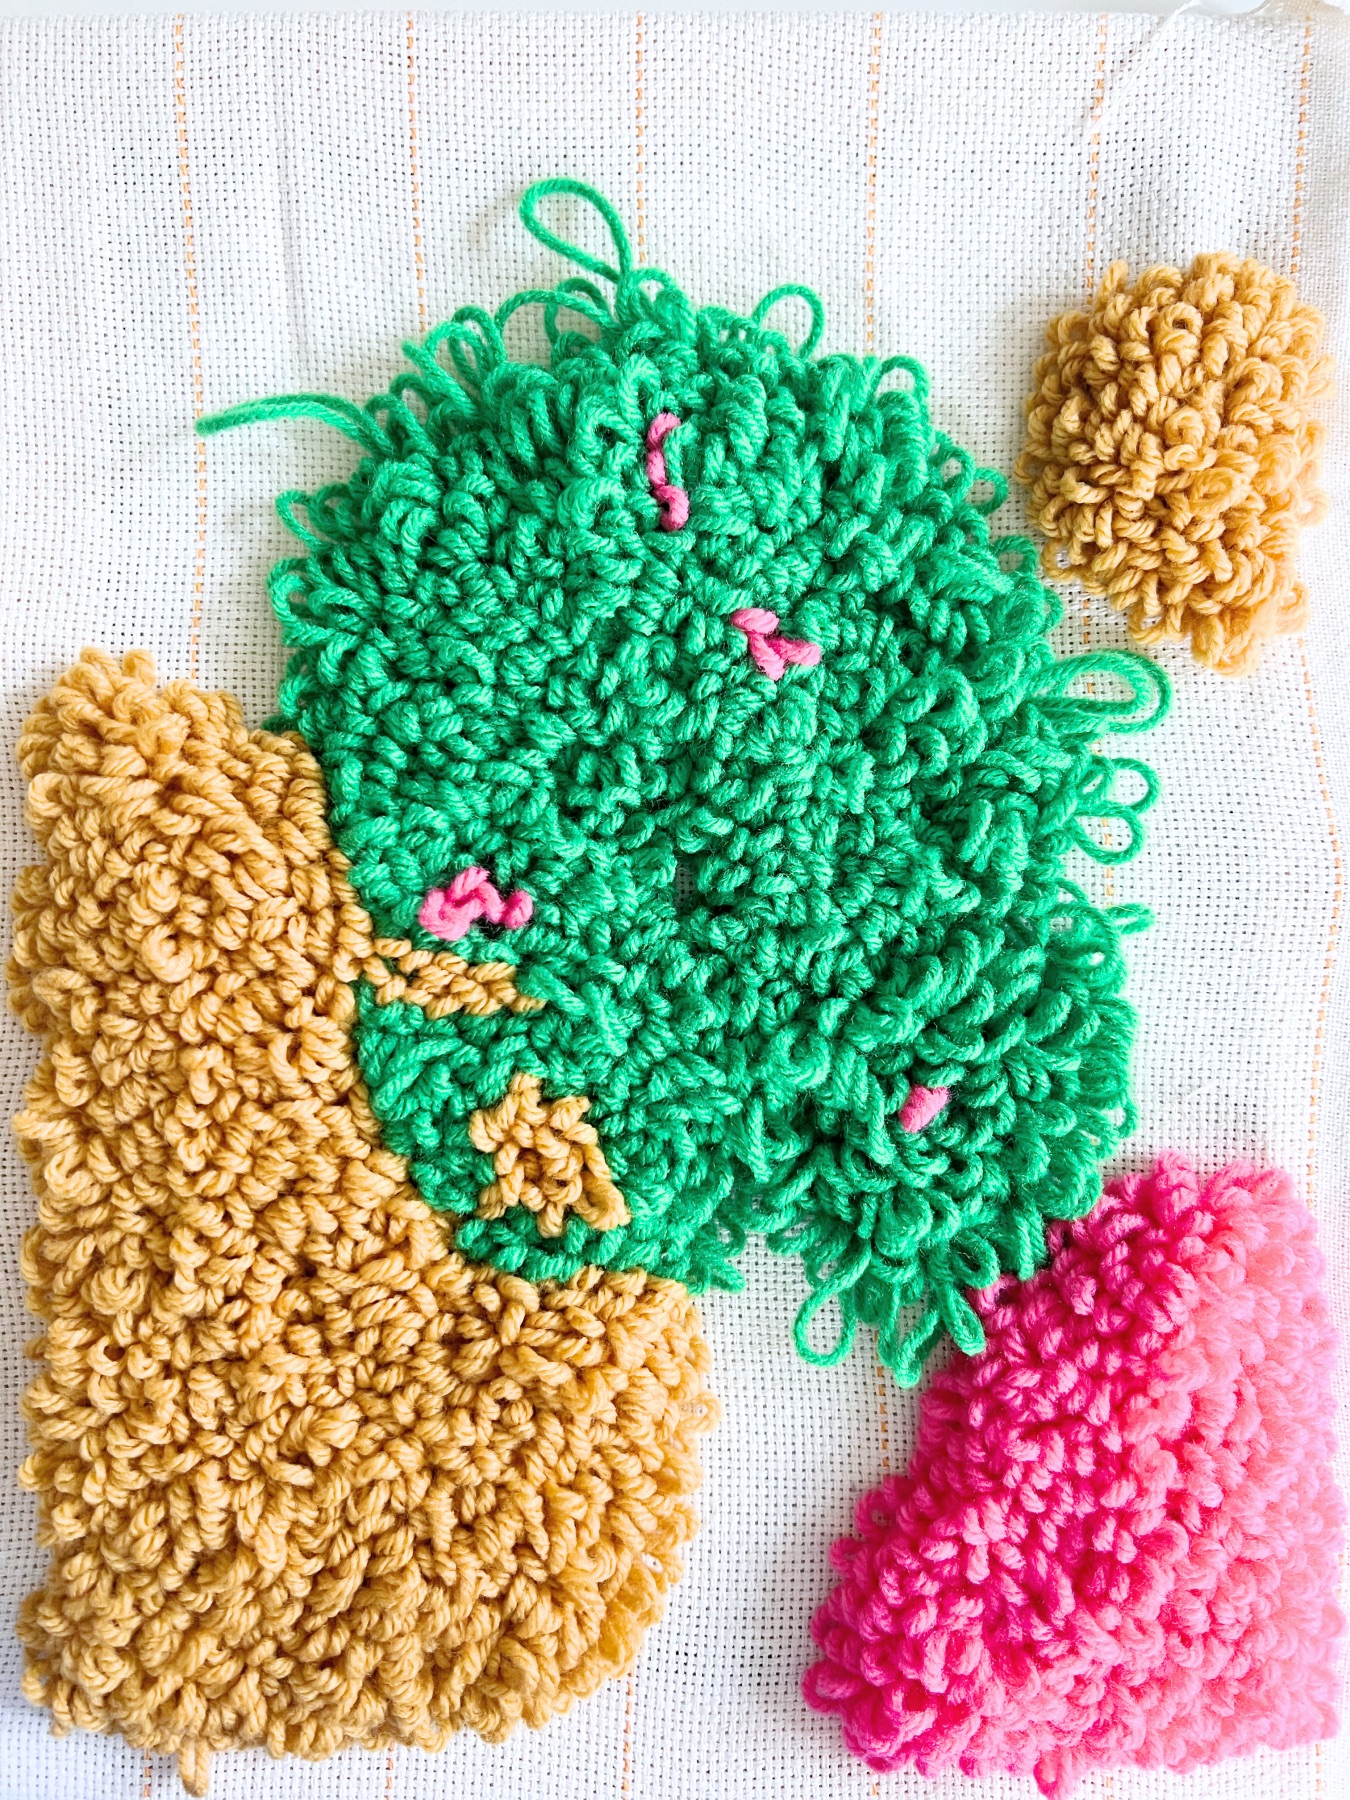
Try to Keep Each Loop the Same Length
As you punch and you are holding the loops on the back of the frame with your opposite hand, try to keep each of the loops on the back even in size.
See how mine are long, short and everything in between? Don’t be like me! Keep your loops even in length because this side will become the top of your rug.
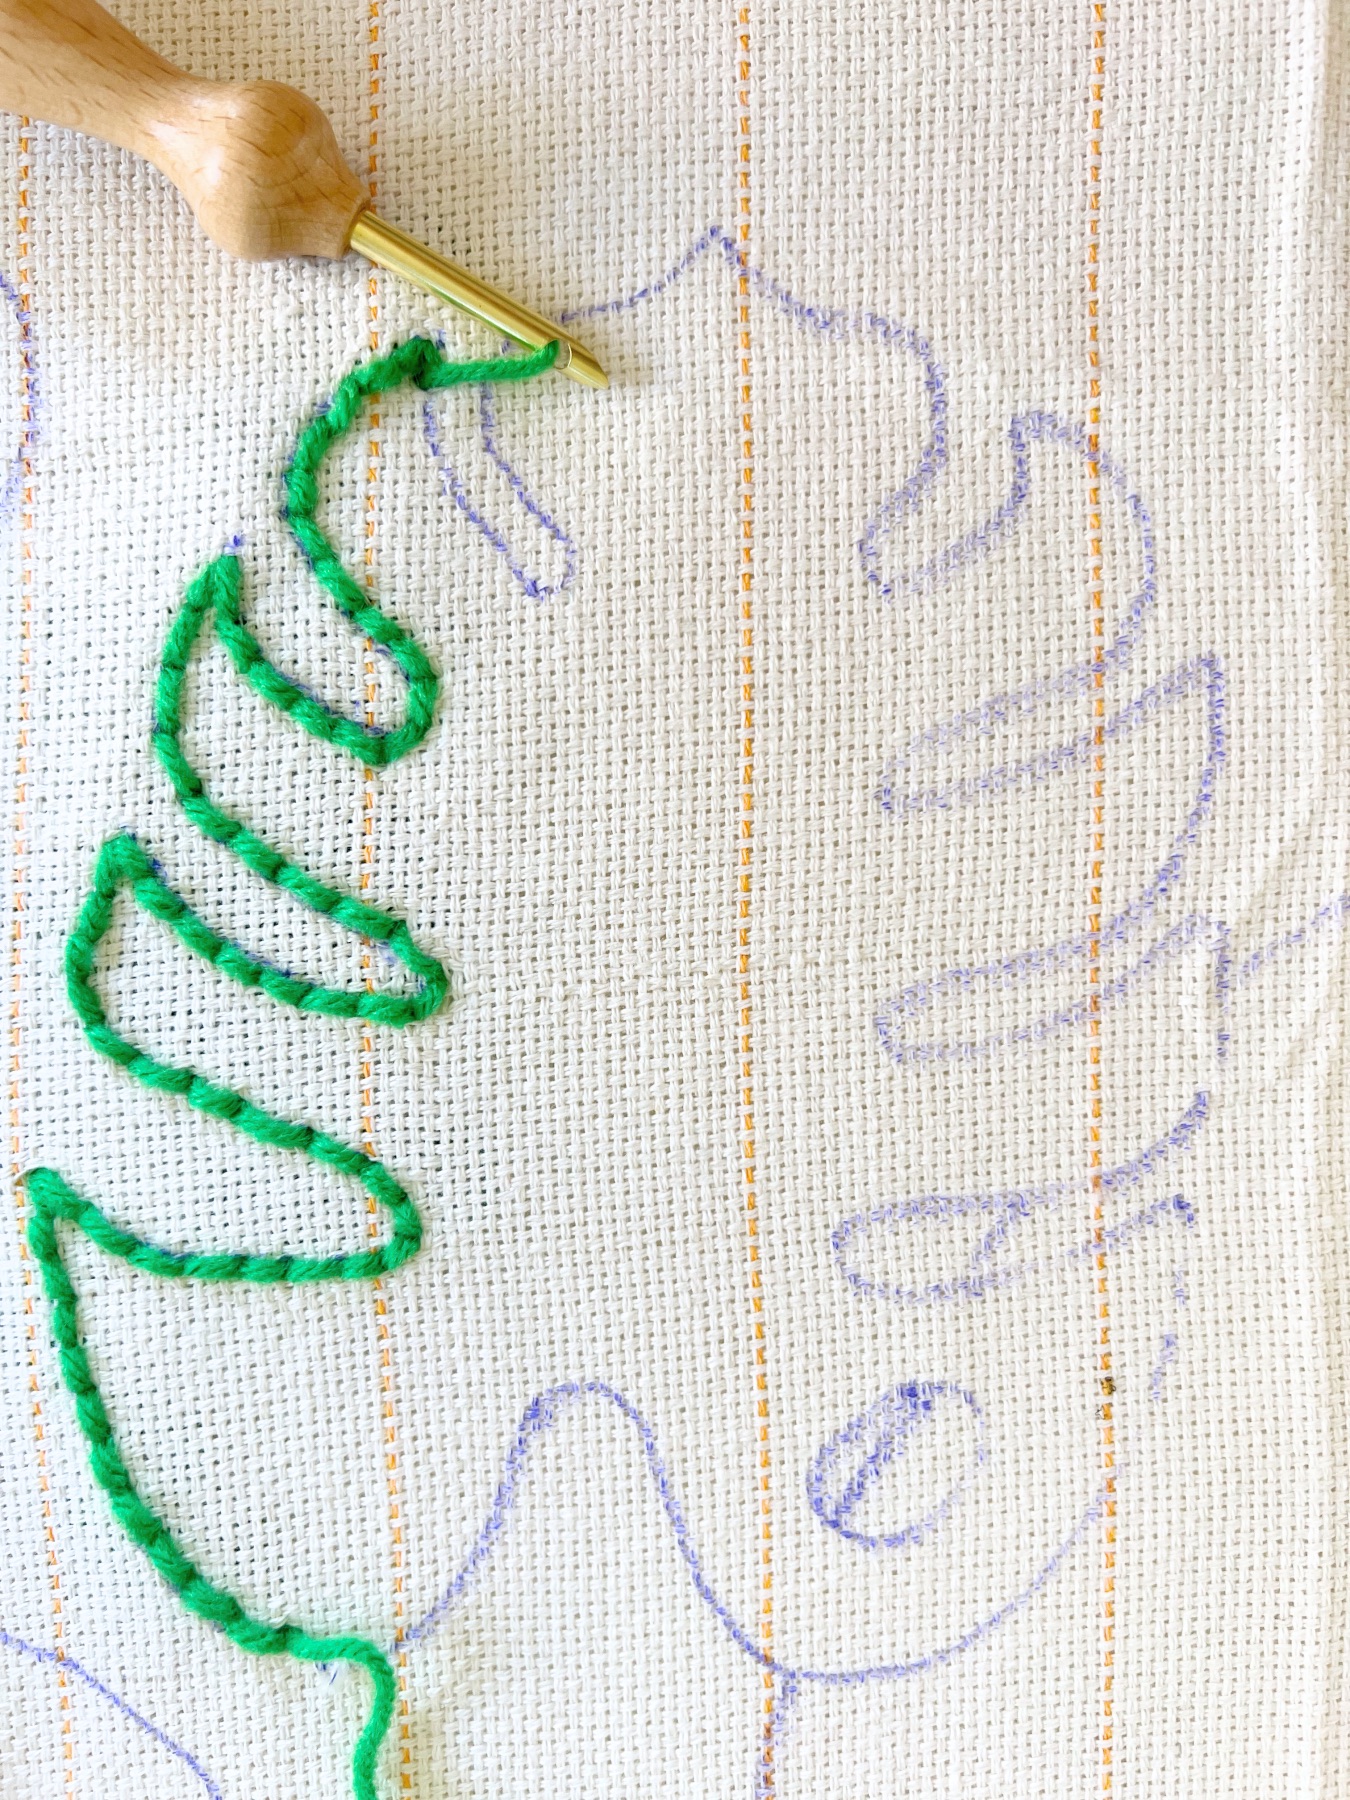
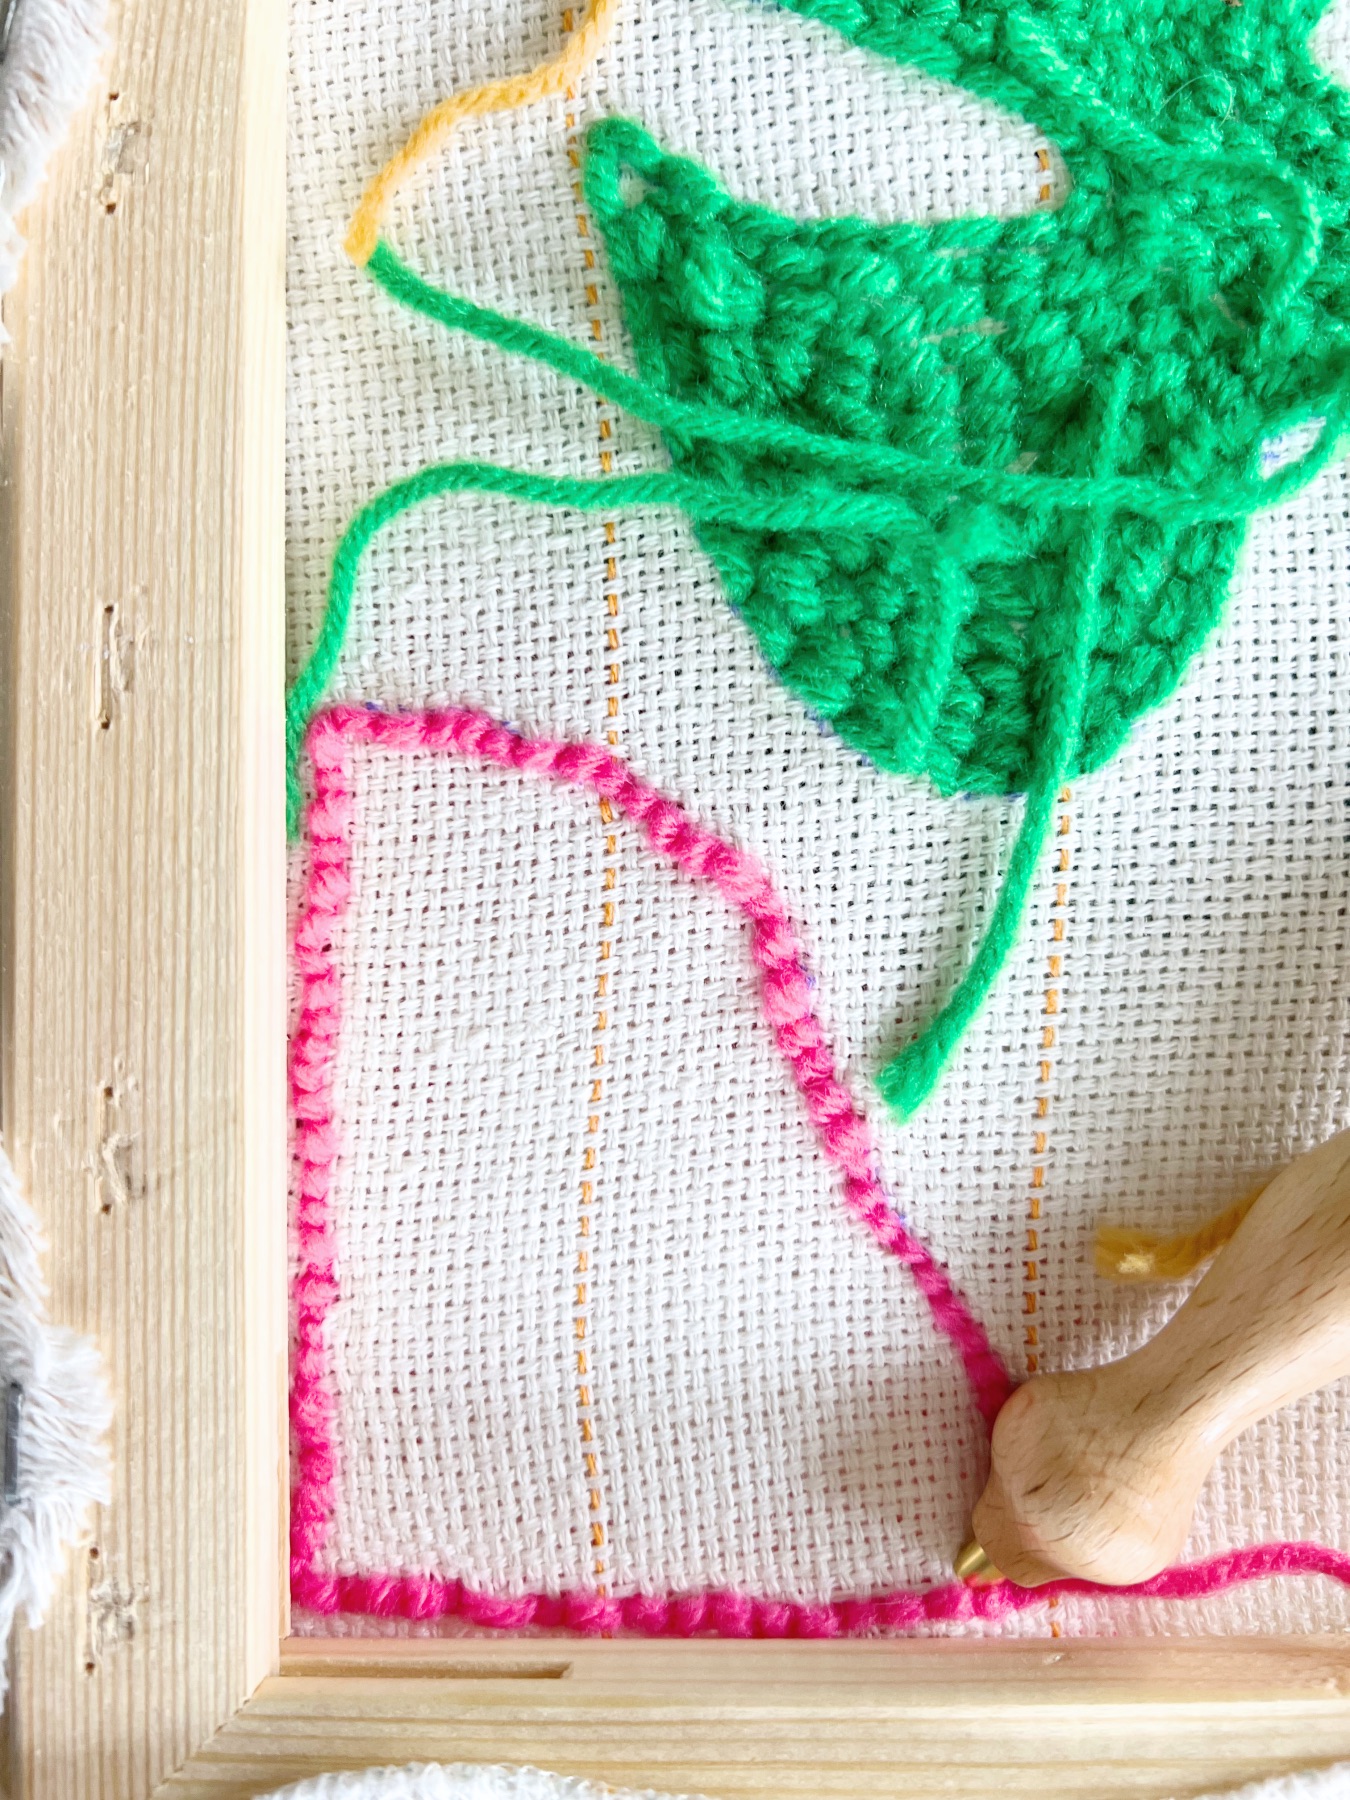
Punch an Outline First
The easiest way to make a shape with punch needle embroidery is to create an outline first. Make the shape and then fill it in. That way you won’t have to define your lines later which will be much harder as more of the rug gets blocked off with threads and loops.

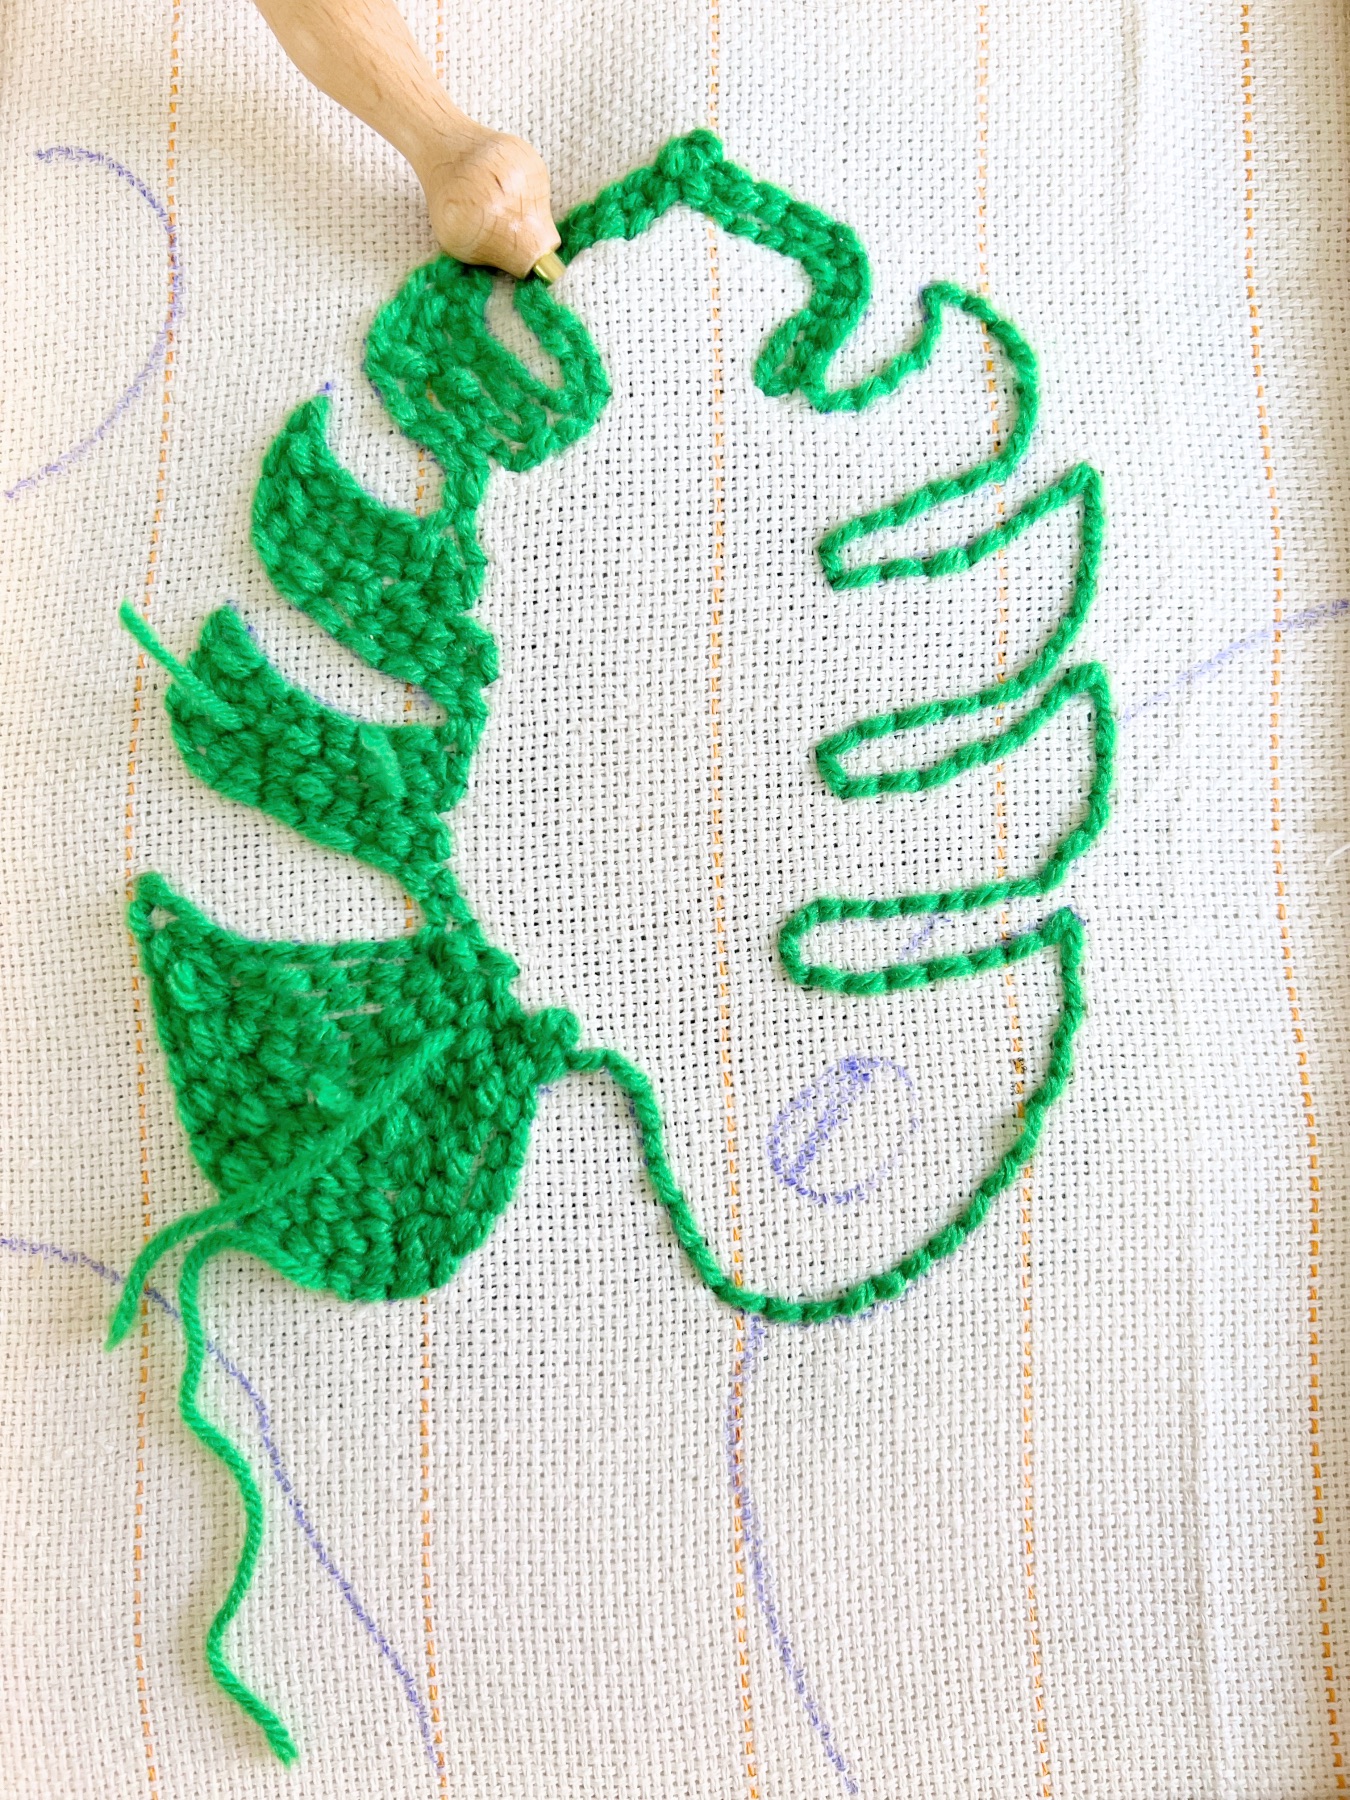
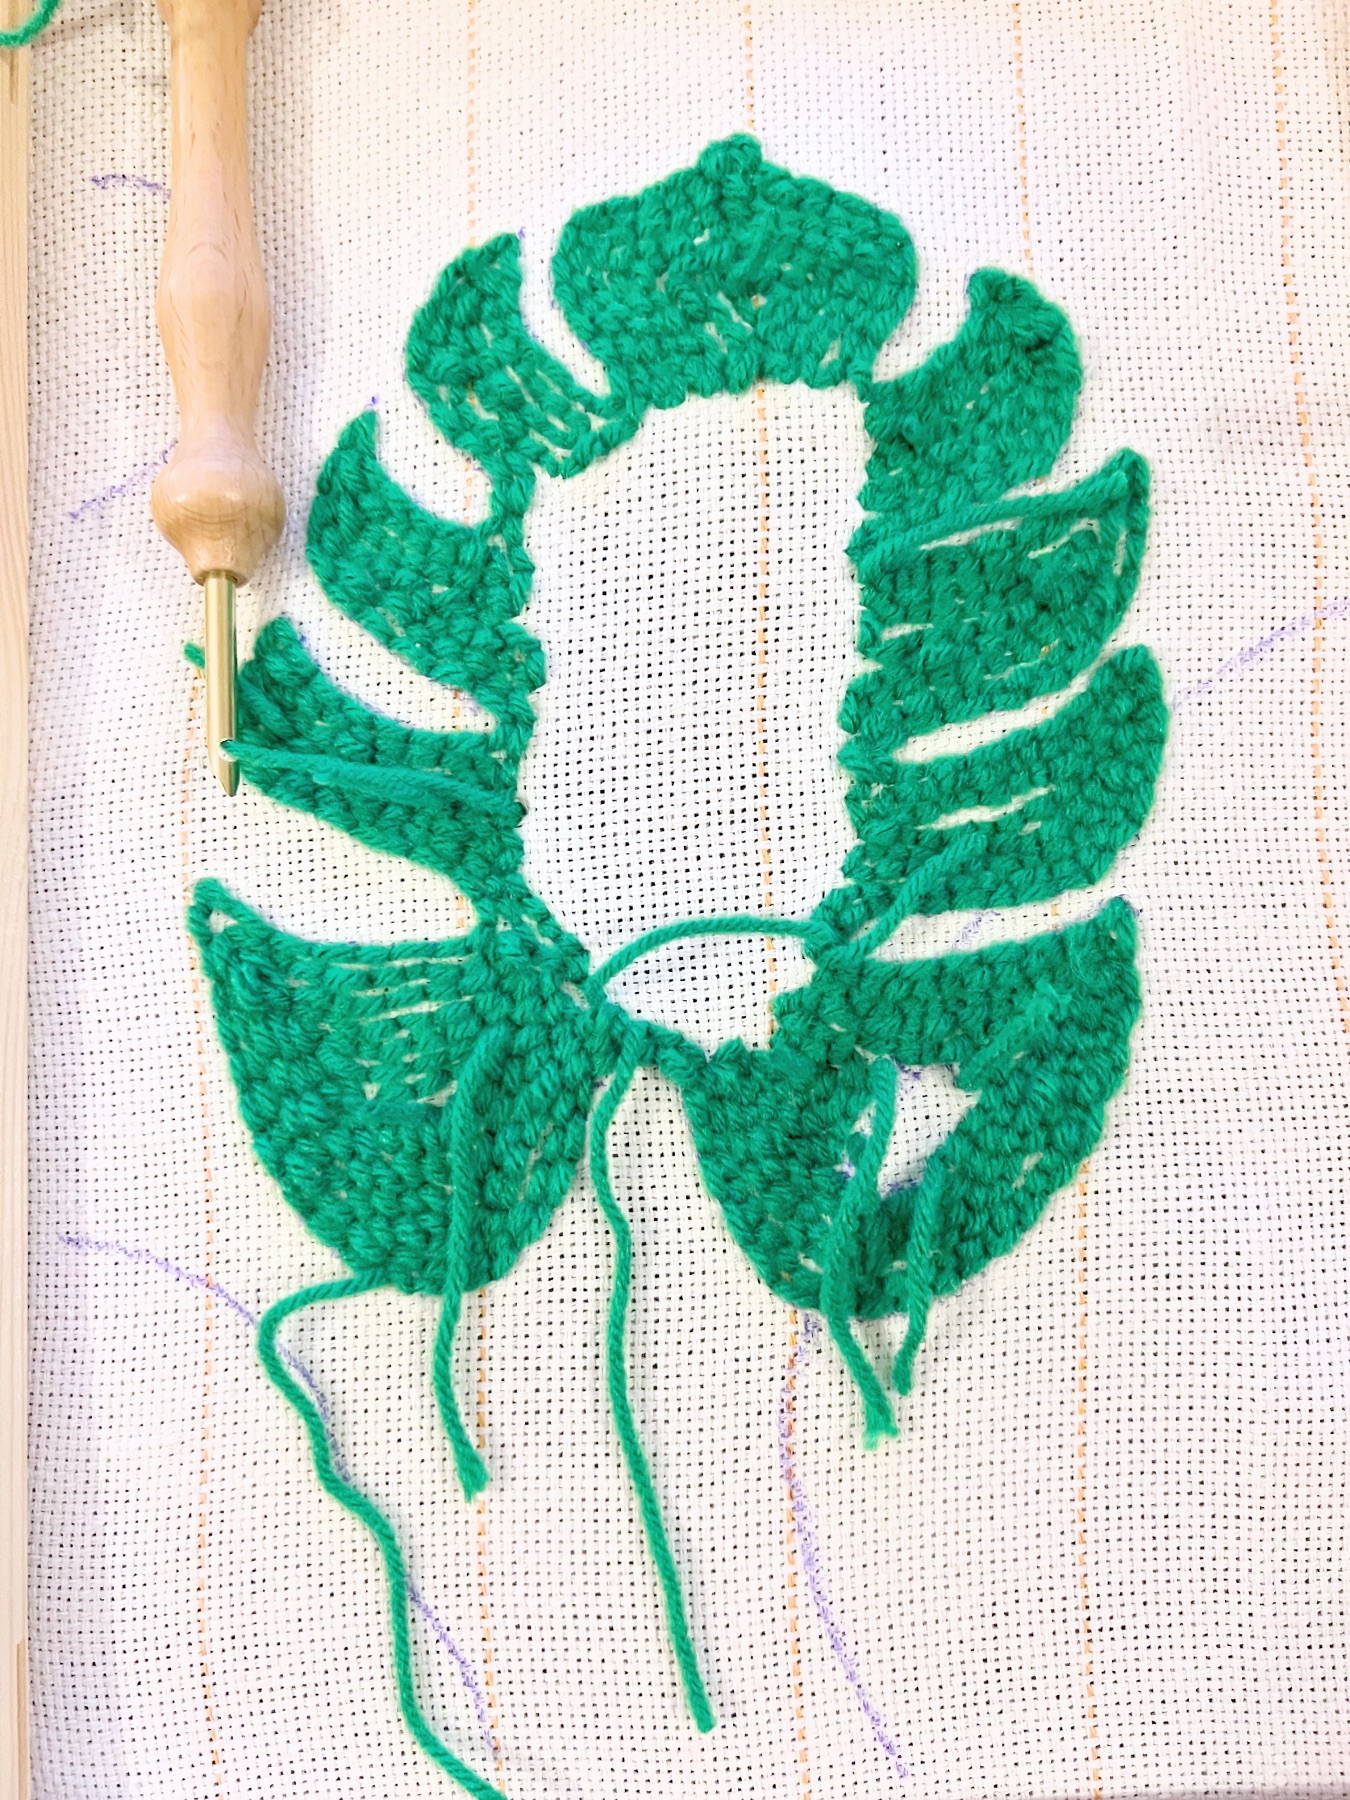
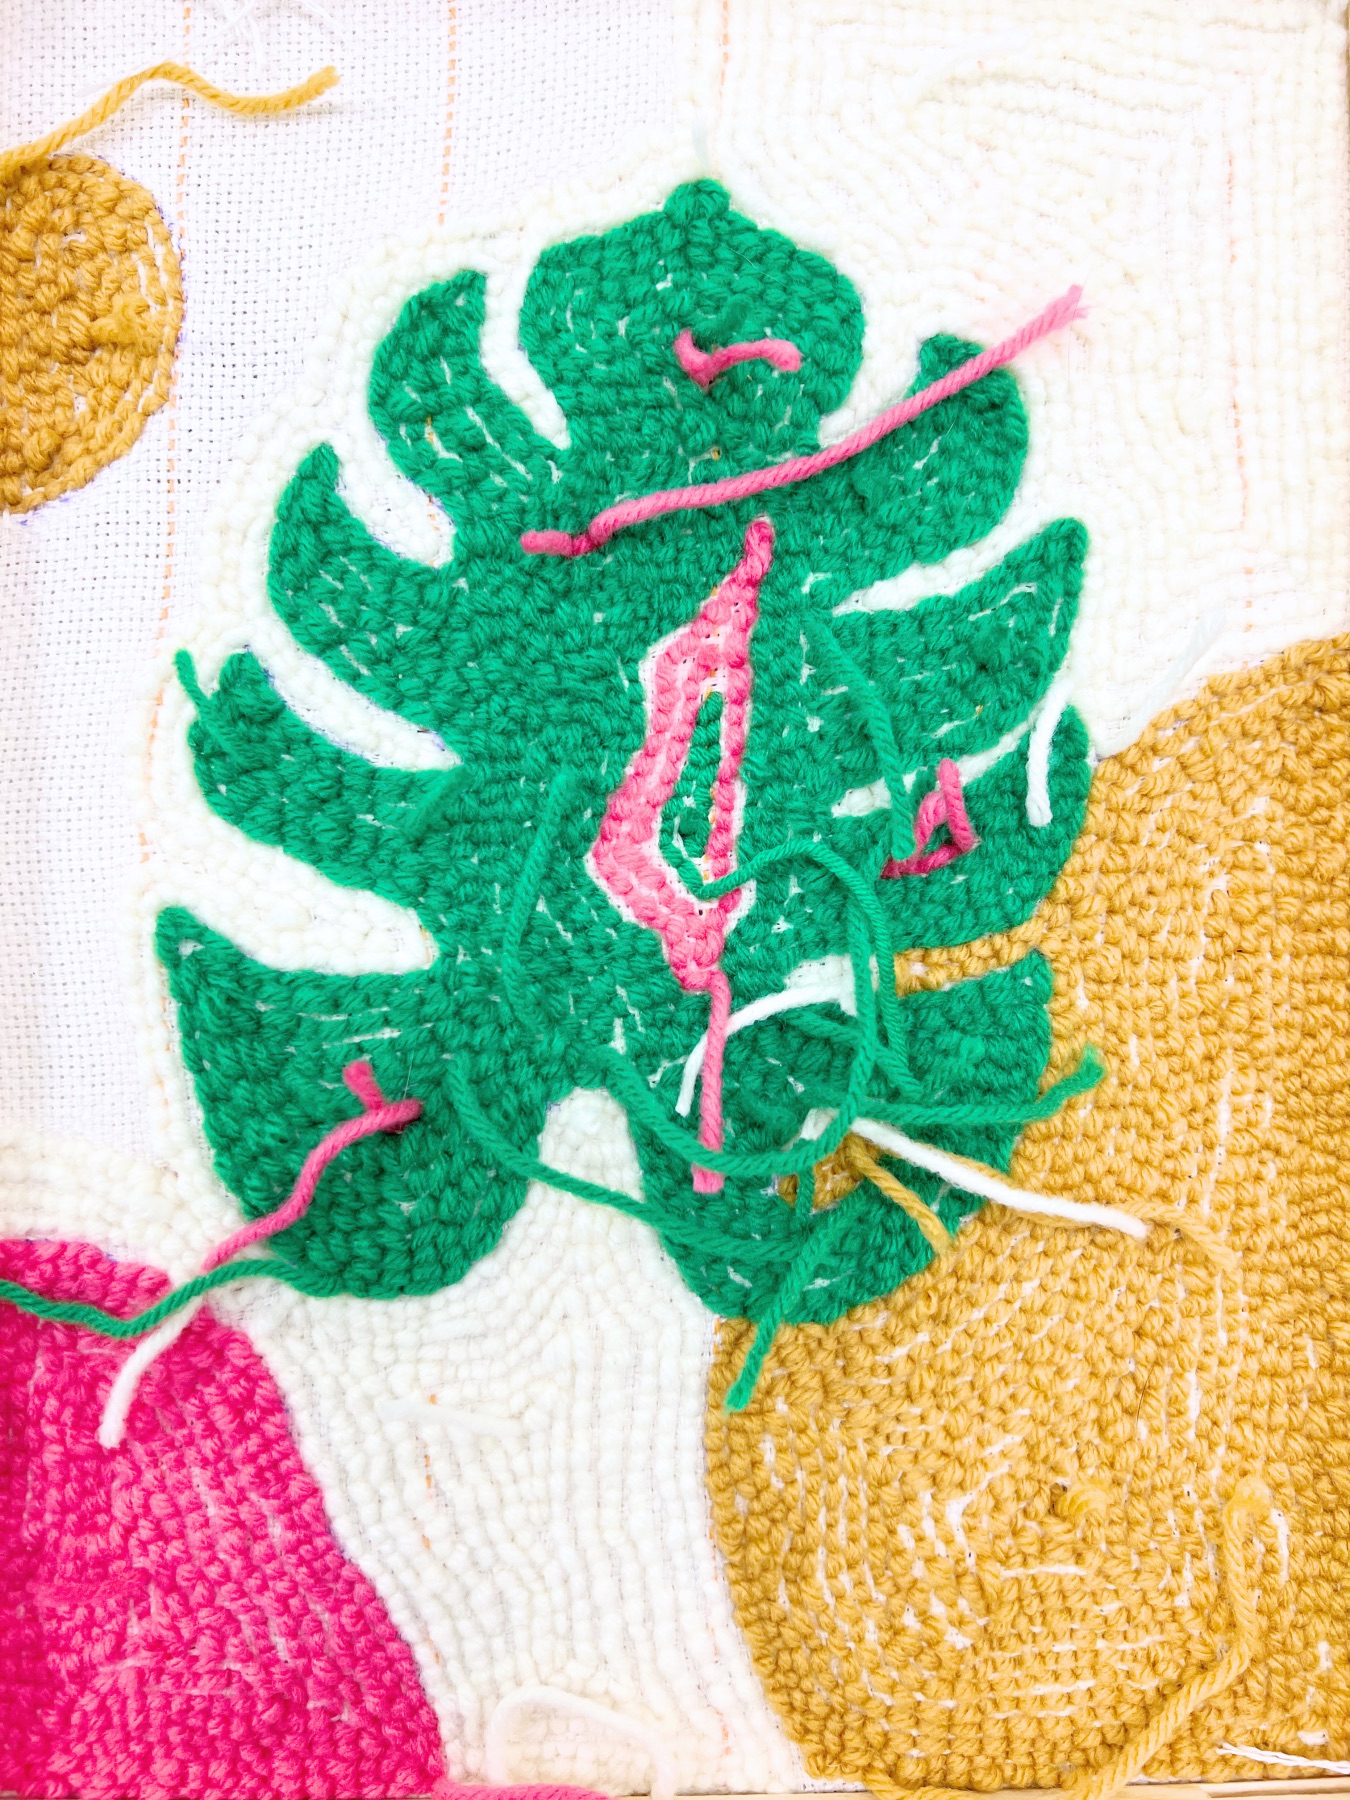
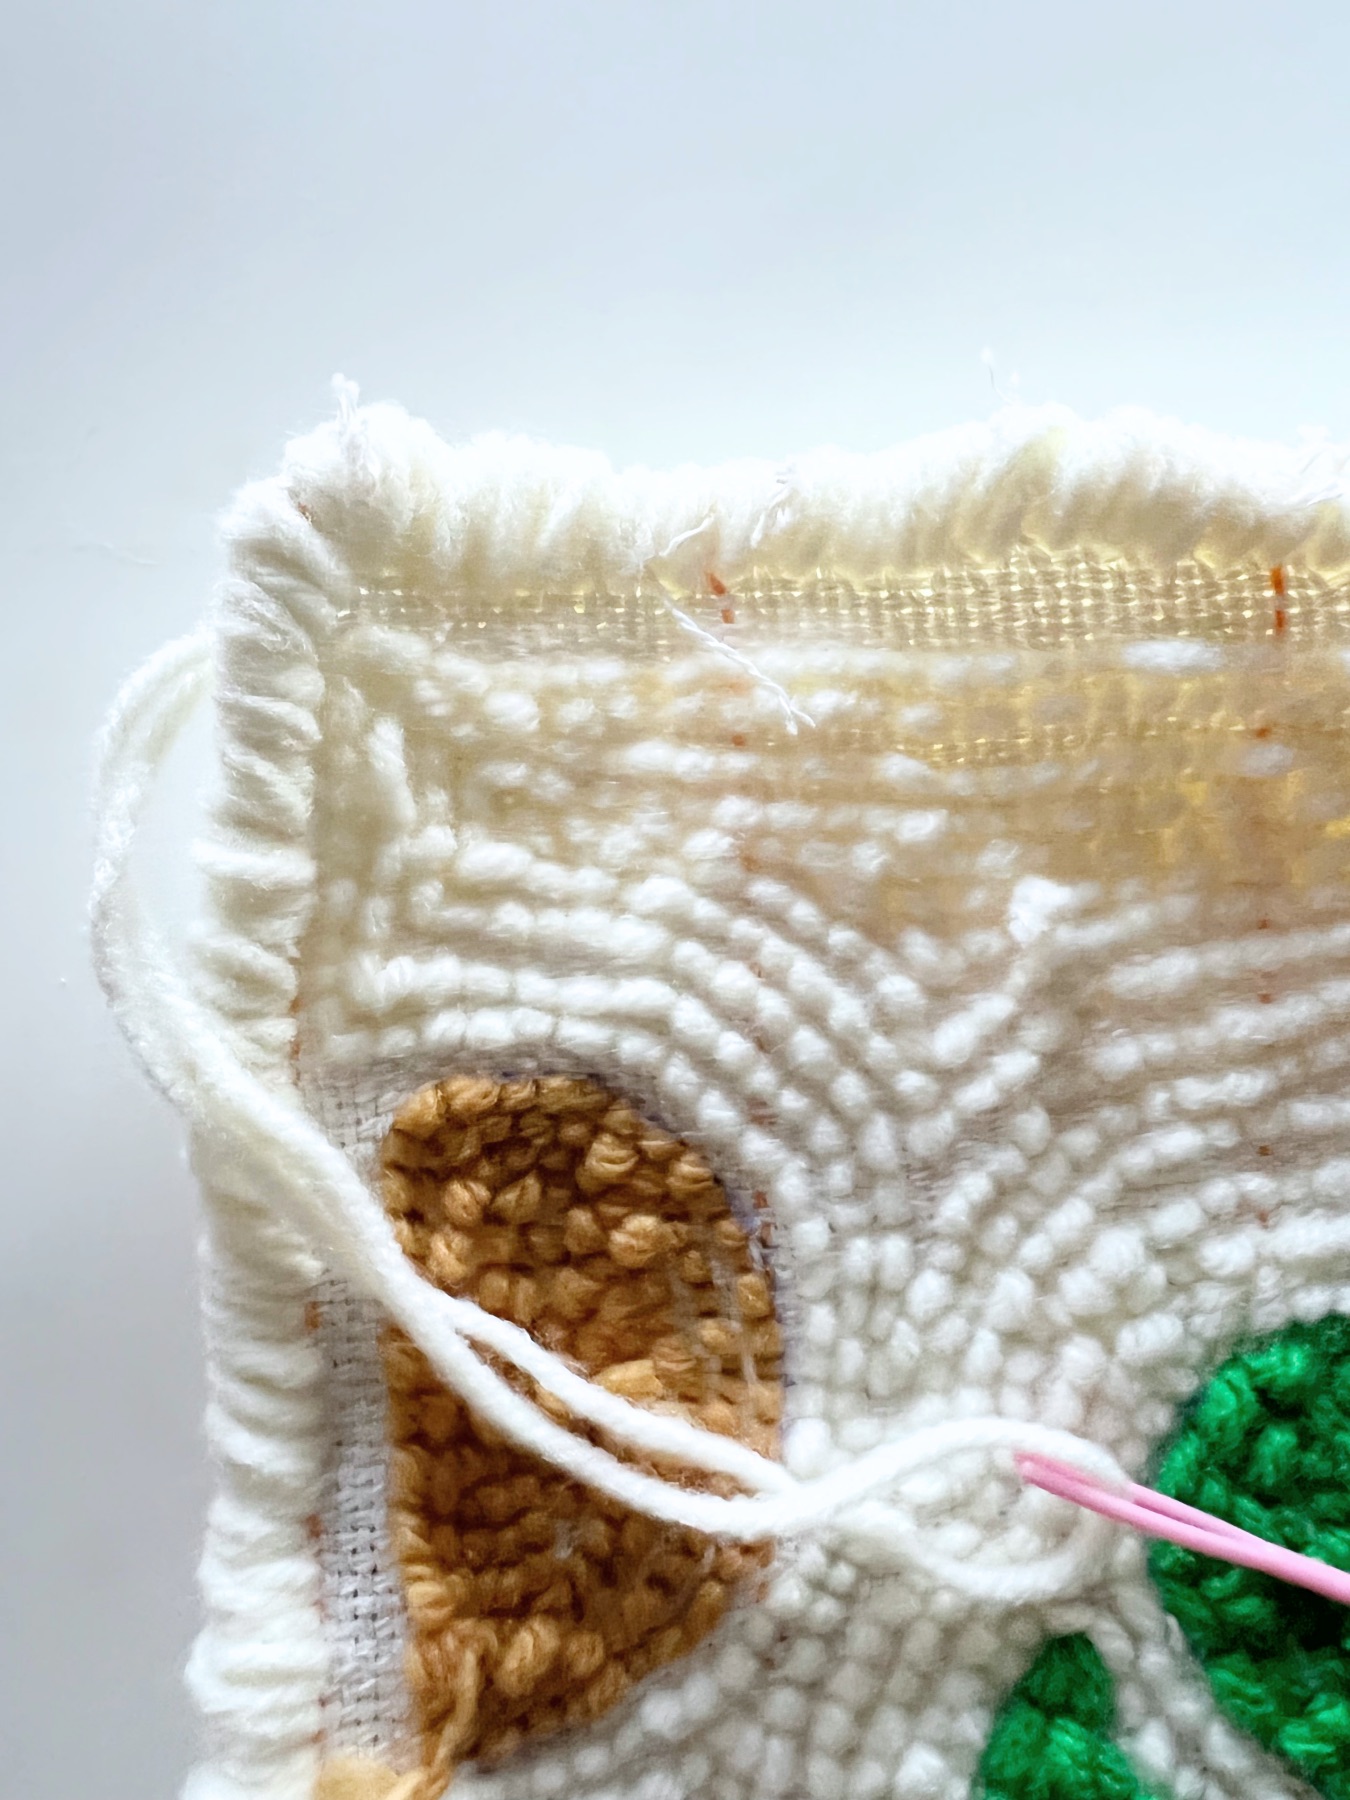
Fill in the Center
Once you have an outline continue to punch and fill in the center. I like to continue punching along the exterior perimeter and keep going around and around. The space to punch will continue to get smaller and you will eventually end up with just a small space in the center.
Remember to keep your stitches even. And be sure to fill every space with a stitch so that no part of the punch needle rug is blank.
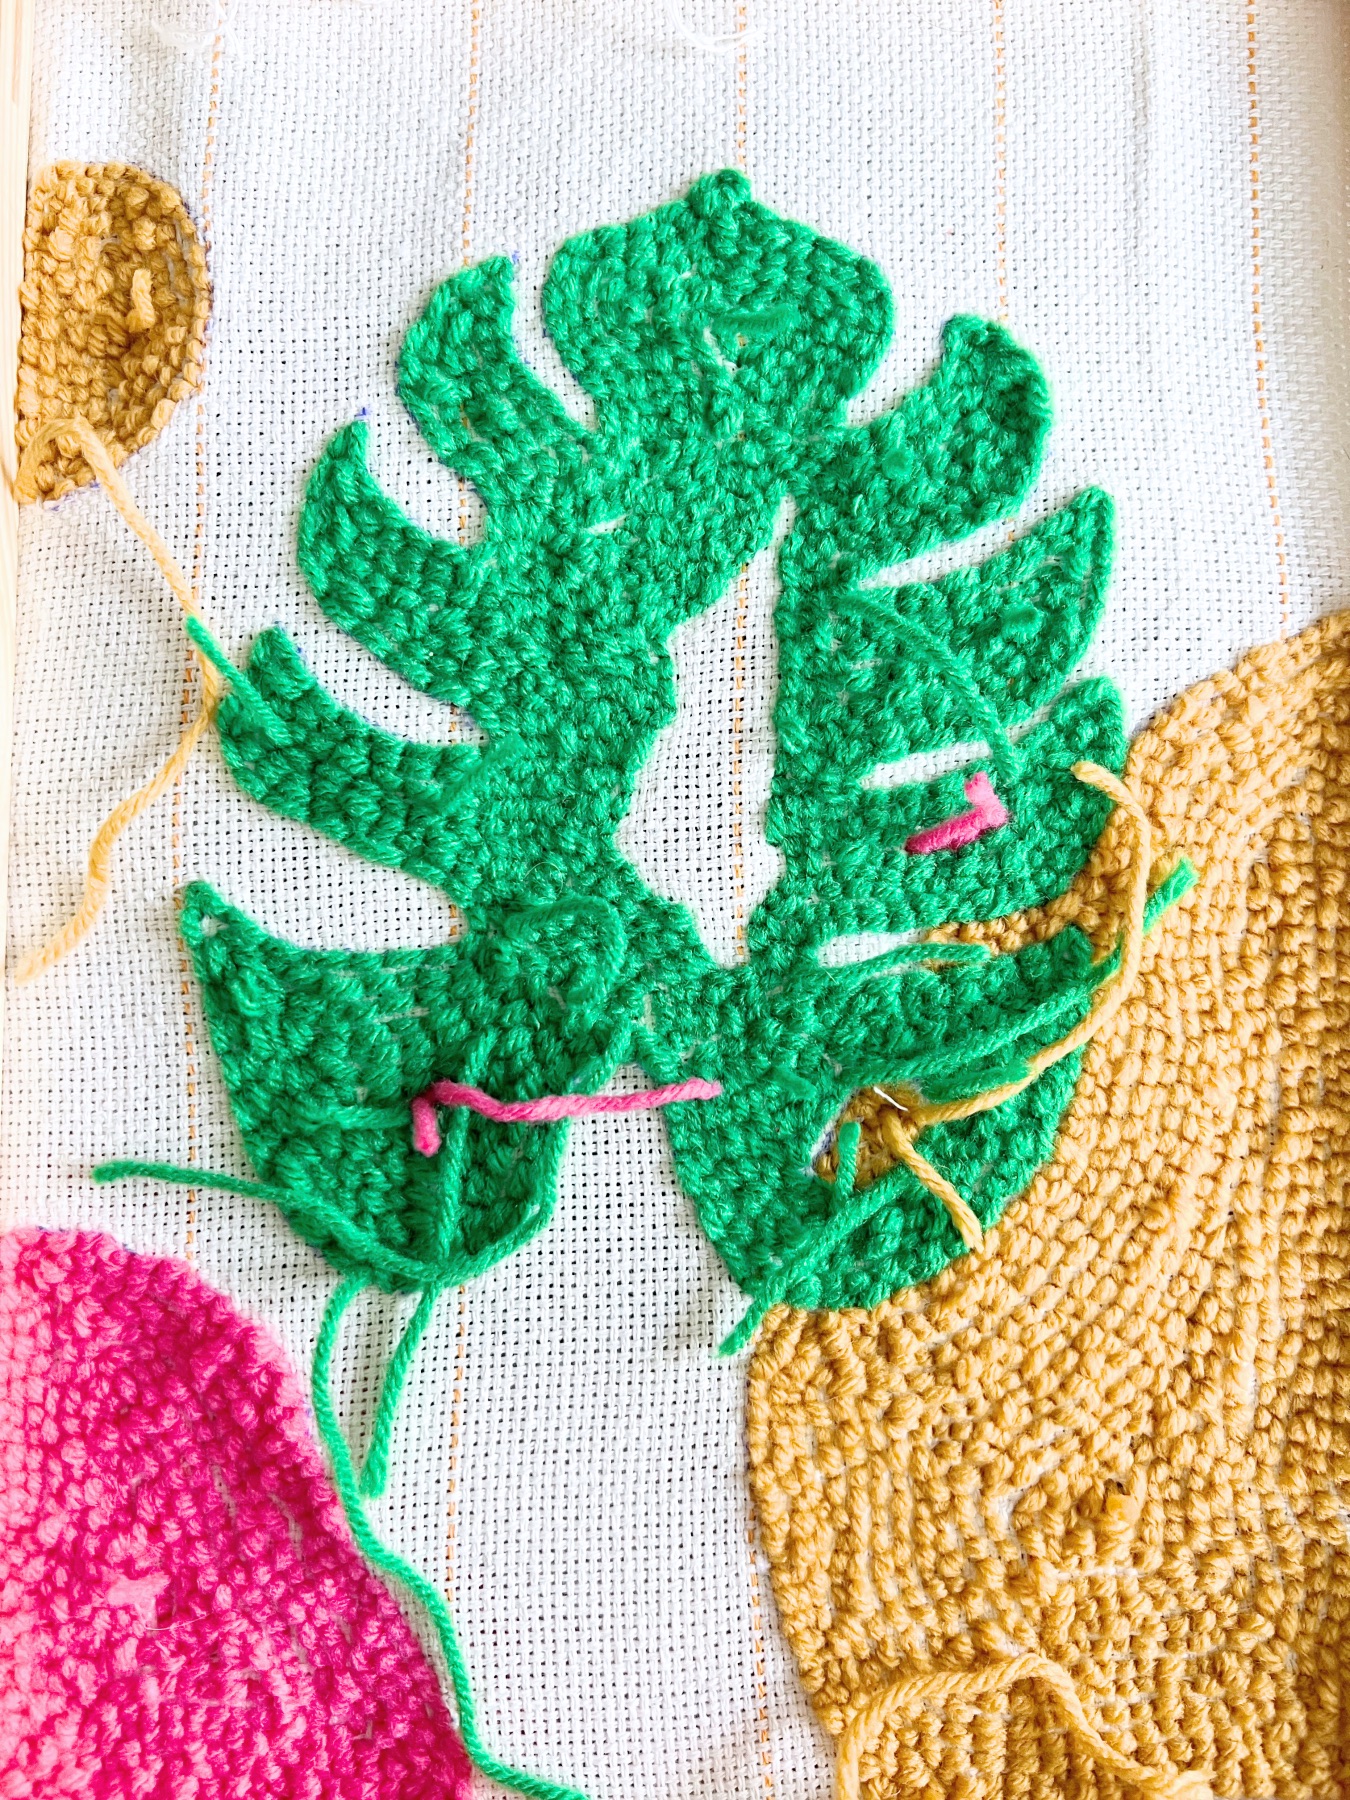
What to Do When You’ve Finished Filling in a Section
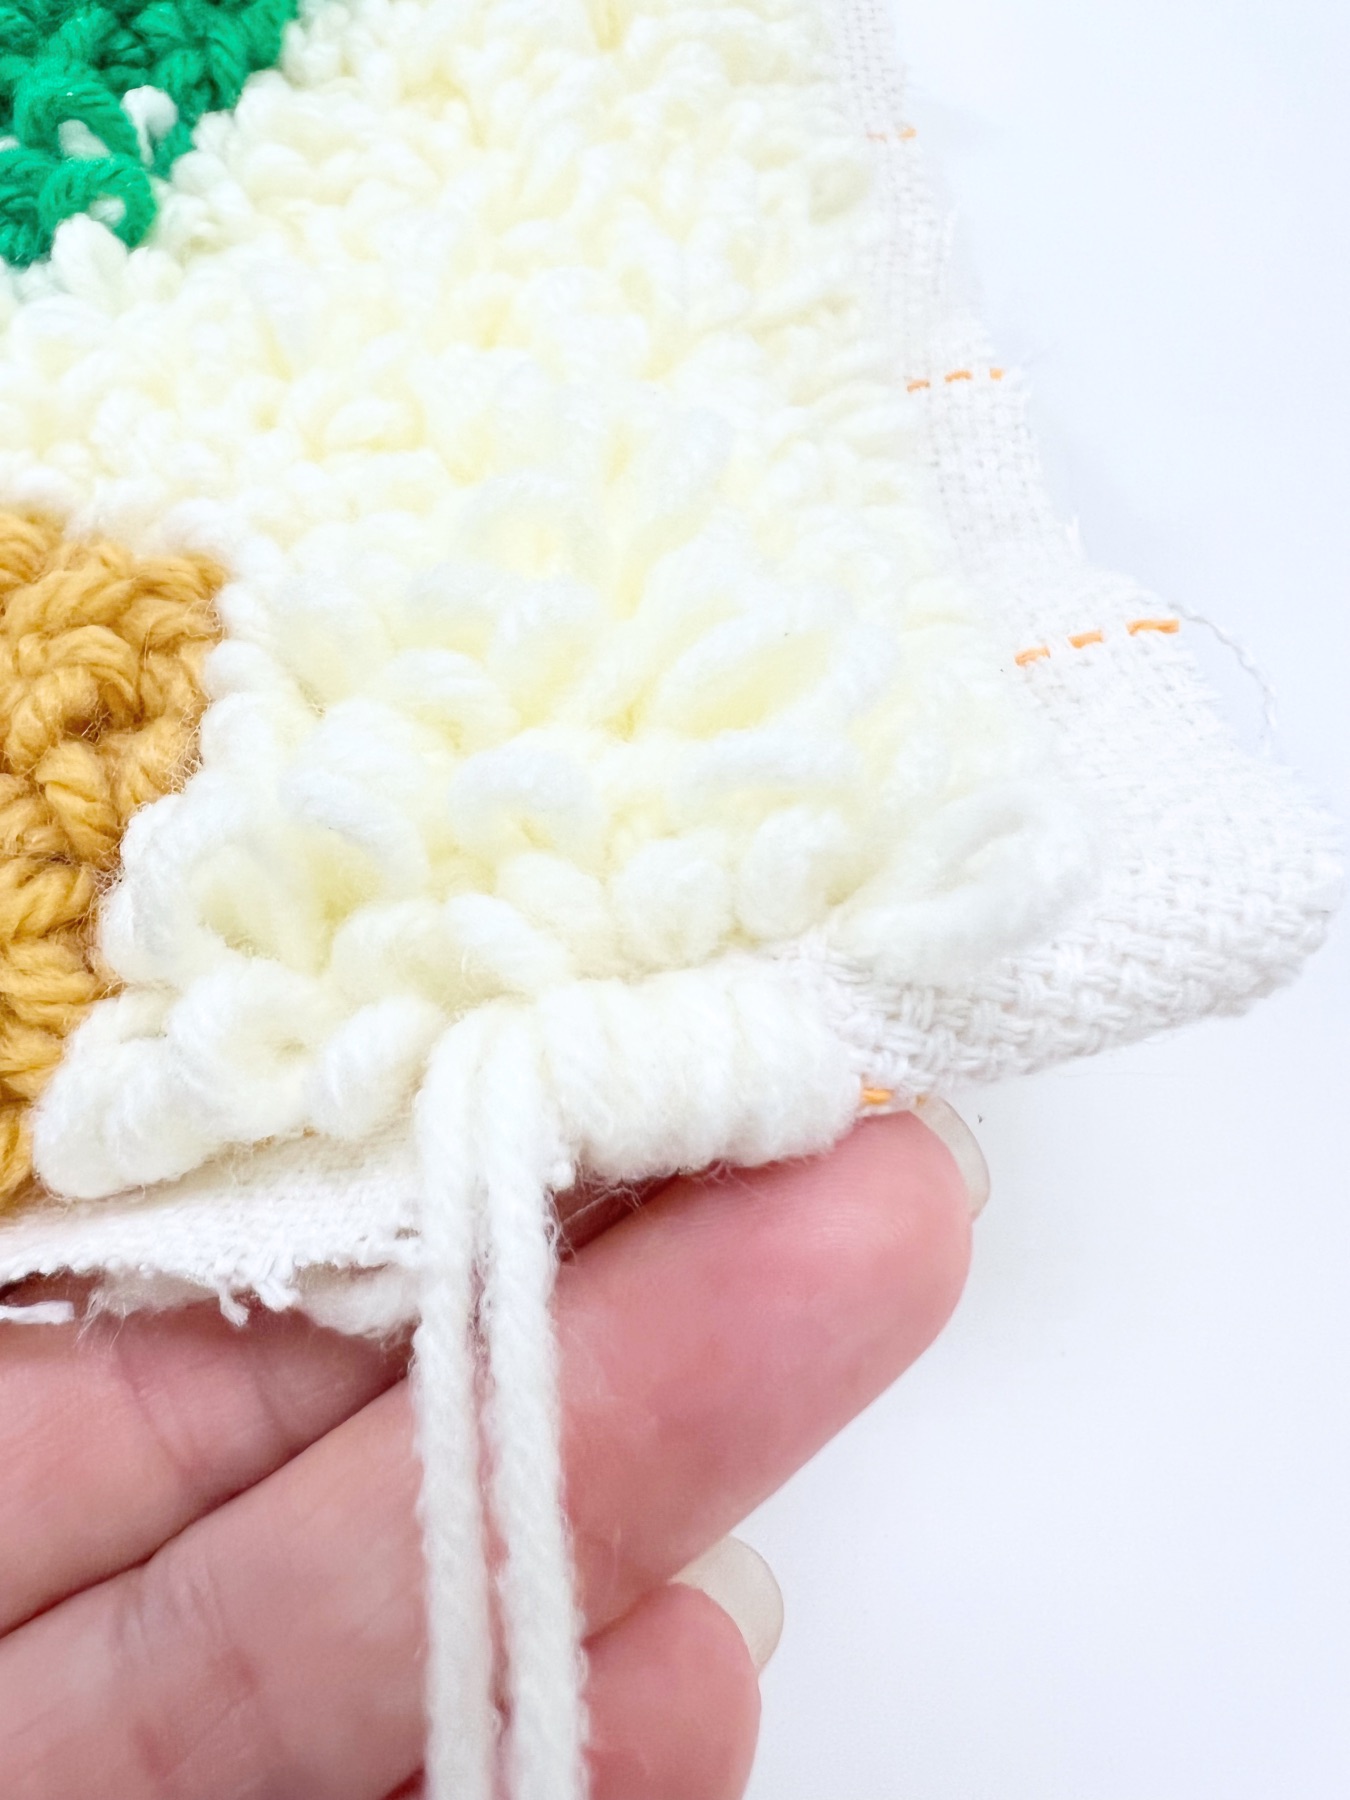
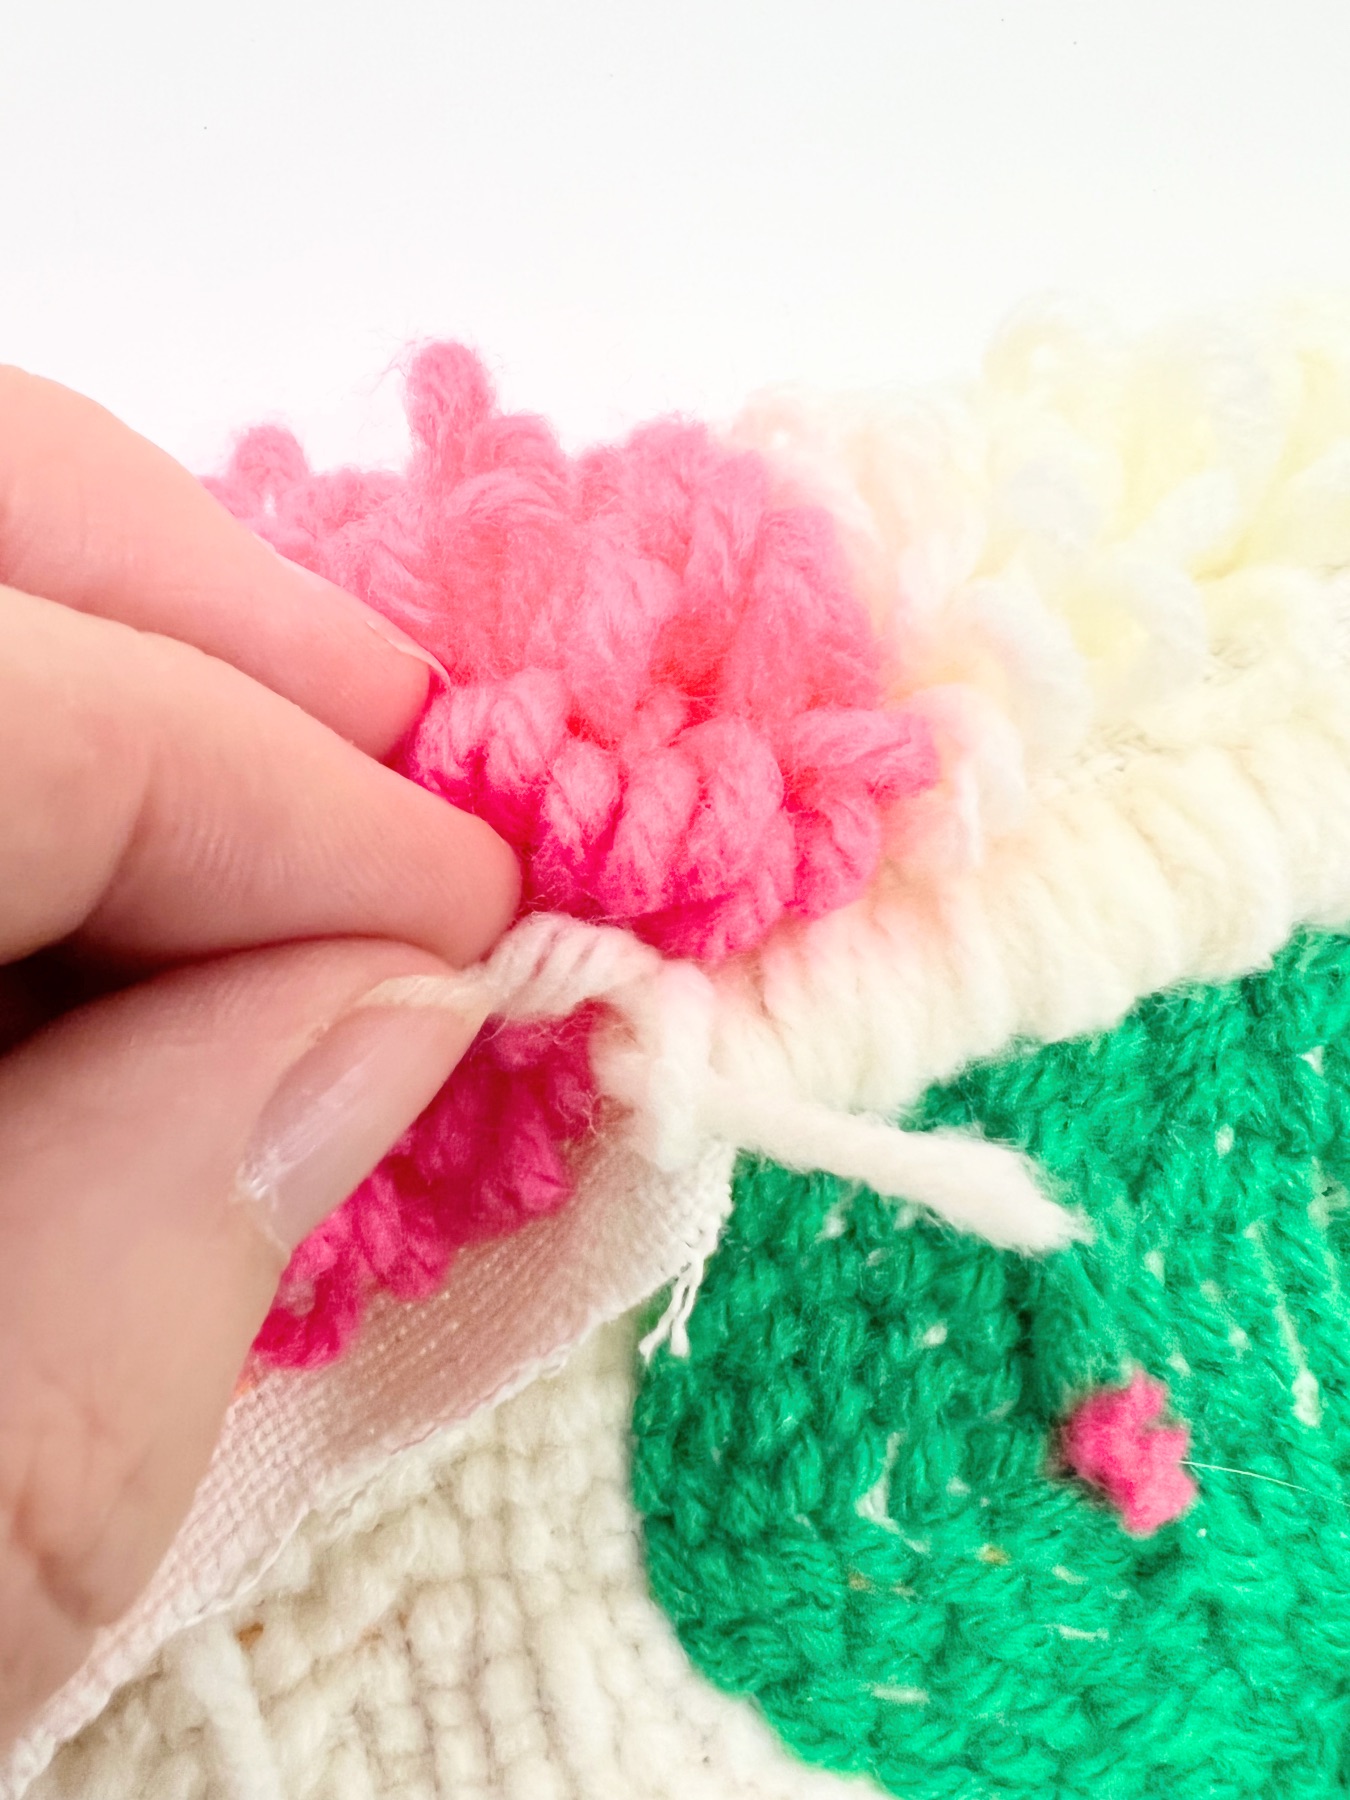
Once you finish a section, and it’s completely full of stitches with no empty spaces at all, simply trim the yarn so that the trimming falls on the side you are stitching from.
This will be the back of the piece and you will want your ends to fall on the back and remain hidden from view.
You do not need to tie the end or knot it at all. Because you have so many stitches and everything is so tightly stitched together, the stitch will hold in place.
If you are concerned, once you have completed your entire rug coat the bottom with a seal or find any loose ends and coat them with a seal. But it’s not necessary.

What to Do If You Reach the End of a Yarn Spool
As you are working you may finish a yarn spool and need to start a new spool to continue. If that happens, use the same technique described above when you’ve finished filling a section. Let the end of the yarn fall on the side that you are stitching on. That will be the backside.
There is no need to tie the end or make a knot. Just let the end fall loose and load your punch needle tool with a new spool of yarn. Here’s a refresher on how to load your tool.

How to Load Your Punch Needle Tool with More Yarn
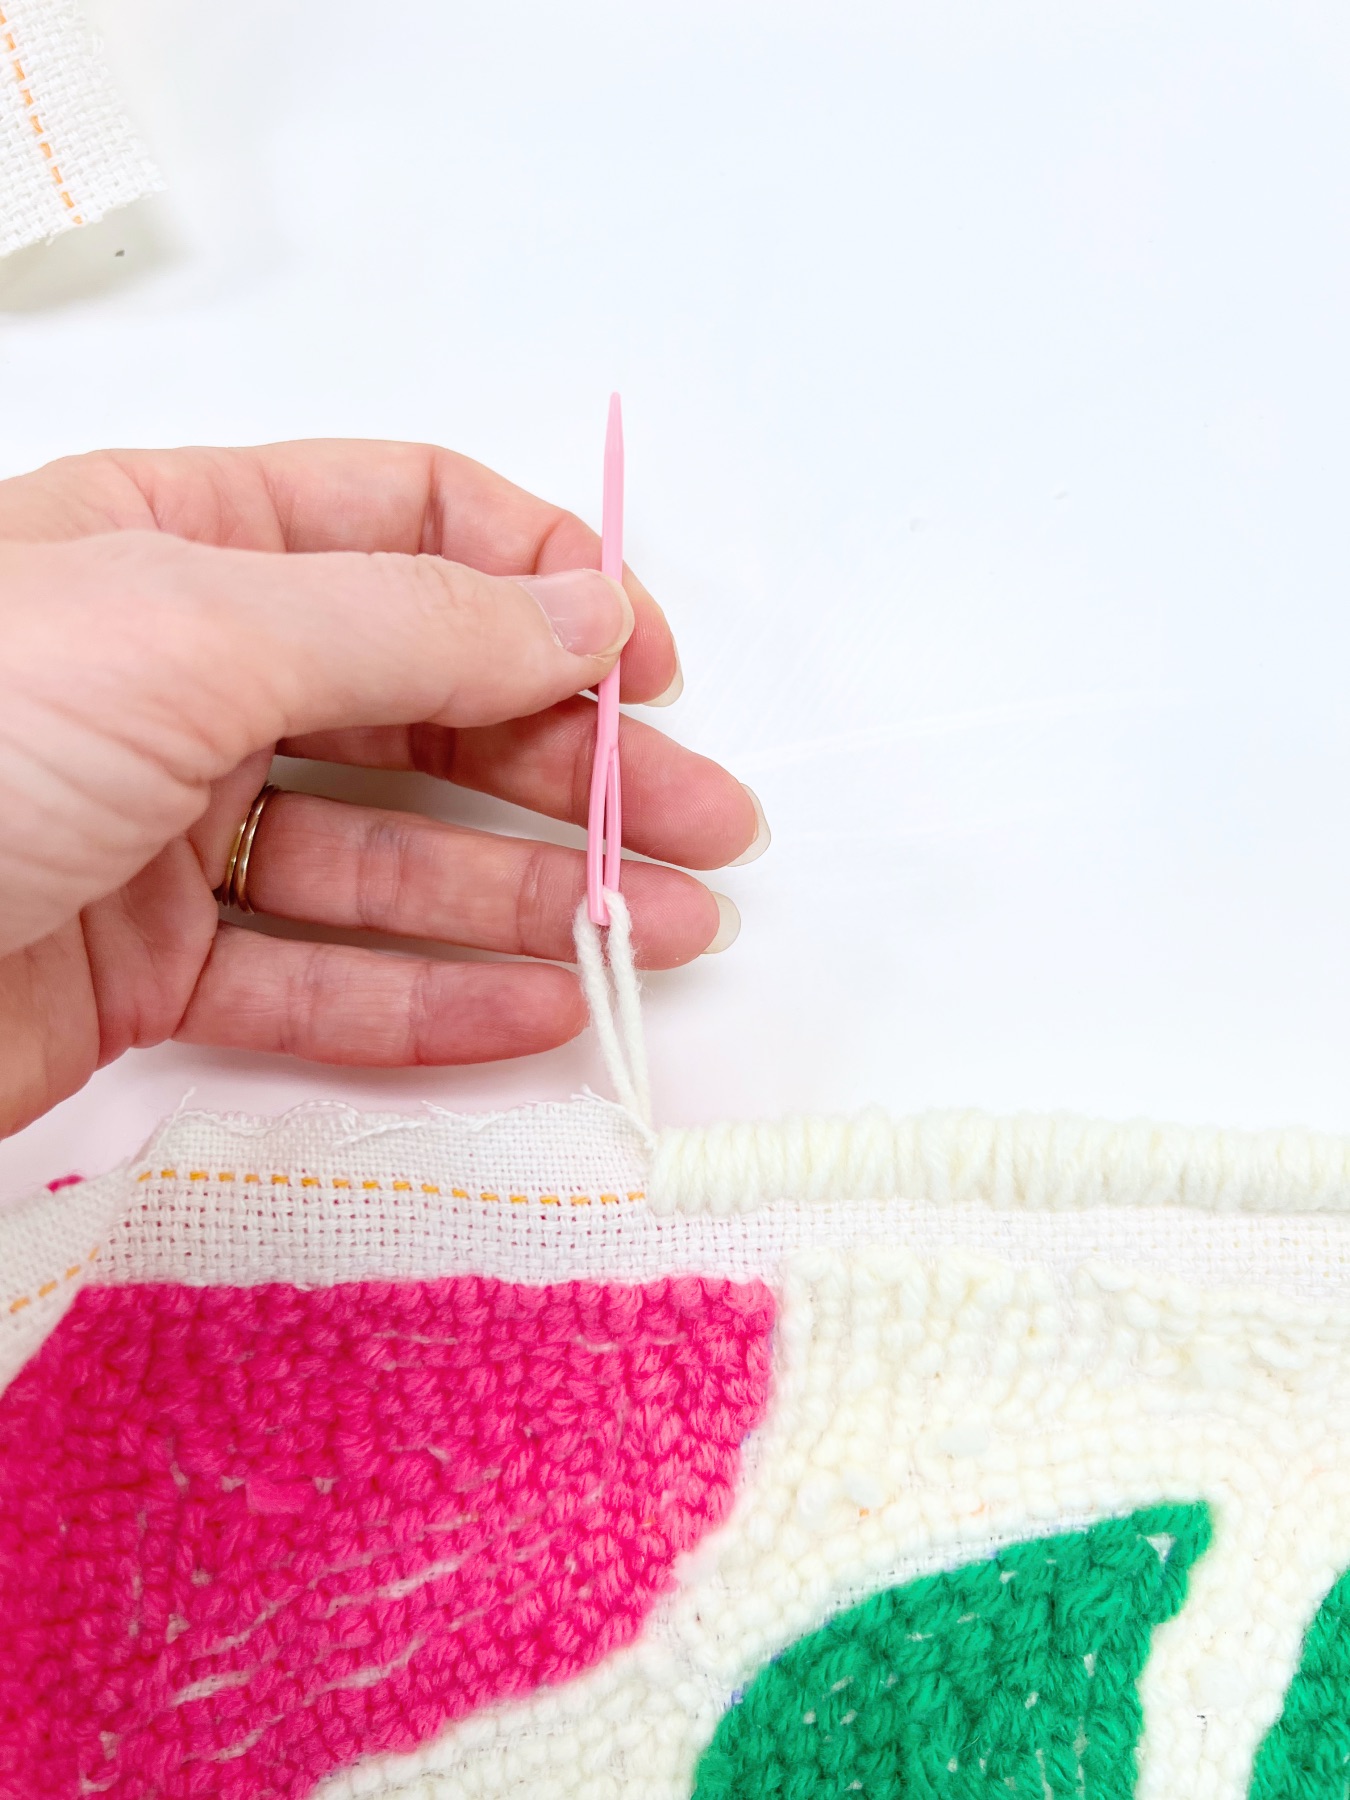
As you finish a spool or start a new color you will need to load your punch needle tool again and again. And it gets easier every time!
Just remember that your wire tool goes through the front to the back. Once it pokes through the back place your yarn in between the wires.
Then pull the wire loading tool back out which will pull the yarn from the back to the front. Unhook the loading tool and weave your yarn through the hole at the bottom of the punch part – the front of the tool.


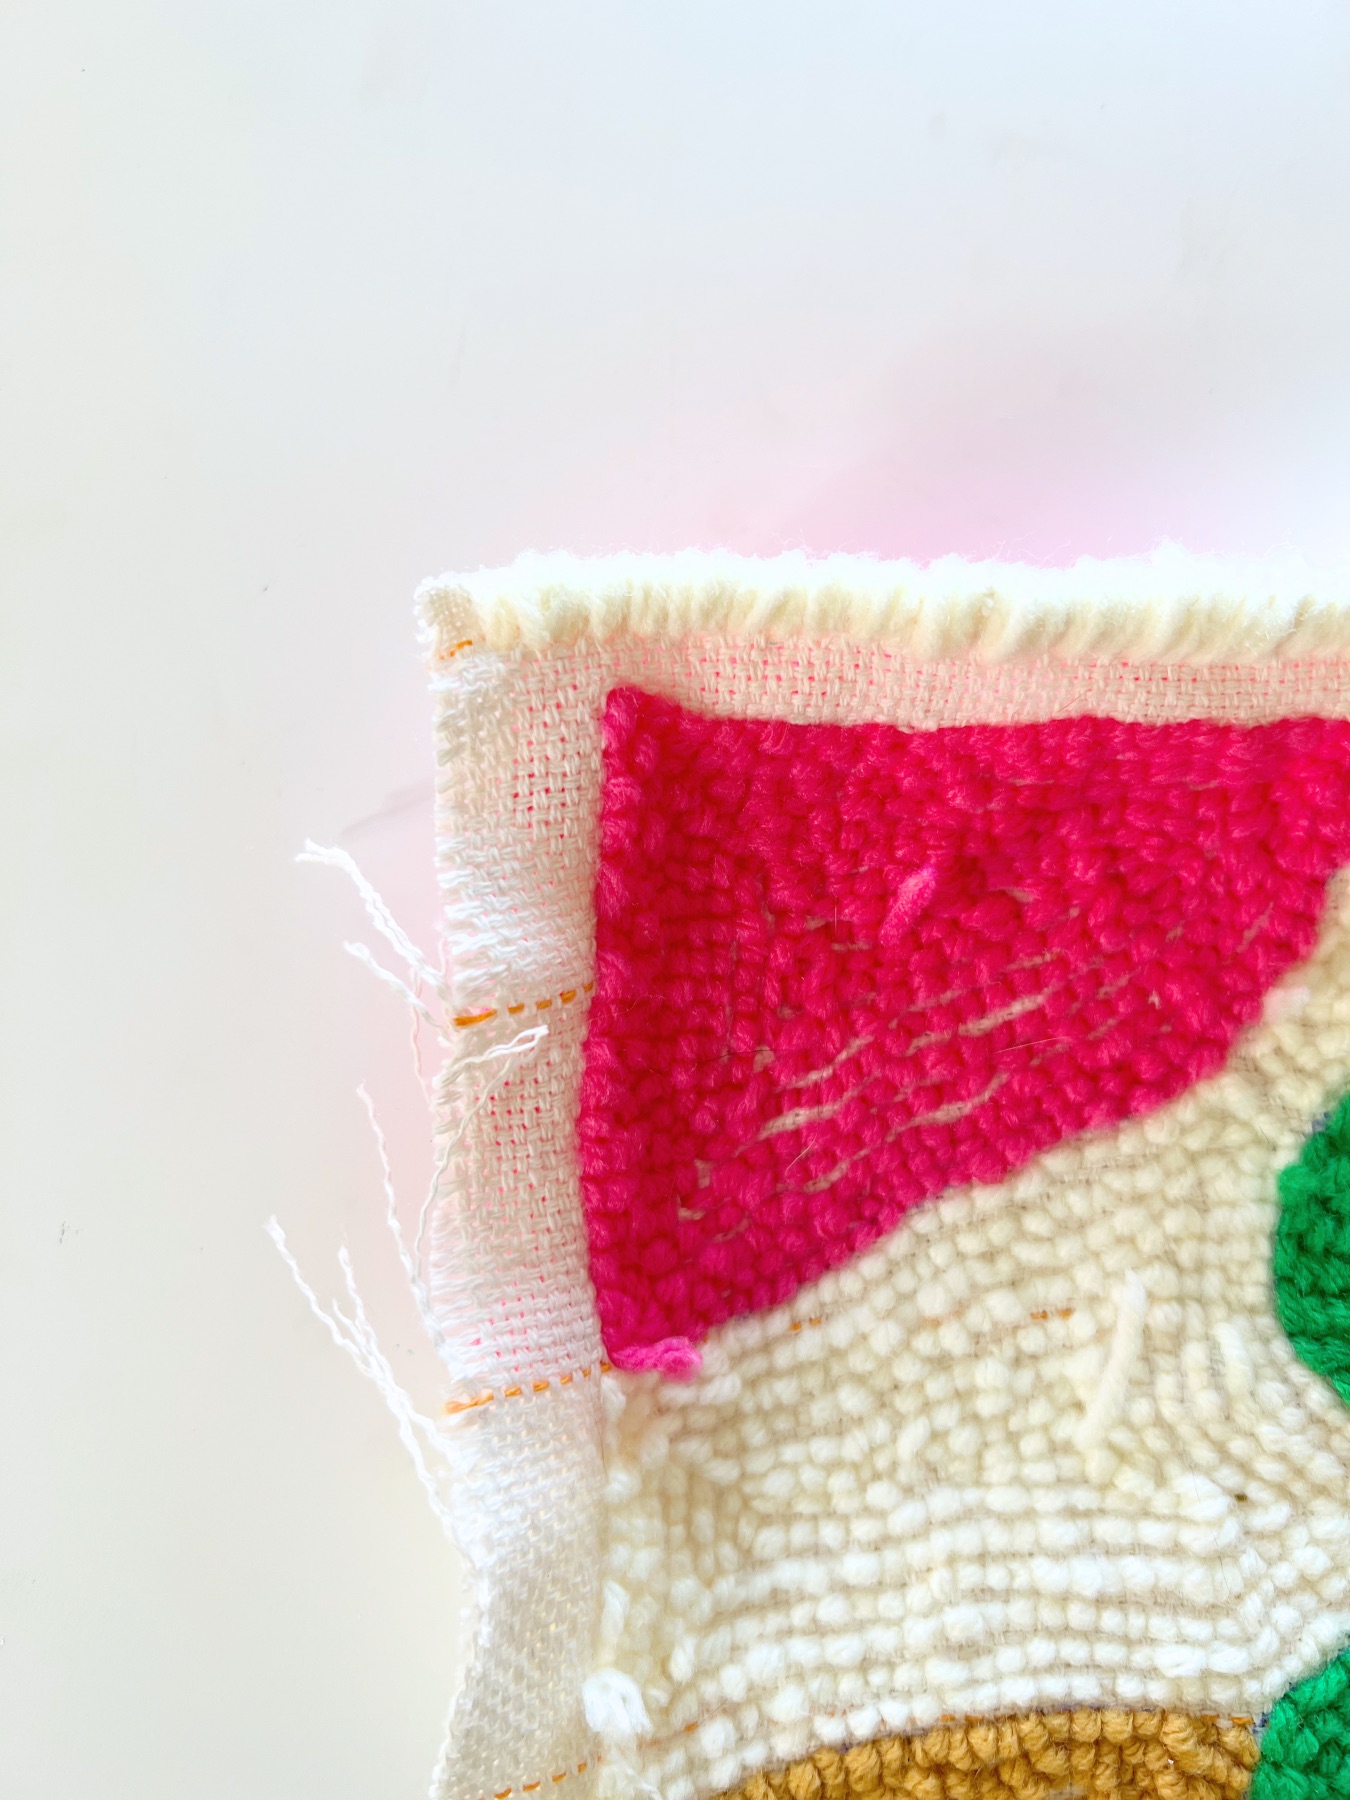
What to Do When You Reach an Edge
Remember that you are stitching on the inside of the frame. That’s because you would not be able to make stitches on the other side where the monk’s cloth is blocked by the frame.
When you reach the edge of the frame, make sure to punch along the frame carefully to make a strong, seamless border. This will help your rug have a more defined shape.
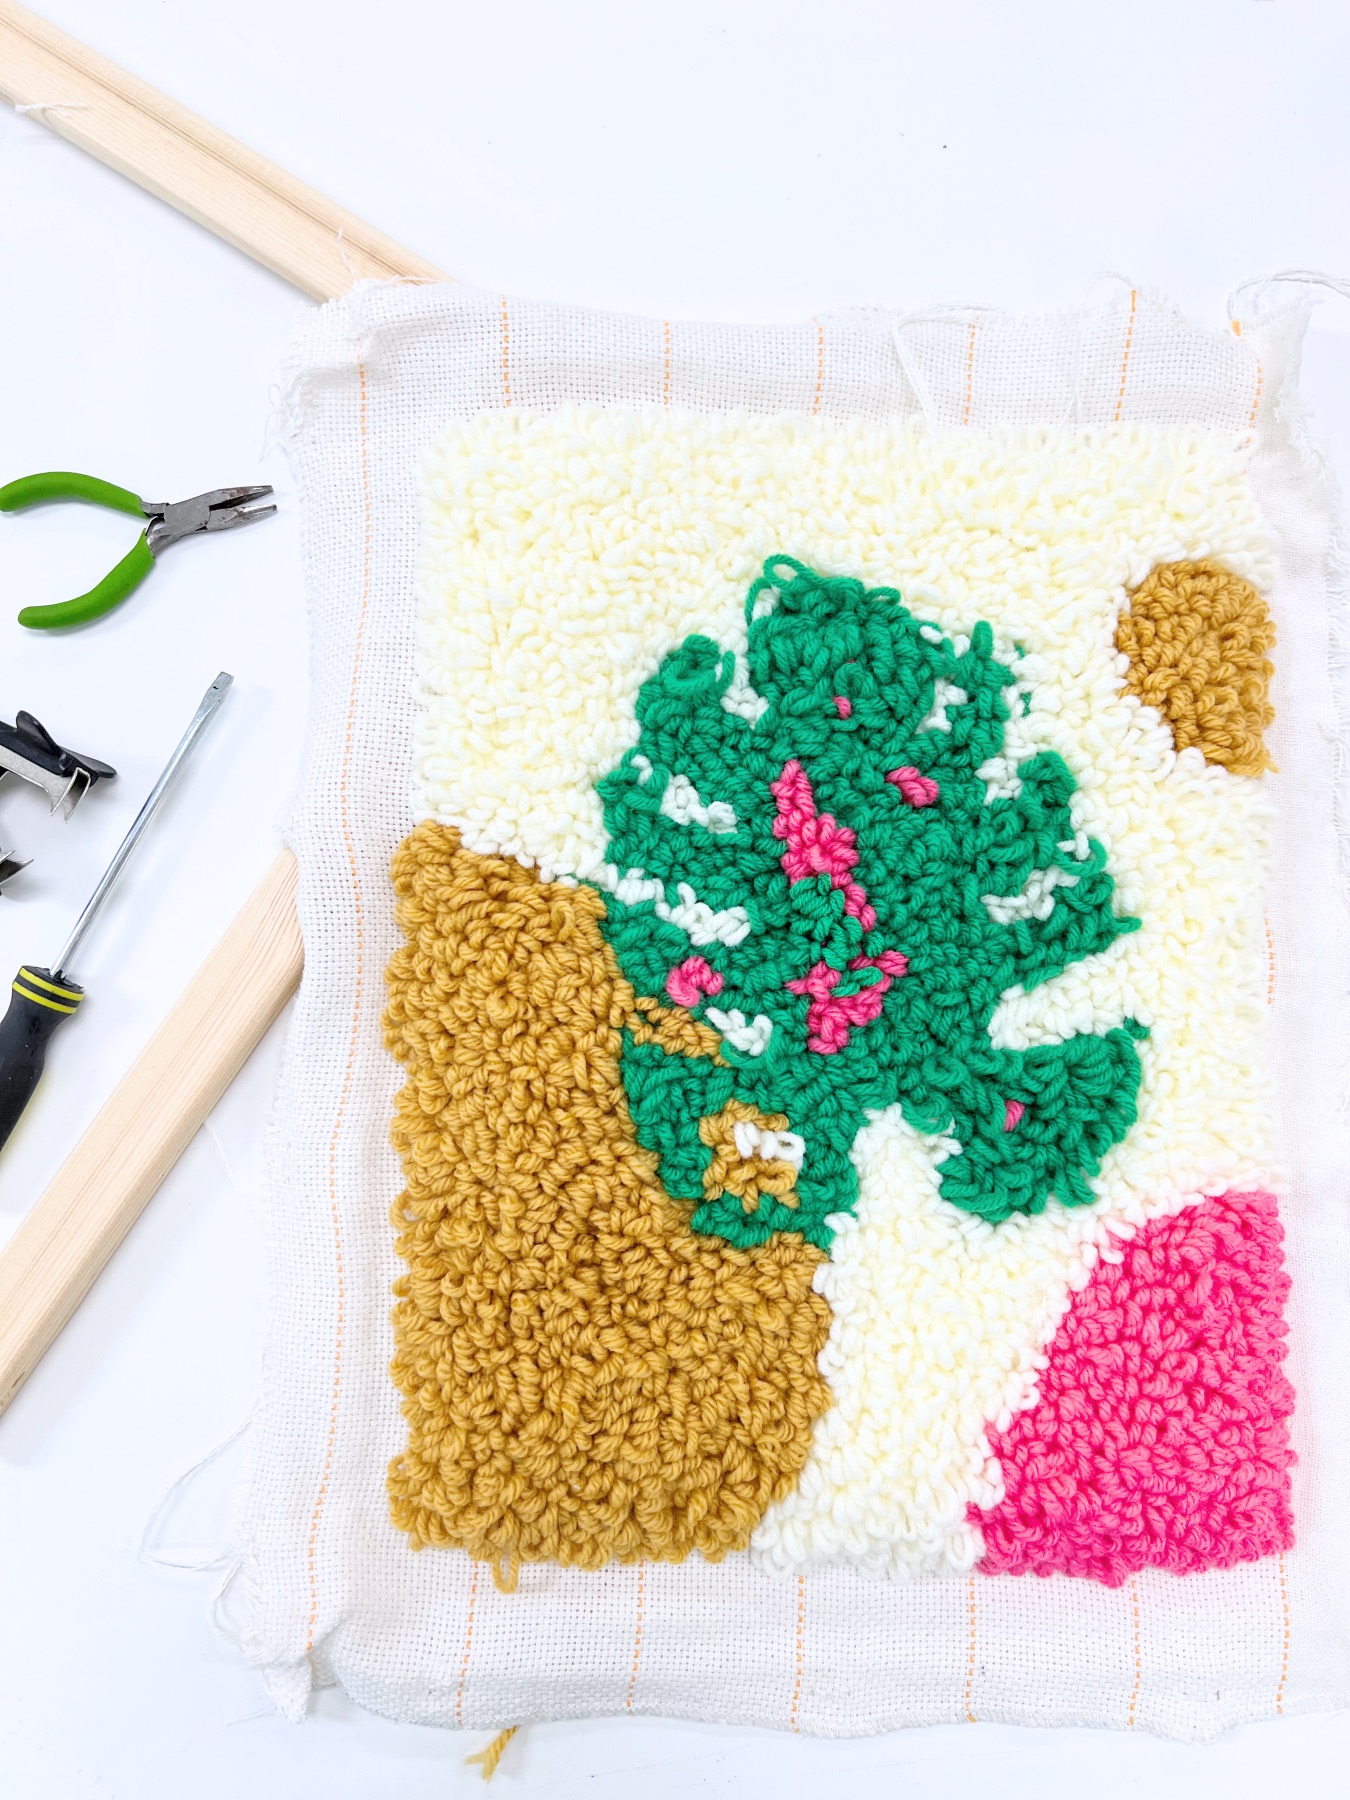
When Everything Is Filled In
Once your entire monk’s cloth is completely filled in you can remove it from the frame. I used a flathead screwdriver to remove the staples and viola – the monk’s cloth fell right off.

Depending on how many staples or how perfectly adhered the staples are this could take some work. A staple remover might be helpful as well.
And if you don’t have a flathead screwdriver, a butter knife may work.

Whatever you choose, just be careful, because wedging something underneath a staple is a recipe for accidentally jamming your screwdriver into your hand.
Be careful about where you place your hands to prevent hurting yourself.
<
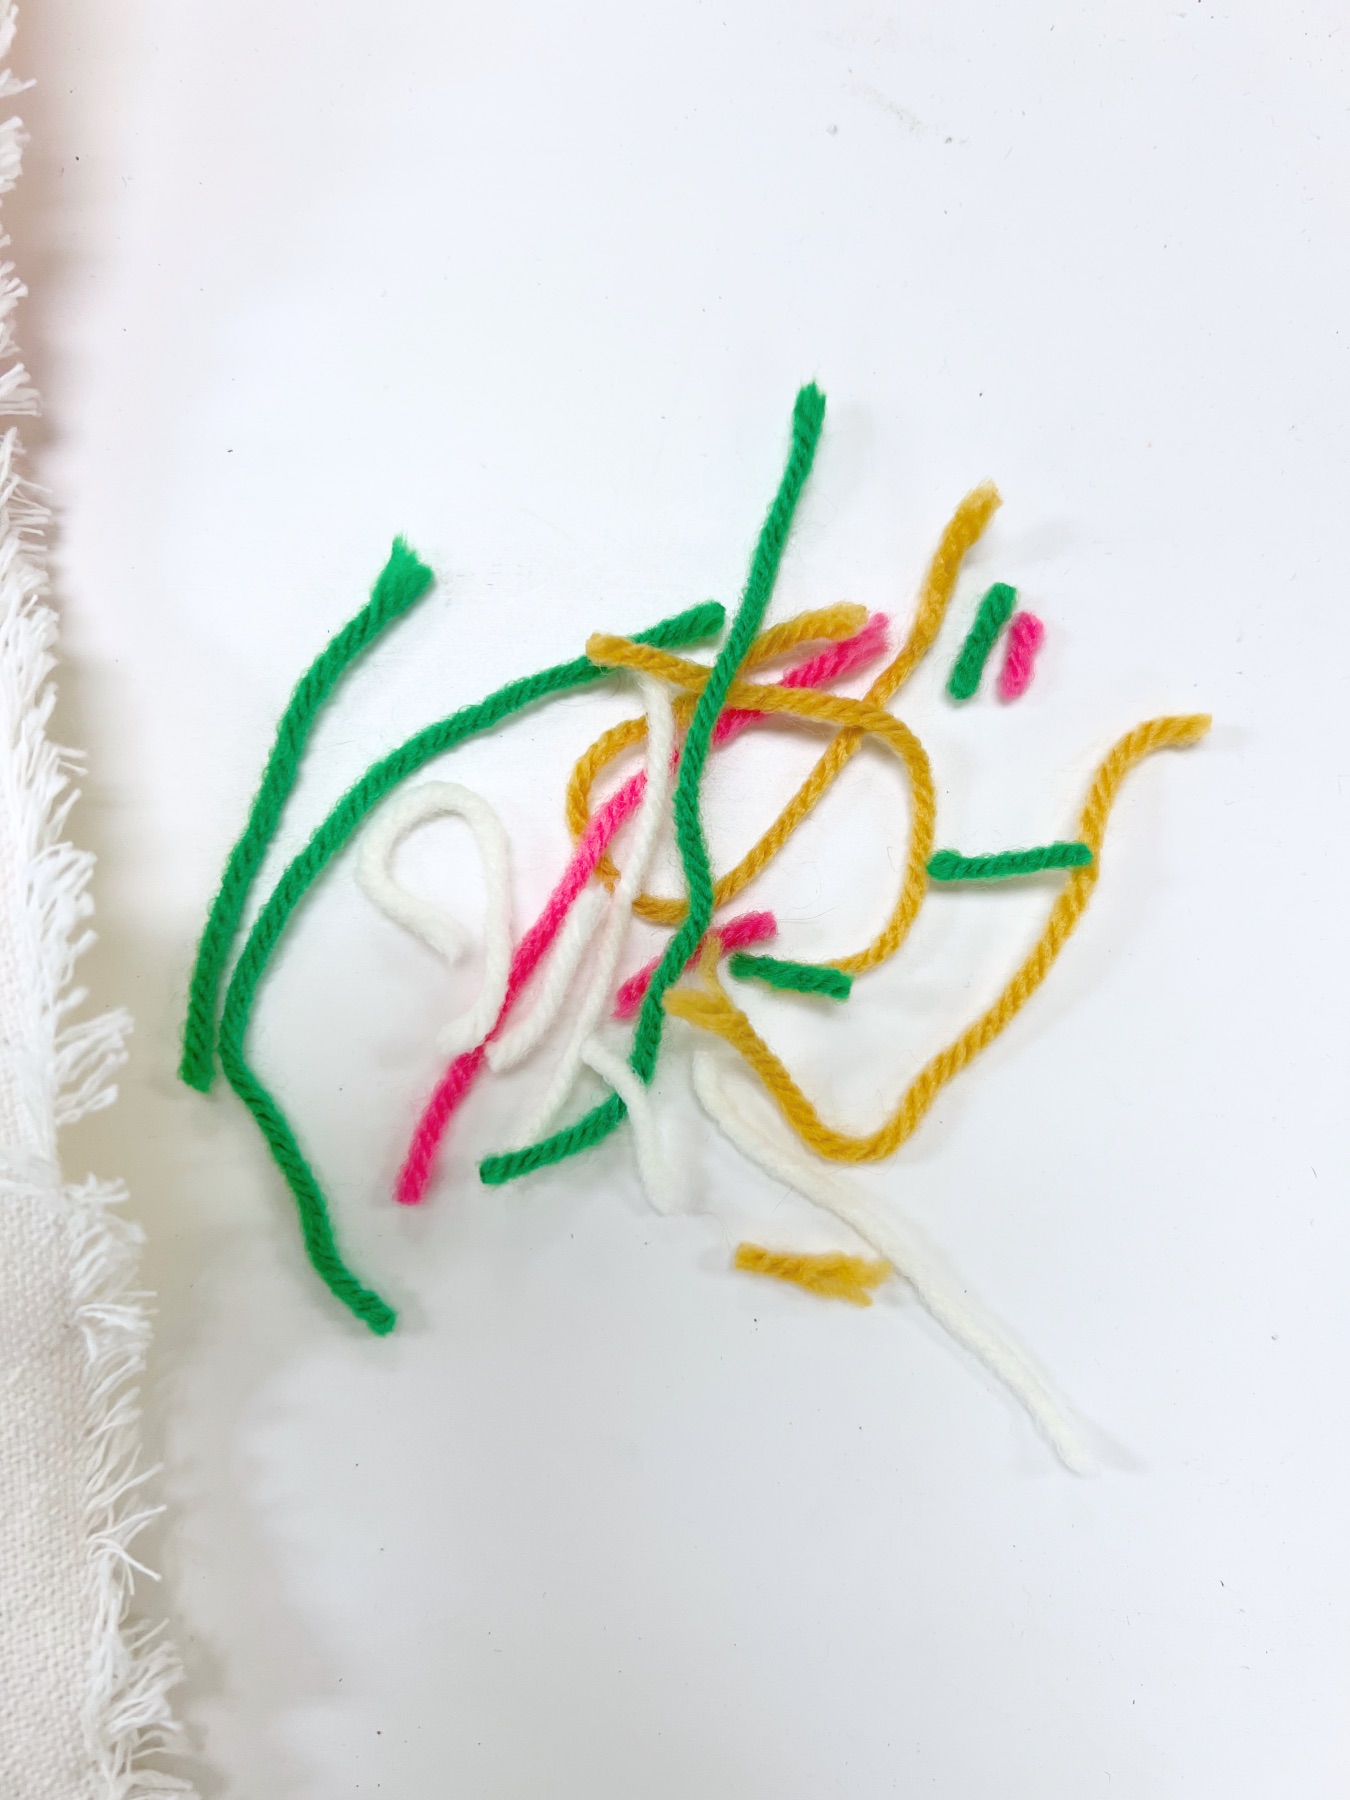
Trim Any Excess Threads
Once your rug is off of the frame, trim any of these long threads on the back of your embroidery. Just take a pair of scissors and trim them to be around 1 inch. You don’t need to trim them tightly against the rug. In fact, I recommend that you still leave a bit of the end attached. It will prevent those loops from coming undone.

Now if you want, you can


Let’s Stay Friends!
Insta | Pinterest | Enews | TikTok