Craft in Style Subscription Instructions, DIY
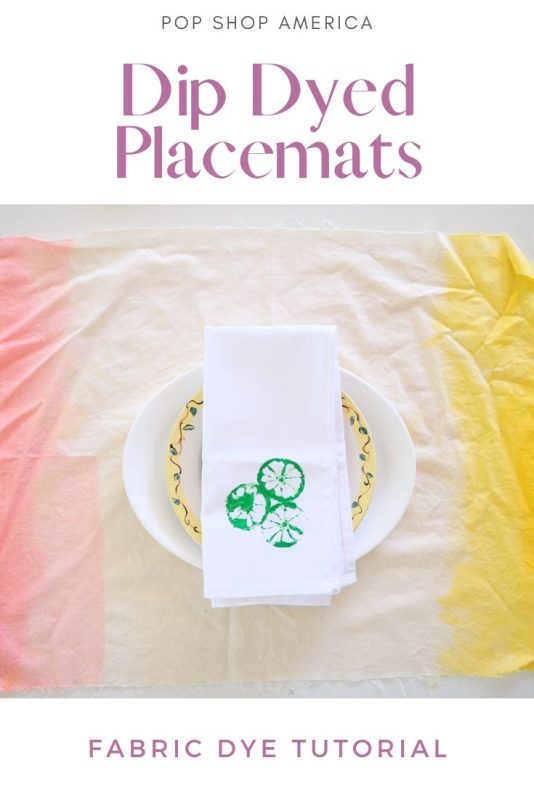
How to Make Dip Dyed Placemats
Apr
This blog is the Part 1 of 2 tutorials for the April Craft in Style Subscription Box. You can find the additional tutorial for April, previous box tutorials, more about this box, and other Craft in Style Boxes here.
Fall in love with fabric dye! For some reason, I’ve always been afraid of dyeing anything. I look at different brands of dye and all the beautiful colors. I think about all the projects I could make with it and then stop. It’s hard for me to get over the hurdle, over the fear of working with dye. But in fact it’s so easy. It’s so gorgeous. It’s so beginner friendly.
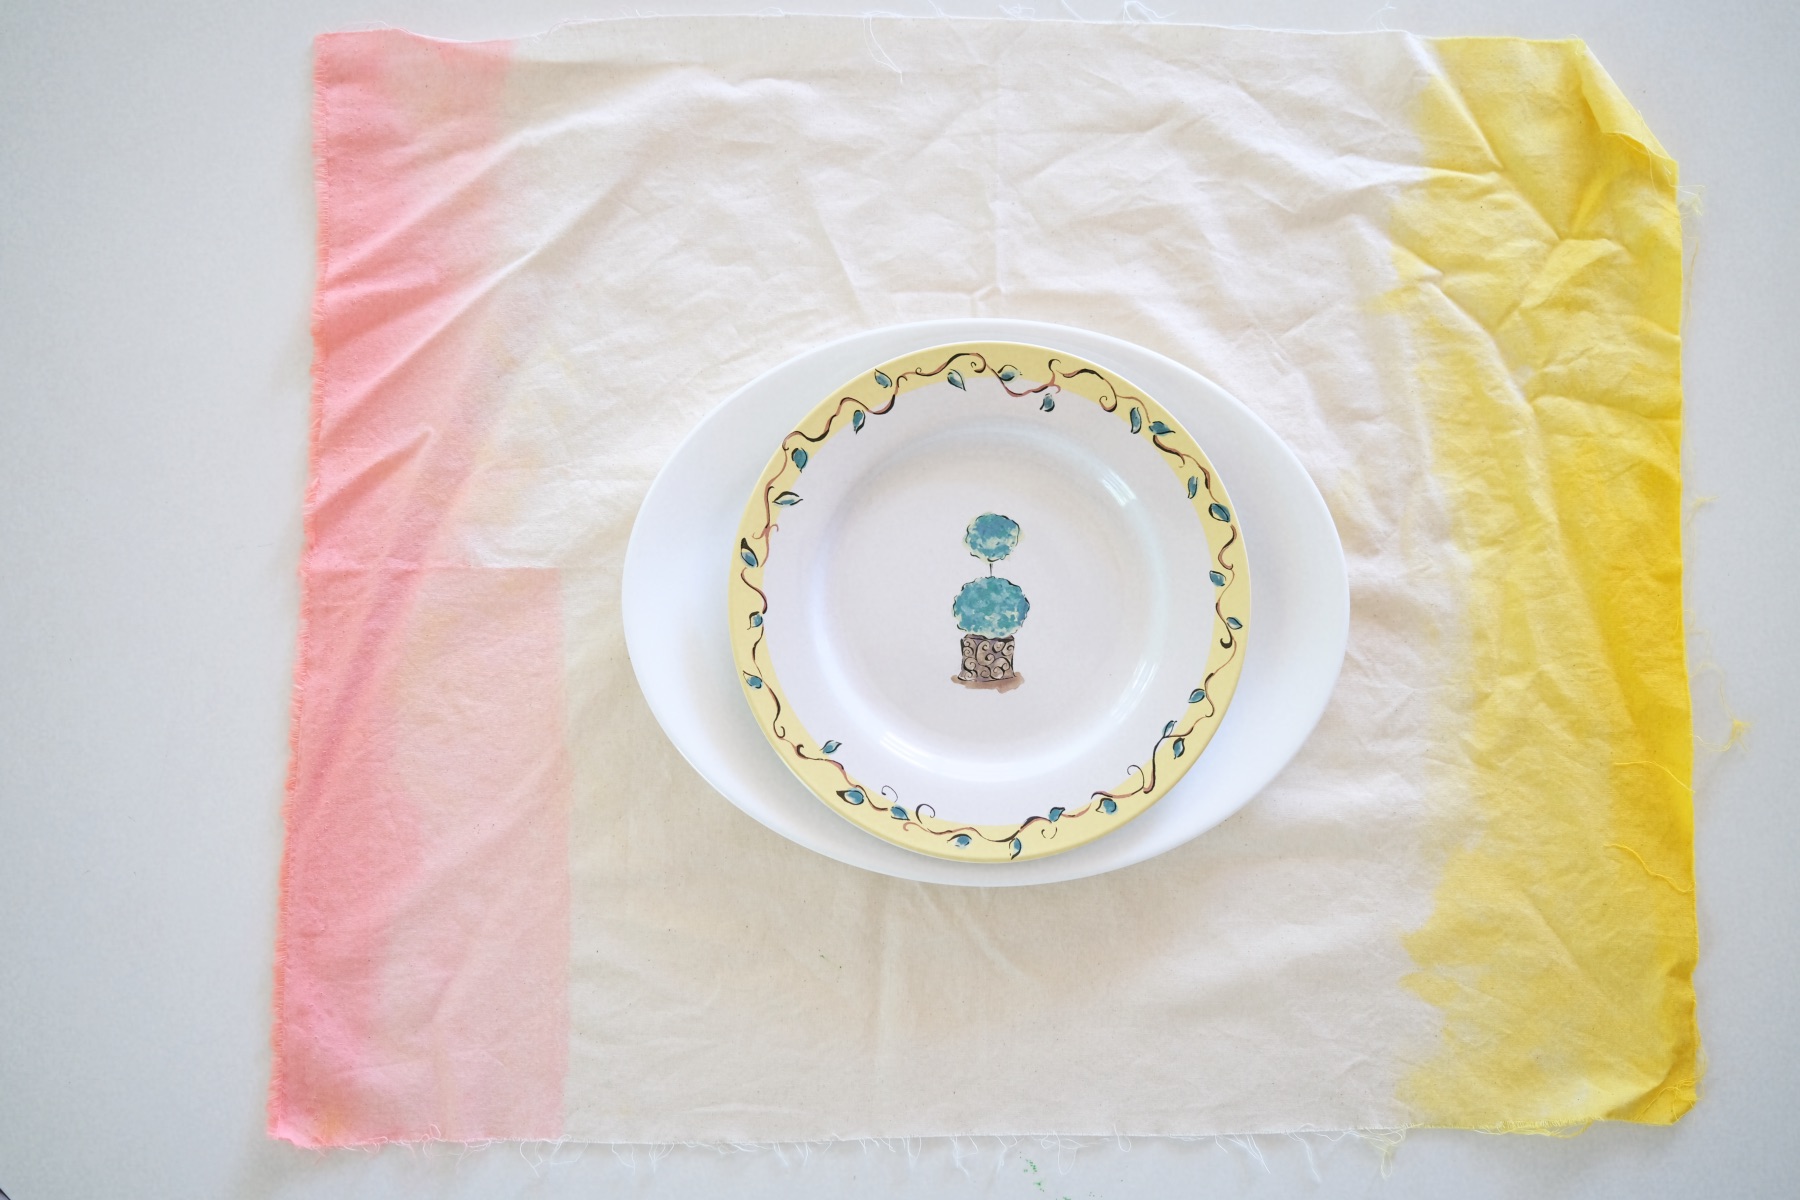
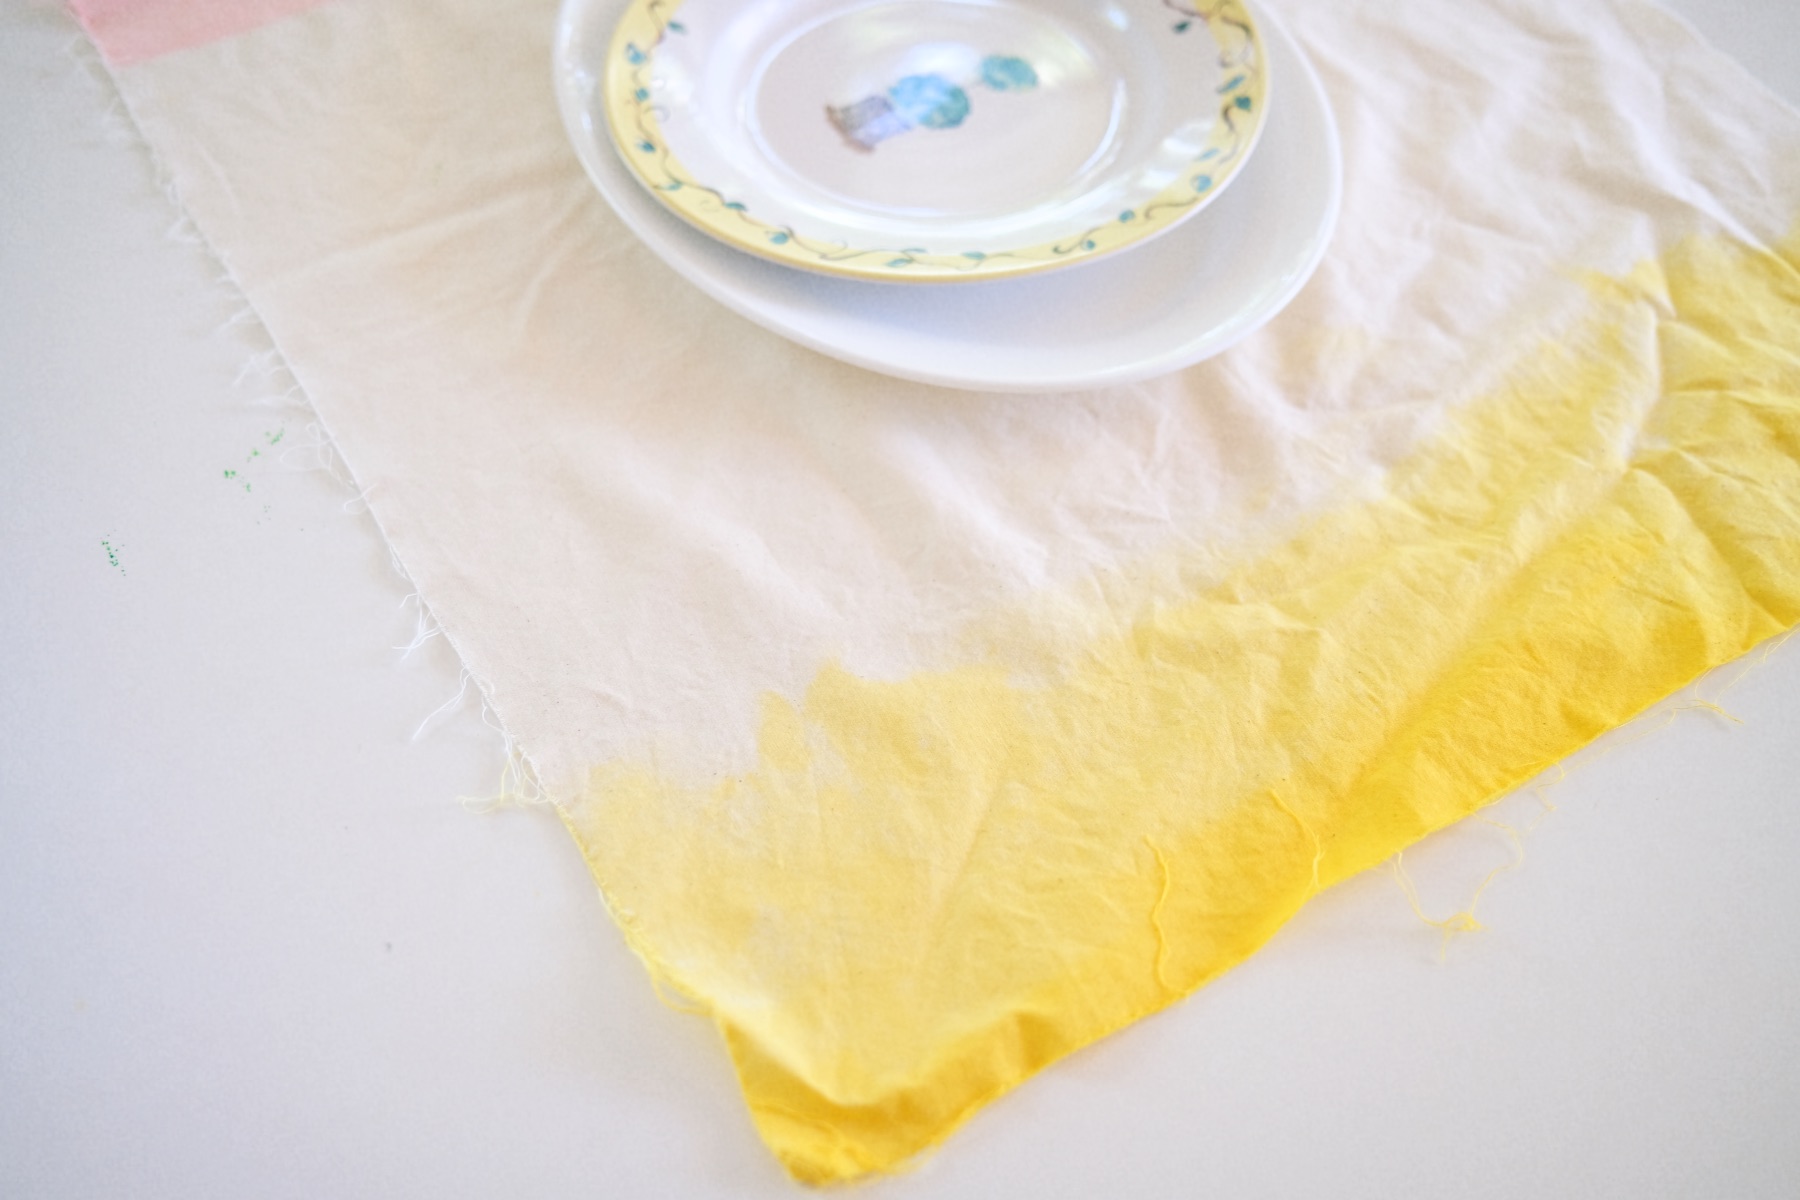
A great way to get started are these dip dyed placemats. You can’t go wrong! It’s the perfect way to dress up your table. You can dye them in colors for the season. For example these pink and yellow dip dyed placemats are perfect for spring and summer. But you could use orange and burgundy for fall or ice blue for winter.
Or you could use colors that match your decor.
Things you need to know before getting started:
1. Choose lightweight fabric like the linen I used for mine and that’s included in the Craft in Style Box. Lightweight fabrics will absorb the dye faster and more evenly. It’s a great way to get started if you are not comfortable with dye.
2. Choose natural materials. Synthetic materials won’t absorb the dye most of the time.
3. When it doubt, make a swatch. Cut a small section of your fabric and dye that first to see it’s true color and how long it takes to get the color you are looking for.
4. When you make a vat of dye, you can dye many items. So grab any cotton or natural fiber items like old handkerchiefs, t-shirts, or anything else that needs a fresh burst of color.
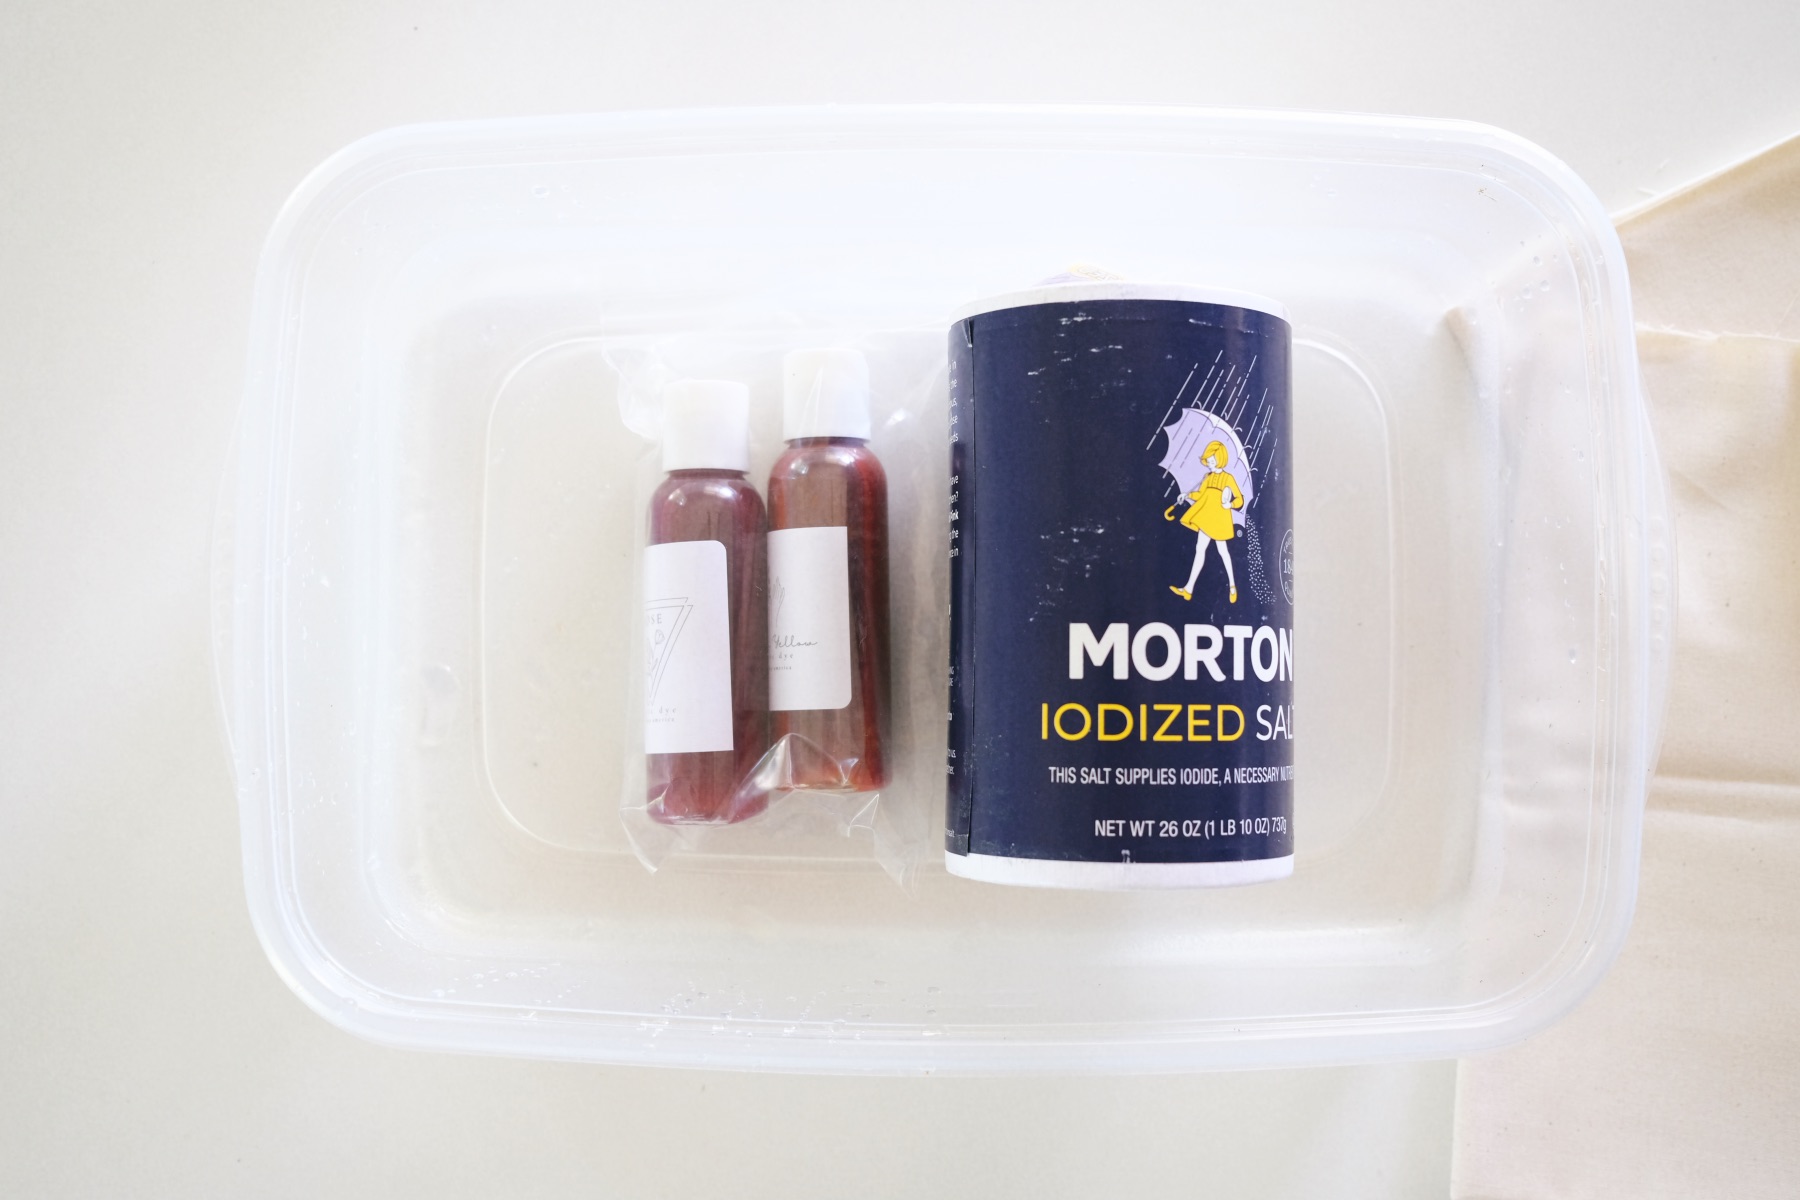
Supplies to Make Dip Dyed Placemats
April Craft in Style Subscription Box
or
4 Pieces Linen or Lightweight Natural Fabric
1 Gallon Sized Container
Hot Water
2 ounces Fabric Dye (I used Poppy Pink and Golden Yellow)
Iodized Salt
Gloves
Optional: Scissors
Optional: Clothespins, Rubber Bands or Other Items to Make a Pattern
Plus You Will need a stainless steel sink, or outdoor water source to rinse off the dye without staining anything.
If you have a work sink, or a dark colored or black sink that will also work. But if you have a bright white ceramic sink, be careful.
Last, you will want a washer and dyer to launder the items after you dye them.
Shape the Placemats Before You Begin
You know placemats can come in a million different shapes and sizes. So please decide where you want your placemats to go before you start to dye them! You have to do this step first because deciding it later could cut away at all the work you did dyeing your placemats.
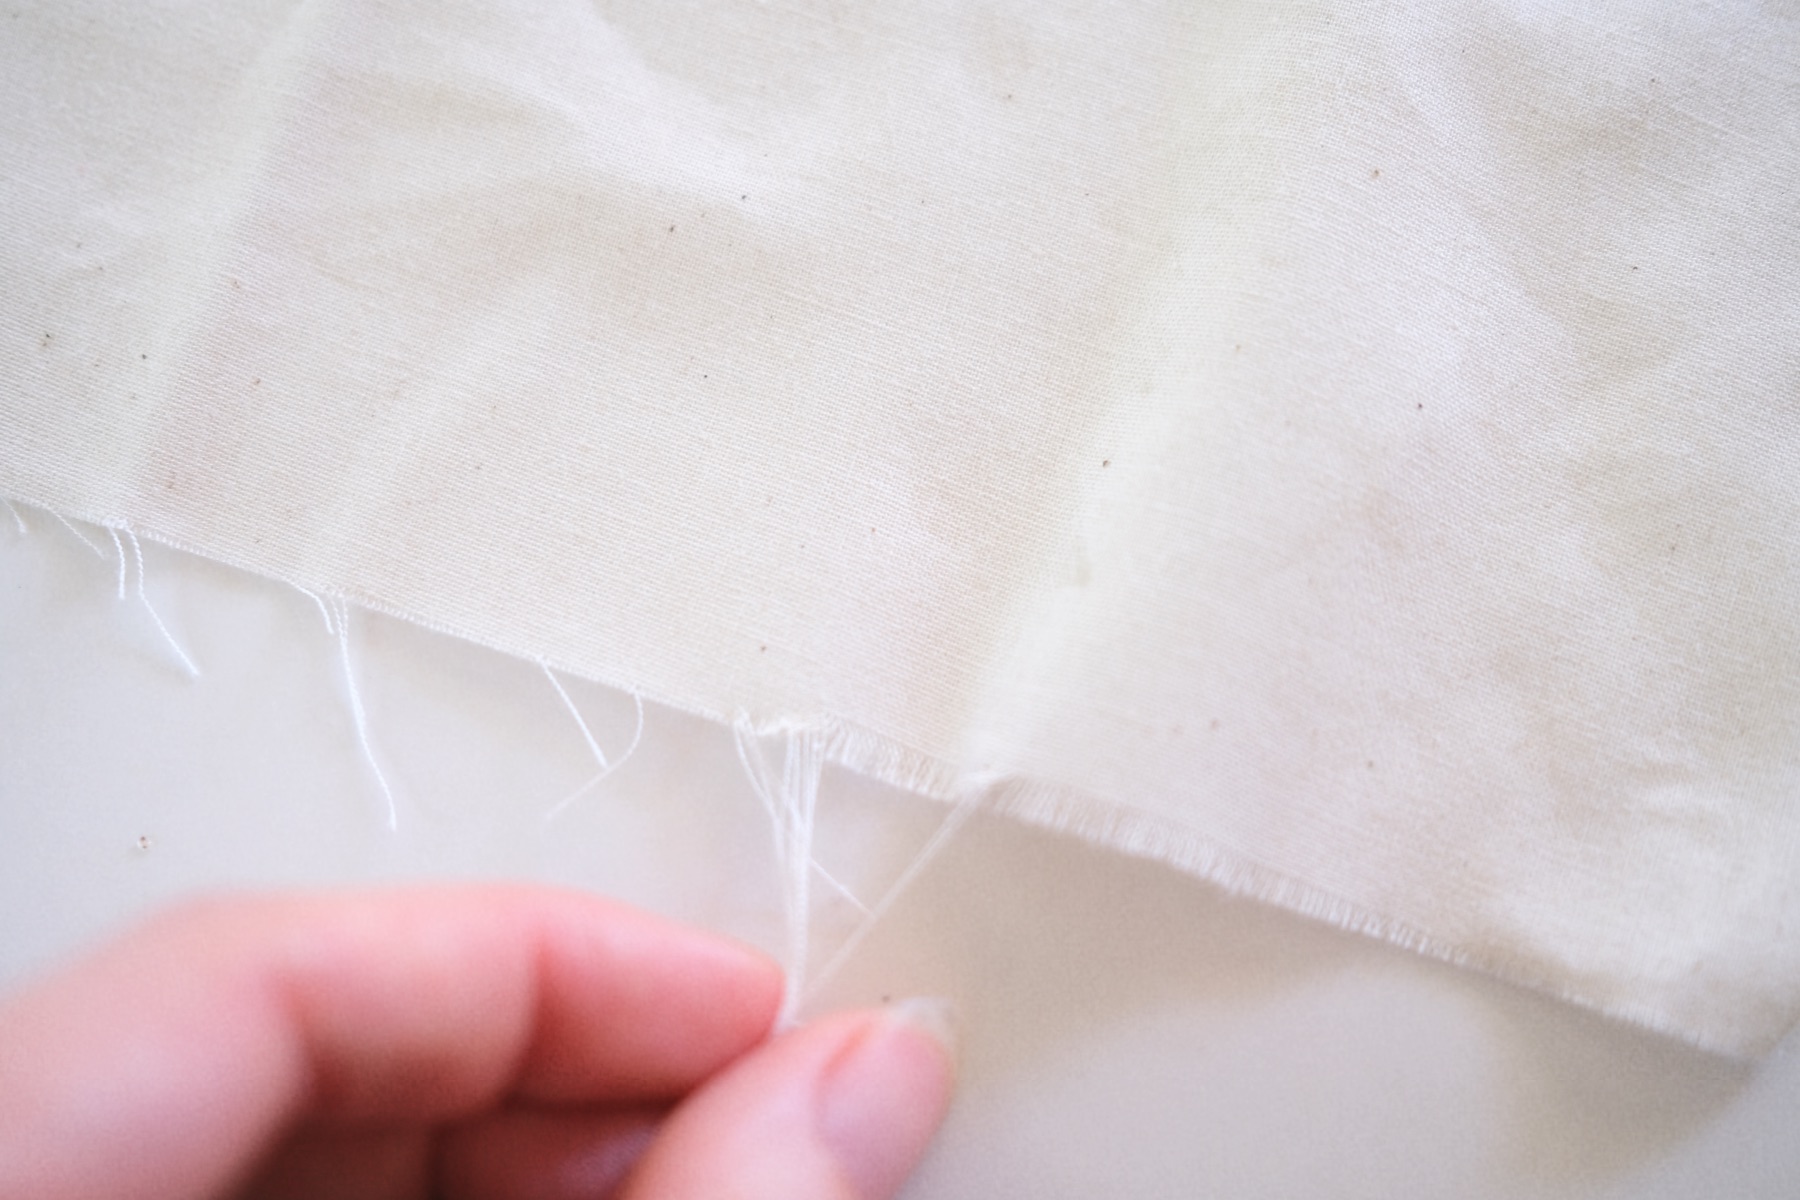
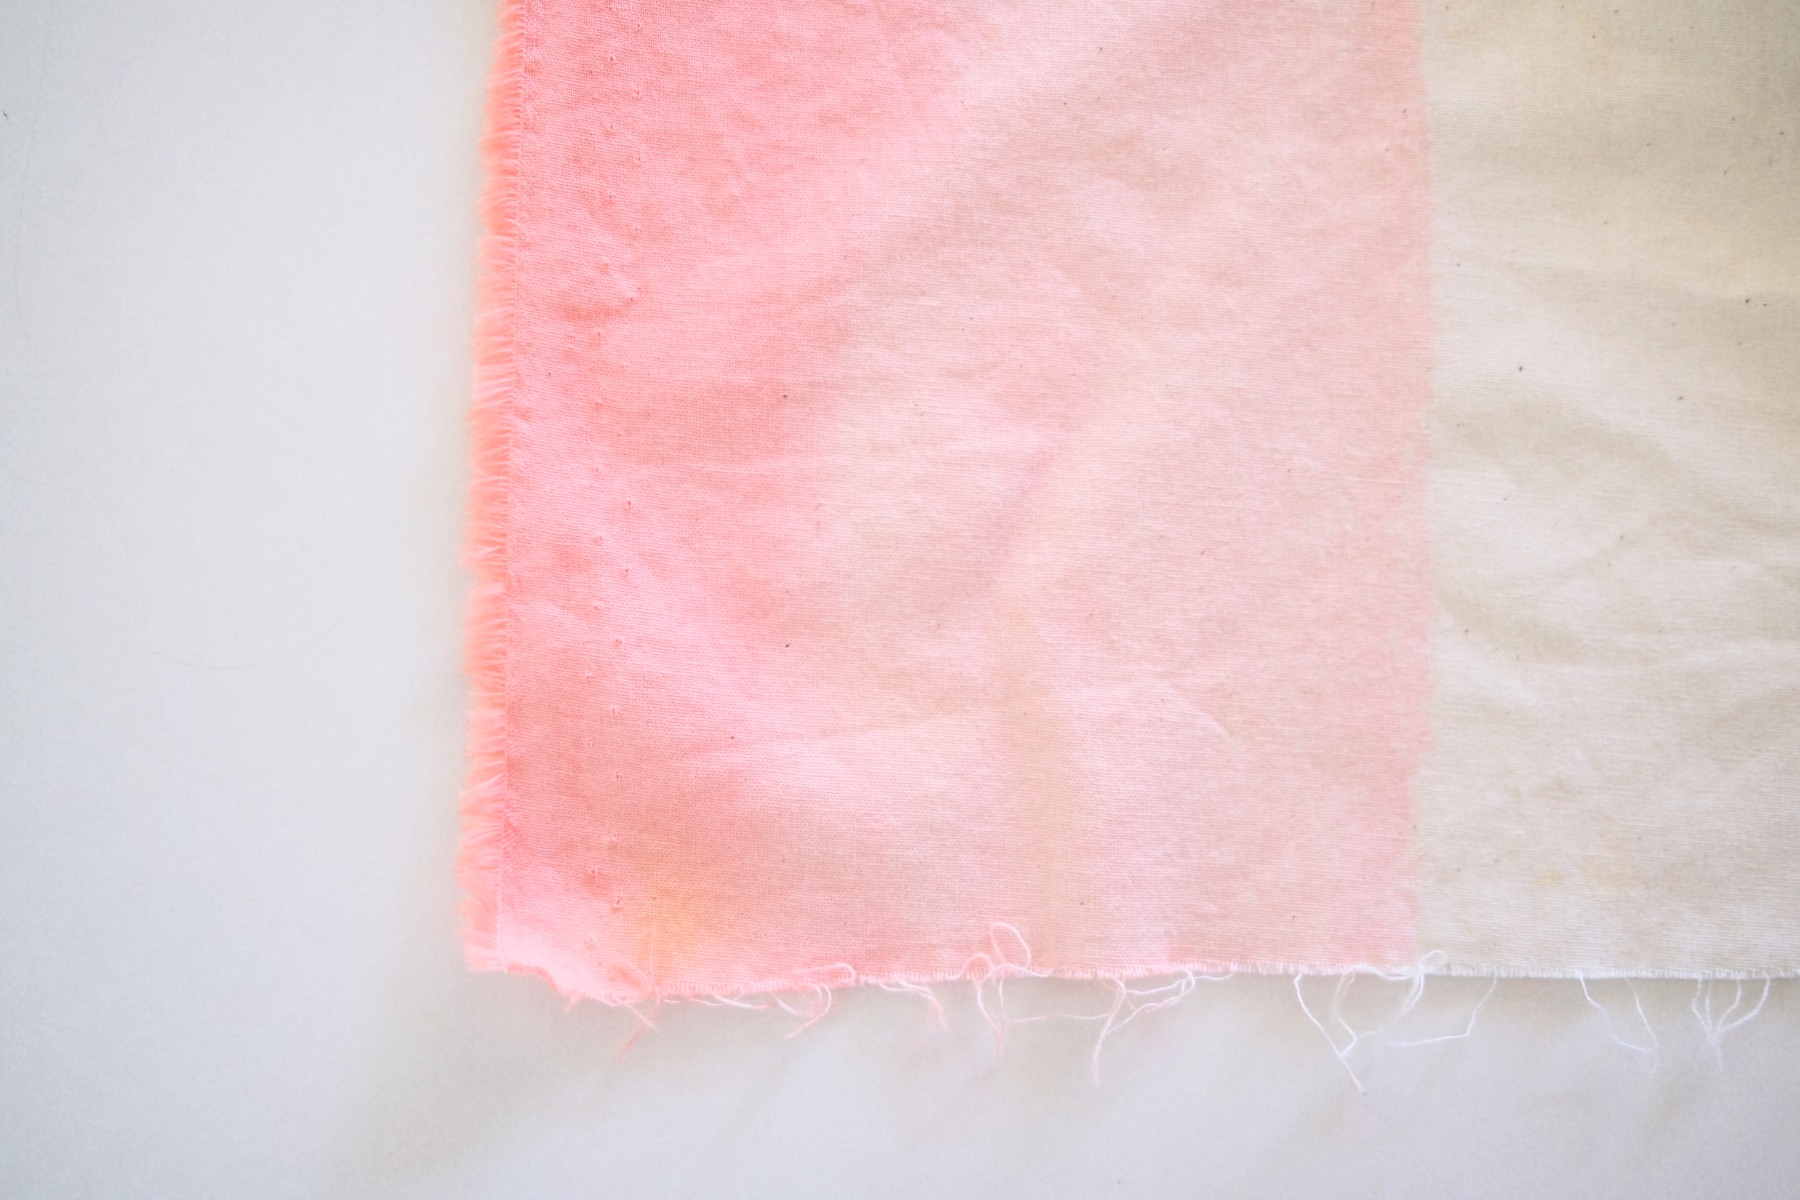
Then use scissors to cut your fabric into the right shape. I’m a big fan of raw edges. I think they are gorgeous and perfect for a project like this. To make your raw edges look finished, take a few threads on the edge of every side and pull them out.
How to Make a Vat of Fabric Dye
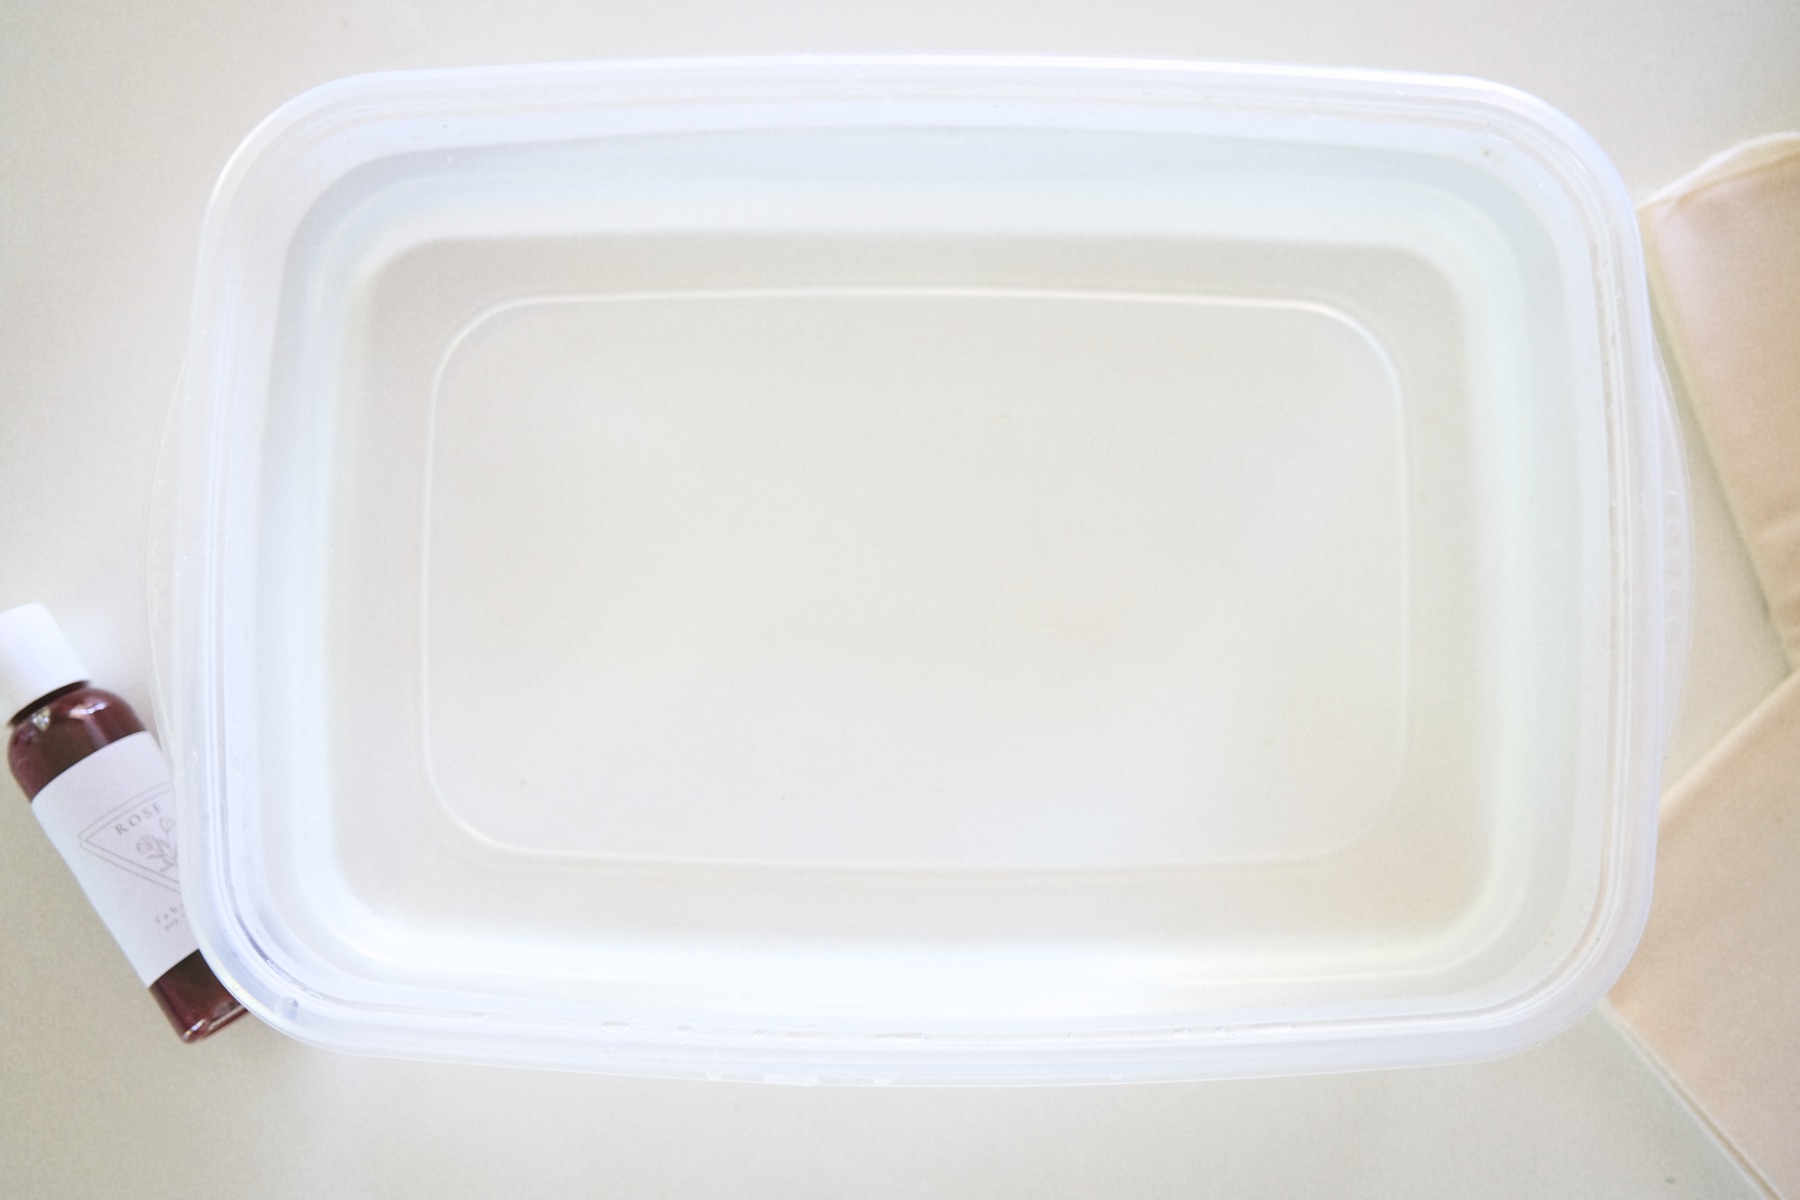
For the dye I used, you will need 2 ounces of dye for 1 gallon of water. Working with 1 gallon is a lot easier than working with a larger amount because most plasticware containers like Rubbermaid and Gladware have a 1 gallon size that’s often labeled and “Extra Large.”
Start by filling the container with hot water. If your sink runs extremely hot you can use that, or you can boil a stockpot of water to near boiling, like the temperature for tea or coffee and pour it into your container.
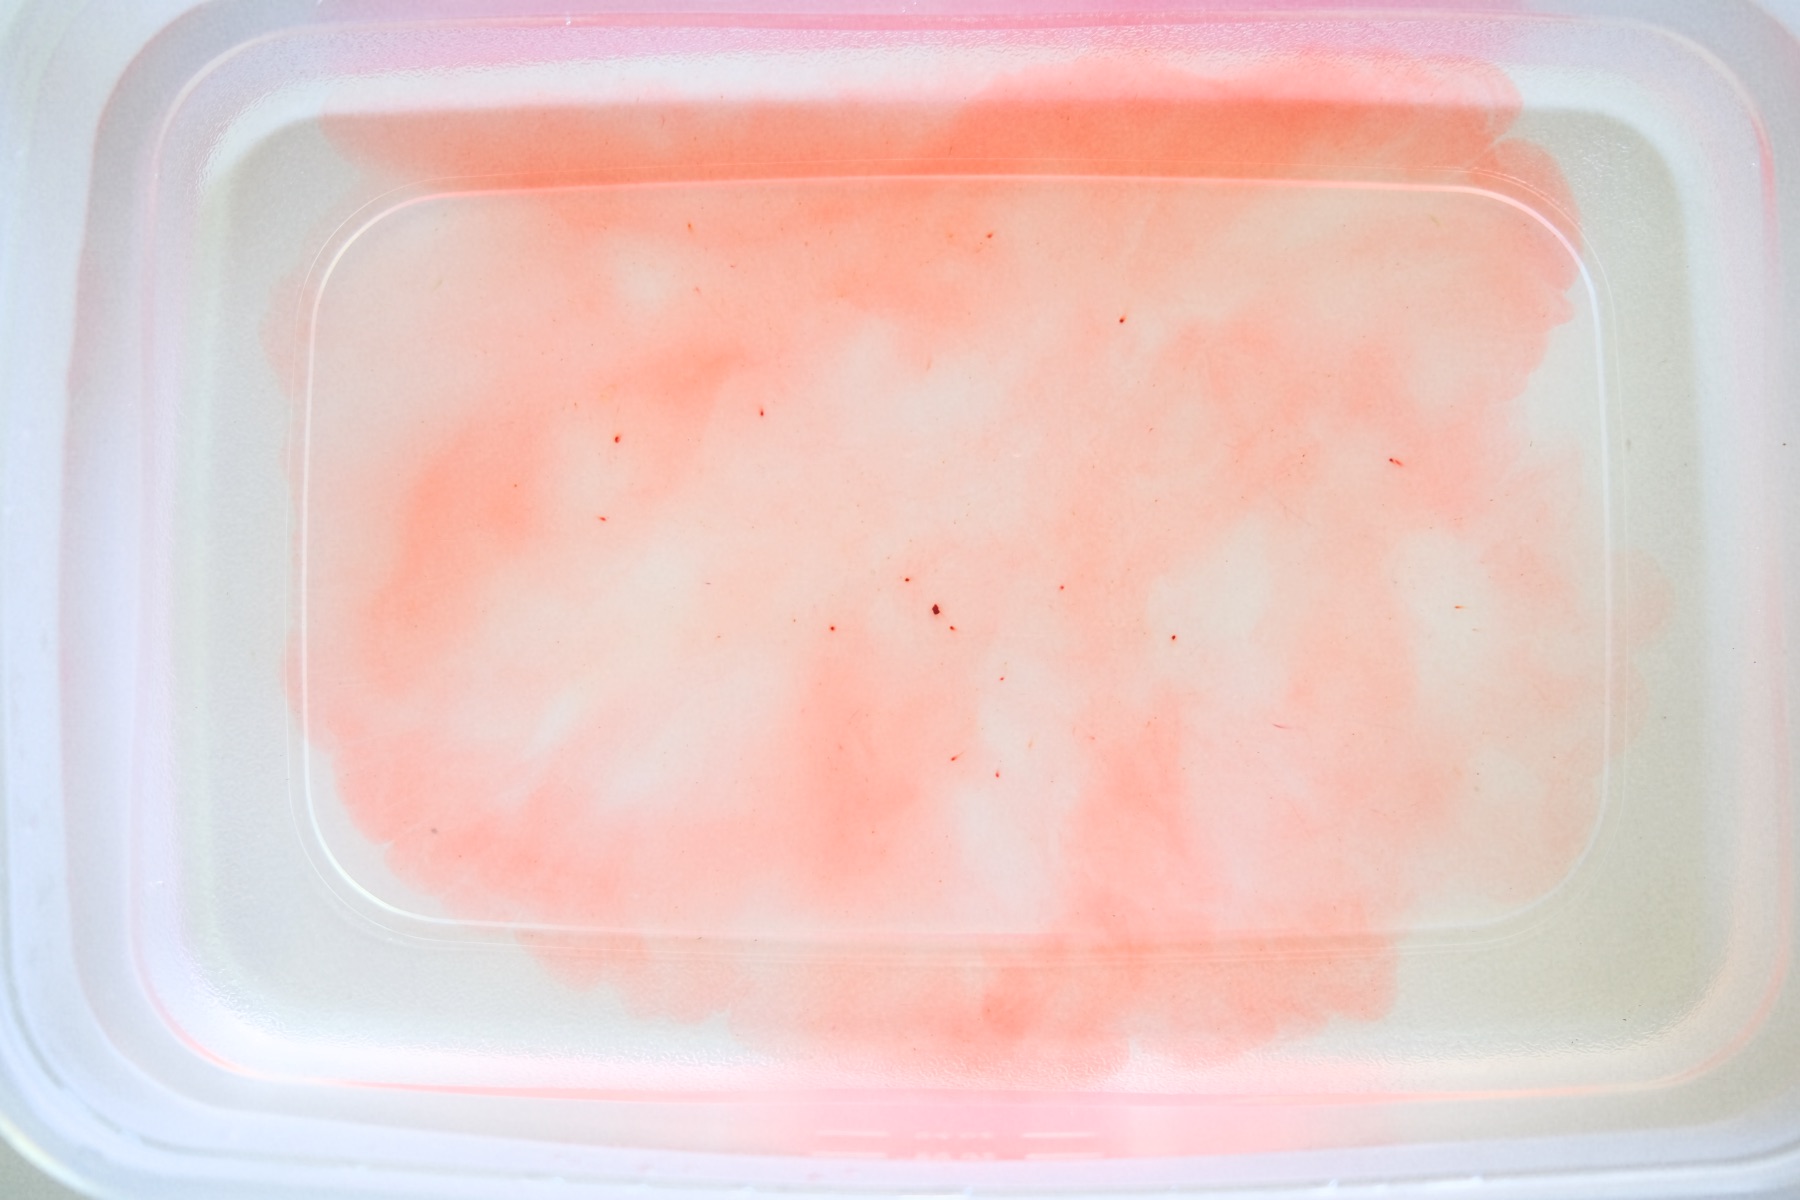
Next, add 2 ounces of fabric dye to the hot water and swirl it until the dye is uniform in color.

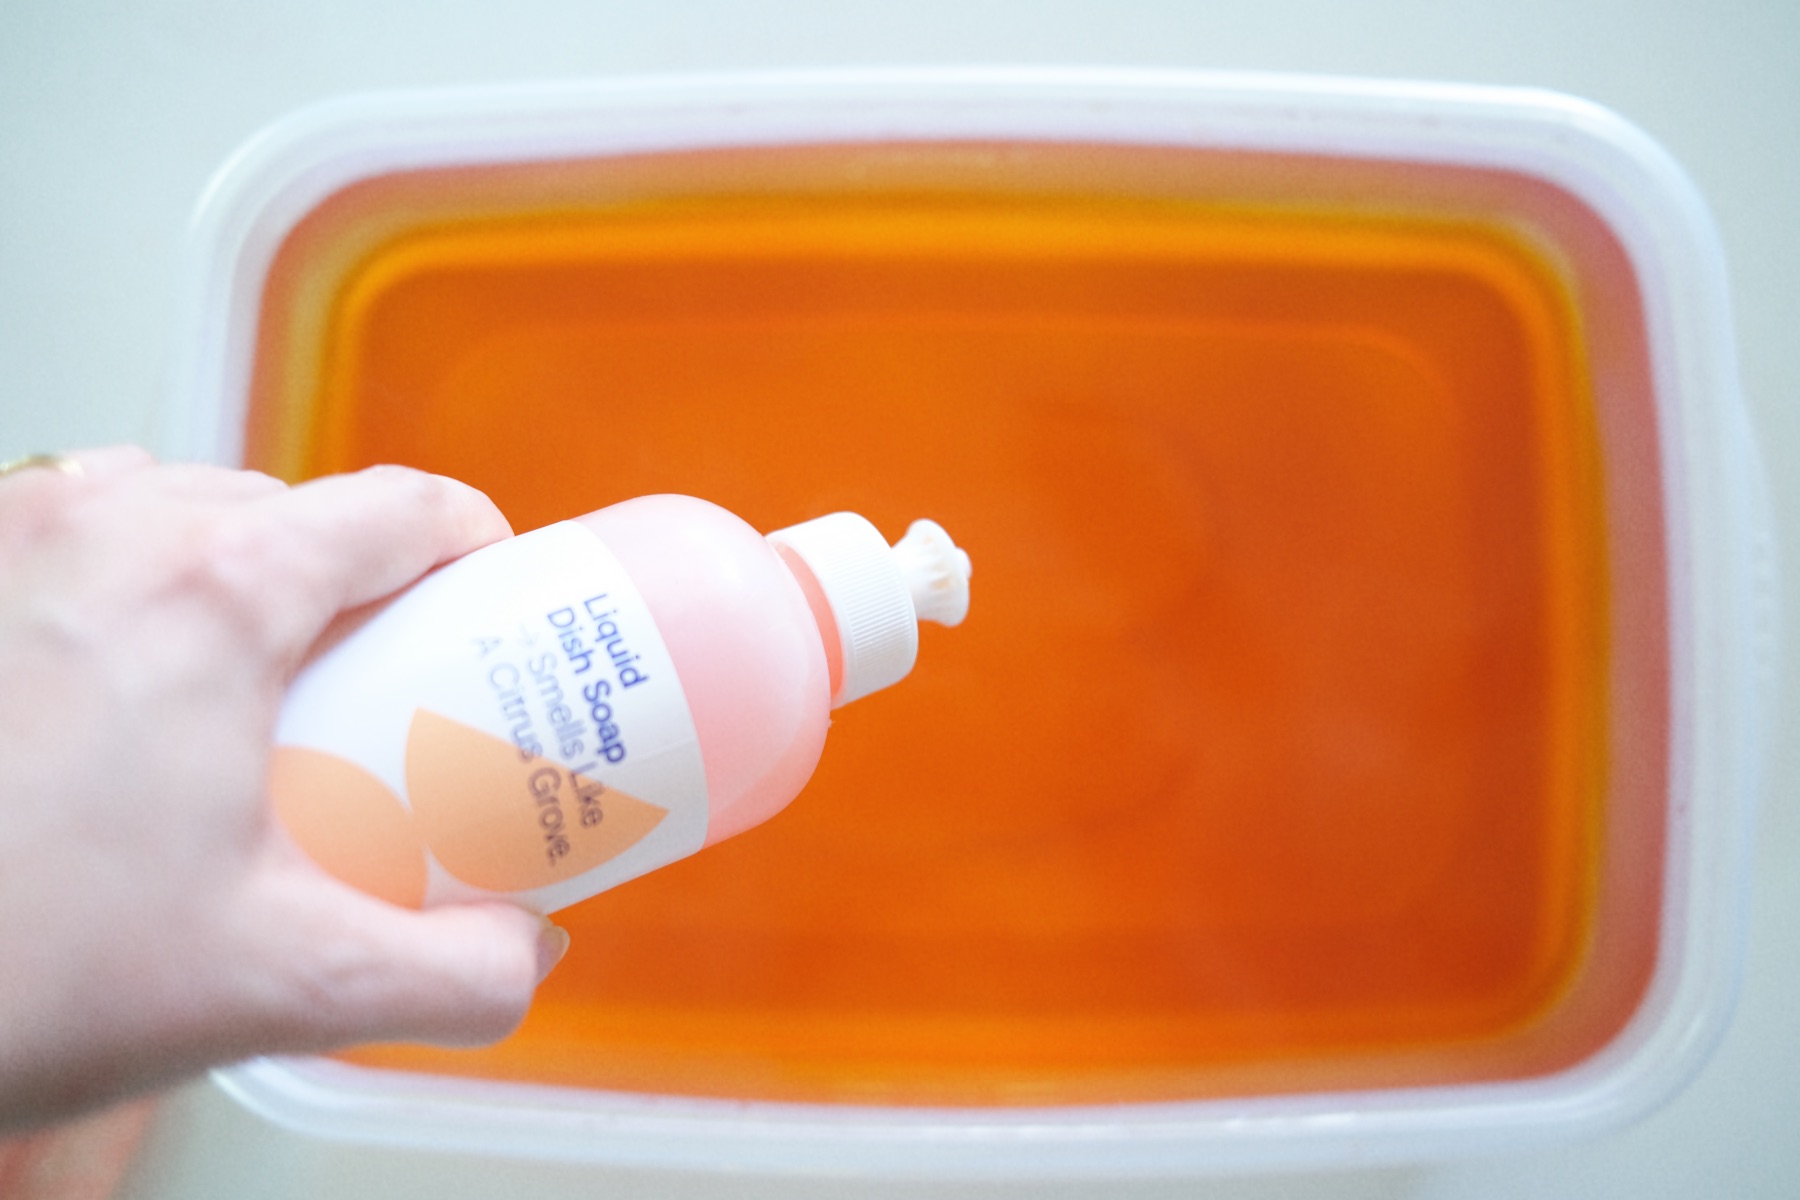
Add Salt & Dish Soap to Your Fabric Dye Bath
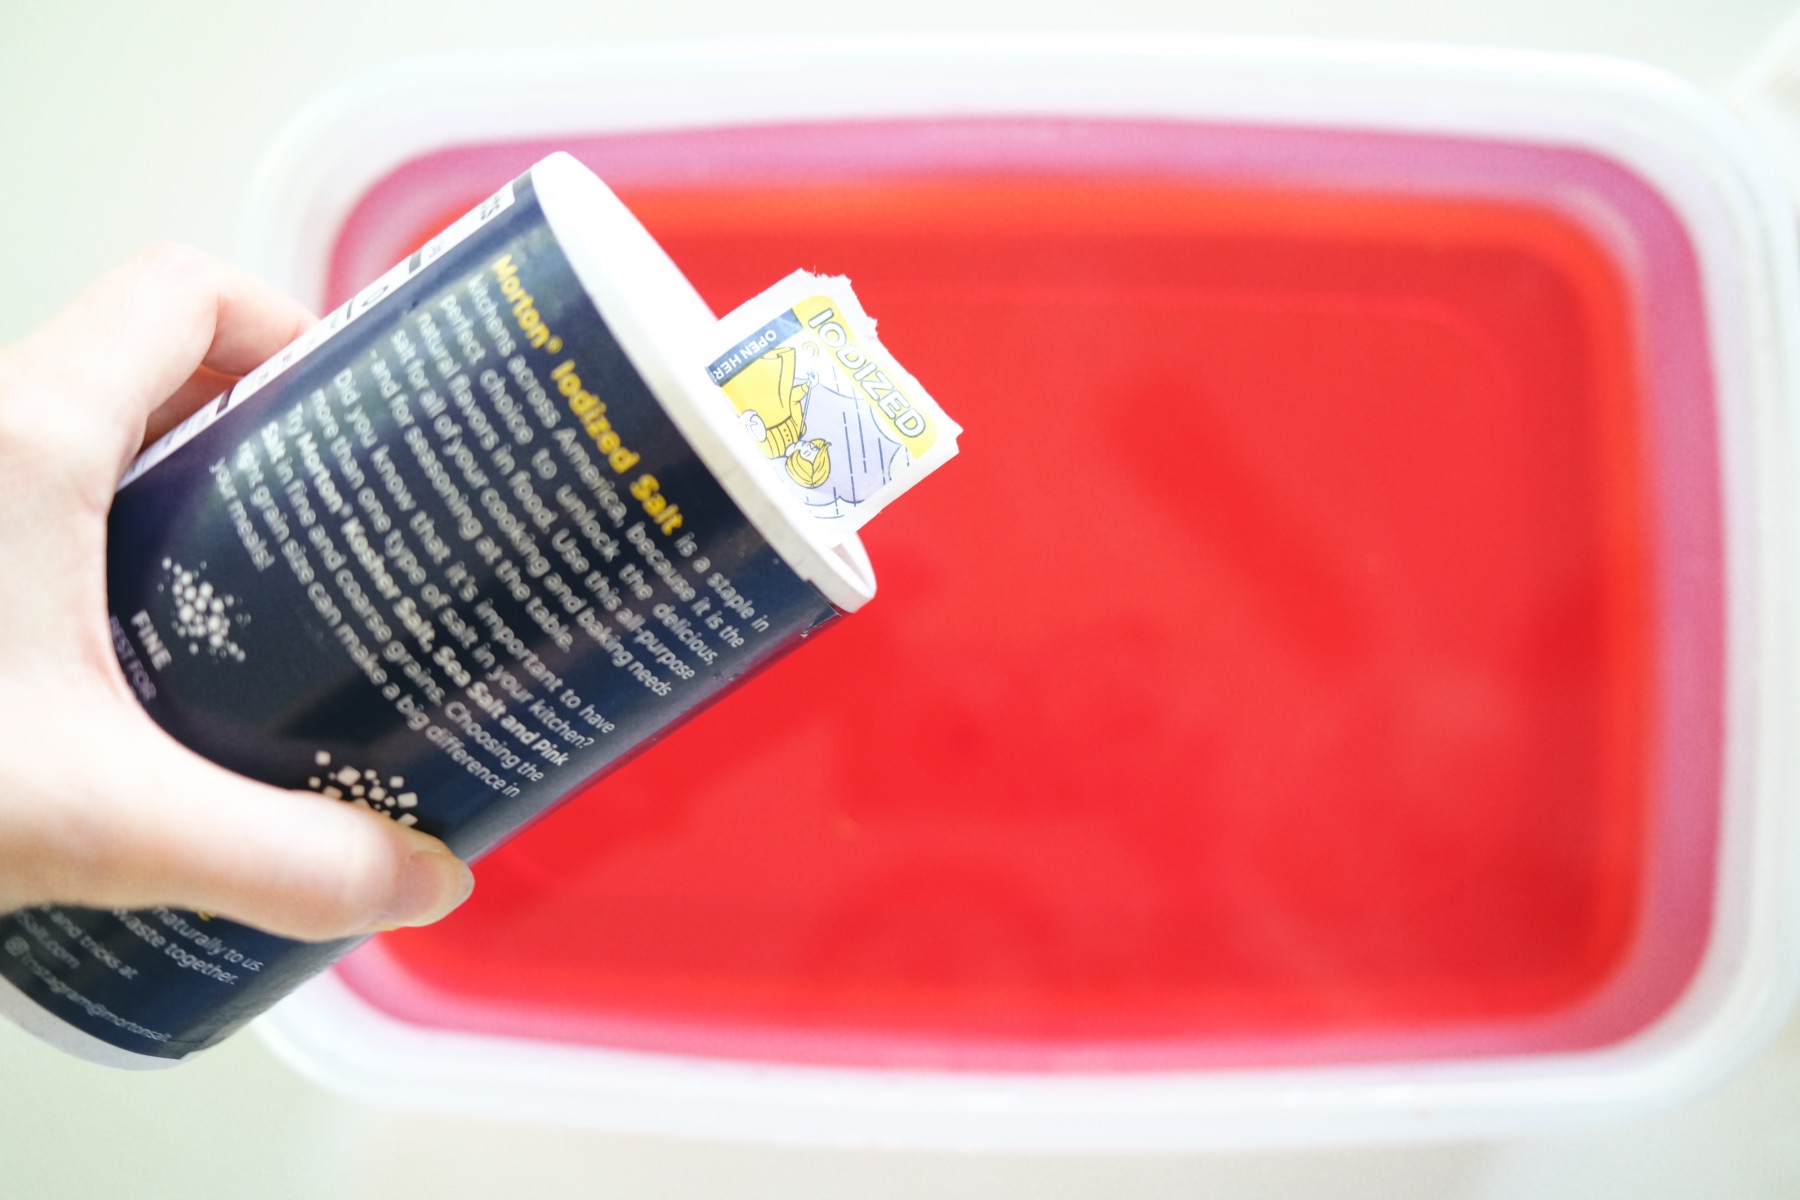
Now, you do not need to add salt or dish soap to your fabric dye! But it’s helpful to enhance the color and help it adhere to the fabric. If you decide to add the salt, add around 2 tablespoons or more. You will see a few bubbles rise the surface and the color will become more opaque for a moment. That’s good! It’s a chemical change that’s happening before you very eyes.
Be sure that the salt completely dissolves into your dye.
Then add just a drop or 2 of dish soap.
How to Pattern Your Placemats
There are tons of ways you can pattern your placemats – you can use rubber bands, clothespins or other items to fold your placemats and make a tie dye design. But I chose to dip dye mine because it’s fresh and modern!
Dip dyeing is fun, but you do need to be patient and careful!
To get started dip dyeing, put on your gloves. Fabric dye will stain your hands, clothes, and anything else that’s white or light. While you are at it, you may want to double check that your space where you are dyeing the objects is protected too! Place your dye vat inside a cardboard box, outside, or on top of newspaper.
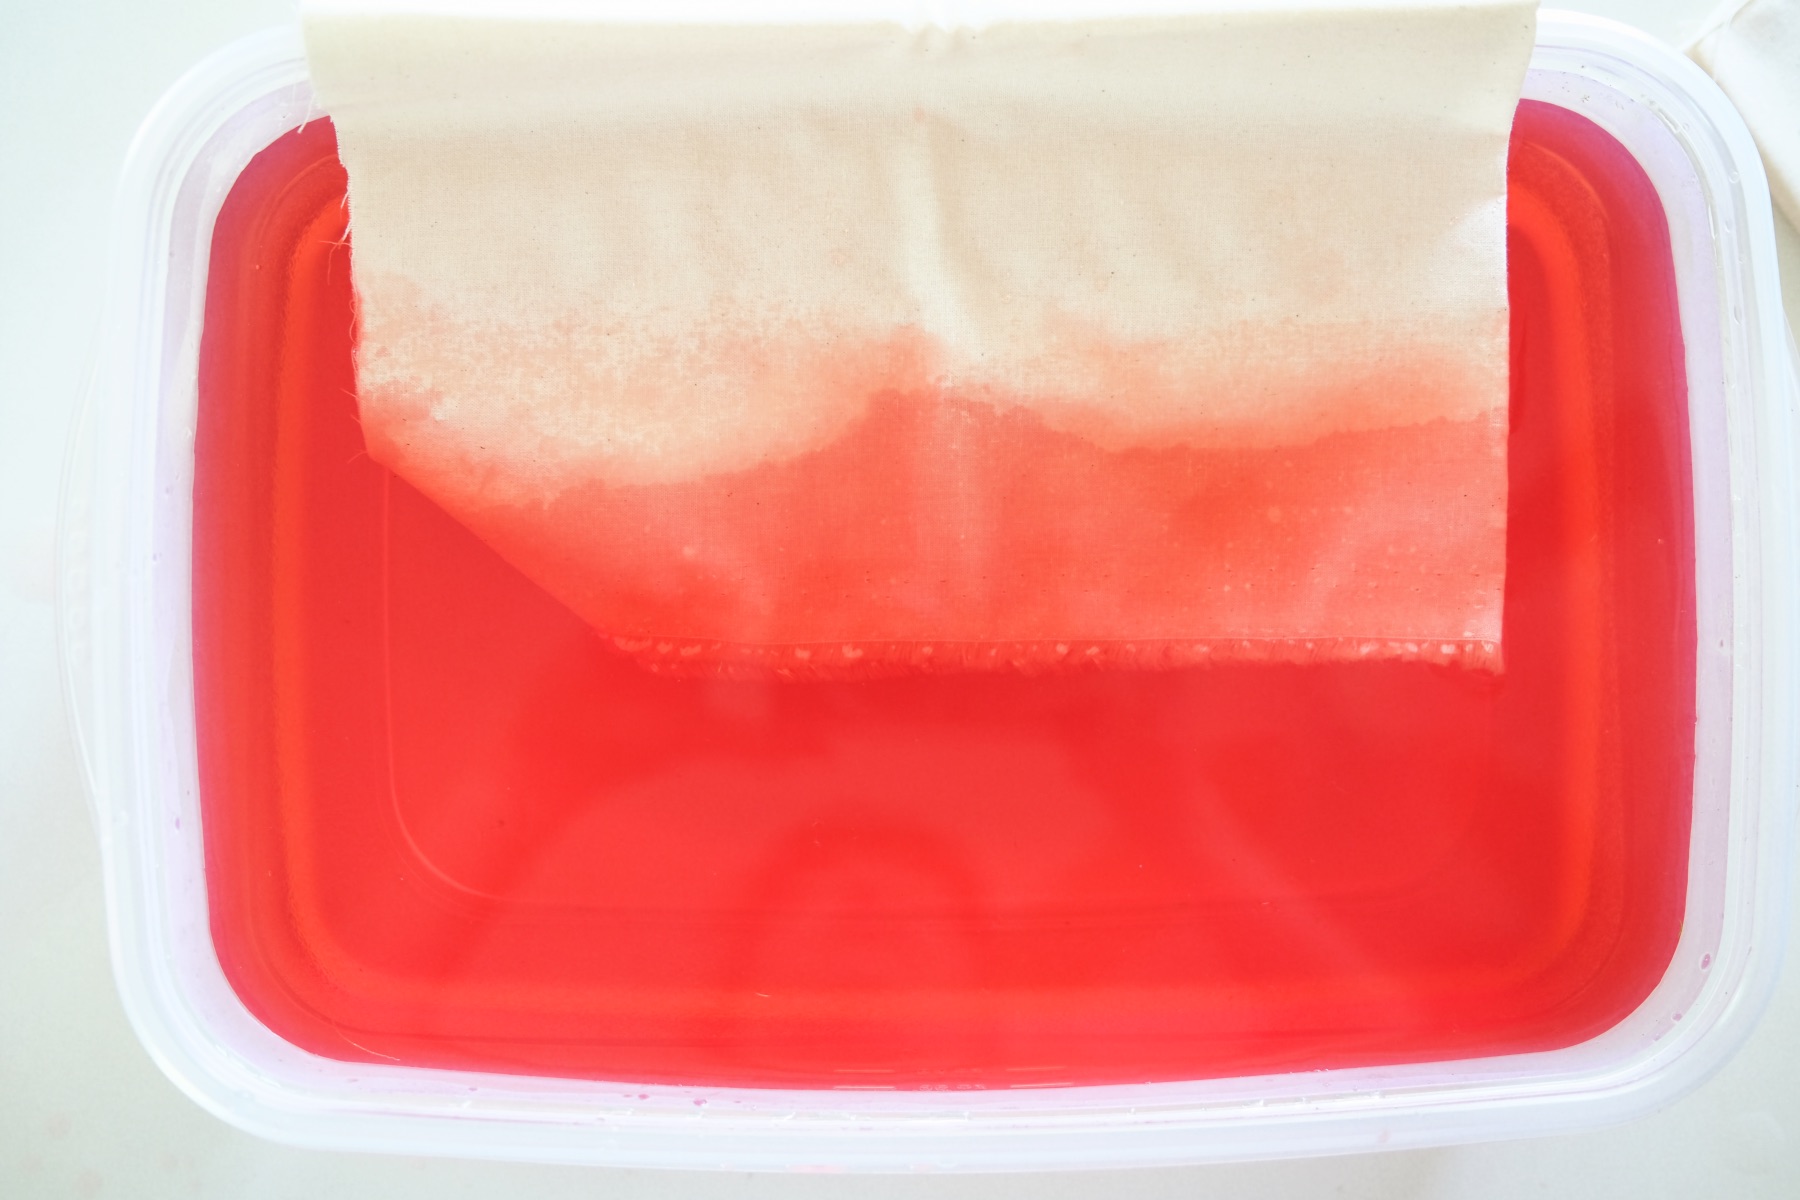
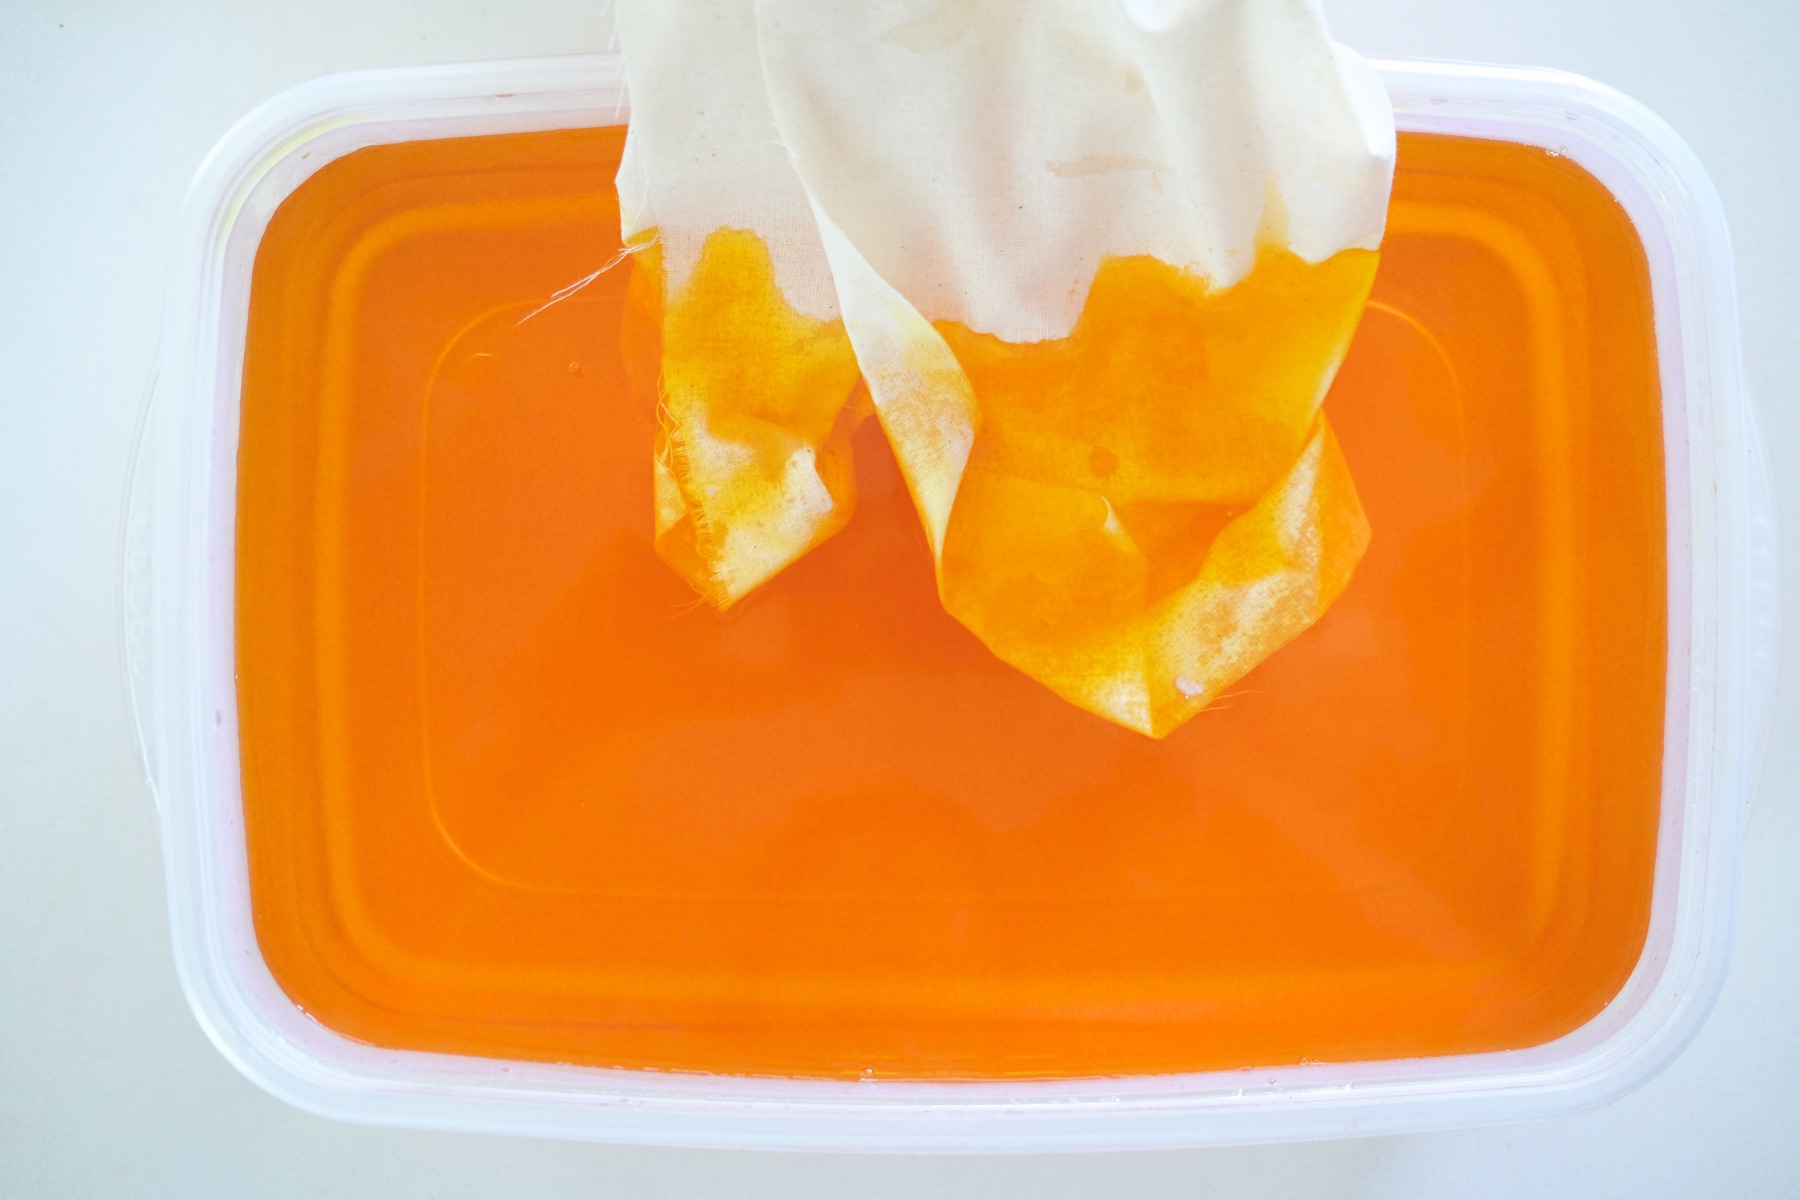
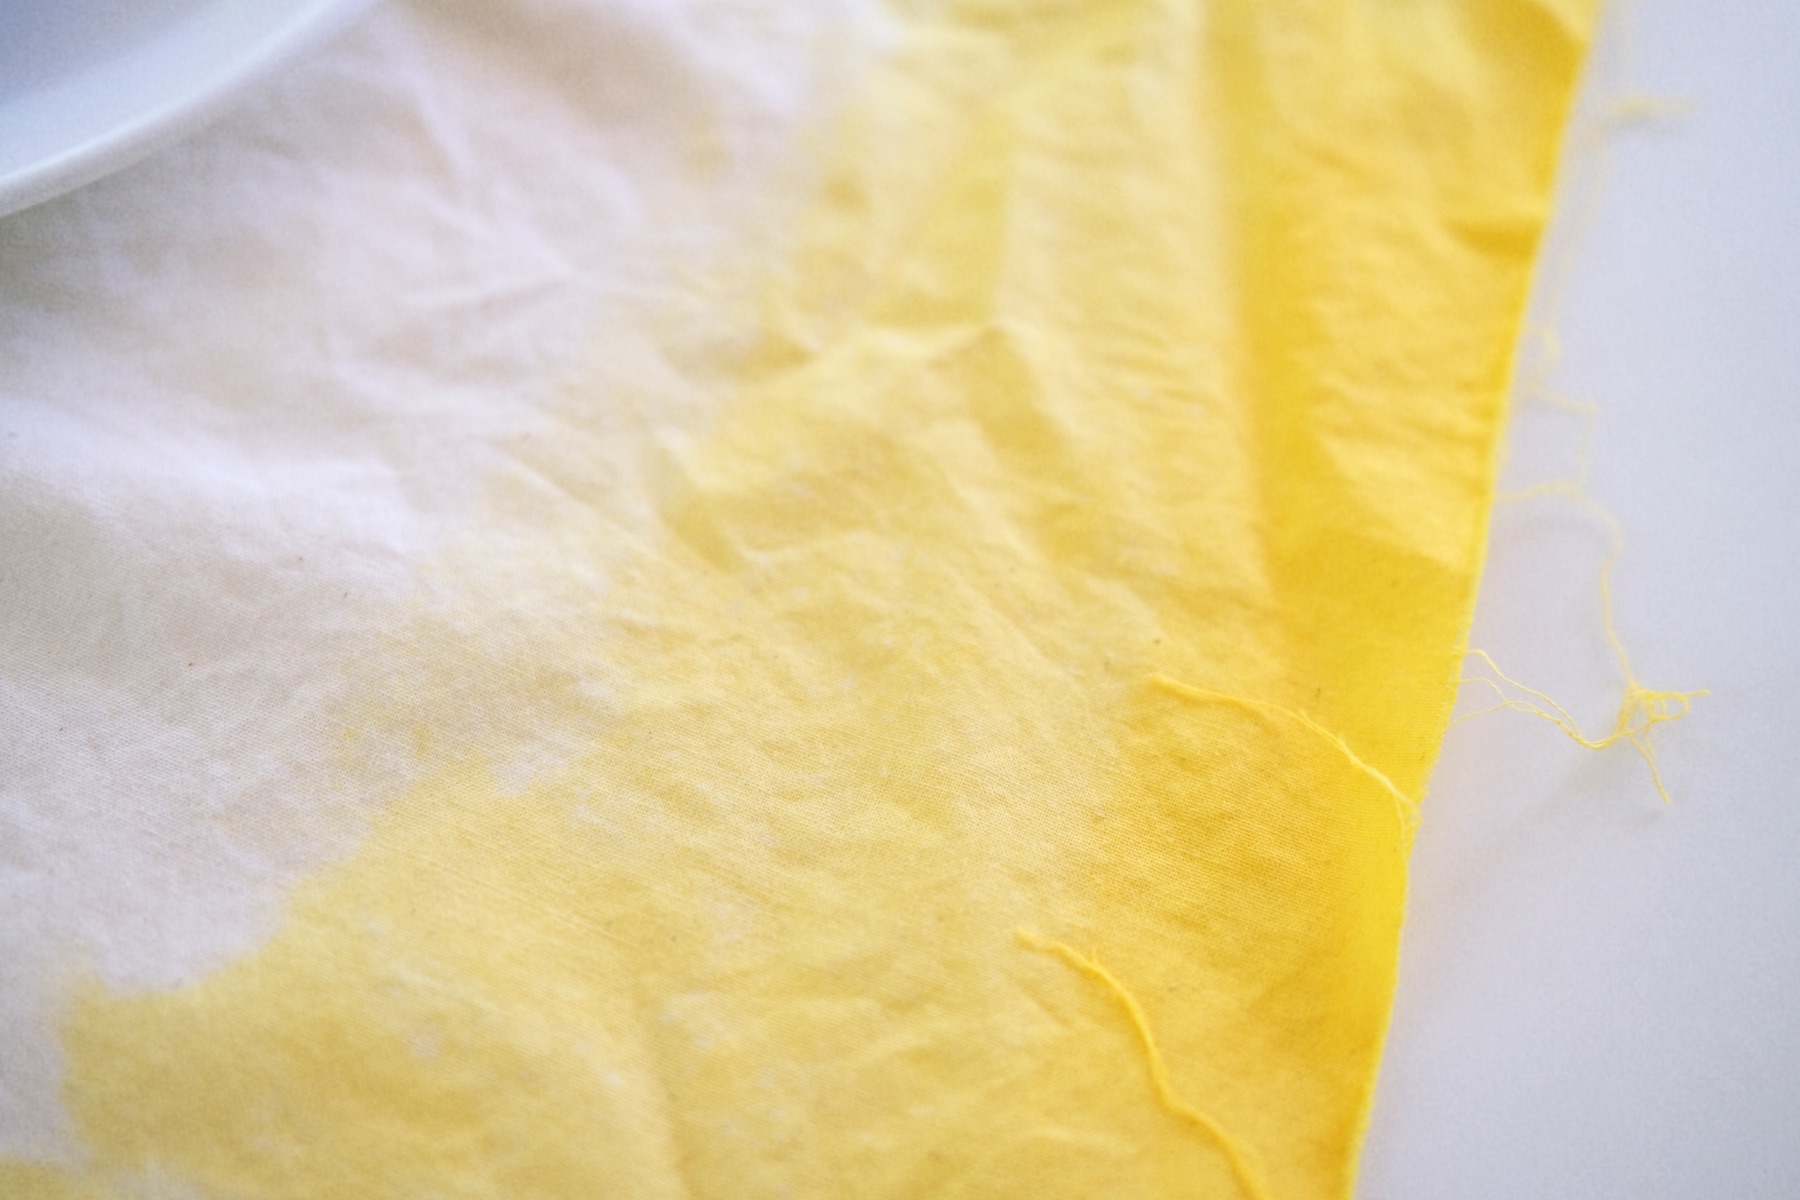
Place one side of the fabric in the dye vat so that only a tiny portion sits in the dye. Just let the outer most edge fall into the dye.
How Long Should You Let Each Section Sit in the Fabric Dye
Once the fabric is in the dye, let it set for up to around 5 minutes. You can test the fabric at 1 minute or 2 minutes and remember, you will want a variation in lightness and darkness to make that dip dye effect.
Thus, you will want to leave some of your edge in the vat longer and other parts you will want to dip it in the dye for just a minute.
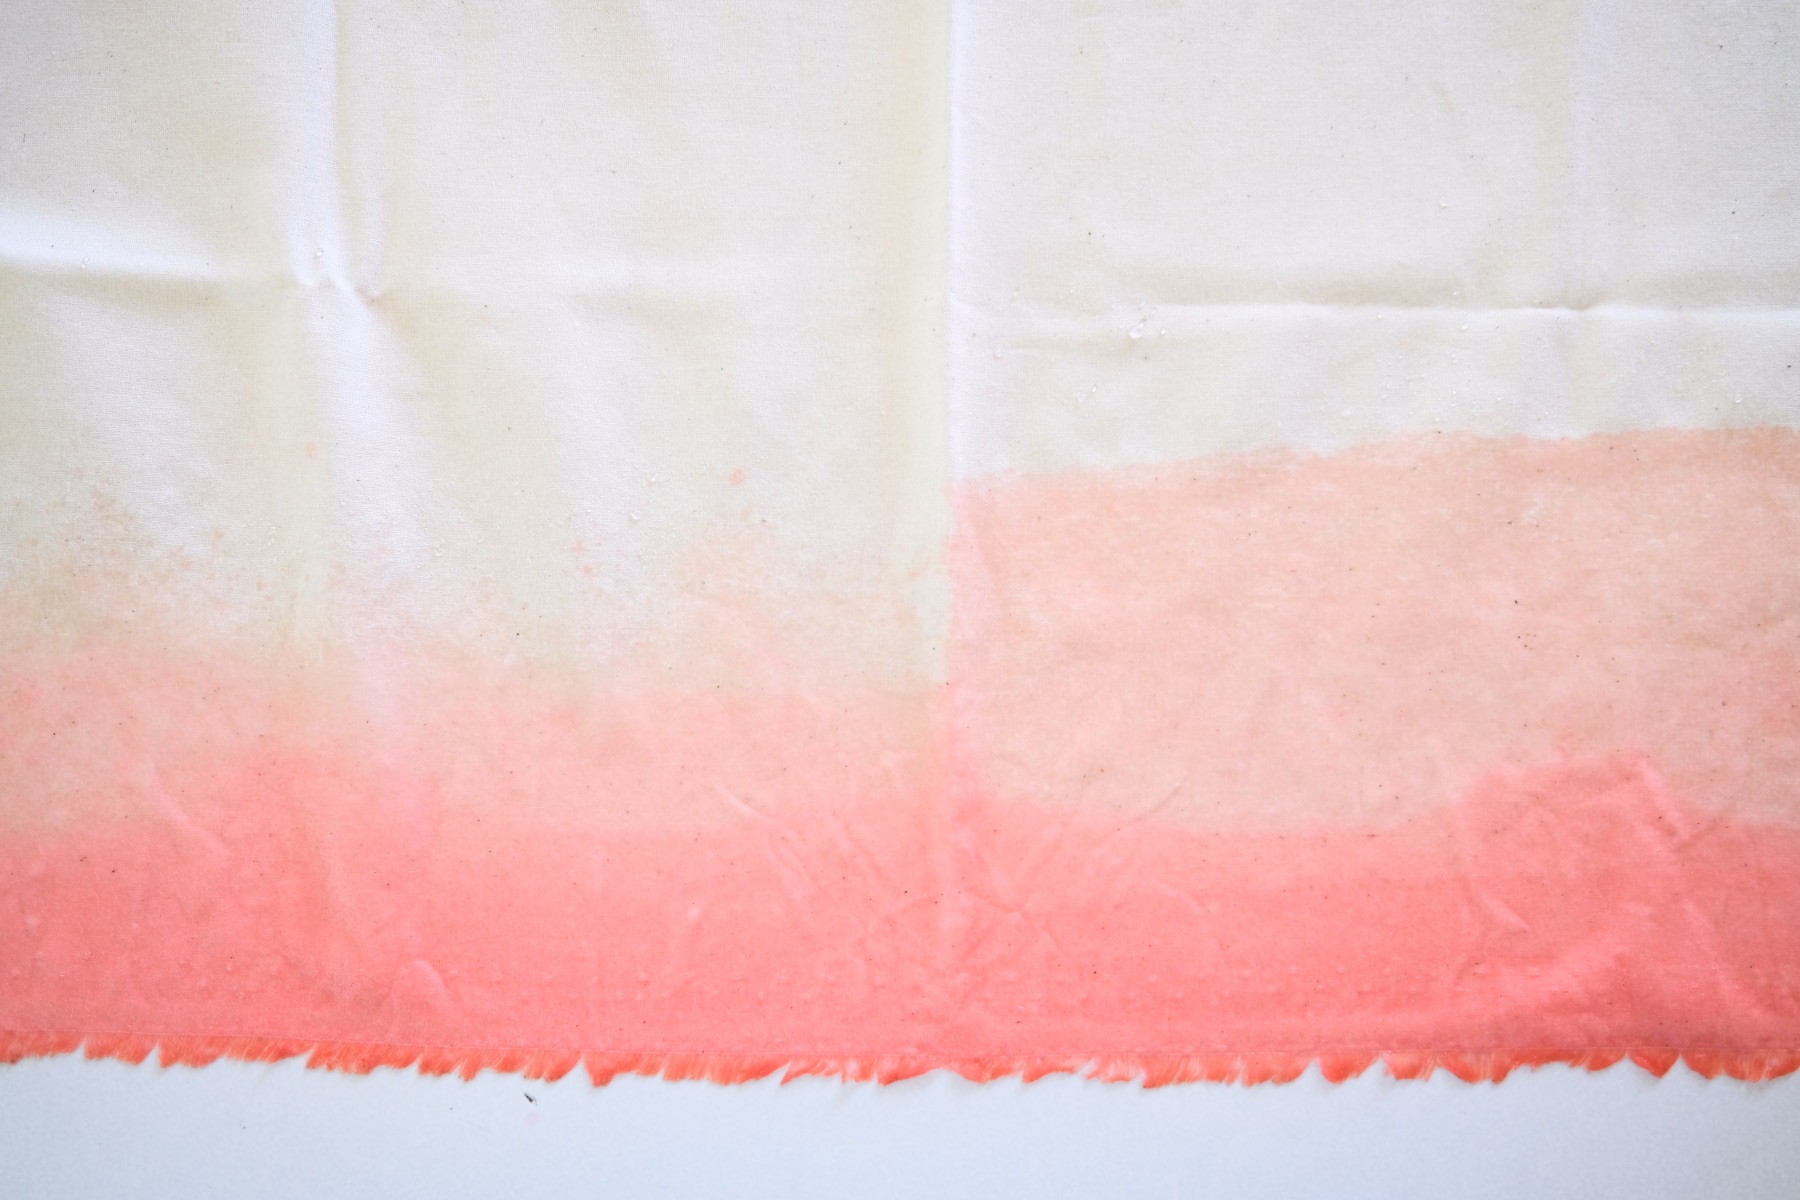
The easiest way to achieve this effect is to have the interior portions lighter and the exterior portions darker.
When You Dip, I Dip, We Dip
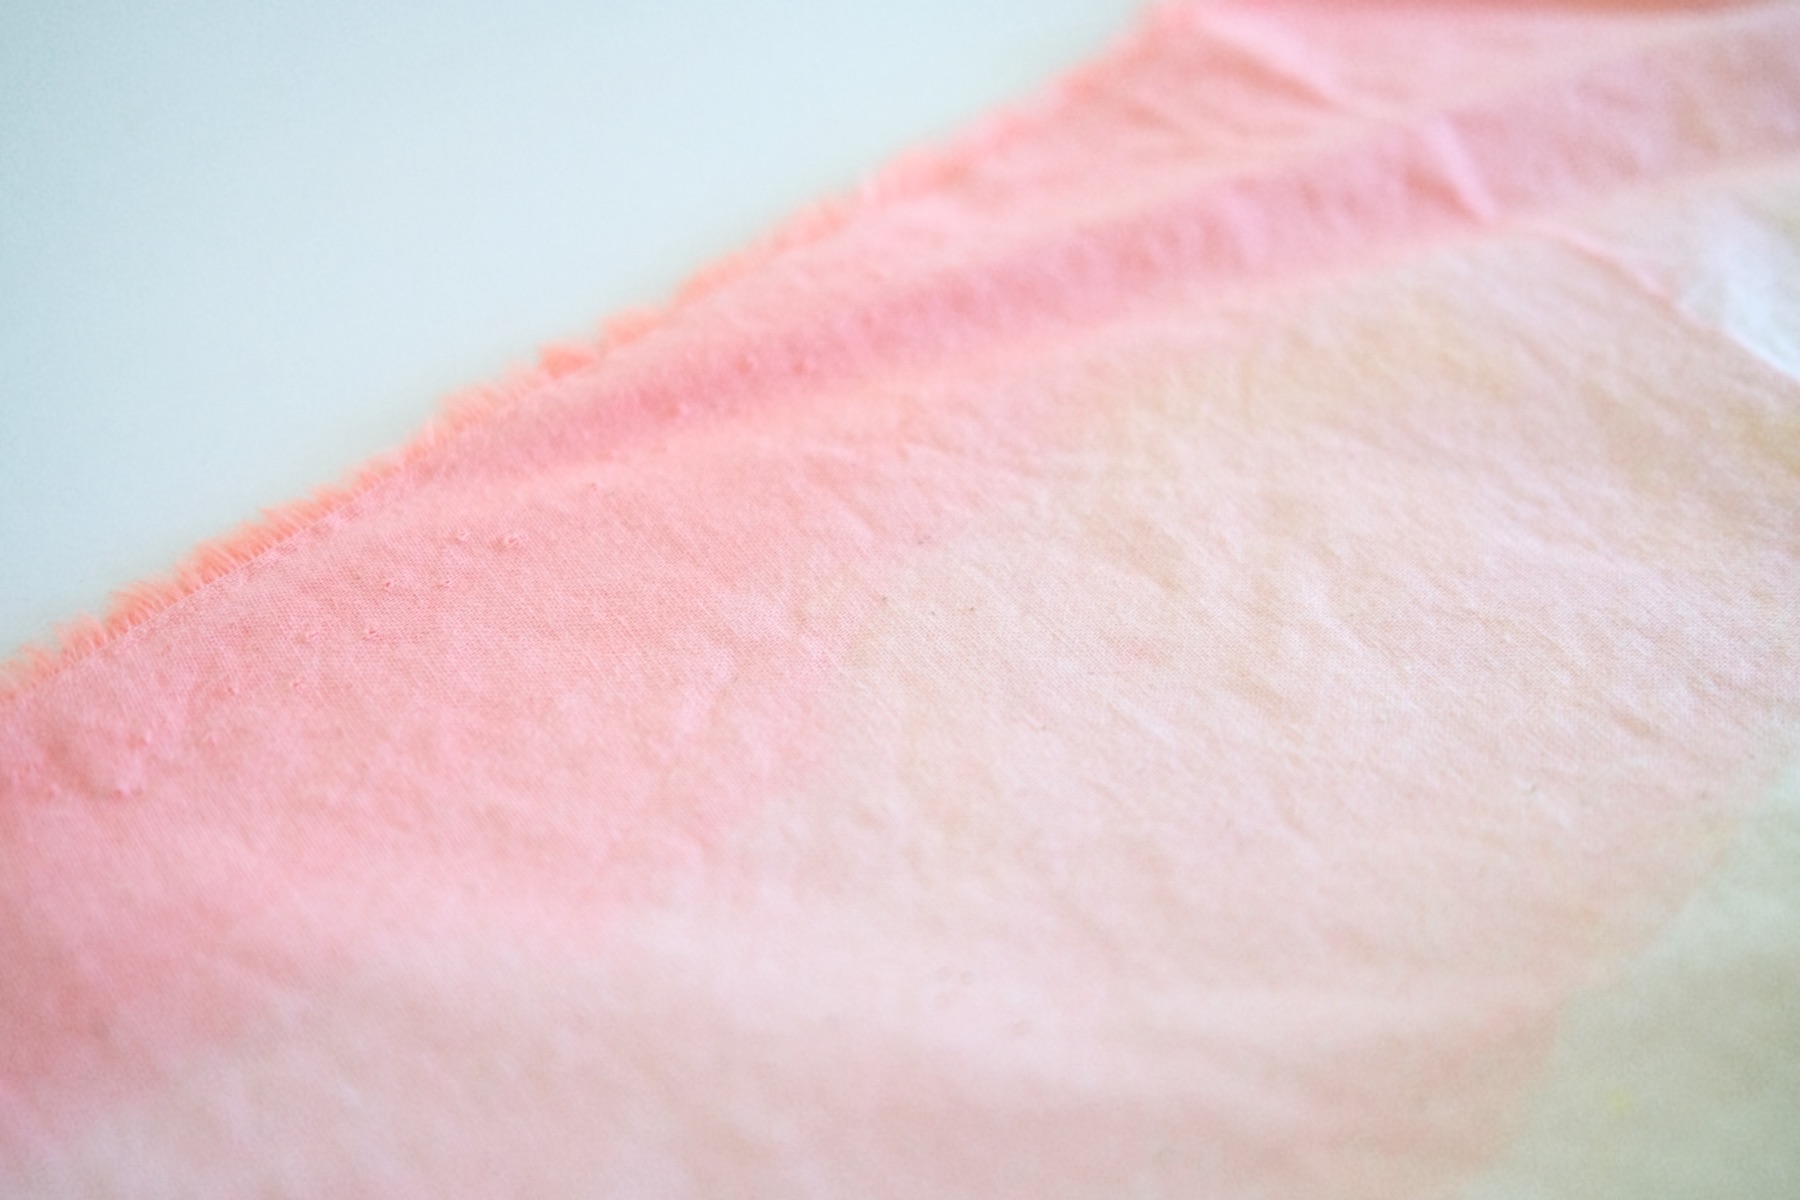
You can make that gorgeous ombre, dip dye effect in 2 different ways. First, you could work inwards. Start dipping the outer most edge for the longest time. Then as you dip more of the fabric and work inward, dip the fabric in the dye for less time each time.
Or second, you can start by dipping a huge section of the fabric for just a moment. Then as you work from the center to the outer edges, dip each section for longer and longer.
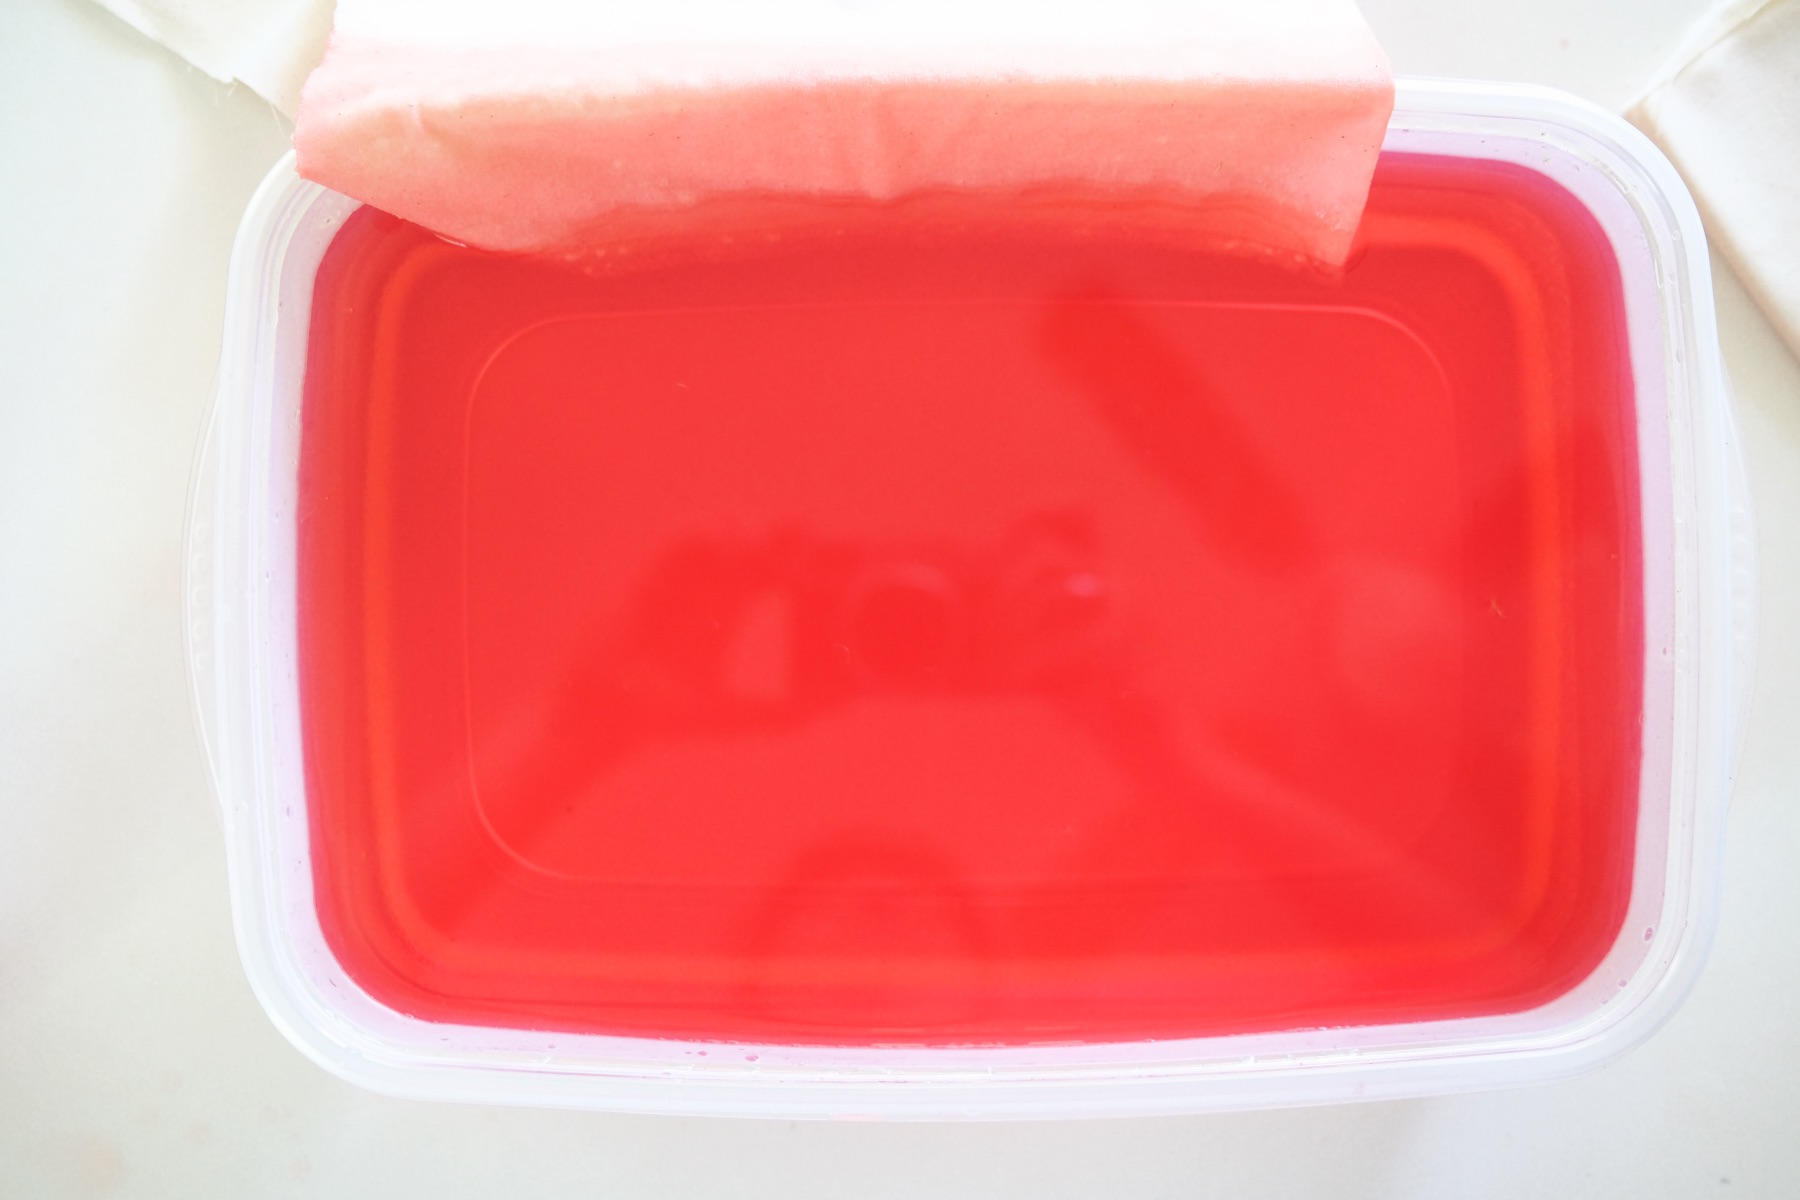
Continue this process of dipping and dipping again to get a variation of color along your edge. Once you reached your desired color, carefully with gloves on and the dyed portion pointing downwards, remove your placemat from the dye bath and rinse it throughly until the water runs clear.
Try your best to keep the portion of the fabric that is not dyed dry. It will make it easier to dye later.
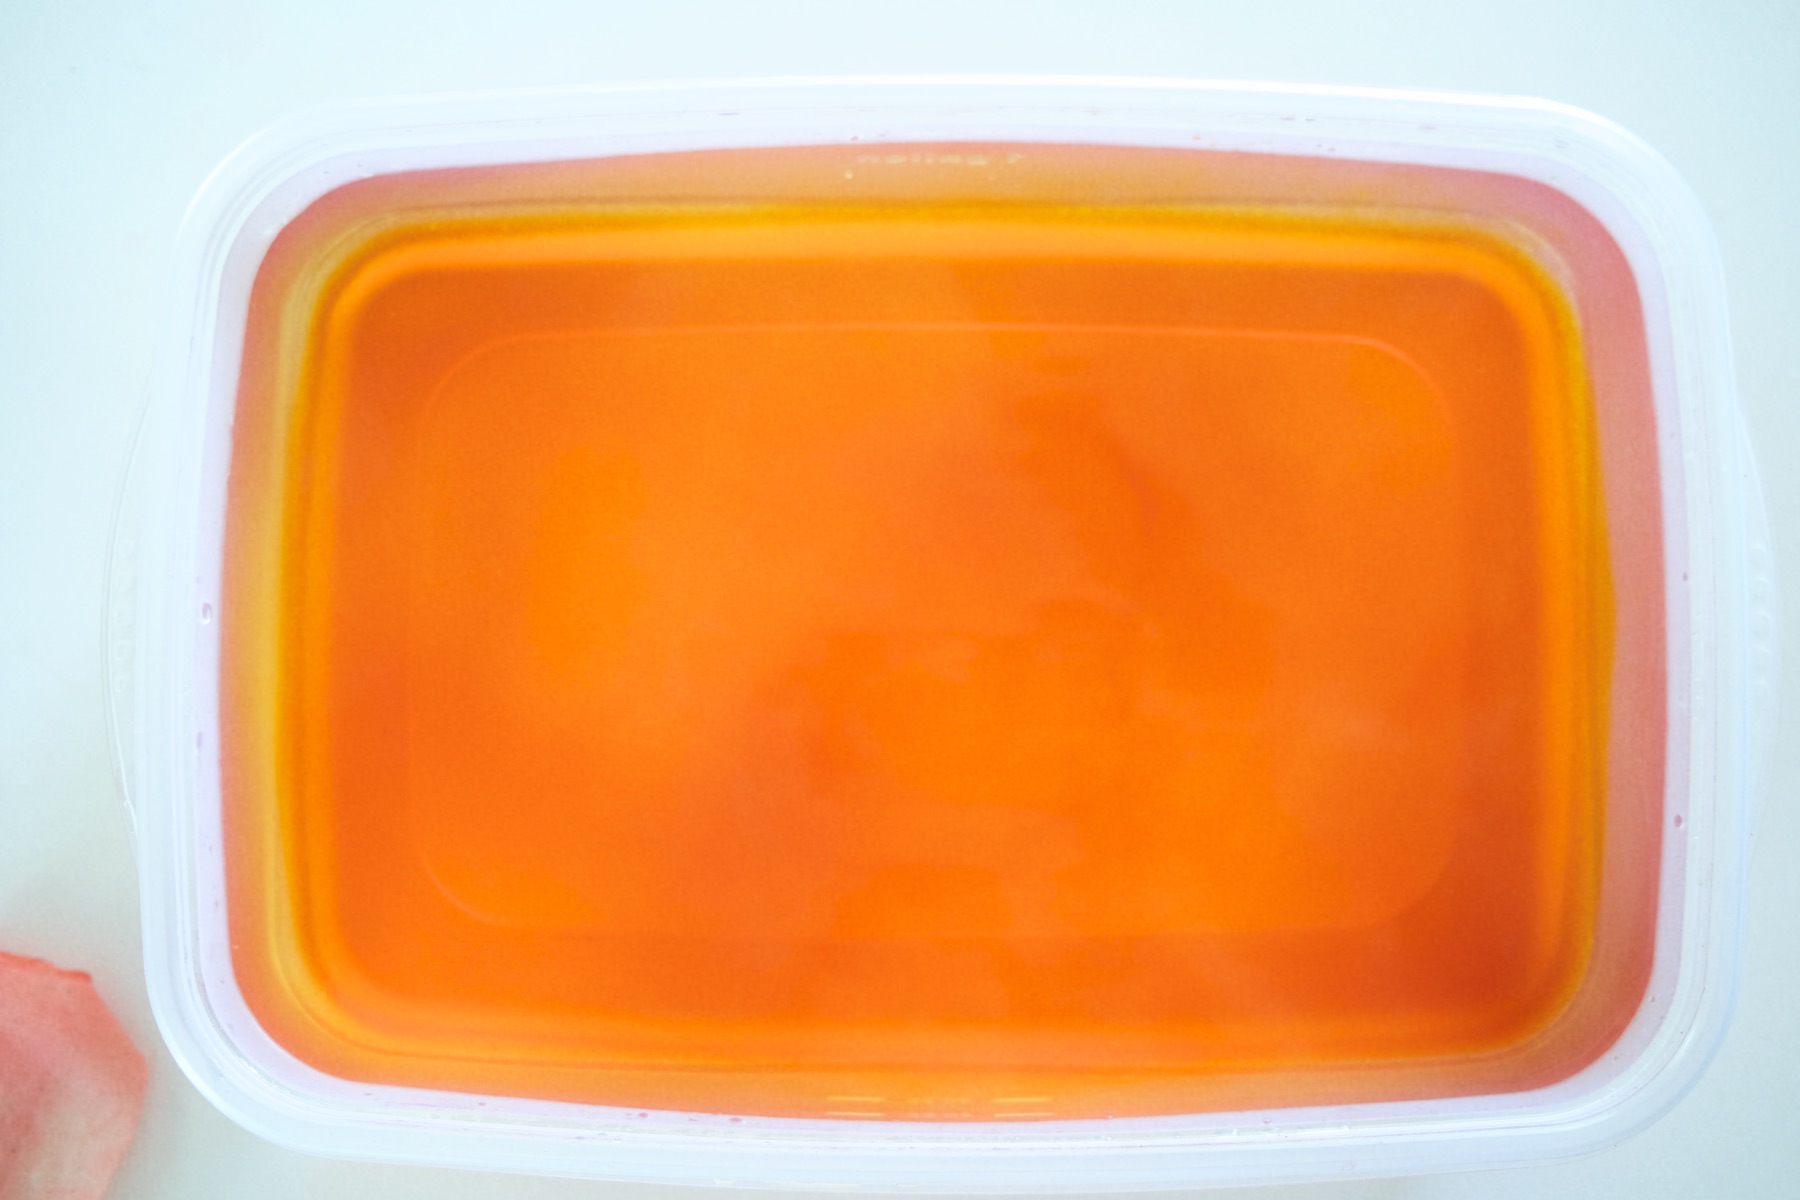
Before you pour out your dye, consider dyeing other items! Got t-shirts? Bandanas? Anything that needs a fresh pop of color? Why waste dye when you can use it. You can also store your excess dye in an air tight container for at least a few days. It’s hard to say how long it will last, but it should be good for at least 3-5 days – maybe longer. Once you are done with your first color, repeat everything you just did with a second color. For this color, I chose a sunshine yellow. Boil or heat your water, pour it into your container, add salt, and a touch of dish soap. Then repeat the process of dip dyeing the opposite edge of the fabric with your new color. Remember, you will need to make the interior part of the fabric lighter if you want to get that gorgeous dip dye ombre effect. So dip for shorter amounts of time inwards. Or dip for longer amounts of time if you want to start with the largest bit of fabric and work outwards to dyeing smaller portions of fabric. Once you are done dyeing your fabric with the second color, use the same technique of pointing the dyed portion downwards until you are able to rinse the dye fully out of the fabric. Continue to rinse your placemat until the water runs clear. You do not need to heat set fabric dye like you do fabric ink! Isn’t that a funny little quirk? So once your water runs clear, set the placemats outside in the sun or anywhere they can dry a little and take some of the weight out of the fabric. Then wash and dry them on your normal laundry settings and with regular laundry soap to make them ready to be used. To make them ready to use, you may need to iron them. That is one of the drawbacks of using a natural fabric that’s a bit lightweight. If you want to make them even easier to use, mist them with a bit of spray starch and then iron them! It will give them just a bit of extra body that are so helpful. But what’s great about using lightweight fabric is that you can easily wash them again and again in between uses! You don’t have to spot clean them. It’s helpful if you are someone that likes to have dinner parties or has young children. And now you know that if they get stained, you could always use more dye to dye them again and potentially cover up those stains! So are you ready to make this Dip Dyed Placemats for yourself? Got questions about the process or want to tell us about what colors you chose for your placemats? Tell us in the comments and happy crafting! Let’s Stay Friends! Insta | Pinterest | Enews | TikTok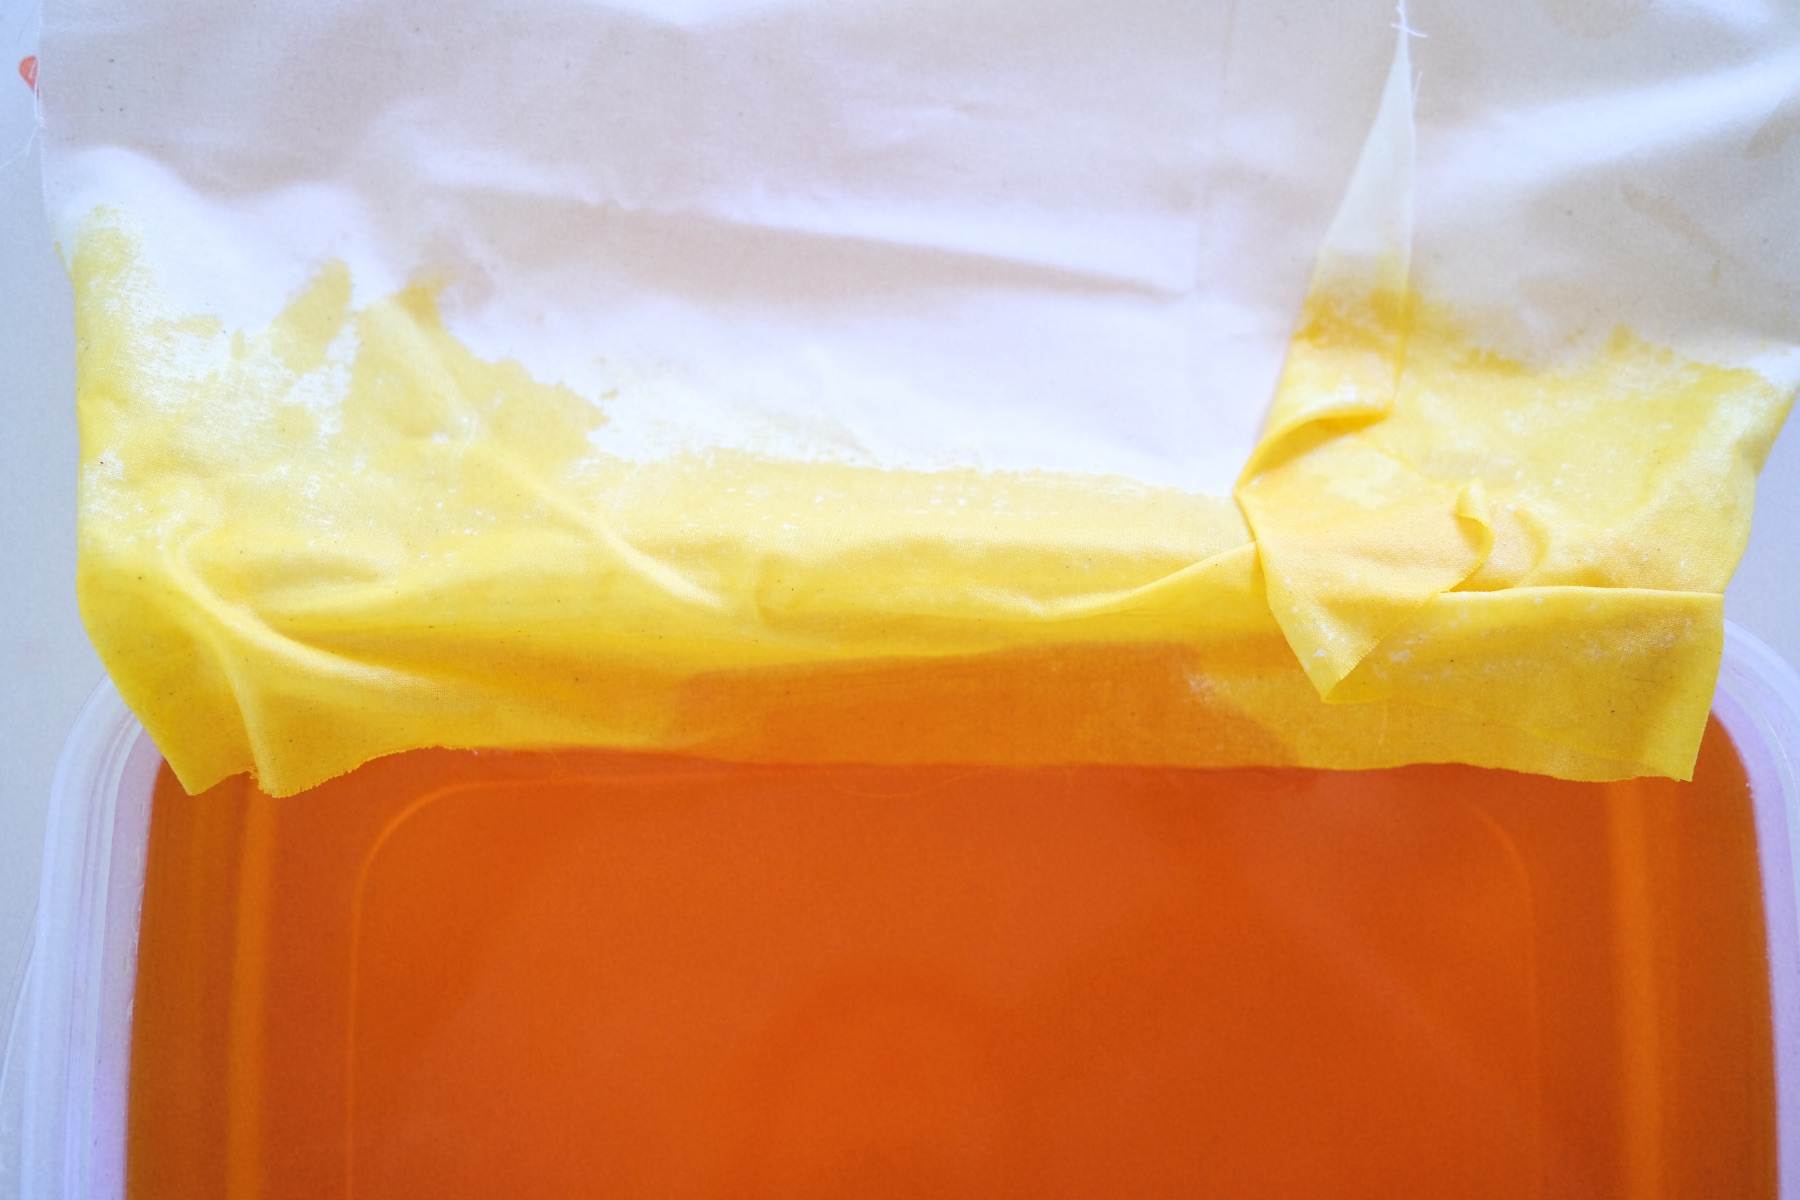
Dip Dye with Your Second Color

Rinse the Whole Fabric
Your Dye is Already Permanent
Prep The Placemats for Use


Looking for something similar?
![]()