Craft in Style Subscription Instructions, DIY
How to Make DIY Citrus Stamped Napkins
This blog is the Part 2 of 2 tutorials for the April Craft in Style Subscription Box. You can find the additional tutorial for April, previous box tutorials, more about this box, and other Craft in Style Boxes here.
Nothing says summer like a little citrus! That’s why these citrus stamped napkins are such a fun way to dress up your kitchen. They are easy to make and once you learn how to make citrus stamps, you will be surprised at how many ways you can use this craft. For example, here are Lemon Stamped Tea Towels!
So let’s make them.
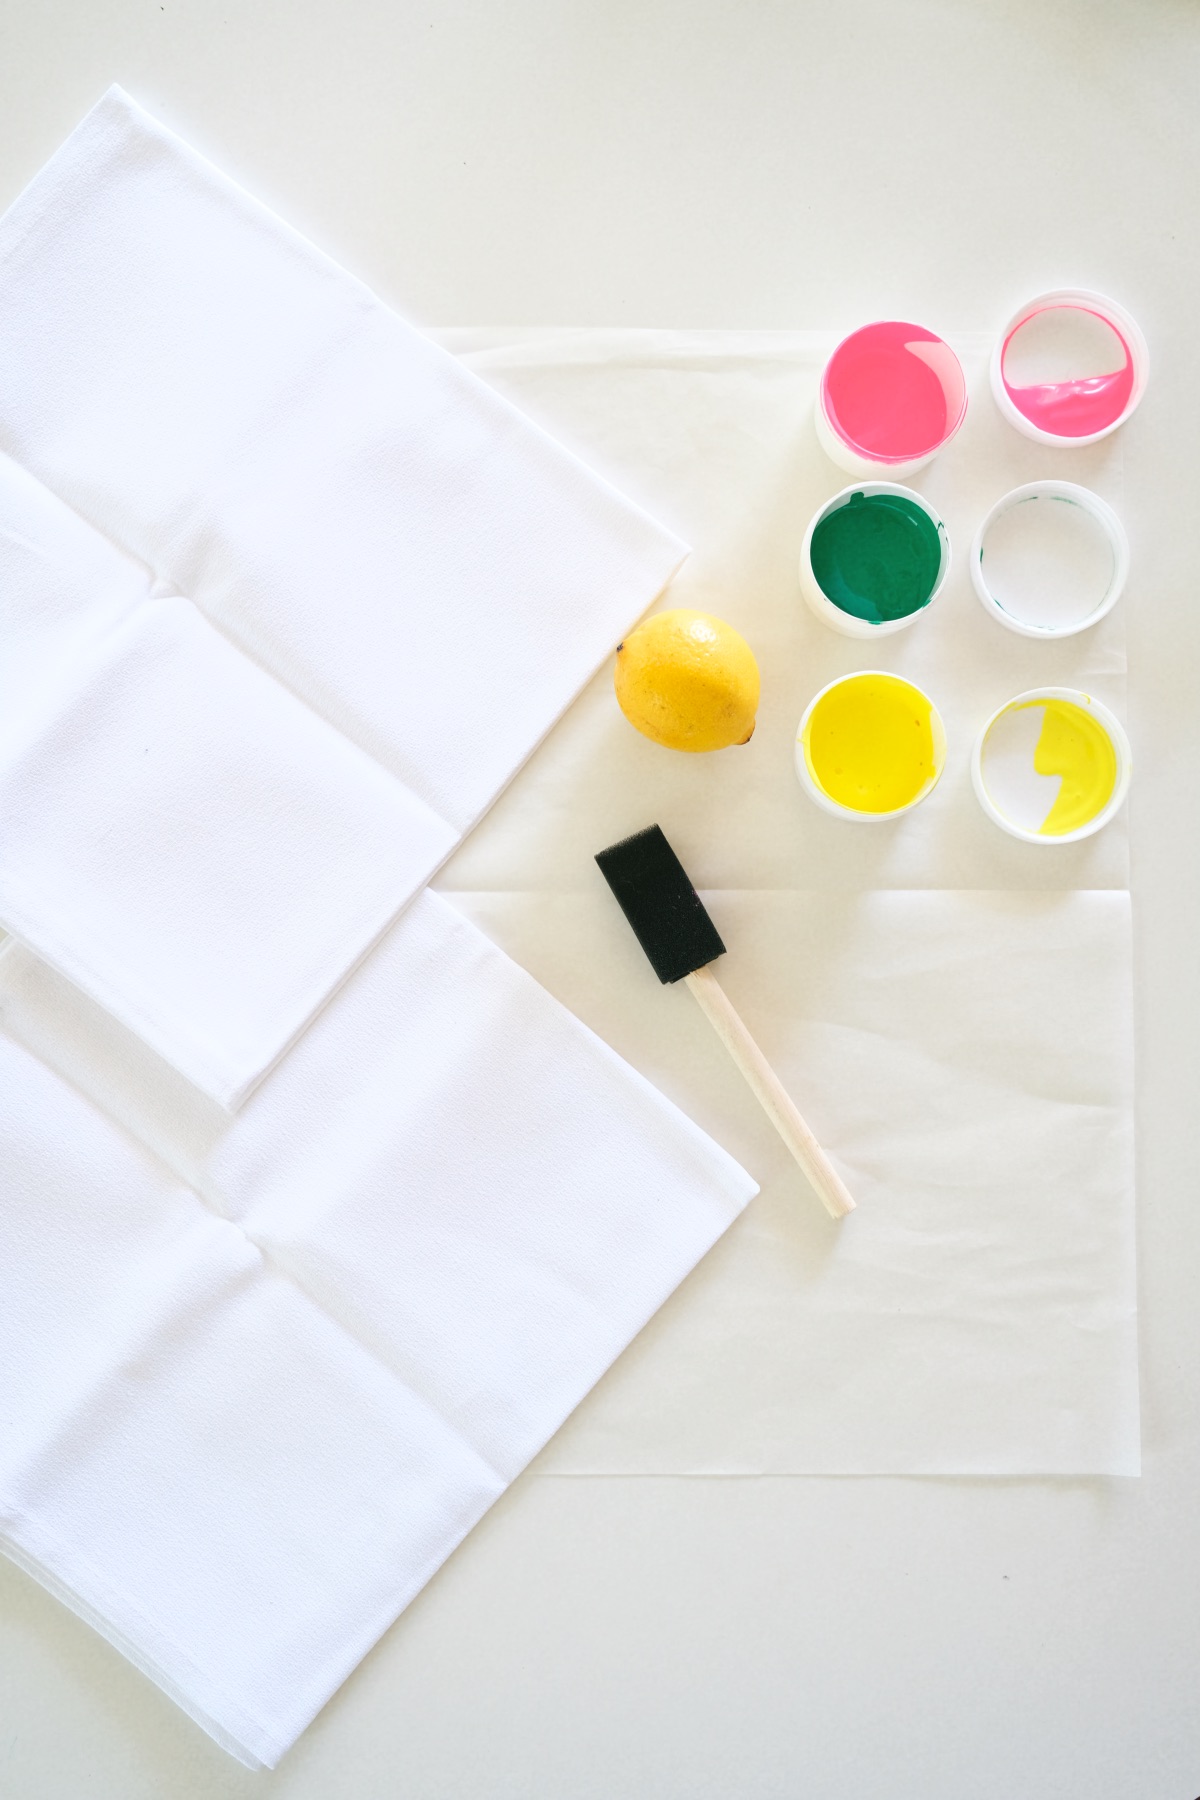
Supplies to Make DIY Citrus Stamped Napkins
April Craft in Style Subscription Box
-or-
Cotton Napkins
A Piece of Citrus Fruit
A Knife
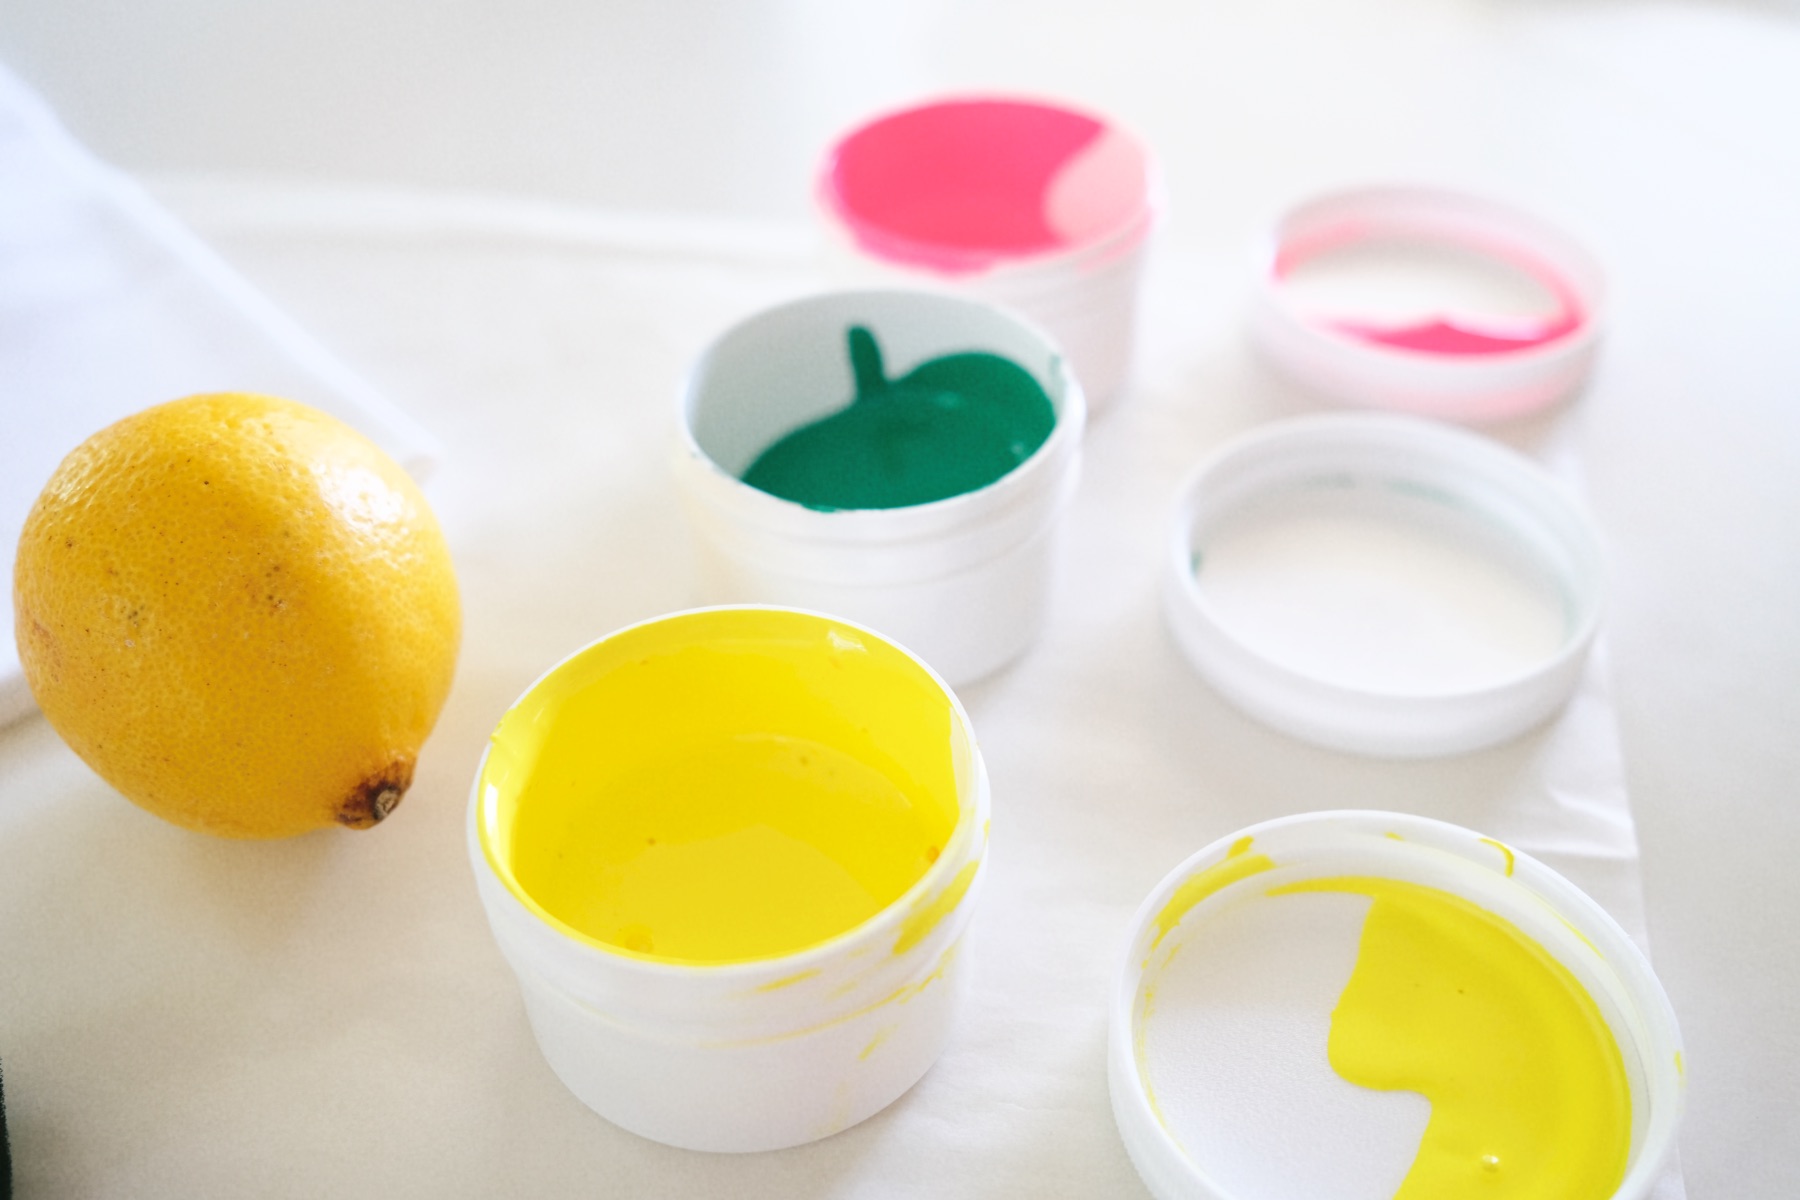
Water Based Fabric Paint in Citrus Colors (I used Grapefruit, Lime, and Lemon colors)
Parchment Paper (or a large flat Painter’s Palette)
A Foam Brush
Plus: Access to an Oven (or a lot of patience)
Note: You can use any shape or size of citrus fruit. Of course, using a lime or a lemon is the most common. But grapefruit is a good choice as well. What you need in a citrus fruit is one that has a firm skin and firm rind. So tangerines are not as good as lemons, limes, or grapefruit. Make sense?
How to Make a Citrus Fruit Stamp
To make your stamp, cut your piece of fruit in half through the shorter side. Make sure your cut is nice and even because it will show when you are stamping.
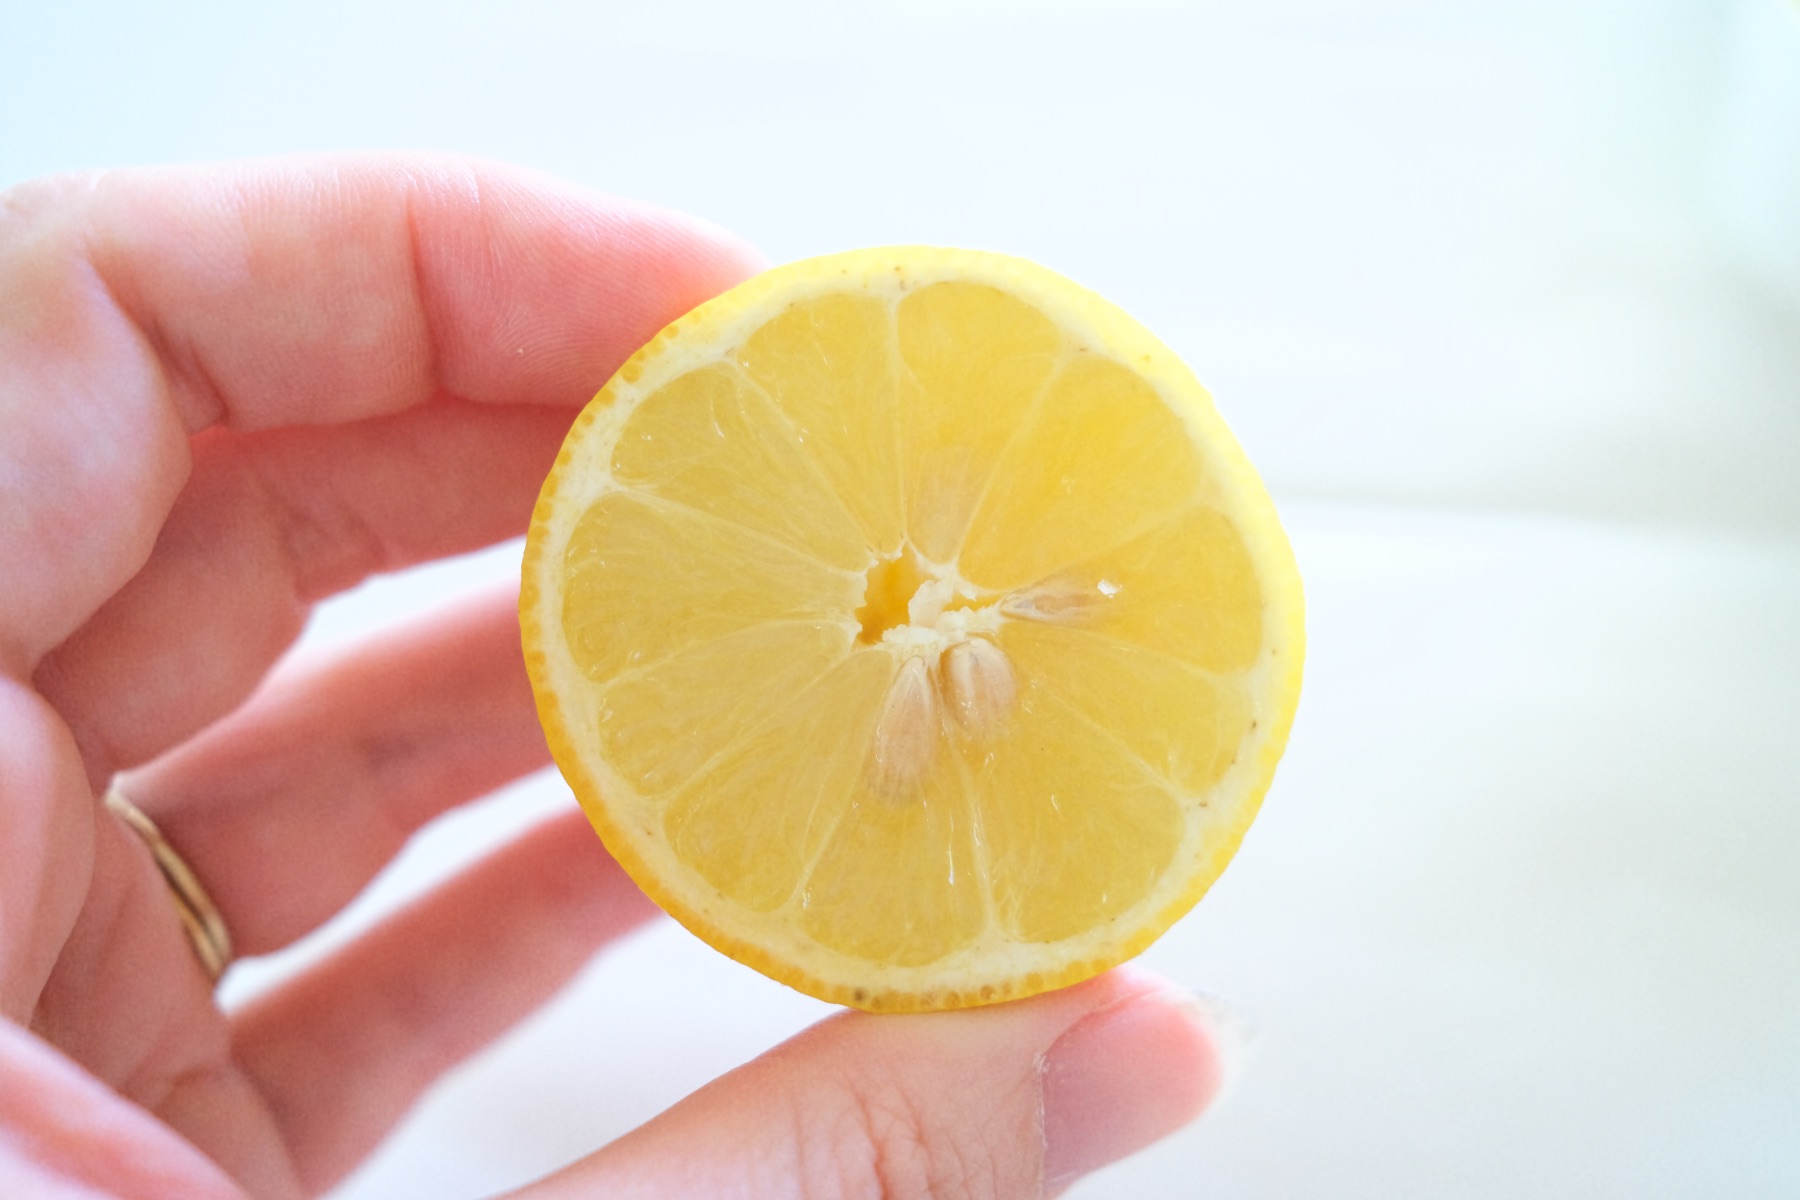
Next, use a knife to carefully and gently cut away all the pulp only leaving the skin and the rind. You will want to see the sections or segments of the fruit. It’s part of what makes the citrus stamp special. So be careful to leave that part intact and only cut and remove the pulp.
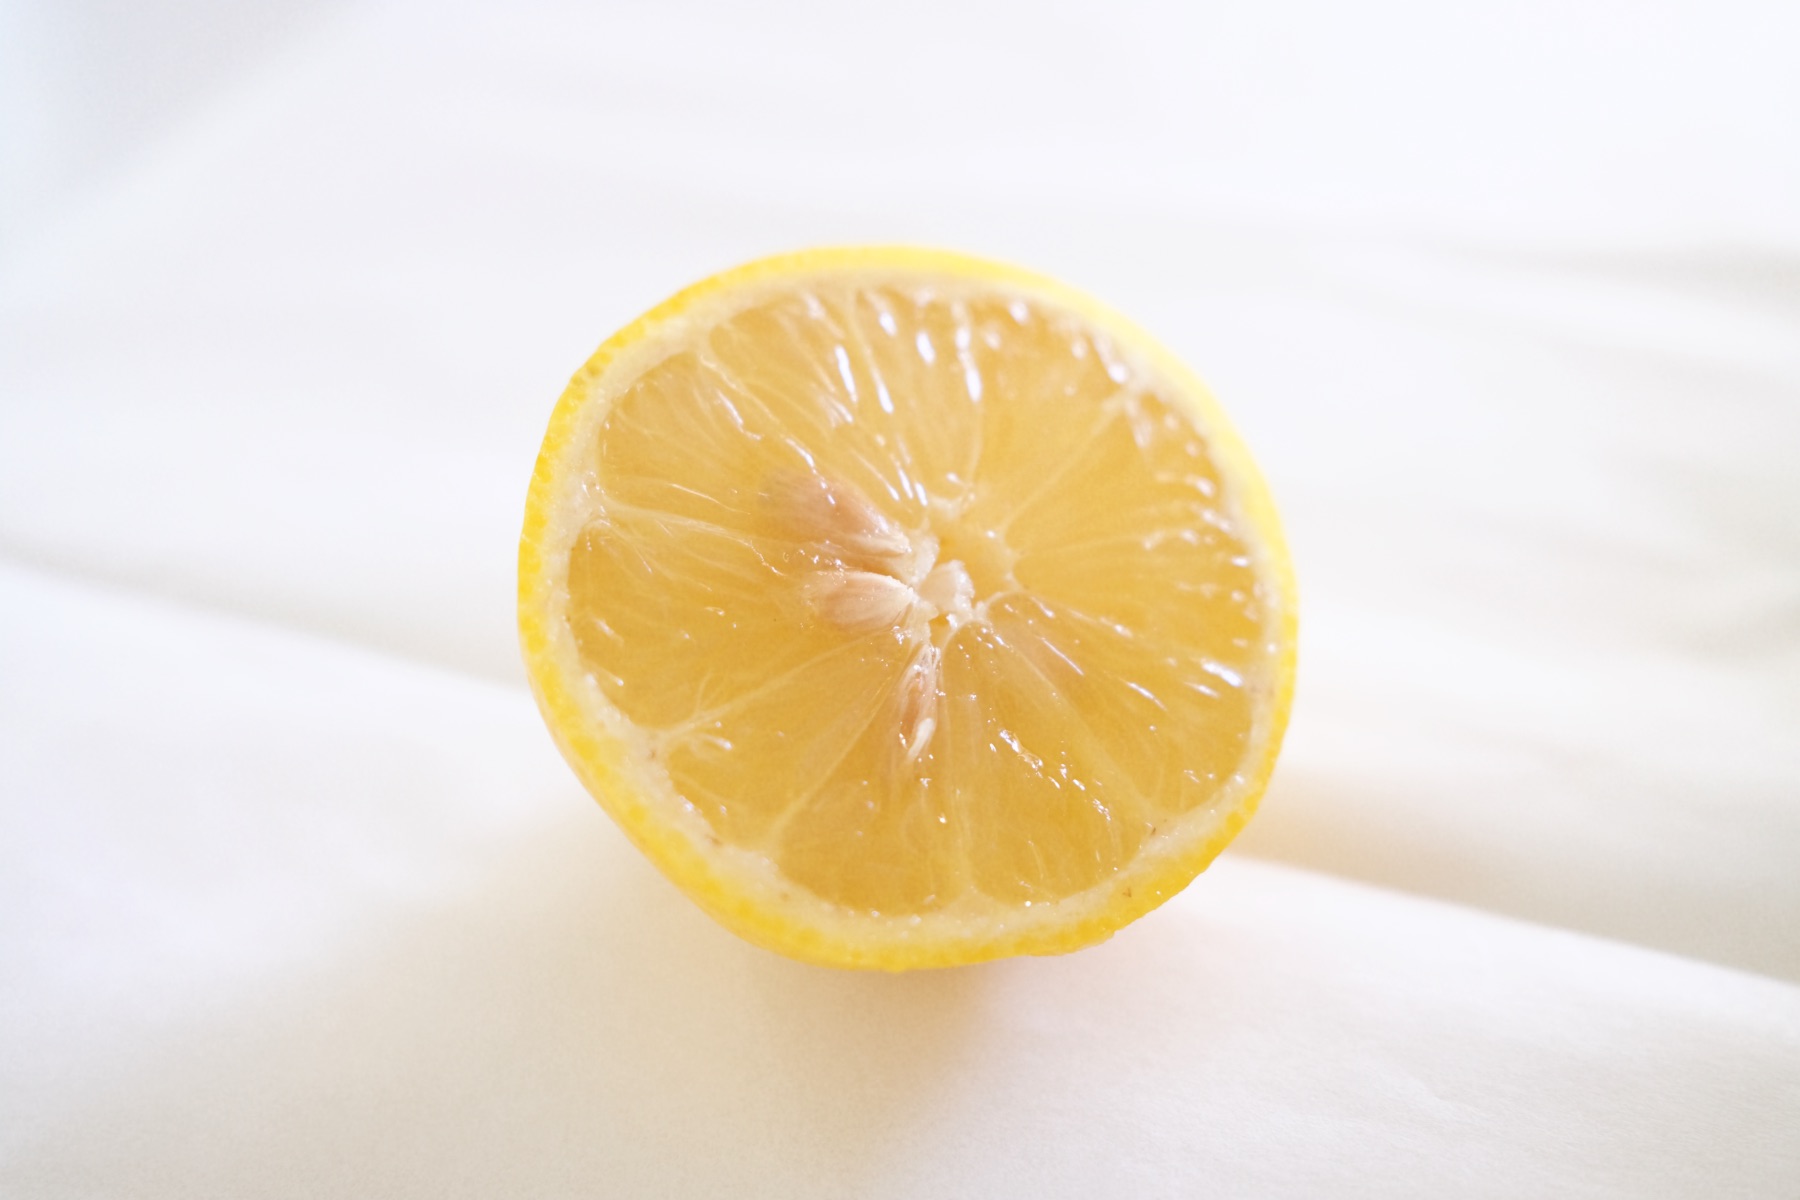
This Part is Extremely Important
Once you cut away the pulp from the fruit, let the citrus dry completely and thoroughly. You can do this by leaving the fruit out on the counter for a few days to let it dry naturally. Or you can place it in an oven at 200°F for a few hours.
To dry your fruit in the oven, it could take 2 hours or it could take 4 or more hours. You will need to be home for the day. So the weekend may be the best time to do this. And you will need to check it periodically to prevent it from burning. Follow these instructions to dry your fruit in the oven.
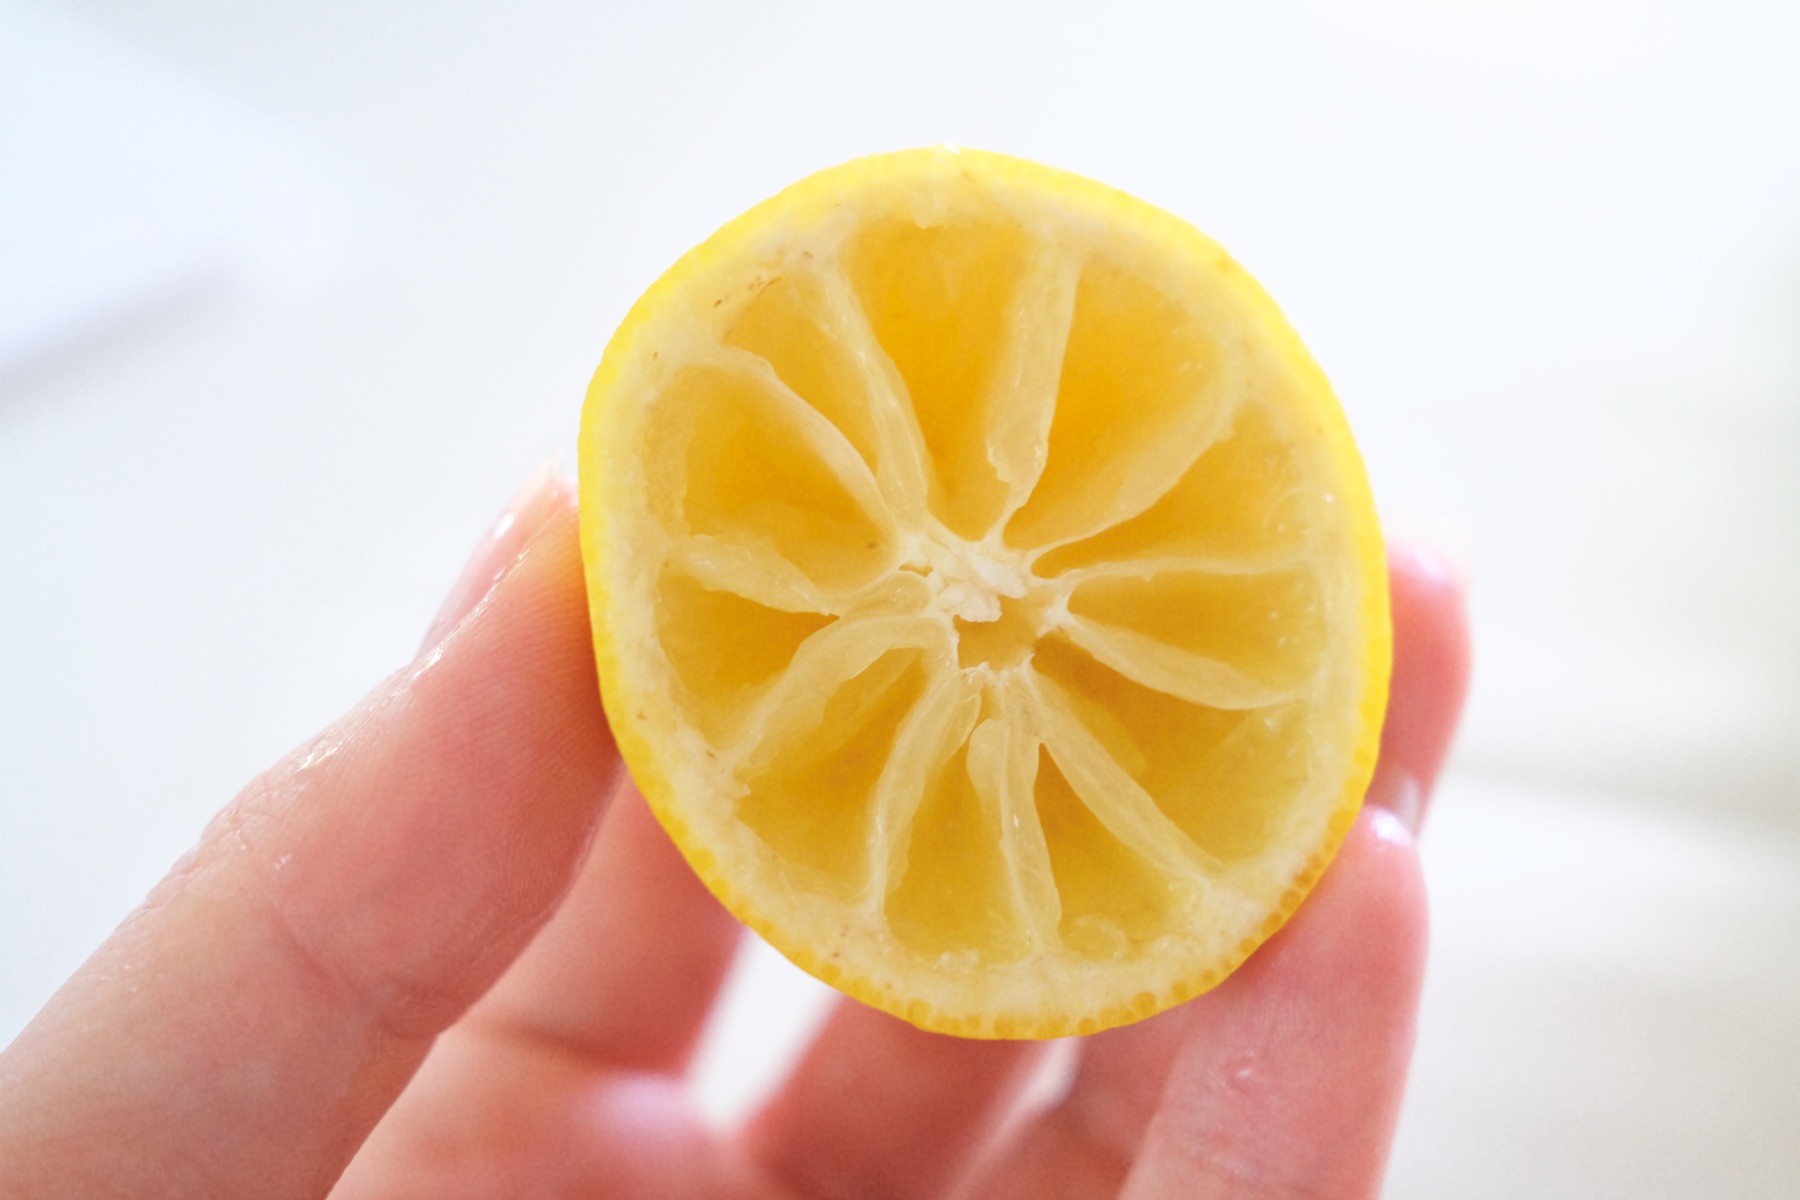
You have to dry your fruit before you use it as a stamp because if you use your citrus fruit while there’s still any moisture it will change the chemistry of the paint and stamping with it won’t work. Instead it will ruin the paint.
So your citrus fruit needs to be completely dry before you use it – whether you dry it in the oven or naturally, just be sure it’s completely dry before you dip it into the fabric ink.
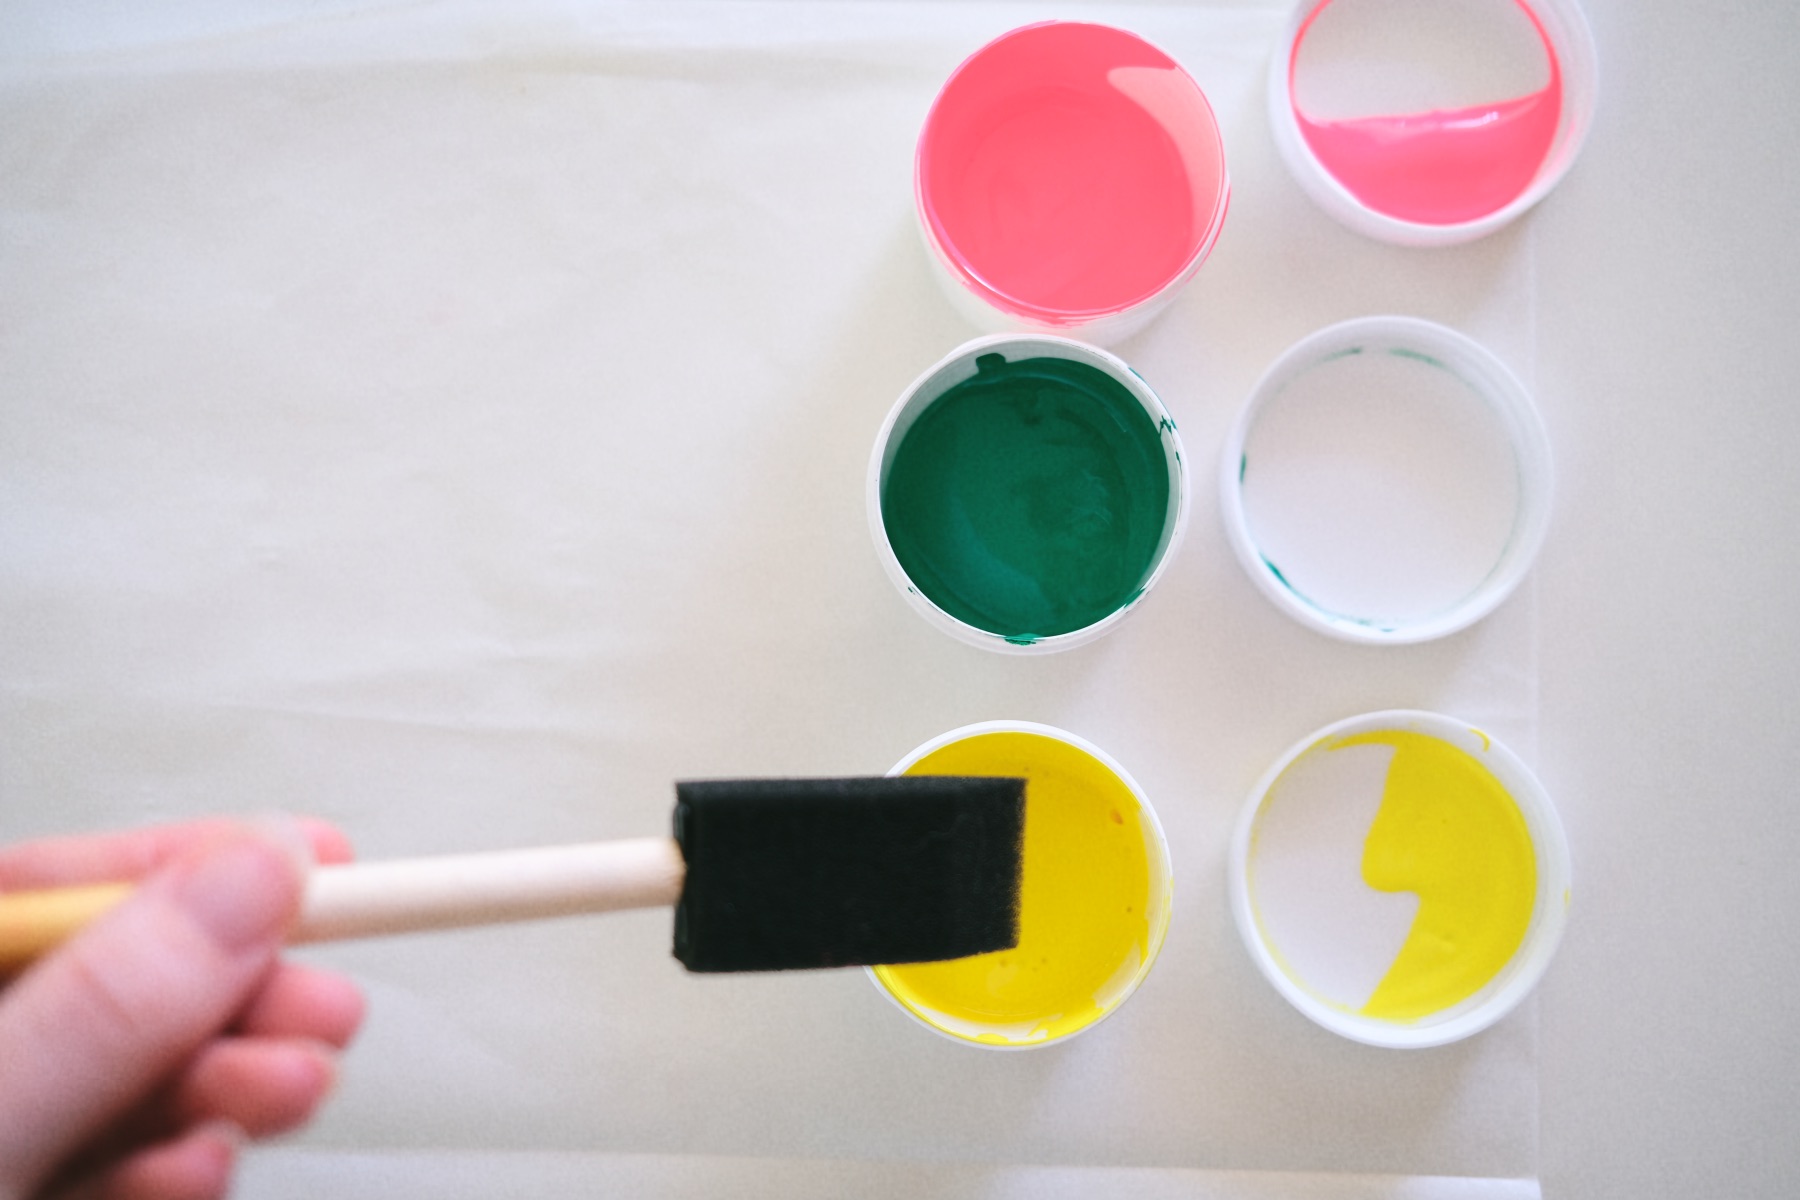
Choose a Citrus Color of Fabric Paint
Next, choose a citrus inspired color of paint and spread a thin and even coat onto your parchment sheet. You can use wax paper in place of parchment. You can also use a painter’s palette but you will want a palette that is completely flat – like a sheet of glass.
Don’t have fabric paint? Or can’t find your perfect color? You can make your own fabric paint by mixing together acrylic paint and Liquitex Fabric Medium. Here’s the recipe.
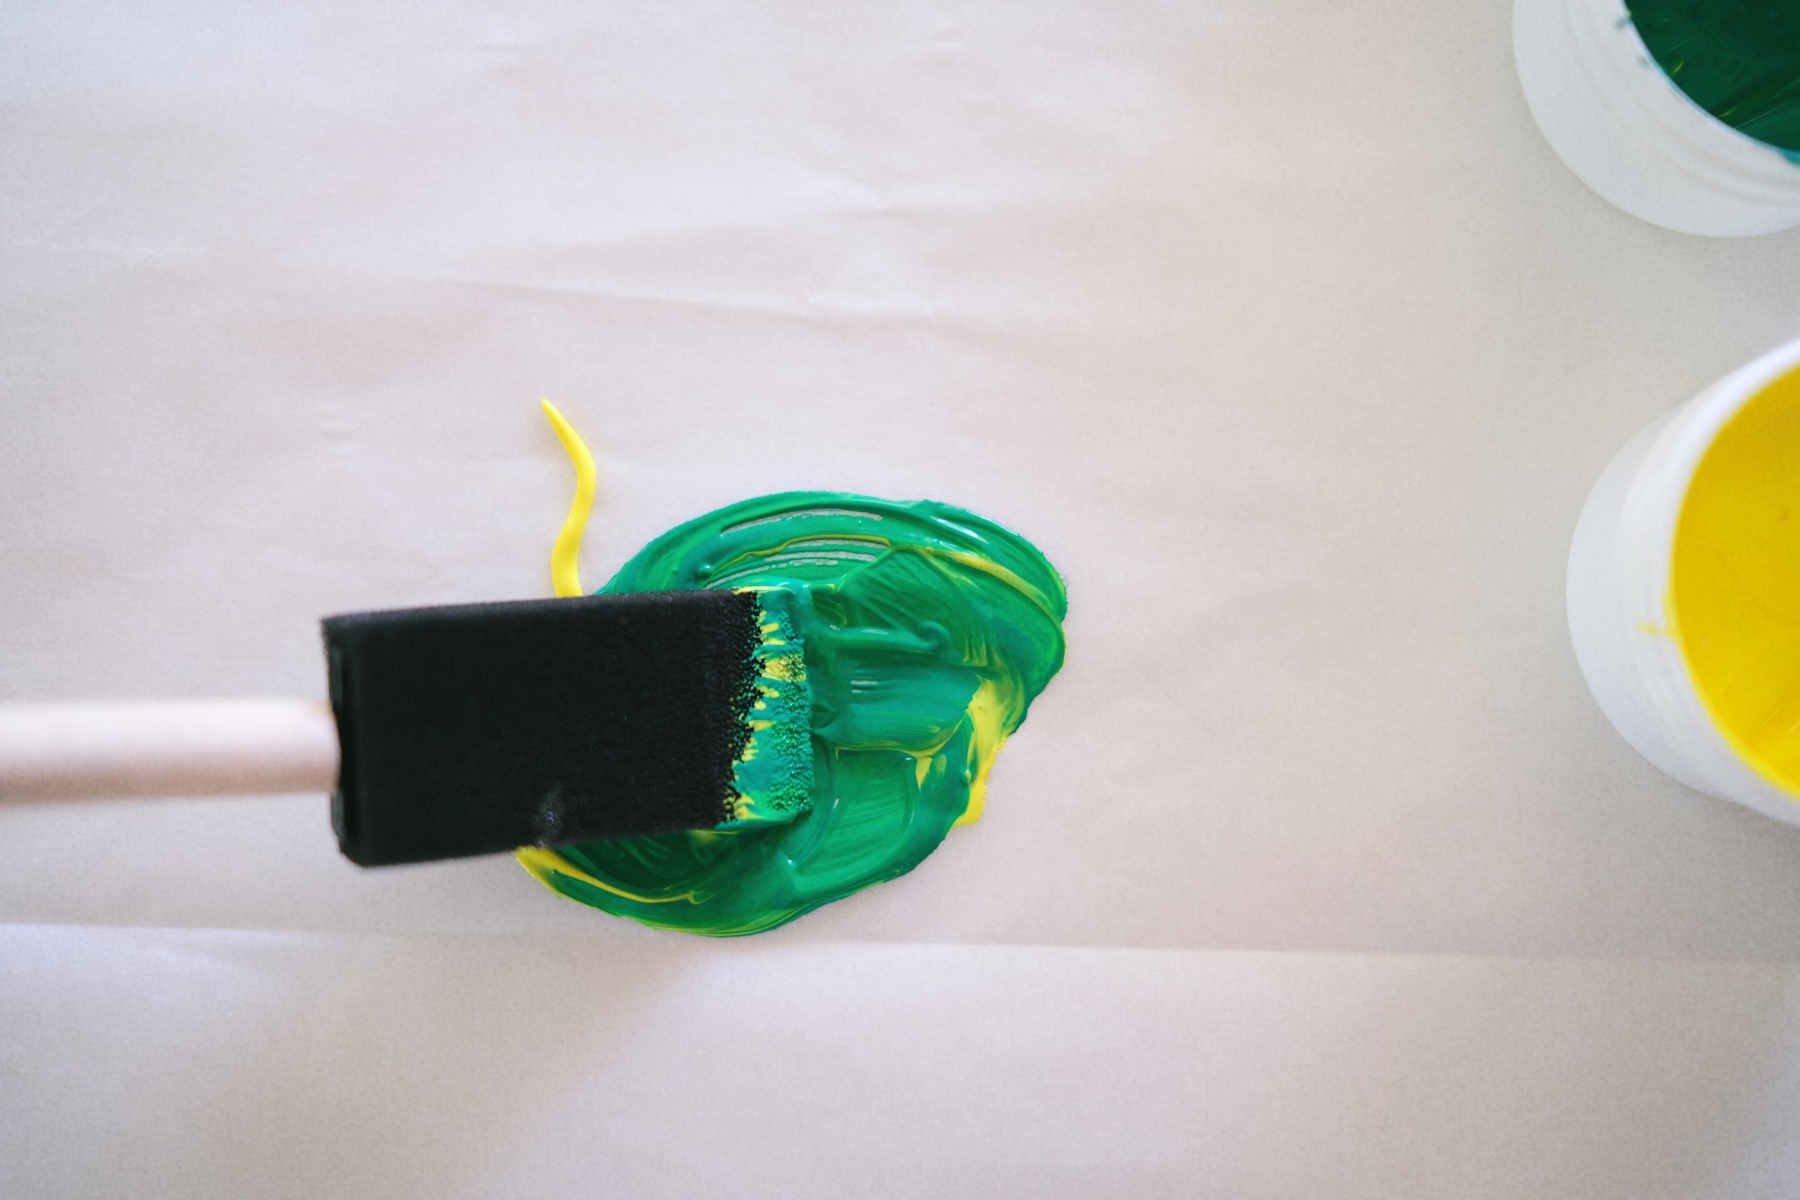
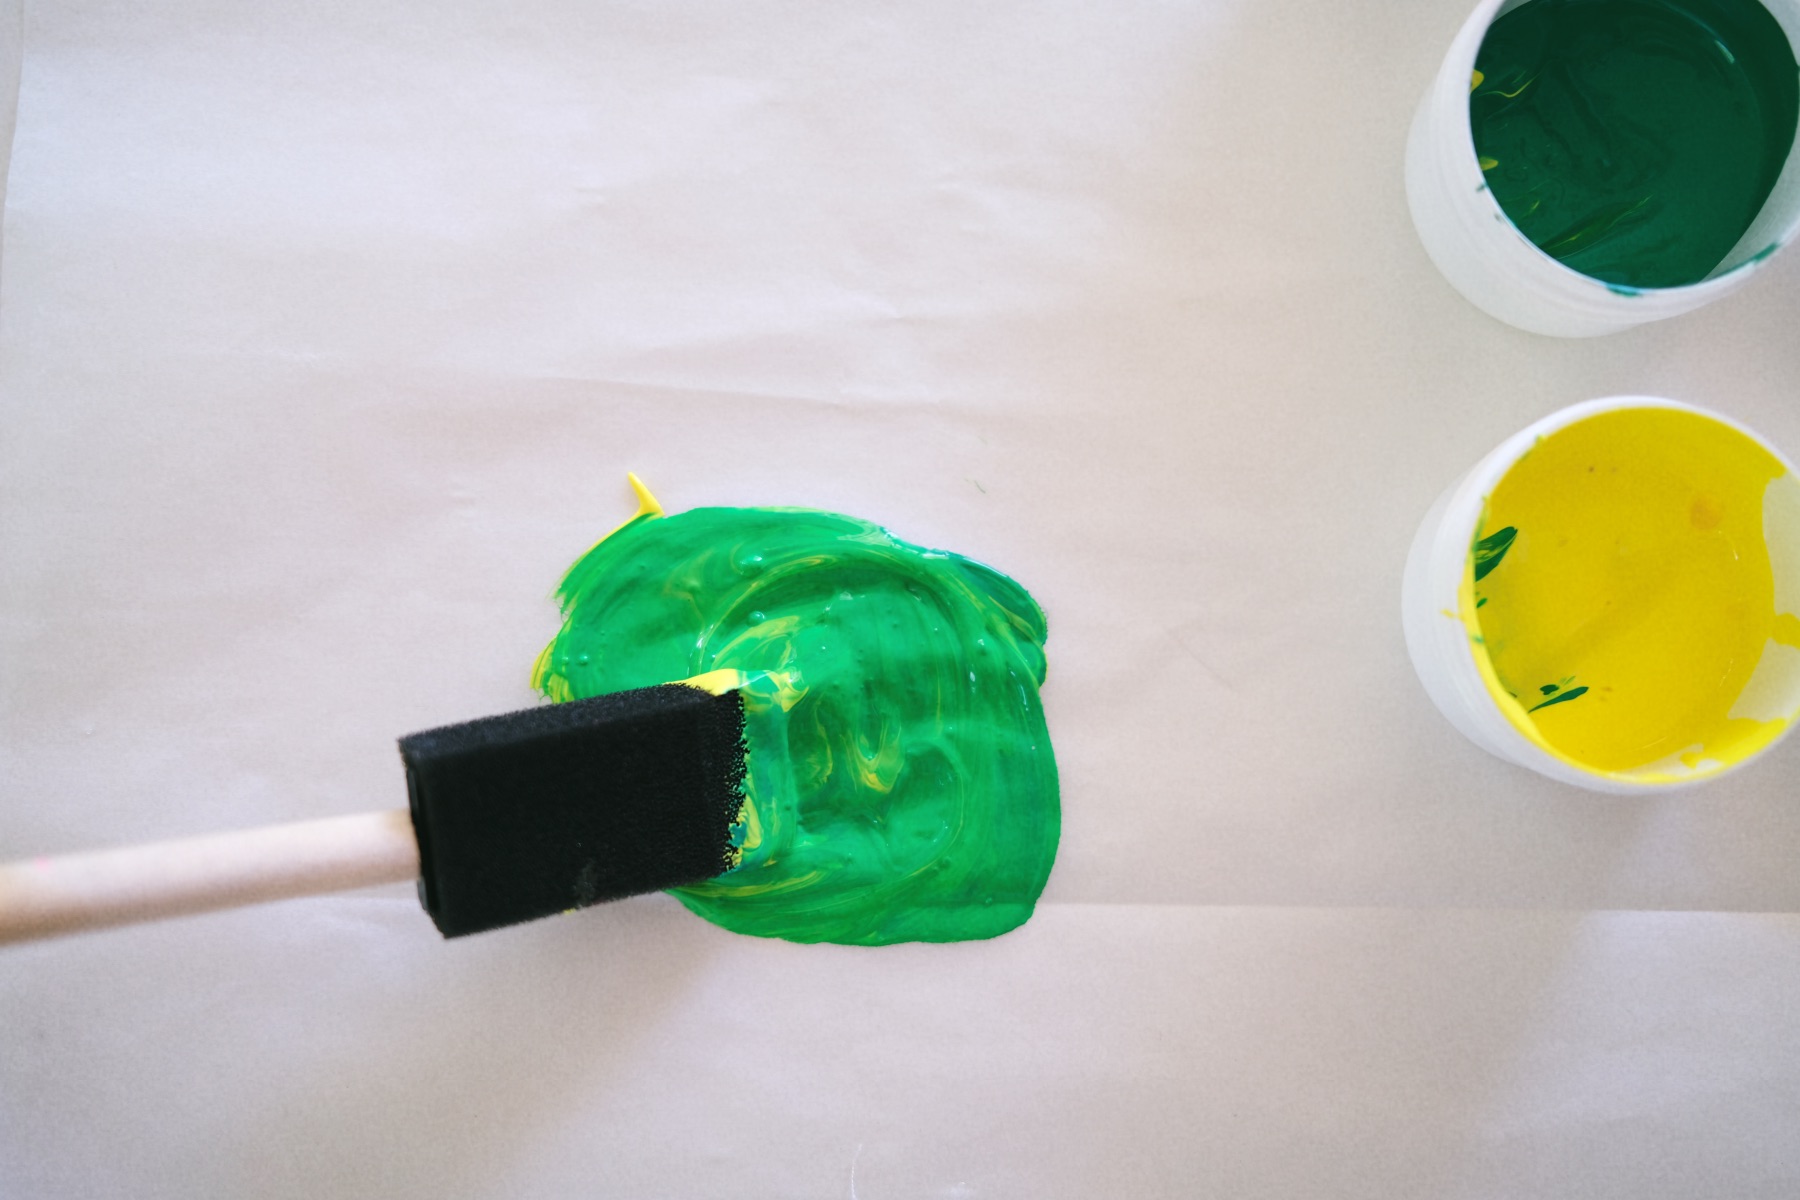
Now, any fabric paint can be mixed! And I highly recommend mixing your color. Paint straight from a tube or tub is never is pretty as a color that you mix yourself. Even with the colors I have here, I could mix the pink and yellow together to make the perfect shade of tangerine.
I mixed together the yellow and green to make a bright lime green color. With any color, make sure you mix your fabric paint thoroughly and completely. Using a foam brush works, or you could use something like a popsicle stick. You can also add a touch of water if your fabric paint is too dense. This is a water based paint, so adding water will help thin it out and stamp even smoother.
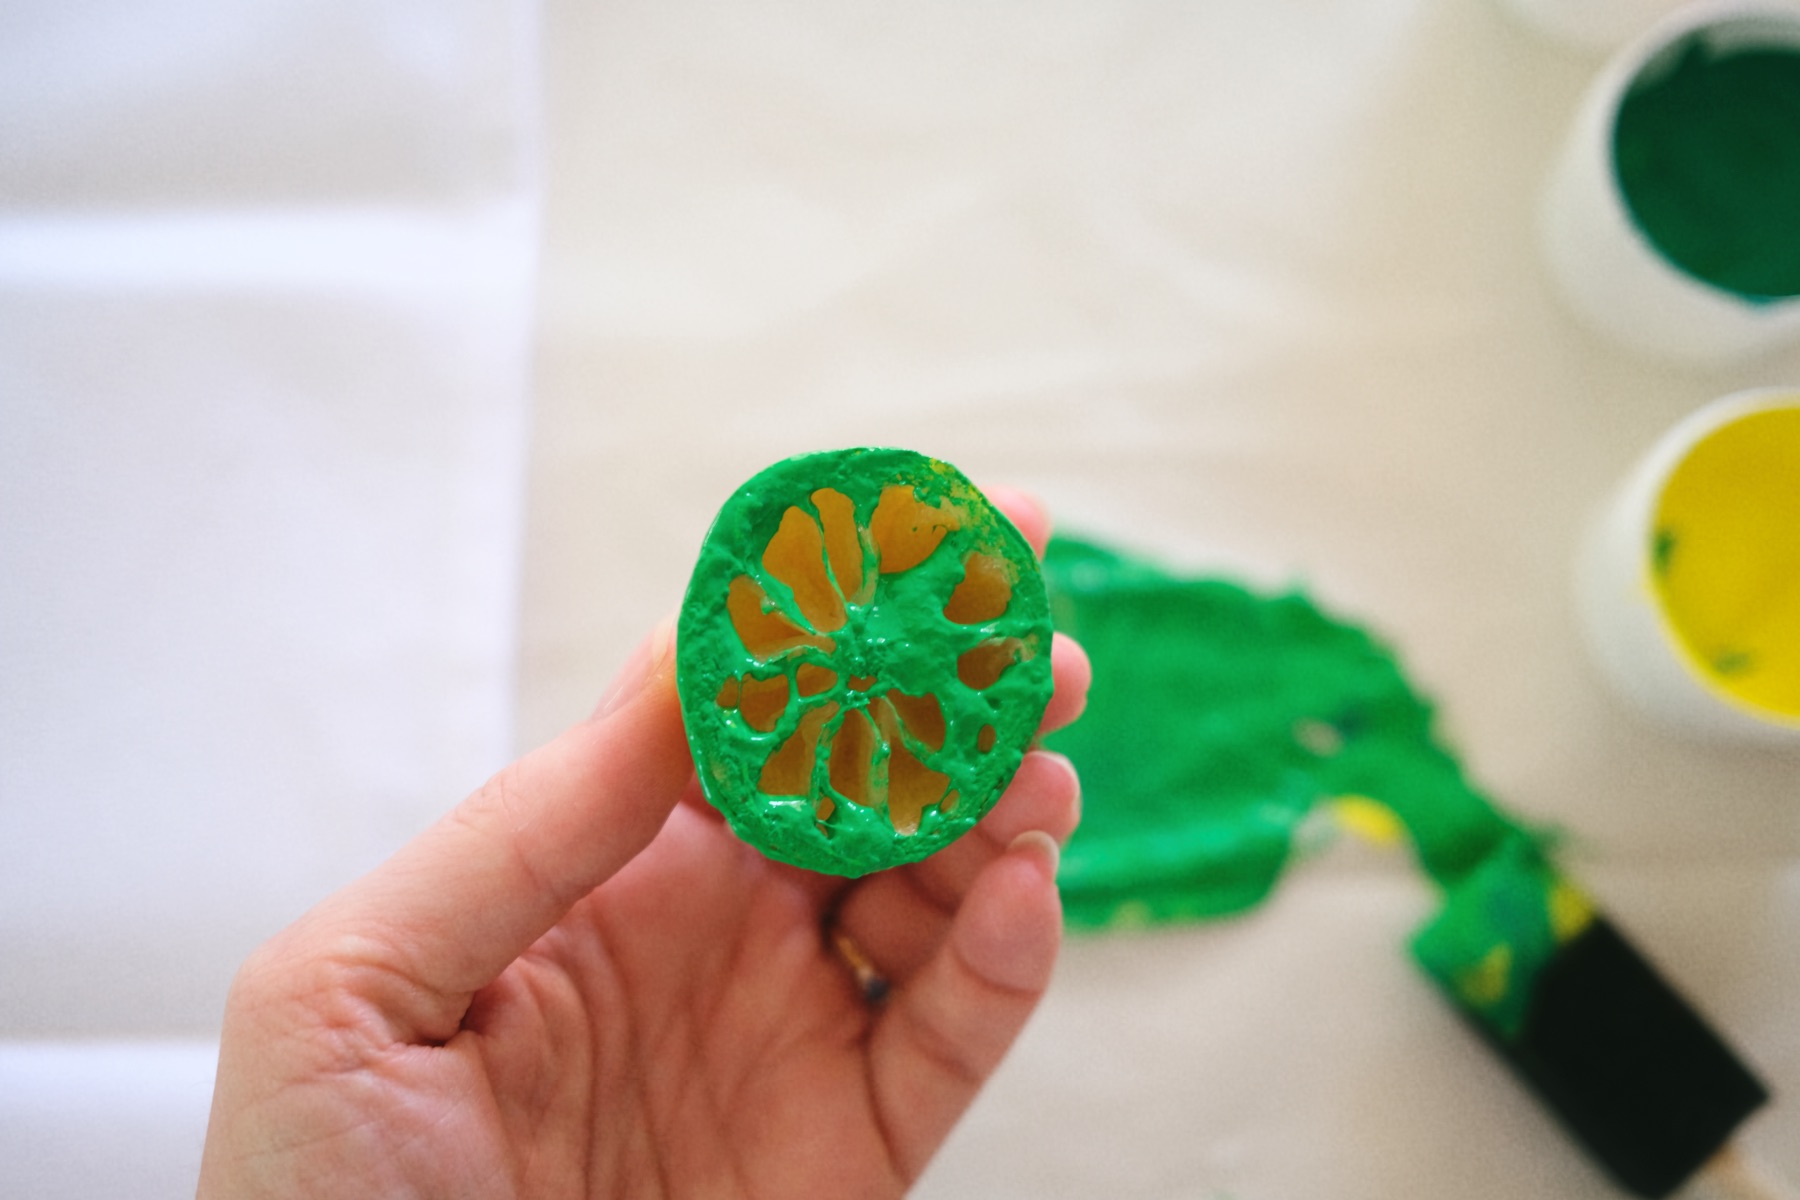
Coat the Citrus Stamp with Fabric Paint
To coat the stamp, slide it in a small circle around the parchment sheet to make sure that the entire stamp is evenly coated. Or you can use a foam brush to brush the paint onto the fruit.
Then press your stamp onto the napkin up and down. Be sure to not twist or slide the citrus stamp while it’s on the napkin so that you can get a clear, crisp image.
You only get one shot at this, so be careful to plan your stamping before you stamp.
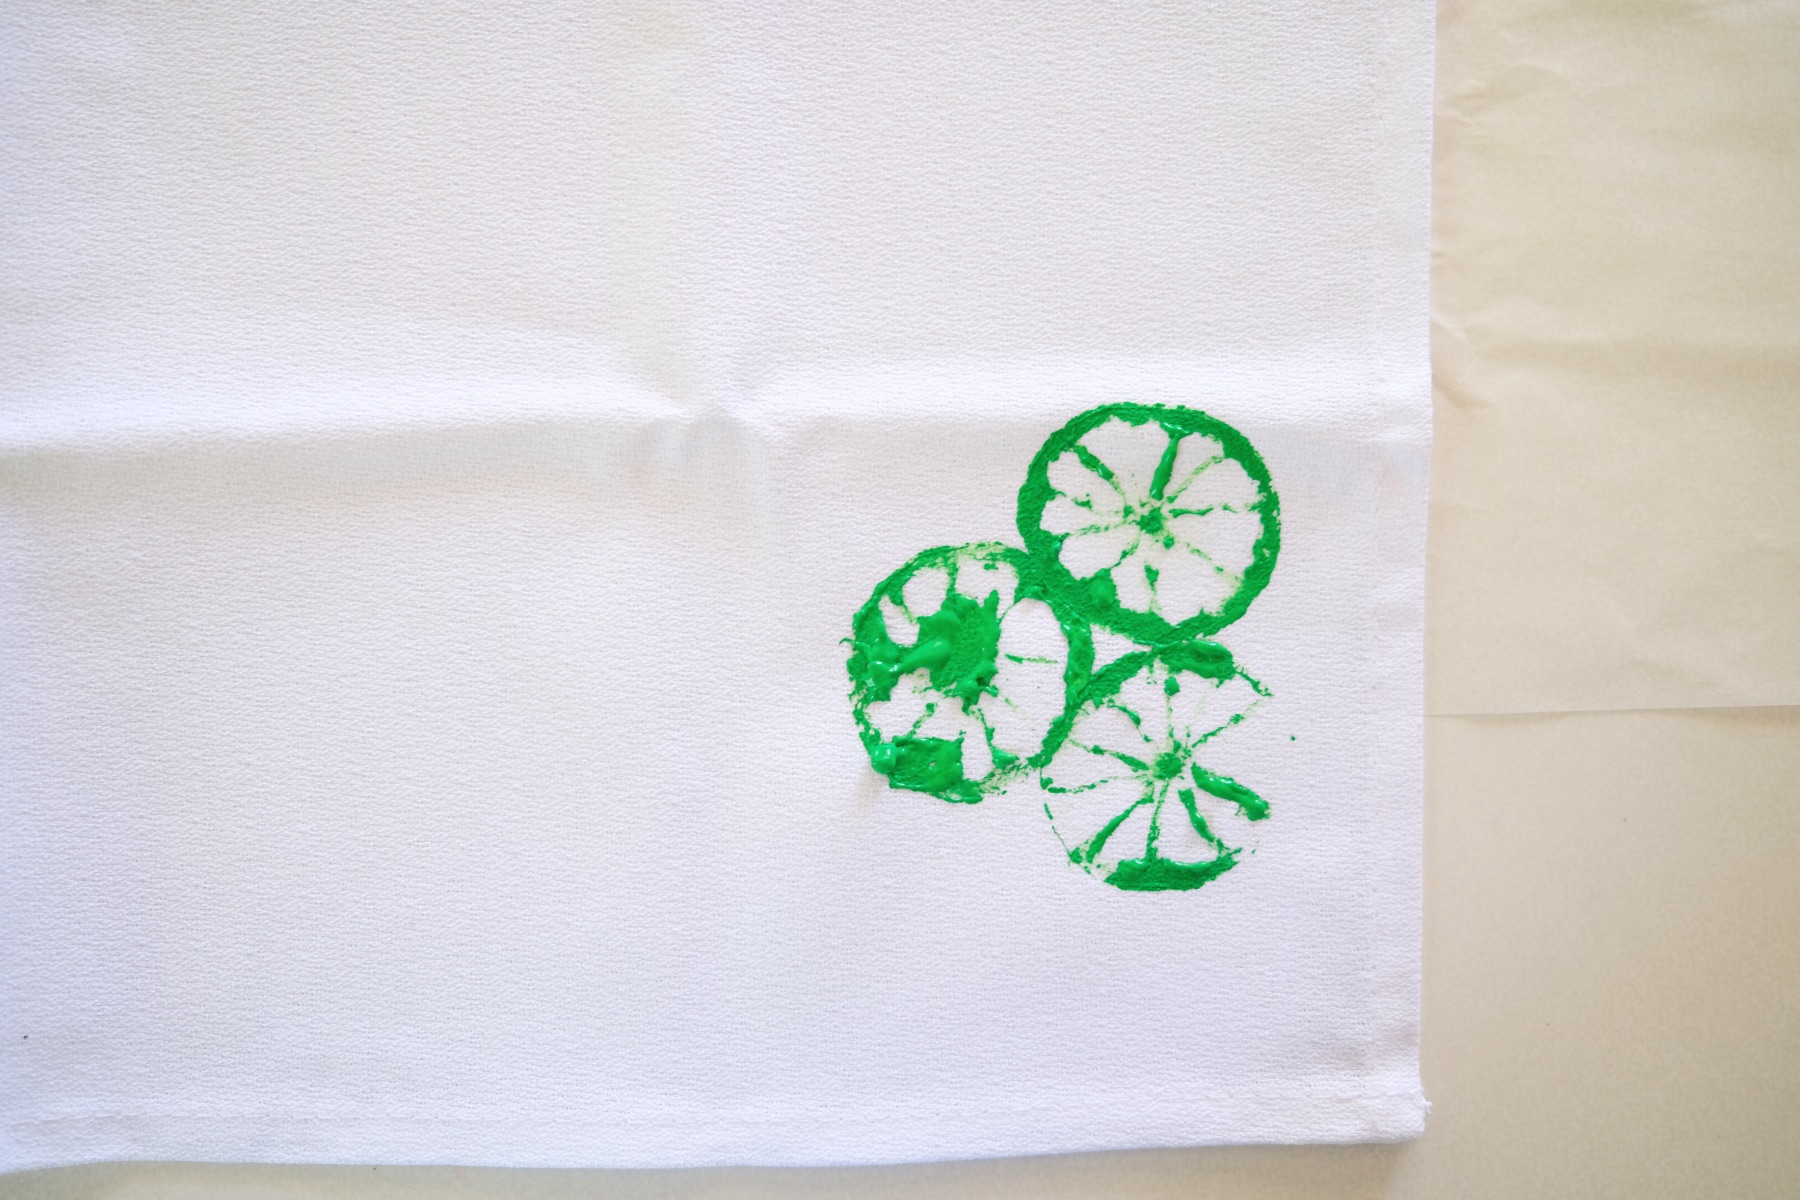
Make a Pattern
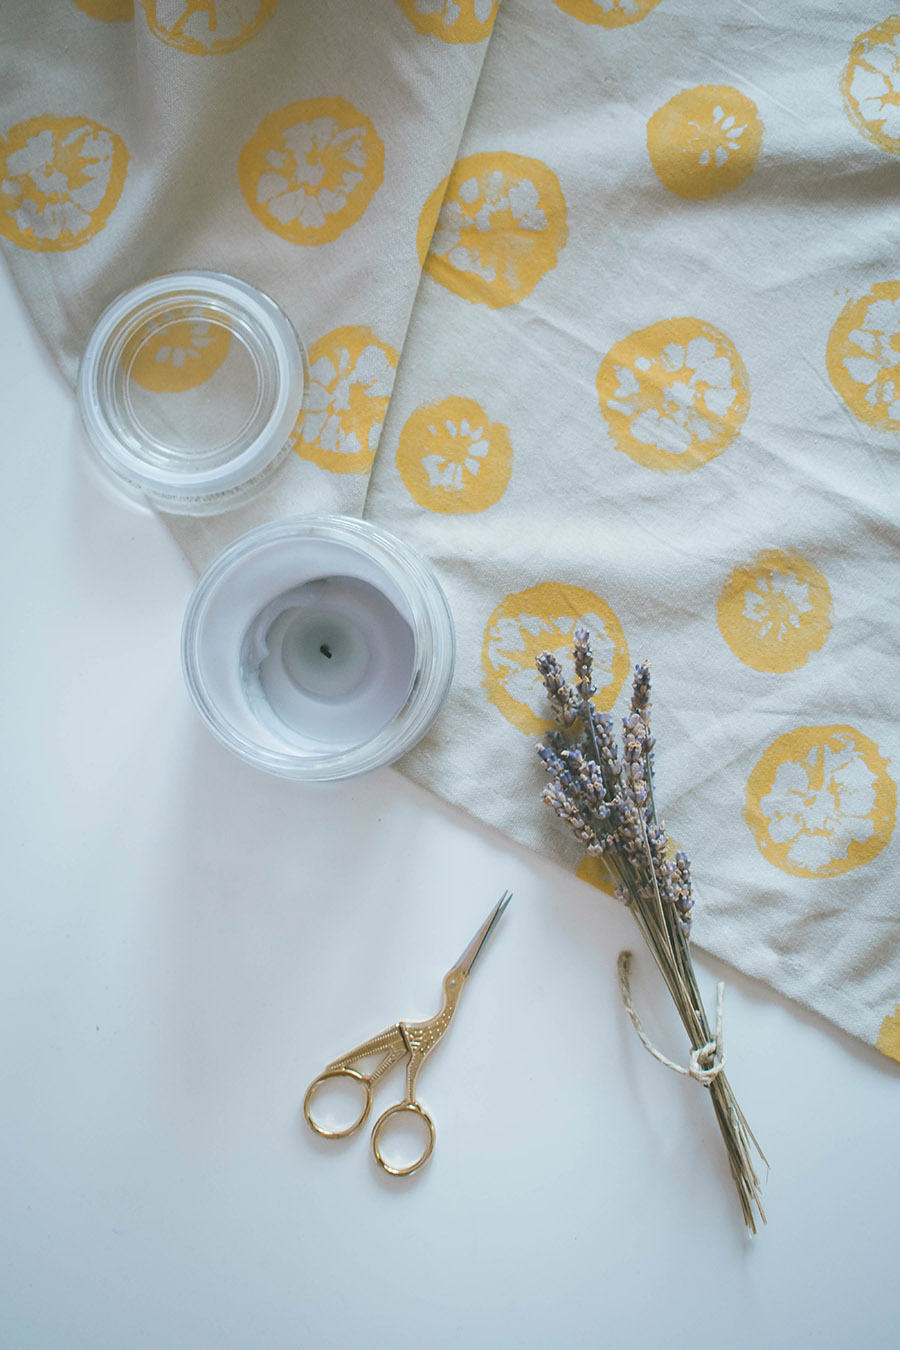
Now before you get really involved with stamping, take a minute to decide where to place your stamps. You can make an all over pattern, like the lemon stamps shown below.
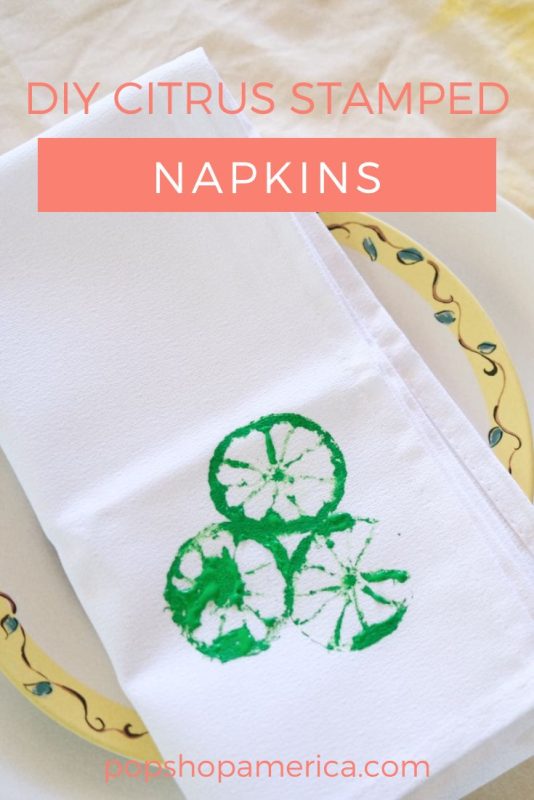
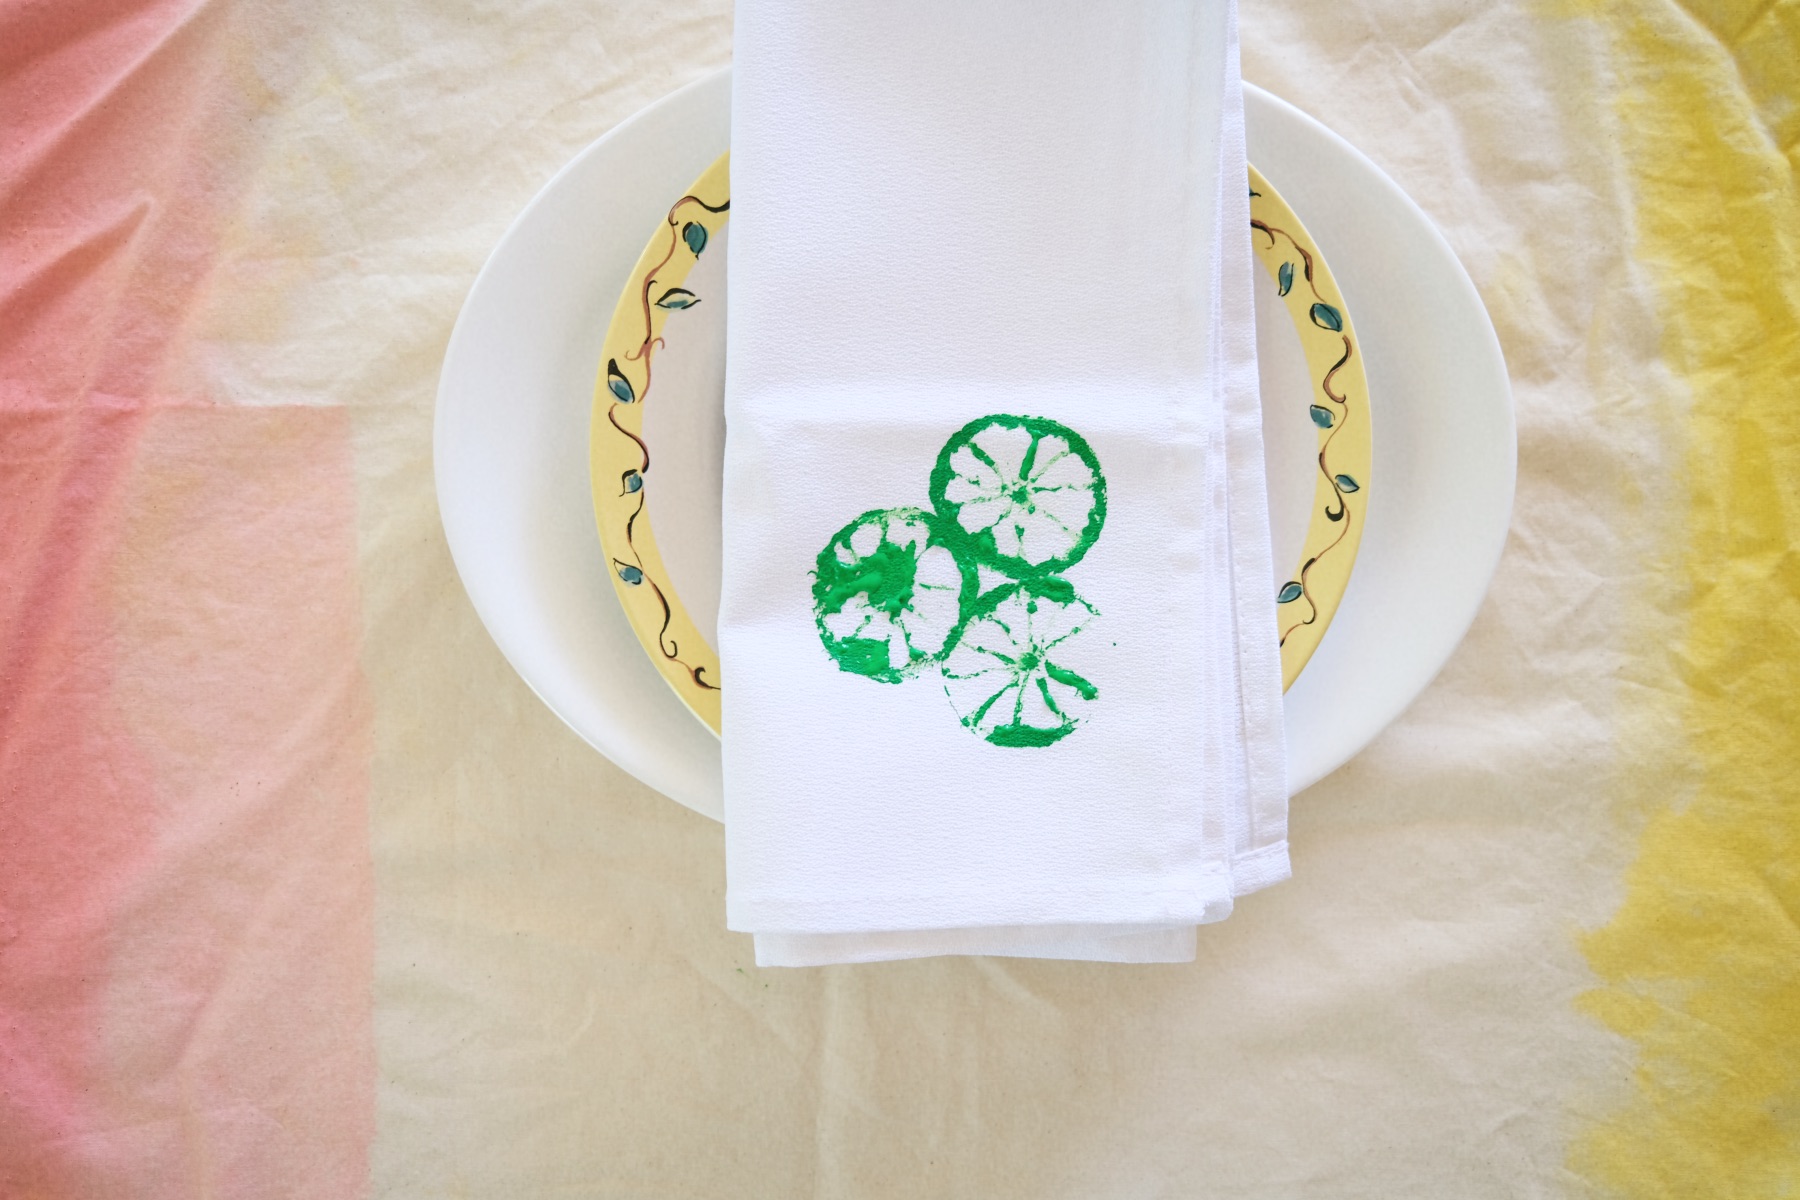
Or you can make a composition like I did with the lime stamps.
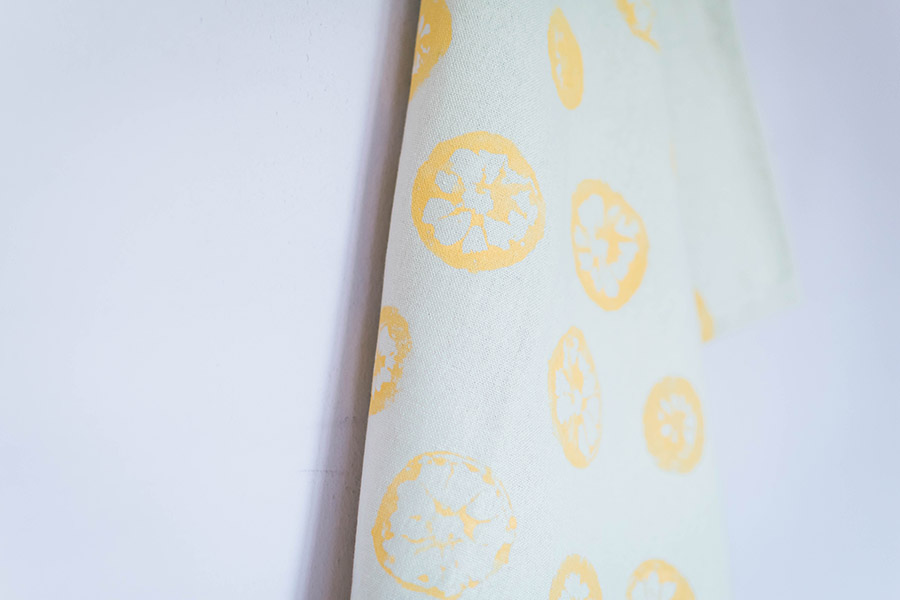
To make an all over stamp, make sure you turn the rotation of your stamp so that it’s not always facing in the same direction.
Then be sure to space some of your citrus prints closer and others farther away, so it will look like a unique pattern. You could even make 2 citrus stamps so they look different from each other and give the piece a bit of variety.
If you decide to make a composition, try placing 3 citrus together. 3 is a number that is pleasant to the eye. It works in the same way that the Rule of Thirds works.
So try placing 3 together that touch or at least are near each other.
Let the Fabric Paint Dry Then Heat Set With an Iron
Once your napkins are fully stamped, let the fabric paint dry completely. That will take around 1 hour to dry. It takes a little bit longer than acrylic paint.
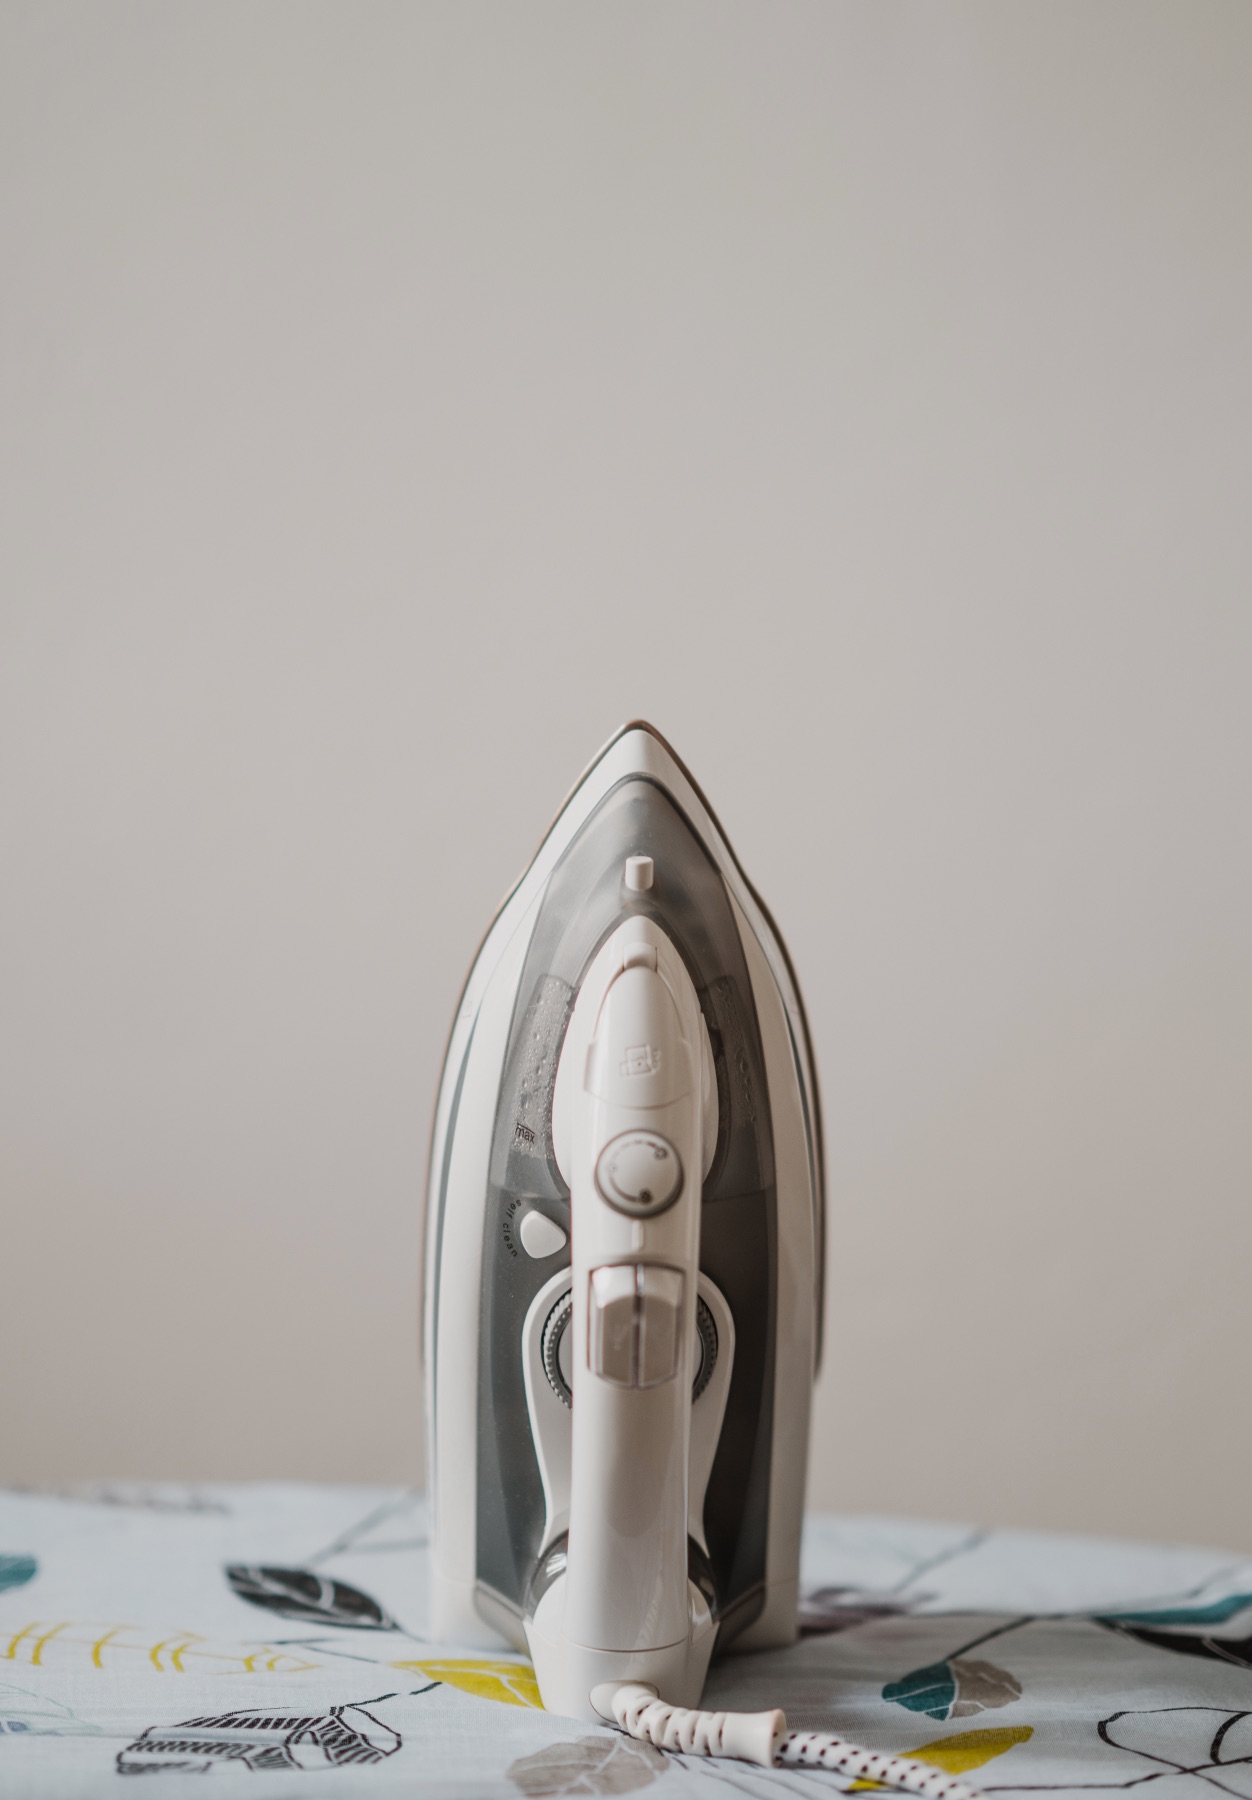
Next cover your napkin with a piece of parchment. Or you can fold the napkin over so you’re not ironing directly on top of the stamped area.
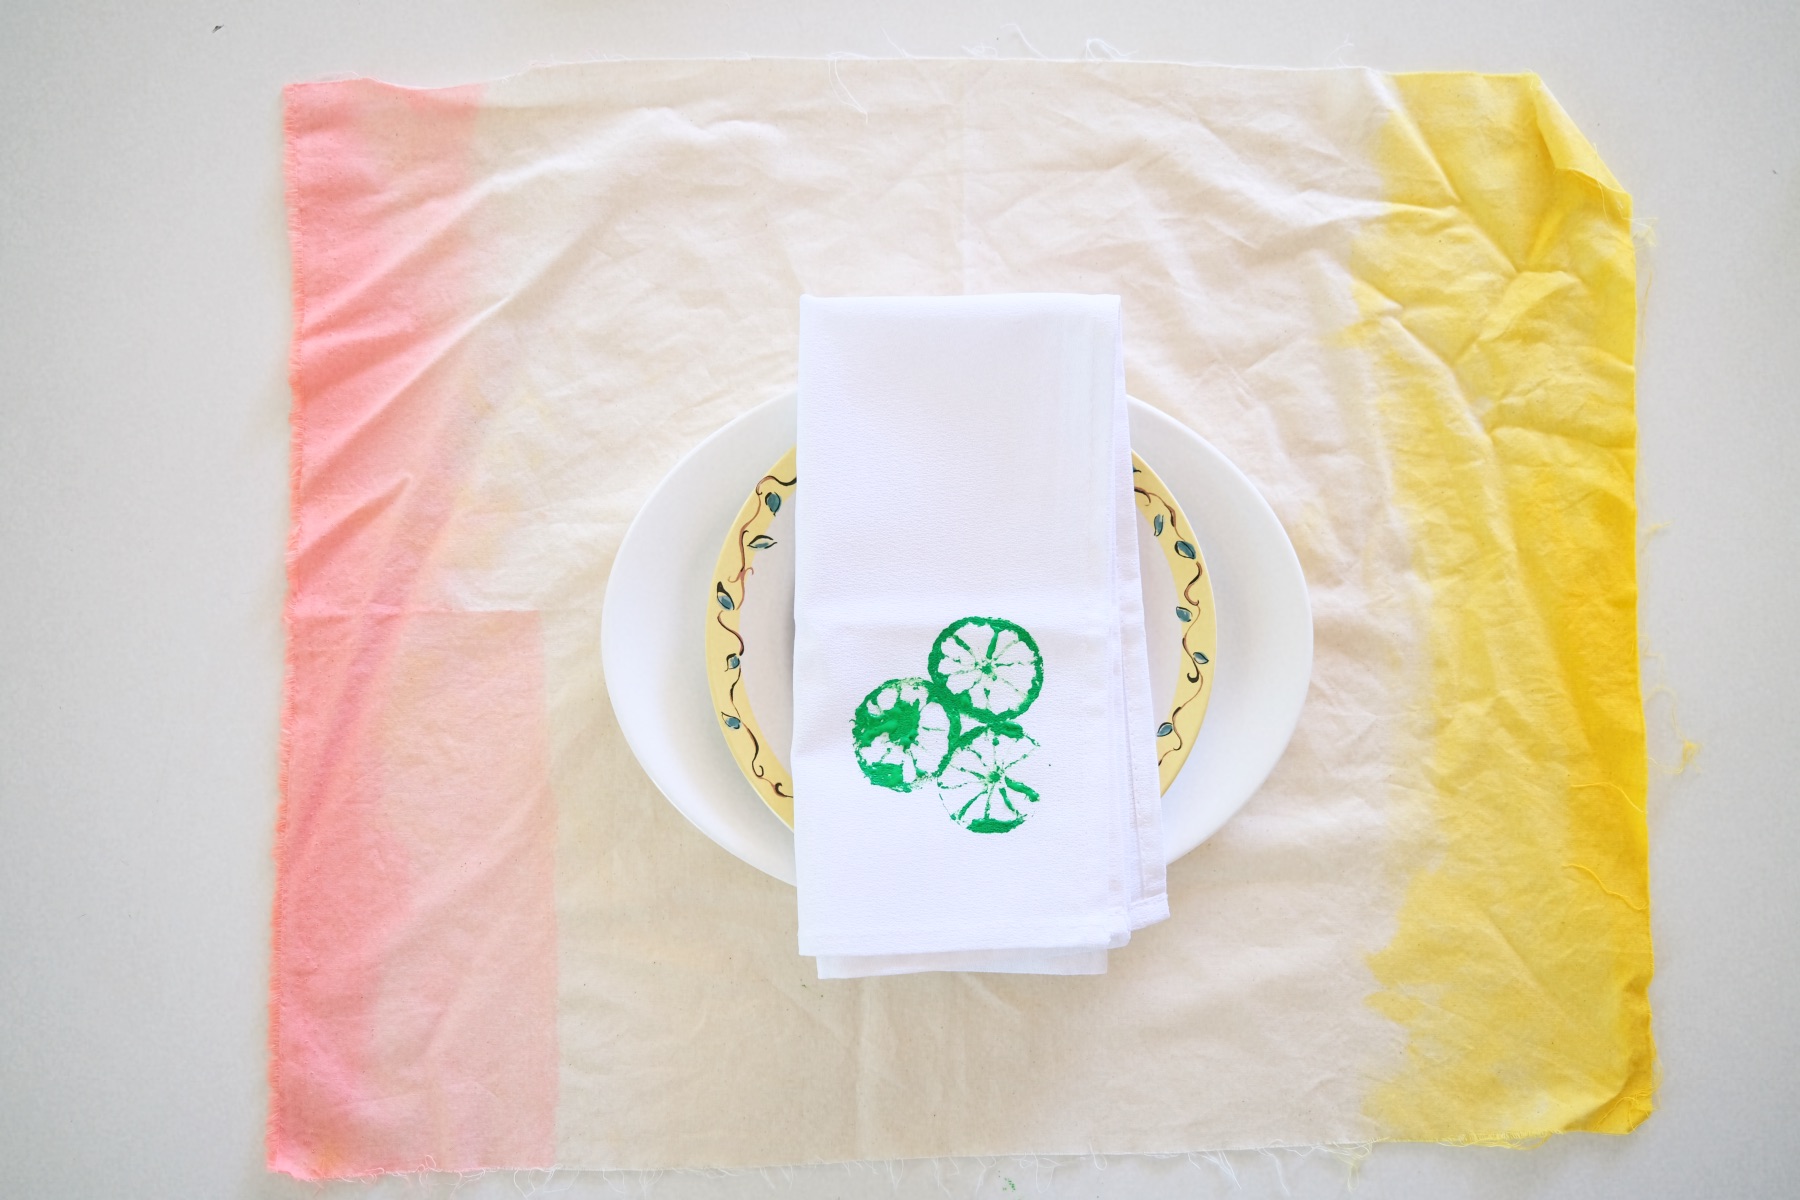
Then iron on the “cotton” setting for 3-5 minutes keeping your iron in motion. If you are using a fabric other than cotton, use the setting for that fabric! Cotton is a very hot setting.
Some people try to use a dryer method to heat set fabric ink. It doesn’t work very well! Using an iron is the best way. And if you don’t iron it, a lot of the ink will come out – not all, but most of the ink will wash away.
What If I Don’t Like My Pattern? Or Color?
Washing the fabric before heat setting it can be a great trick if you finish your piece and decide you don’t like it. Or if you just want to use your napkins 1 time. You can wash your napkins in a washing machine before ironing them to make the fabric paint permanent.
But remember, most of the ink will wash away, but not all of it.
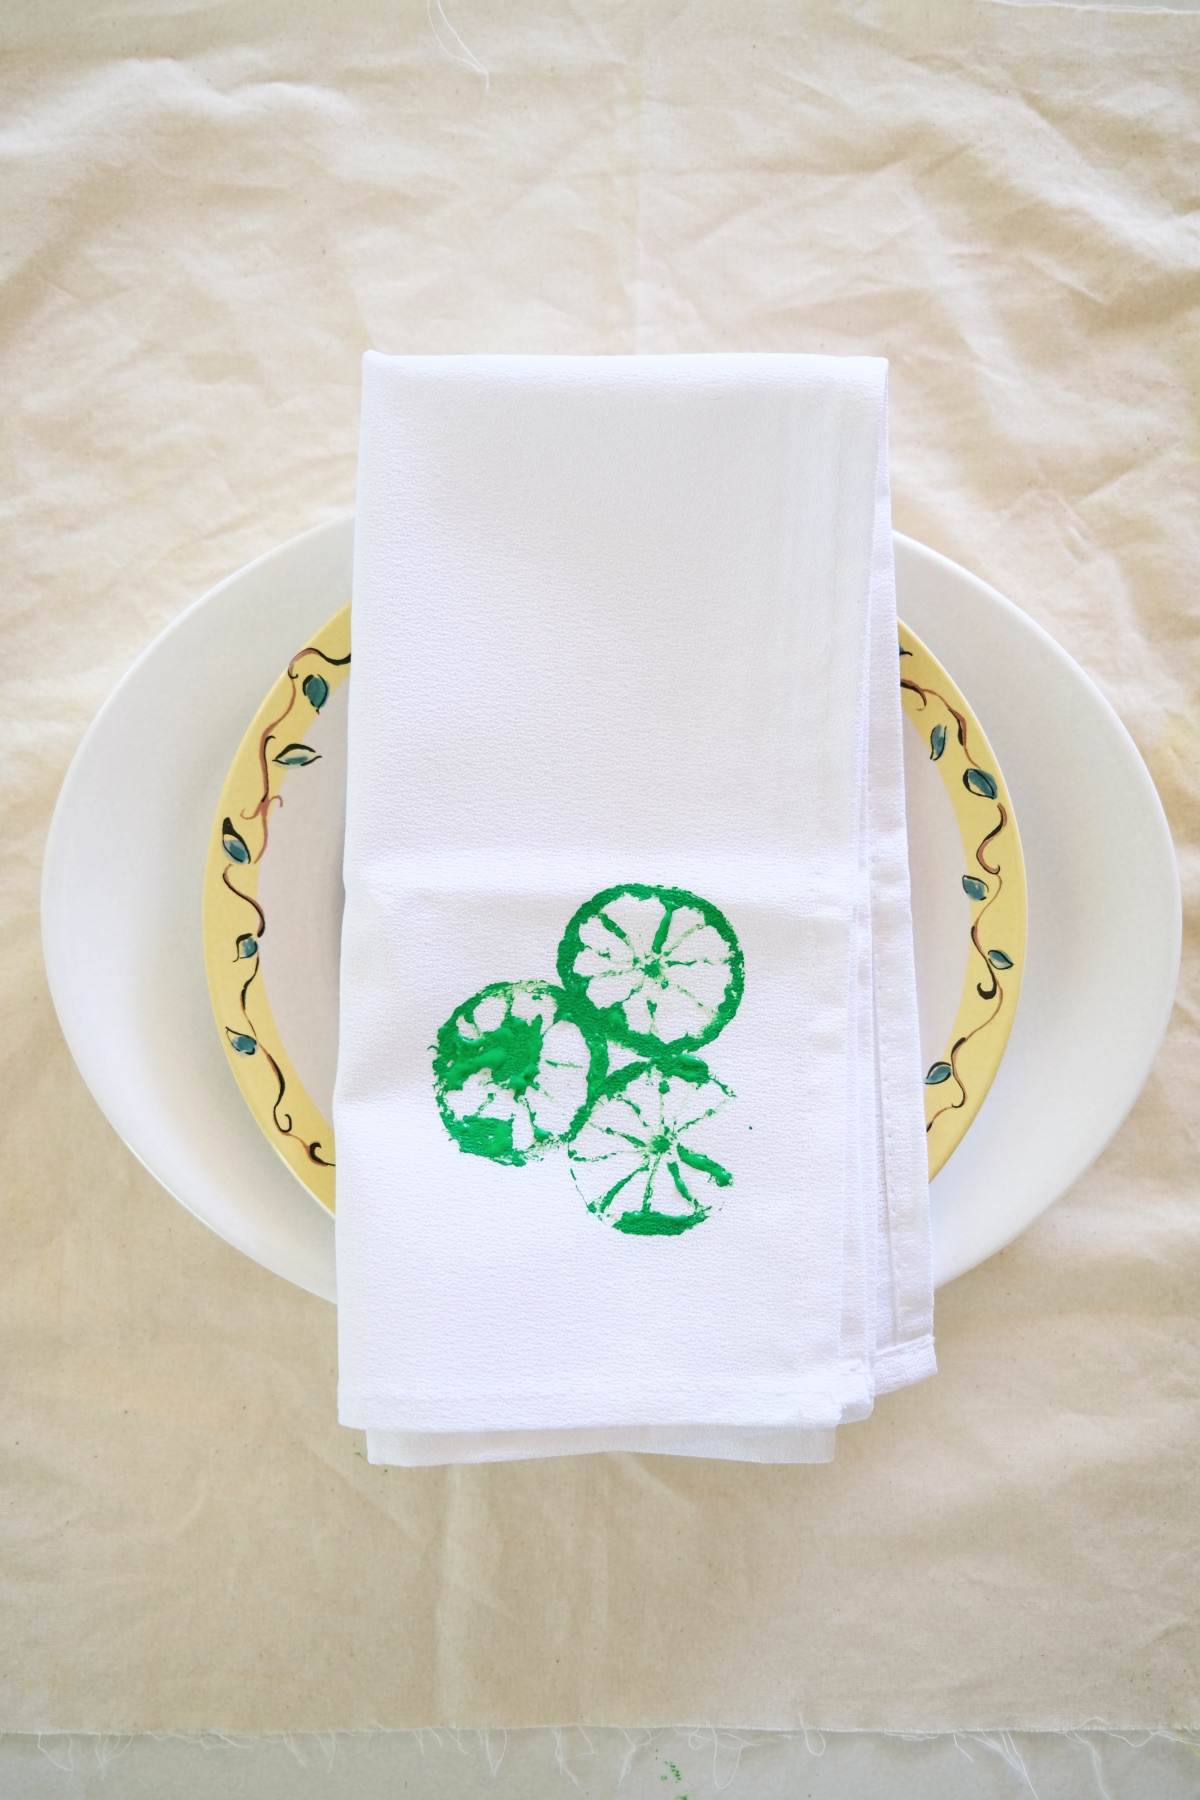
Once you have heat set your ink, your Citrus Stamped Napkins are ready to use! They are a great house warming gift idea. They are perfect for a summer dinner party. And hopefully they will inspire you with how many other items you can citrus stamp – you could make art prints, tea towels, handkerchiefs and more!
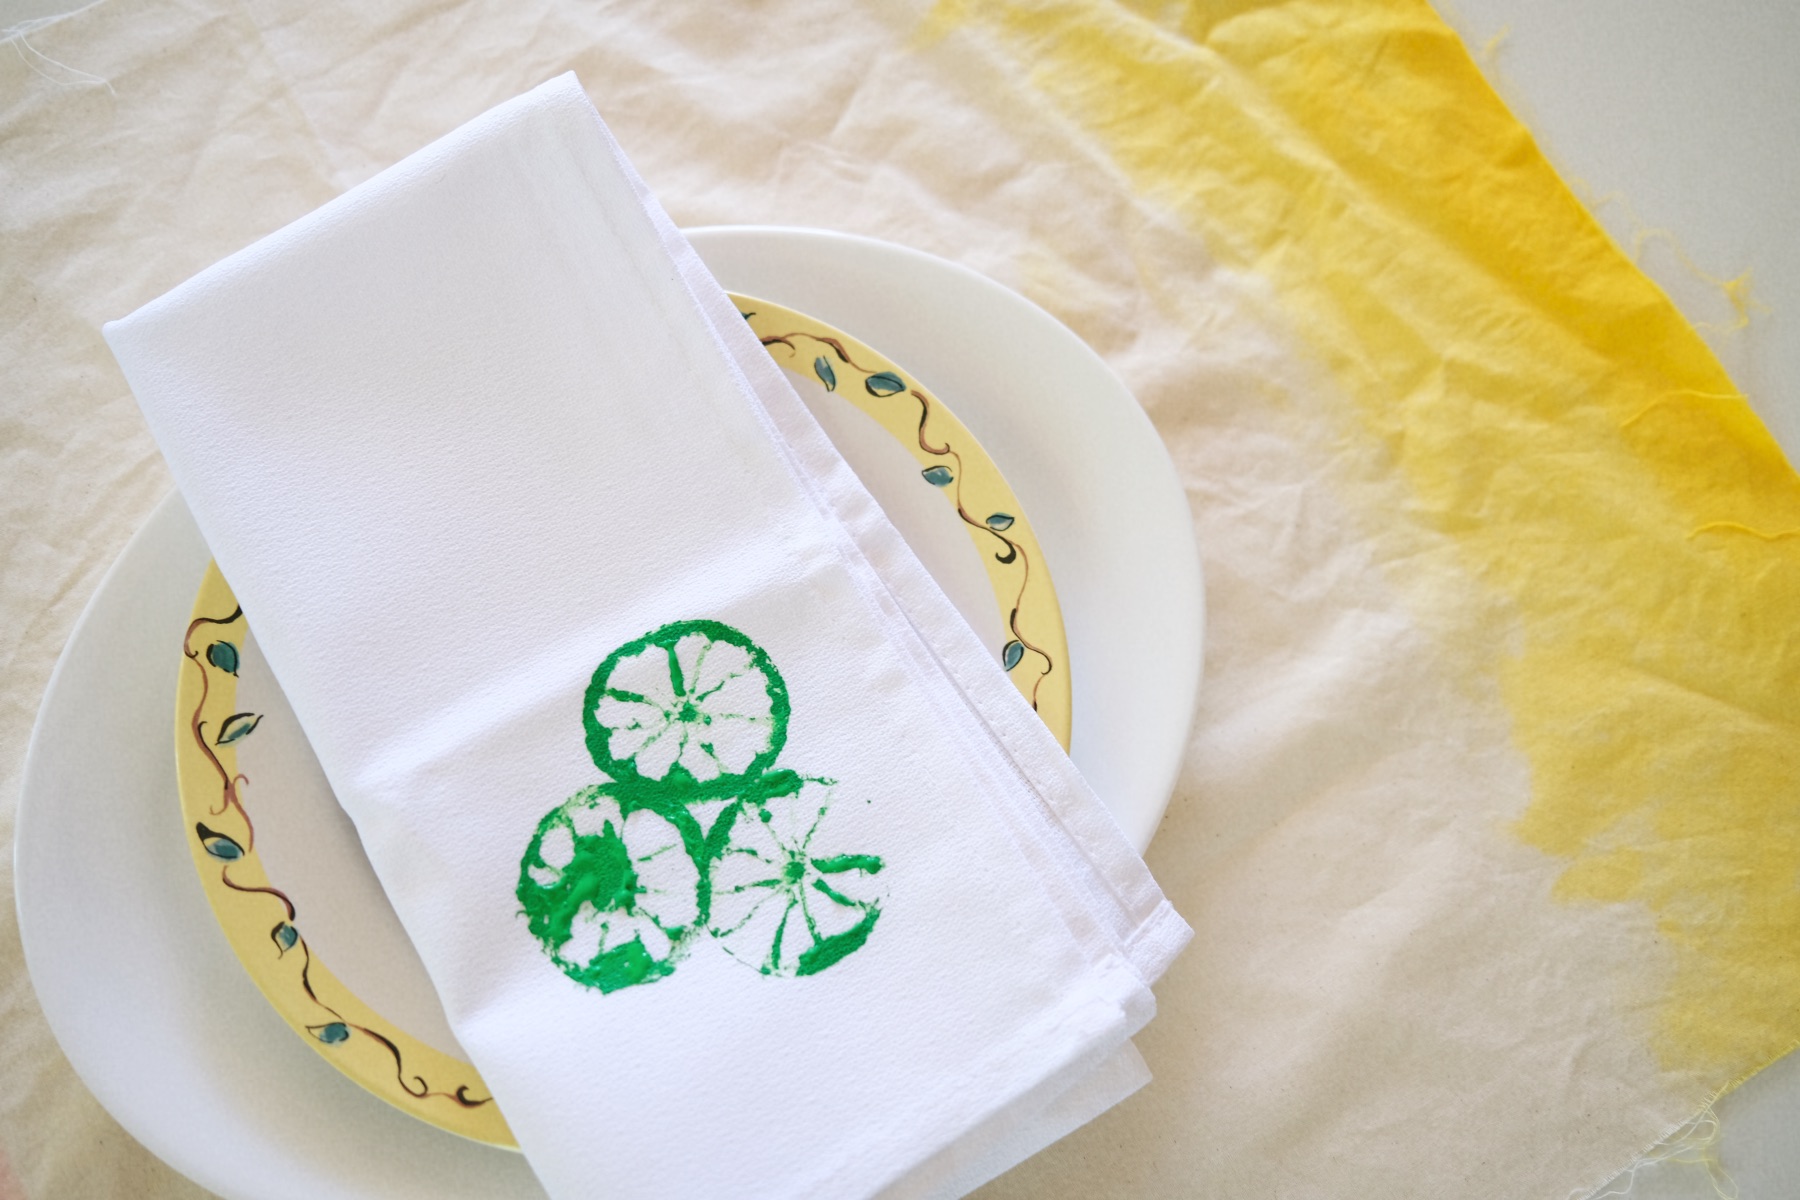
Ready to make this project for yourself? Tell us in the comments what color you chose and send us photos of how yours turned out! We would love to see them.
Let’s Stay Friends!
Insta | Pinterest | Enews | TikTok


