Craft in Style Subscription Instructions, DIY
How to Make Geometric Gemstone Candles
This is Part 2 of 2 of the September 2020 Craft in Style Subscription Box tutorials. Part 1: How to Melt Candle Wax without a Wax Pourer can be found here. And the Craft in Style Subscription Box can be found here.
There’s nothing prettier than candles! And the best part is, there are so many different ways to make them. You can make Candles with Dried Flowers like these. Or you can make Seashell Candles for a touch of nautical style.
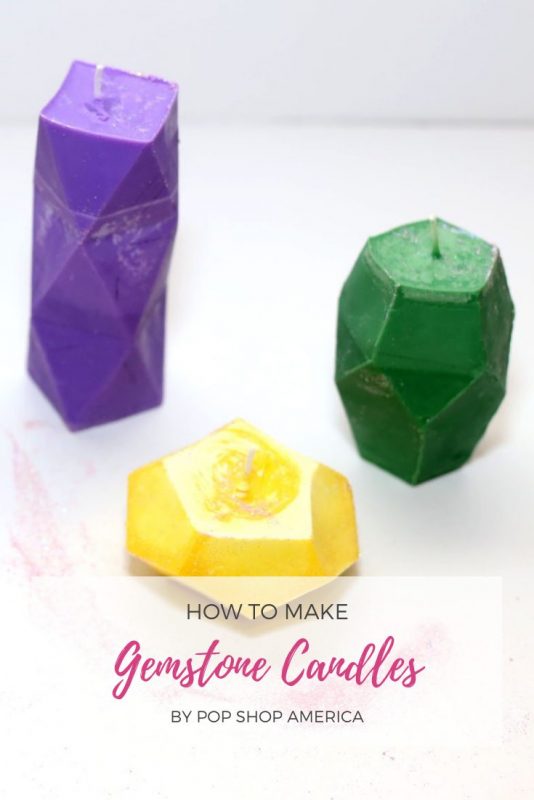
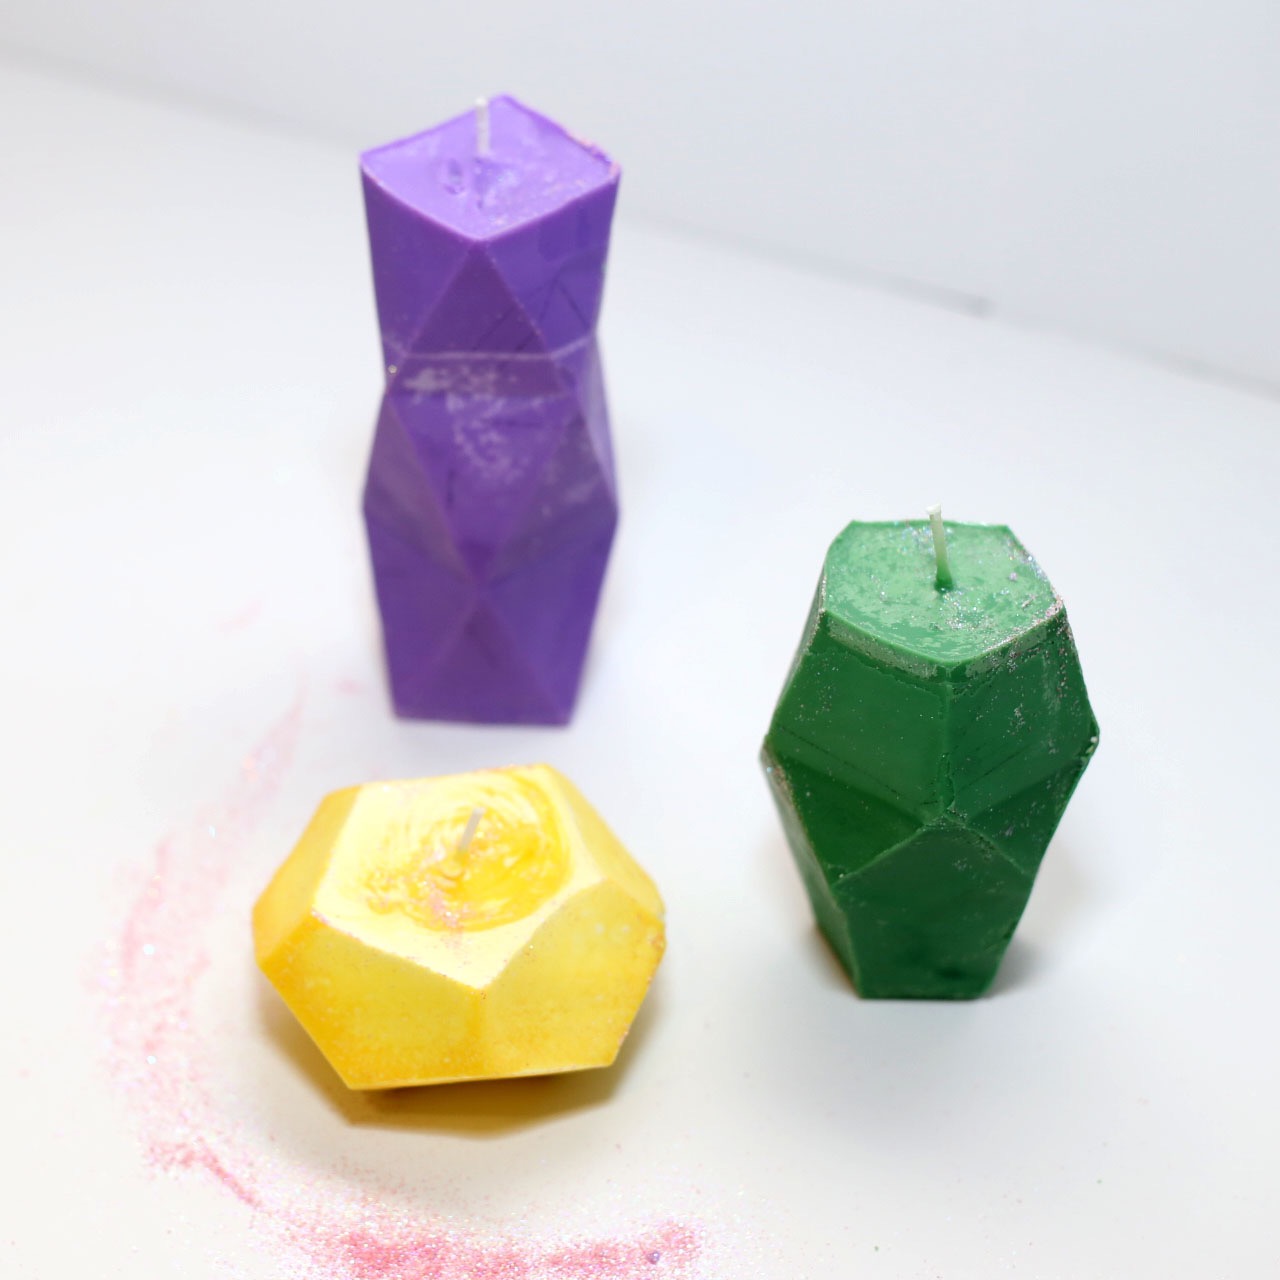
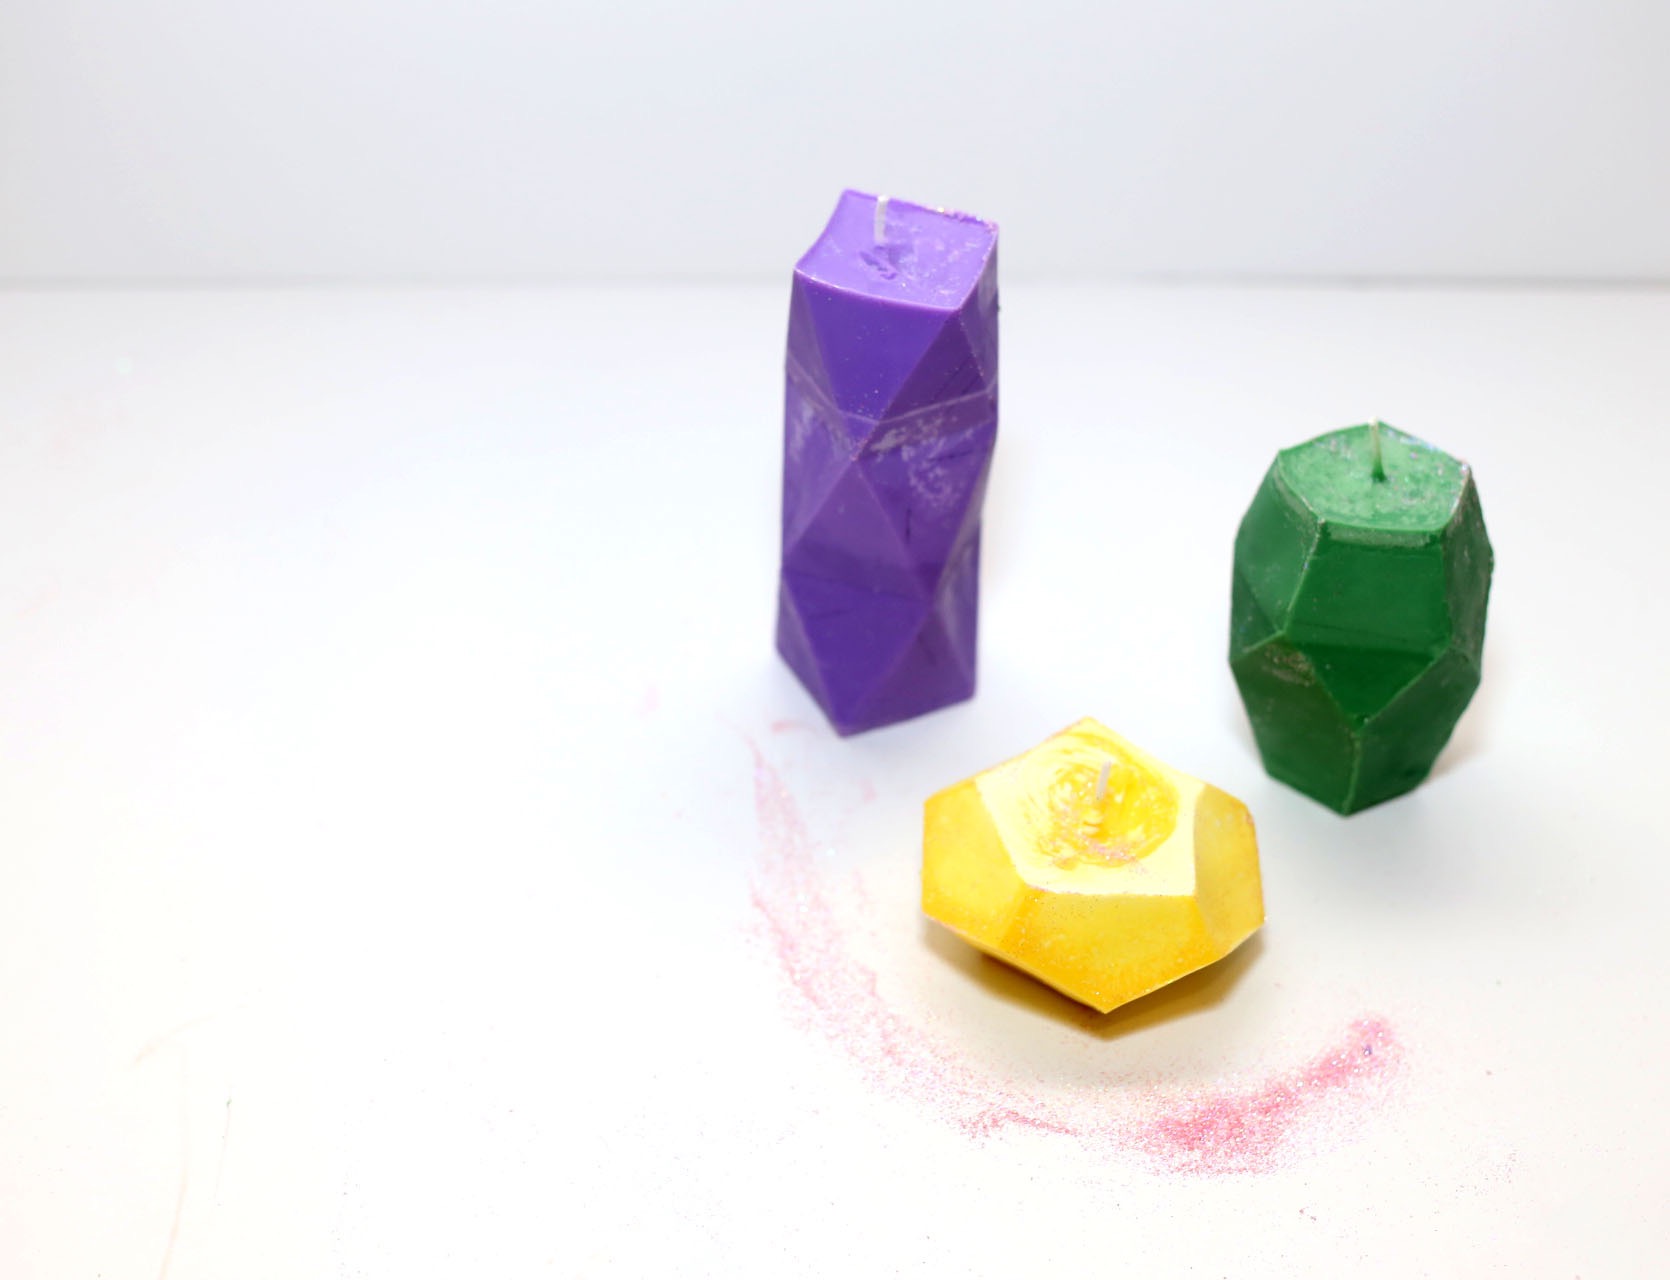
But these Geometric Gemstone Candles may be one of my favorites. There are several things that make these candles special. For one, we are using printable geometric templates that you can download here. It’s a great way to get a really cool shape.
We’re also using candle colorant. Candle colorant can be purchased in solid form and liquid too. You can find it in every color of the rainbow, but we chose the colors of gemstones like citrine, rubies, amethyst and emeralds.
Supplies to Make Geometric Gemstone Candles
September 2020 Craft in Style Box
-or-
Candle Wax (Soy Wax is Best – around 1/2 lb per candle)
Candle Colorant in Gemstone Colors (I used Citrine, Emerald, Amethyst, and Ruby)
Cotton Wicks
Geometric Gemstone Templates
Popsicle Sticks
Scotch Tape
House Paint
Foam Brush
Glitter
Scissors
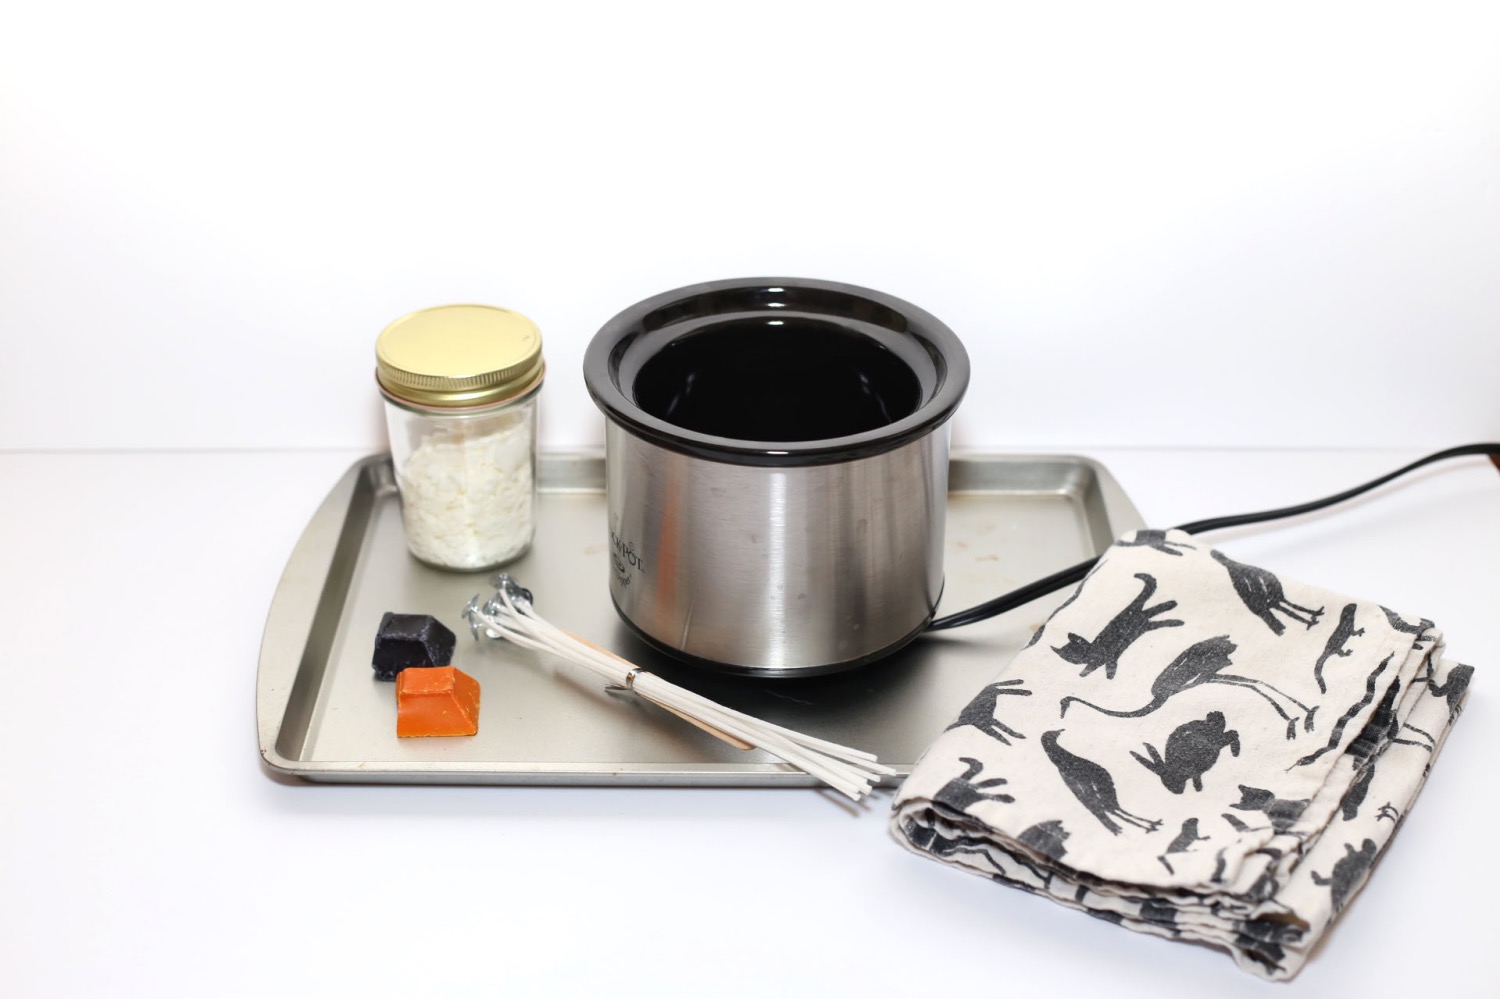
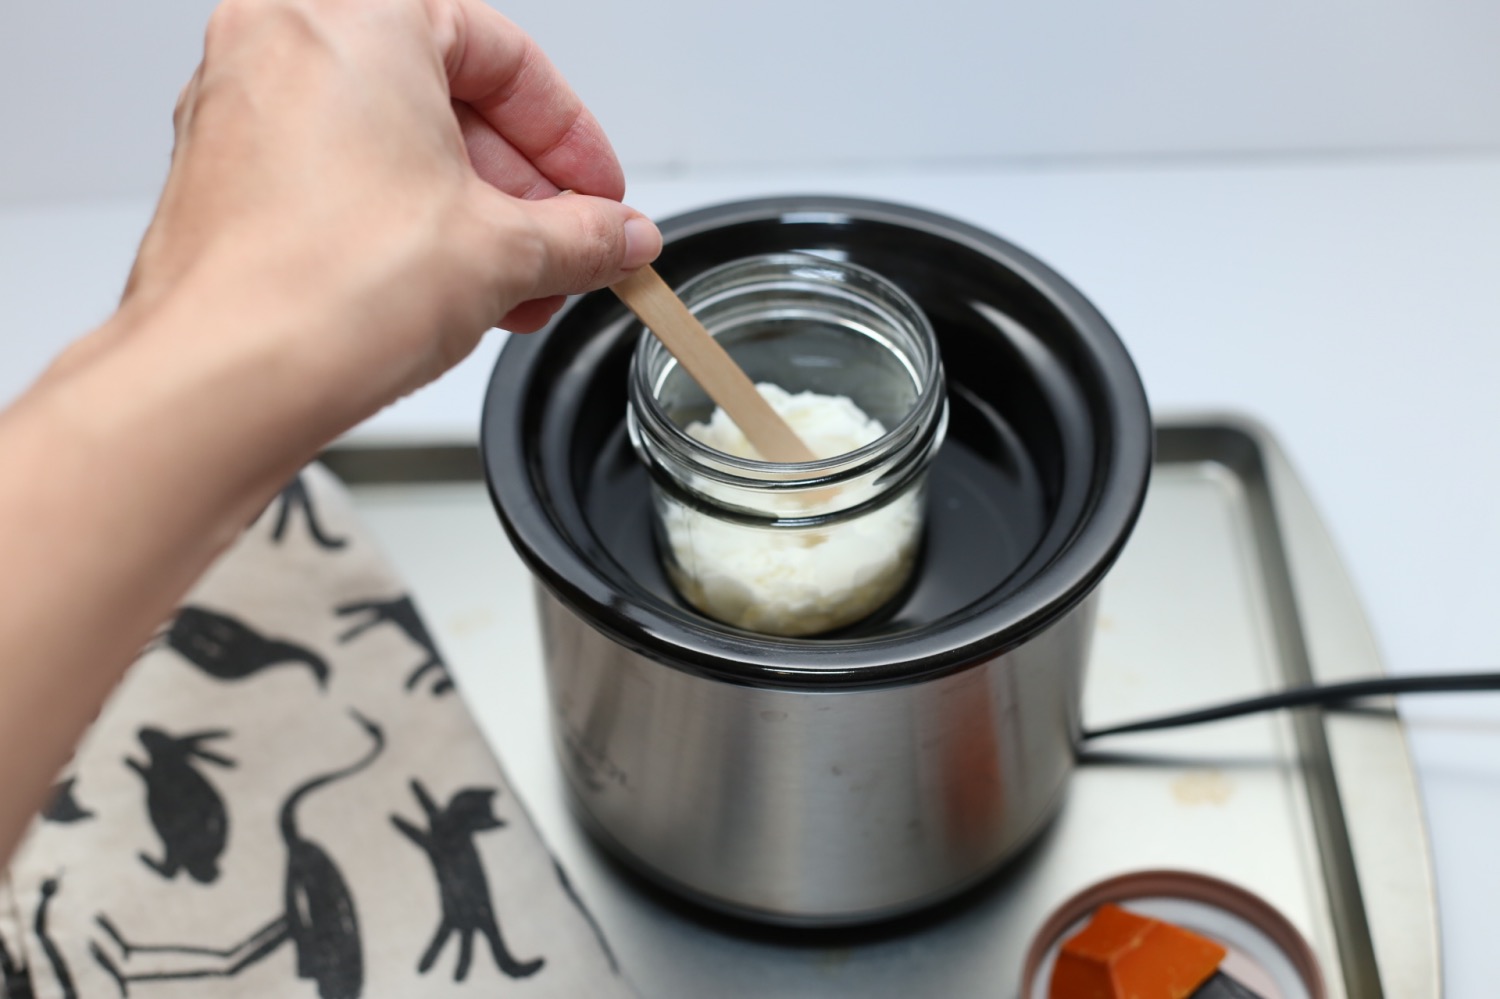
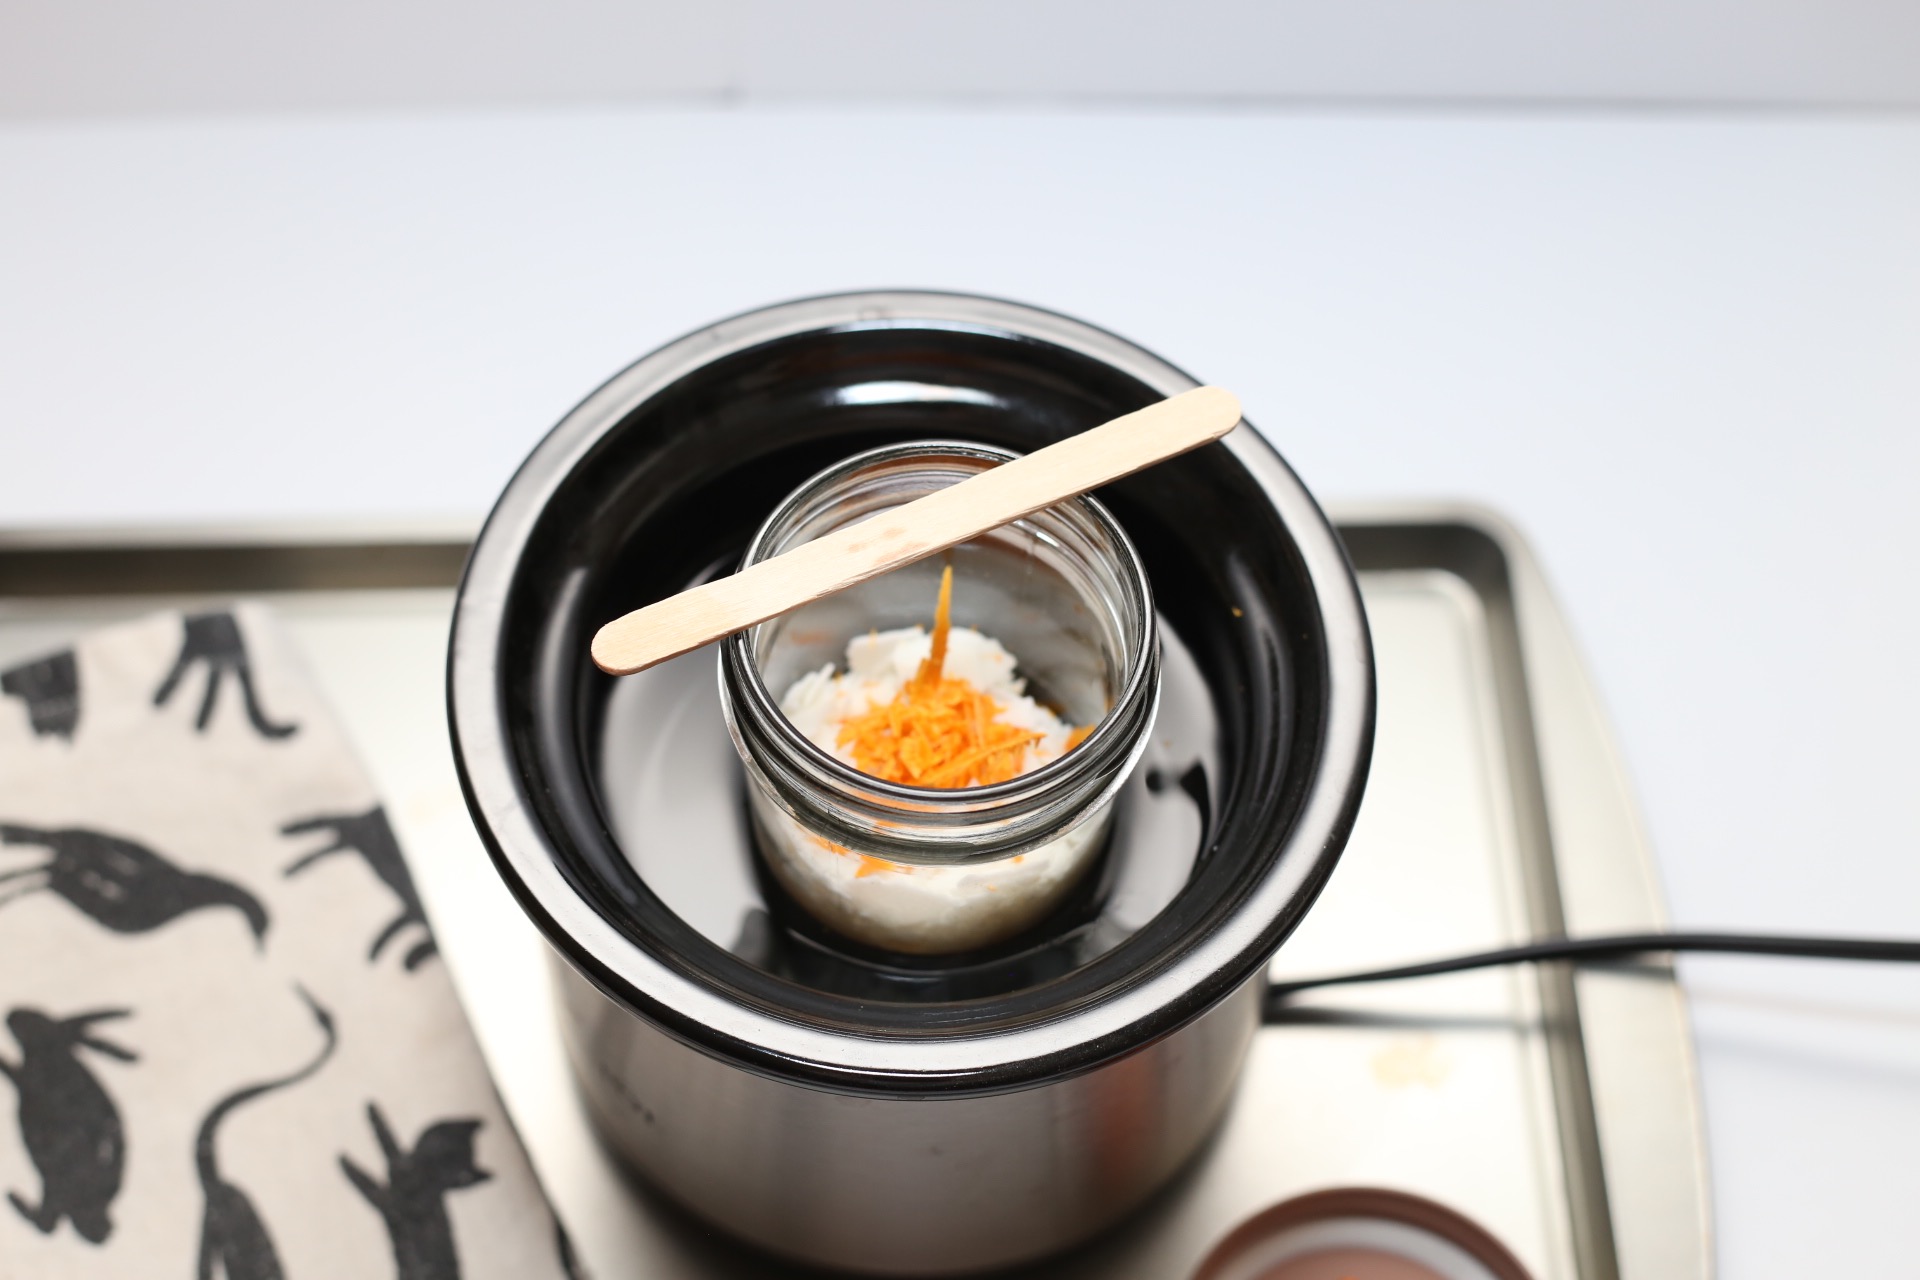
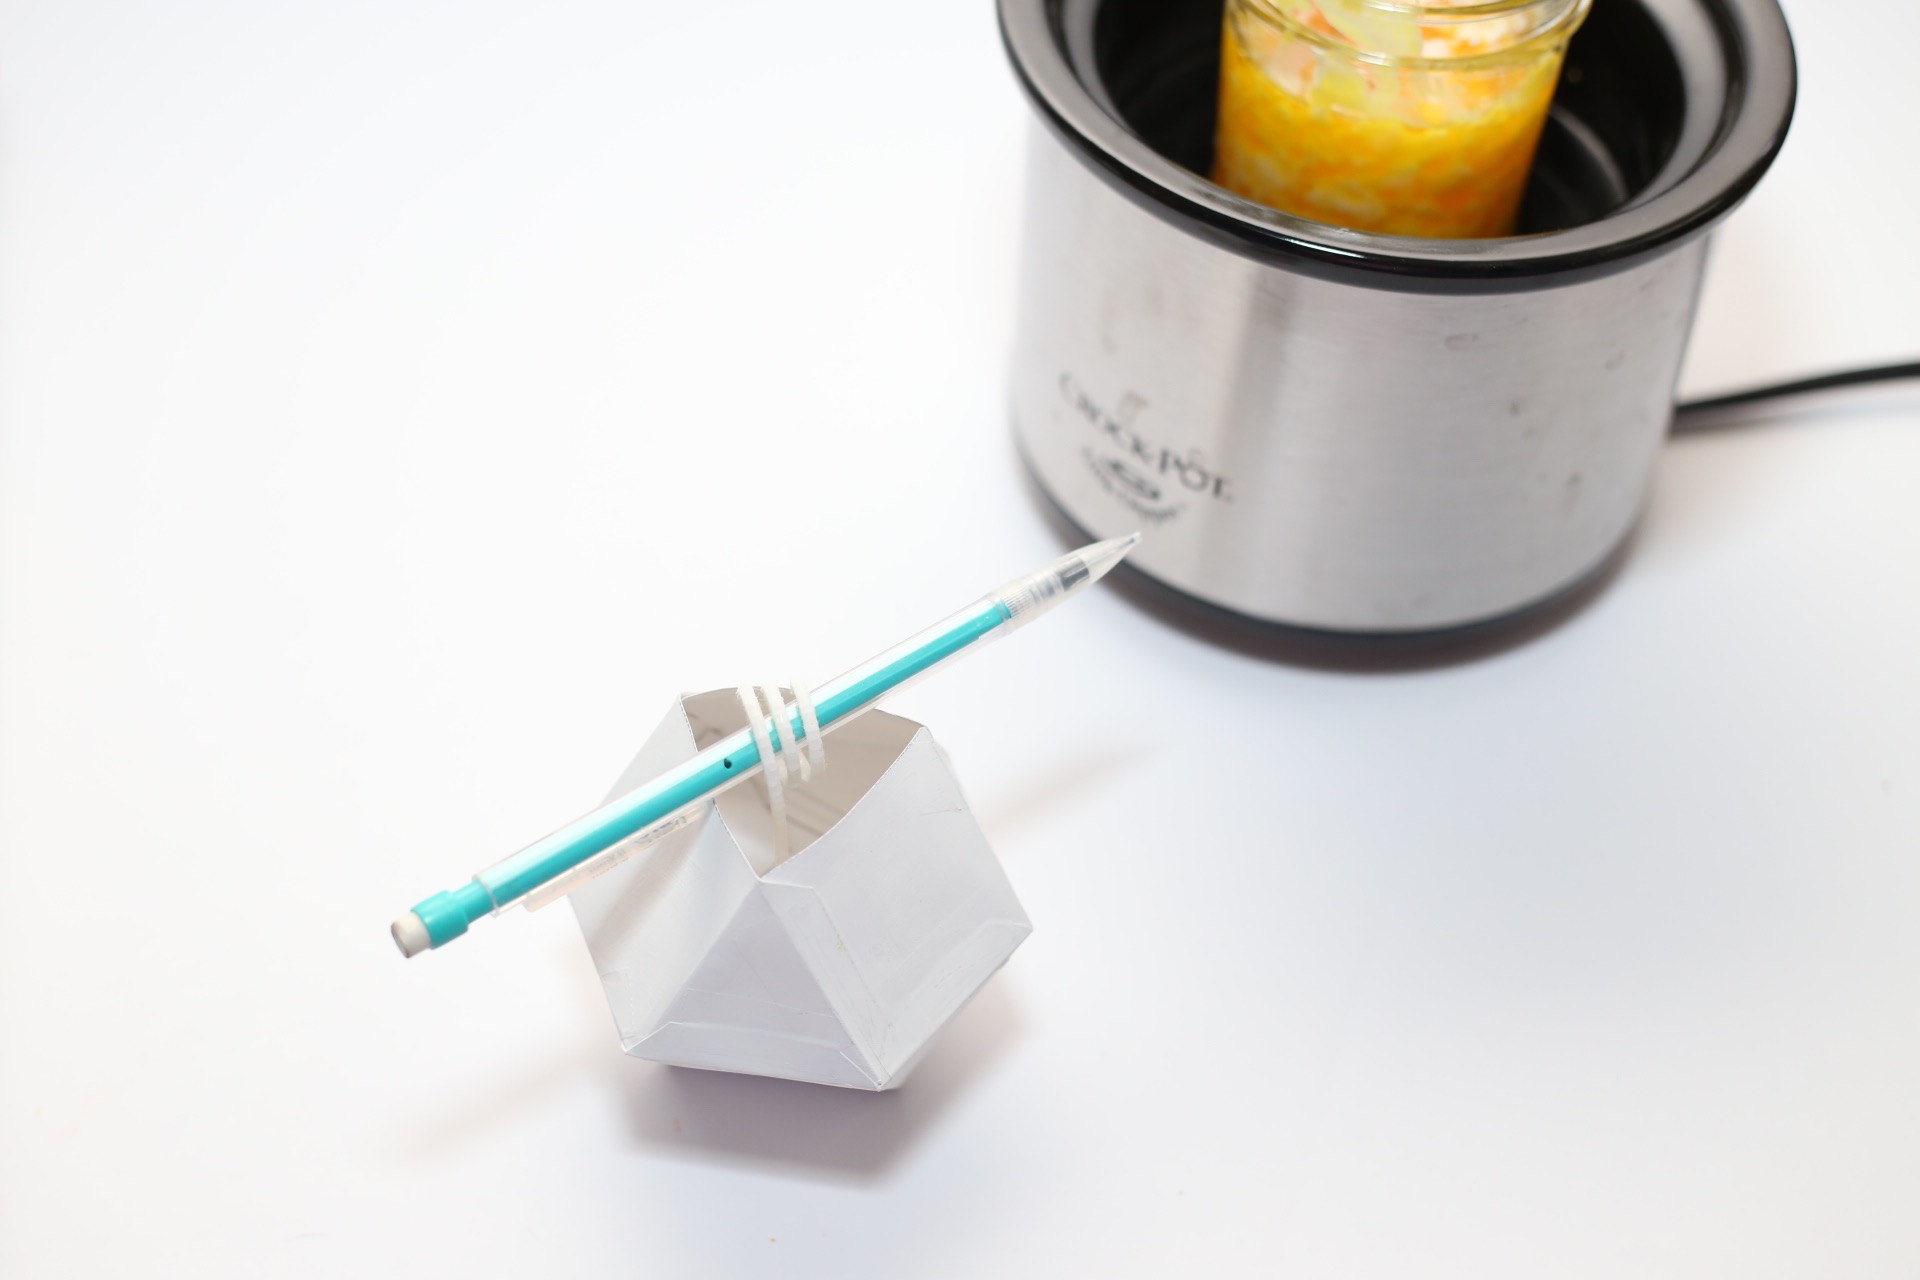
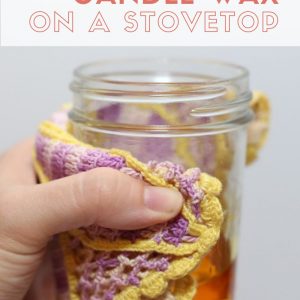
You will also need a way to heat the wax. The good news is you don’t need a candle pourer for your wax. In fact, there are several ways you can melt wax without one! My favorite method is to use a mason jar on a double broiler. But you can also melt candle wax in a microwave.
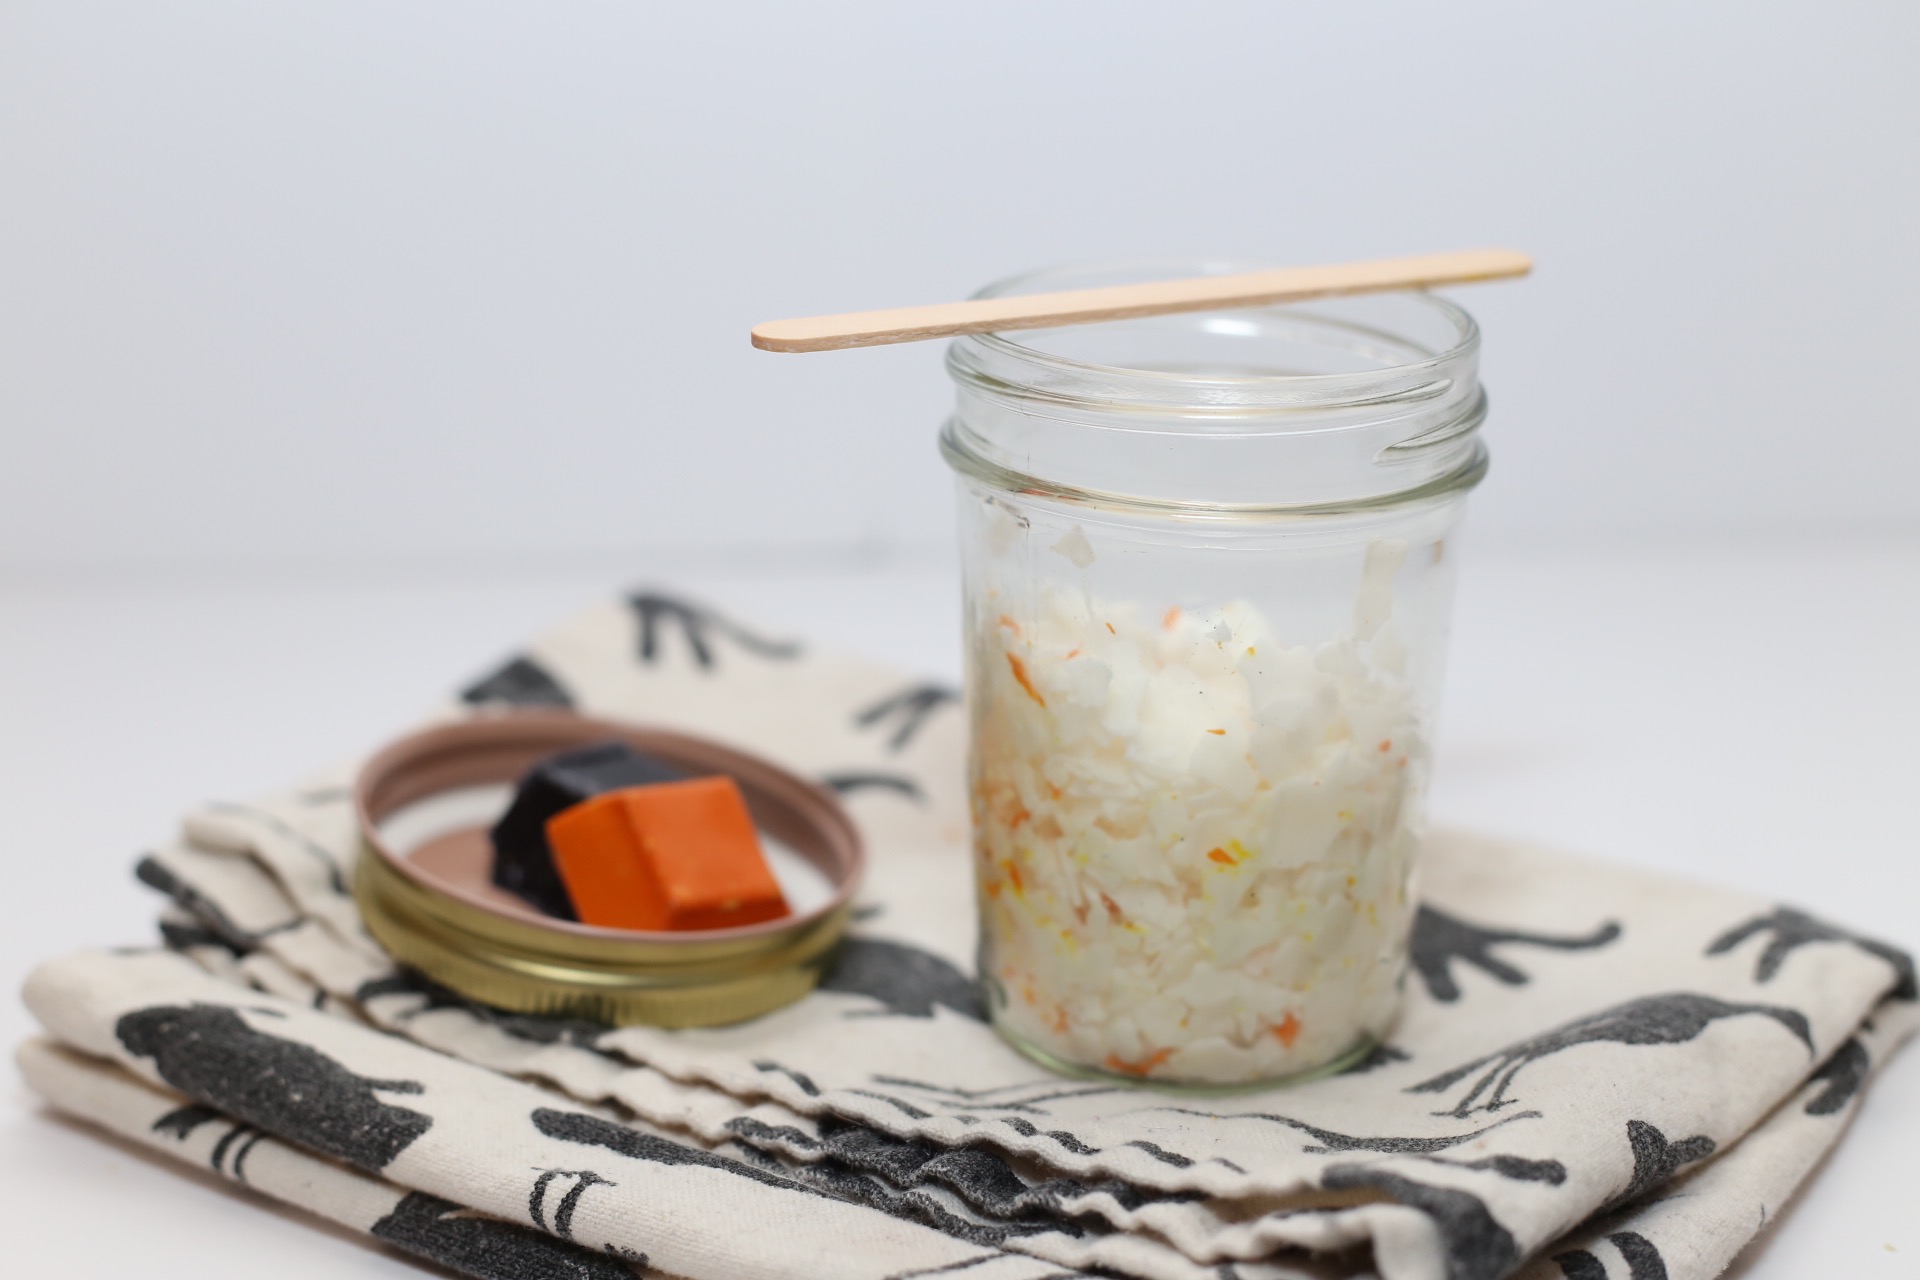
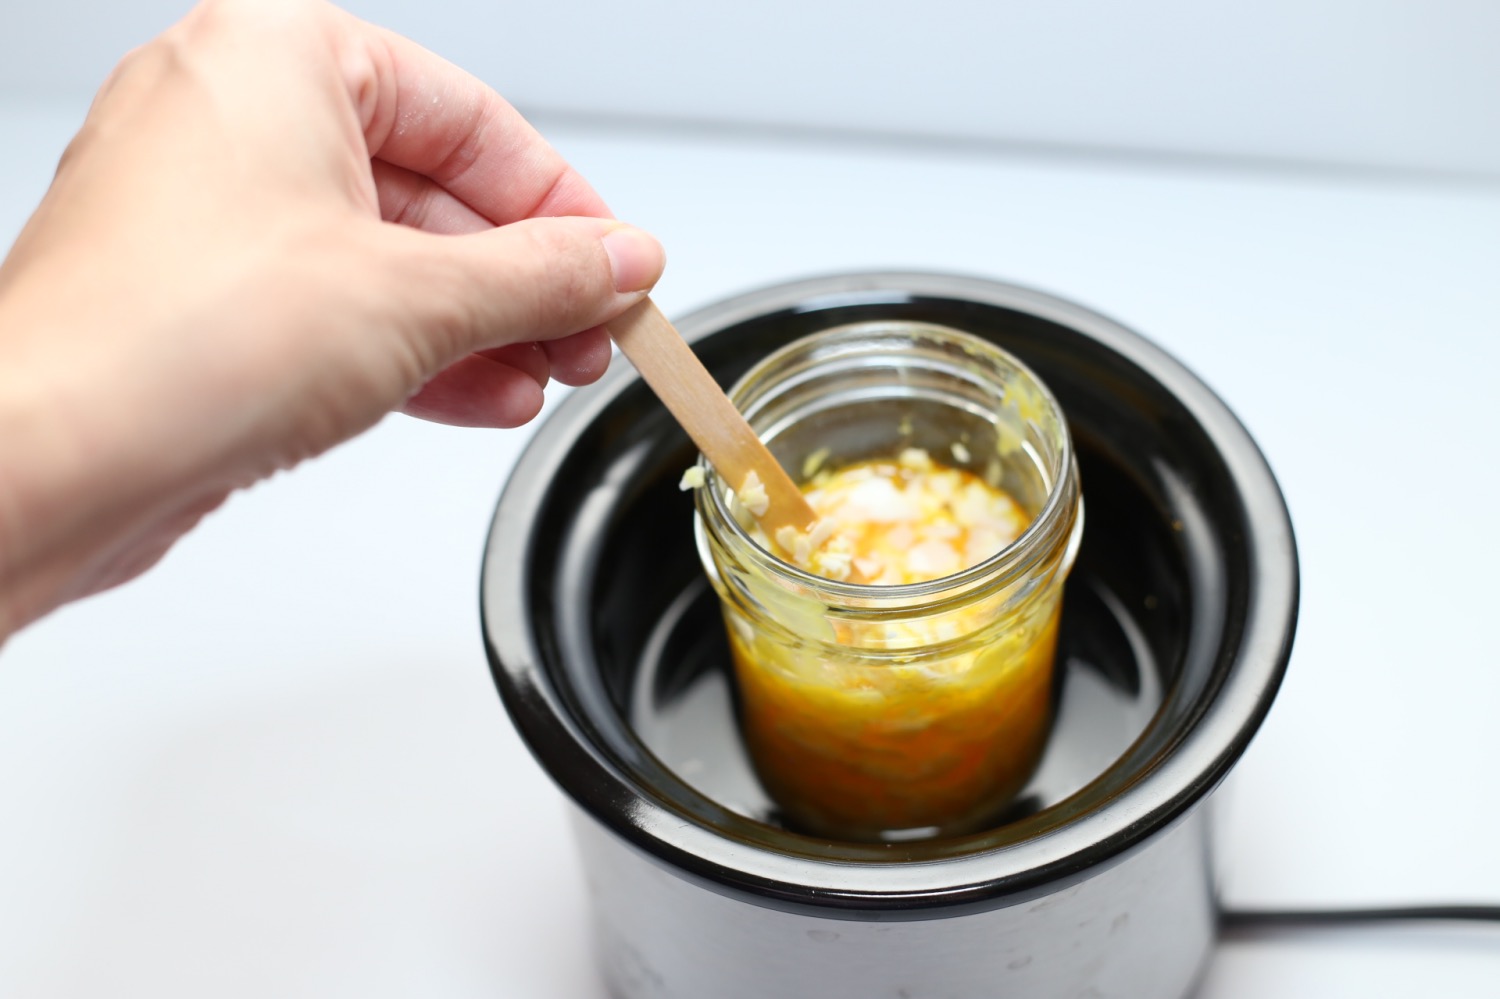
Whatever method you choose, start with around 1/2 pound of wax for each candle. Add the wax to the mason jar or your desired method of melting the wax. Additionally add your candle colorant to the wax. You can add it whole, grate it, or chop it into blocks.
Each block of candle colorant that I used is around 8 grams (.28 ounces) and you can use as little as 1/2 block. Or you can just use the whole block which makes it easy!
Melt your wax on low so that it will cool faster. Don’t melt your wax on high. Continue to stir your wax every few minutes until it becomes liquid and transparent. If you are using the double broil method and have your wax inside of a pot of water, be sure that water does not get into your wax!
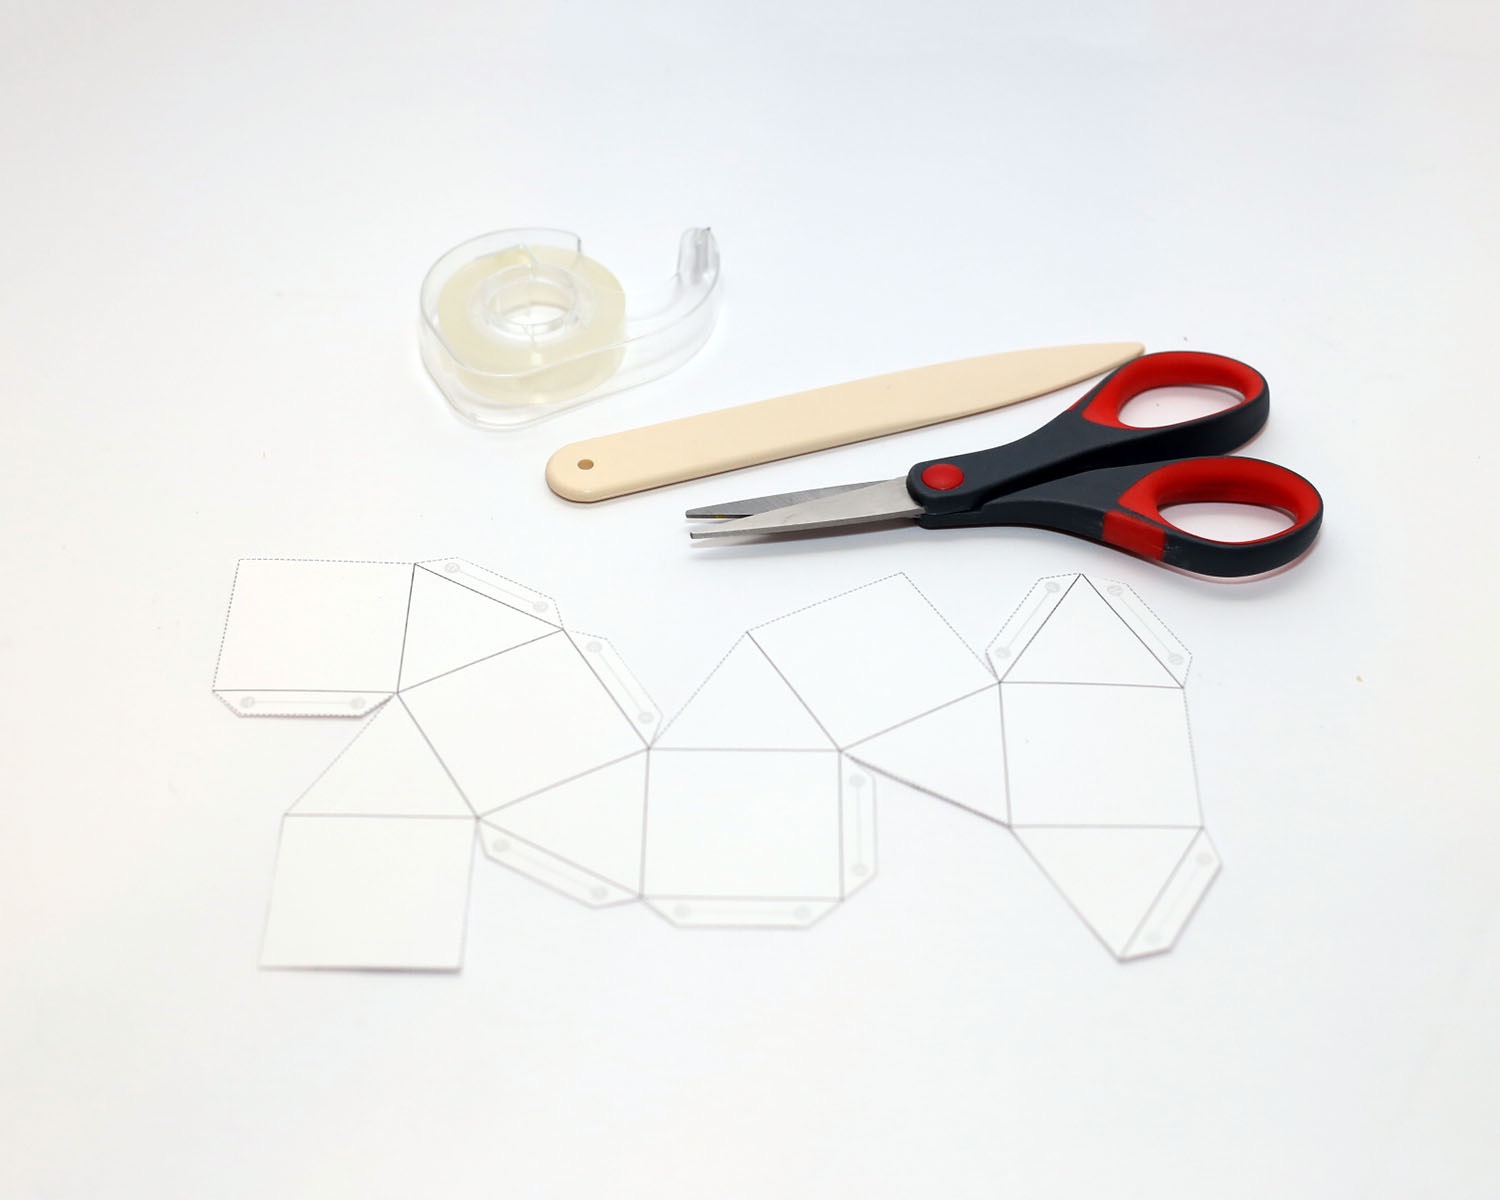
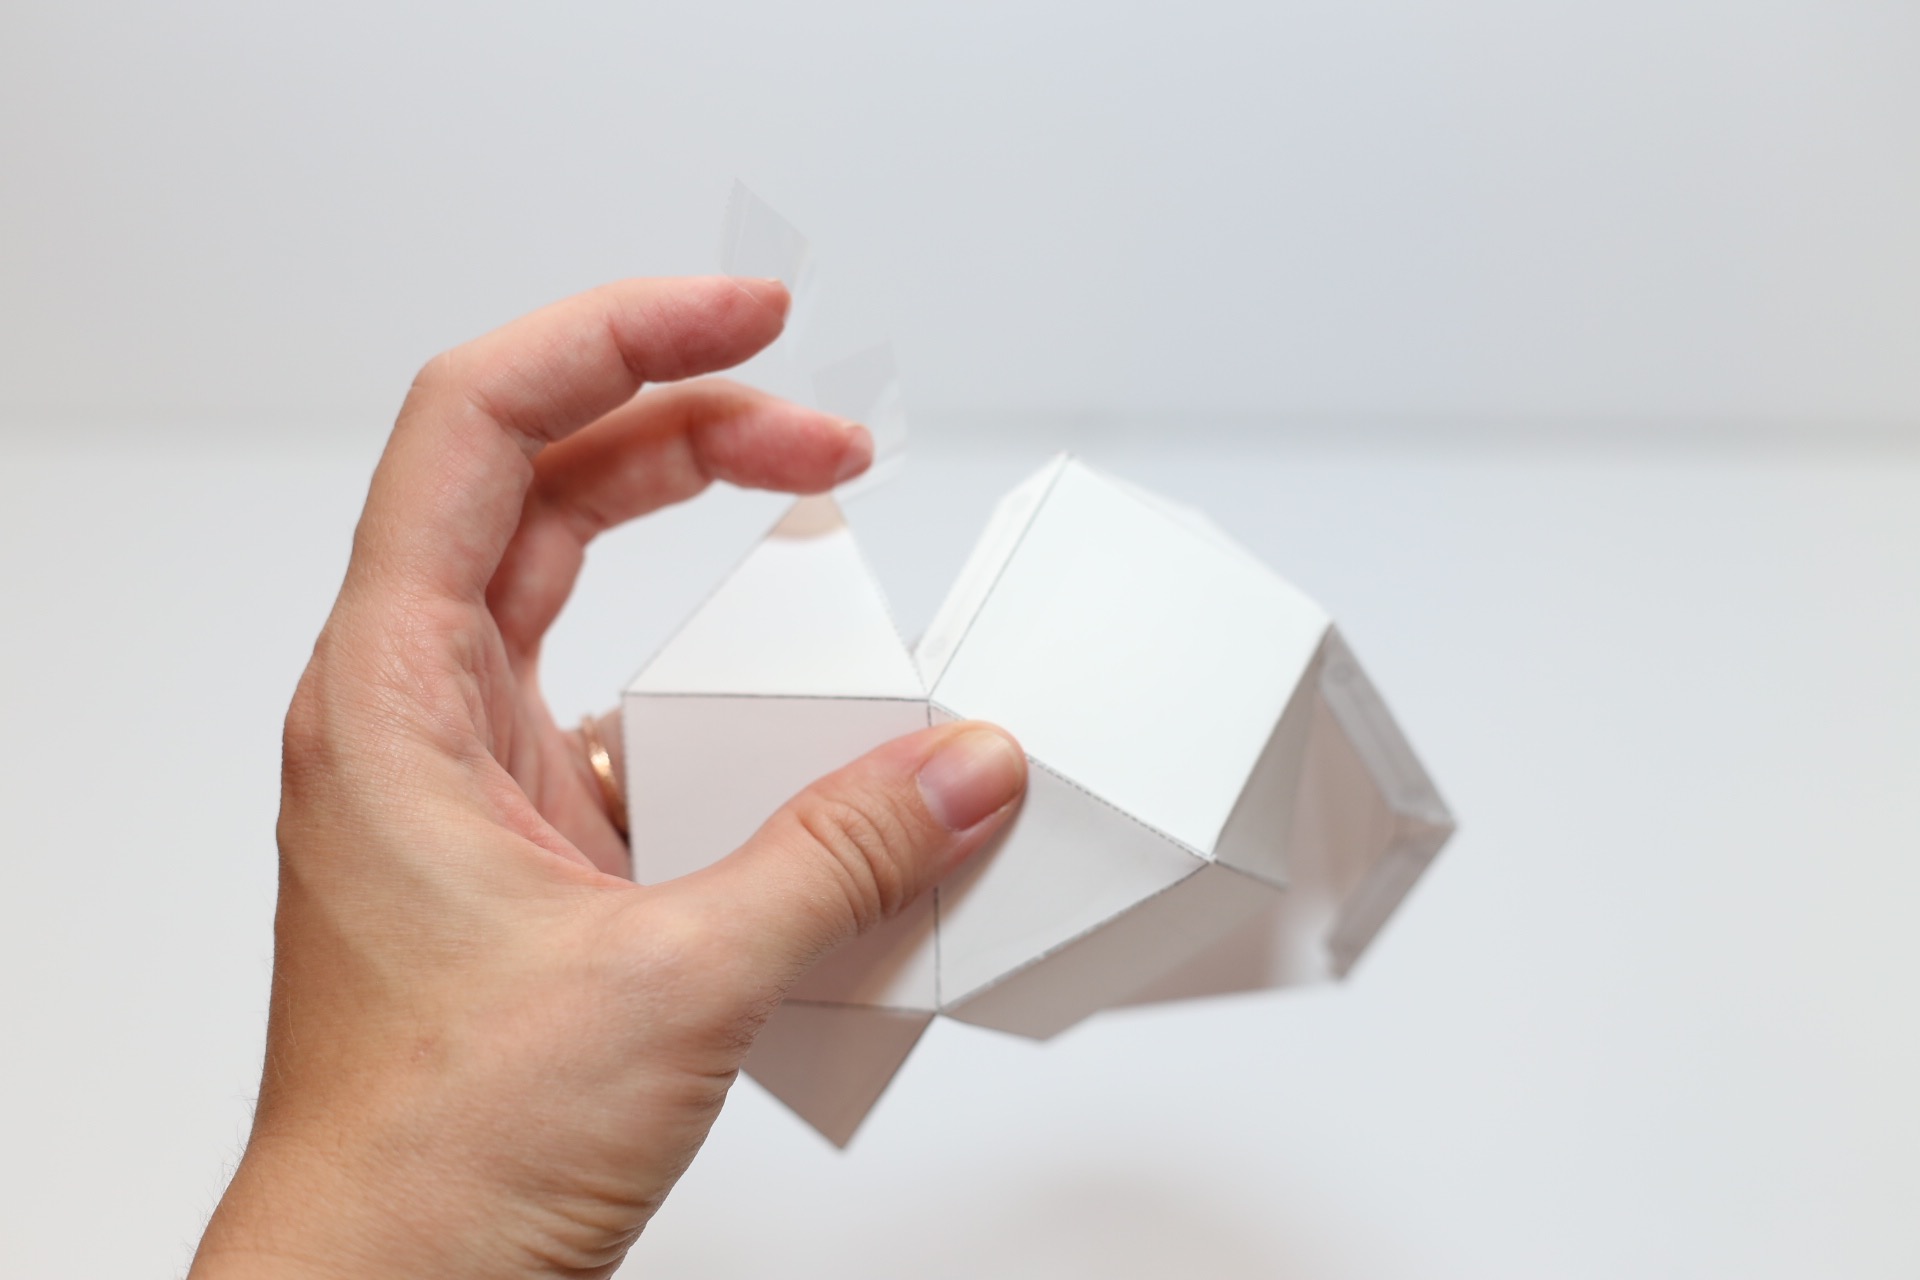
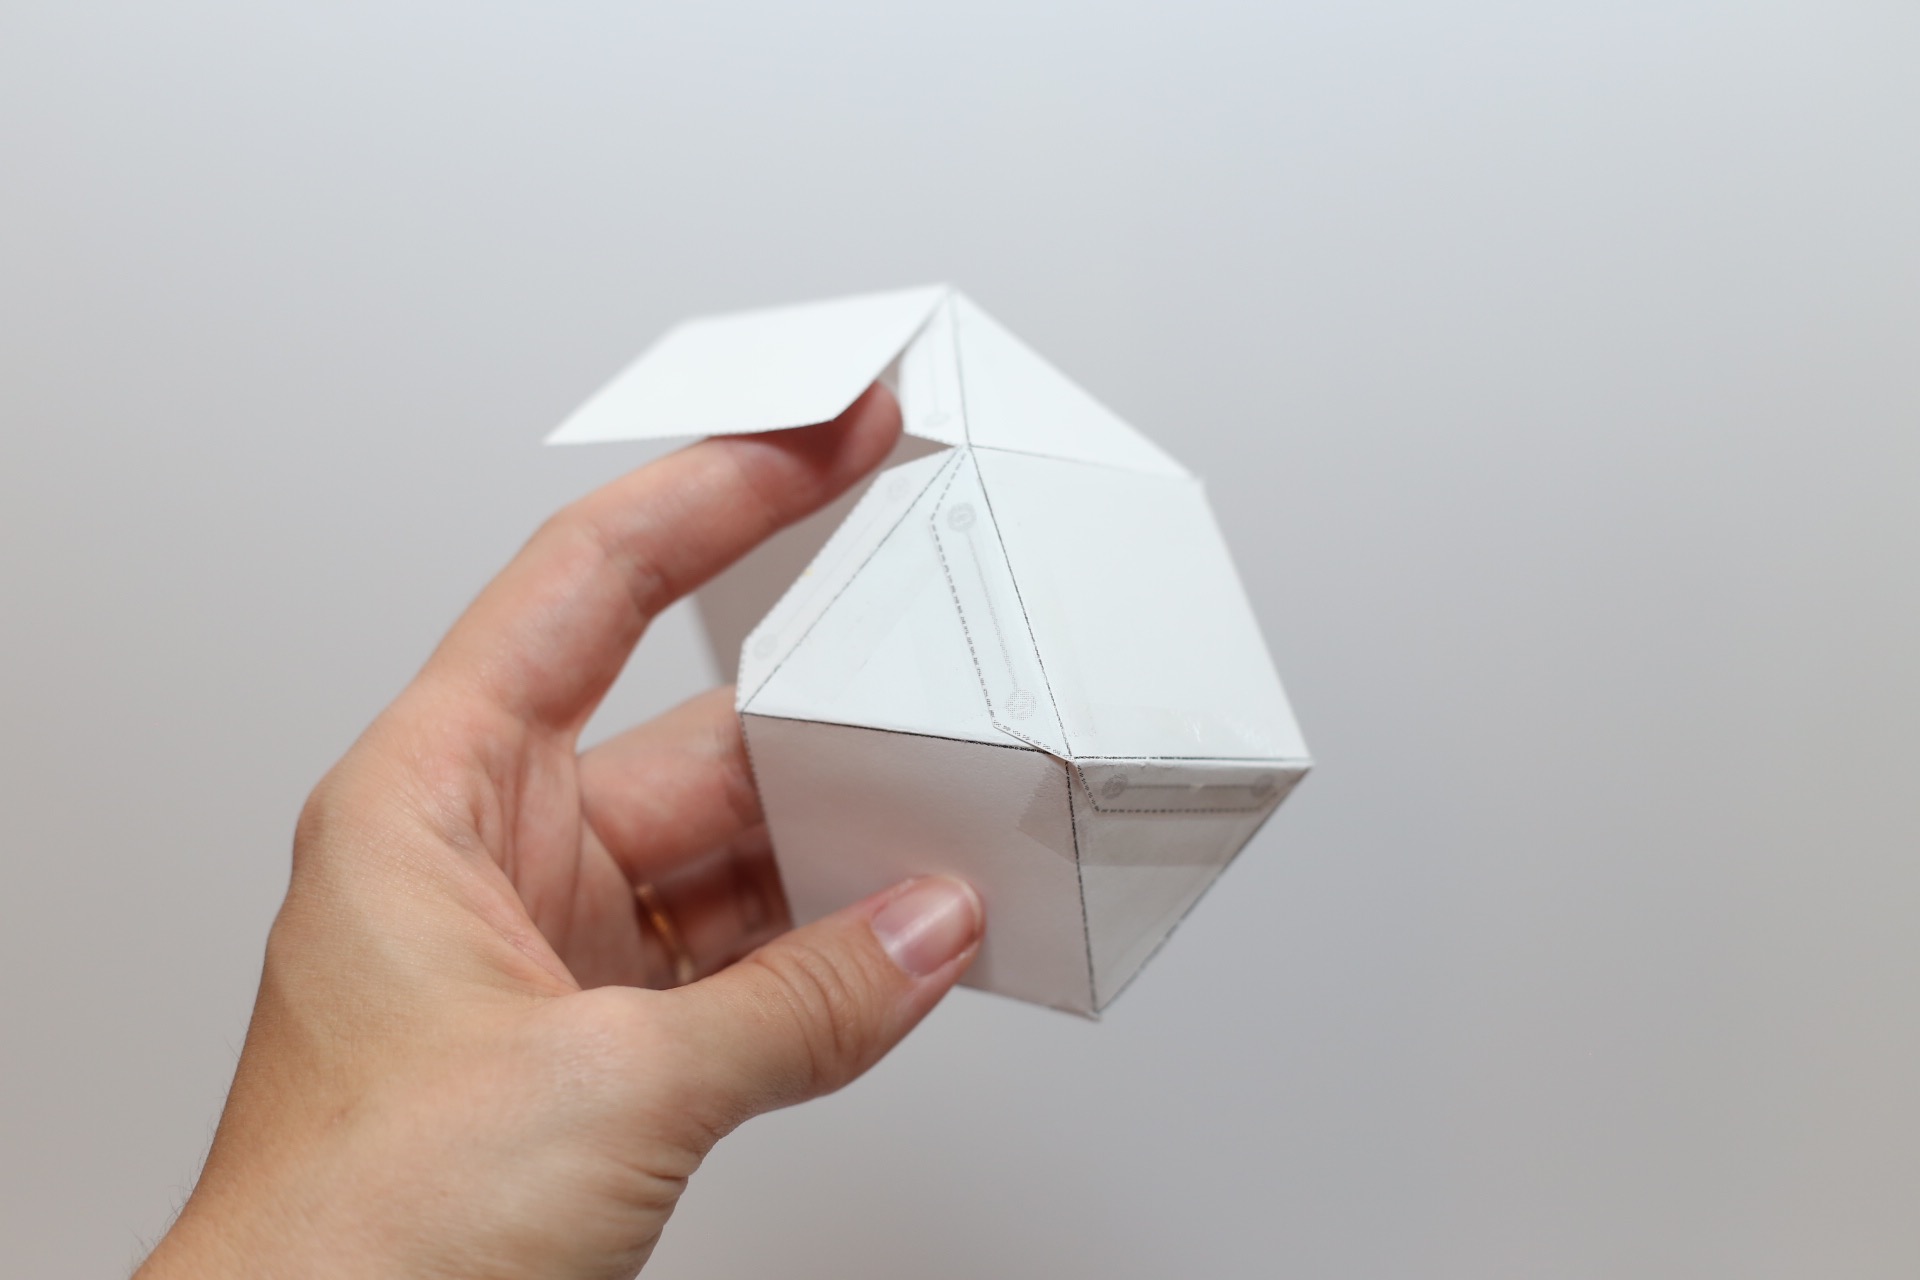
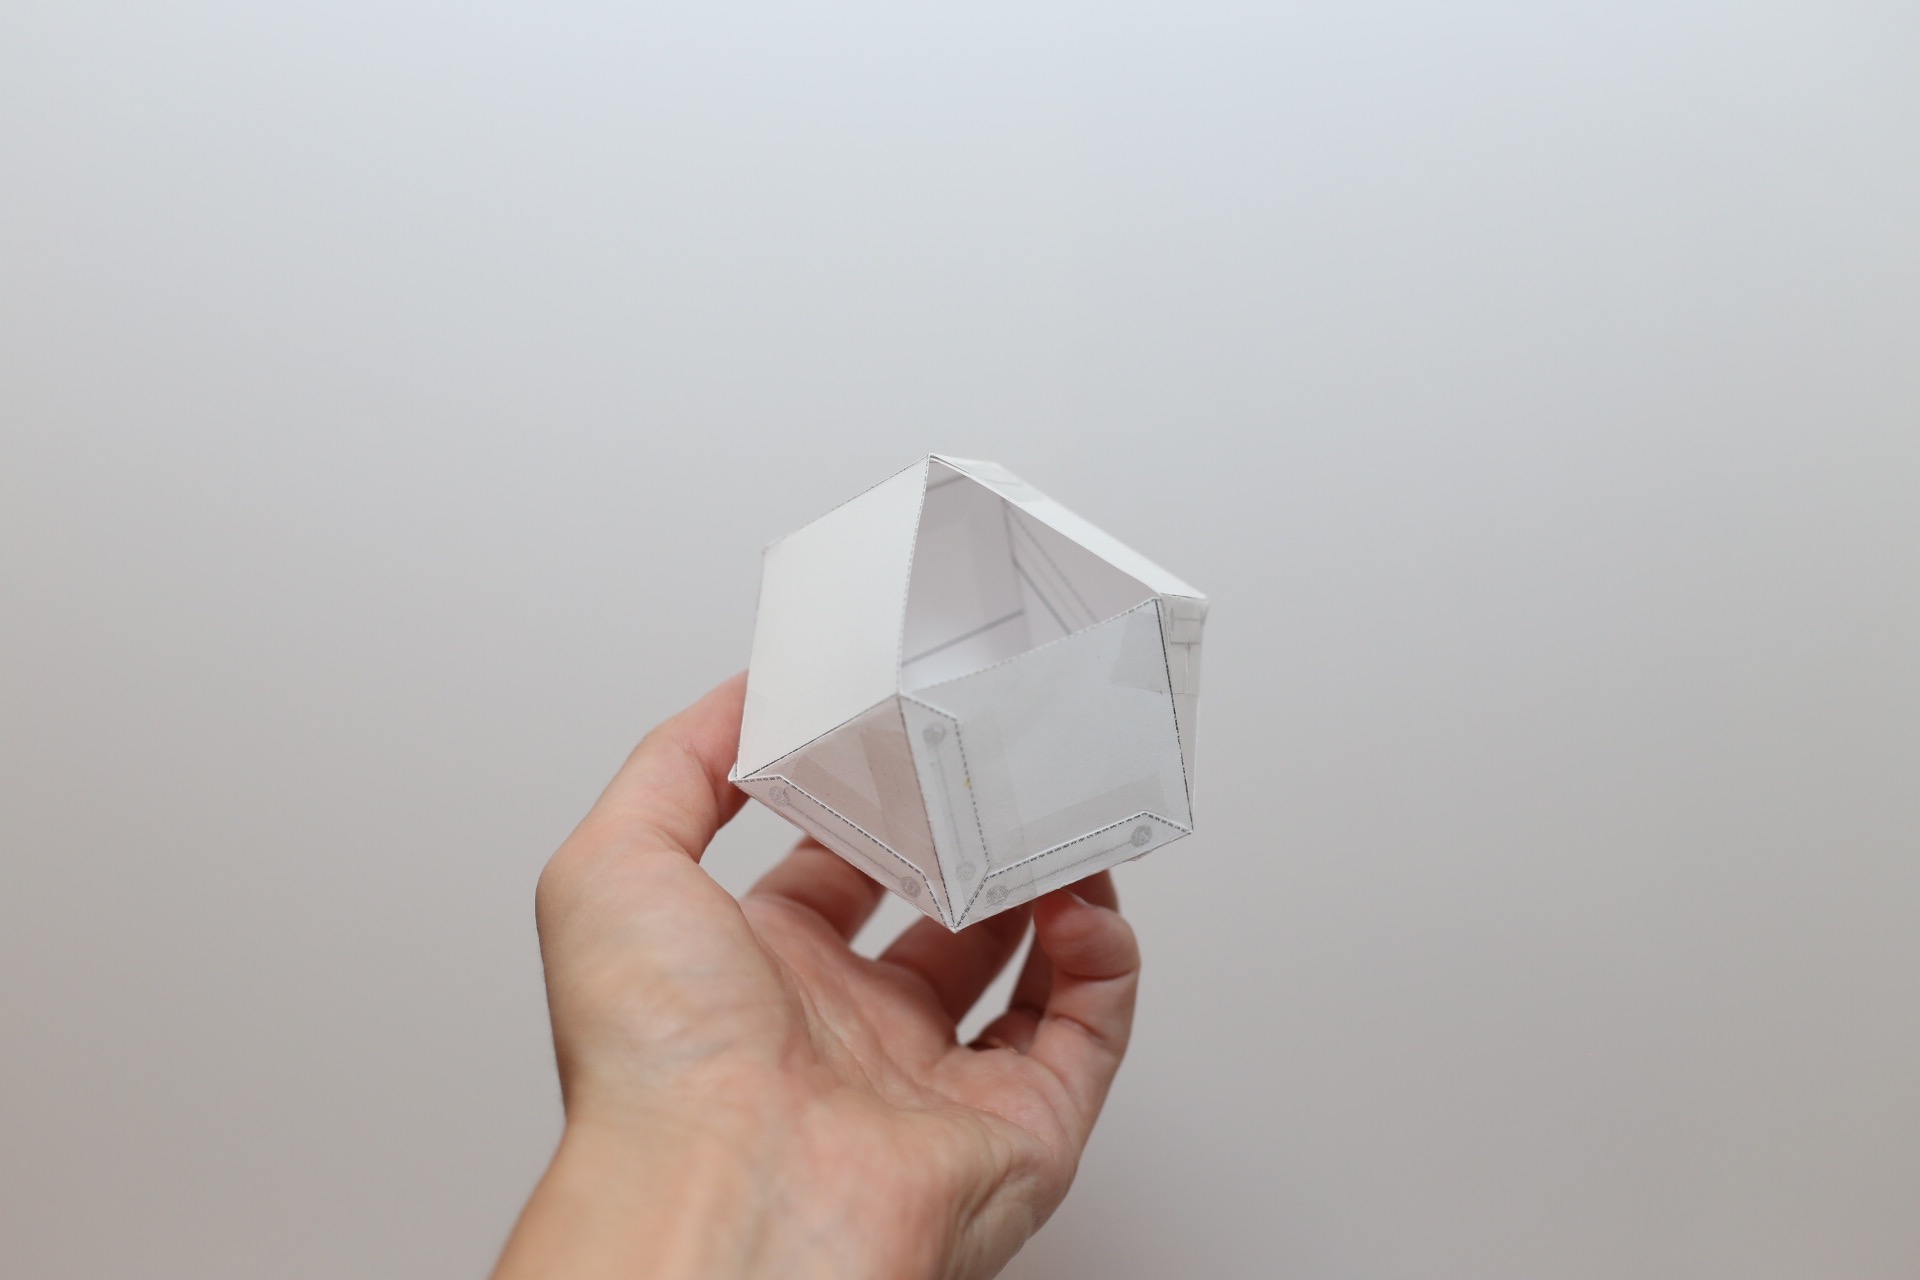
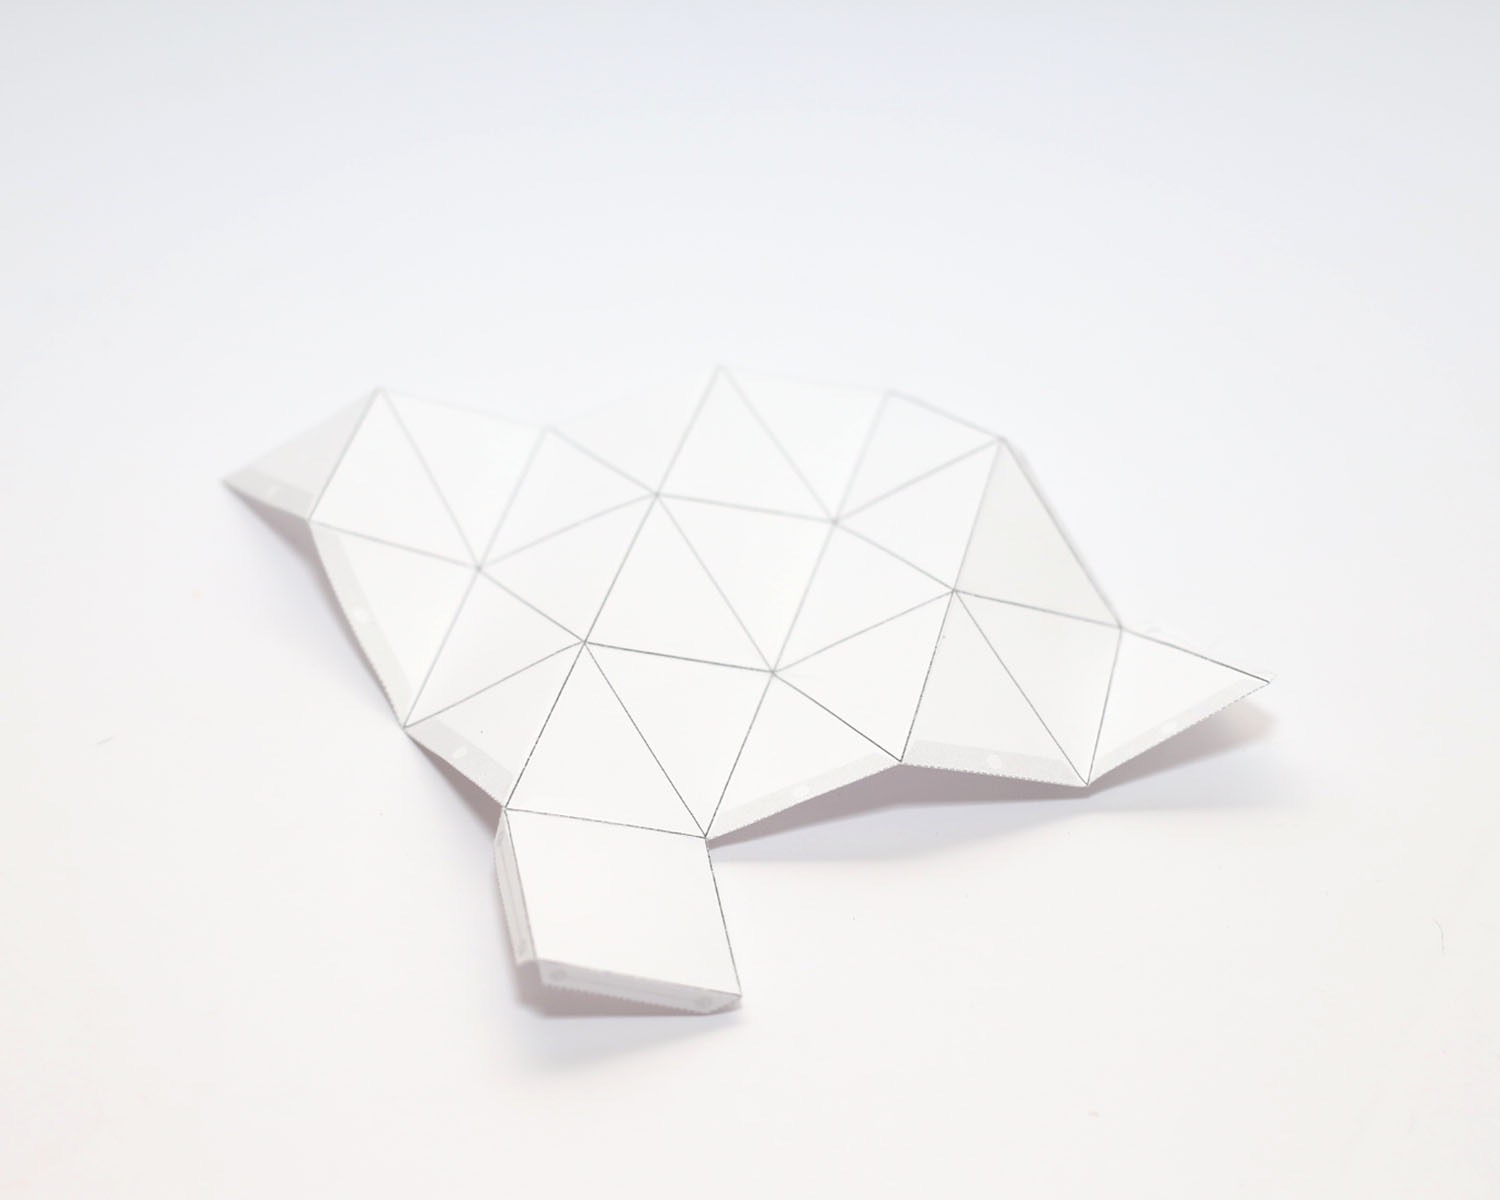
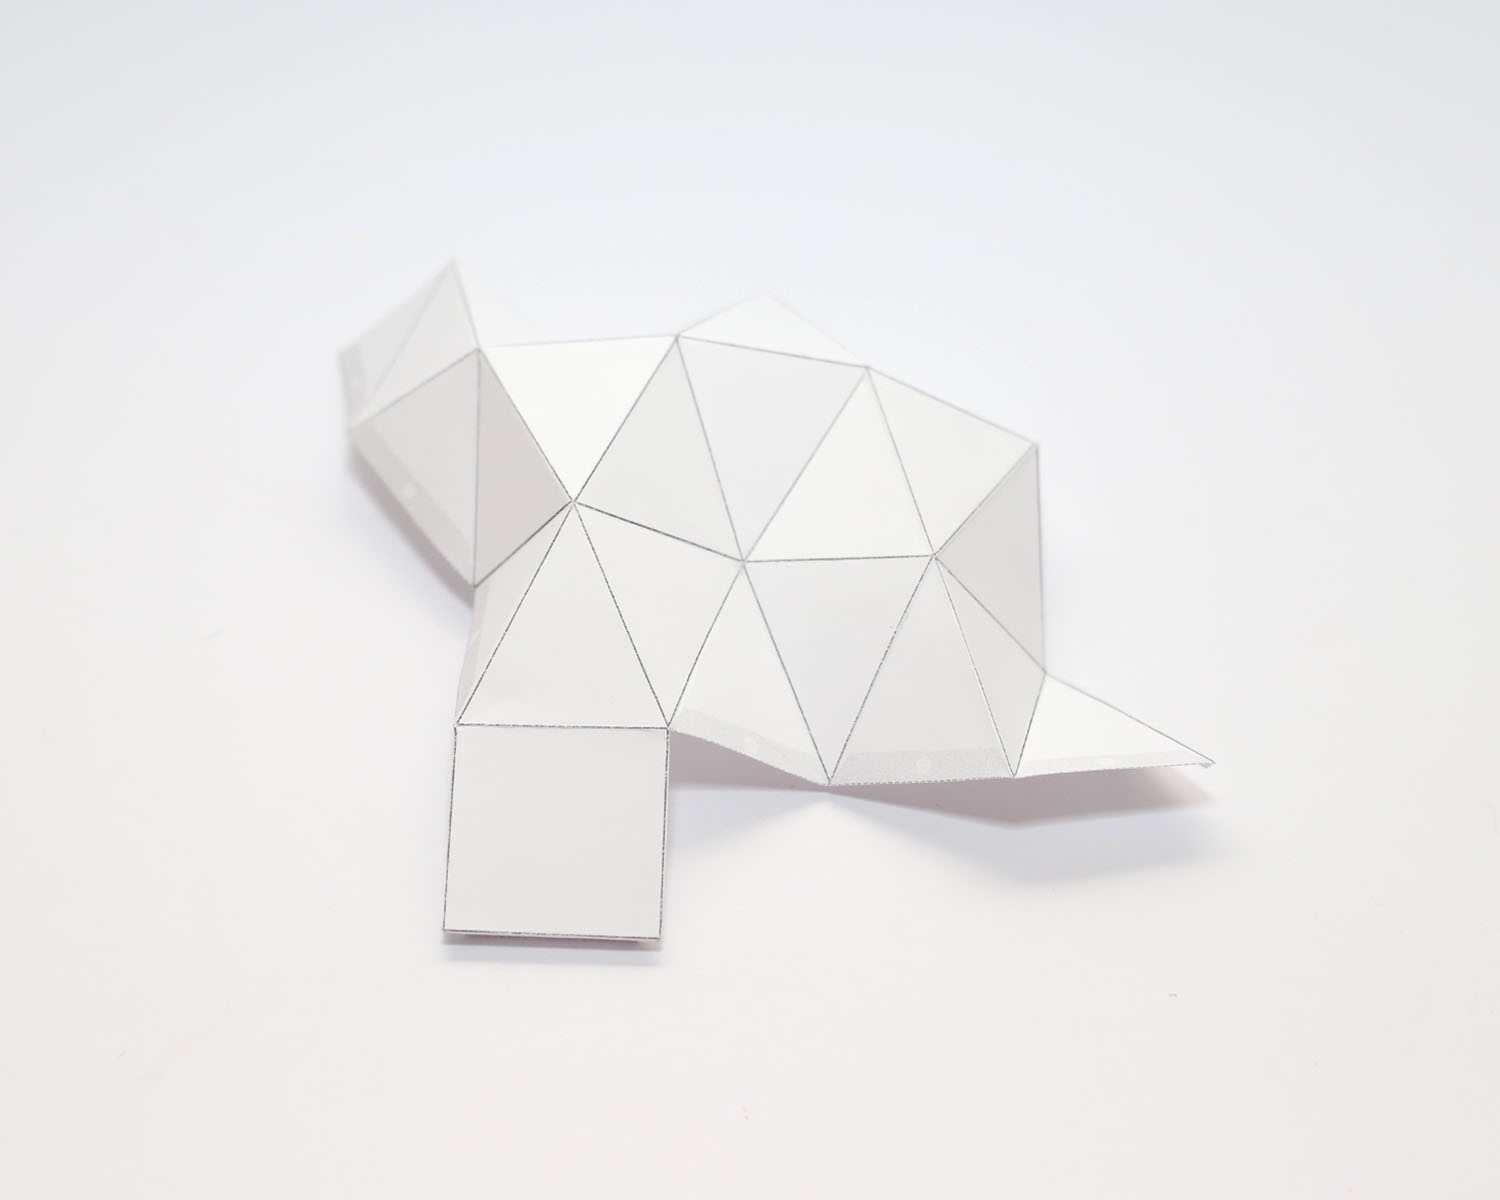
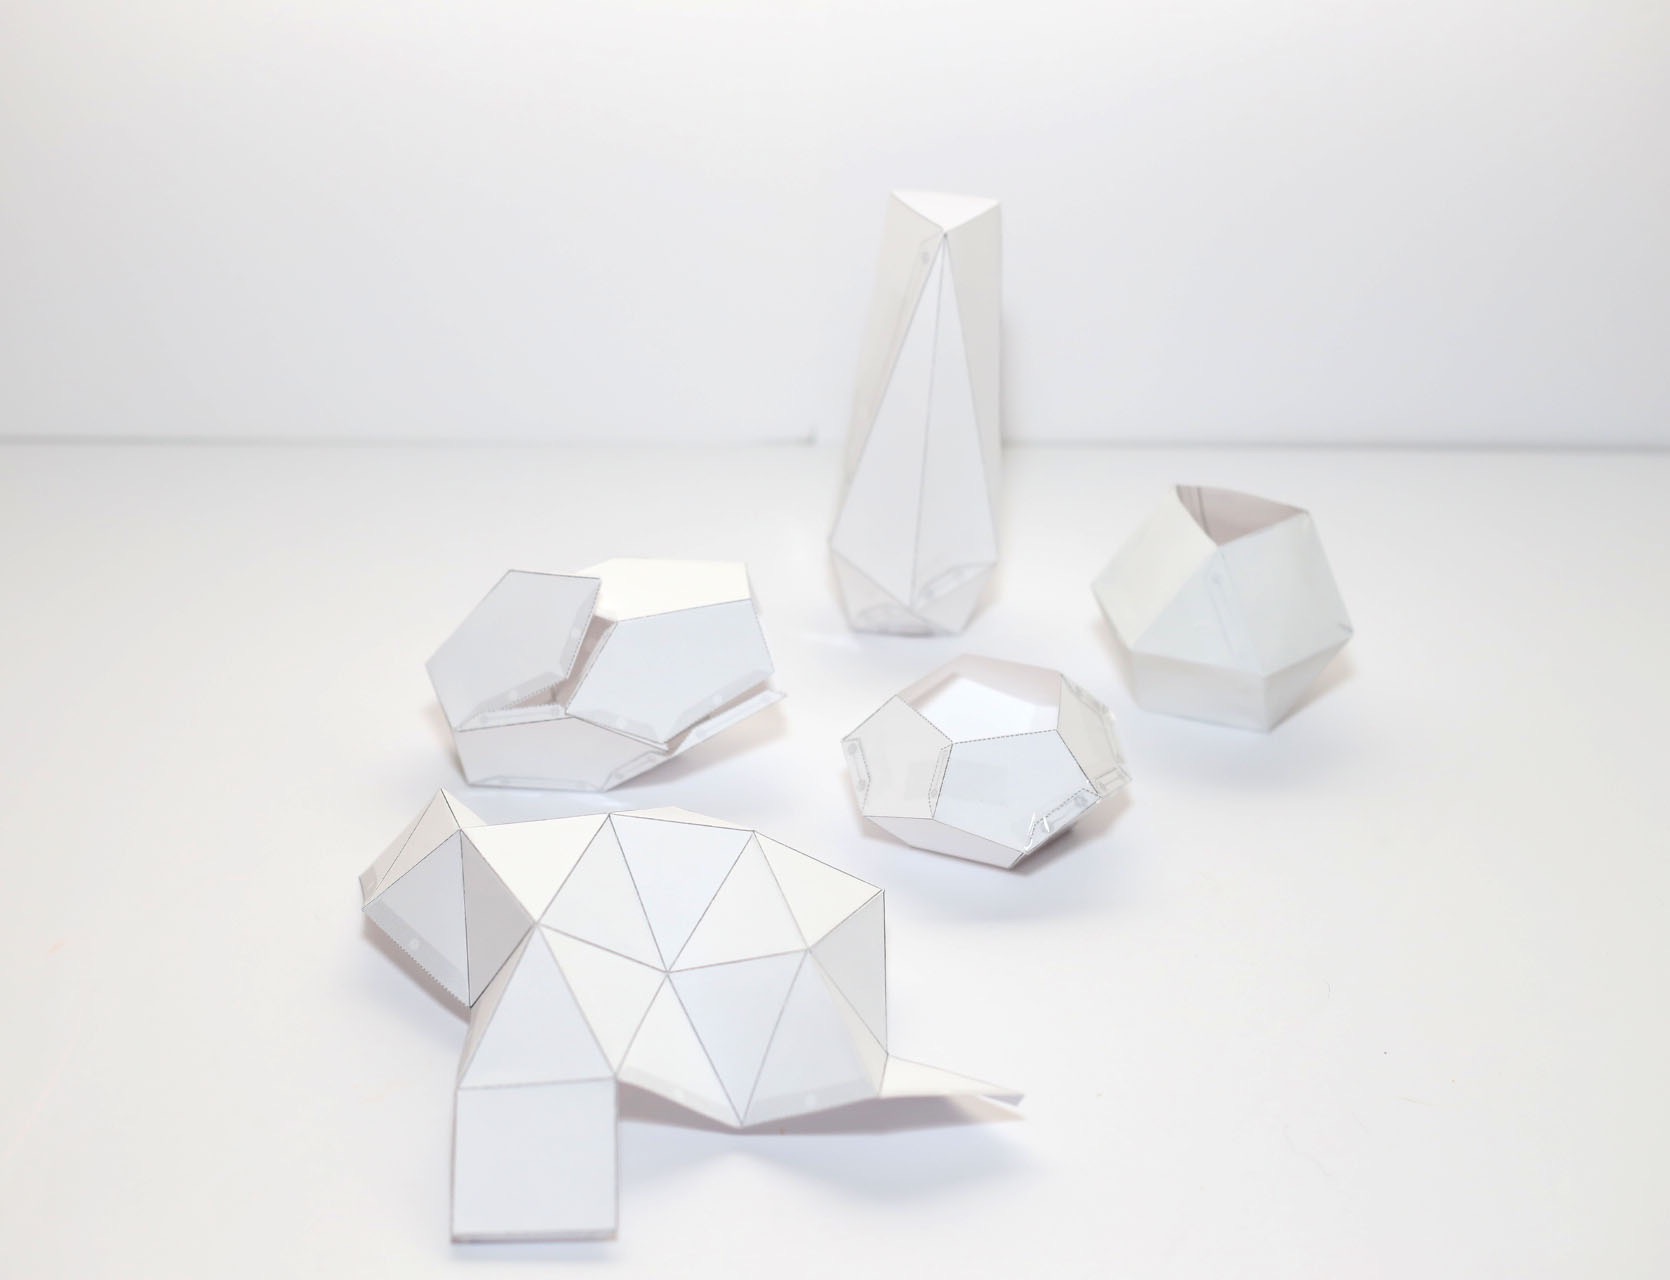
While you are melting your wax, cut and fold your Geometric Gemstone Templates. This might be the most time consuming of all the steps.
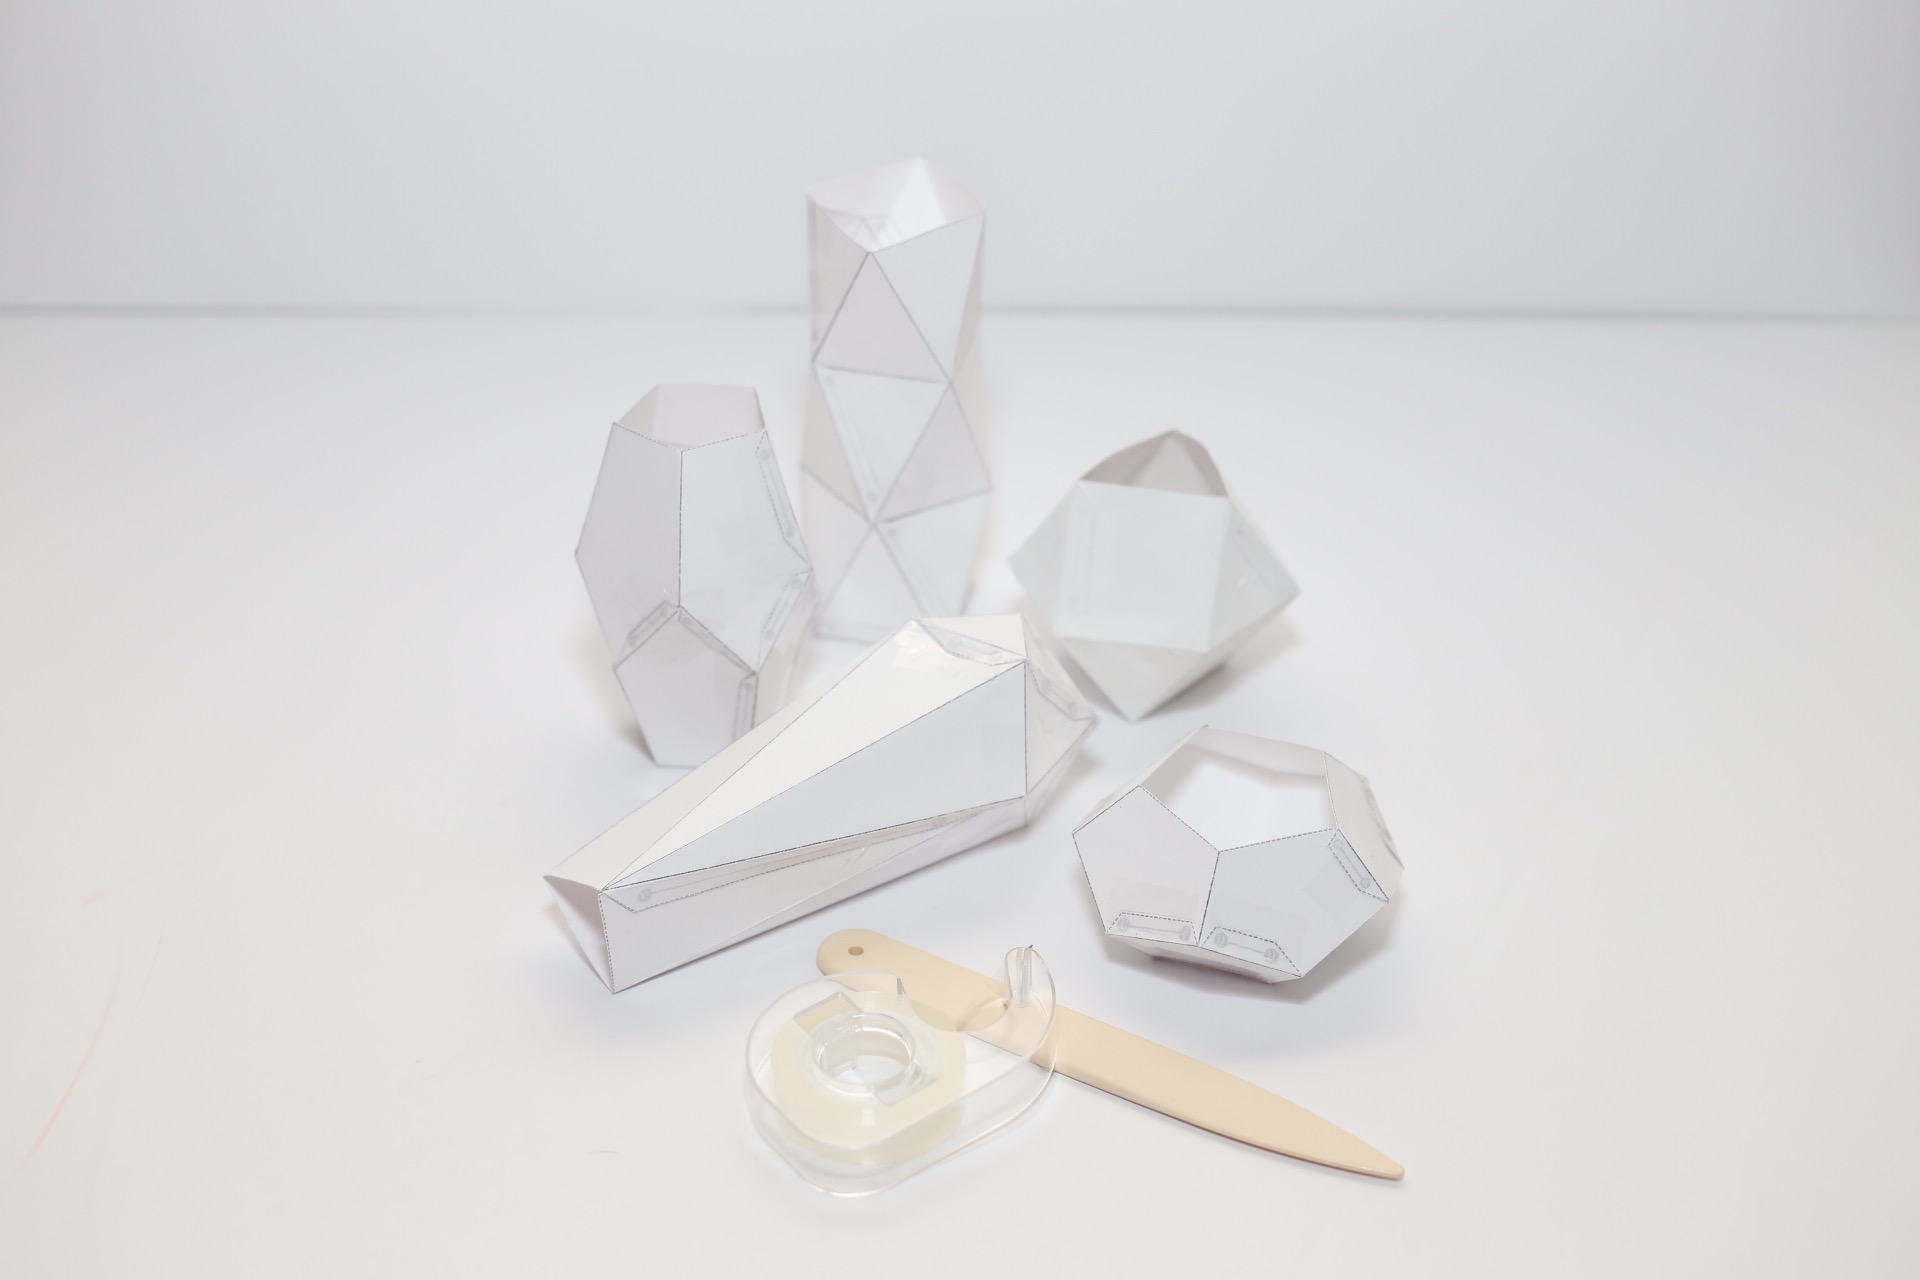
The more precise you cut and fold, the better your template will look. You can use your popsicle sticks as a bone folder and crease your edges firmly.
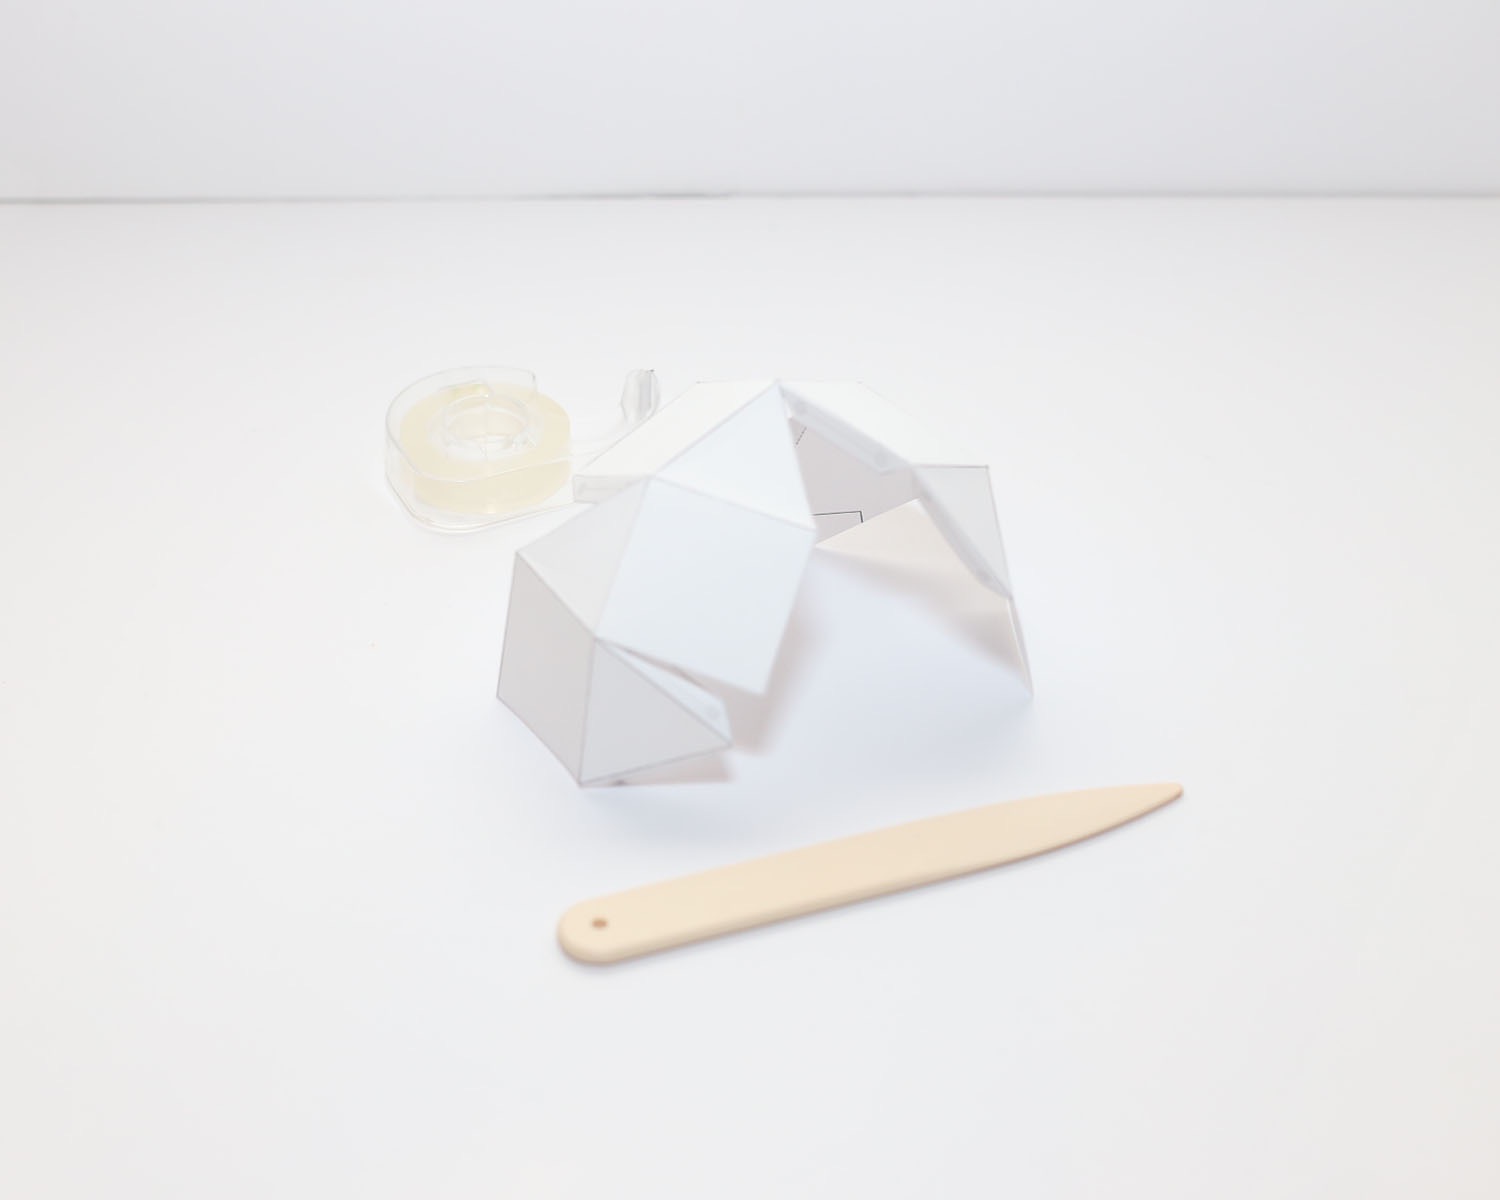
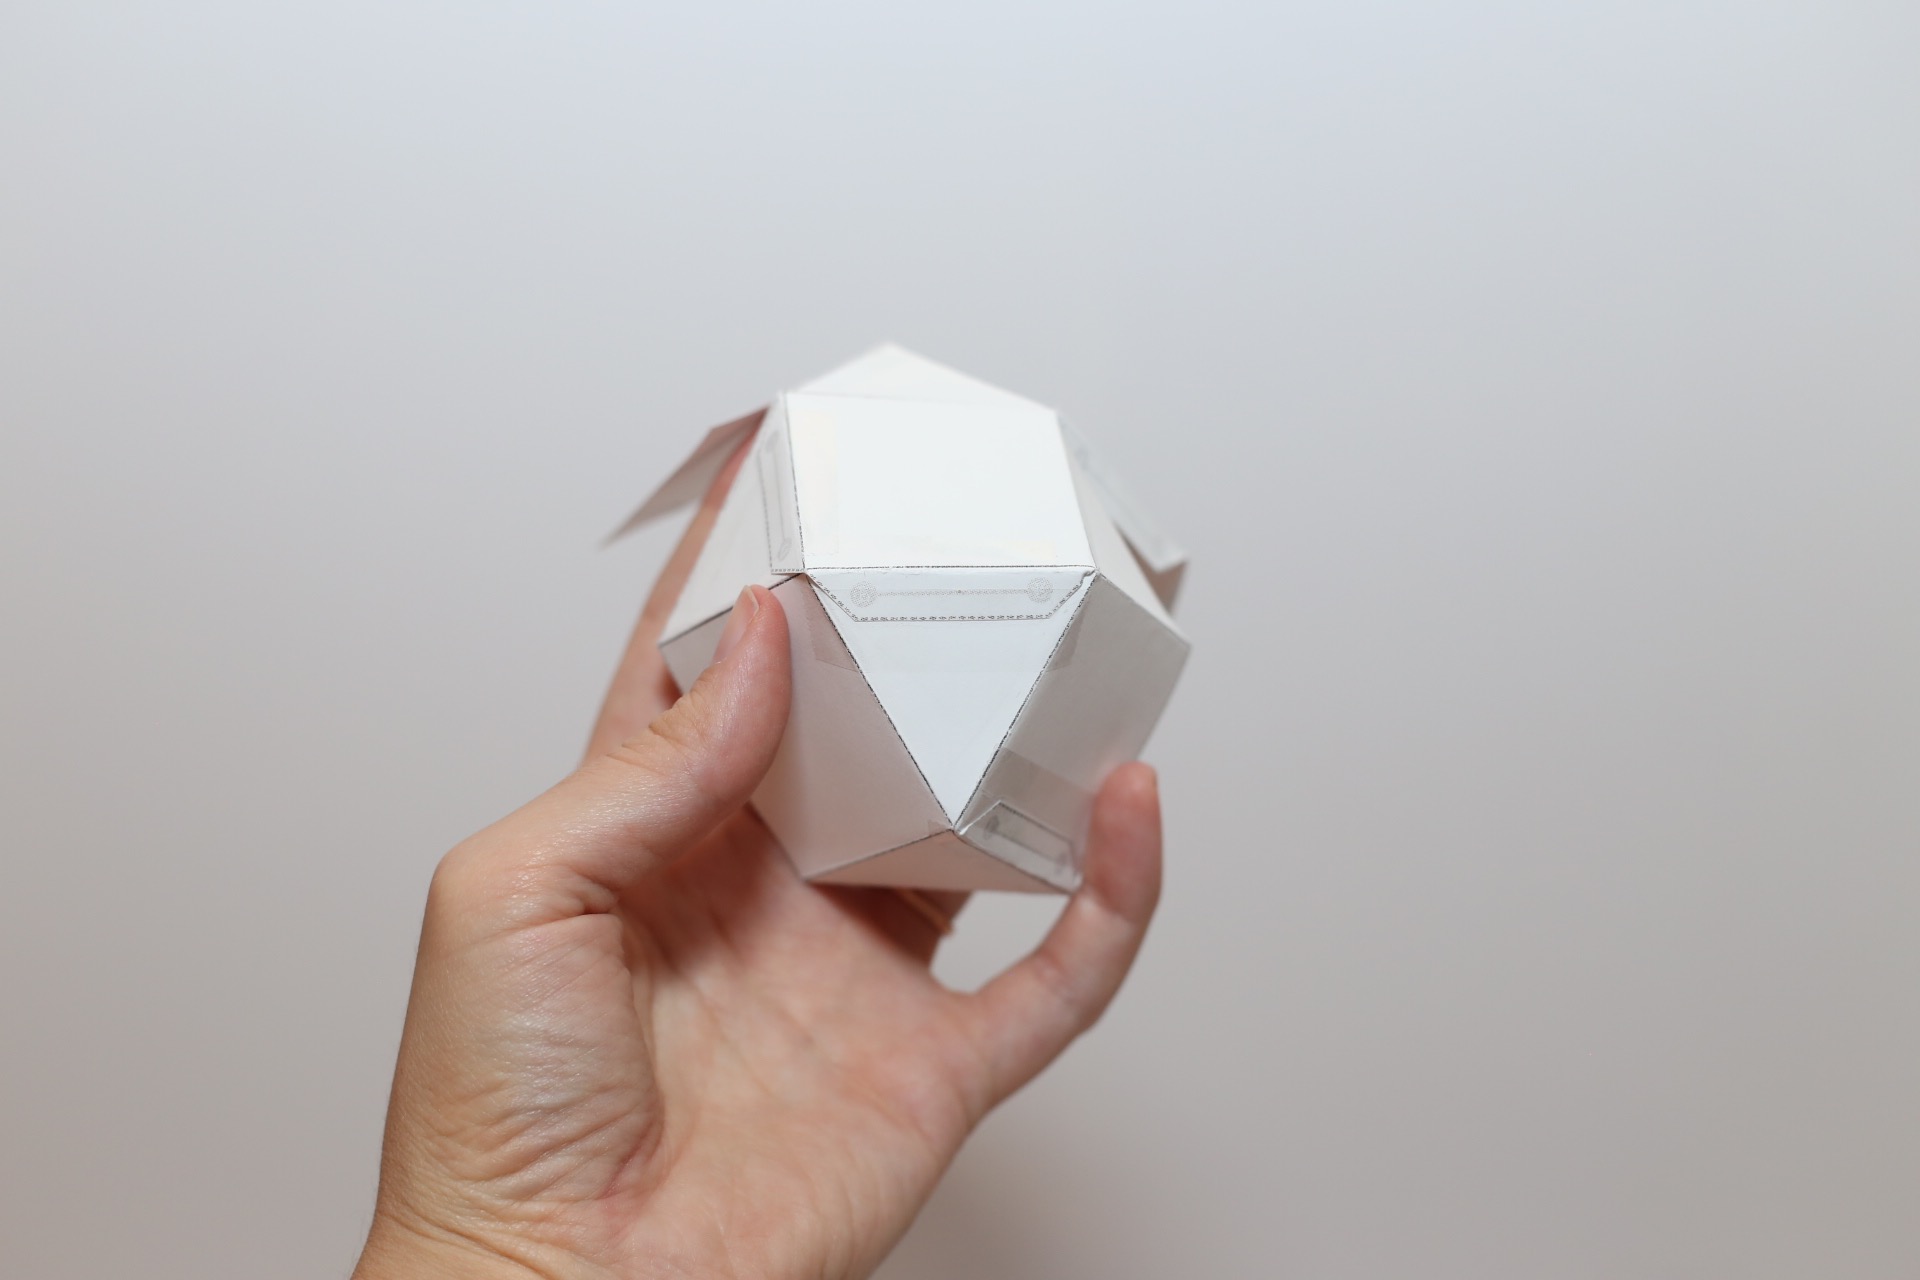
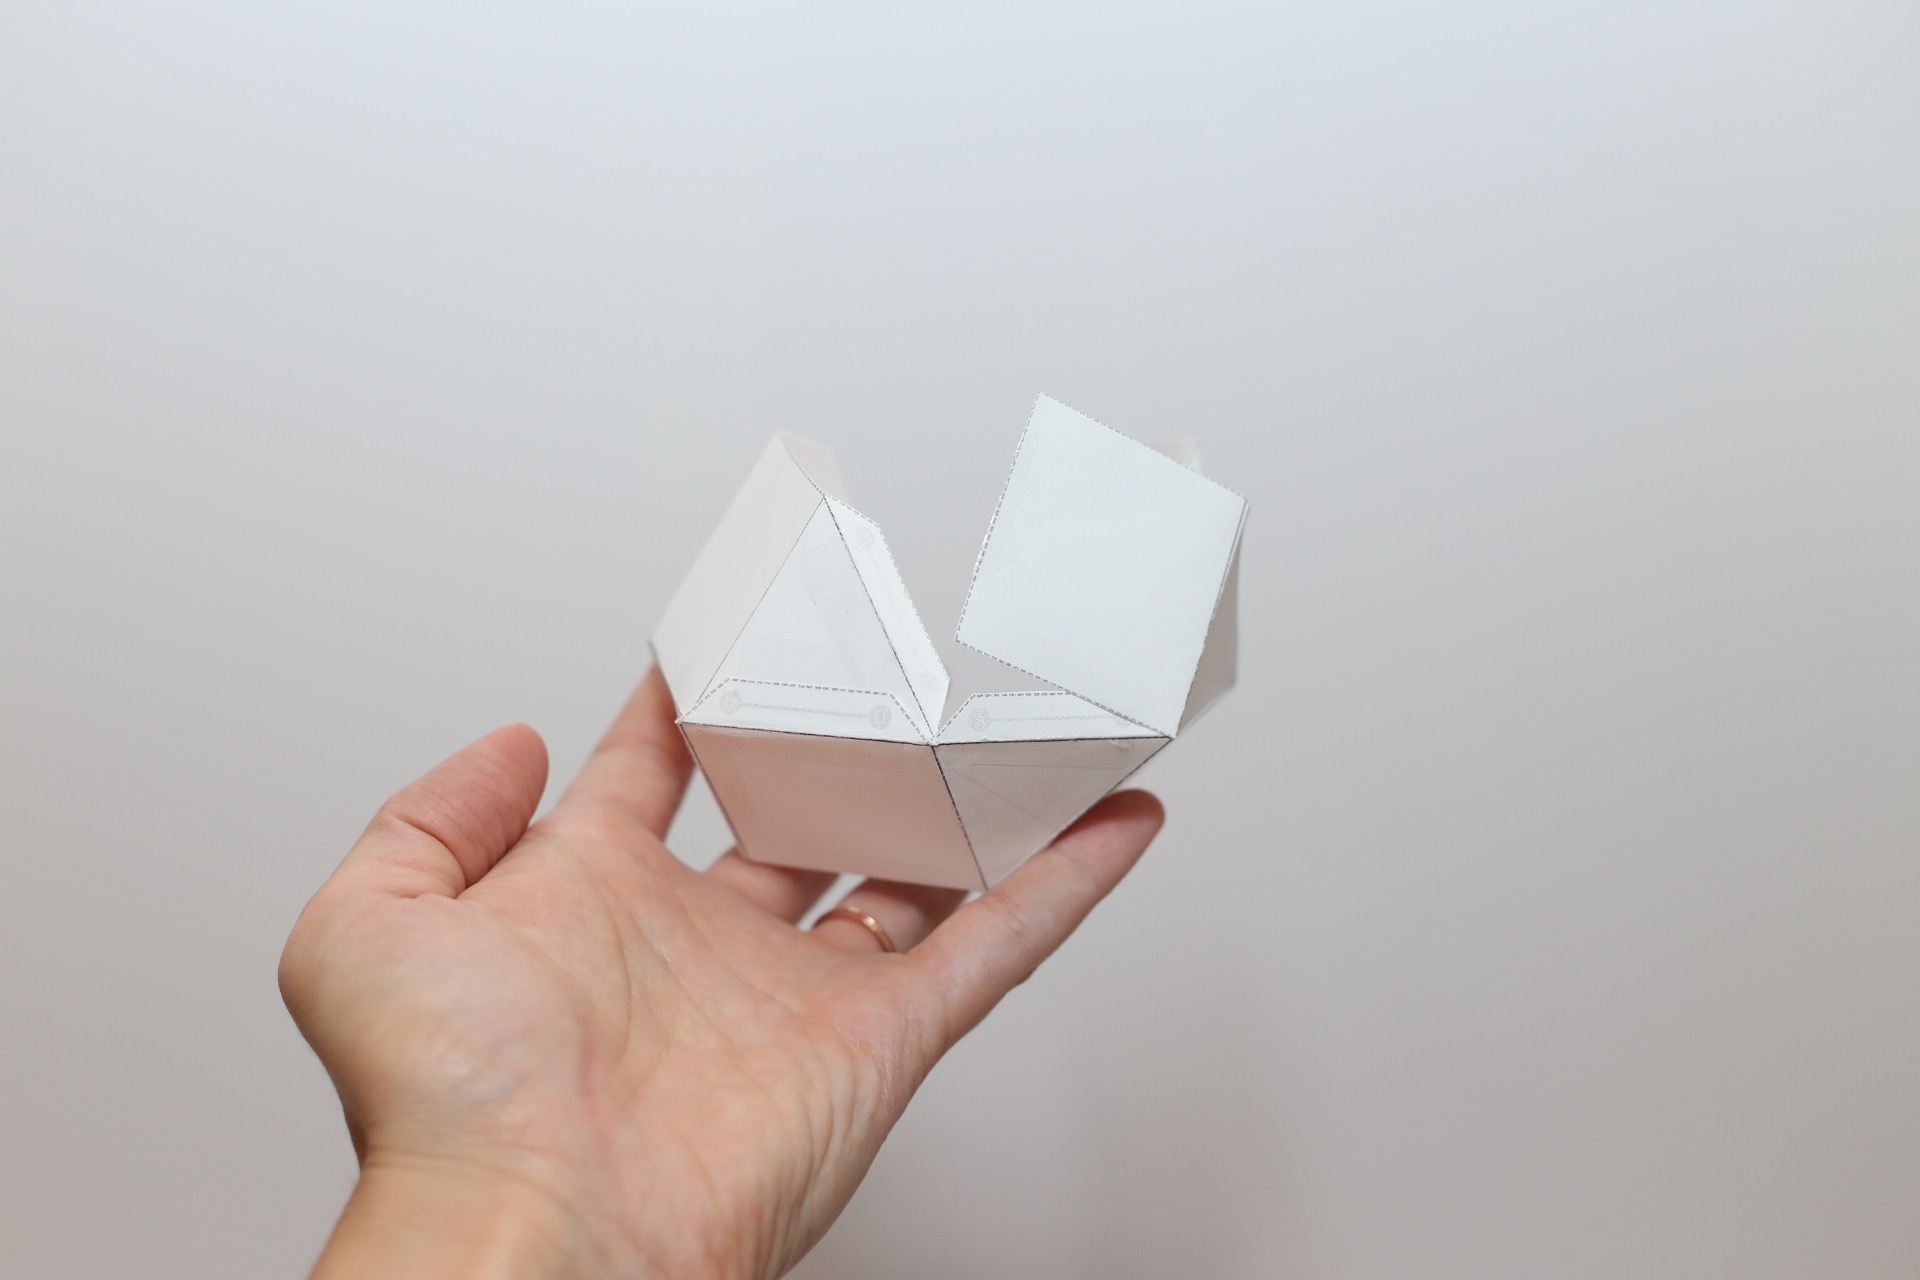
Use scotch tape to connect your template pieces together. The final shapes are shown on the template paper. The template is also numbered and lettered so you can see where your templates should be taped together to make their final form.
Pro Tip: Use the tape to make sure there aren’t holes throughout the template. This will help you as you coat the template in house paint and will ultimately help the template hold together when you pour in the liquid wax.
If you are printing the templates yourself instead of working from one of our kits, be sure that you print the templates on heavy weight card stock. Because these templates will be holding liquid wax, it’s important to use paper that has weight to it. The liquid wax will be heavier than what copy paper can handle.
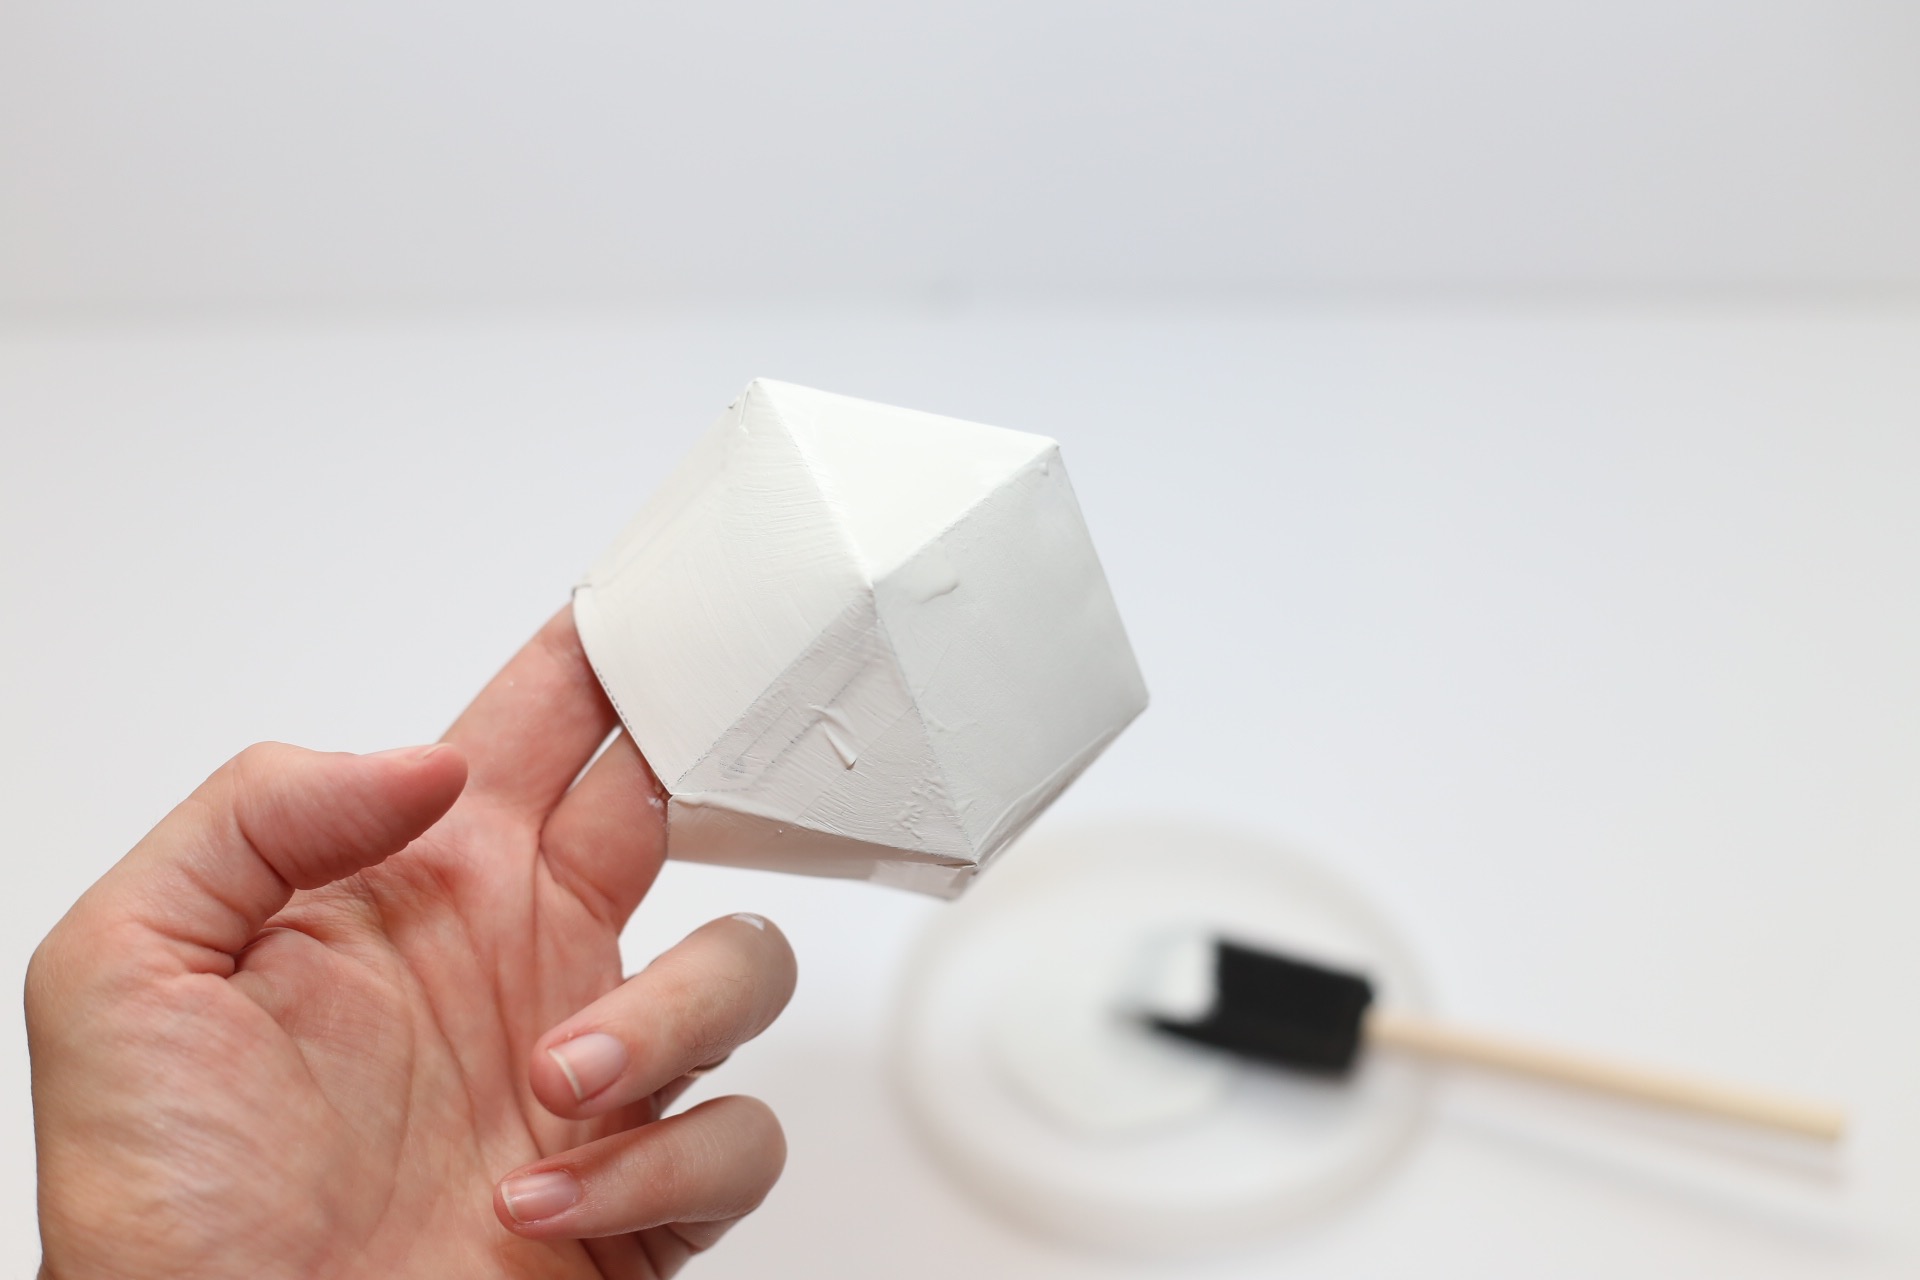
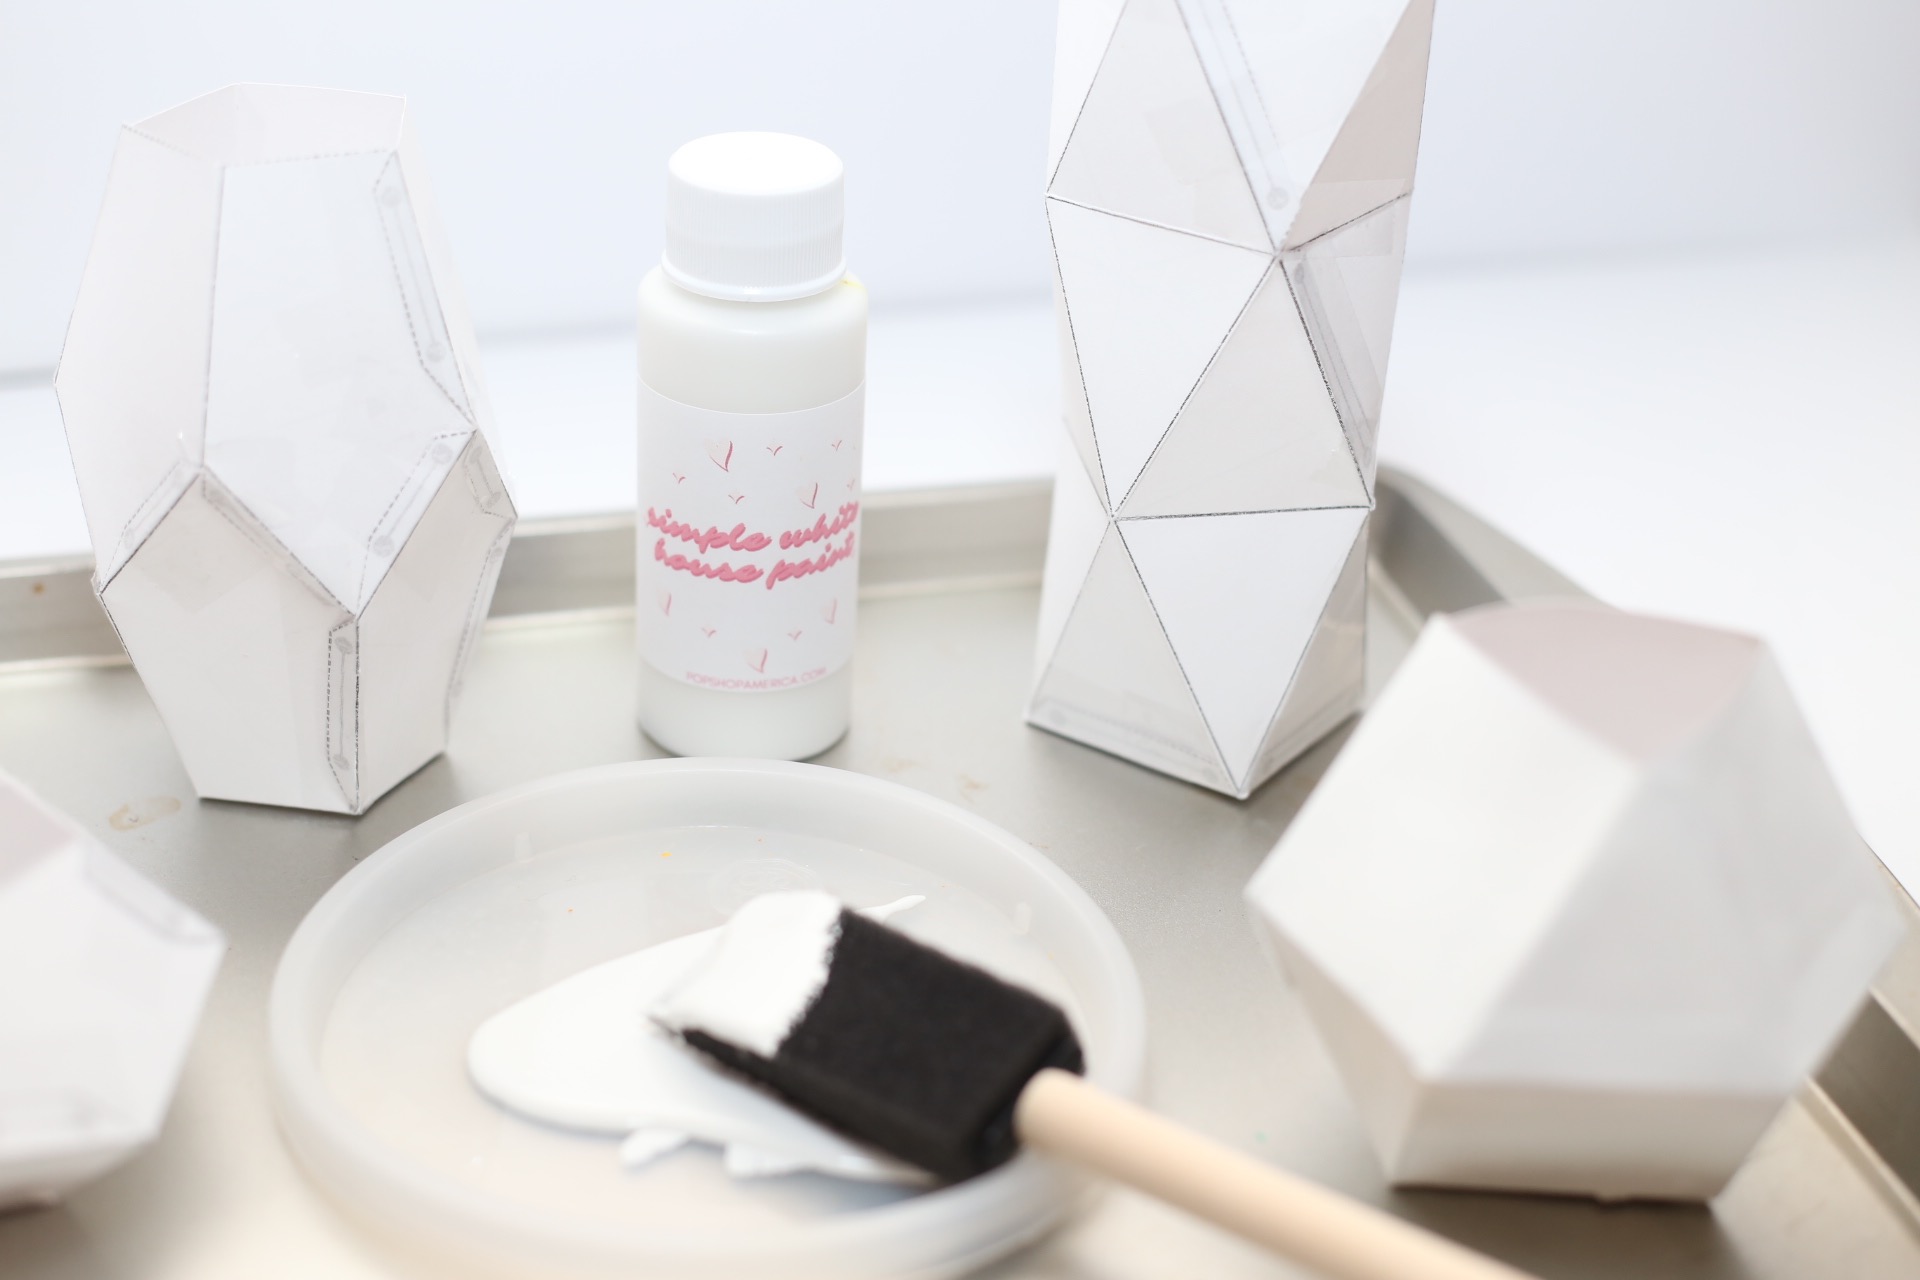
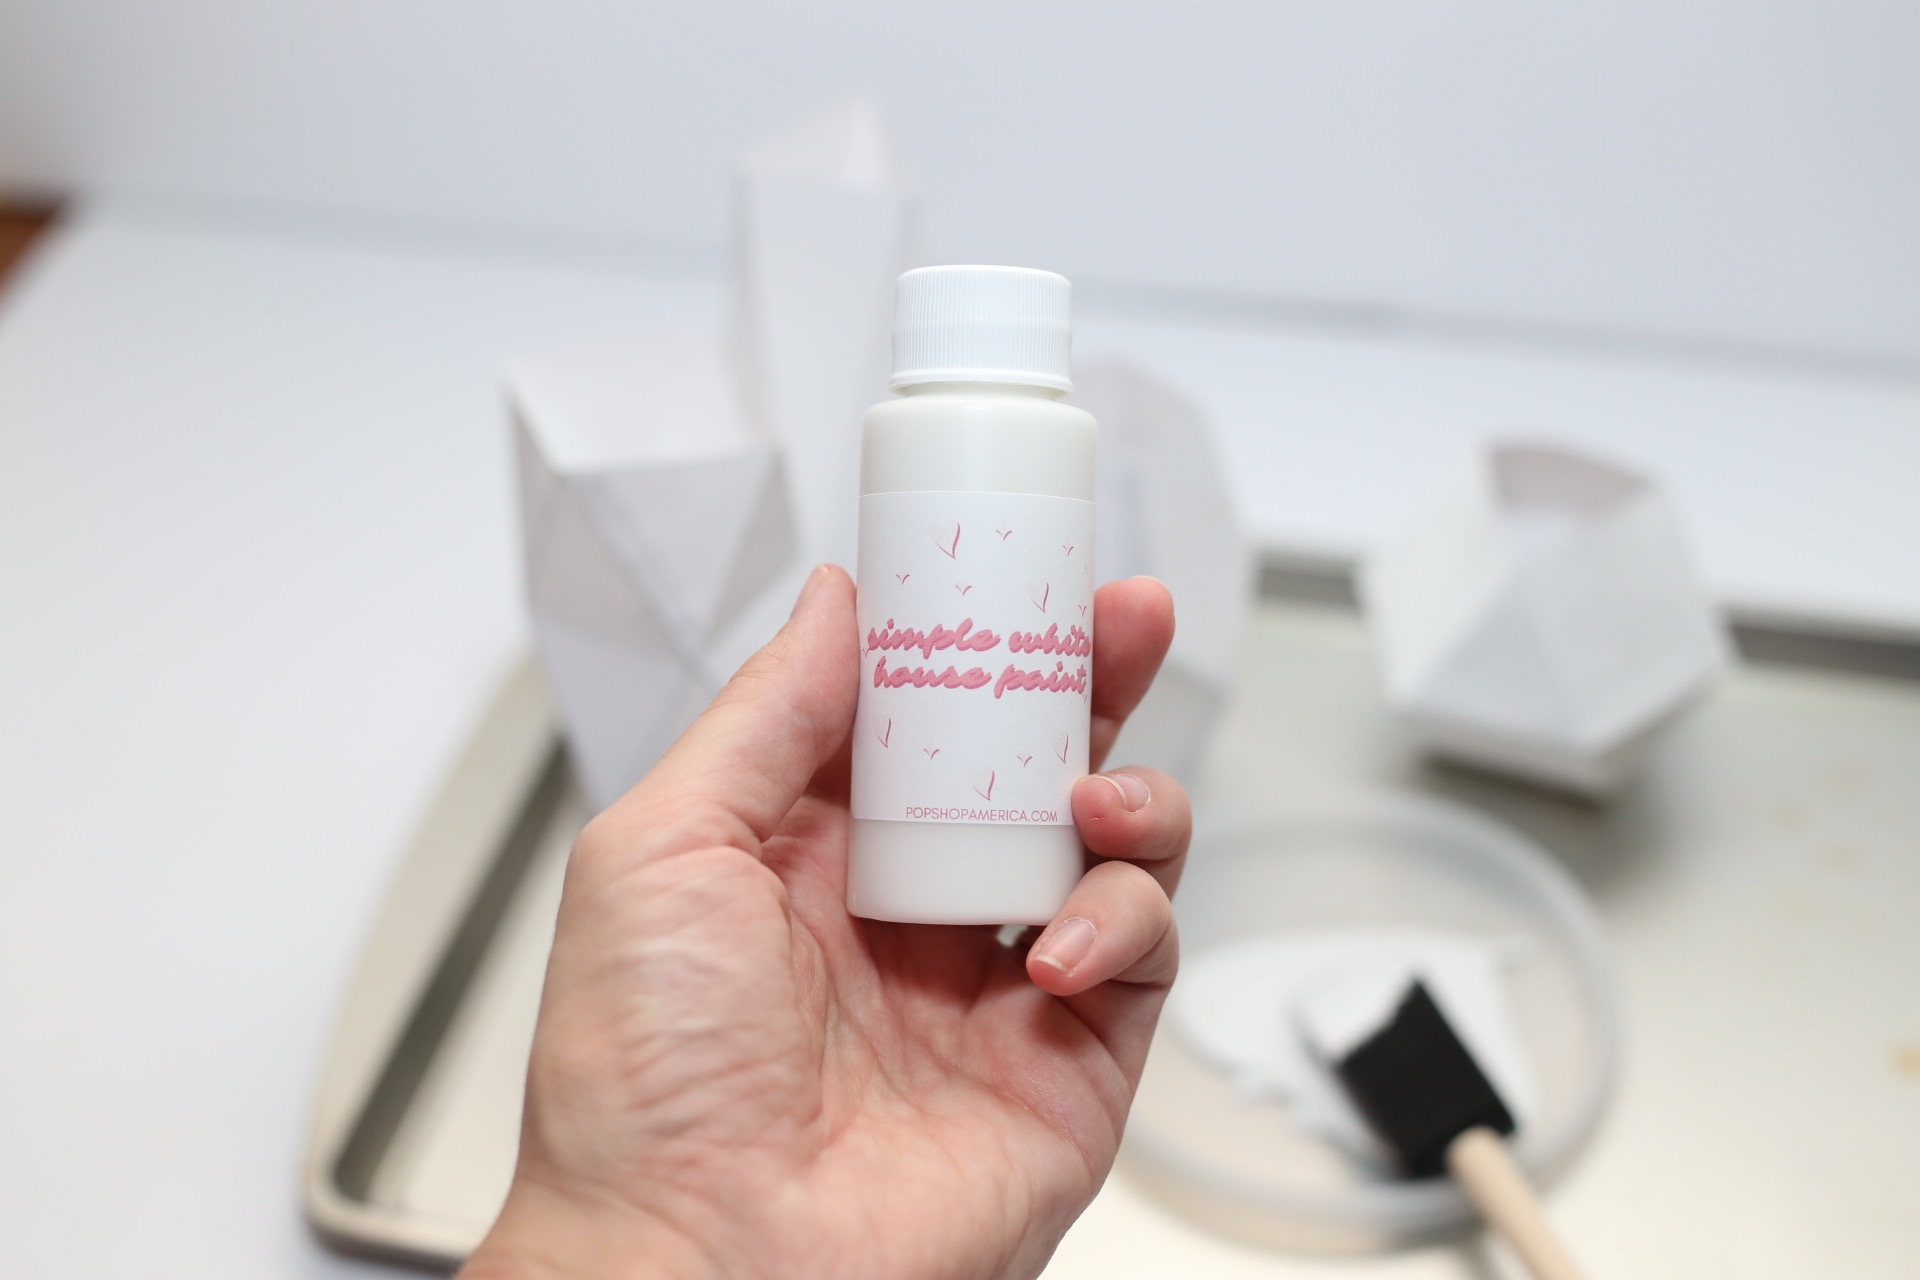
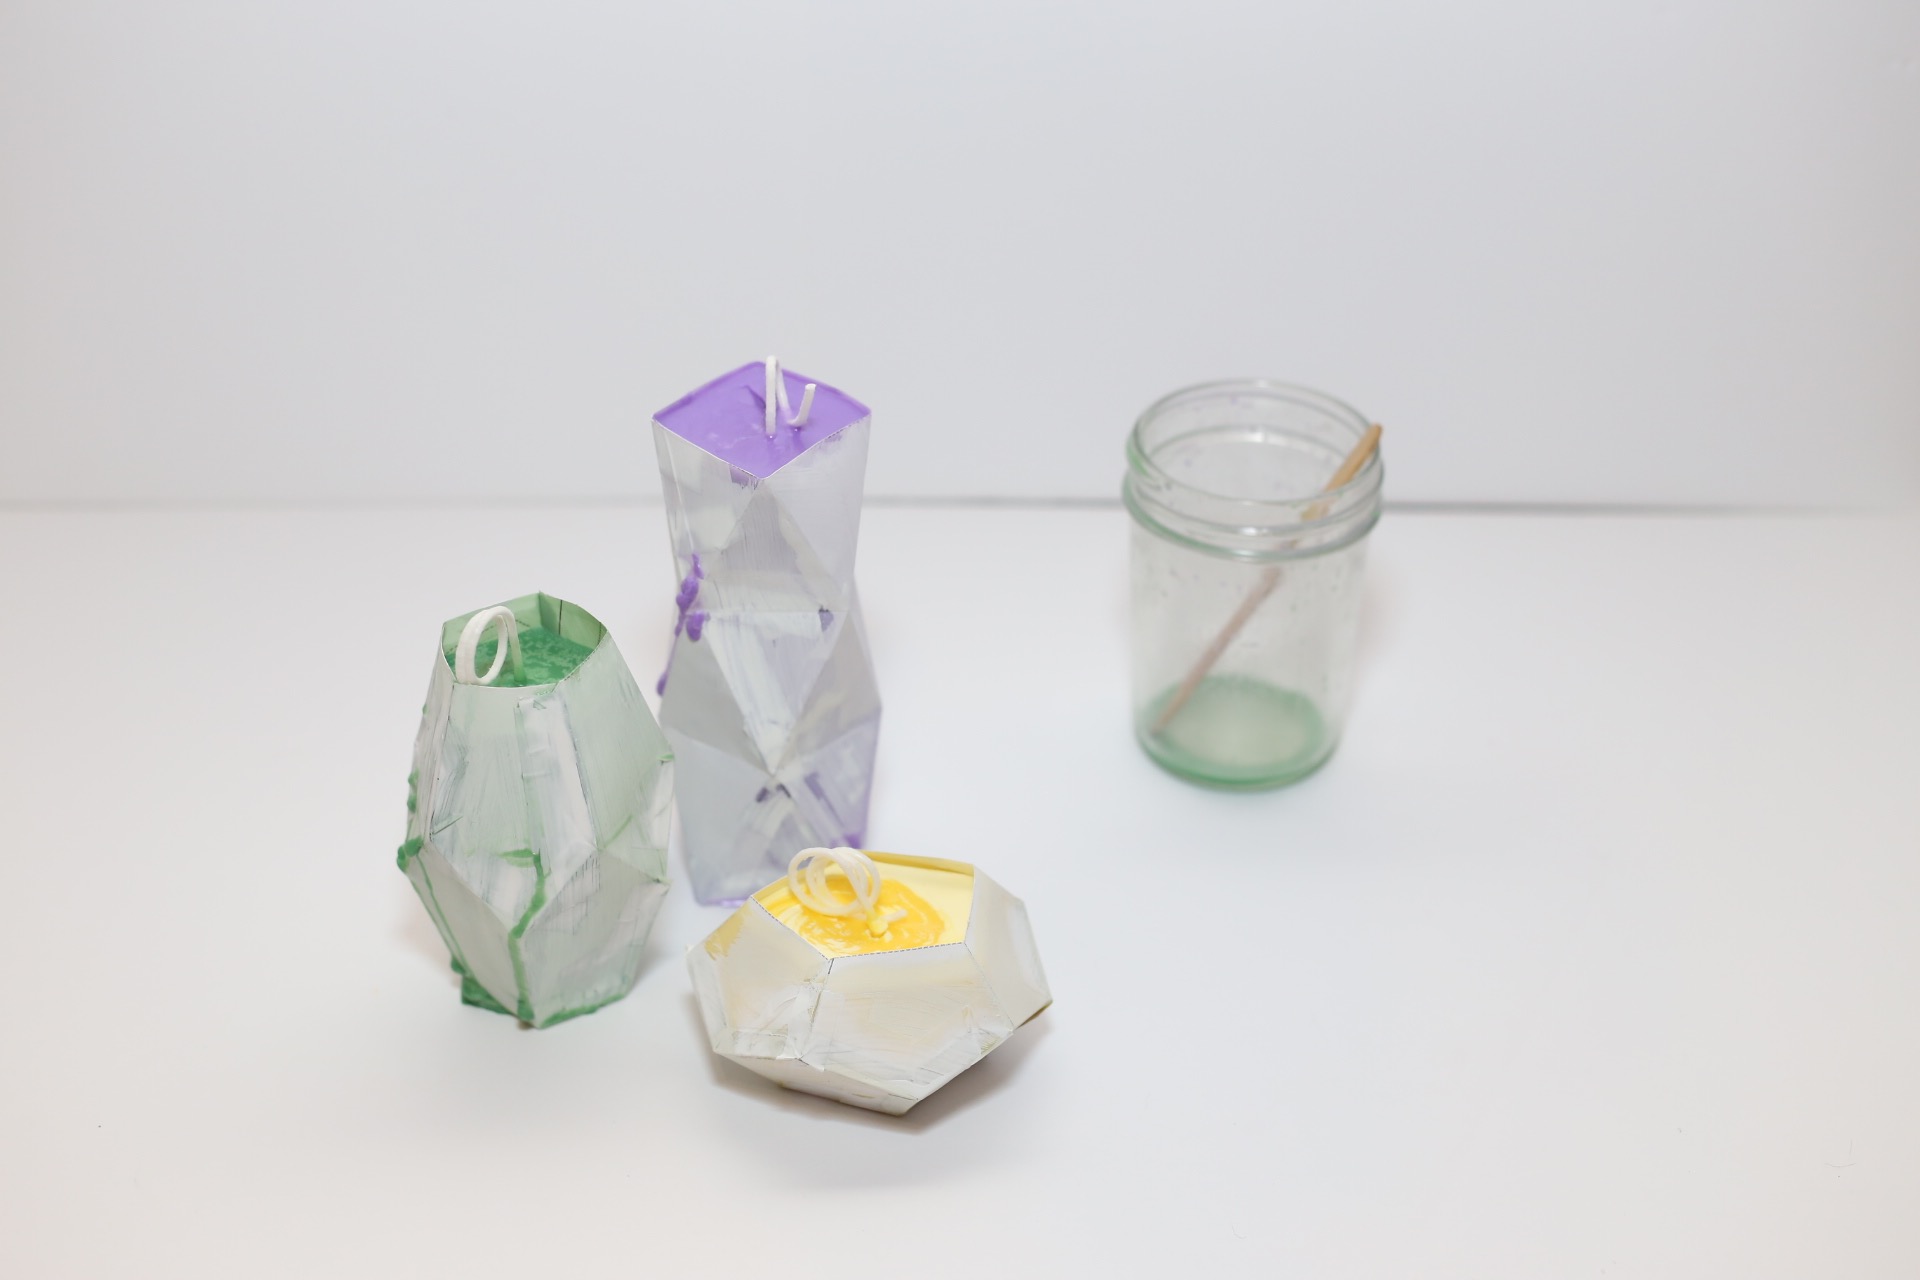
Once you have all your sides folded and taped together, it’s time to coat the template to get it ready to hold liquid wax. The house paint will give the template the weight it needs and will help plug any remaining holes.
Just use one coat of house paint – there’s no need to use a lot. You may need to paint just a few sides at a time, let them dry and then paint the remaining sides once the first few are dry.
Once you paint your template, the structure will be even stronger than before. That means you will not be able to reinforce your folds or fix the tape on any of the sides of your template. For that reason, it’s important to make sure your template sides are lined up perfectly and your taped just how you want it before you add the house paint!
Now you can fold any additional templates you want to use. Remember each template will hold around 1/2 lbs. of candle wax.
Use the same process of folding the sides, taping the template together and coating it with house paint before you use it.
If you want to make a set of gemstone candles, all using different colors, it may be best to heat and pour your wax separately. Each session of melting wax and adding the colorant can only accomodate one color at a time.
The color of wax will look darker when its liquid than when it’s dry, so use our formula above to make sure you are using the right amount of colorant.
House paint dries very quickly – within just a few minutes. And once your house paint is dry your template is ready to use.
You can store the template as long as you like, just be careful because it’s still delicate even after being coated in house paint.
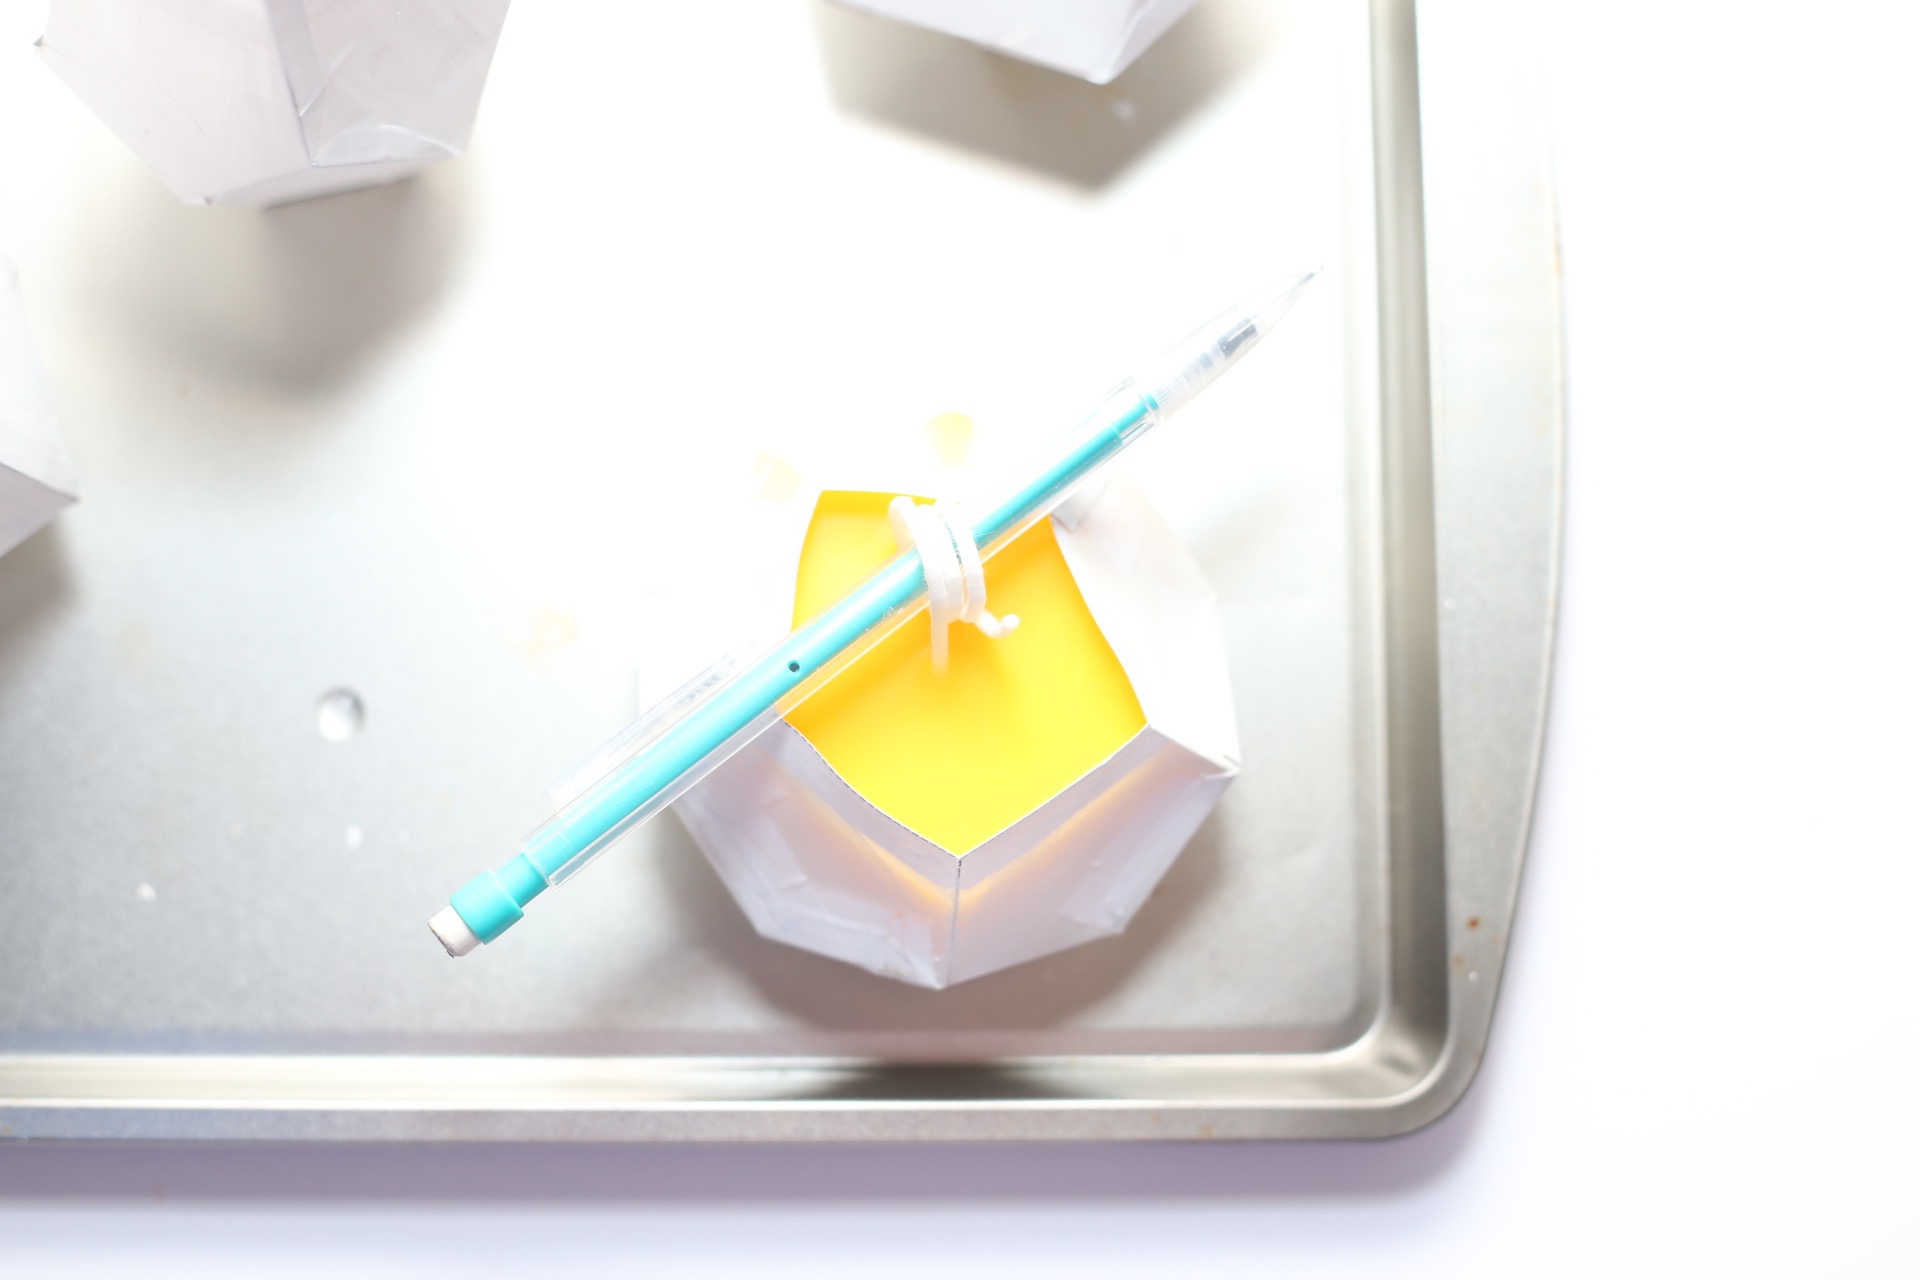
Once your template is ready and your wax is melted, liquid and translucent, it’s time to make the candle. Prepare the wick by wrapping the end around a pencil, popsicle stick or wooden skewer.
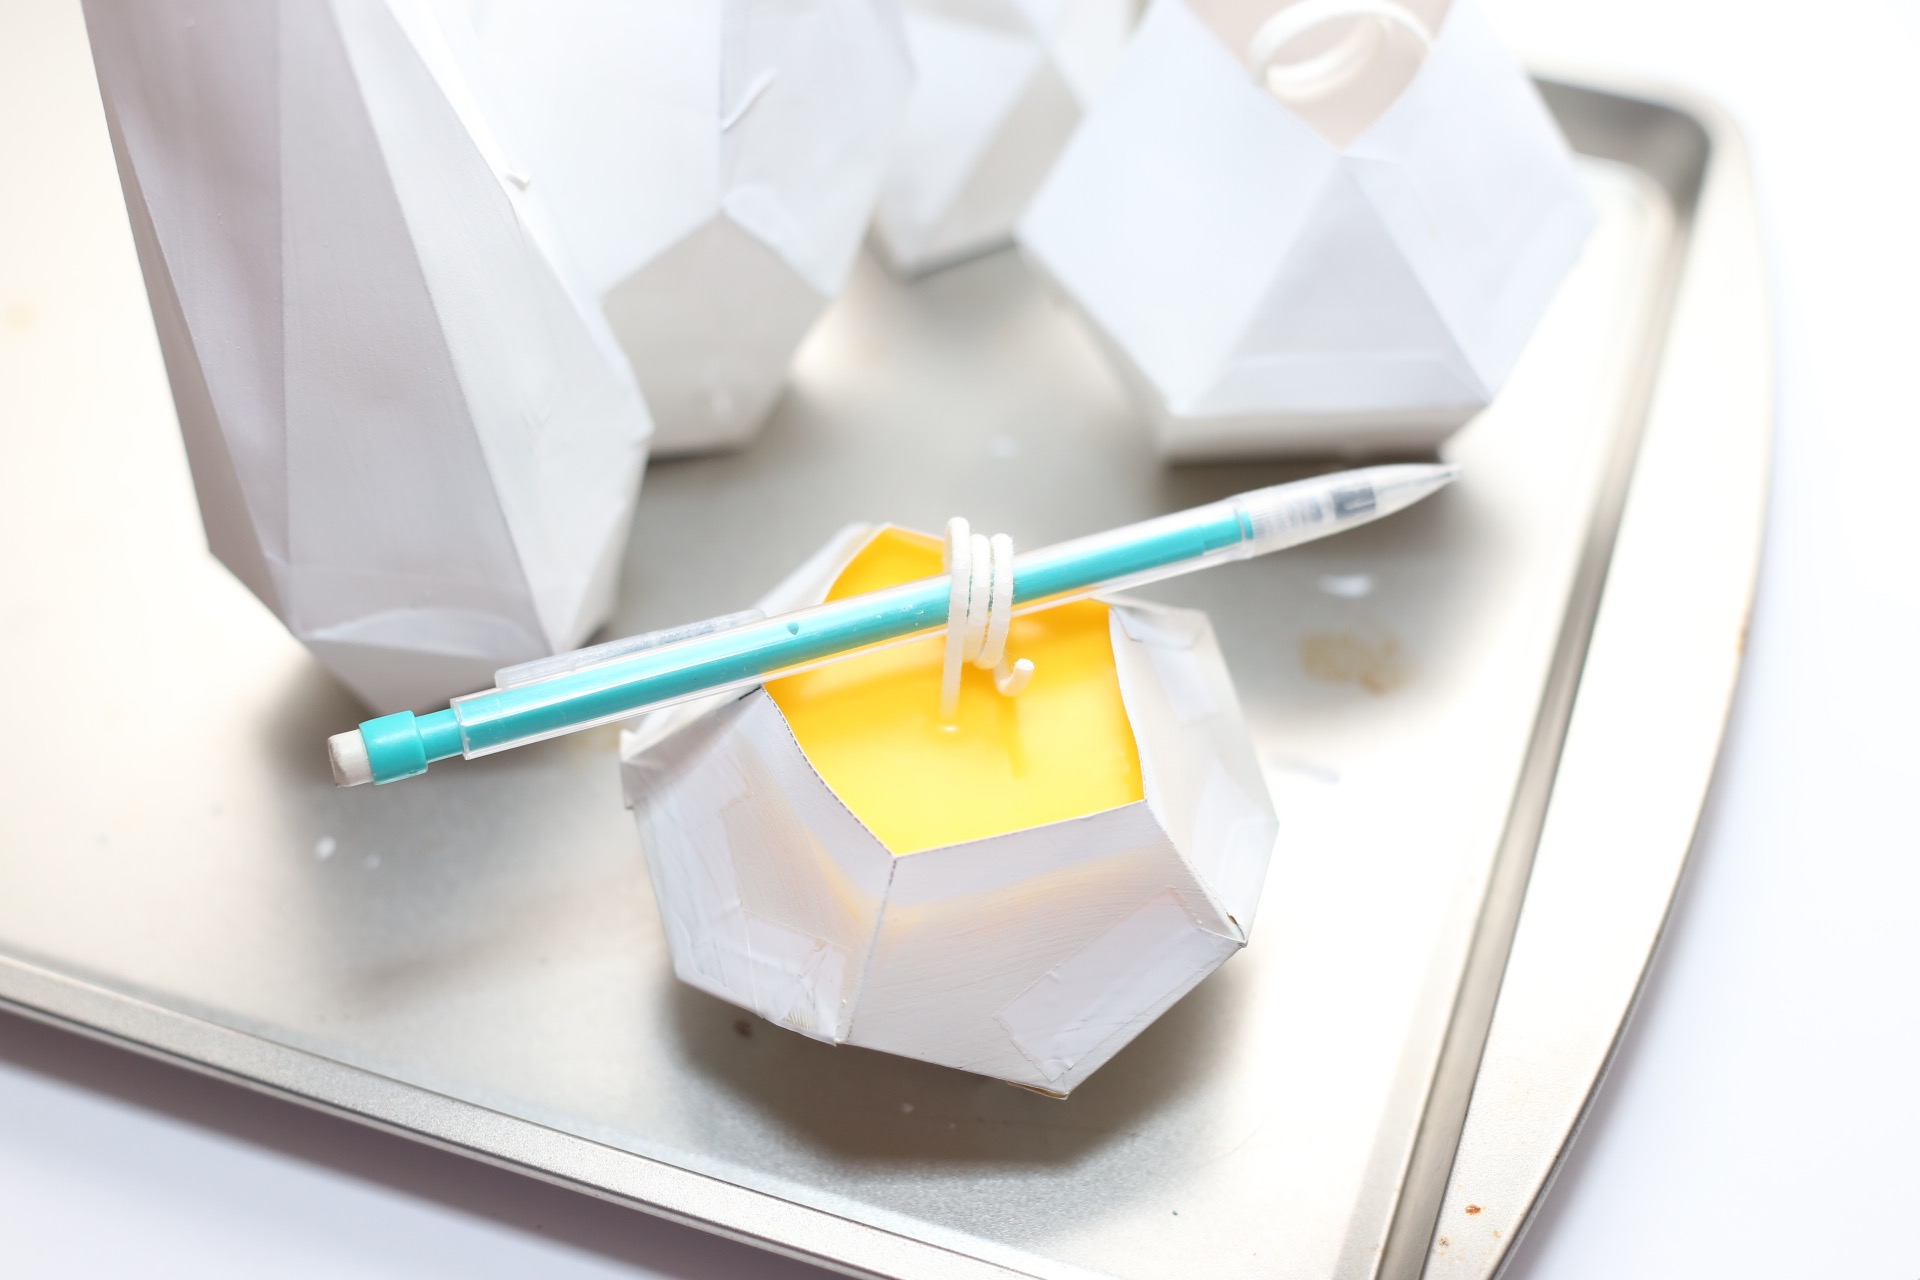
Roll the wick around until you can rest the popsicle stick across the top of the template and the base of the wick touches the bottom of the template – but just barely touches it. Then remove the wick and place it to the side.
Last if you are adding glitter, add it now. Stir it thoroughly into the wax.
Pour the wax into the template slowly and carefully. Leave around 1/4 to 1/2 of inch of space at the top of the template. This will prevent messes. Now place the wick back in place in the very center of your liquid wax filled template.
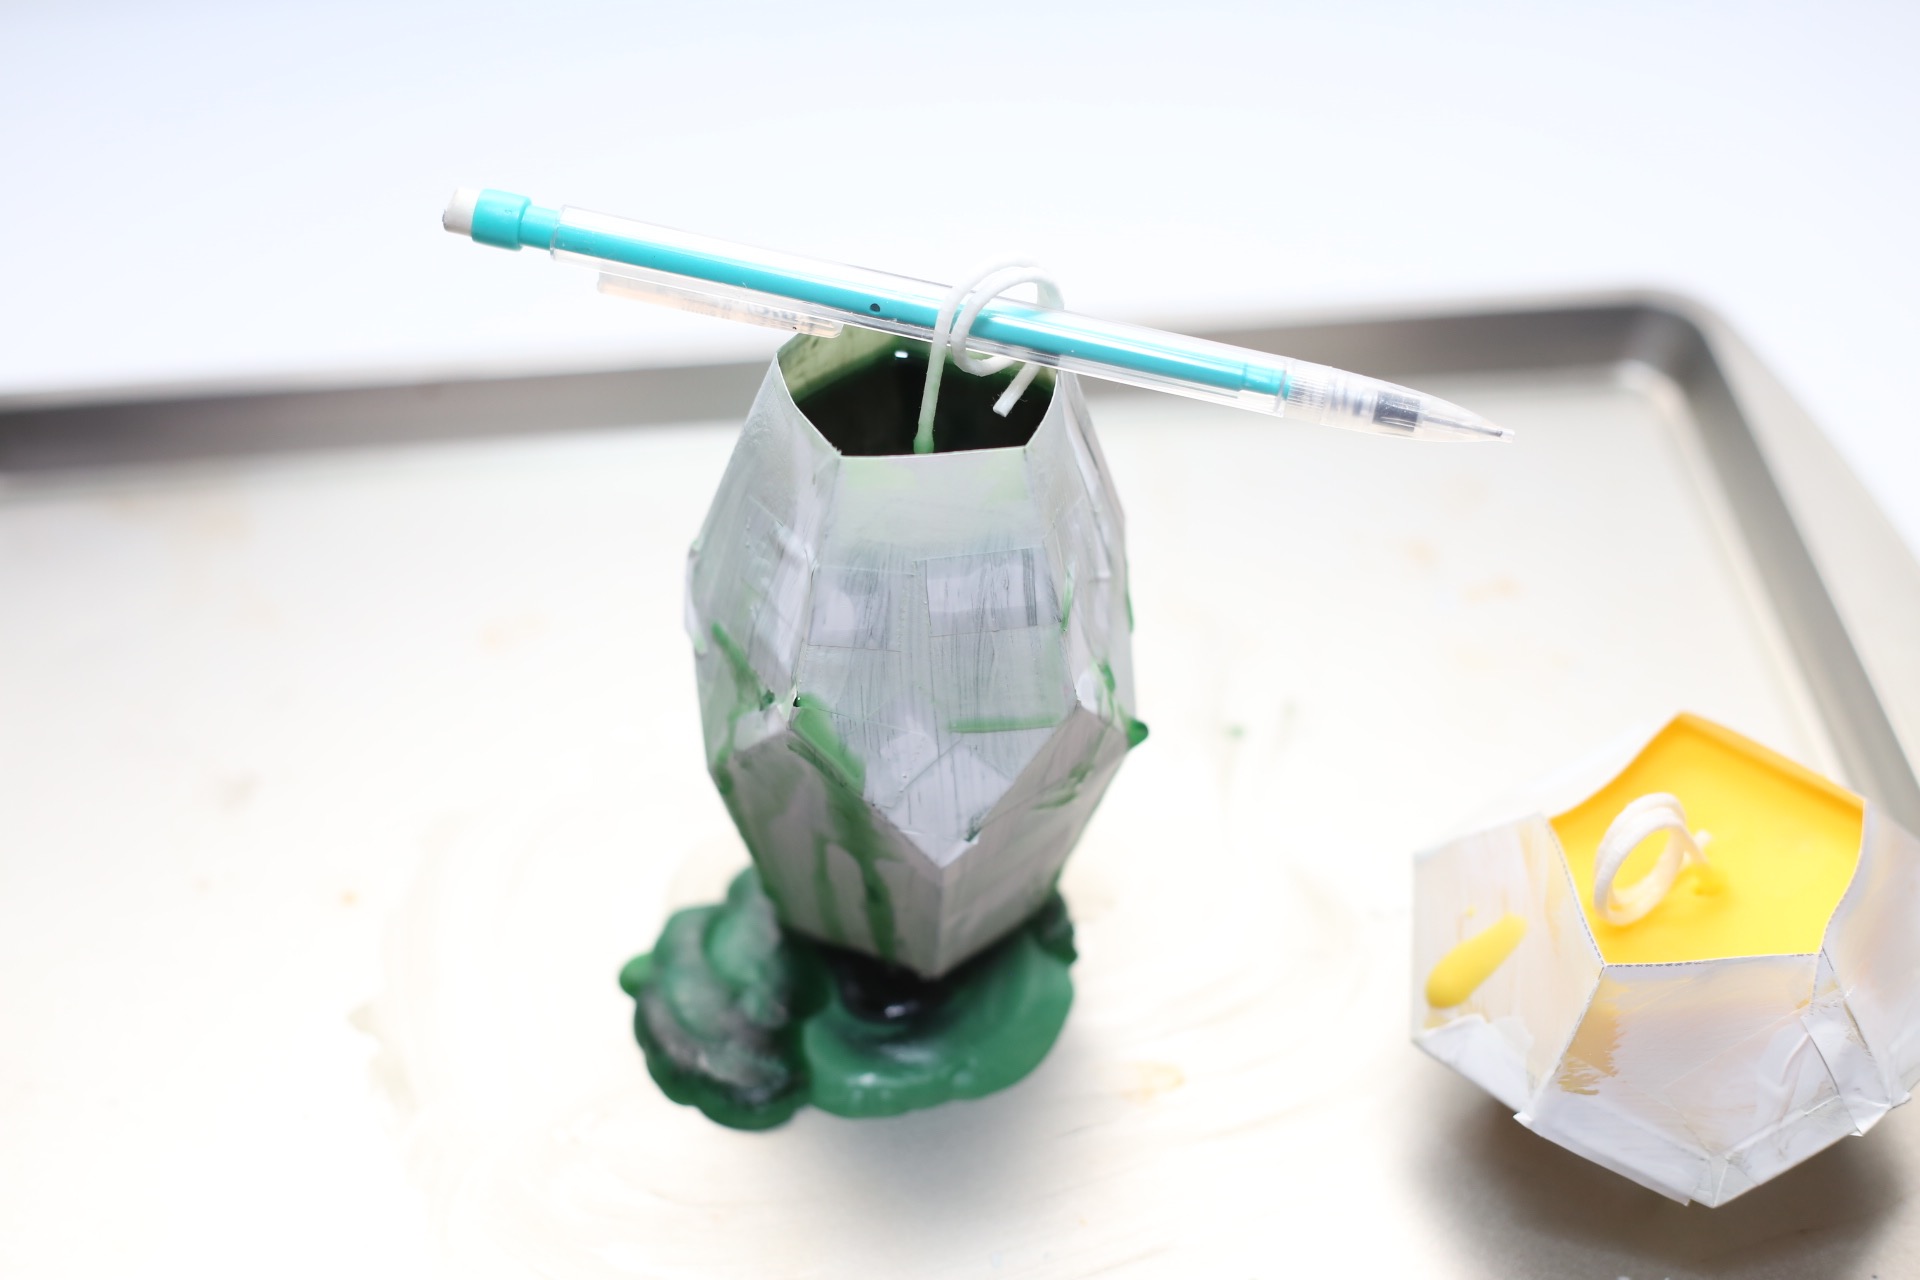
Pro Tip: If your wax starts to leak out of the sides of your template, don’t worry! Just pour your wax back into the mason jar. A small amount of wax will remain in the template coating the sides. Roll the template around in your hands and perhaps even add a touch more wax to the template to coat all the sides in wax.
Once the wax cools, you will have a template that is now protected from leaks! Keep the wax warm and liquid during this process and pour the remaining wax into the template.
Allow the wax to cool completely which will take several hours. I like to leave my candles in their templates overnight and then finish up the next day.
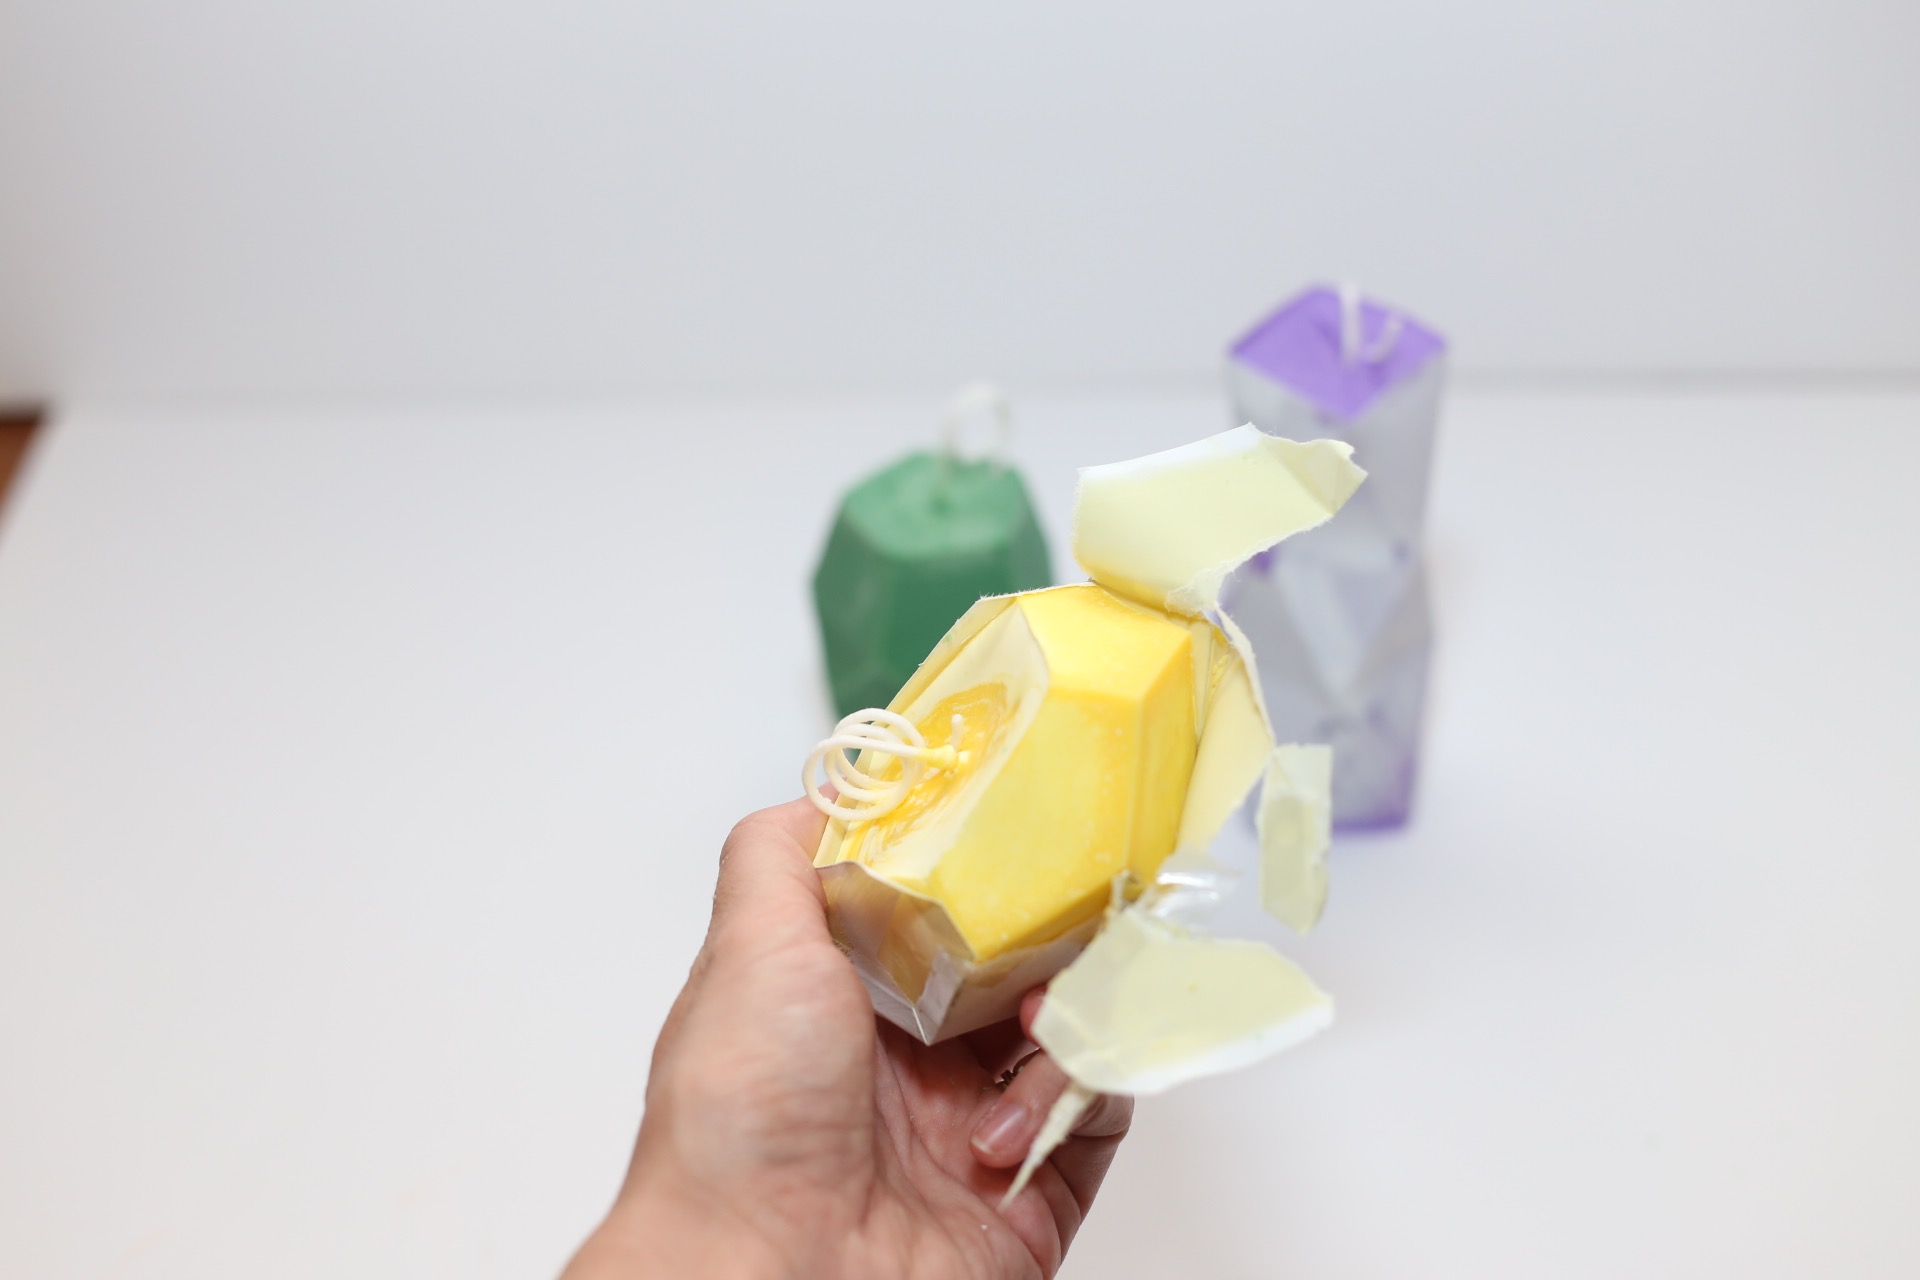
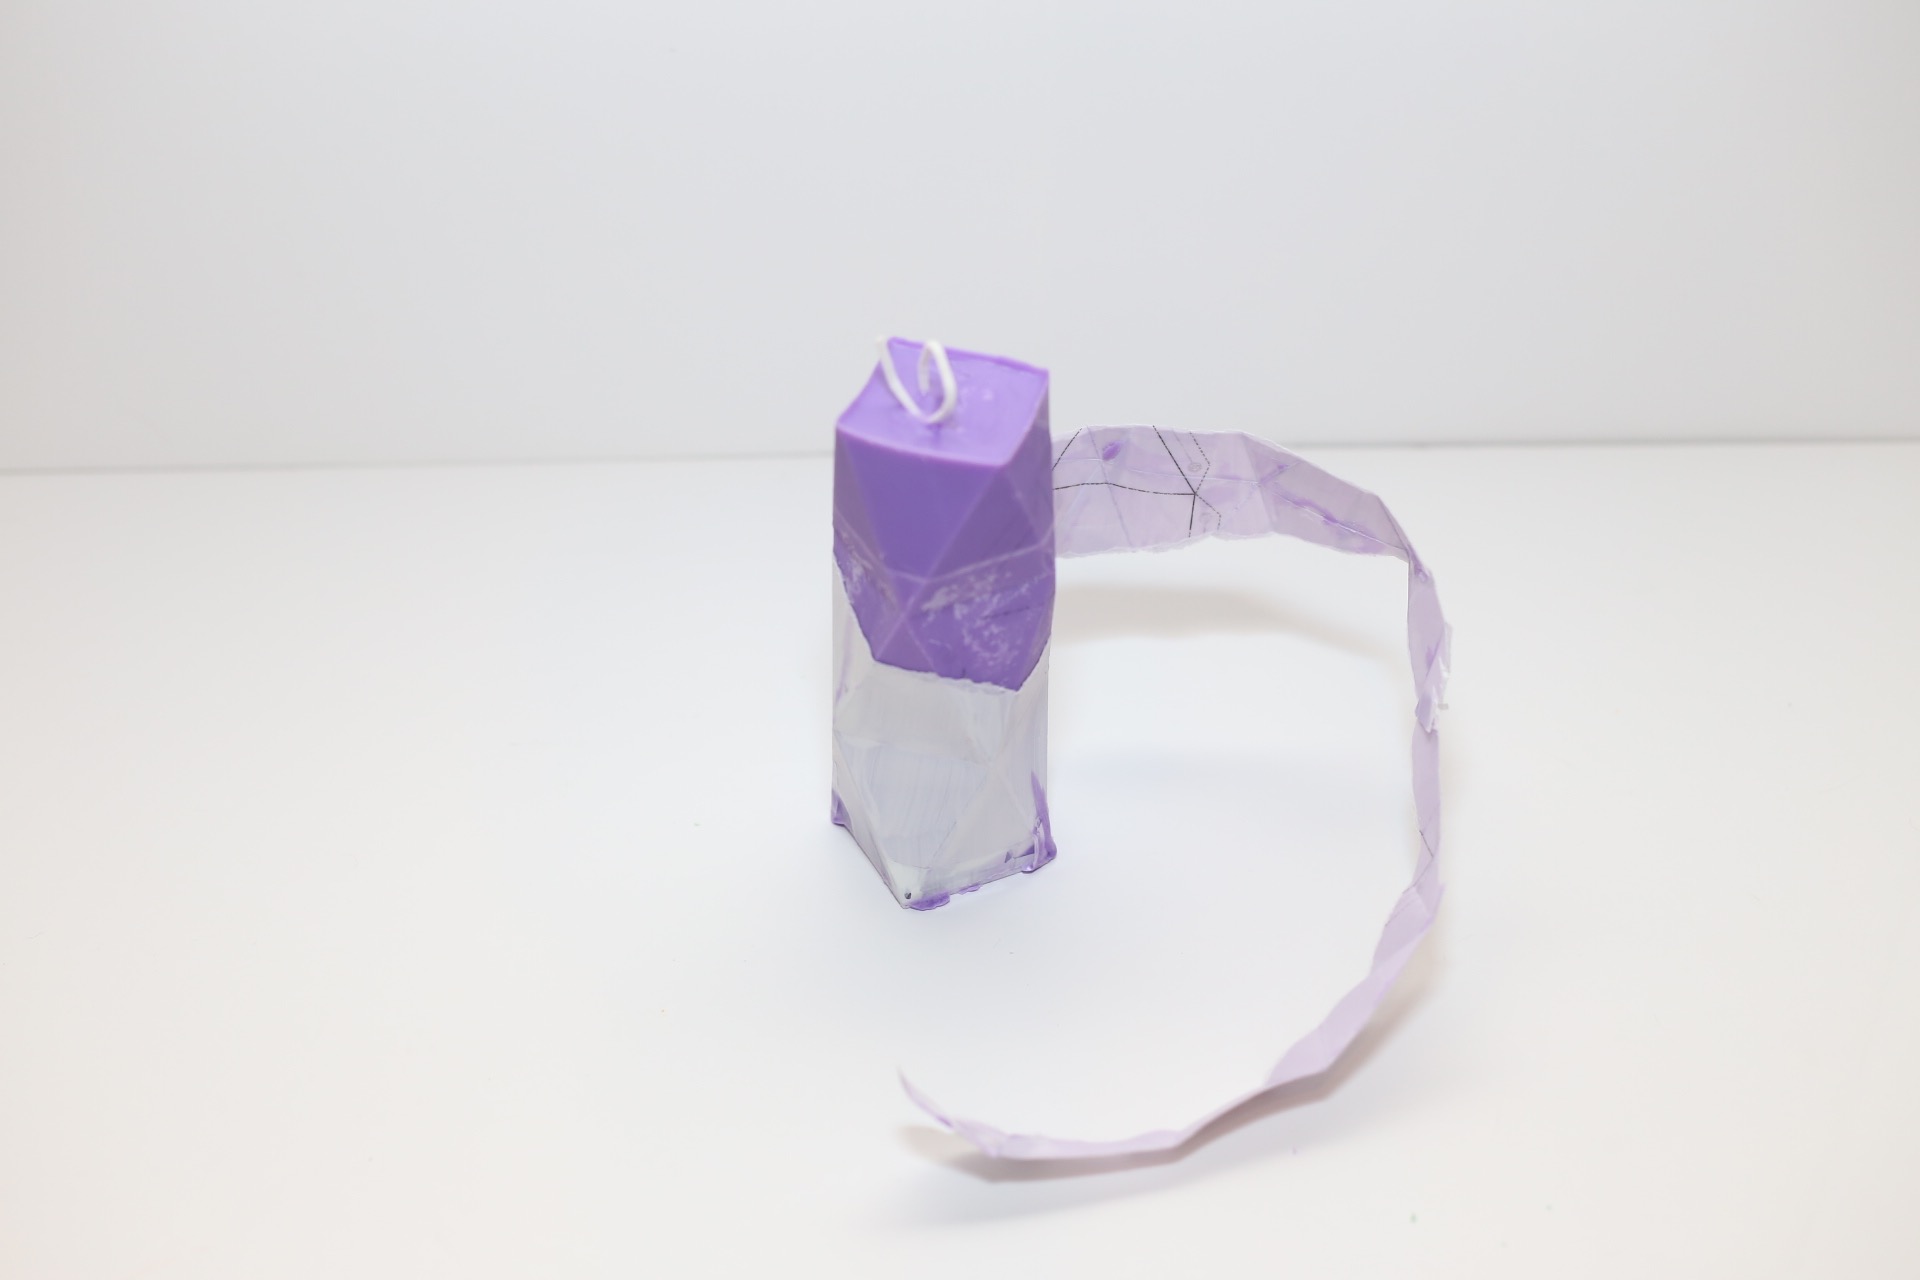
Peel off the paper and remove the candle from the mold. Your paper can’t be used again, so it’s okay to just rip it off!
The sides of your candle should be perfect, but you can always use a sharp knife to clean up your edges if they aren’t perfect.
I repeated all these steps separately a few times to make my candles in different colors. But you could make your candles all the same color or you could just make the Geometric Gemstone Candles one candle at a time.
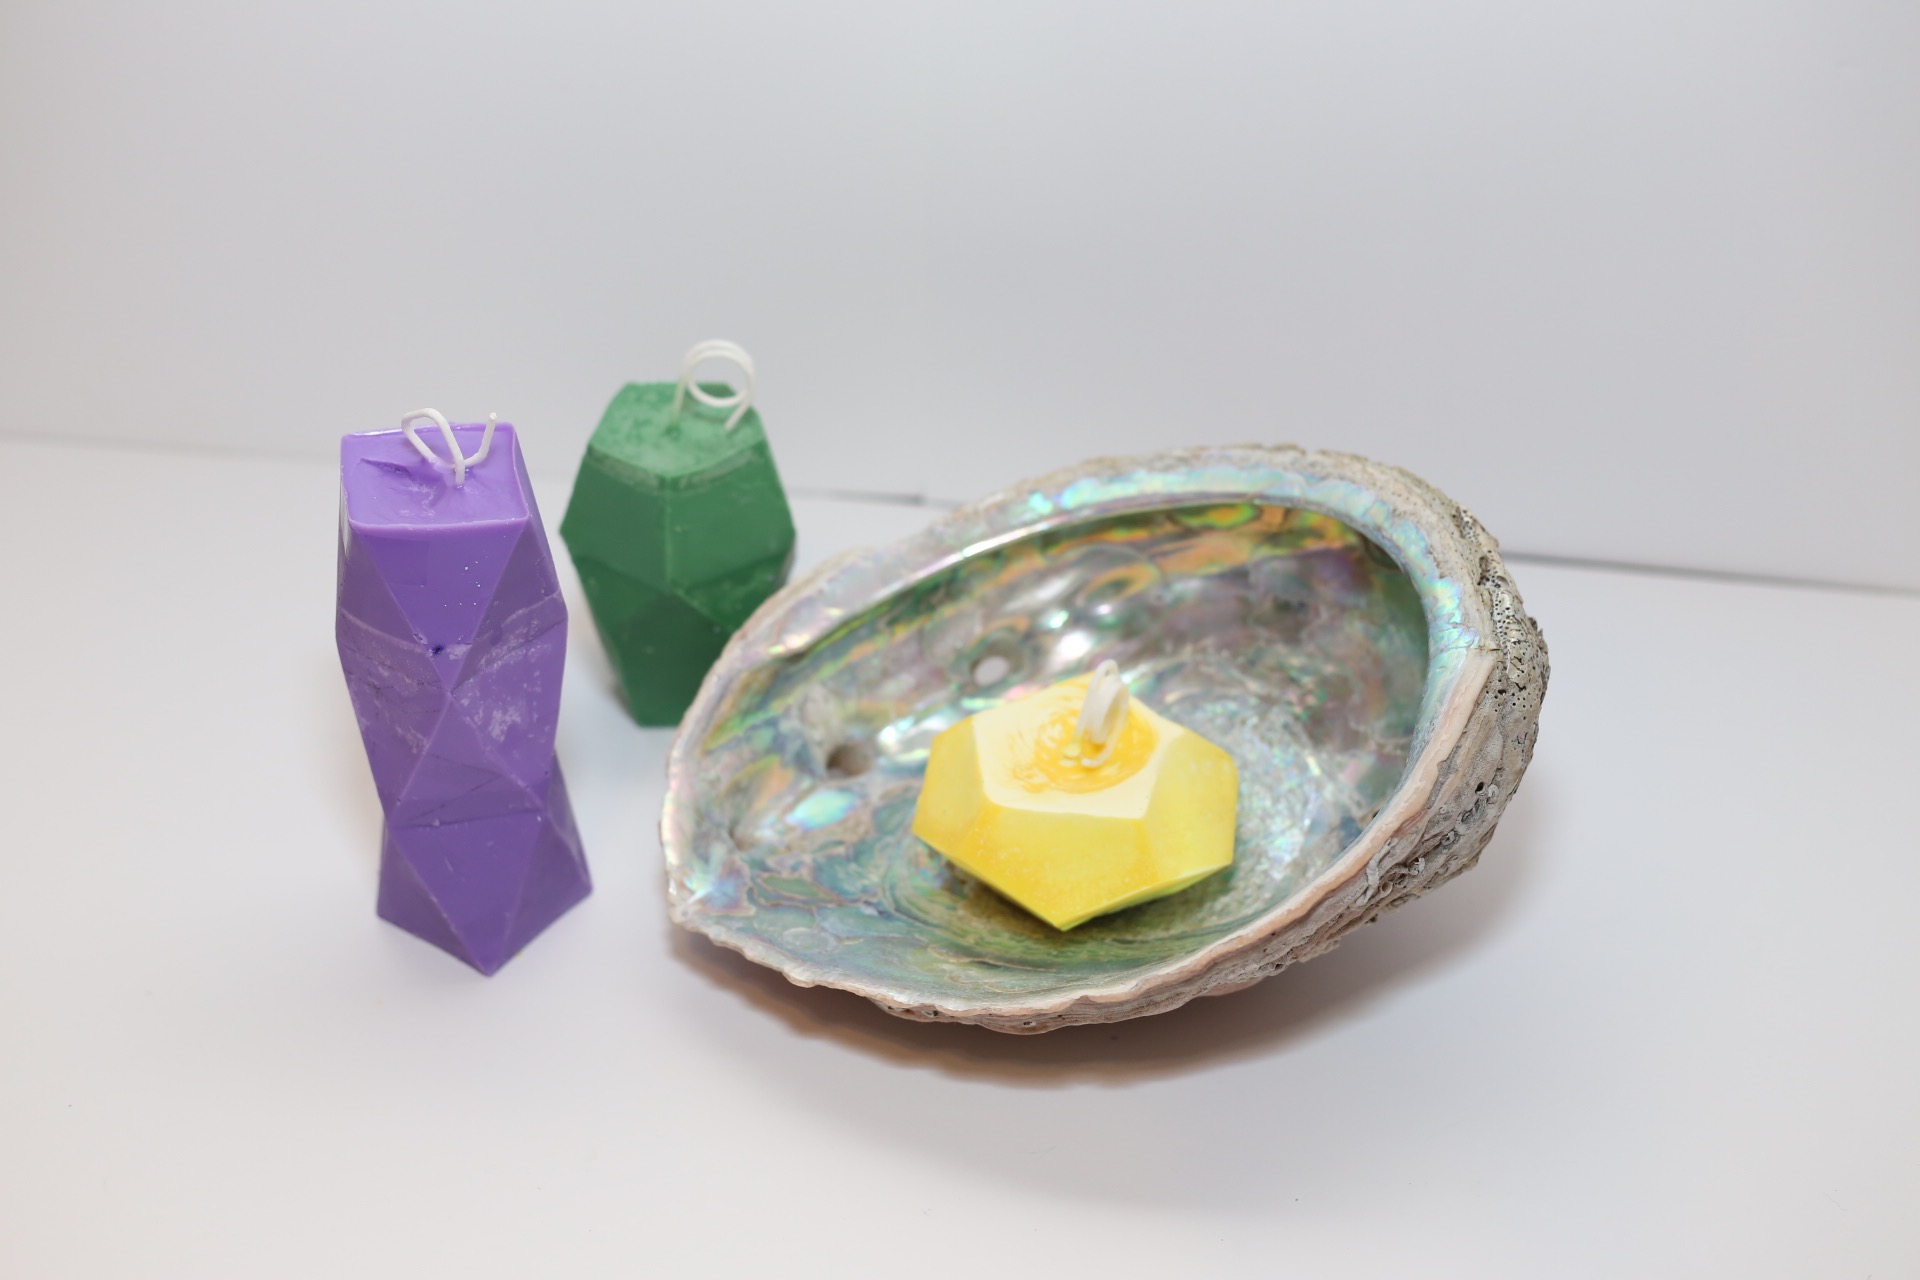
Once your candles are completely set and removed from the mold, they are ready to burn. Set them in a dish or a safe space to burn them since your candle is not inside a jar.
Each of these candles will burn for 8+ hours are so stylish! If you are ready to make them for yourself, don’t miss the Geometric Gemstone Candle Making Kit available September 2020 as our Craft in Style Box! Each month contains all the supplies you need for modern and stylish craft projects and each month is different.
And if you have a question about how to make them, drop it below. We are here to help!
Let’s Be Friends!
Insta | Pinterest | Enews | TikTok


